Some say its a labour of love..
Discussion


Well I enjoy doing this sort of stuff and something different to share.
The 350 rear wing was prone to yellowing, blistering etc due to not having proper UV absorbers in the epoxy resin used at the time. So many people tried to get them refurbished or worst case they painted over the carbon fibre to hide all the defects. I thought this is a cool project I can at least do half the work myself and learn a little something along the way A mate of mine develops epoxy and polyester systems for a living and very familar with hands on laying up of larger than life projects
  He's offered his Laboratory, all the products and complimentary CF to use, not to mention a keen helping hand to get this wing fully restored like new again - stoked! The decision was to sand back flat and get rid of as many defects as possible then to wrap another layer of carbon fibre around it.
Dismantled ready for wet and dry sanding in my art room. I made some new gaskets for the uprights that were blown out too. Anyway I spent the next two evenings getting it prepped. The wing all assembled weighs around 5kg and stripped of parts approx 2.5kg. Had to know didnt I
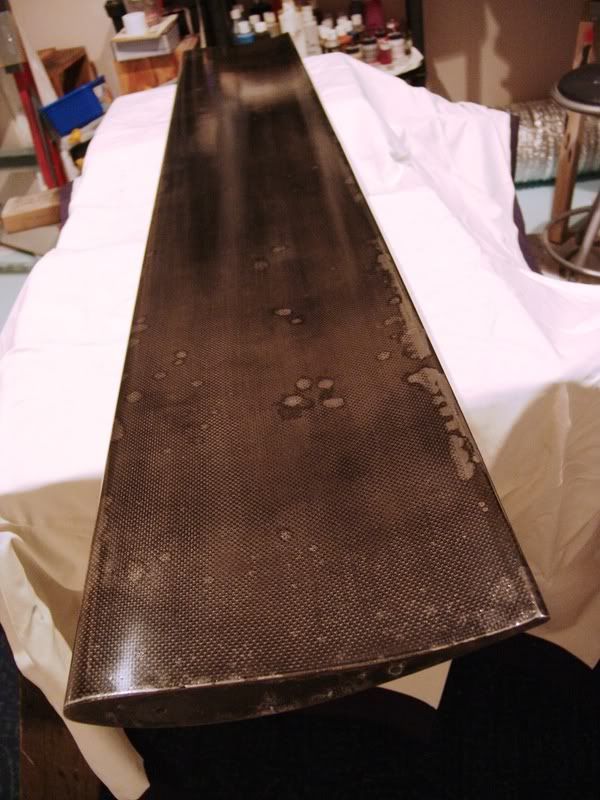
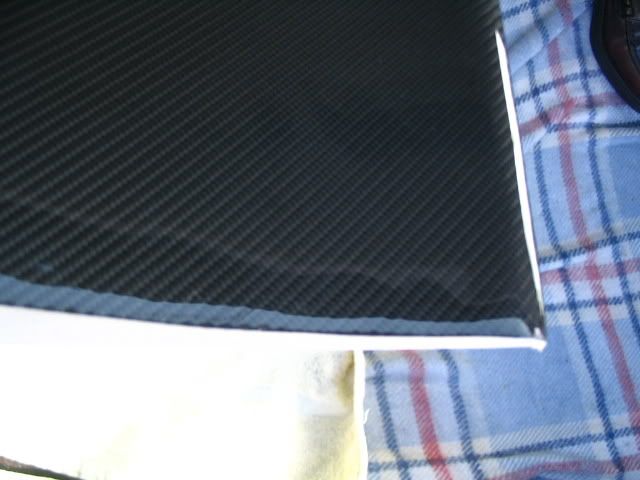
Pic below I had almost finished wet sanding it 400 grit. Its now flat, even and ready to go. Since this pic was taken I cleaned off the muck and used some prepsol to really make it clean. Then dried it out under the Air-Con unit on "Dry" Handy for something
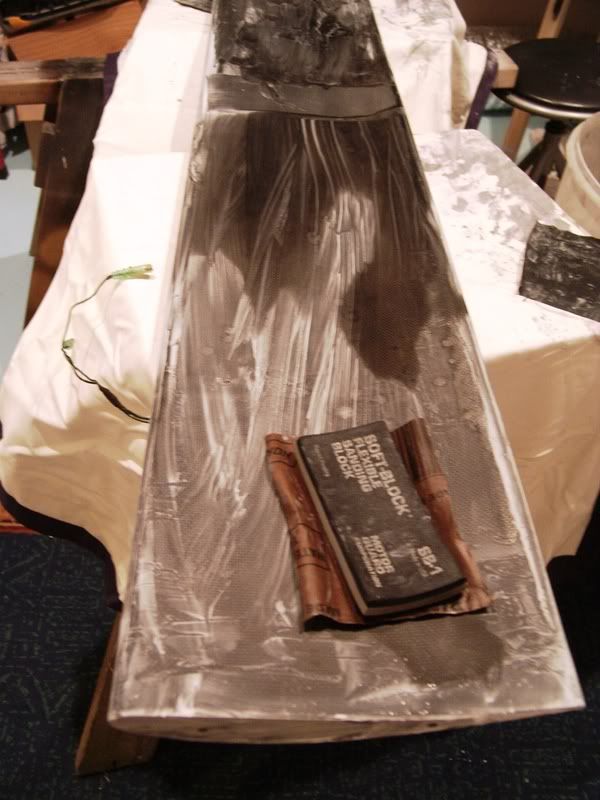
Effin forgot my camera today but spent the day in the lab cutting CF twill and mixing up resin and laying up the CF. We decided to go for a lighter much finer twill which in return looks shimmery and just stunning. Its going to look good when its all finished. So that hard part is now completed. Got to add one more coat of resin to it tom then post cure it under the sun or bake it to see if anything goes nasty. Next week got loads of sanding to do to get super flat then get it cleared.
The 350 rear wing was prone to yellowing, blistering etc due to not having proper UV absorbers in the epoxy resin used at the time. So many people tried to get them refurbished or worst case they painted over the carbon fibre to hide all the defects. I thought this is a cool project I can at least do half the work myself and learn a little something along the way
A mate of mine develops epoxy and polyester systems for a living and very familar with hands on laying up of larger than life projects He's offered his Laboratory, all the products and complimentary CF to use, not to mention a keen helping hand to get this wing fully restored like new again - stoked! The decision was to sand back flat and get rid of as many defects as possible then to wrap another layer of carbon fibre around it. Dismantled ready for wet and dry sanding in my art room. I made some new gaskets for the uprights that were blown out too. Anyway I spent the next two evenings getting it prepped. The wing all assembled weighs around 5kg and stripped of parts approx 2.5kg. Had to know didnt I
Pic below I had almost finished wet sanding it 400 grit. Its now flat, even and ready to go. Since this pic was taken I cleaned off the muck and used some prepsol to really make it clean. Then dried it out under the Air-Con unit on "Dry" Handy for something
Effin forgot my camera today but spent the day in the lab cutting CF twill and mixing up resin and laying up the CF. We decided to go for a lighter much finer twill which in return looks shimmery and just stunning. Its going to look good when its all finished. So that hard part is now completed. Got to add one more coat of resin to it tom then post cure it under the sun or bake it to see if anything goes nasty. Next week got loads of sanding to do to get super flat then get it cleared.
Will be good Kylie. I'm surprised you've had to add a whole extra layer of CF though. I thought the defects were above the top layer and would have sanded out... adding an extra layer of epoxy over the top should have sorted it?
I'm far from an expert though, and you've got the right man on the case by the sounds of it... will look stunning when finished All the carbon bits on my car are hidden.... either painted over or under the bodywork..... stealthy
I'm far from an expert though, and you've got the right man on the case by the sounds of it... will look stunning when finished
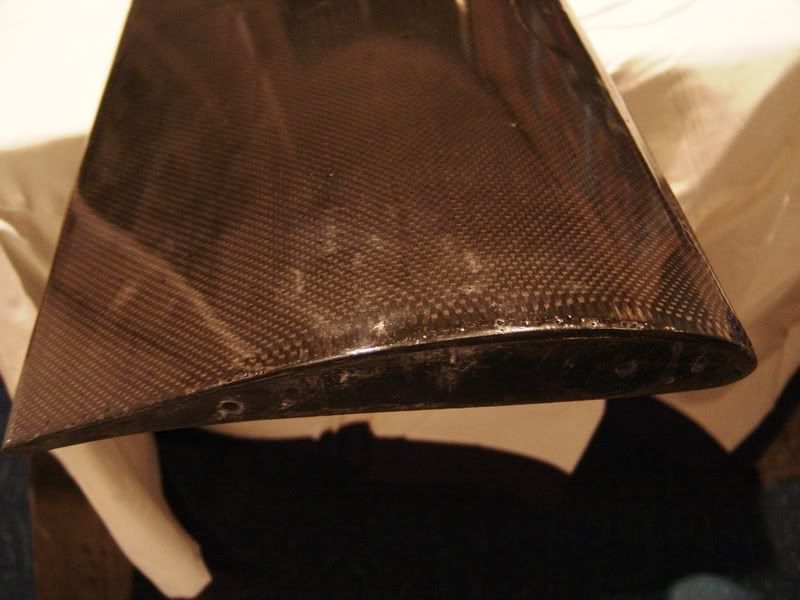
All the carbon bits on my car are hidden.... either painted over or under the bodywork..... stealthy Hi, would have loved to have just sanded back and re cleared but some of the blotches go right through really deep to possibly the foam core, so no matter how much sanding its gone right through. The yellowing is infused into the CF weave as well, so to get rid of it you would have to sand all the carbon fibre off to get it flat and even all over. The underside wasnt too bad just the leading edge underneath had to be sorted and also some really massive pin holes again were so deep would leave an uneven surface by the time you remove them then risking losing its overal shape.
This new weave is paper thin and light. I must have sanded off several layers of clear to make up for the thickness of the material going on anyway.
But yeah the finish we got including some tricky hole cutting and trimming turned out superb, such a relief I was panicking the whole time as a 1500 pound replacement from the factory just wasnt going to happen.
Ill get some more pics over the next few days of the finish.
God I wouldnt know where to start with yours thats a mission. What are you going to re paint the suspension parts with after cleaning up?
I was going to use POR-15 its good for heat as well. The more im reading up about my suspension and what should be done while in there it sounds like a bigger project than I thought and funds I wasnt planning on spending till next year. My problem is I just get carried away
I was going to use POR-15 its good for heat as well. The more im reading up about my suspension and what should be done while in there it sounds like a bigger project than I thought and funds I wasnt planning on spending till next year. My problem is I just get carried away
Kylie said:
God I wouldnt know where to start with yours thats a mission. What are you going to re paint the suspension parts with after cleaning up?
I was going to use POR-15 its good for heat as well. The more im reading up about my suspension and what should be done while in there it sounds like a bigger project than I thought and funds I wasnt planning on spending till next year. My problem is I just get carried away
Not coating the suspension parts with anything. They'll just get zinc-plated and gold-passivated exactly as they were OEM... in NZ's salt-free climate that's more than enough protection for them, they'll still look new in 20 years time.I was going to use POR-15 its good for heat as well. The more im reading up about my suspension and what should be done while in there it sounds like a bigger project than I thought and funds I wasnt planning on spending till next year. My problem is I just get carried away
GravelBen said:
Esprit said:
Not coating the suspension parts with anything. They'll just get gold-plated...

Oh and Ben... my folks are looking at buying a brand new Impreza (just a base model 2.0 Hatch)... other than its irrevocable ugliness it seems a good car for the money... I'll have to start paying attention to Subbies.
Esprit said:
Oh and Ben... my folks are looking at buying a brand new Impreza (just a base model 2.0 Hatch)... other than its irrevocable ugliness it seems a good car for the money... I'll have to start paying attention to Subbies.
 They may not be pretty (new ones especially) but Subs are certainly hard to beat as all-rounders. Obviously they're never going to compare to Lotus etc for specialness but they way they drive is IMO a fair margin ahead of their 'normal car' competition - my Legacy felt like a Porsche after a few days driving an Accord and Corona of the same age.
P.S. Take it for a spin on the local gravel if you get the chance

;) And to keep things on topic, they could even put a carbon fibre wing on it!

Edited by GravelBen on Sunday 8th June 23:18
GravelBen said:
Esprit said:
Not coating the suspension parts with anything. They'll just get gold-plated...
George thats going to weigh you down buddy and make a porky Esprit beat you 
Id love a Scooby zoom again, brilliant cars! Shame the thieves think so too
 Was one of the reasons why I sold it
Finally got my wing all sanded and prepped properly took quite a few nights to finish off, dropped off at Tony Ingrams Co (ATM Concepts) for clear coating/baking today. Got an email 2 hours later saying it was all done and just getting baked in the booth, that boy doesent muck about!! So am really excited to see how it turned out, may have it home again tom night
Pics required once you get it back Have some more bits on the way for mine too, all going according to plan will install on saturday:
- Shortshift kit clicky -was planning to change gearbox oil and gaiters then found a cheap shortshift so may as well do that at the same time.
- 4-point rollbar (/half-cage) to stiffen up the chassis and help avoid unnecessary squashage if something stupid happens and it ends up shiny-side down.


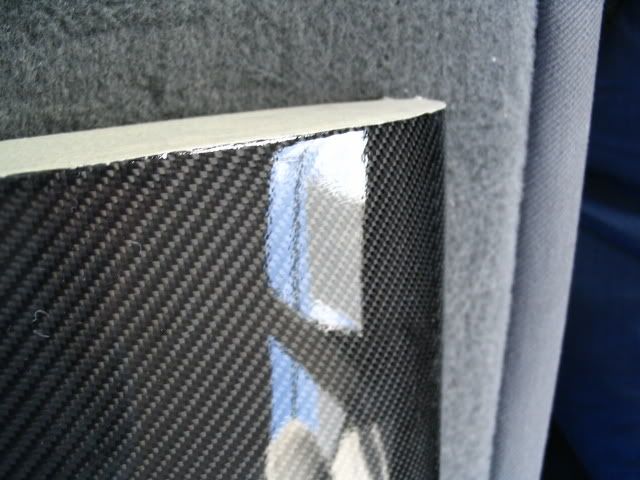
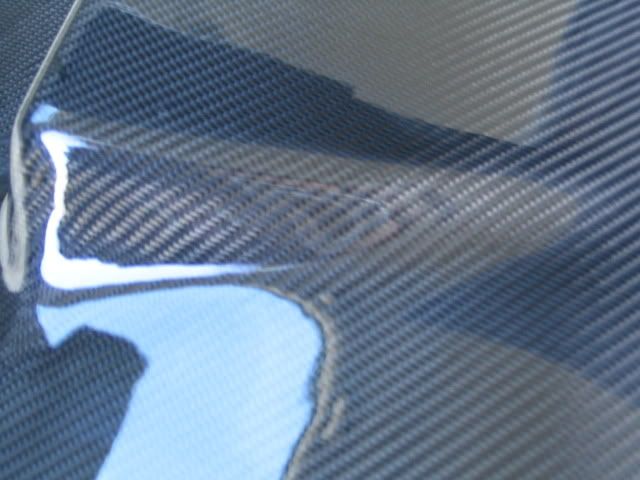
Hi guys, its finished and just picked it up today, so here are some pics from the boot of my car !! It was two pack cleared and was further post cured in the booth at around 60deg. There are a few little blemishes on the join lines and where cuts were made to work the CF over the uprights and window for light but other than that the overall finish is a million times better than what it was, so I am really really pleased. So ill assemble it tonight and hopefully it will be back on tom
Underside end
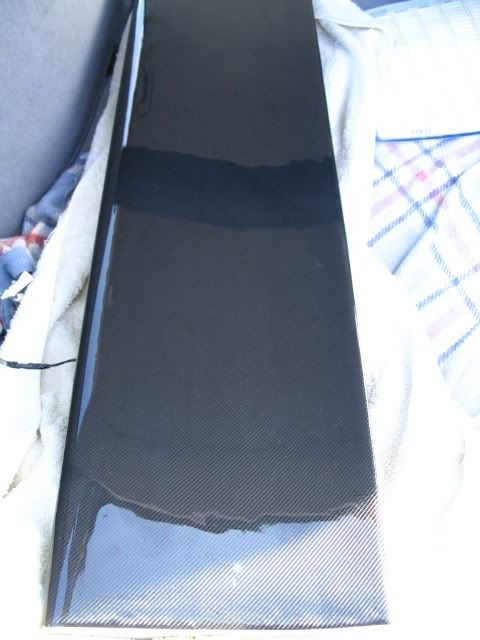
Top side
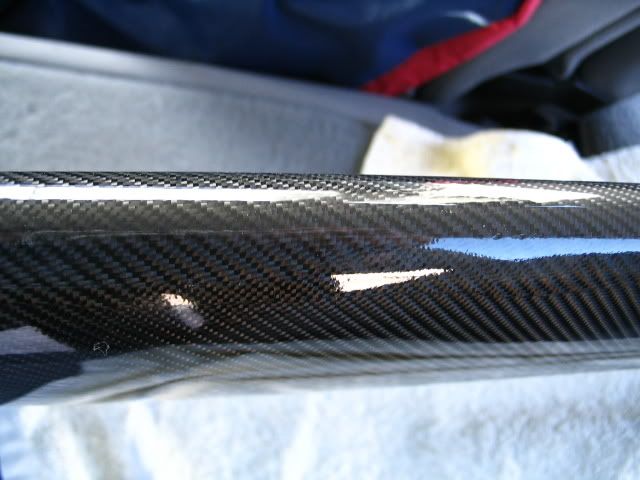
Leading edge
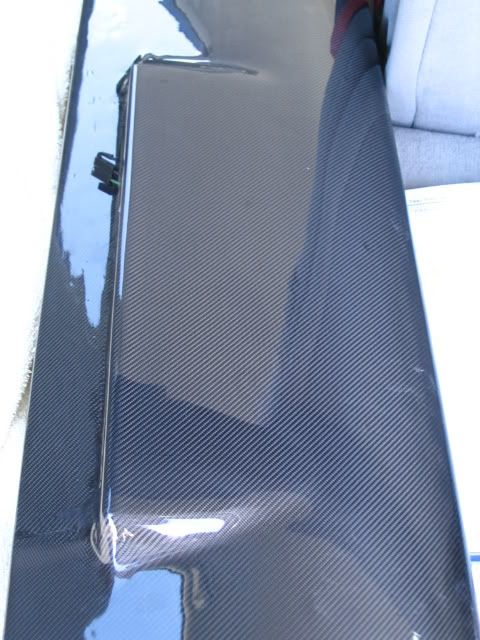
Underside high stop brake light
Side of high stop brake light
Tailing edge top side
Underside end
Top side
Leading edge
Underside high stop brake light
Side of high stop brake light
Tailing edge top side
Gassing Station | New Zealand | Top of Page | What's New | My Stuff