£90 Youtubers LED Hexagonal Lighting
Discussion


Griffith4ever said:
Bob_The_Builder said:
Would you not be better off with a diffuser over that. It might not look as special, but for working it will be a lot more practical. As a bonus you won't be casting a huge shadow when you lean over the car.
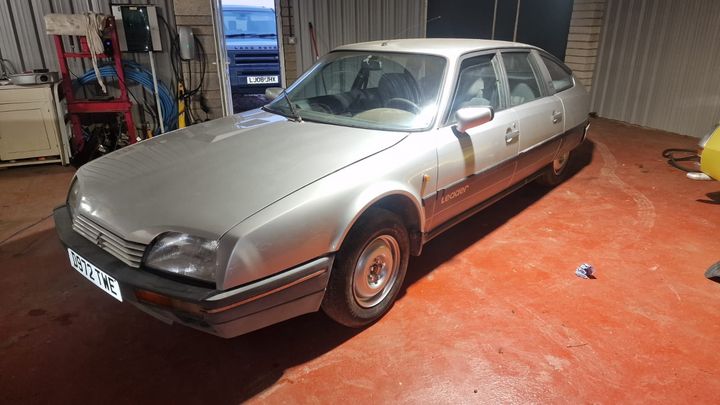
the whole point is the visible hexagon reflections.The CX is going very well thank you. The weather has been too bad to do much with it though. It is behaving well.
You can have all on at the same time or only 30% of them on, which is good, depending where you are in the shed and what you are doing.
This is the link.
https://www.ebay.co.uk/itm/357969986740?itmmeta=01...
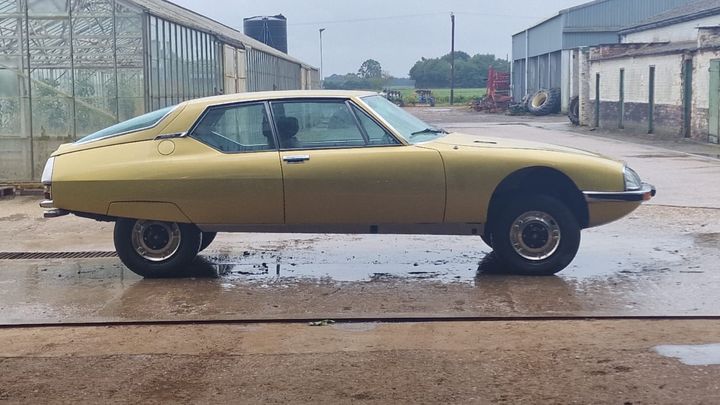
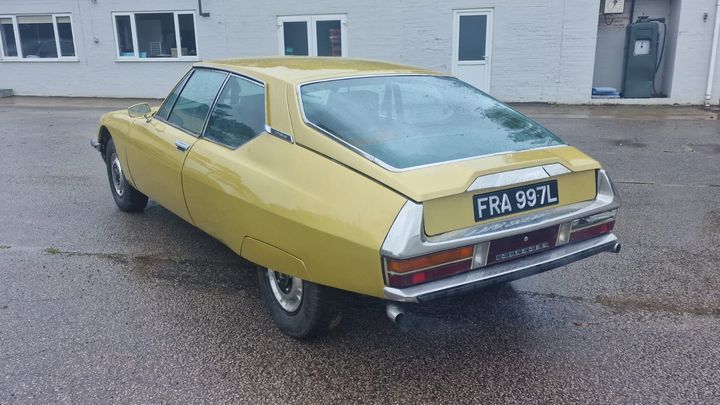
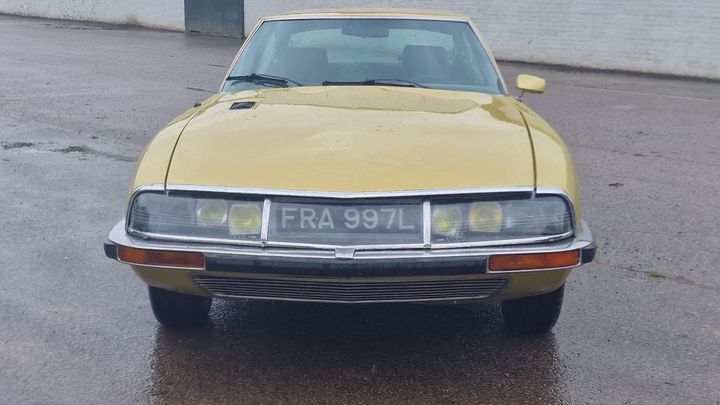
The paint is lovely now. If it stops raining tomorrow I might get it out with the SM for pics.
You can have all on at the same time or only 30% of them on, which is good, depending where you are in the shed and what you are doing.
This is the link.
https://www.ebay.co.uk/itm/357969986740?itmmeta=01...
The paint is lovely now. If it stops raining tomorrow I might get it out with the SM for pics.
Interesting! I have a similar sized workshop to the OP and one of my old school Fluorescents has recently died so I have the hassle of tall step Ladders to replace. Might be worthwhile replacing with an Influencer's /Instagrammers cheapo lighting setup for tinkering duties.
Post an update if they short out and set on fire ideally before I get round to do doing anything.
Post an update if they short out and set on fire ideally before I get round to do doing anything.

Well, compared to rebuilding an SM or an E type it is not too bad to set up (joking), it depends on the ceiling height and what kind of ceiling it is.
Basically it comes in 1m sections and 30 cm sections that push together, about 50 sections in total.
I did the perimeter rectangle first, then the hexagons. The two different sections are powered independently.
I fixed to the ceiling with zip ties which was easy, as I could drill holes through the thin metal panels of my ceiling for the ties wherever I needed them
A plasterboard ceiling would requite a bit more thought, and bare rafters even more thought.
Best to mark a straight line on the ceiling first with string, tape or a laser first otherwise it will go up all wonky, as it is 20ft long on the longest sides.
All in all I would recommend it as a good waste of a Saturday afternoon.
You might find a pair of the smaller kits better depending on your layout to spread the light out a bit.
Best thing, apart from the light, is it doesn't take up valuable ceiling height.
The R4 is actually rebuilt on a galvanised chassis, although it does have its original white paint. It amazing what an 1108cc GTL is capable of, amazing cars.
Edited by BuyaDuster on Saturday 6th December 22:08
Somewhere in a drawer upstairs I have a model of your SM in exactly the same colour. It was one of my favourite toys; I particularly liked the fact it had a working parcel shelf!
https://www.qualitydiecasttoys.co.uk/products/3285...
https://www.qualitydiecasttoys.co.uk/products/3285...
You have, whats the chance of that!
This one is a 3l manual car on carbs that was parked for over 30 years.
Taking the paint off and putting it back on again was a bit of work, as was rebuilding the engine and running gear.
Expensive too.
All done now though. They are complicated but well engineered (with the upgrades you need to do- now done).
You can over do it.
I was vaguely looking at this, and the lighting has turned the car into a sort of camo-spy picture effect and I can't see a blooming thing of the paintwork. and it's just a white mess.
I'm sure they're really proud of their paintbooth x500 effect, but it would give me a headache.
Source ad for other pics: https://www.autotrader.co.uk/car-details/202508155...
warning, take a paracetamol before clicking...
BuyaDuster said:
I fixed to the ceiling with zip ties which was easy, as I could drill holes through the thin metal panels of my ceiling for the ties wherever I needed them
A plasterboard ceiling would requite a bit more thought, and bare rafters even more thought.
Best to mark a straight line on the ceiling first with string, tape or a laser first otherwise it will go up all wonky, as it is 20ft long on the longest sides.
All in all I would recommend it as a good waste of a Saturday afternoon.
You might find a pair of the smaller kits better depending on your layout to spread the light out a bit.
Best thing, apart from the light, is it doesn't take up valuable ceiling height.
Be interested to hear how it fairs longer term. I’m liking the idea of this style of lighting for my garage. I like a lot of light and also need to keep it as slimline as possible.A plasterboard ceiling would requite a bit more thought, and bare rafters even more thought.
Best to mark a straight line on the ceiling first with string, tape or a laser first otherwise it will go up all wonky, as it is 20ft long on the longest sides.
All in all I would recommend it as a good waste of a Saturday afternoon.
You might find a pair of the smaller kits better depending on your layout to spread the light out a bit.
Best thing, apart from the light, is it doesn't take up valuable ceiling height.
Could be wrong but I think the 1175mm straights with connectors should just about line up with 400 centres for standard studwork spacing. Same for the 440 on a hex layout, with the joining piece it should get the 380mm up to a 400 centre.
Gassing Station | Homes, Gardens and DIY | Top of Page | What's New | My Stuff