Discussion


I replaced a similar one about 5 years ago. Richard Burbridge with brushed metal spindles. DIY. Cost about £1k for complete set of parts, Newels, handrails in oak. They do decent videos to show the method.
The old adage " measure twice, cut once ias accuracy is is a must.
Did it over 2 days to do repainting before spindles went in as they would get in the way.
Fitting the newels means drilling holes to accept anchoring by aligning rwo metal fixings at 90deg in newel bases. They were very helpfull with design, ordering and tips on how to align metal fittings.
Mrs sospan didn't want glass. Phew!
PositronicRay said:
What sort of ballpark would I be looking at to replace these banisters with oak and glass doodangs
I assume its bread and butter for a carpenter to order and fit.
I wouldn't replace them with oak and glass doodangs, even if I knew what a doodang was. They are quite nicely done. At most, I'd paint them up.I assume its bread and butter for a carpenter to order and fit.
 t
t

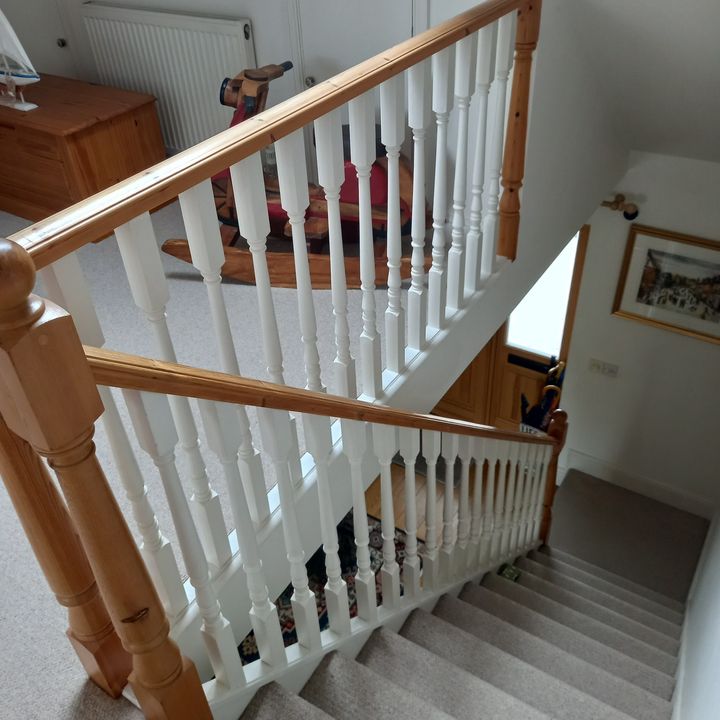
Looks like you want a style makeover. Ours was plain square newels, white spindles like yours and painted white.
We looked at styles and discounted glass, some ornate spindles (metal or other). Light oak new newels that fitted onto trimmed down original newels so no need to do big staircase mods. Metal nickel ( satin/brushed) fittings to join handrails to newels.
Day 1....cut away old woodwork, cut newel bases to exact height. Drilled newl bases to accept fittings.Painted everything to dry overnight.
Day 2....fitted new parts as per instructions. Triple checked measurements and made sure the newels were vertical. The fittings for handrails to newels meant no mitred wood joints, just cut to length. The only mitre cuts were for the oak base fitted onto the starcase that the spindles sat on.Handrails fitted. Spindles fitted. This was a repetitive job after carefully marking the gaps and checking the vertical true. Pilot holes drilled for screws. Spindle screwed into place. They were two types. Type1 for level on landing. Type2 angled for the stairs. Each had preset formed ends with screwholes.
When redecorating ( painting) is needed then a simple job to remove spindles and get easy access then replace them.
Mrs sospan more than happy!
Gassing Station | Homes, Gardens and DIY | Top of Page | What's New | My Stuff