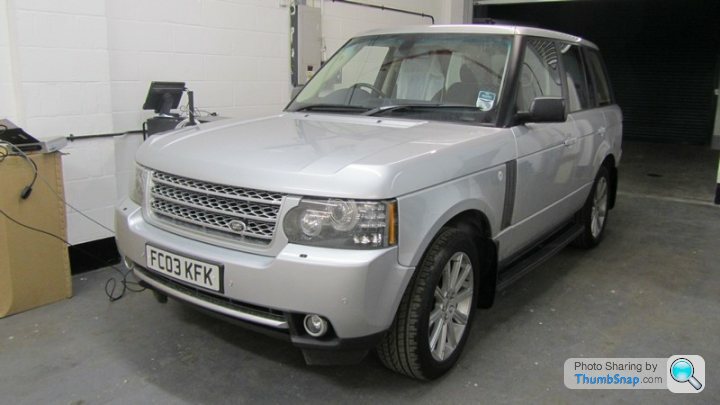
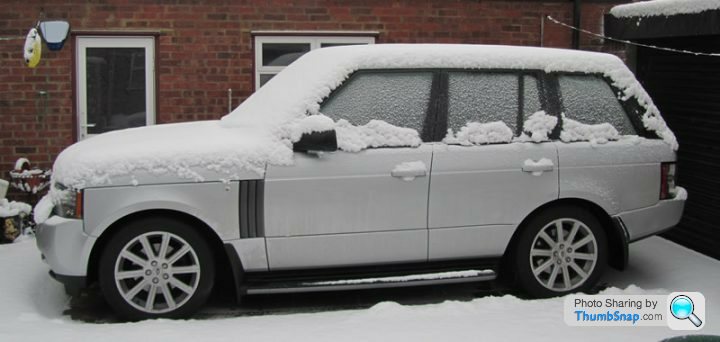
Converting a 2003 Range Rover to 2010
Discussion
I posted this on another forum, but thought there would be some who may be interested in what I've done.
I purchased a 2003 Vogue with LPG conversion a few months ago. After a coupel of weeks, the battery light started to come on and after anvestigation, we found that a new alternator was needed. So we ended up taking teh front end off and changing the alternator, water punp, pipes and anything else we could find.
And as we had most of the front off, I though I might as well put a 2010 kit on the car.
The parts required are:
* Front lights
* Front fog lights and washer jets
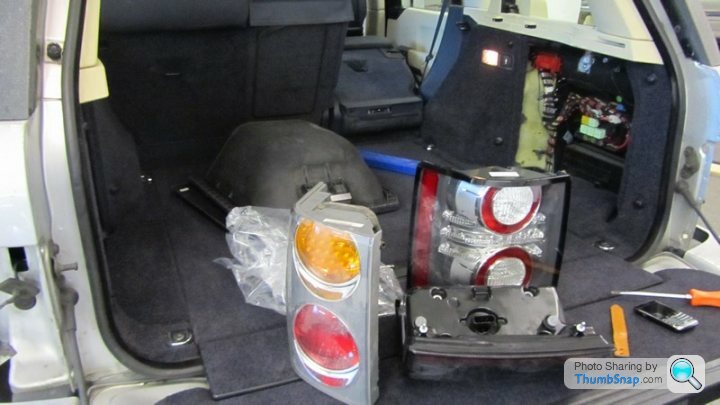
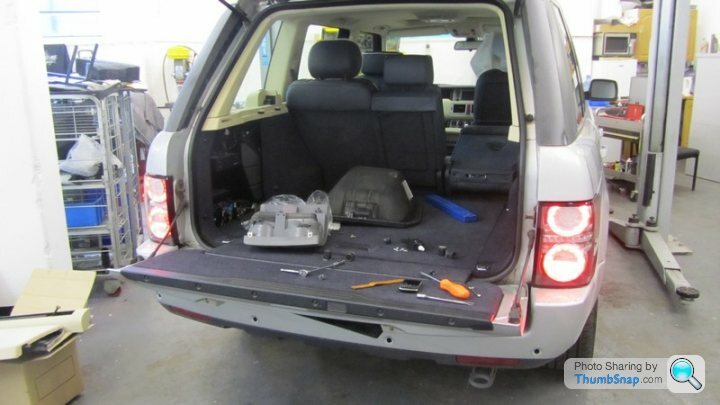
* Rear lights
* Front bumper
* Front crash bar
* Front top bar
* Wheels & Tyres
* Front grill
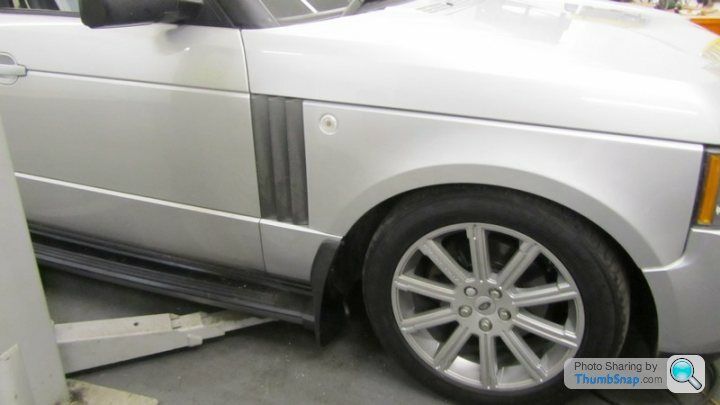
* Side vents
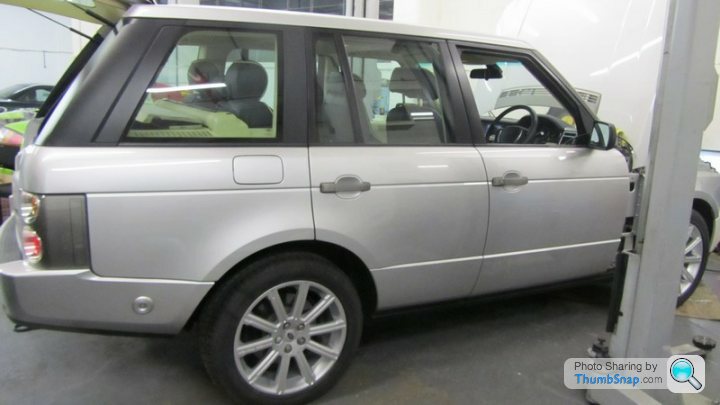
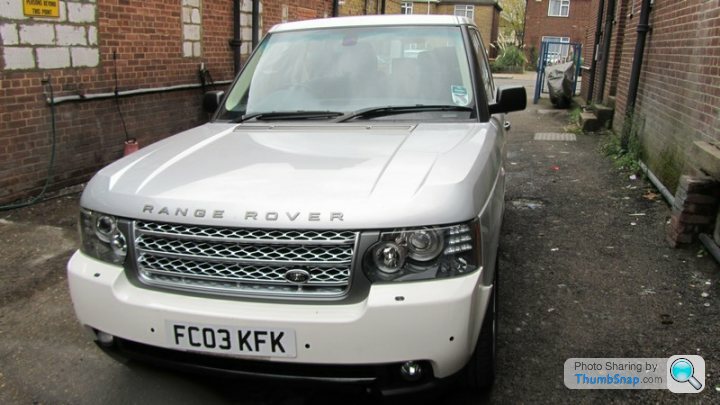
This is how the car looked before.
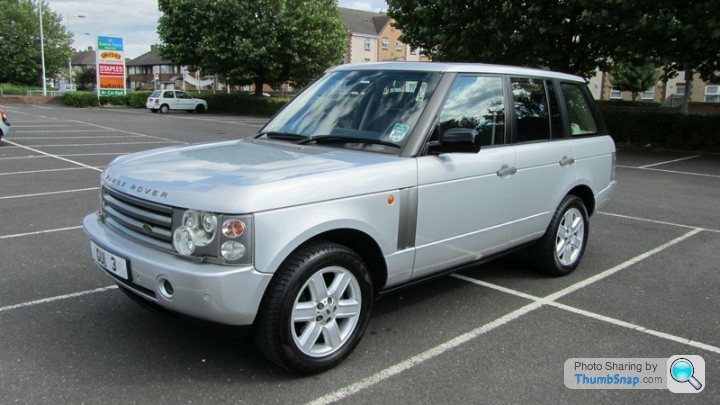
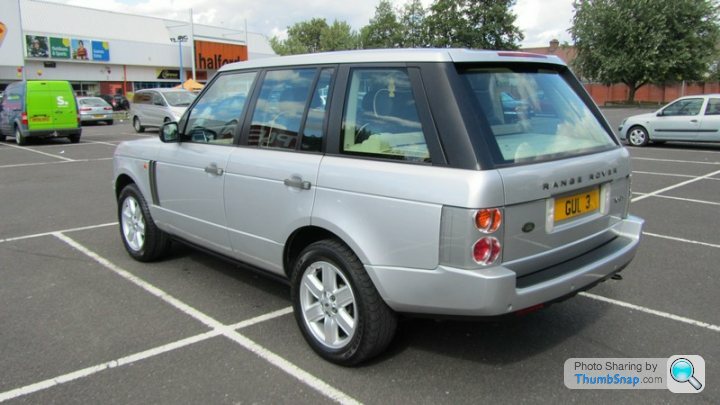
I purchased a 2003 Vogue with LPG conversion a few months ago. After a coupel of weeks, the battery light started to come on and after anvestigation, we found that a new alternator was needed. So we ended up taking teh front end off and changing the alternator, water punp, pipes and anything else we could find.
And as we had most of the front off, I though I might as well put a 2010 kit on the car.

The parts required are:
* Front lights
* Front fog lights and washer jets
* Rear lights
* Front bumper
* Front crash bar
* Front top bar
* Wheels & Tyres
* Front grill
* Side vents
This is how the car looked before.


Edited by Angelis on Sunday 19th December 16:59
The conversion itself is quite straight forward but you need an auto electrician to do the lights.
First step was to get hold of the parts. I got a 2010 bumper off ebay which when we later tried to mount on the car, found that it had a broken mount.
I then got a new one from Land Rover along with the fog lights, headlight washer jets etc.
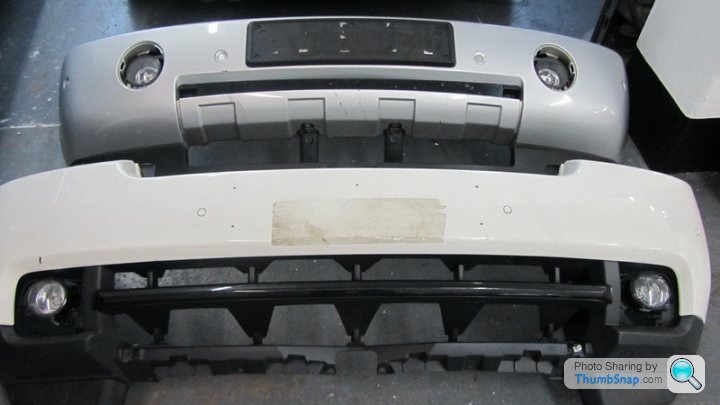
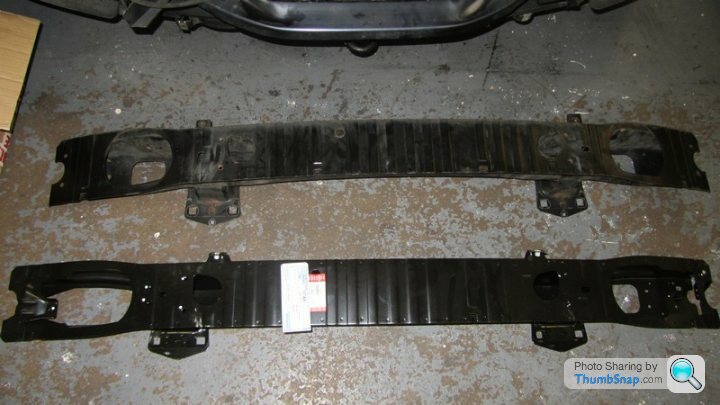
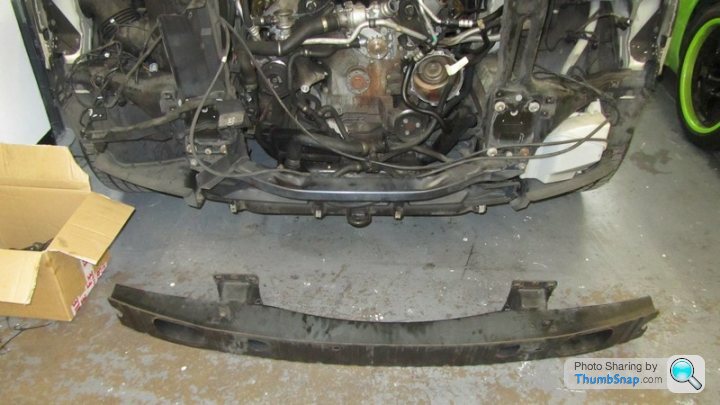
Below is a pic of the 2010 ebay bumper and the old bumper and the old and new crash bars.


Next, we installed the lights.
There is a top mounting bar that we could have got, but instead Raj (who did the work) managed to secure it another way.
We used the website www.l322.com as a reference point for the conversion as it was the first we had attempted it. However, we adpated a few things that Raj thought was better. For example, some companies cut away alarge part of the front wing to get teh lights to fit. Instead, Raj came up with a better solution that kept the structural rigidity of the wings.
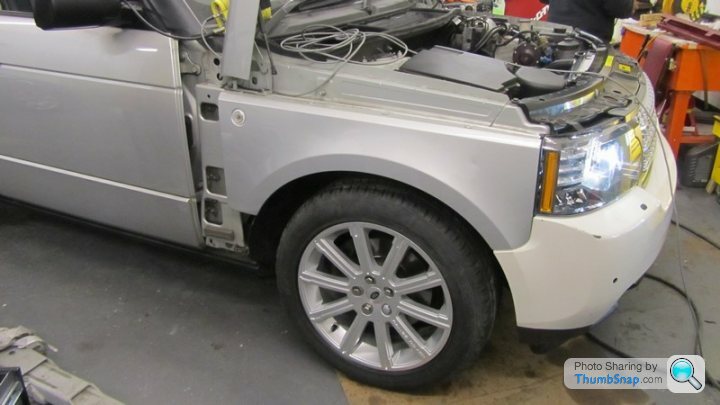
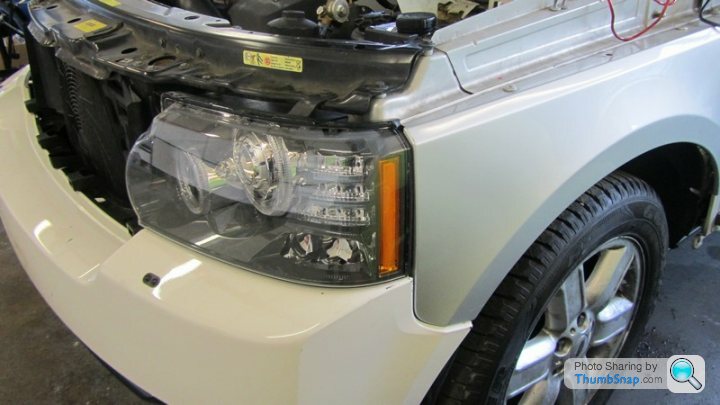
Here's the lights, griull and bumper fitted.
The bumper is the ebay one. The new one will be put on later
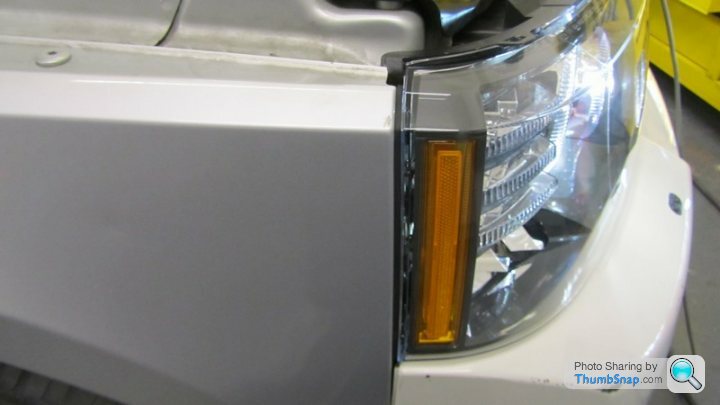
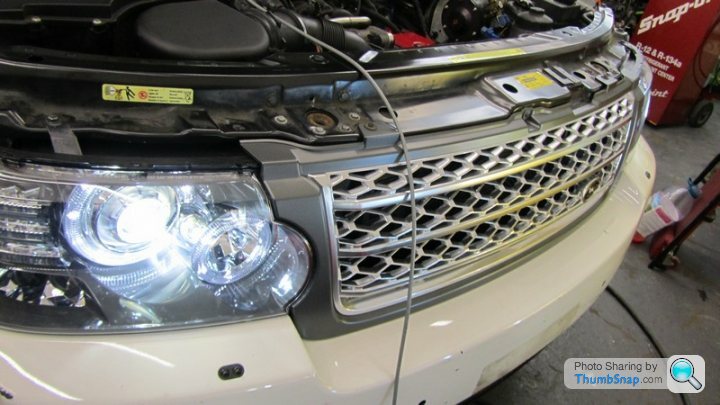


Edited by Angelis on Sunday 19th December 17:05
New wheel bolts were needed to go with the new wheels along with the obligatory wheel locks. Not only because they looked better, but also because they were a different size.
Once they were fitted, they looked like they stuck out too far.
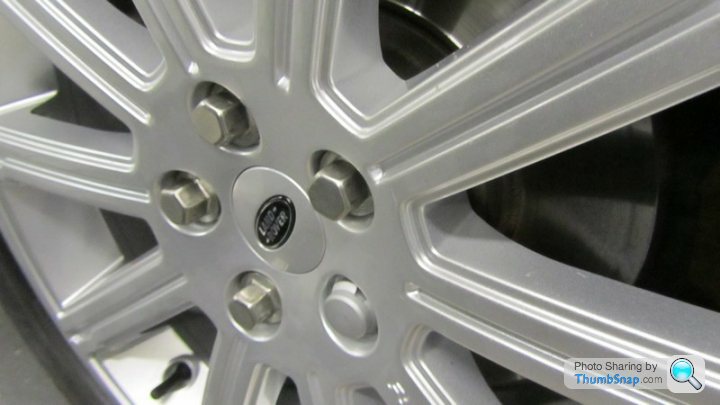
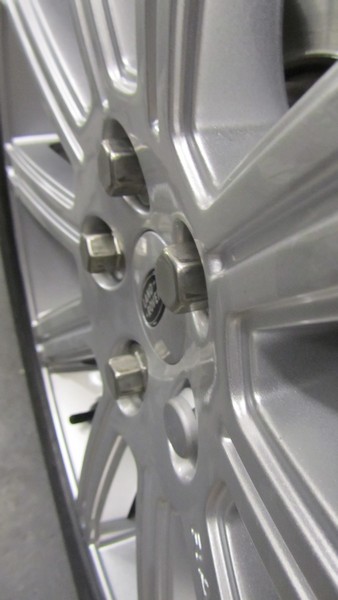
When I visited Land Rover, I had a look at a "real" 2010 model and found they had a similar look with the bolts sticking out.
Phew
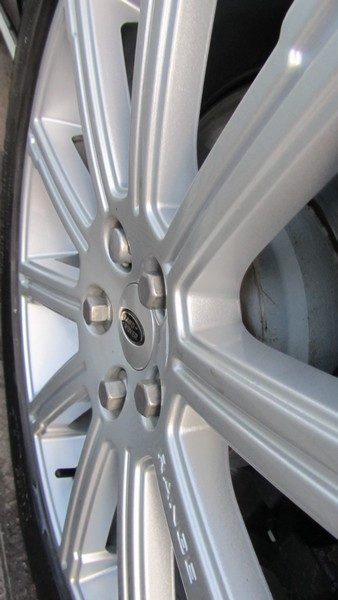
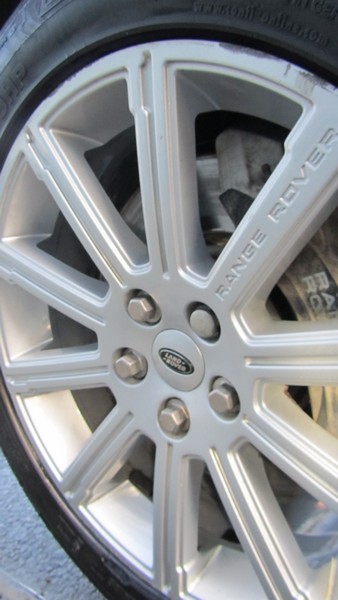
Once they were fitted, they looked like they stuck out too far.


When I visited Land Rover, I had a look at a "real" 2010 model and found they had a similar look with the bolts sticking out.
Phew


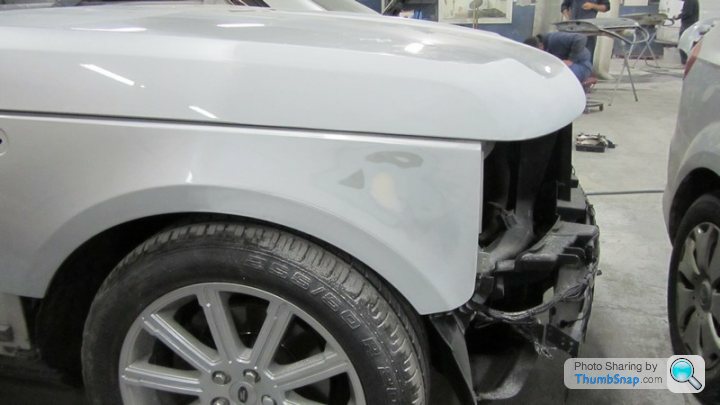
Next, teh paintshop.
We decided to colour code the handles, bonnet and the front grill surround as well as paint the front end and the sides as some of the doors had dings and scratches.
Arrived at the paintshop
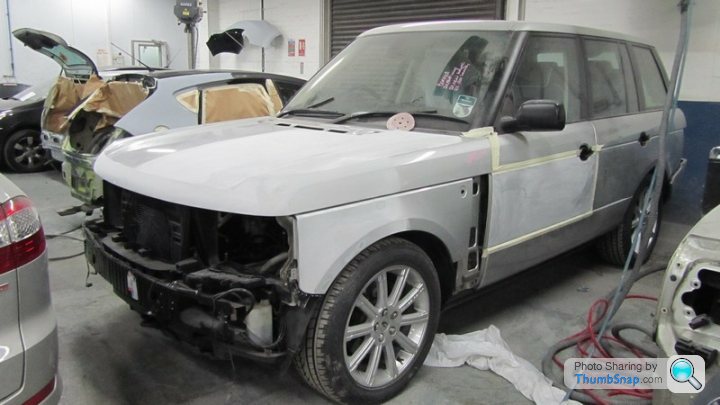
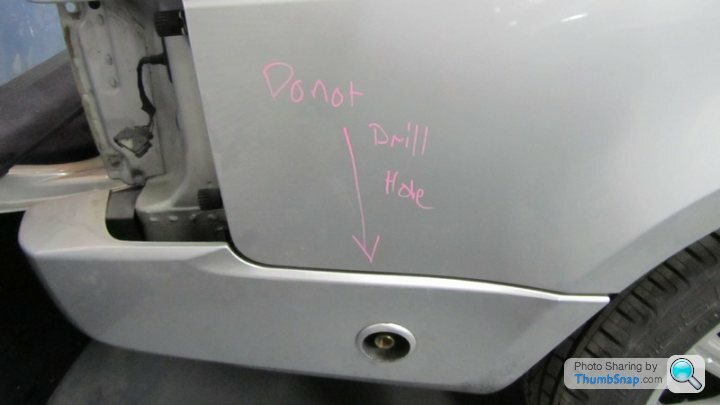
The LPG intake is going to be moved elsewhere. It just doesn't look right or feel safe on the rear bumper.
We decided to colour code the handles, bonnet and the front grill surround as well as paint the front end and the sides as some of the doors had dings and scratches.
Arrived at the paintshop


The LPG intake is going to be moved elsewhere. It just doesn't look right or feel safe on the rear bumper.

Angelis said:
sinizter said:
Angelis said:
sinizter said:
Where did you move the LPG filler to ?
It's disconnected at the moment, but it's going to be put next to the fuel filler.Is there a rule preventing it being placed so when the system is initially installed ? Or is it a lot more work, so people don't bother.
Gassing Station | Land Rover | Top of Page | What's New | My Stuff


