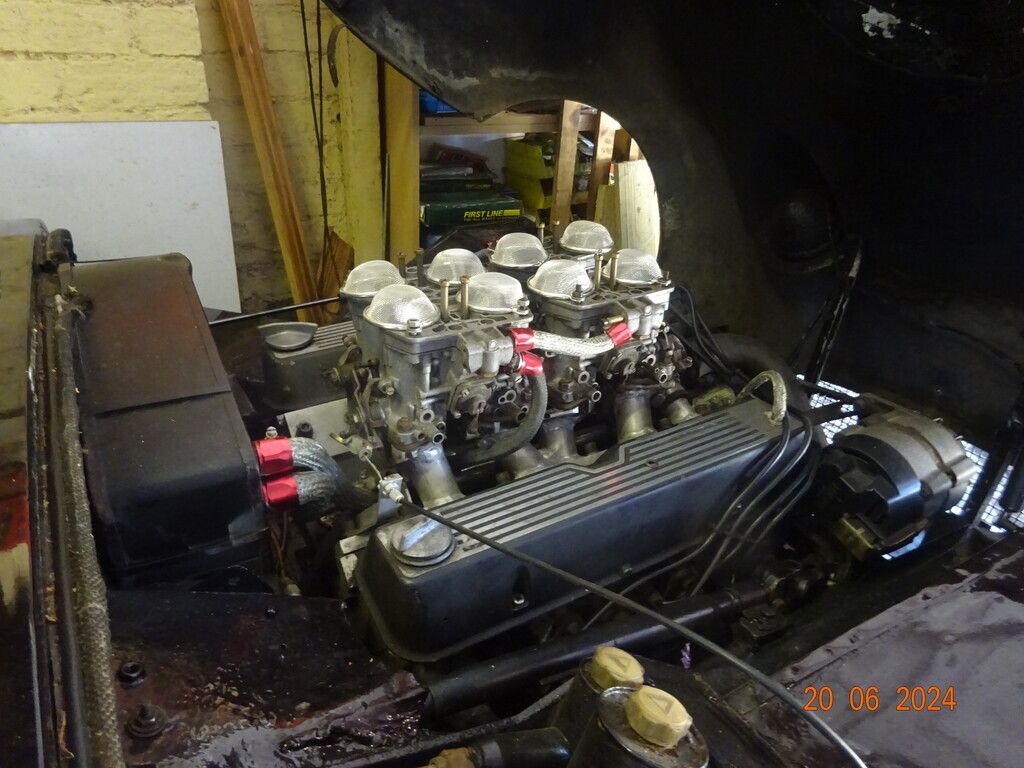
MG Midget...V8 in disguise… Super Sprite
Discussion
This car has been through several iterations and started like this... 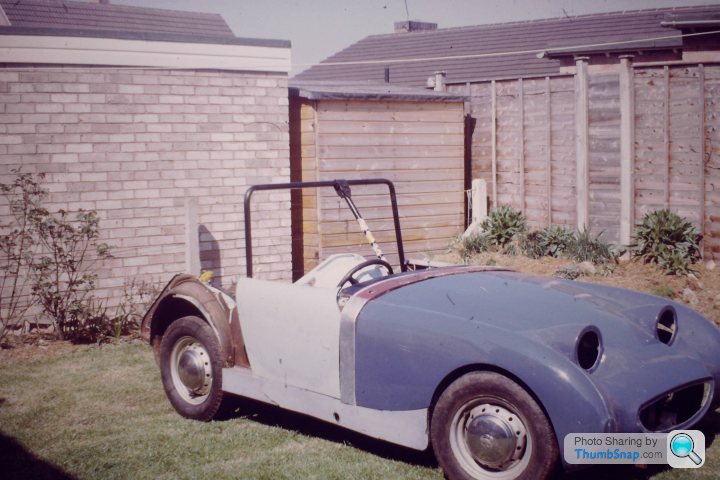 |https://thumbsnap.com/98aC9sFW[/url]
then it raced as this...
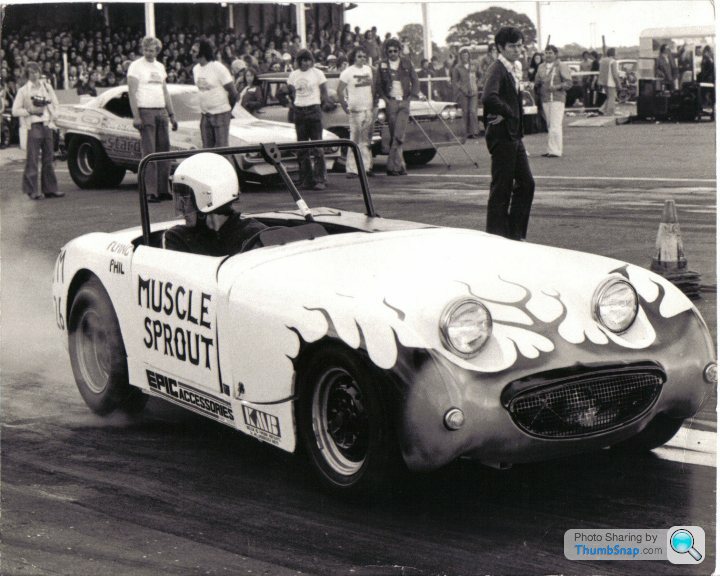 |https://thumbsnap.com/sPTYNT0u[/url]
After it became a Tube chassied Competion Altered.
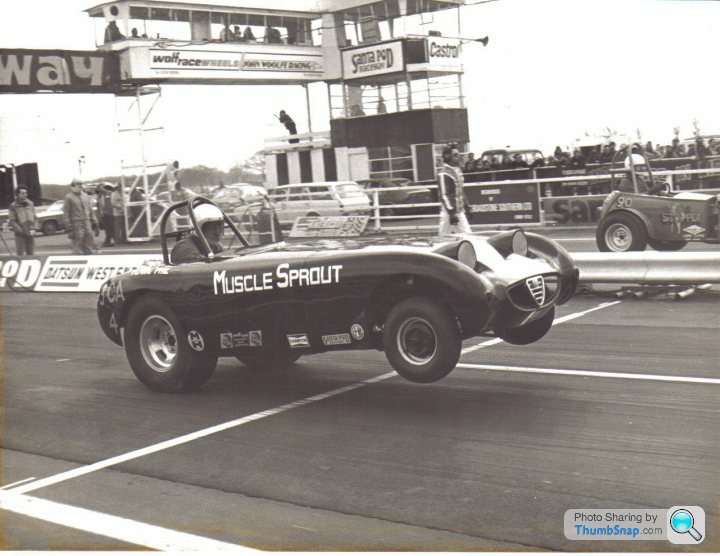 |https://thumbsnap.com/ne7Ax9Uw[/url]
Then I bought this 1500 Midget, it was a bit bent...
.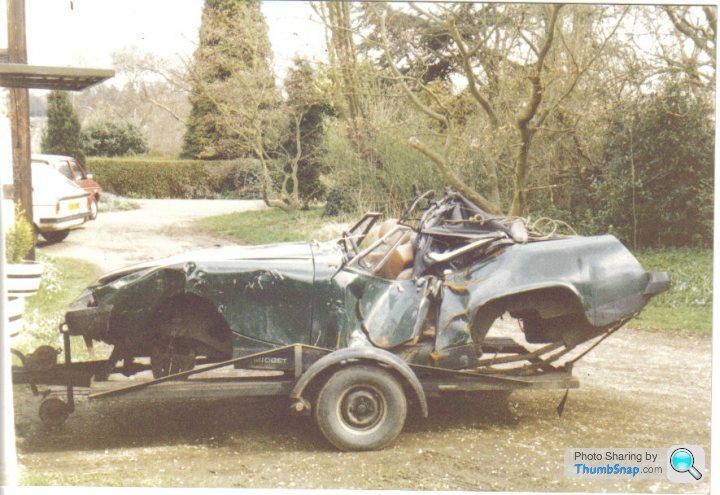 |https://thumbsnap.com/3TtdoPTU[/url]
It was straightened and my old Sprite body panels used, together with a roll cage and Rover V8 engine. Several resprays later...
Here it is just before it went back into my garage. The hood is only placed in position.
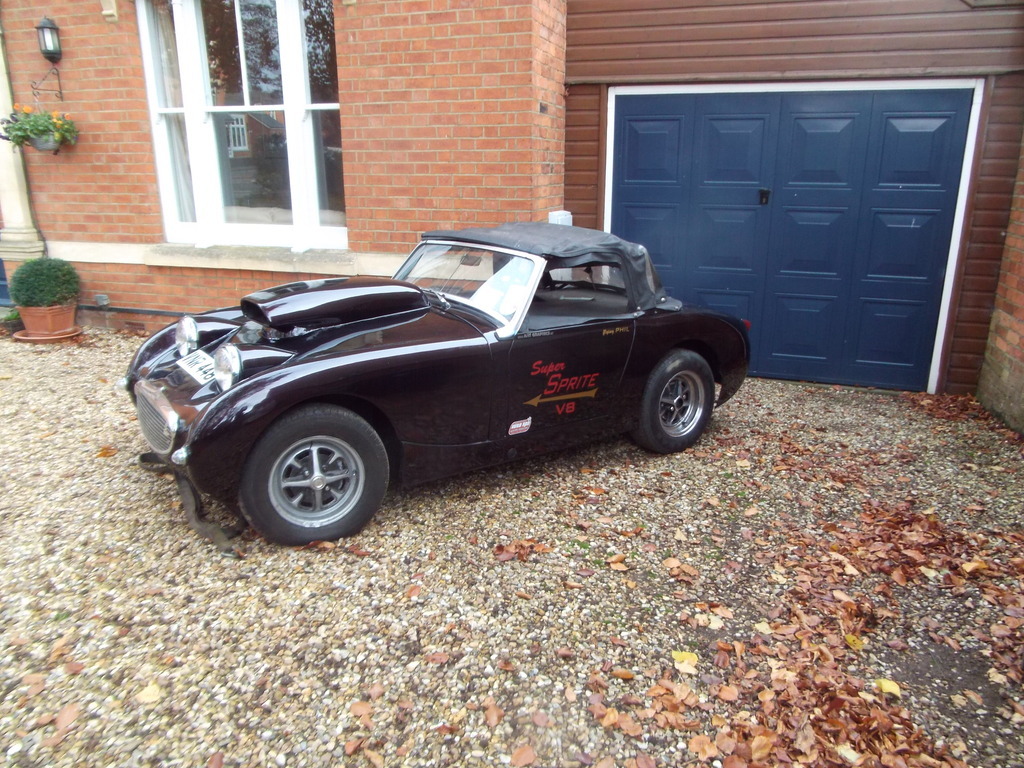
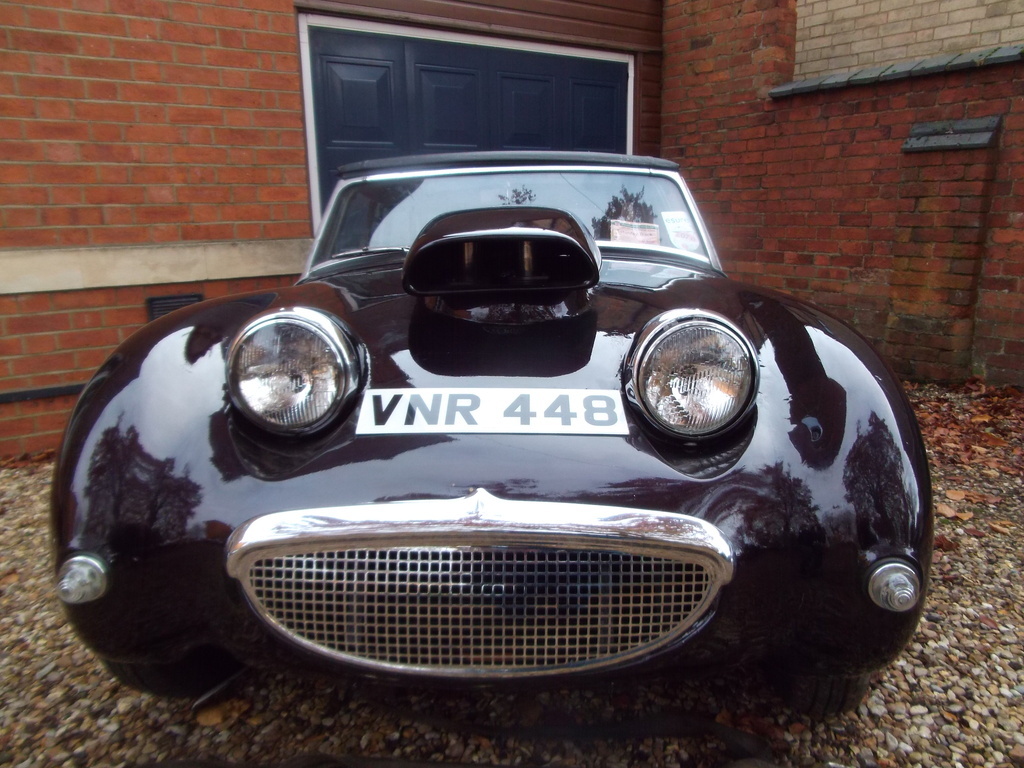 [url][url][url][url]
 |https://thumbsnap.com/98aC9sFW[/url]
then it raced as this...
 |https://thumbsnap.com/sPTYNT0u[/url]
After it became a Tube chassied Competion Altered.
 |https://thumbsnap.com/ne7Ax9Uw[/url]
Then I bought this 1500 Midget, it was a bit bent...
.
 |https://thumbsnap.com/3TtdoPTU[/url]
It was straightened and my old Sprite body panels used, together with a roll cage and Rover V8 engine. Several resprays later...
Here it is just before it went back into my garage. The hood is only placed in position.

 [url][url][url][url]
Edited by Flying Phil on Thursday 8th October 09:44
Whilst the V8 Sprite was out in the sun I finally finished part of my rewiring and ran the front wiring loom up through the chassis leg that supported the "Rubber Bumper" in its previous life.
Needless to say it was a "faff" getting the five wires for the ignition module and coil out of one hole and the lighting circuit out of the other hole. However after three tries it was completed....now to get the connections done!
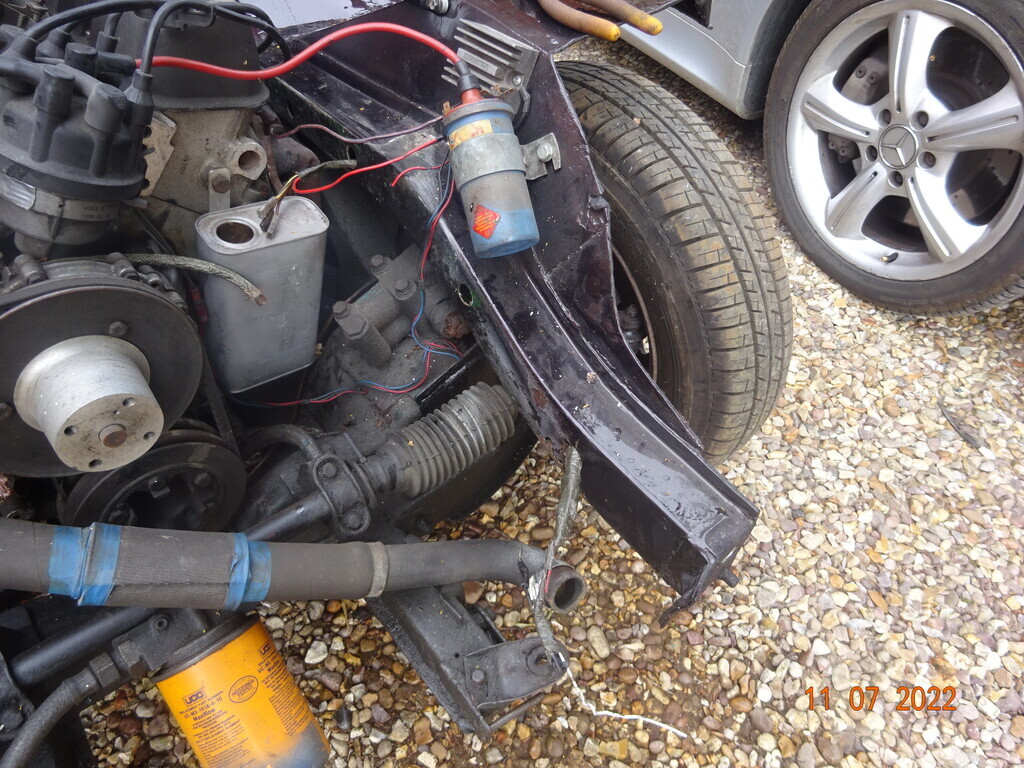
Gratuitous picture of 8 ram pipes on Quad Webers!
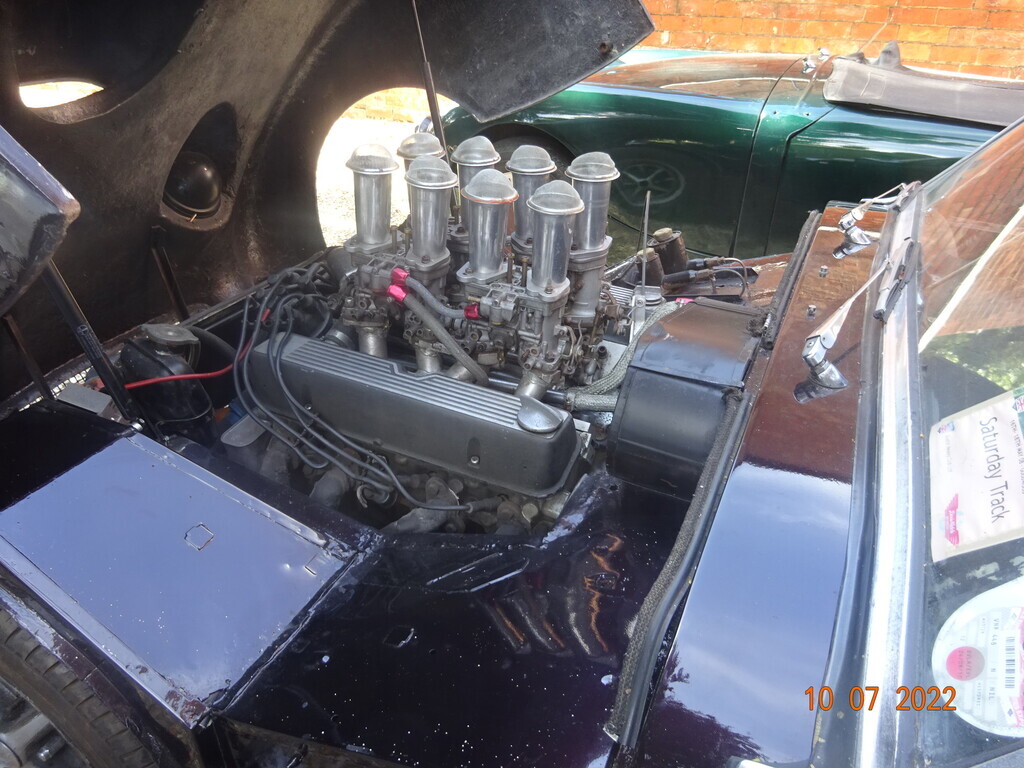
Needless to say it was a "faff" getting the five wires for the ignition module and coil out of one hole and the lighting circuit out of the other hole. However after three tries it was completed....now to get the connections done!

Gratuitous picture of 8 ram pipes on Quad Webers!

I have decided to get my Sprite out for a local car show at Kelmarsh Hall...in three months time (4th August).
The first job is - Find the Sprite....
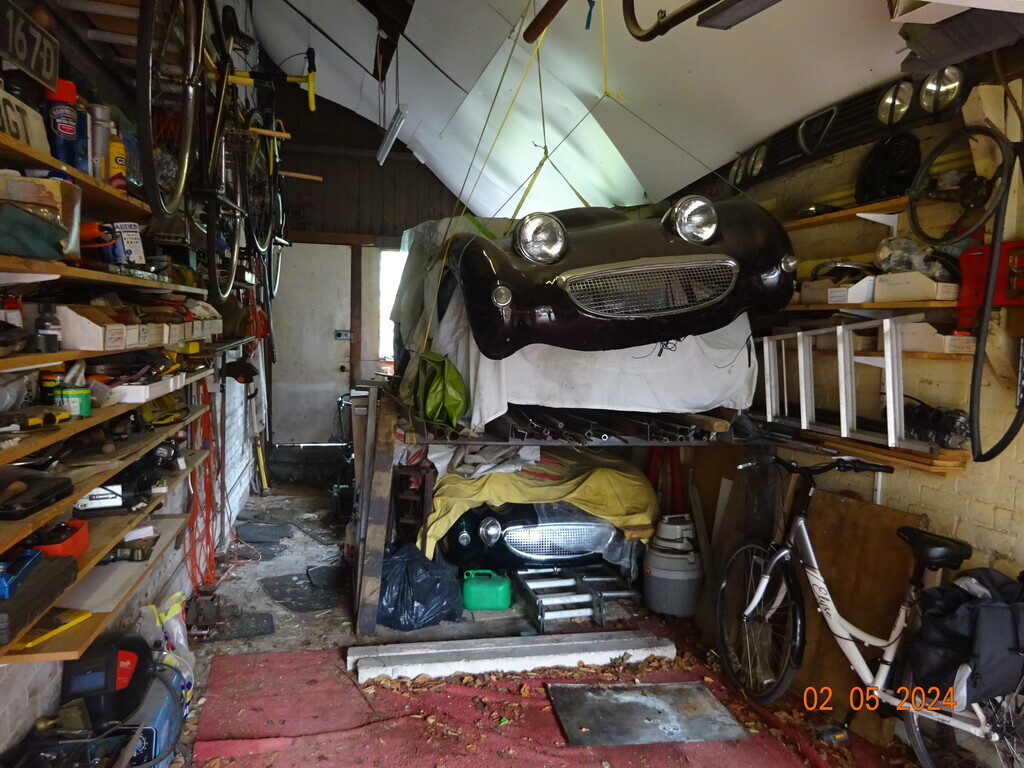
Well it is under the spare bonnet, on top of the see saw. So one bonnet removed.
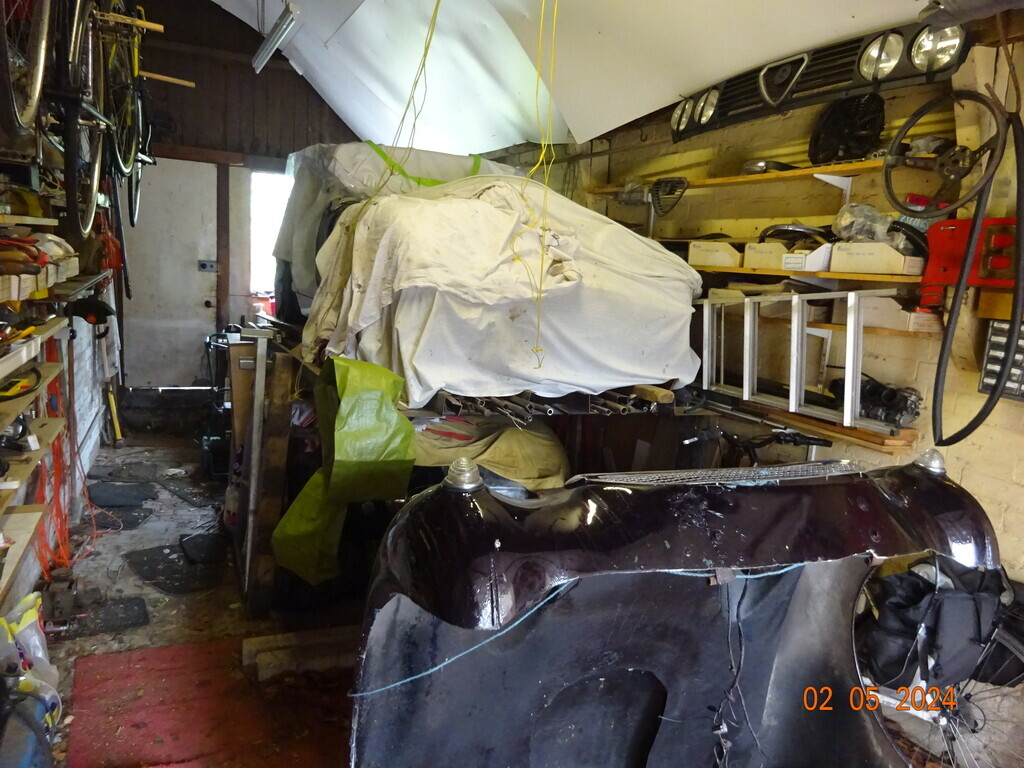
Covers taken off and ramps positioned
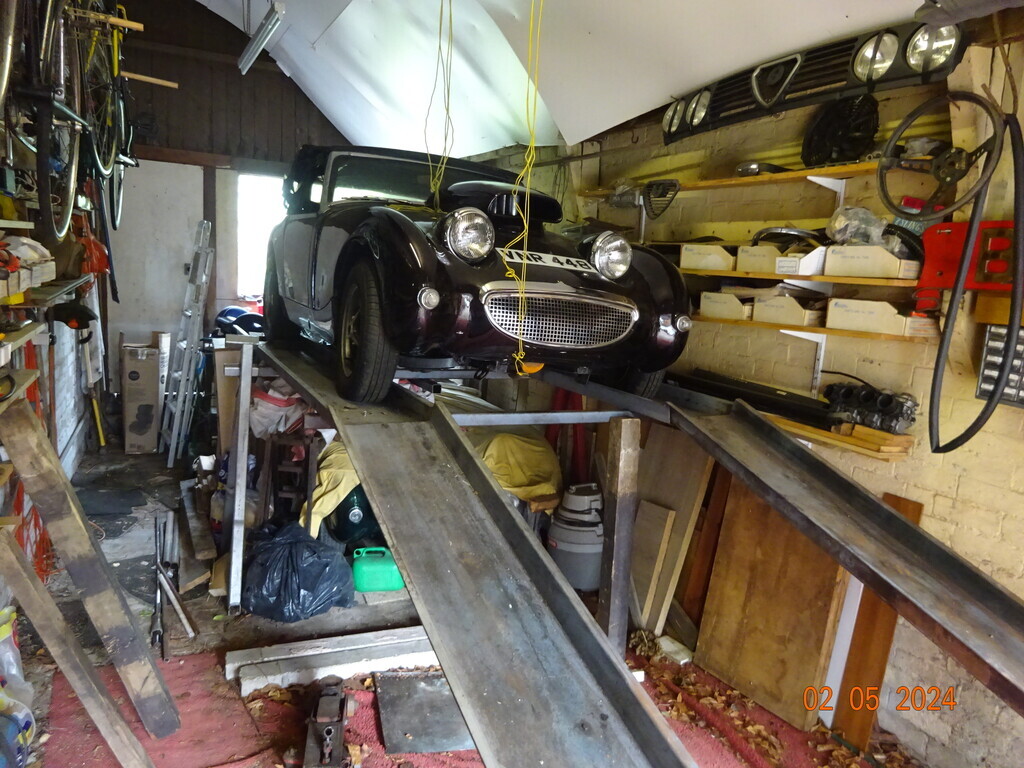
Very slowly and steadily it is winched down
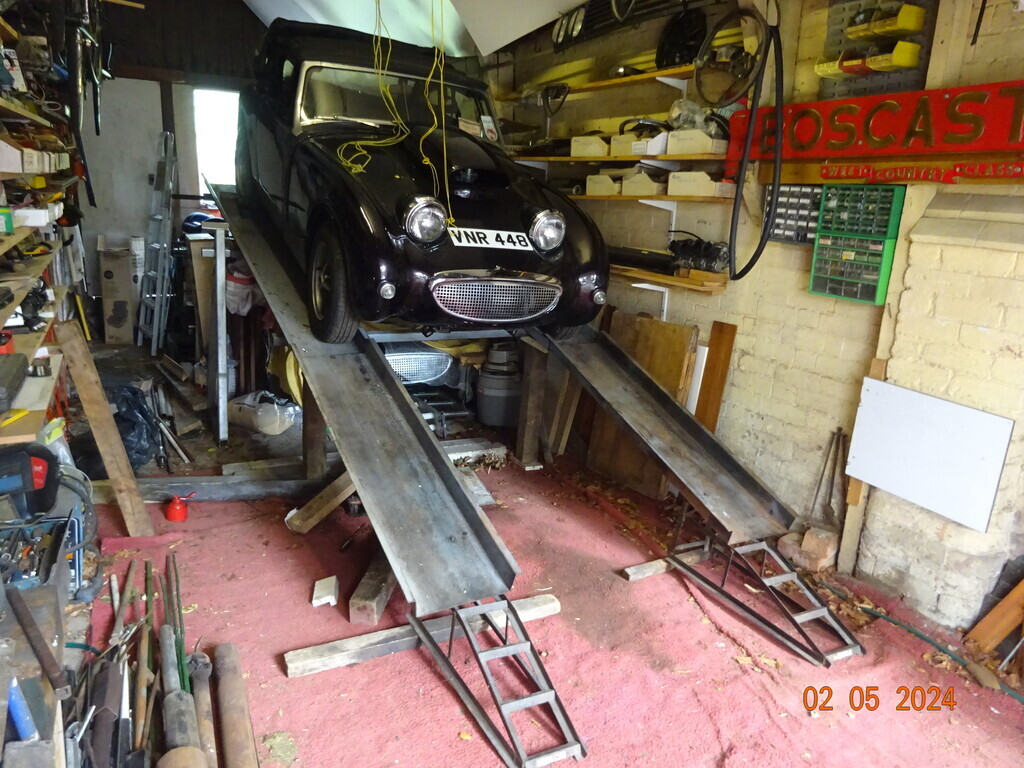
And finally back on Terra Firma!

The first job is - Find the Sprite....

Well it is under the spare bonnet, on top of the see saw. So one bonnet removed.

Covers taken off and ramps positioned

Very slowly and steadily it is winched down

And finally back on Terra Firma!

On checking the carb operation, I noticed that there was a danger of the operating levers going "over-centre" when on full throttle.
When I fabricated the manifold for the downdraught carbs I wanted to keep the operating system tucked away, so there is a linking bar running above the valley gasket (It was actually a cut down and altered bar from a flat four Alfasud with twin carbs). This bar connects all four carbs but is actually driven from the rear carb lever. This lever had an added bracket that connects to the throttle cable. It was this end carb lever that was going over centre.
However, on stripping it down, I found that it was not quite aligned to the adjustment screw and so a quick re alignment, screw the adjuster further in and the lever ball joint is further round, lengthen the connecting link to the linking bar and it no longer goes over centre. Hopefully the pictures make it clear....or not!
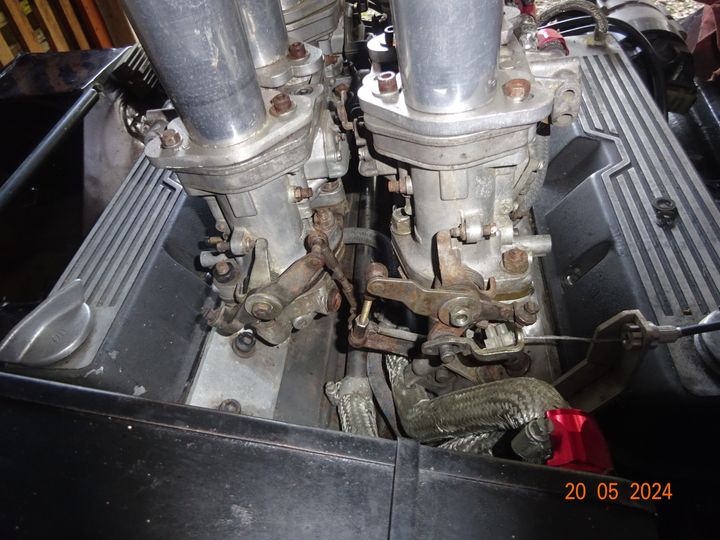
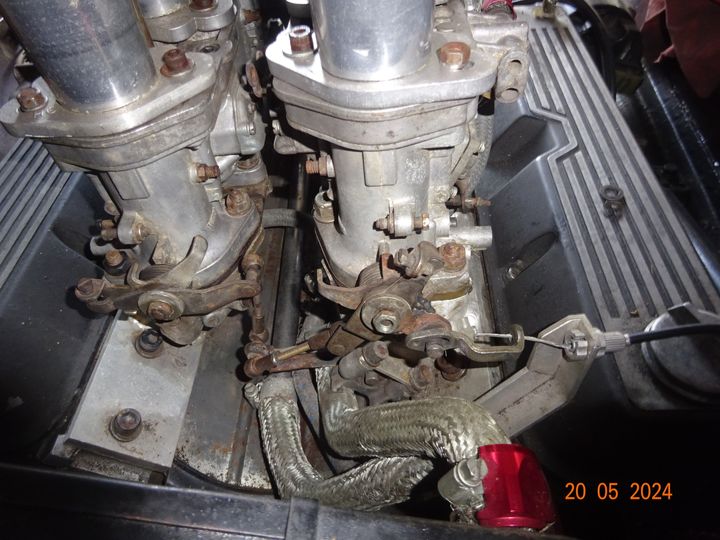
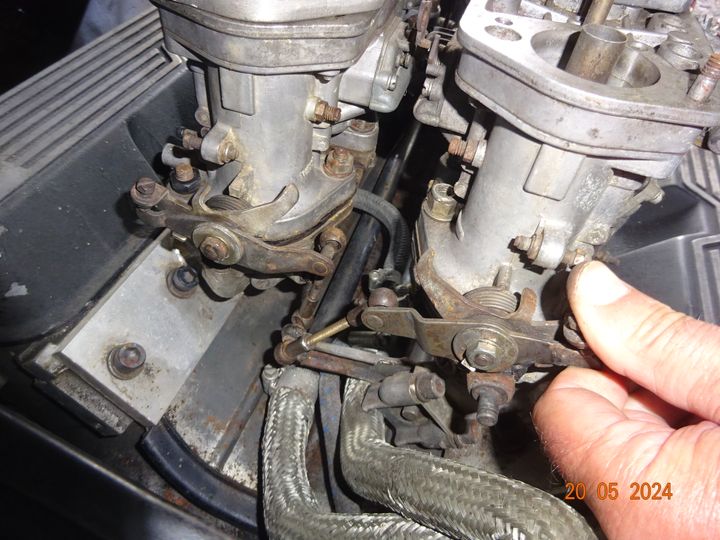
Not sure if this is allowed in PH - dirty fingers and oily engine bits!
When I fabricated the manifold for the downdraught carbs I wanted to keep the operating system tucked away, so there is a linking bar running above the valley gasket (It was actually a cut down and altered bar from a flat four Alfasud with twin carbs). This bar connects all four carbs but is actually driven from the rear carb lever. This lever had an added bracket that connects to the throttle cable. It was this end carb lever that was going over centre.
However, on stripping it down, I found that it was not quite aligned to the adjustment screw and so a quick re alignment, screw the adjuster further in and the lever ball joint is further round, lengthen the connecting link to the linking bar and it no longer goes over centre. Hopefully the pictures make it clear....or not!
Not sure if this is allowed in PH - dirty fingers and oily engine bits!
There is an expectation that the clutch will have rusted to the flywheel. Although I could get it running and try to free the possibly stuck clutch it is a bit difficult to do it on my drive - and in race trim it is not road legal.....So a slight change of plan.
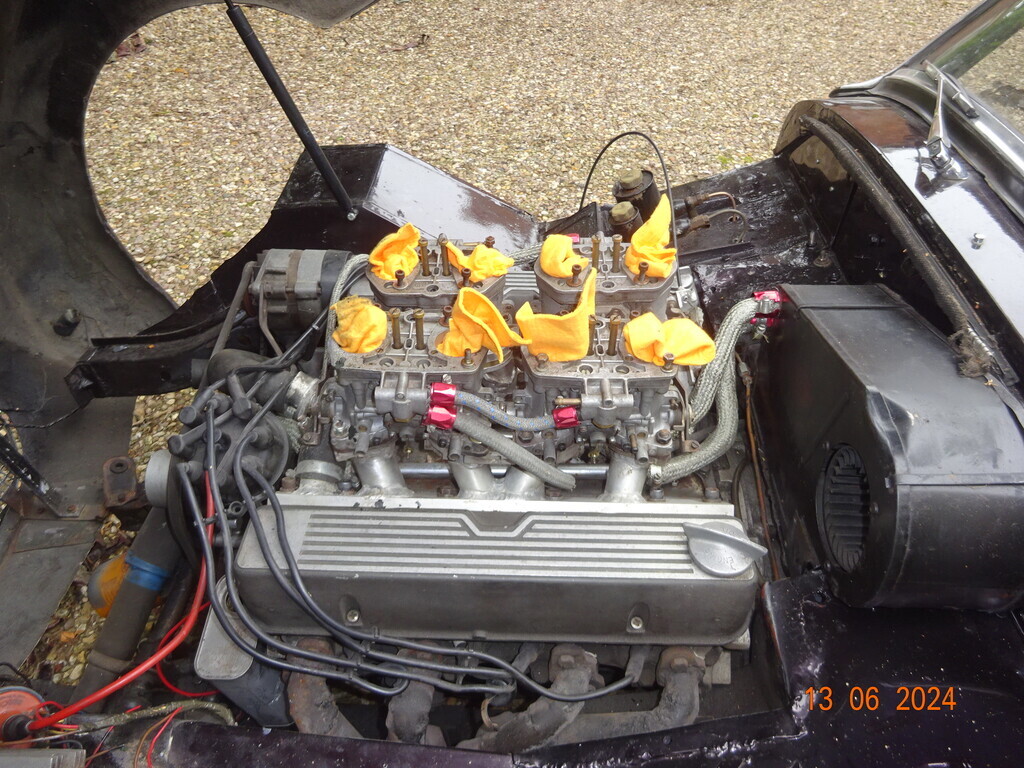
The ram pipes are off -
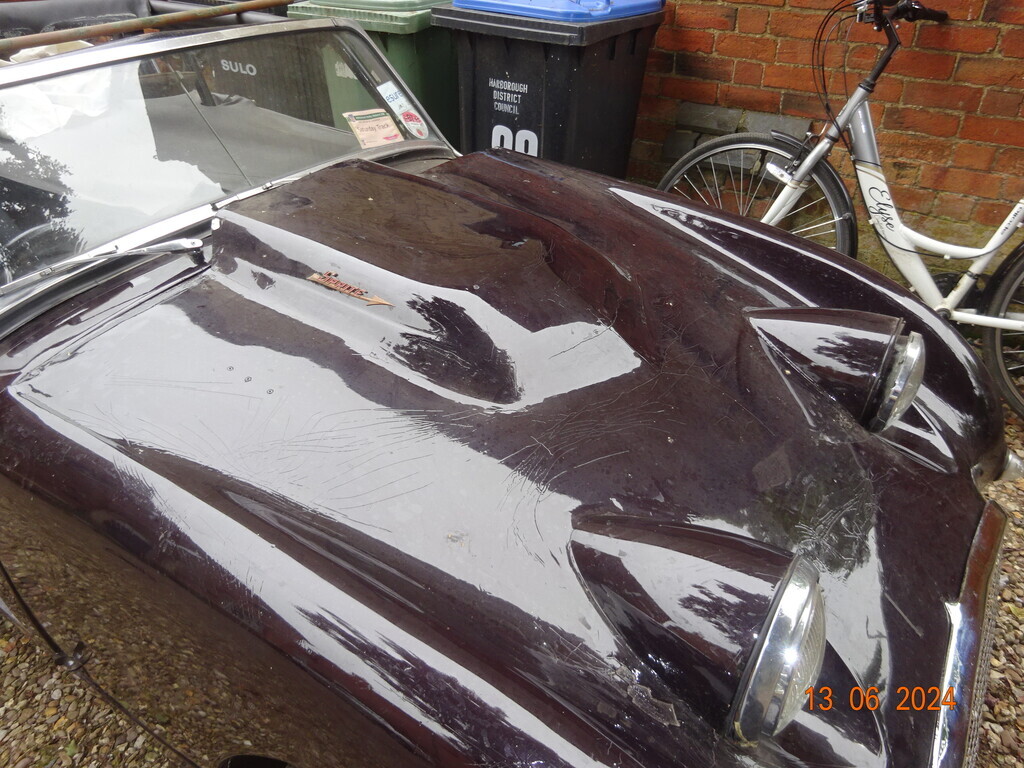
The more discrete bulged bonnet and windscreen are back on-
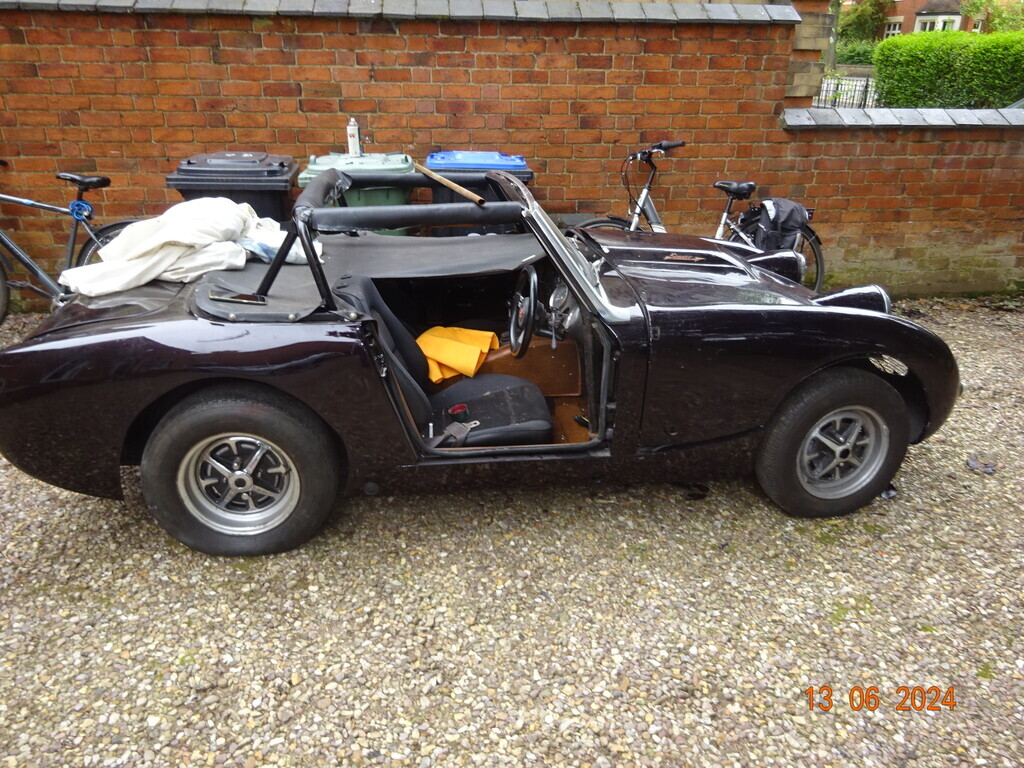
The lightweight race doors are off -
and the normal wind up window doors are back on -
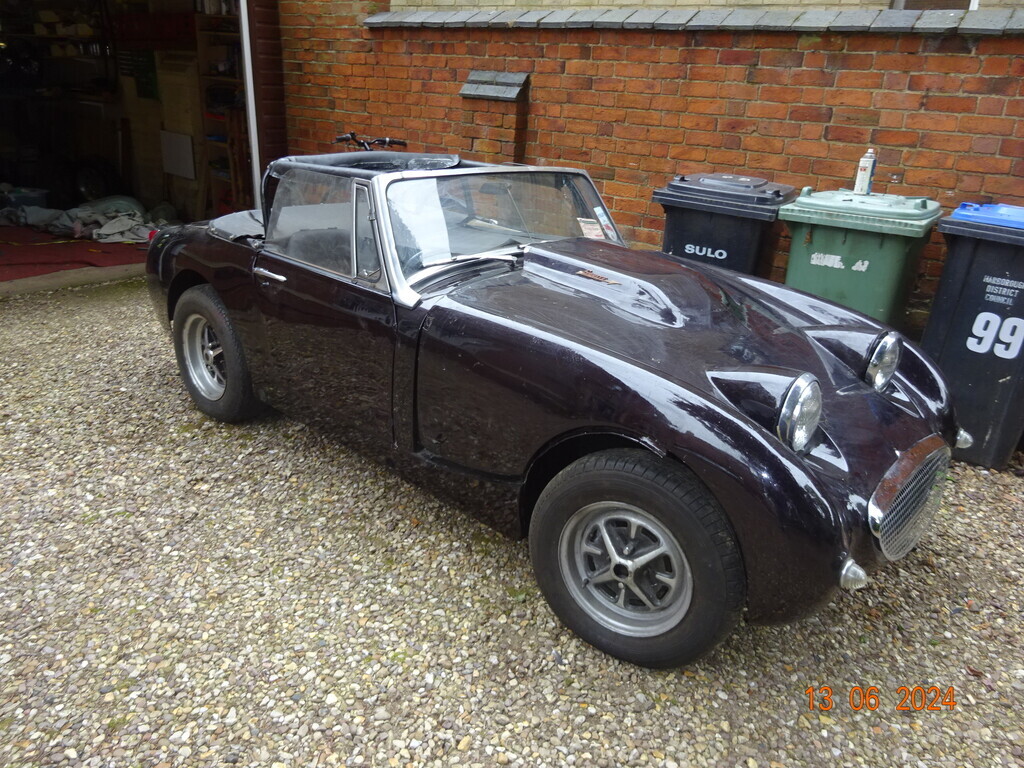
Yes it is going back on the road. It is also more likely to sell as a road going V8 Sprite rather than a drag racer.
The ram pipes are off -

The more discrete bulged bonnet and windscreen are back on-

The lightweight race doors are off -

and the normal wind up window doors are back on -

Yes it is going back on the road. It is also more likely to sell as a road going V8 Sprite rather than a drag racer.
I have decided that the engine and gearbox need to come out. Previously I have used a Haltrac hoist, which was rated as SWL 500LBs and the Rover engine and 4 speed gearbox was about 400Lbs. However it was a really hard lift and needed a strong supporting roof. I think my garage joist/half upper floor could support it as I can get up there with lots of stuff in storage - but....when I checked the internet for SWL, these hoists were described as vintage and I realised that my hoist is probably 50 years old ! So I'm hiring an engine hoist!
Meanwhile I am taking off parts to access the engine.

Meanwhile I am taking off parts to access the engine.
Edited by Flying Phil on Tuesday 25th June 23:20
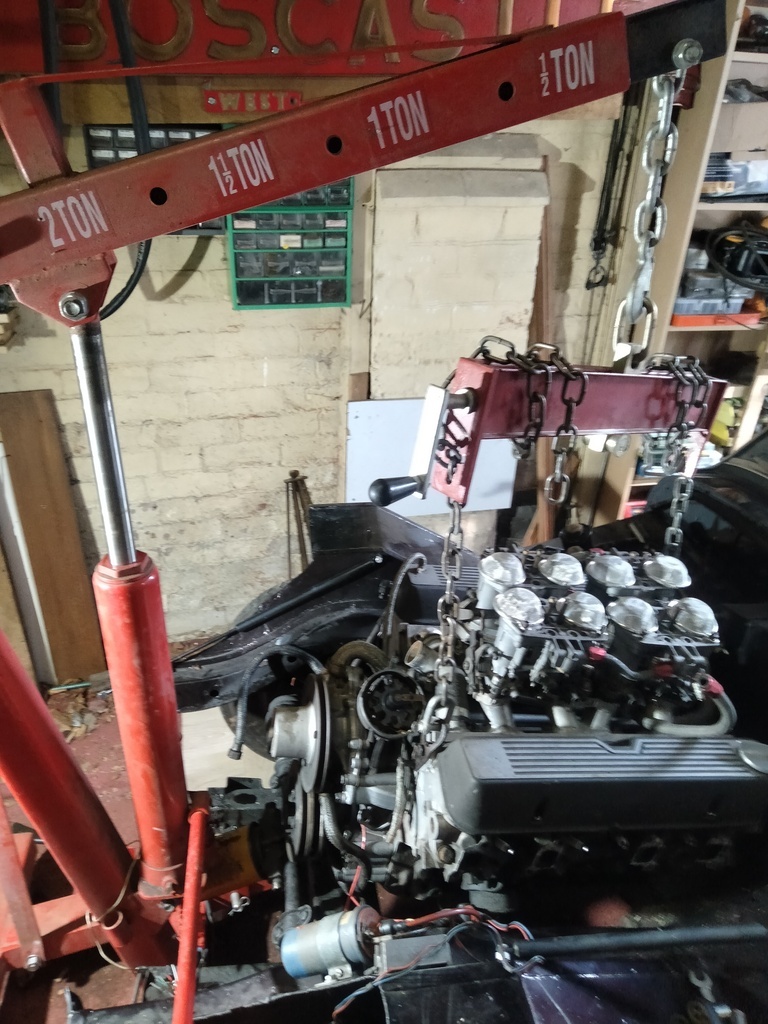
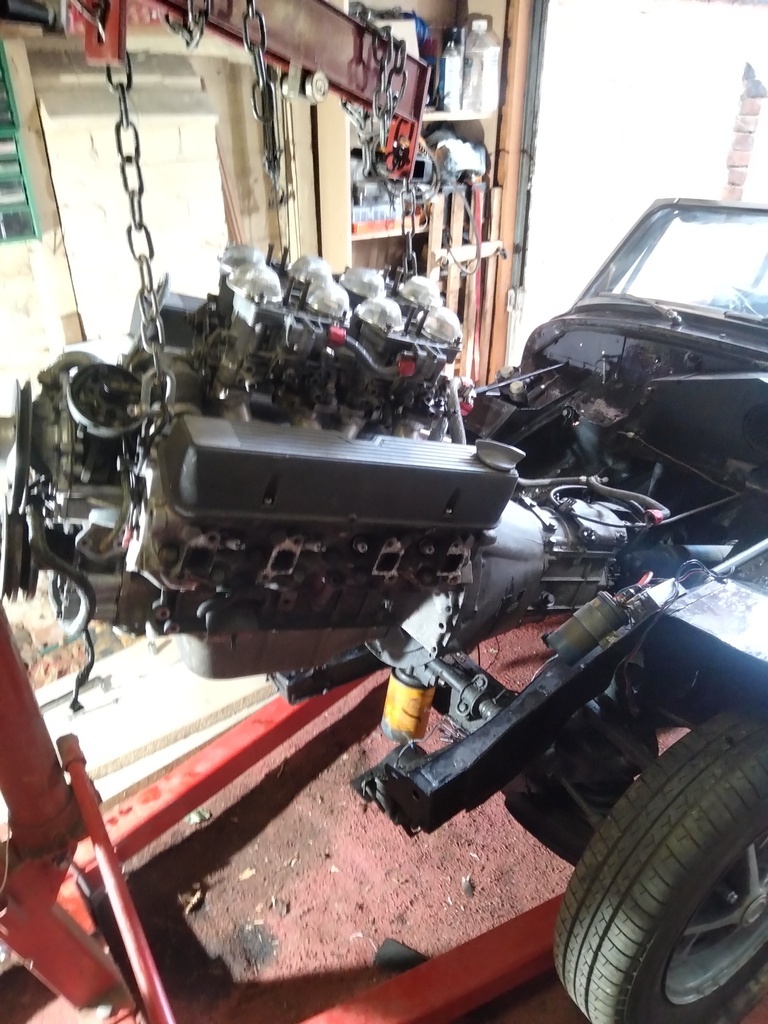
A big workday saw the hydraulic engine hoist assembled. The car had to be turned around then the exhausts removed, the prop disconnected from the diff and various pipes and wires disconnected.
The engine was carefully attached and the lift started.(sorry for the poor quality pics!)
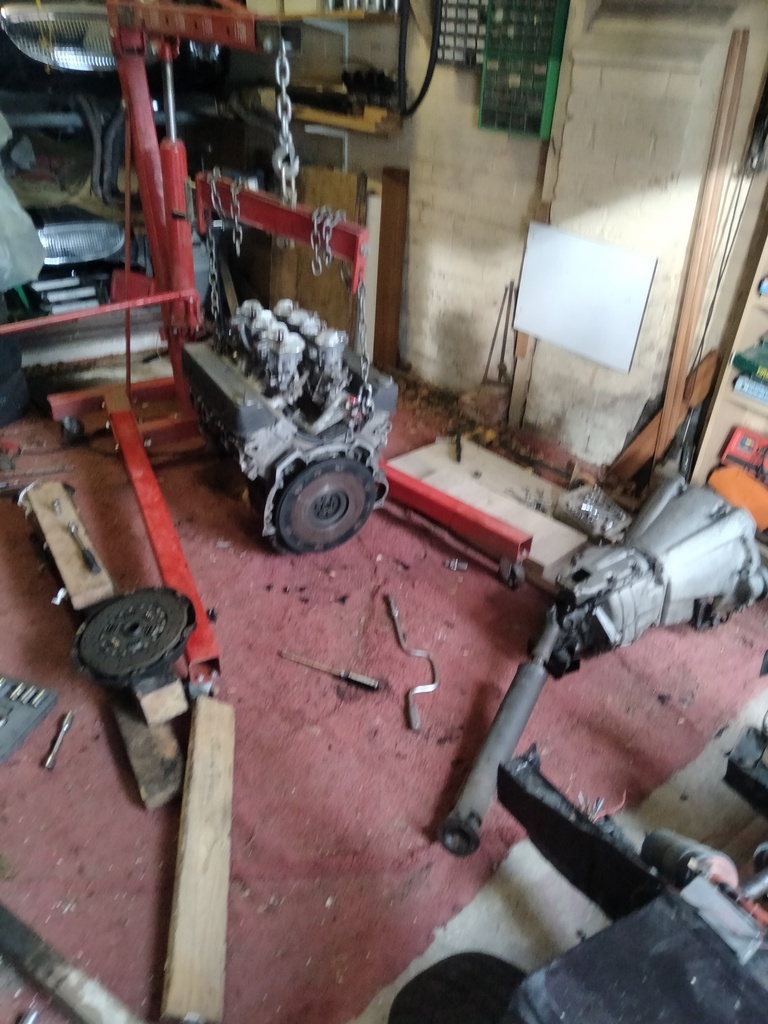
Then the gearbox was removed and the clutch cover taken off.... Yes it was rusted onto the pressure plate and the flywheel!
The engine was carefully attached and the lift started.(sorry for the poor quality pics!)


Then the gearbox was removed and the clutch cover taken off.... Yes it was rusted onto the pressure plate and the flywheel!

Agreed Some Gump - It always makes me smile as well.
The borrowed hoist did the lift with ease, however I had to jack the Sprite up slightly to get the legs under the car, first one leg then the other. When I came to get the engine out though, I had to jack the Sprite even higher to get the front wheels over the legs as they spread wider than the front track!

The borrowed hoist did the lift with ease, however I had to jack the Sprite up slightly to get the legs under the car, first one leg then the other. When I came to get the engine out though, I had to jack the Sprite even higher to get the front wheels over the legs as they spread wider than the front track!
Gassing Station | MG | Top of Page | What's New | My Stuff


 But I hope your health issue is getting sorted.


