Steering pump and reservoir replacment pics included!
Discussion
So, myself and new VOA member Carl (And also his friend Earnie?)got our hands very dirty today doing a few maintenance jobs and one particular one. Steering pump and reservoir replacement. We changed front pads for EBC red stuffs, no problems although a tad tough to get in.
Before the storm

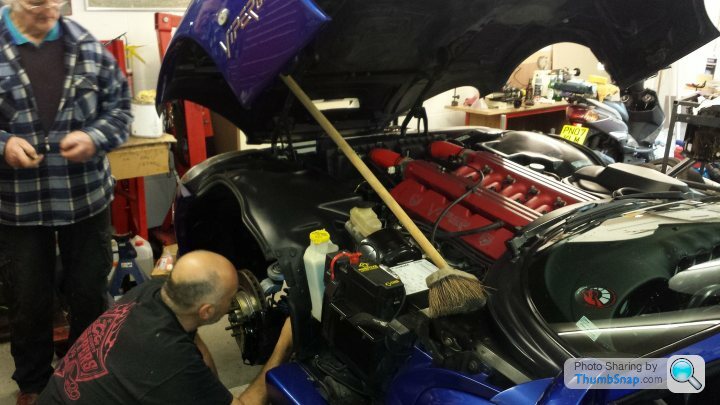
Changing pads (no points for spotting the brush holding up the bonnet!)
Can someone tell me EXACTLY which rubber boots I need to replace ALL rubber boot/seals under the wheel arches? Both sides AND rear arches too. Every single piece of rubber that has a job to do is torn/ripped. I know I can get them from here www.balljointboot.co.uk but I need to know sizes and quantities. Can someone give neilsfishing a nudget to help on this? I 'll also need the special spacer which has been ordered. Thanks Mark!
Here are some horrible pictures:
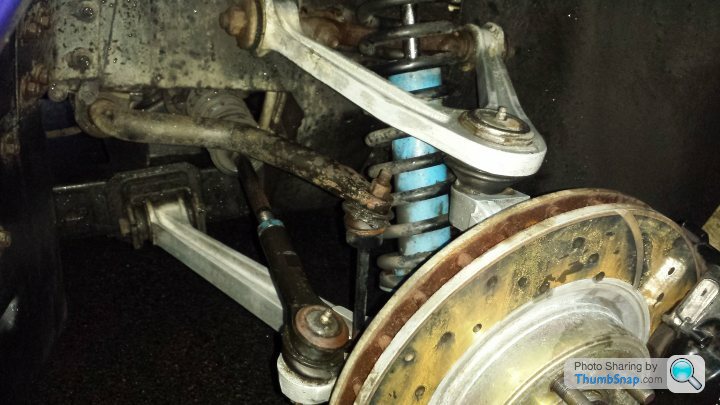
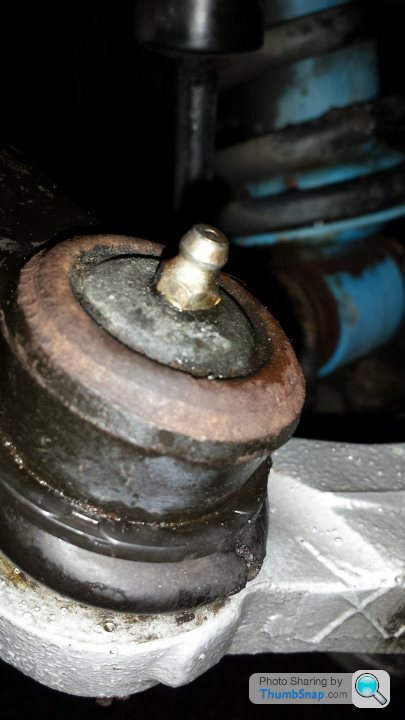
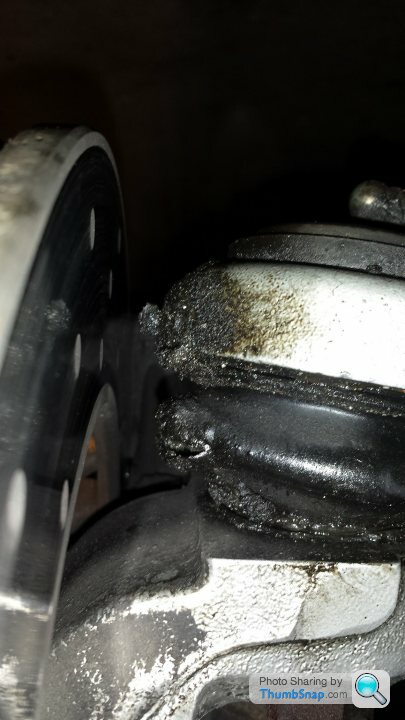
How the hell this car passed it's MOT only months ago is beyond me.
So anyway, the easy jobs, oil and pads are done. Now came the head scratcher. Here is the unit:
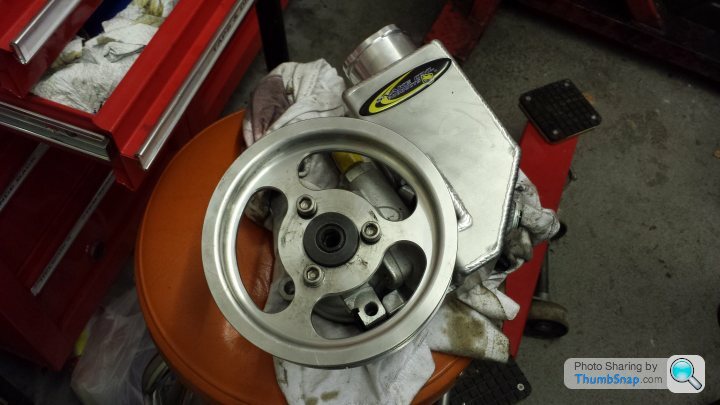
The problem:
First issue was the fluid return screw fitting. The problem is, the 97 viper has a standard rubber return pipe which pushes onto a bulbous tipped elbow piece attached to the OEM reservoir. The pipe was then secured with a jubilee clip. The screw fitting that came with the new reservoir was the wrong shape and size. We had to file off the thread in order to try and get it to fit into the rubber pipe. However, this has still not produced enough grip for the rubber pipe to bite (even with jubilee clips). So I've emailed viperparts to sort this issue out. In the mean time Carl is trying to find a part that will hopefully fit.
The second issue, although we cannot test whether or not it will be a problem yet, is the outward pressure screw (screw unit underneath yellow cap, see pic below, highlighted red) is different on this pump than the original. Luckily the old screw unit from old pump fits into the new pump. The new outward pressure screw unit does not fit into the old pump. So again not quite sure if this is going to be a problem.
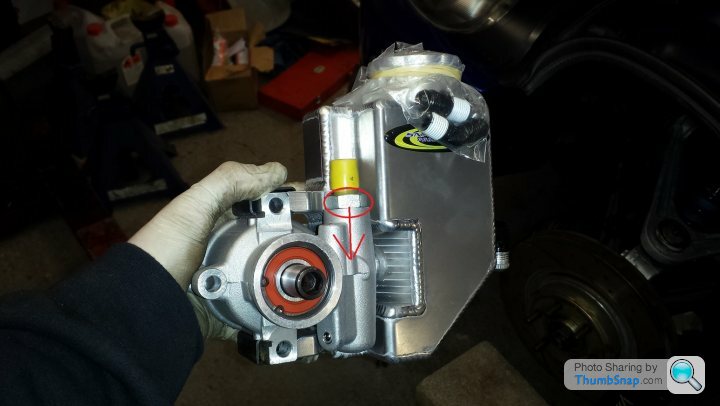
So now, Carl has a new house mate at the moment as we left it still jacked up. Awaiting answers in the week.
Will report back when we have more progress!
ps, I've missed out the hours of head scatching that was done when trying to take off fittings for the steeting pulley. Blow torches, vices and elbow grease were needed.
Thanks Carl!
Before the storm

Changing pads (no points for spotting the brush holding up the bonnet!)

Can someone tell me EXACTLY which rubber boots I need to replace ALL rubber boot/seals under the wheel arches? Both sides AND rear arches too. Every single piece of rubber that has a job to do is torn/ripped. I know I can get them from here www.balljointboot.co.uk but I need to know sizes and quantities. Can someone give neilsfishing a nudget to help on this? I 'll also need the special spacer which has been ordered. Thanks Mark!
Here are some horrible pictures:


How the hell this car passed it's MOT only months ago is beyond me.
So anyway, the easy jobs, oil and pads are done. Now came the head scratcher. Here is the unit:

The problem:
First issue was the fluid return screw fitting. The problem is, the 97 viper has a standard rubber return pipe which pushes onto a bulbous tipped elbow piece attached to the OEM reservoir. The pipe was then secured with a jubilee clip. The screw fitting that came with the new reservoir was the wrong shape and size. We had to file off the thread in order to try and get it to fit into the rubber pipe. However, this has still not produced enough grip for the rubber pipe to bite (even with jubilee clips). So I've emailed viperparts to sort this issue out. In the mean time Carl is trying to find a part that will hopefully fit.
The second issue, although we cannot test whether or not it will be a problem yet, is the outward pressure screw (screw unit underneath yellow cap, see pic below, highlighted red) is different on this pump than the original. Luckily the old screw unit from old pump fits into the new pump. The new outward pressure screw unit does not fit into the old pump. So again not quite sure if this is going to be a problem.

So now, Carl has a new house mate at the moment as we left it still jacked up. Awaiting answers in the week.
Will report back when we have more progress!
ps, I've missed out the hours of head scatching that was done when trying to take off fittings for the steeting pulley. Blow torches, vices and elbow grease were needed.
Thanks Carl!
Ok, quick update. Good news is, Carl managed to get the pump working. I think I can say I now have a custom fit gen 3 steering pump and res, fitted to a gen 2. Long story short, all you need to fit one is a workshop full of clever guys with drills:
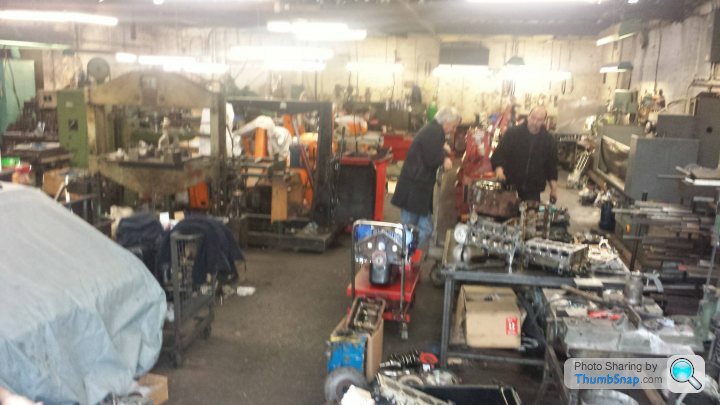
Also, just pick one of these up from your local hardware store...
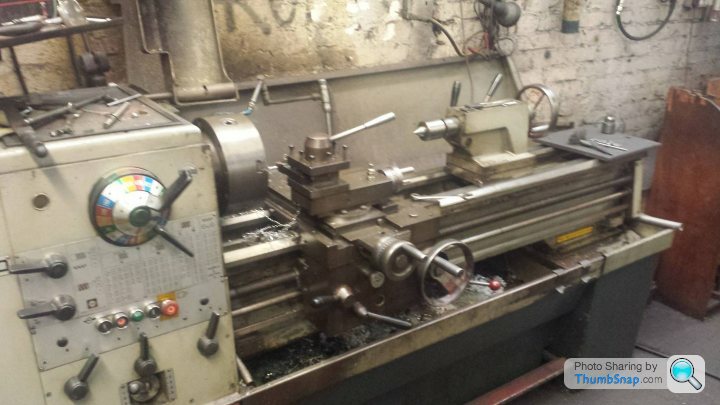
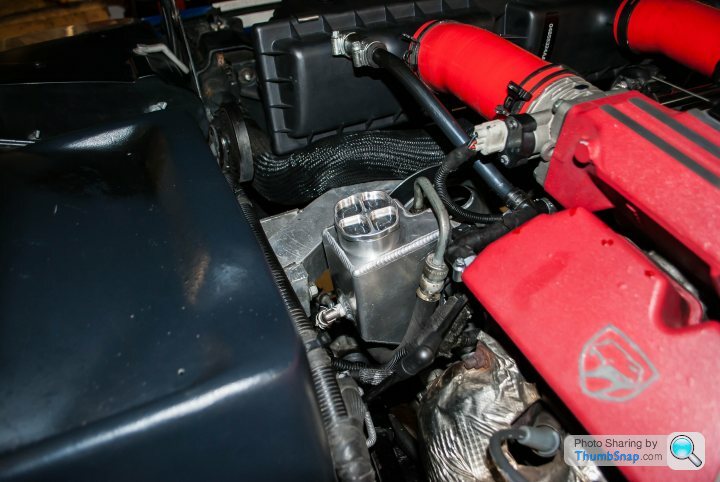
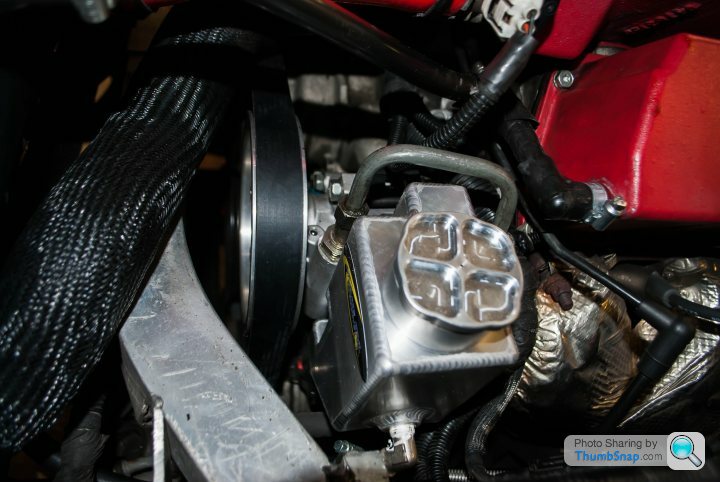
Reason being, the high pressure screw fitting caused problems. If you ever order a new pump/reservoir, make sure you ask for gen 2 fittings. We had to tap a new thread for everything to work. Rushing around blackpool at rush hour is fun.
Anyway, it looked like this when installed:
Now the rubber boots. I've ordered a pack of small to medium boots to hopefully take care of the drop link boots, also ordered the spacing tool too. Malcom at balljointboots.co.uk has kindly offered to send me the largest ones availiable to see if they fit the ball joints/wishbone boots. I'll report back on that.
Once the boots are done, onto the oil leak which had me and Carl scratching our heads!
Fun times!!

Also, just pick one of these up from your local hardware store...

Reason being, the high pressure screw fitting caused problems. If you ever order a new pump/reservoir, make sure you ask for gen 2 fittings. We had to tap a new thread for everything to work. Rushing around blackpool at rush hour is fun.
Anyway, it looked like this when installed:


Now the rubber boots. I've ordered a pack of small to medium boots to hopefully take care of the drop link boots, also ordered the spacing tool too. Malcom at balljointboots.co.uk has kindly offered to send me the largest ones availiable to see if they fit the ball joints/wishbone boots. I'll report back on that.
Once the boots are done, onto the oil leak which had me and Carl scratching our heads!
Fun times!!

Been there, done that etc, must get around to cleaning my wheels  at least your bonding with the car though
The bonnet staying up is an easy fix, Prop it up to take the weight off and then the springs are not under tension so you can just unbolt them and they wont fly across the room with a twang. Degrease them with paraffin and then brake cleaner, once clean give them a spray with a matt black rattle can which does two things, 1) makes them look like new, 2) gets paint into the springs a bit to add some friction, no need to soak them, just a usual coat of paint. When you put them back on the car you will struggle to close the bonnet, try and resist the urge to lubricate them as then you will be back to square 1, if you have to, make it light and sparingly, but they will probably bed in after a couple of openings anyway. Even so i always use a prop when the bonnet is open for work or unattended when outside.
When you do the sway bar rubber boots you will have to get both sides of the car off the ground to take the tension off it. Be very careful with any hammer use as the control arms don't appreciate it, and you may find yourself in need of a nut splitter as once you break the "seal" on the taper if you haven't got the nut off your in for a whole heap of frustration, unless there is some other trick no one told me about.
 at least your bonding with the car though
The bonnet staying up is an easy fix, Prop it up to take the weight off and then the springs are not under tension so you can just unbolt them and they wont fly across the room with a twang. Degrease them with paraffin and then brake cleaner, once clean give them a spray with a matt black rattle can which does two things, 1) makes them look like new, 2) gets paint into the springs a bit to add some friction, no need to soak them, just a usual coat of paint. When you put them back on the car you will struggle to close the bonnet, try and resist the urge to lubricate them as then you will be back to square 1, if you have to, make it light and sparingly, but they will probably bed in after a couple of openings anyway. Even so i always use a prop when the bonnet is open for work or unattended when outside.
When you do the sway bar rubber boots you will have to get both sides of the car off the ground to take the tension off it. Be very careful with any hammer use as the control arms don't appreciate it, and you may find yourself in need of a nut splitter as once you break the "seal" on the taper if you haven't got the nut off your in for a whole heap of frustration, unless there is some other trick no one told me about.
back in the day a lot of people made the mistake of oiling the springs, thinking lubrication would help but that makes them fail instantly
we swapped ours under warranty way back, think they were about £110 off Chrysler UK at the time, they're still hold the hood up now
good job you have Carl close by, he really knows his stuff
we swapped ours under warranty way back, think they were about £110 off Chrysler UK at the time, they're still hold the hood up now
good job you have Carl close by, he really knows his stuff
Cheers Barry, I have a huge selection of boots and various sizes supplied off malcom, The problem at the moment is finding the right size for the wishbone/control arm boots. malc has sent the biggest ones he has and I'll go from there. Almost every single bit of rubber under the wheel arches have split. Except the steering gaitors. They're fine. lol
Gassing Station | Vipers | Top of Page | What's New | My Stuff


