Honda VRX400 1995 "barn find" restoration
Discussion


Very little done to the bike recently, mainly due to
a) a heavy dose of man flu
b) Mrs Evil Len being bed ridden with sciatica, meaning I'm having to do everything (including looking after her horse 2x per day)
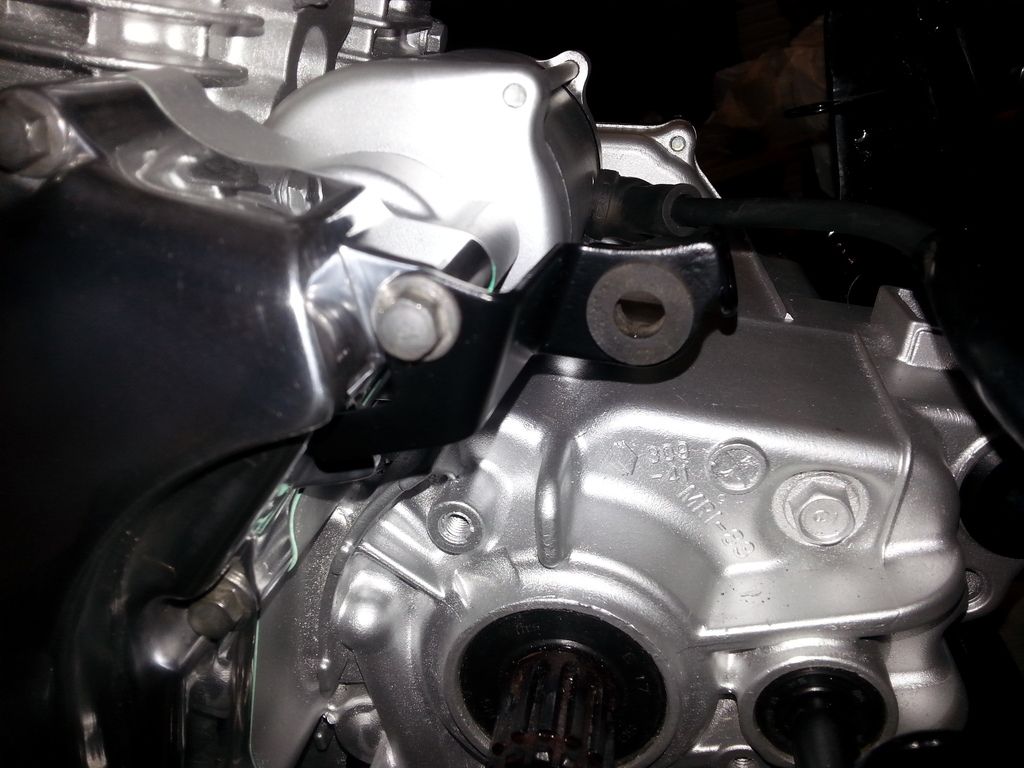
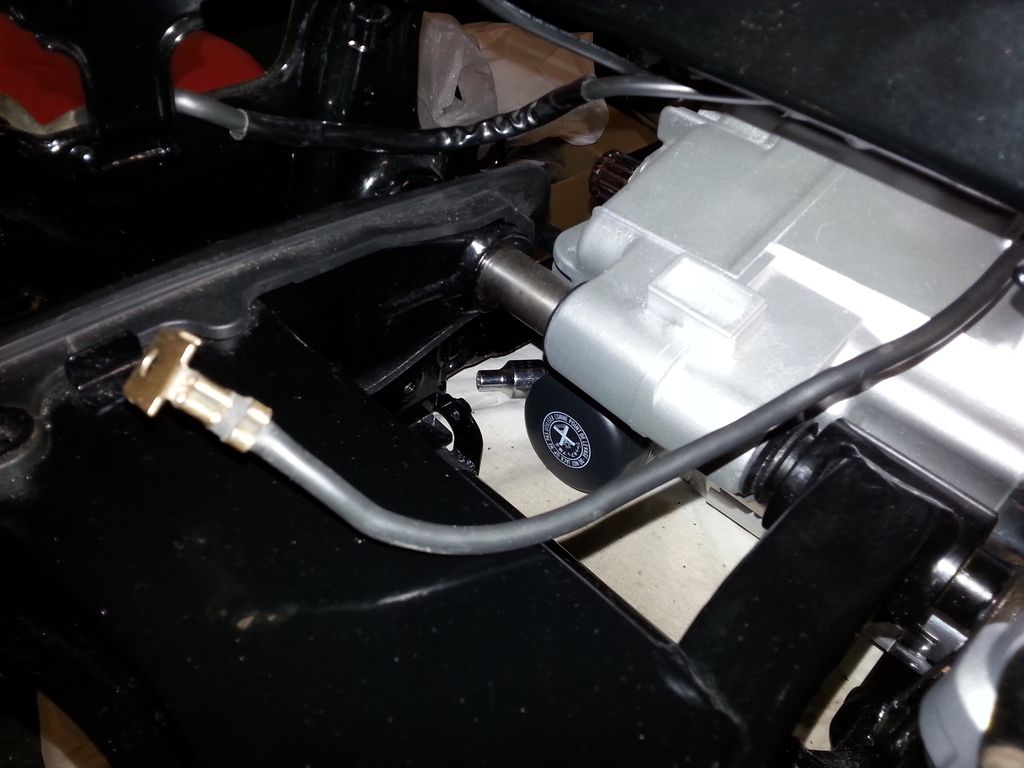
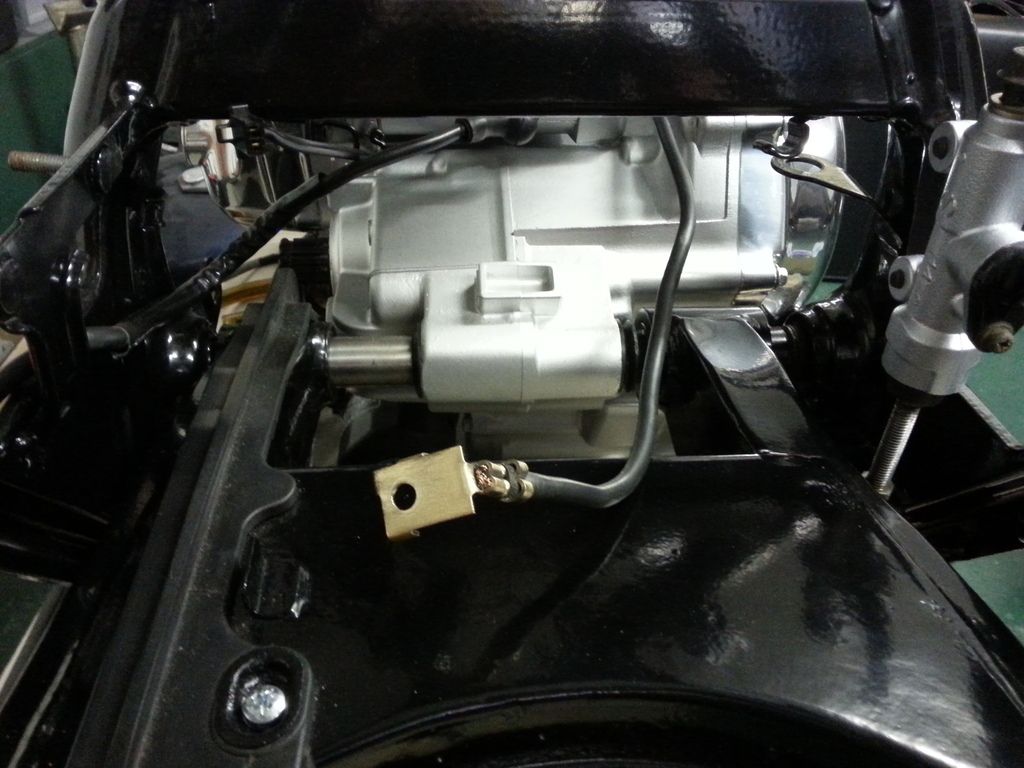
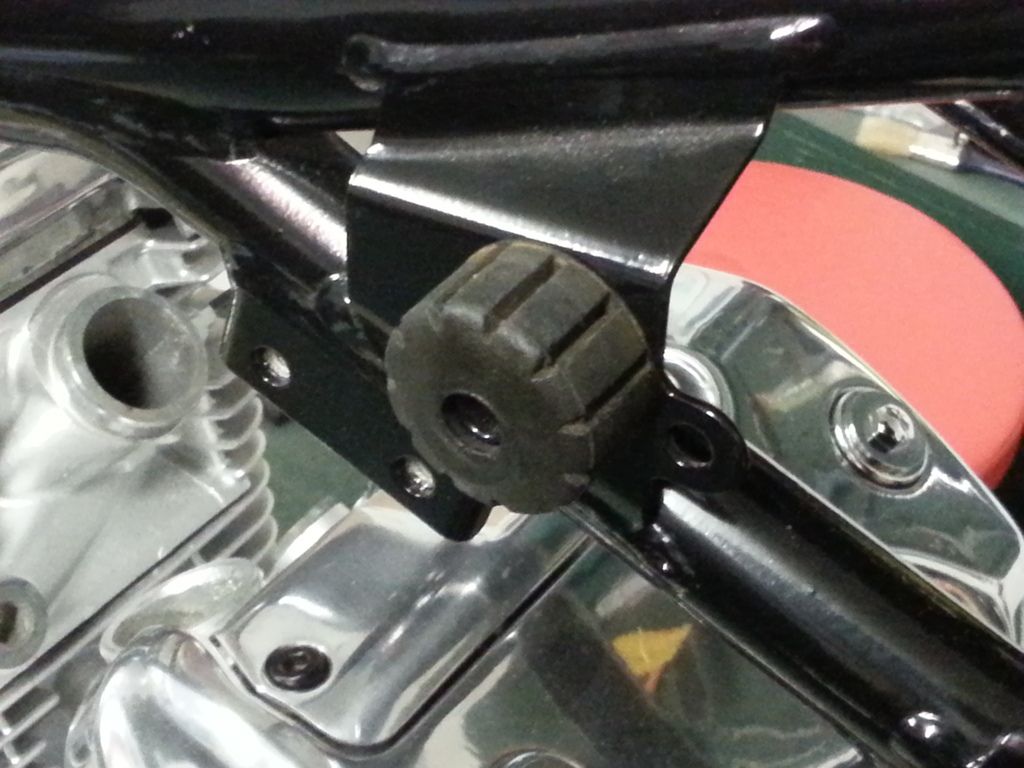
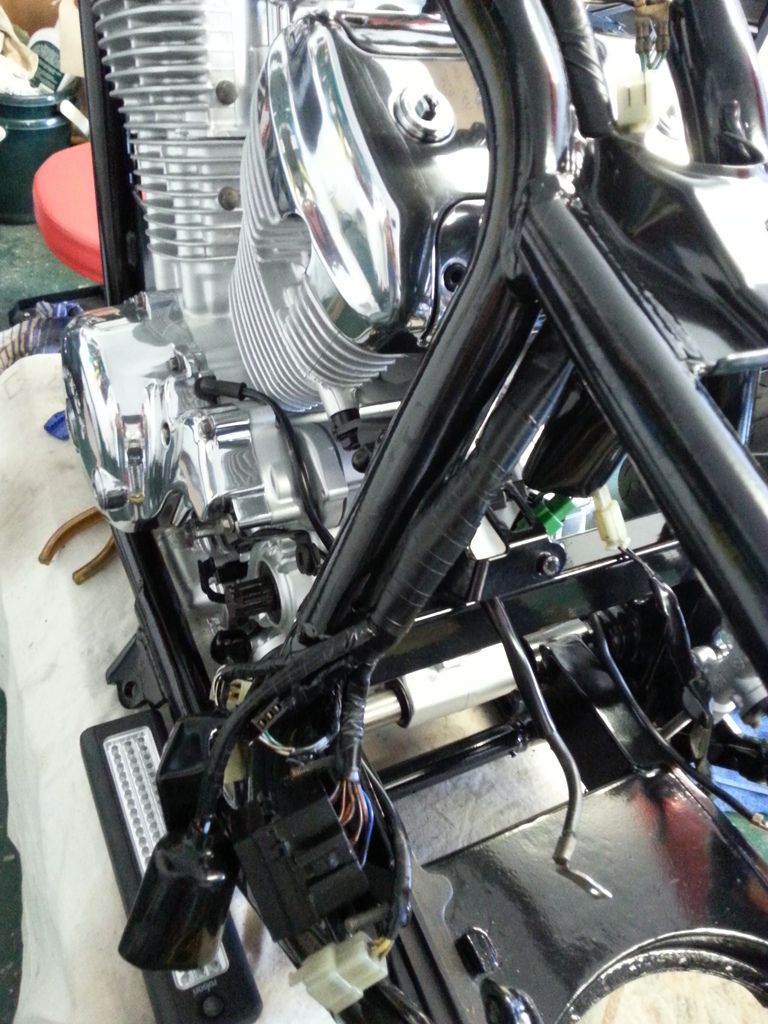
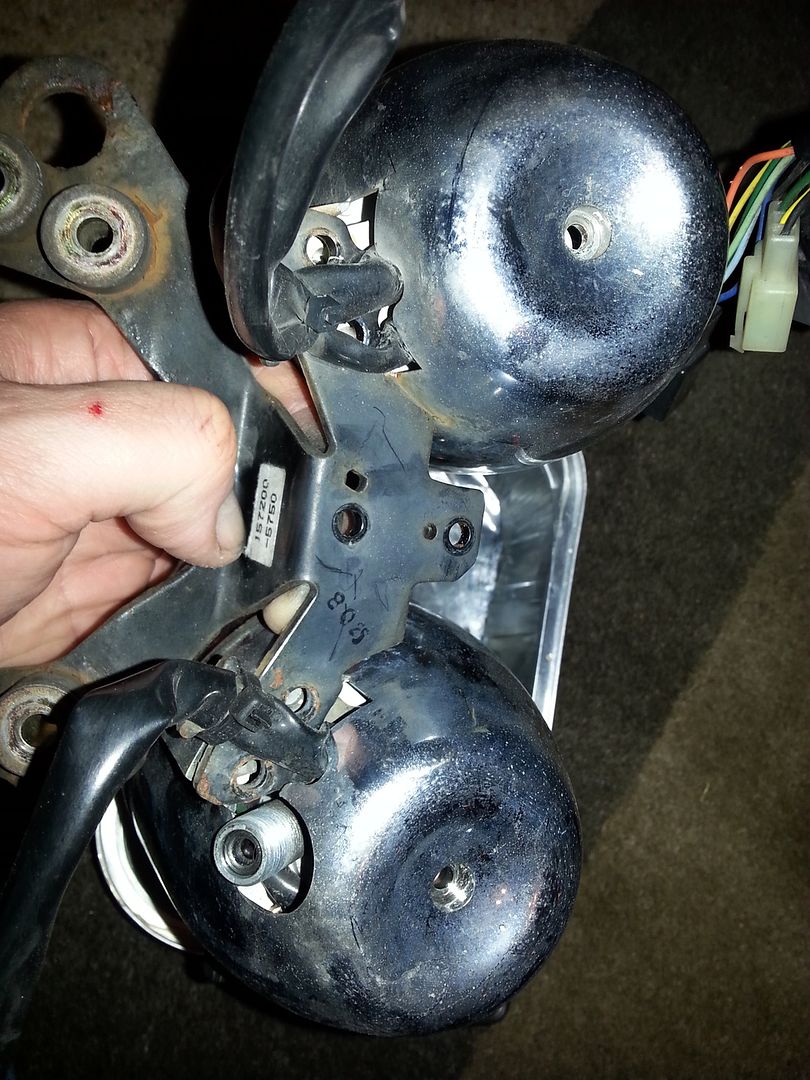
Derusted, cleaned and painted this bracket, which holds the sprocket cover. Above it, you can see the starter motor has been installed too.
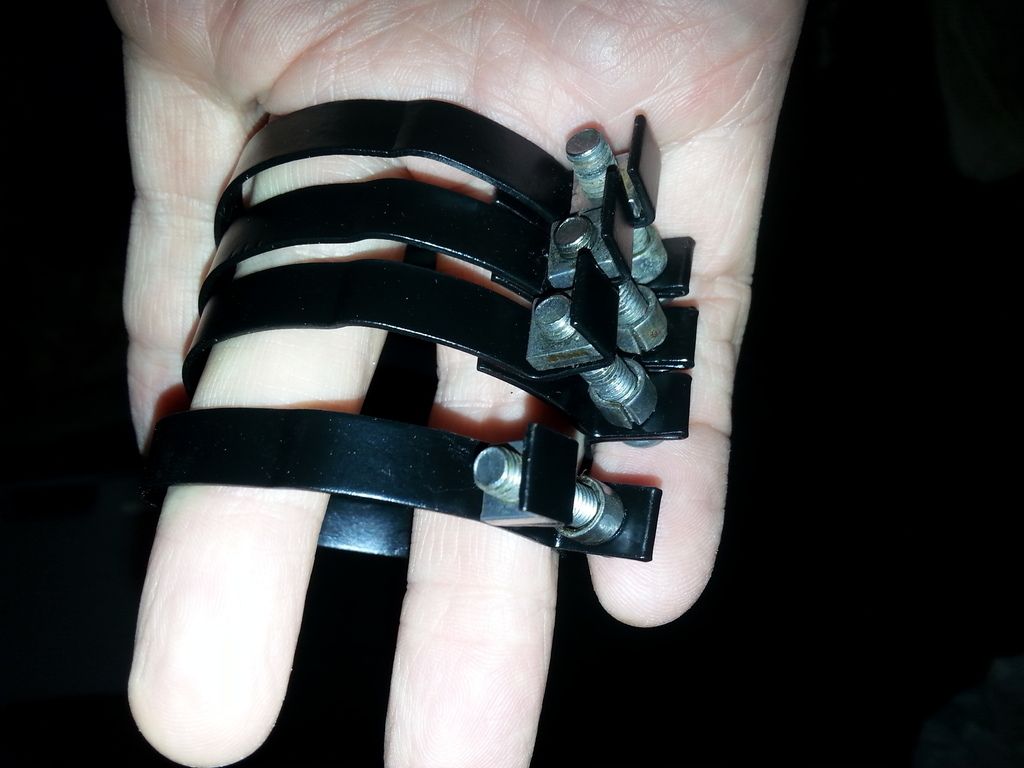
Ditto to the four clips which hold the carb rubbers
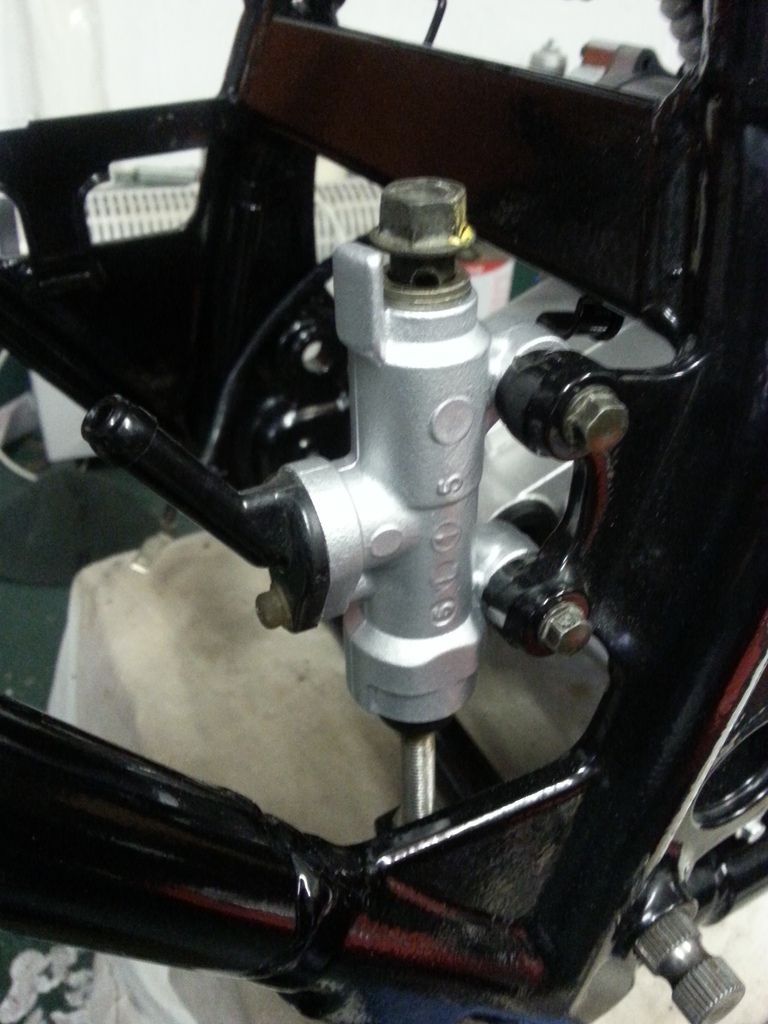
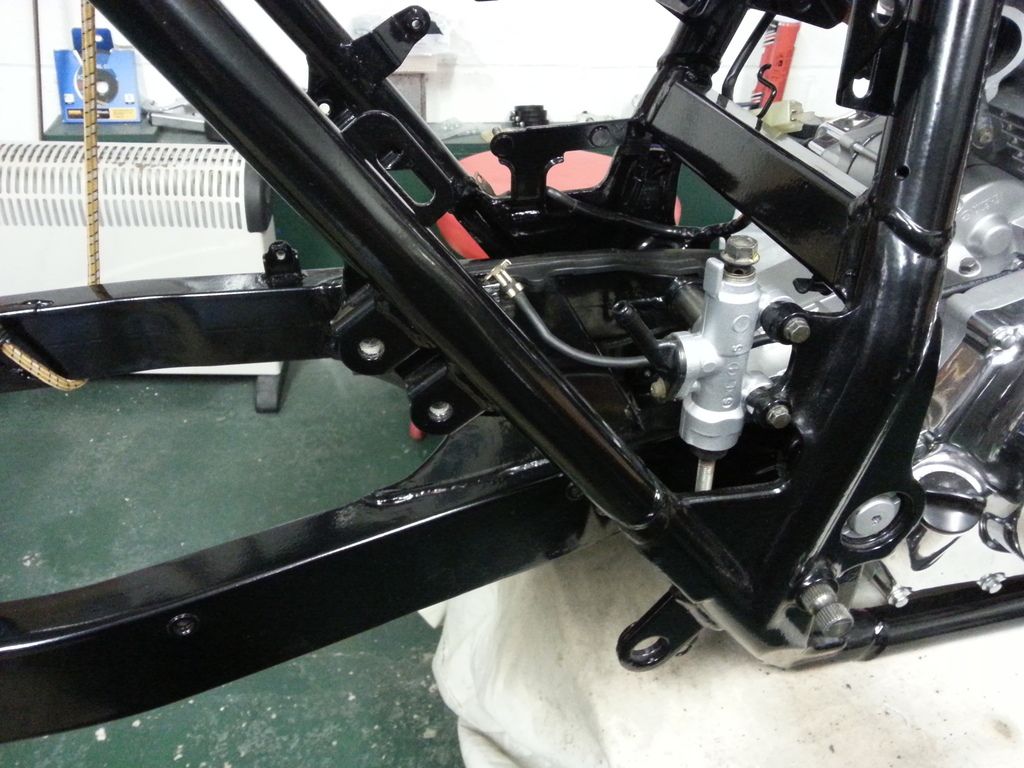
Rear brake master installed
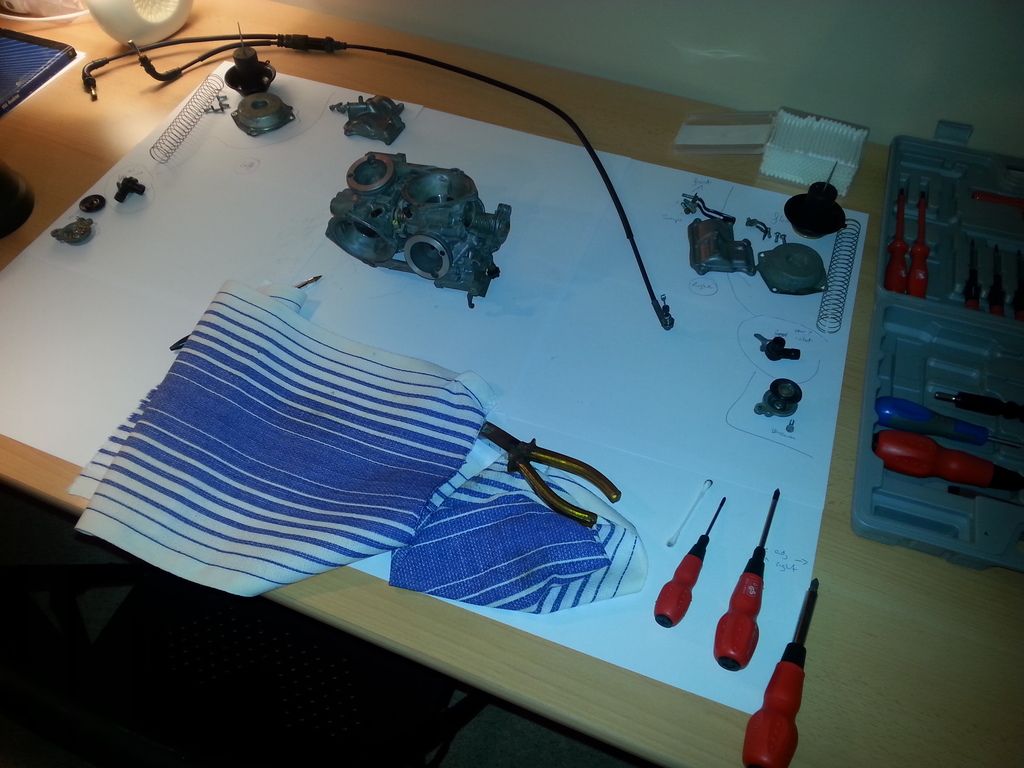
Turned my attention to the carbs. Carburettors scare me. This is the unit before stripping down.

Largely stripped back to the bare bodies.

This is my "workspace". Bits out of the left carb on the left and bits out of the right carb on the right.
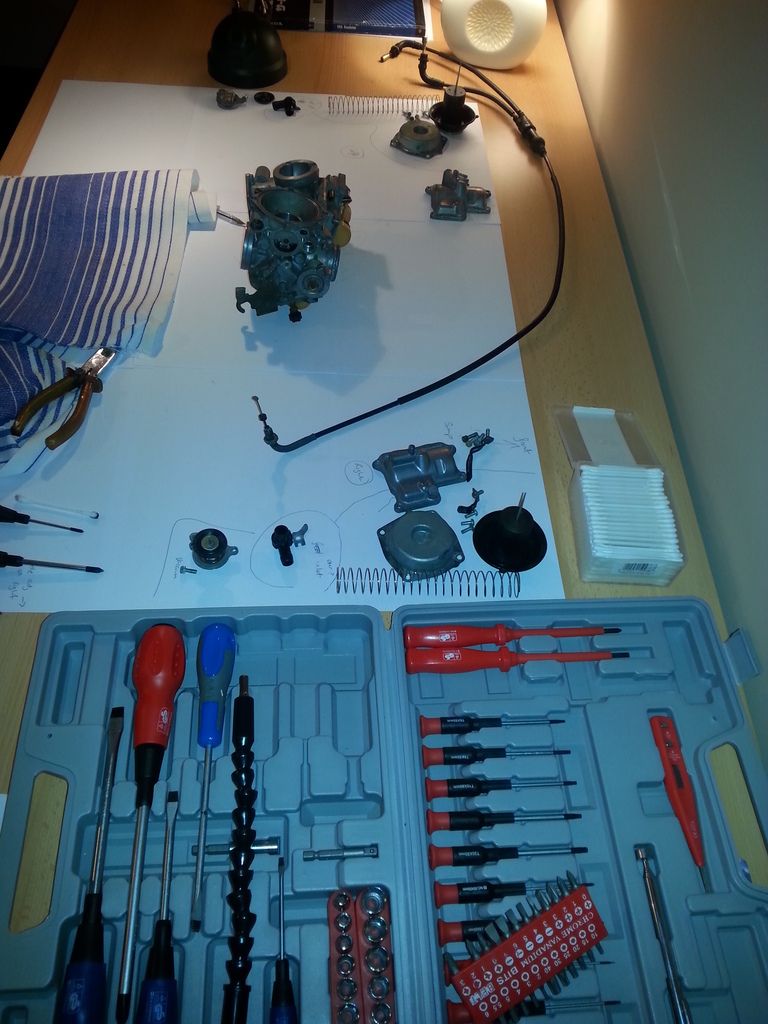
This was about a week ago, I've had to pack all this away since (into food bags) as the man flu kicked in and I've not progressed any further ... and it was starting to stink the house out with petrol fumes !! (funny that). I have a very understanding wife ...
Not going to get chance to do much over the next week or so, "real life" getting in the way. Apparently I've some rechromed items @ my wife's work waiting for me (though as I say, she's off at the moment, so they'll have to wait)
a) a heavy dose of man flu
b) Mrs Evil Len being bed ridden with sciatica, meaning I'm having to do everything (including looking after her horse 2x per day)
Derusted, cleaned and painted this bracket, which holds the sprocket cover. Above it, you can see the starter motor has been installed too.

Ditto to the four clips which hold the carb rubbers

Rear brake master installed

Turned my attention to the carbs. Carburettors scare me. This is the unit before stripping down.

Largely stripped back to the bare bodies.

This is my "workspace". Bits out of the left carb on the left and bits out of the right carb on the right.

This was about a week ago, I've had to pack all this away since (into food bags) as the man flu kicked in and I've not progressed any further ... and it was starting to stink the house out with petrol fumes !! (funny that). I have a very understanding wife ...

Not going to get chance to do much over the next week or so, "real life" getting in the way. Apparently I've some rechromed items @ my wife's work waiting for me (though as I say, she's off at the moment, so they'll have to wait)
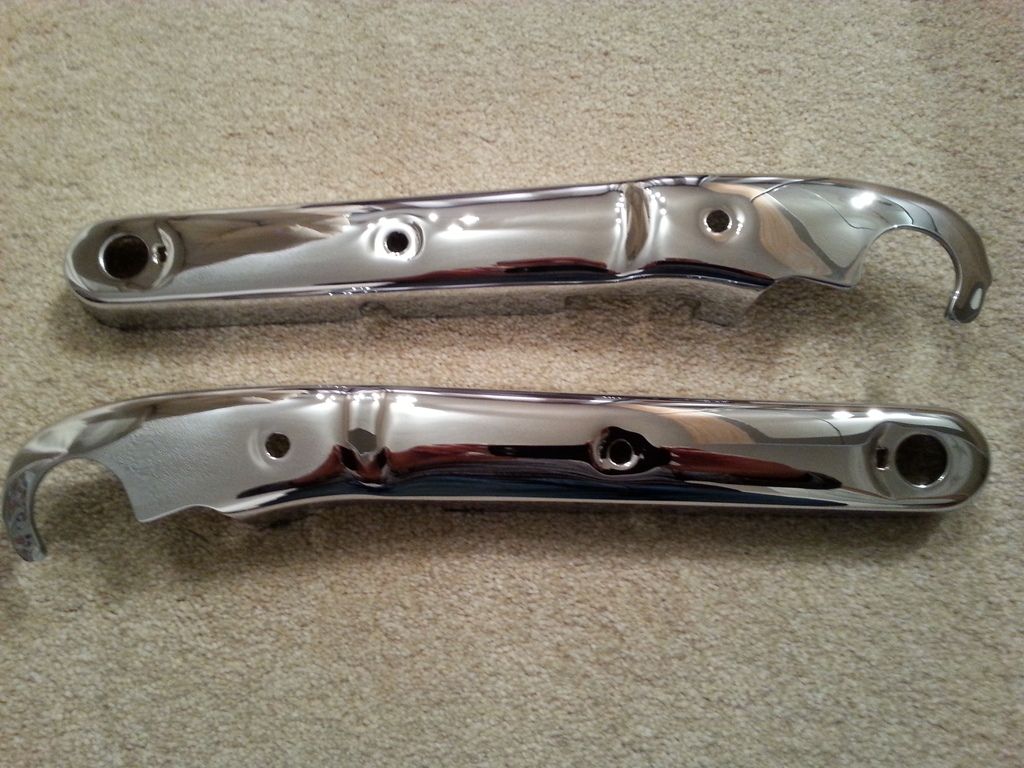
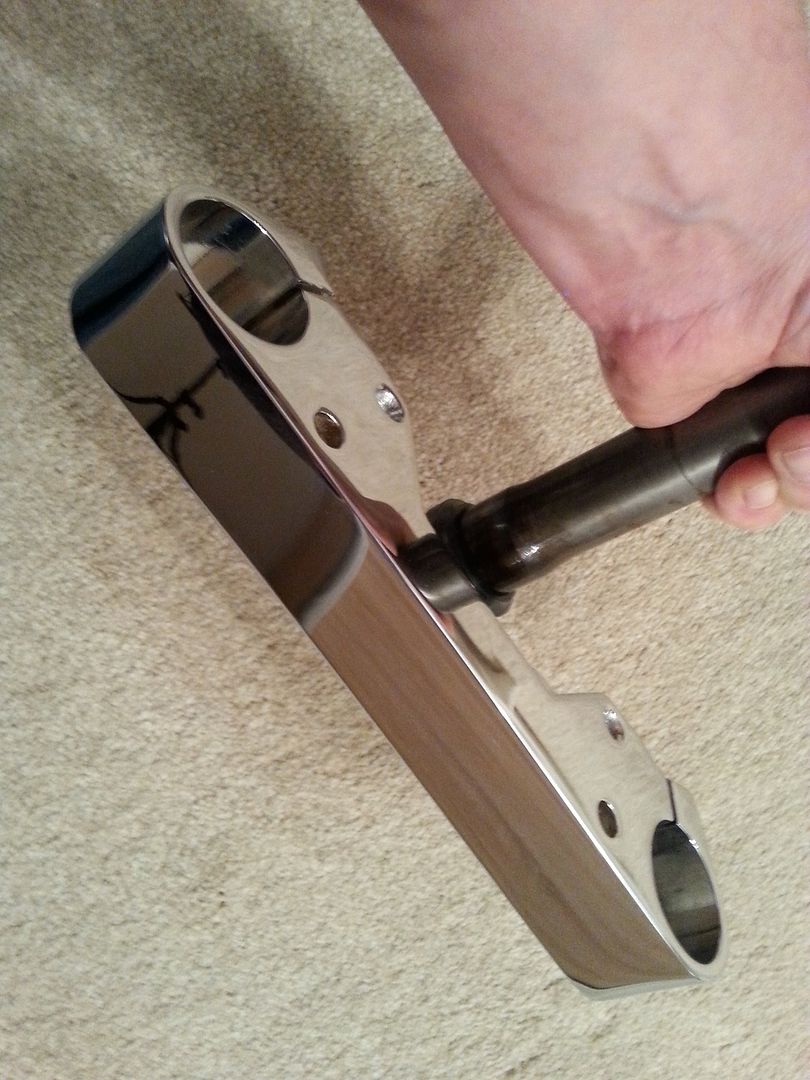
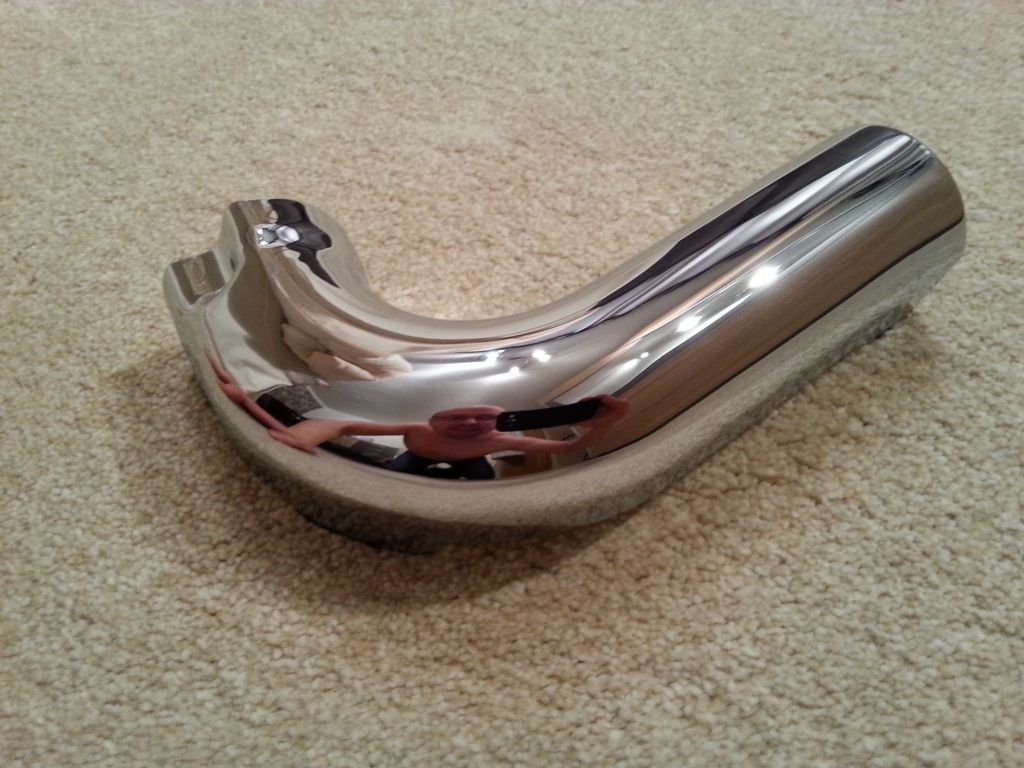
Half the chrome is back. Gorgeous ... VERY thick coating. The following cost £408. The photos don't do the items justice ... LUSH thick chrome, I've not seen chrome like this before, none of your manufacturer thin rubbish.
... and the bolts that mount the above
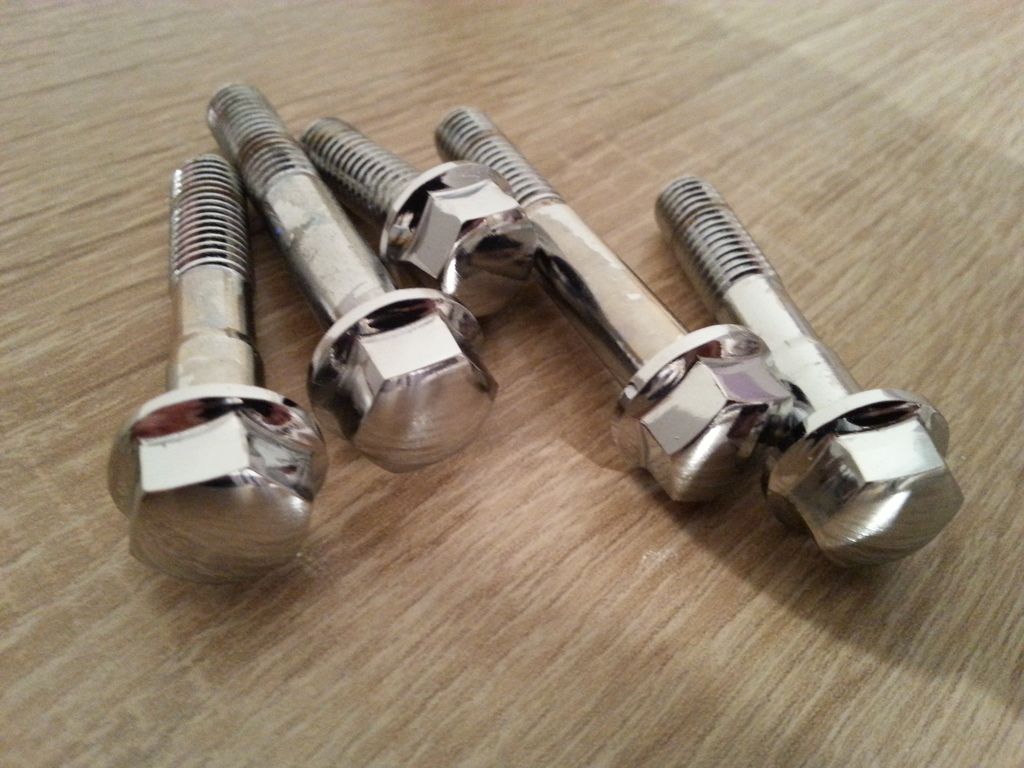
(the reflection on the next one is the ceiling wallpaper, lol)
I hate photobucket, it's so shyte. Why is this upside down escapes me ...
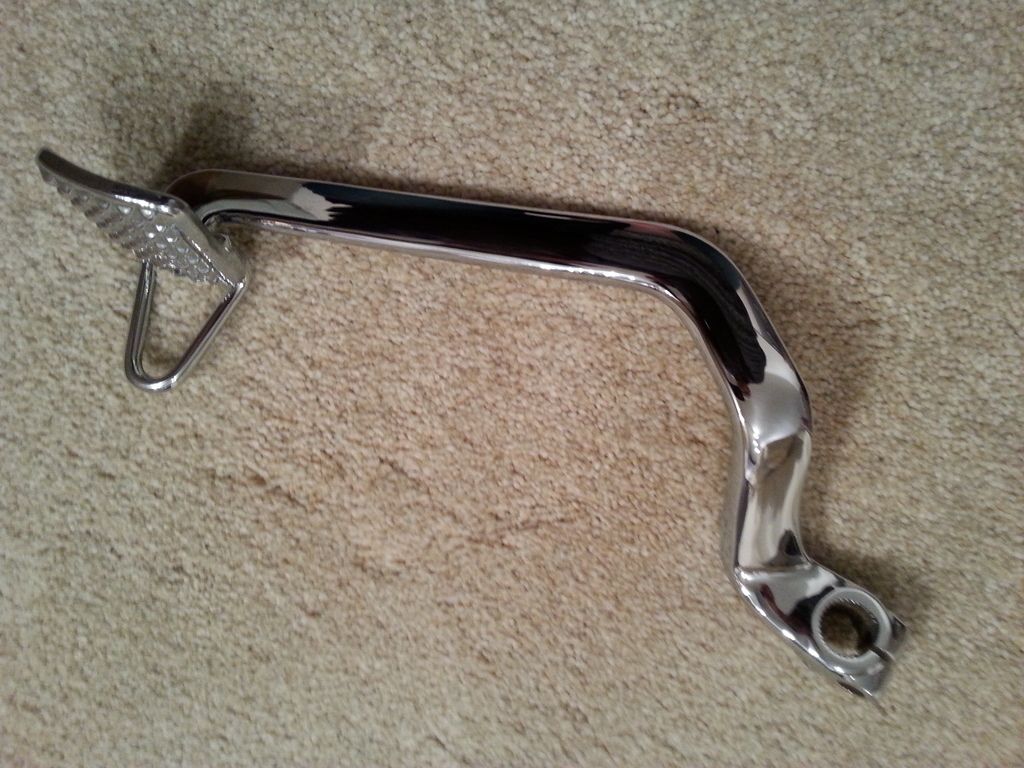
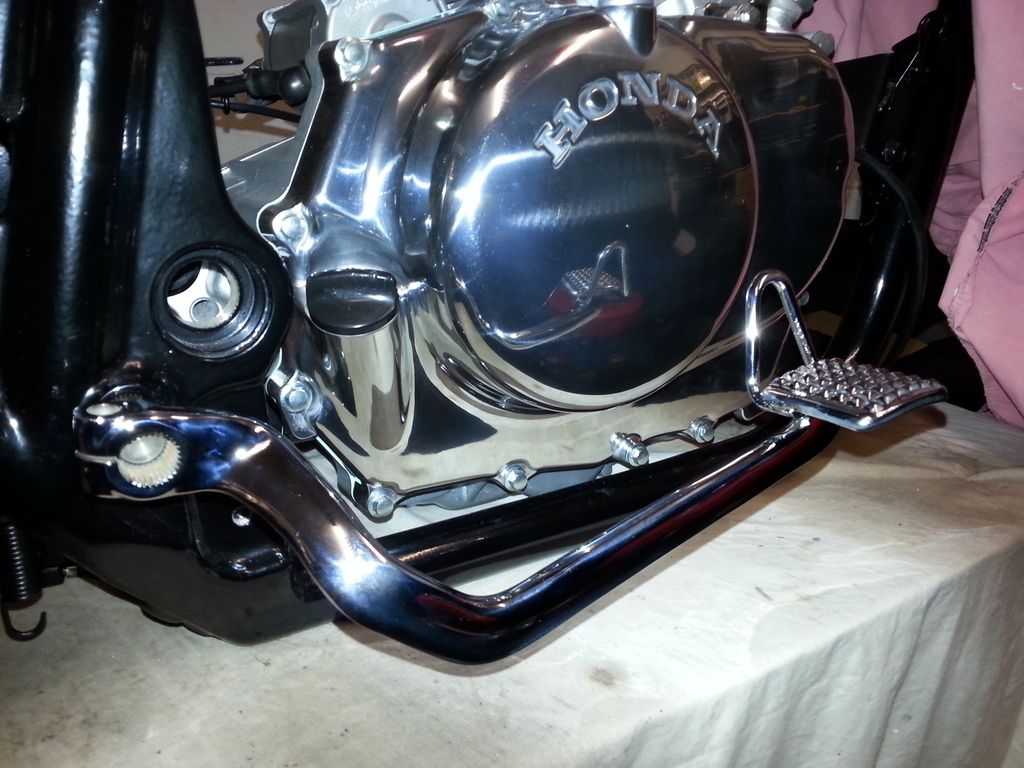
Just had to pop the pedal on for effect ...

... and the bolts that mount the above

(the reflection on the next one is the ceiling wallpaper, lol)


I hate photobucket, it's so shyte. Why is this upside down escapes me ...


Just had to pop the pedal on for effect ...

Had virtually no time on the bike (or anything else for that matter) over the last 2.5 weeks due to my wife being bedridden with sciatica / slipped disk, and me having to look after her, the house, and her horse. Got a couple of hours on the bike today though.
Left the bare carbs last week with someone who's going to aquablast and ultrasonic clean them.
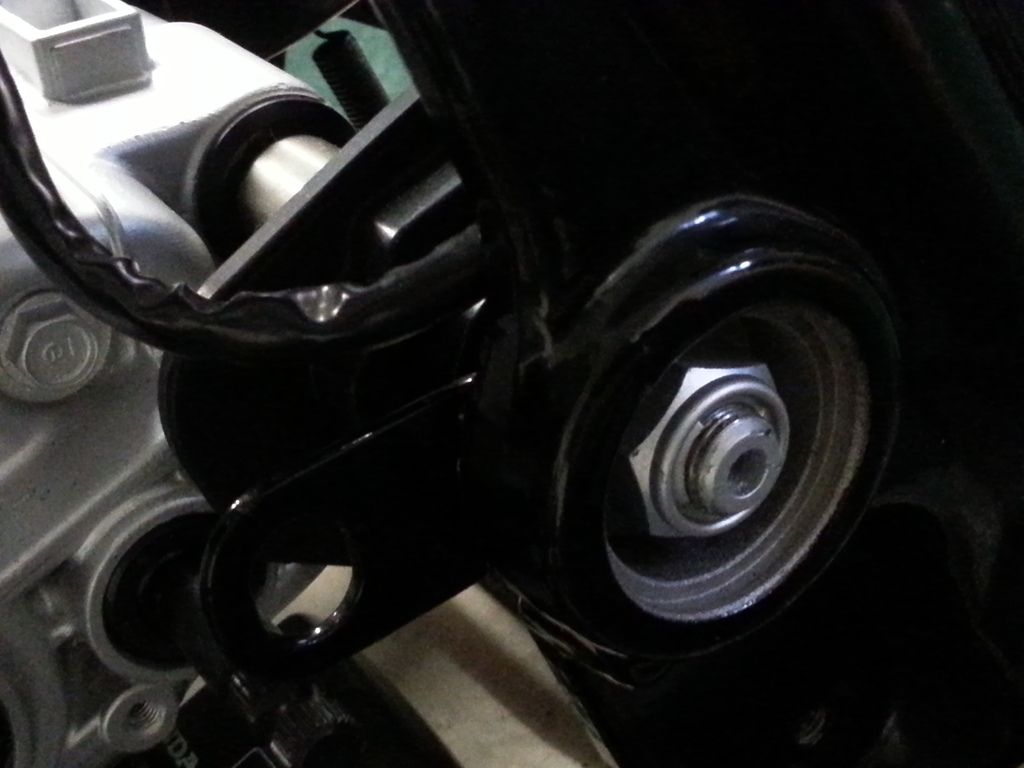
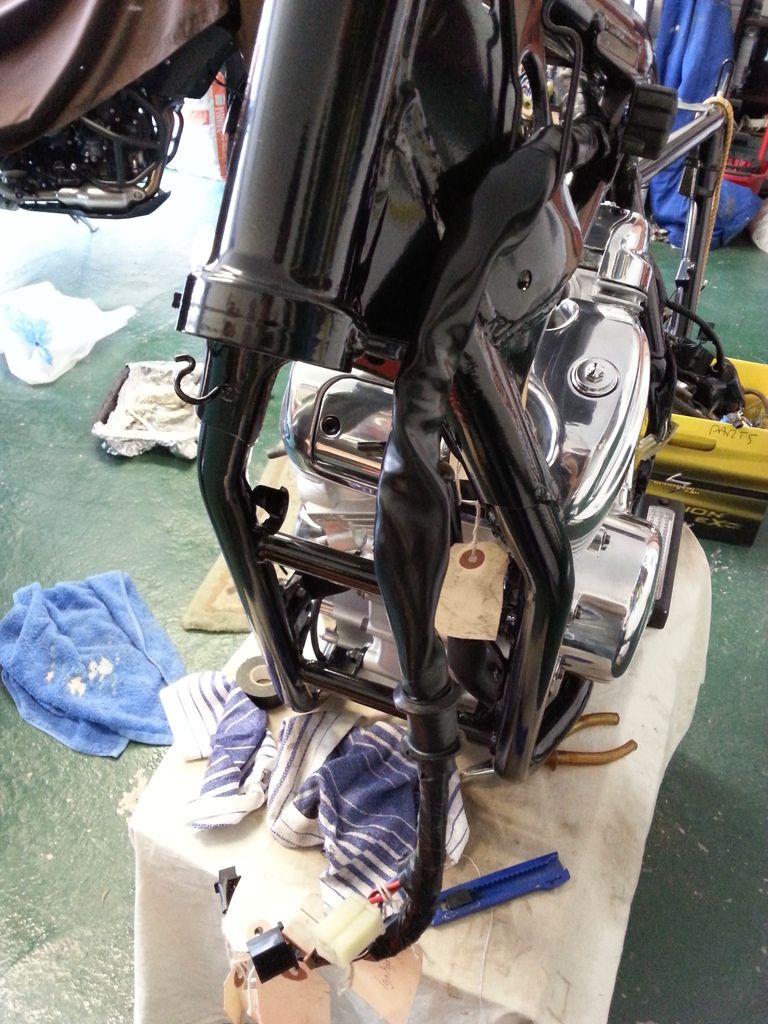
Got the swingarm fitted. Check out my mega expensive new rear shocks !
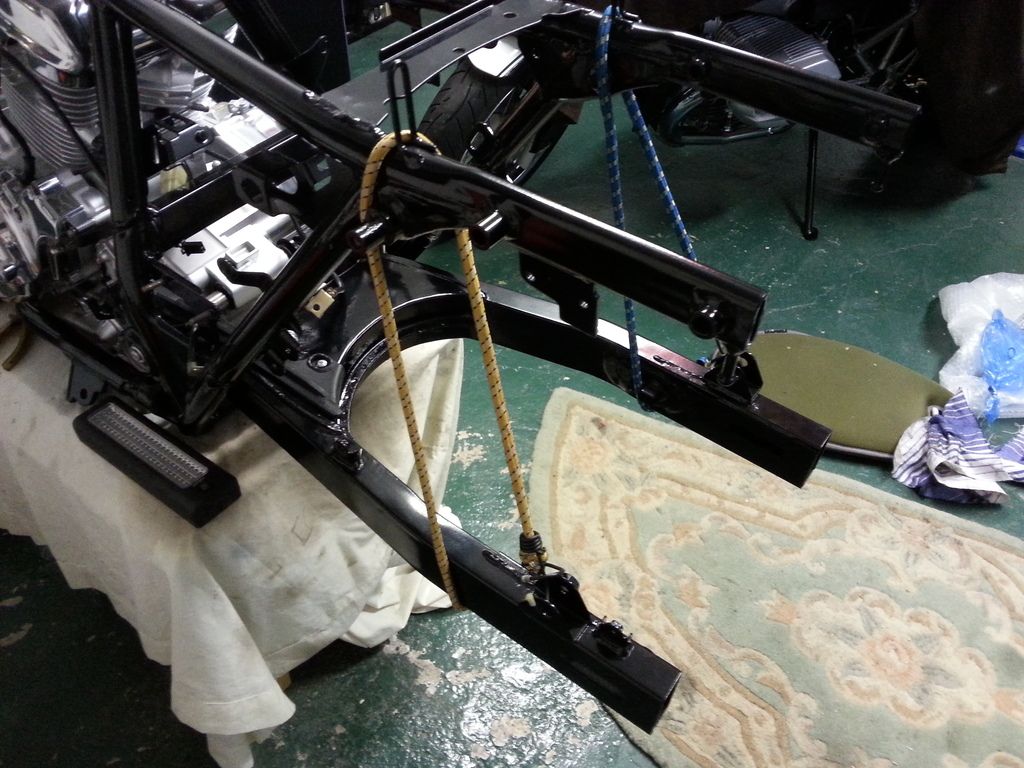
There was a bit of play on the new needle bearing whilst off the bike, with everything torqued up to the right settings this disappeared nicely, and there's a lovely smooth movement up/down.
Cleaned and fitted the tank mounting rubbers which took, ooooh, all of 30 seconds.
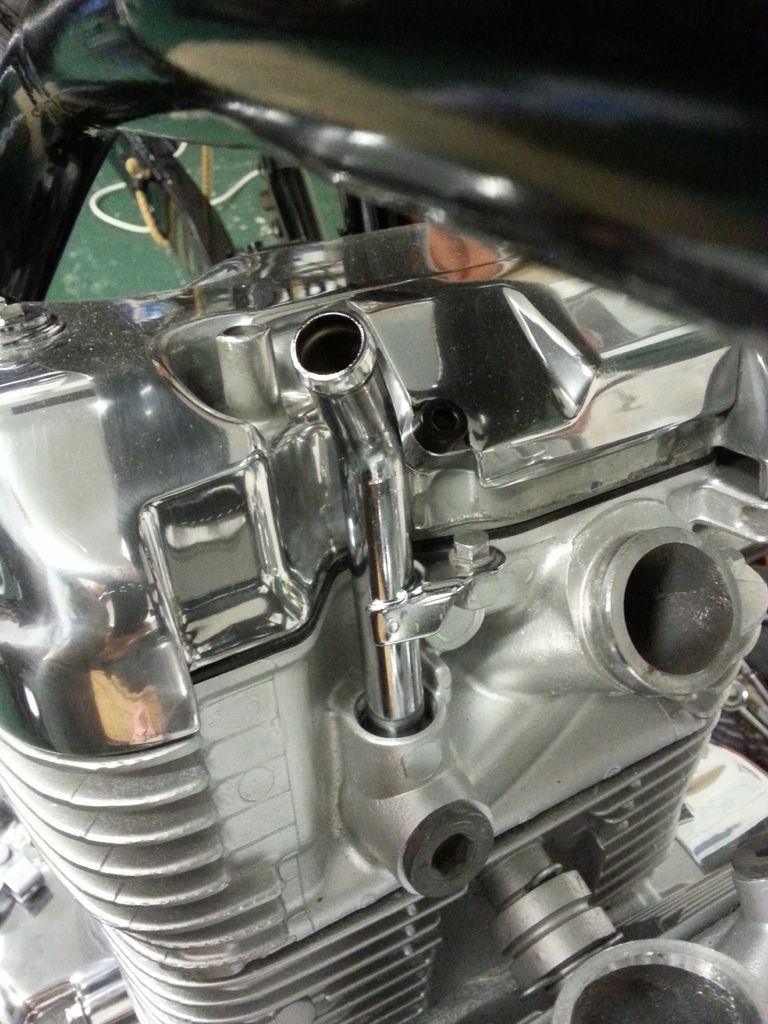
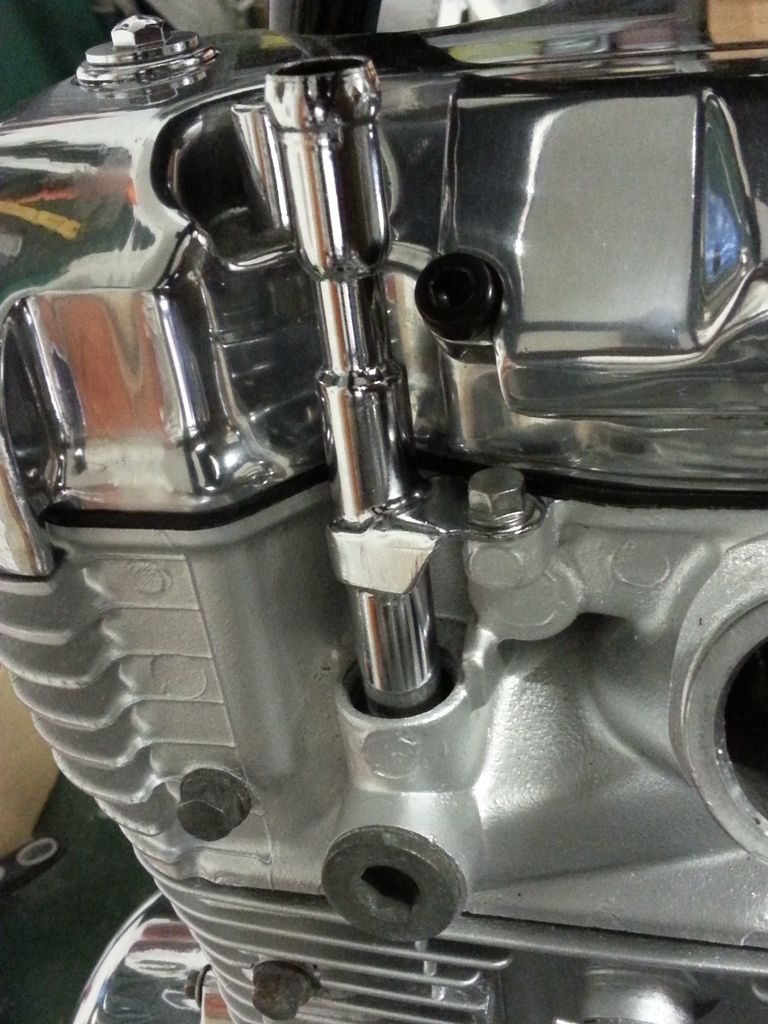
And a couple of coolant chrome pipes, with new seals. Had to use a bit of silicon on the seals to get them to go in.
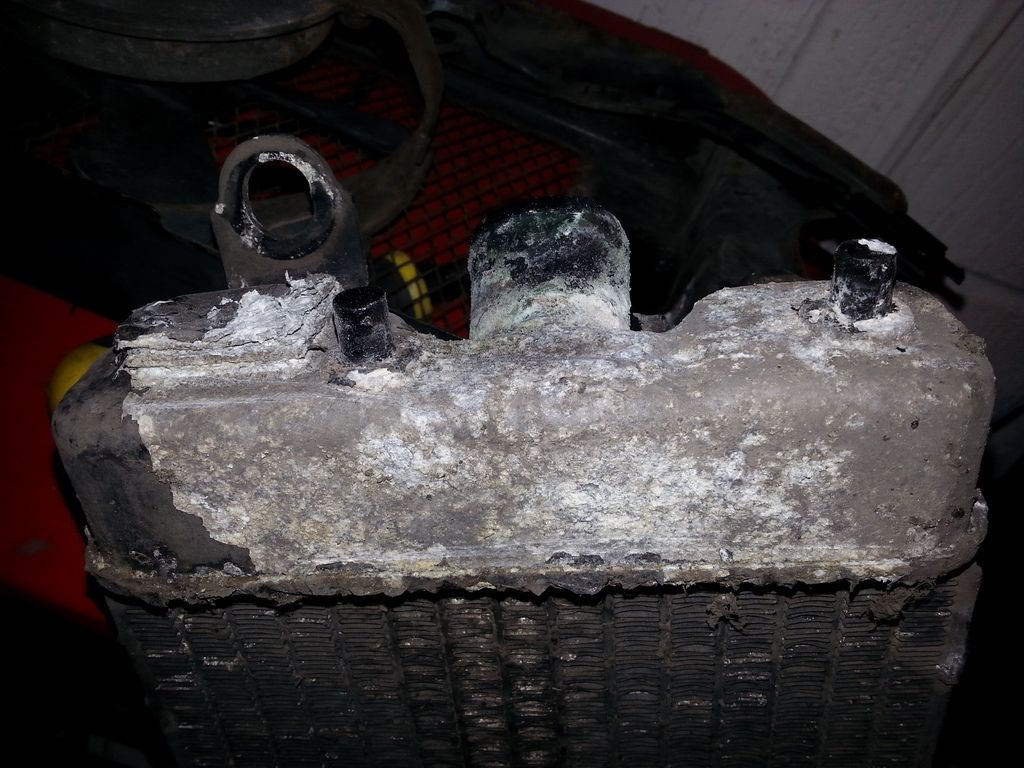
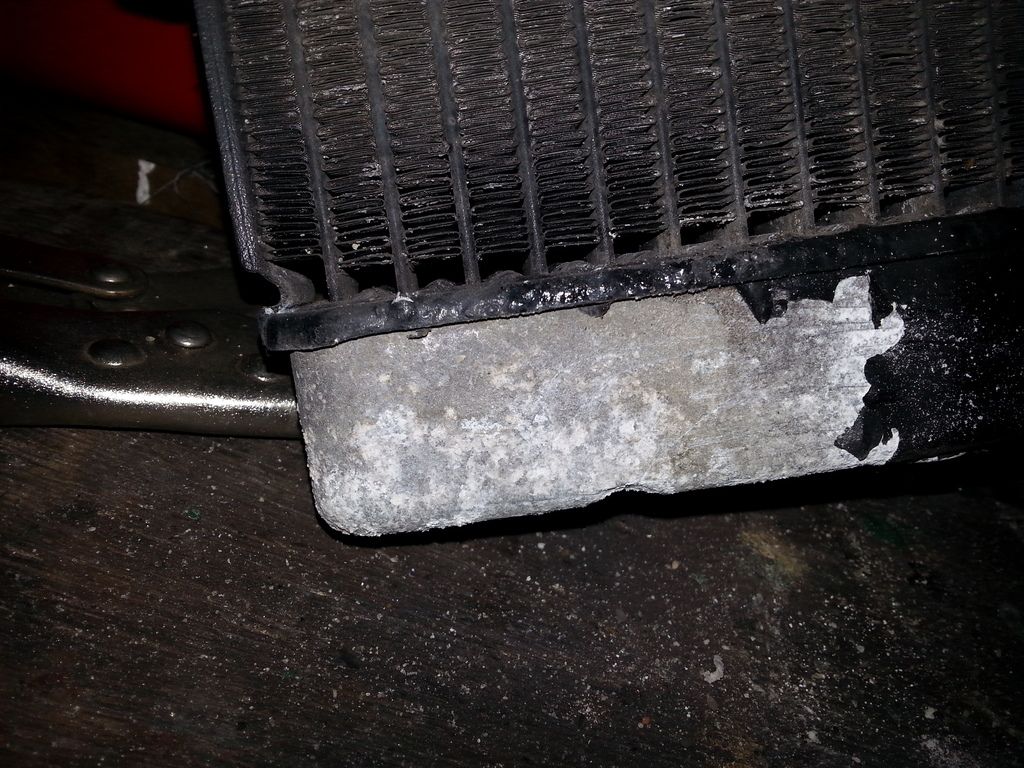
Started to look at the radiator, and take it all apart. Hmmm. This looks worse than I expected, once I had all the cowling off. Think I'm going to have to source a new radiator, or maybe recondition.
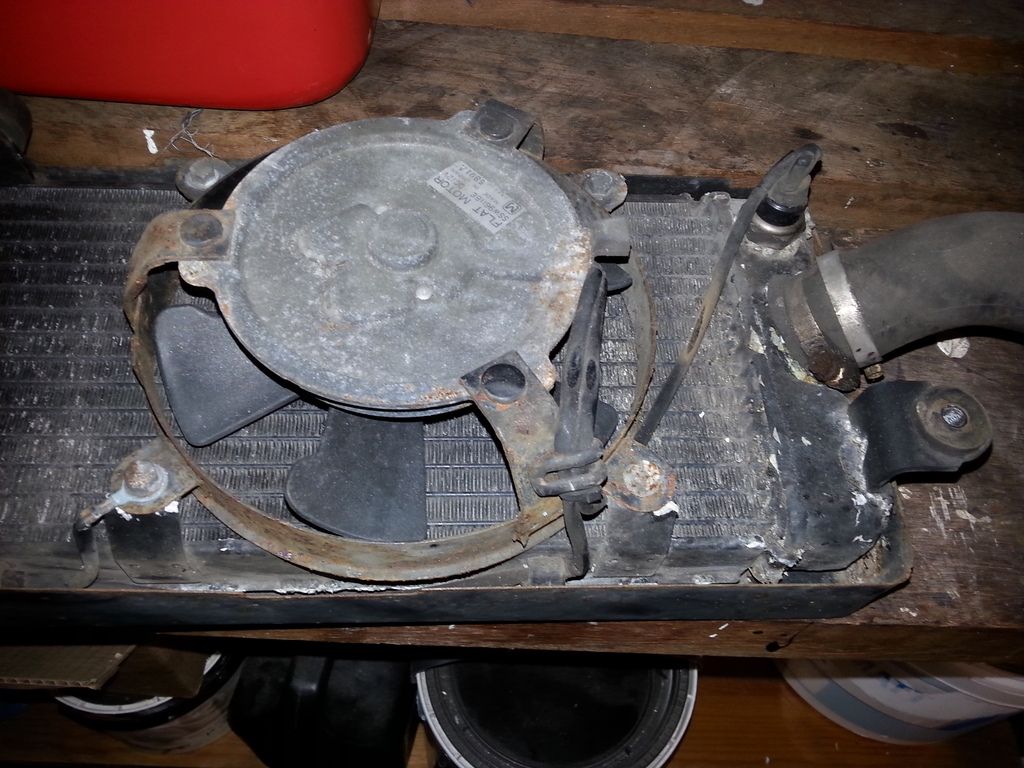
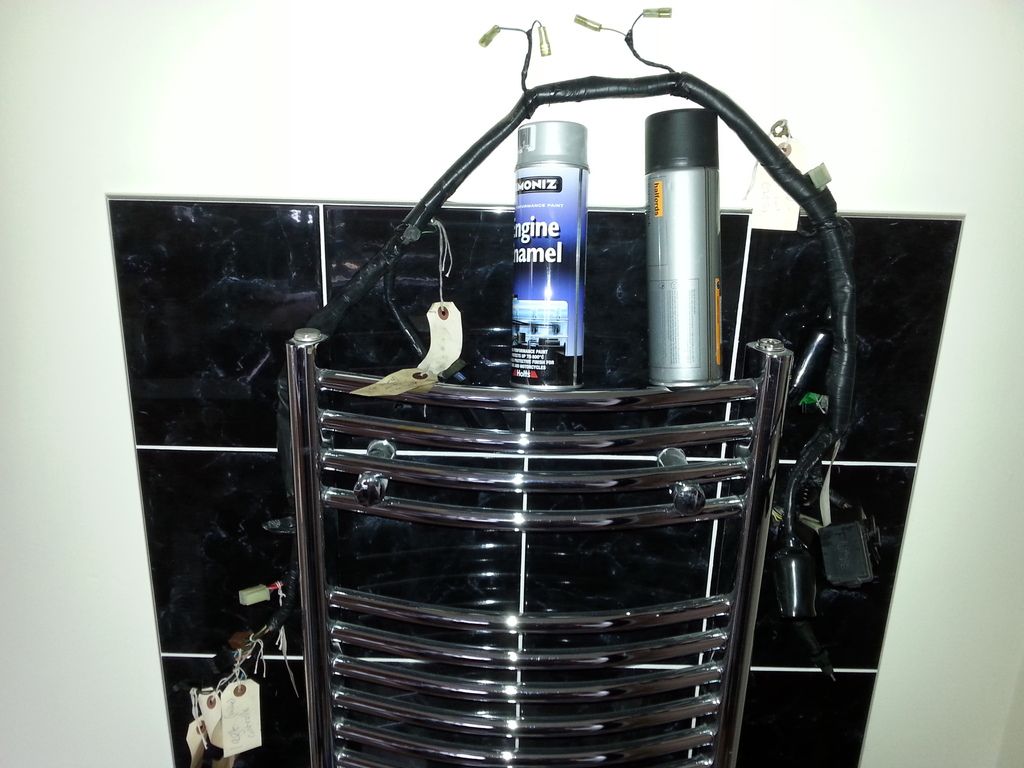
As I couldn't get on with the radiator I spent some time ruining my skin with white spirit and a cloth, cleaning up the wiring loom. Hung to dry.
Left the bare carbs last week with someone who's going to aquablast and ultrasonic clean them.
Got the swingarm fitted. Check out my mega expensive new rear shocks !

There was a bit of play on the new needle bearing whilst off the bike, with everything torqued up to the right settings this disappeared nicely, and there's a lovely smooth movement up/down.


Cleaned and fitted the tank mounting rubbers which took, ooooh, all of 30 seconds.

And a couple of coolant chrome pipes, with new seals. Had to use a bit of silicon on the seals to get them to go in.


Started to look at the radiator, and take it all apart. Hmmm. This looks worse than I expected, once I had all the cowling off. Think I'm going to have to source a new radiator, or maybe recondition.


As I couldn't get on with the radiator I spent some time ruining my skin with white spirit and a cloth, cleaning up the wiring loom. Hung to dry.

Radiators are not available in the UK, waiting to hear if I can get one from Japan. Have a feeling may be expensive ...
Had a good day on the bike yesterday
Got the wiring loom back in, after cleaning it up and doing a couple of spot repairs.
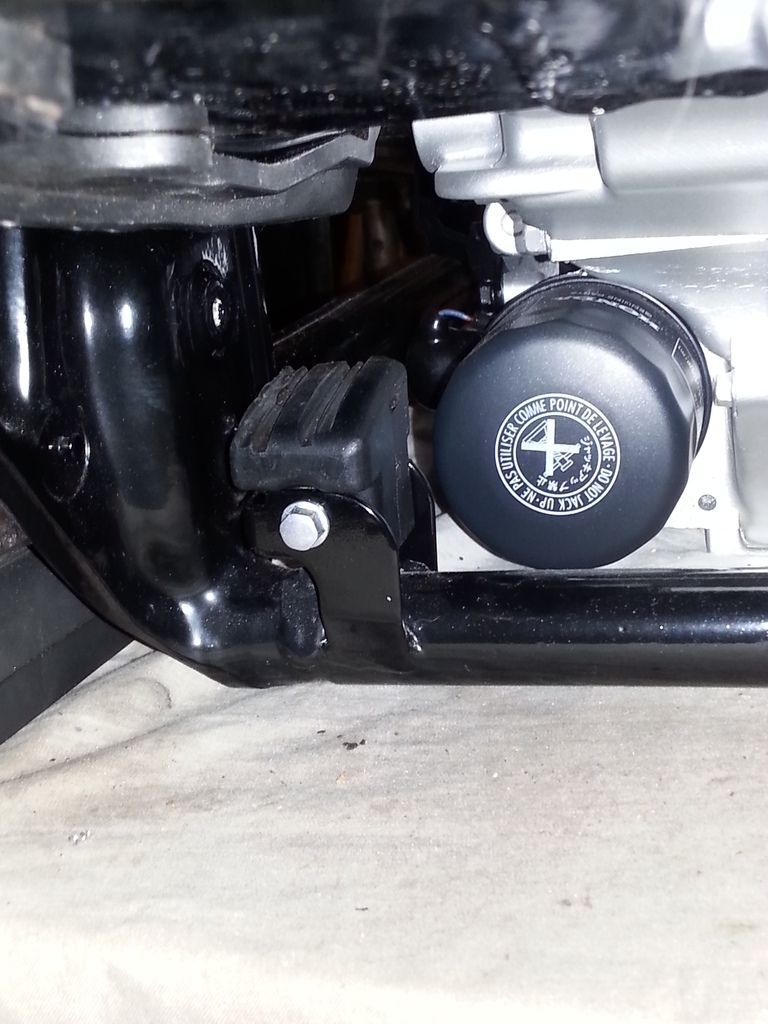
Got the chain slider cleaned up and installed.
Rear coil cleaned up and bolted into position.
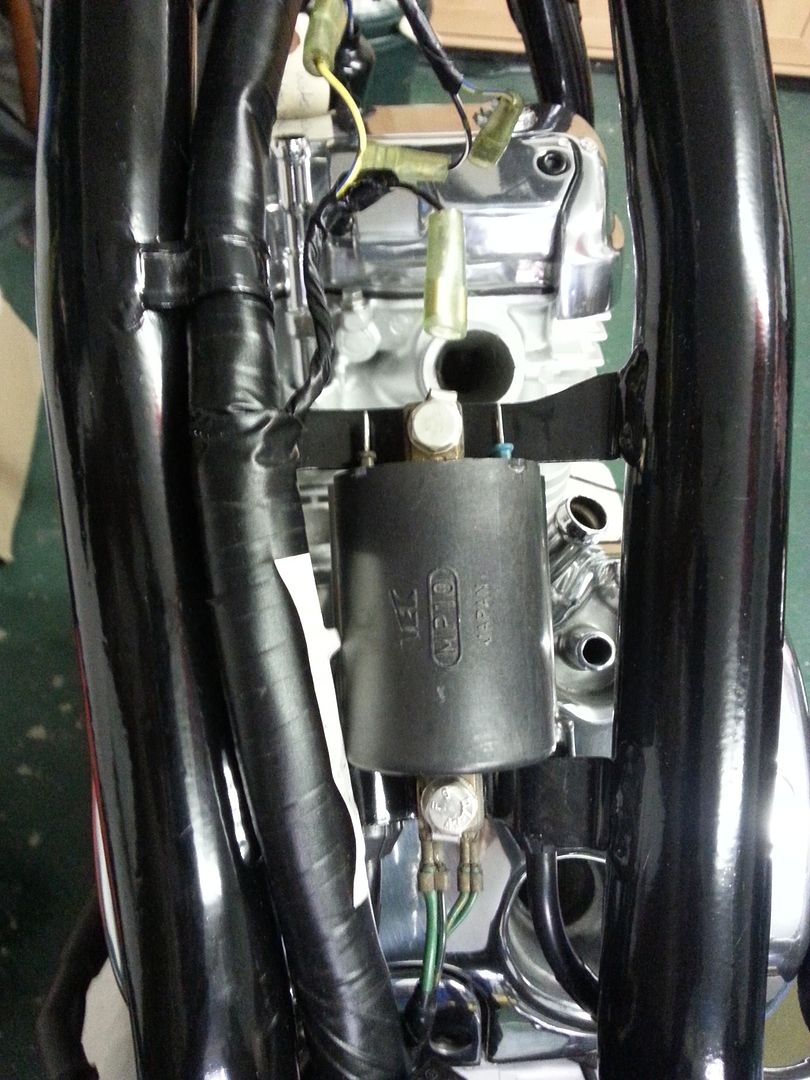
Cleaning up the rusty bracket that holds the front coil and coolant expansion reservoir.
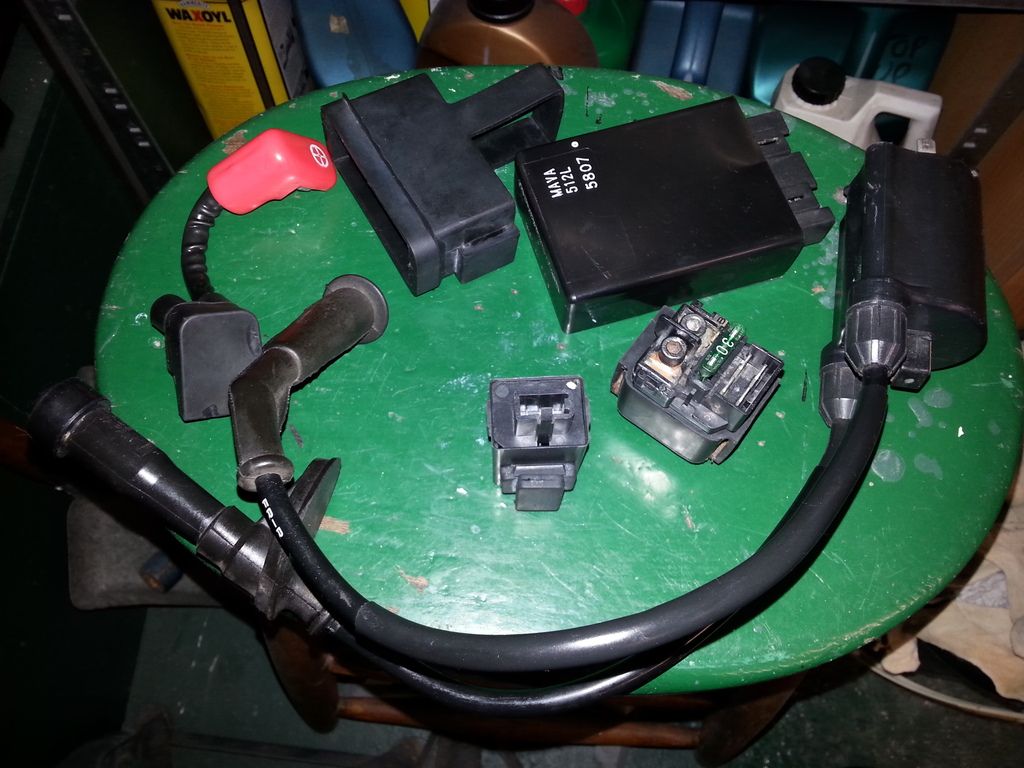
Various electrical components cleaned and repaired where needed.
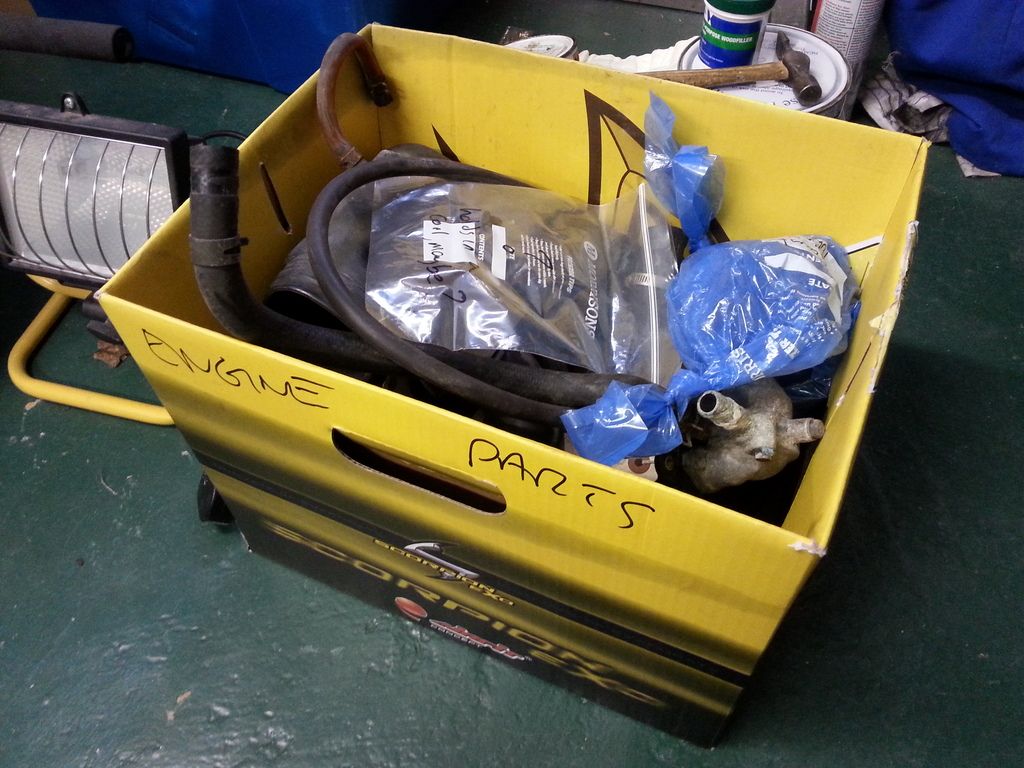
This box is slowly getting emptier !
And I think I've found somewhere that can spray/recondition 'chromed' plastic parts.
Had a good day on the bike yesterday
Got the wiring loom back in, after cleaning it up and doing a couple of spot repairs.


Got the chain slider cleaned up and installed.

Rear coil cleaned up and bolted into position.

Cleaning up the rusty bracket that holds the front coil and coolant expansion reservoir.

Various electrical components cleaned and repaired where needed.

This box is slowly getting emptier !

And I think I've found somewhere that can spray/recondition 'chromed' plastic parts.


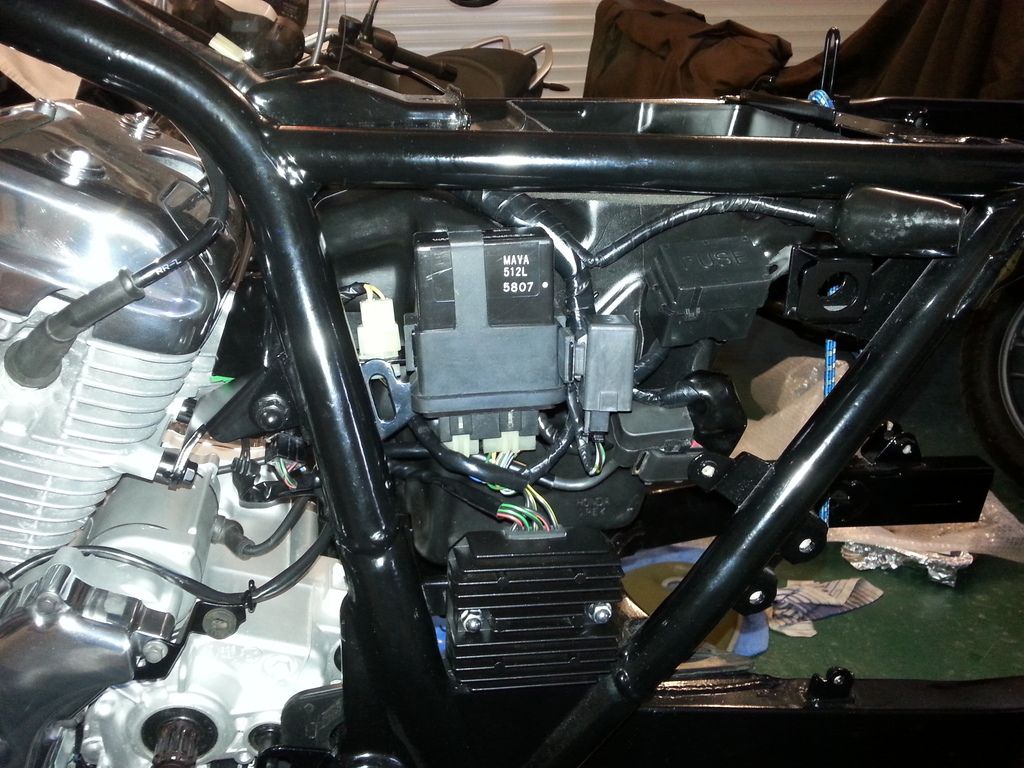
Main electrics approaching completion. Honda make it pretty easy to reconnect, as every connector is a different colour and/or size. Remembering the run of all the cables is a challenge though ("did that one go over or under that ?"). The big plastic battery box is now in position too, after being cleaned up and the brackets de-rusted and painted up.
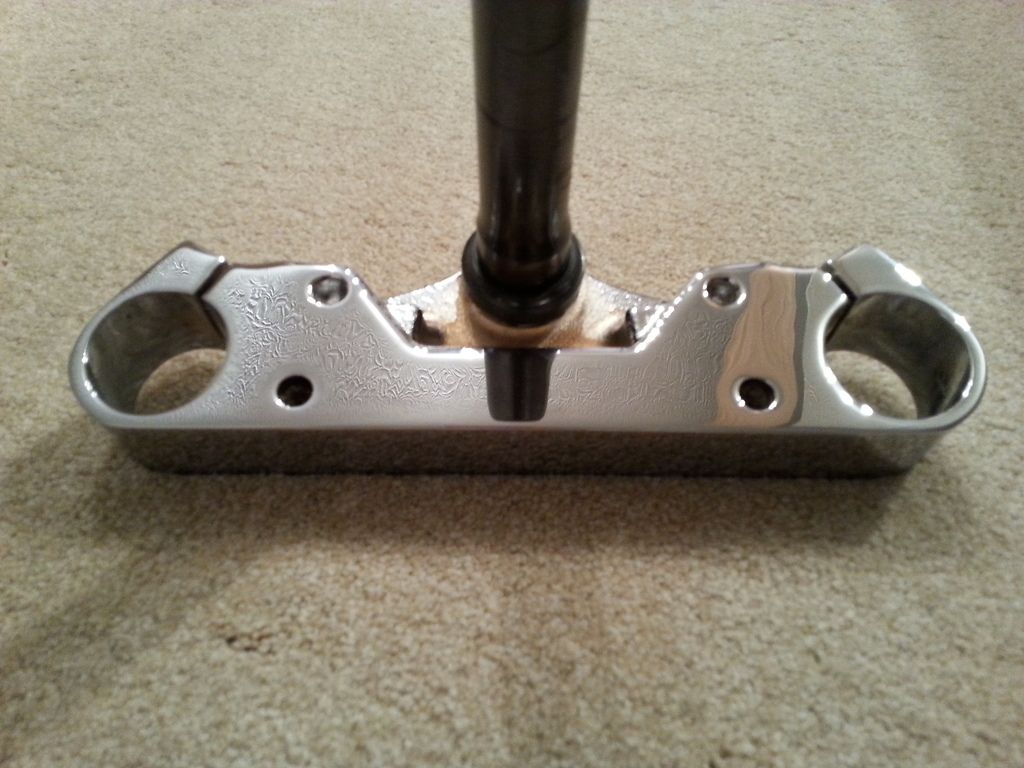
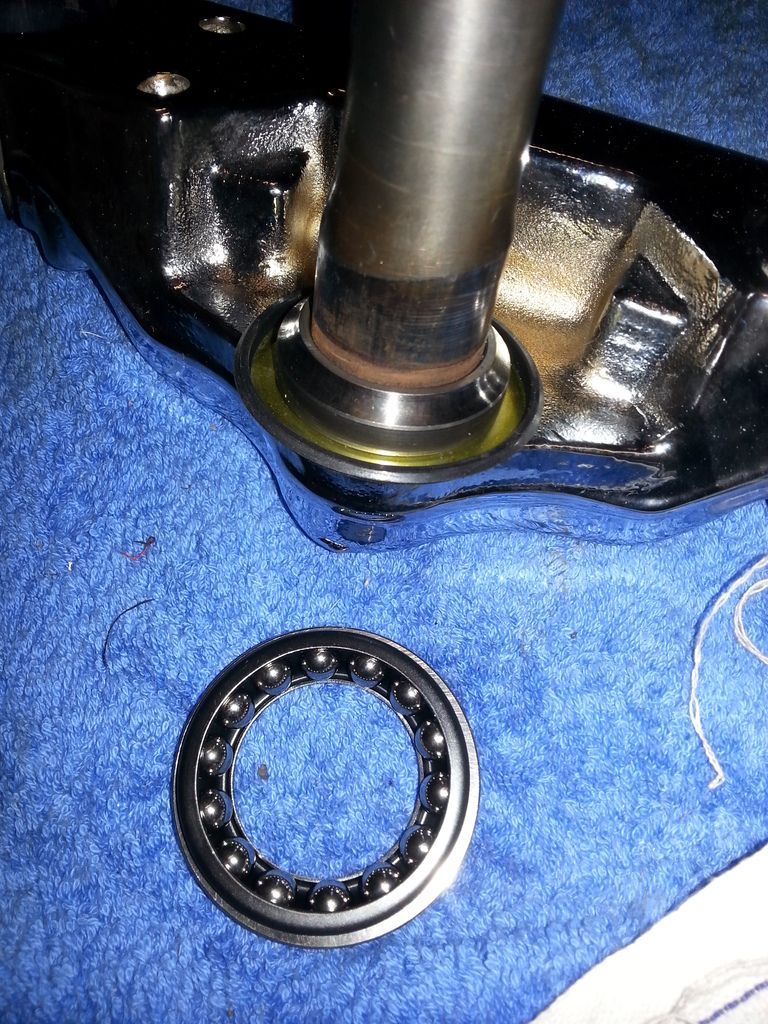
A local garage pulled off and pressed on a new race and dust seal for me, for the princely sum of £20. I want to clean up the top end bearing (reusable, no wear), polish up the top tree, and get my first bit of chrome back on the bike !

A local garage pulled off and pressed on a new race and dust seal for me, for the princely sum of £20. I want to clean up the top end bearing (reusable, no wear), polish up the top tree, and get my first bit of chrome back on the bike !

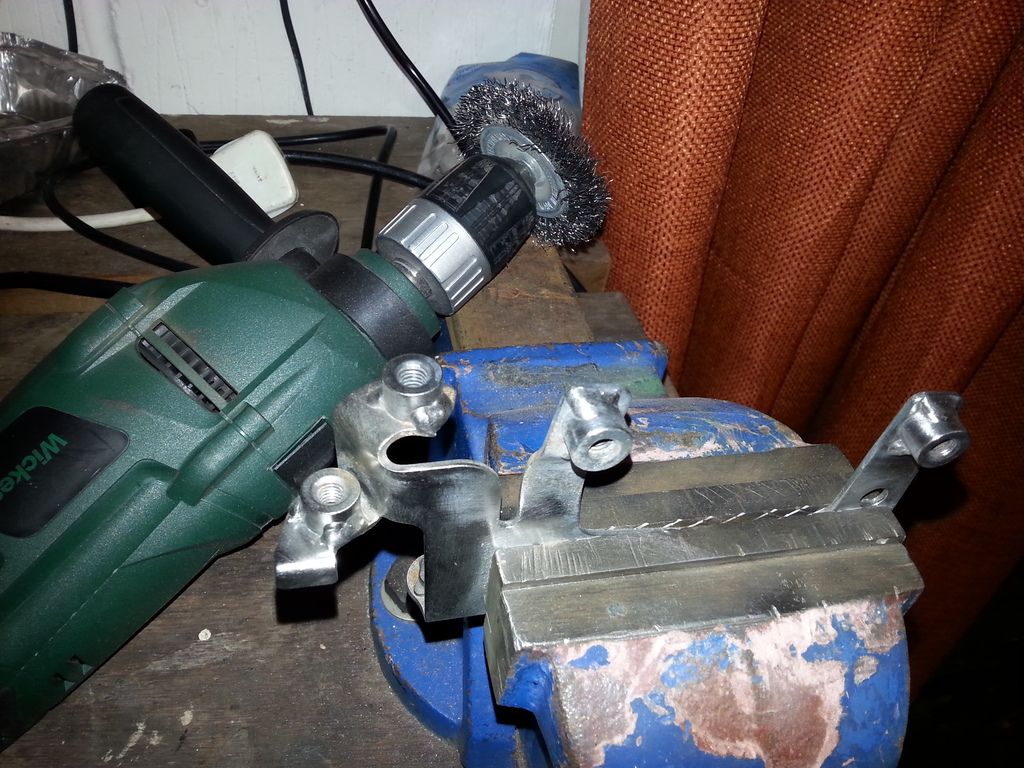
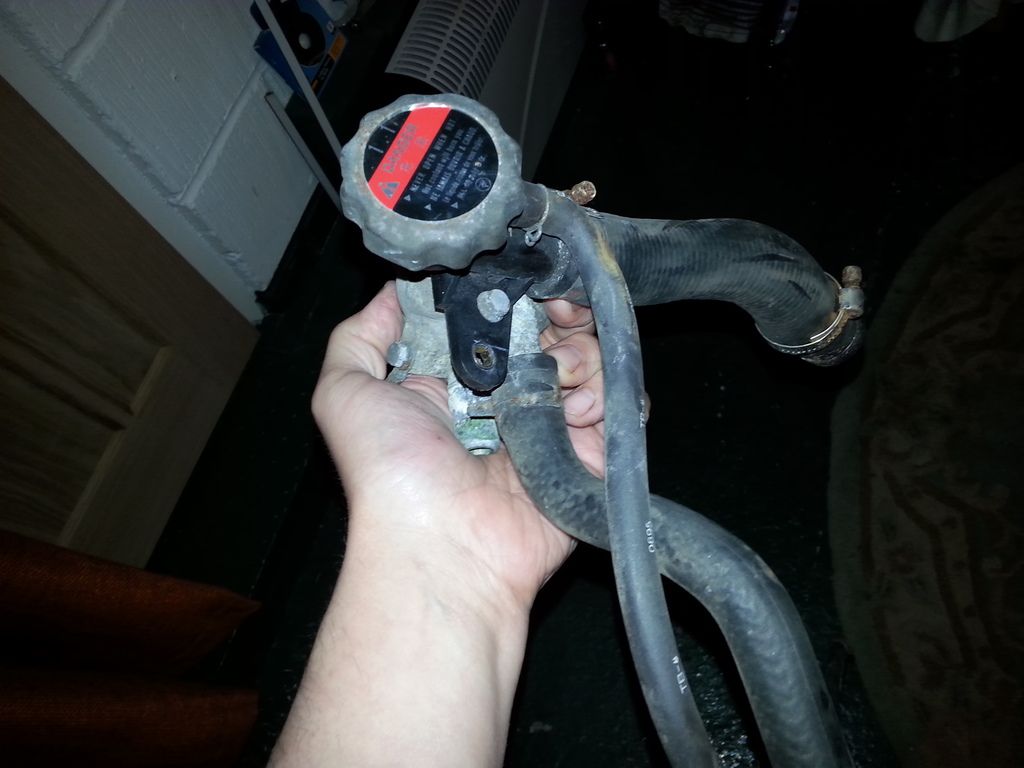
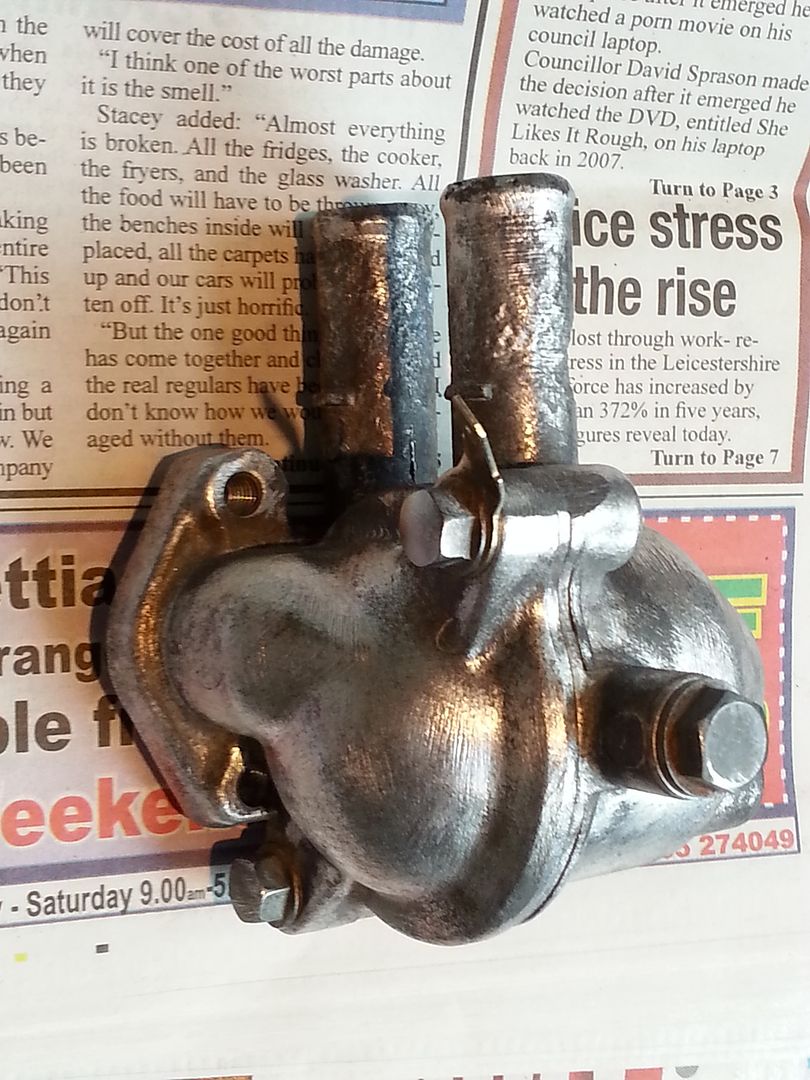
Time to clean up the coolant header ... cap ... junction ... thingie.
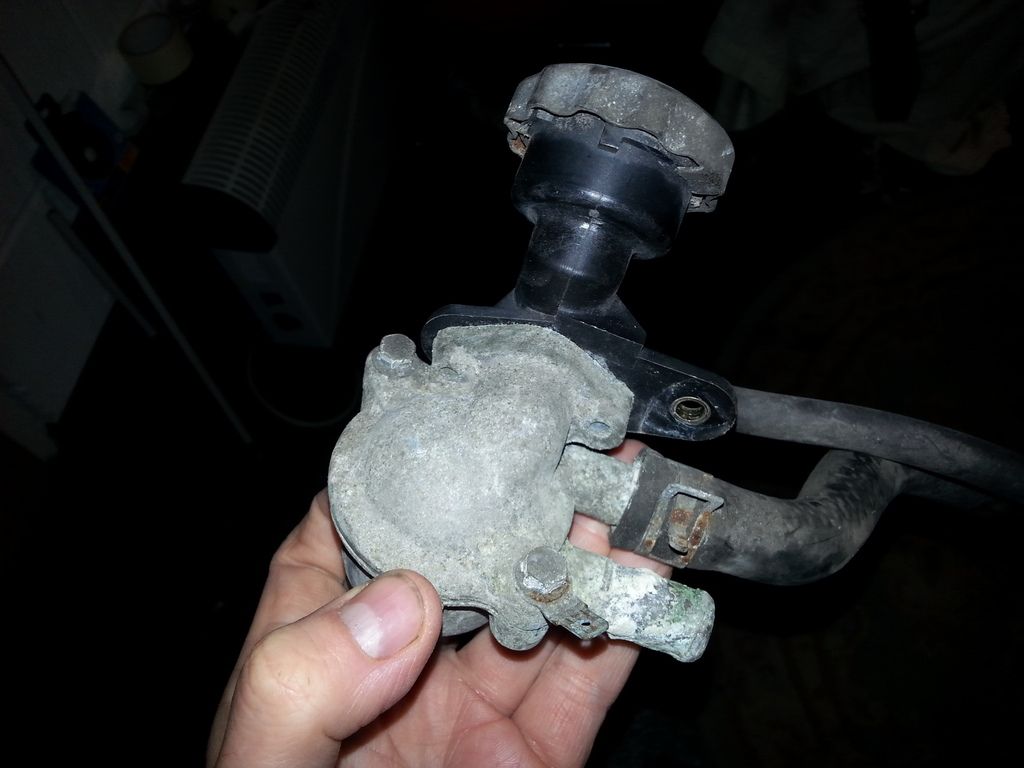
Suffering the usual aluminium corrosion.
Disassembled, start to clean up the alu with a variety of wire brushes.
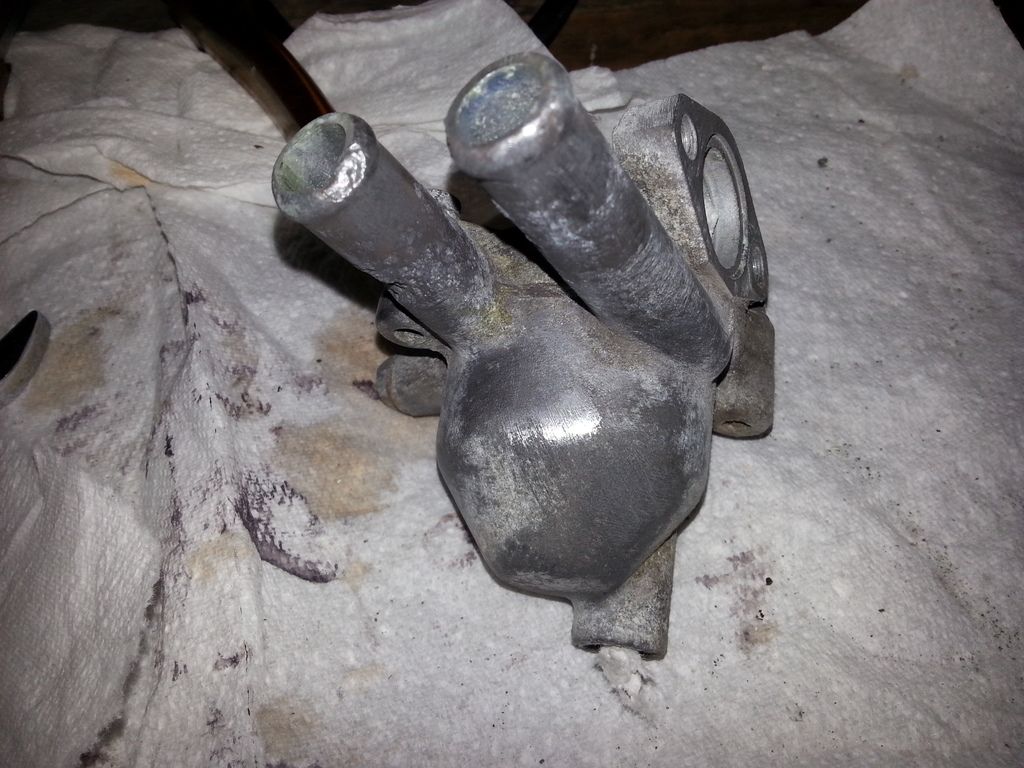
Hmm ... the inlet (or is it outlet) is badly corroded. Not all the way through mind.
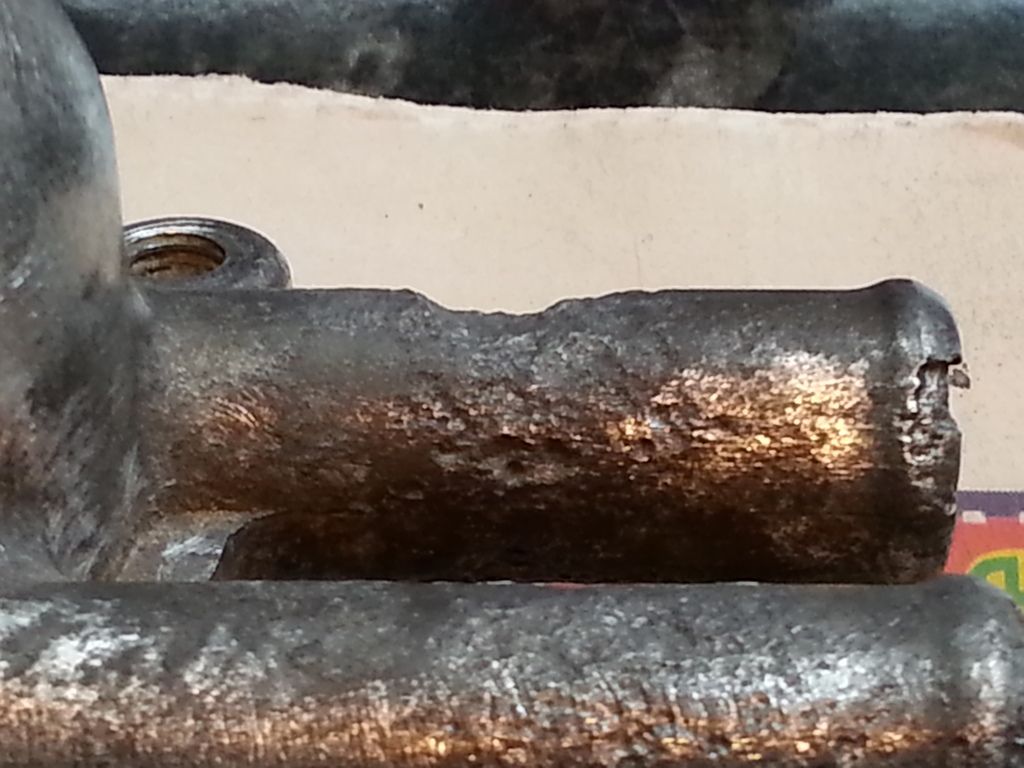
... so lets fill it out with some chemical metal.
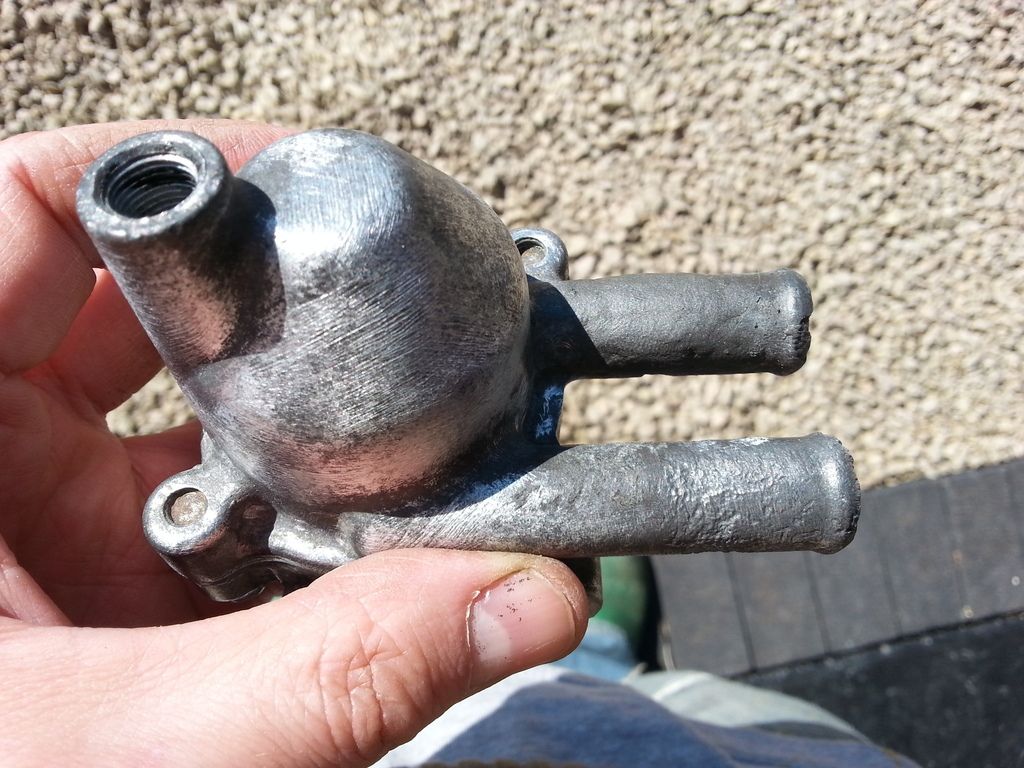
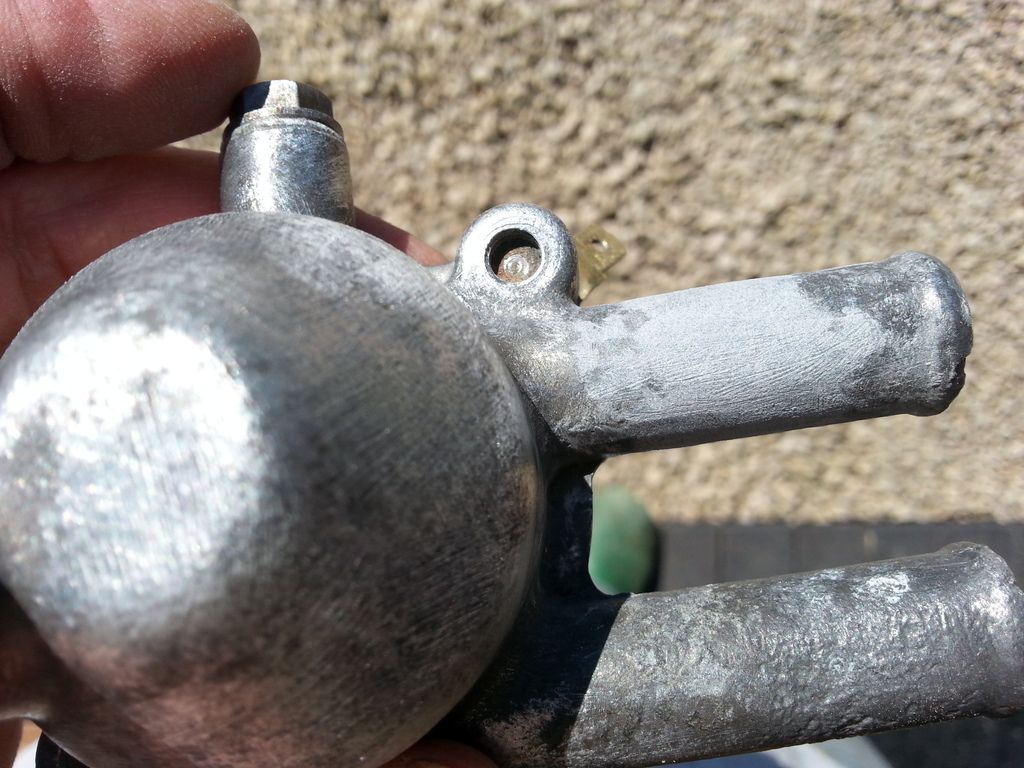
... which we then file then sand back.
Here's a little tip for you. Want to paint something, but don't want paint on a mating surface ? Cover the area with masking tape. Then use a small hammer and tap round (right on the edge of the flange ... heh ... snigger, I said flange ...)
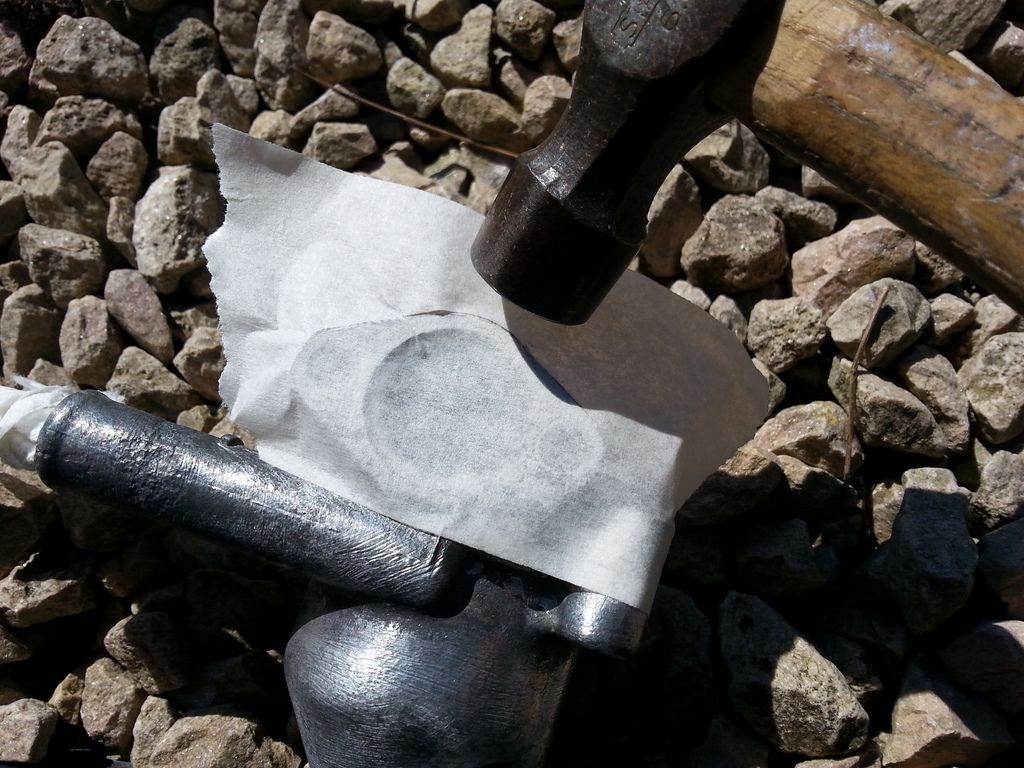
Keep going round, gently (you don't want to be rough on your flange. snigger) and then you'll break through the tape, which can be pulled away.
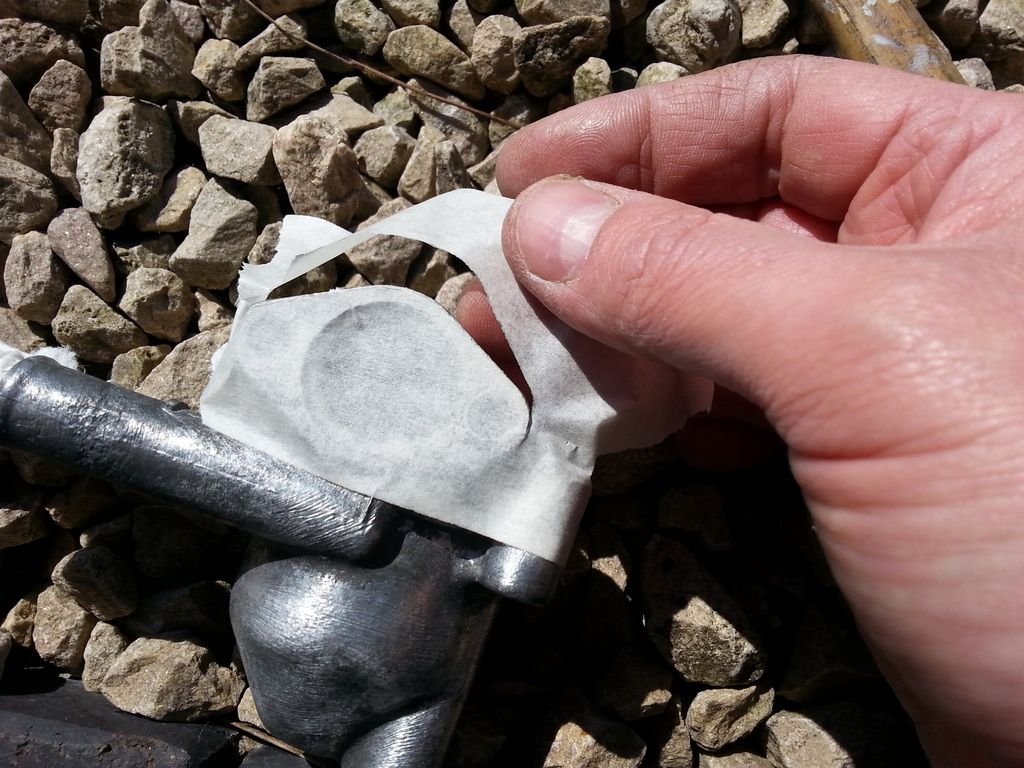
Et voila. One mating surface, protected from paint. You can also use this method to create custom gaskets from gasket paper.
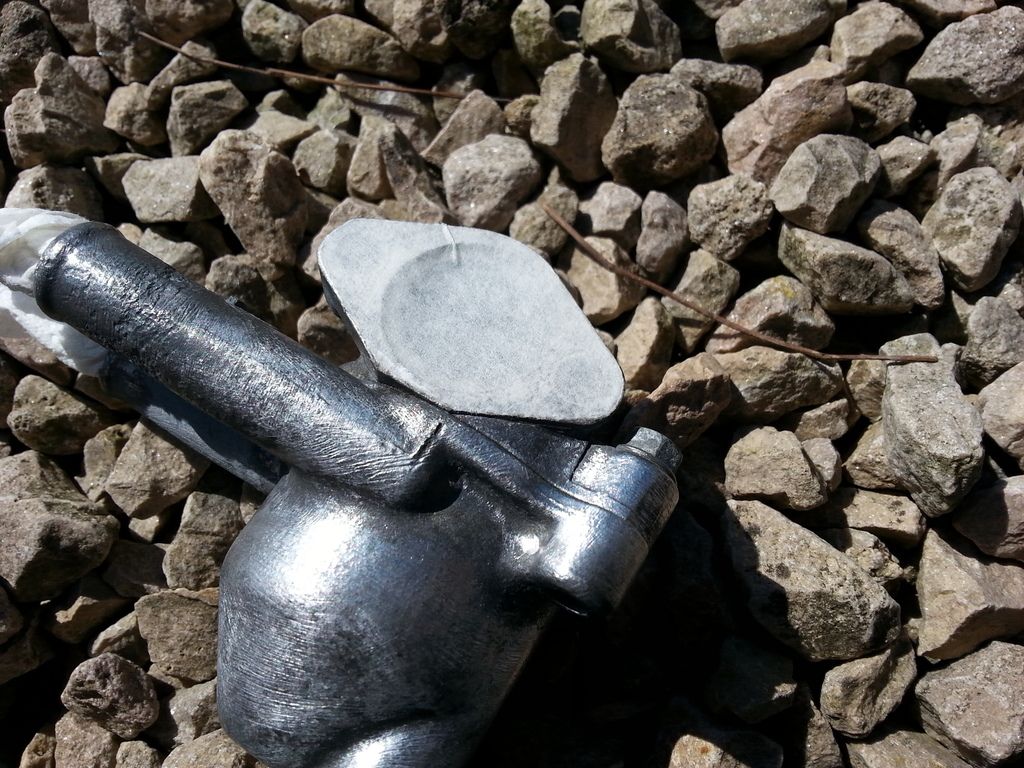
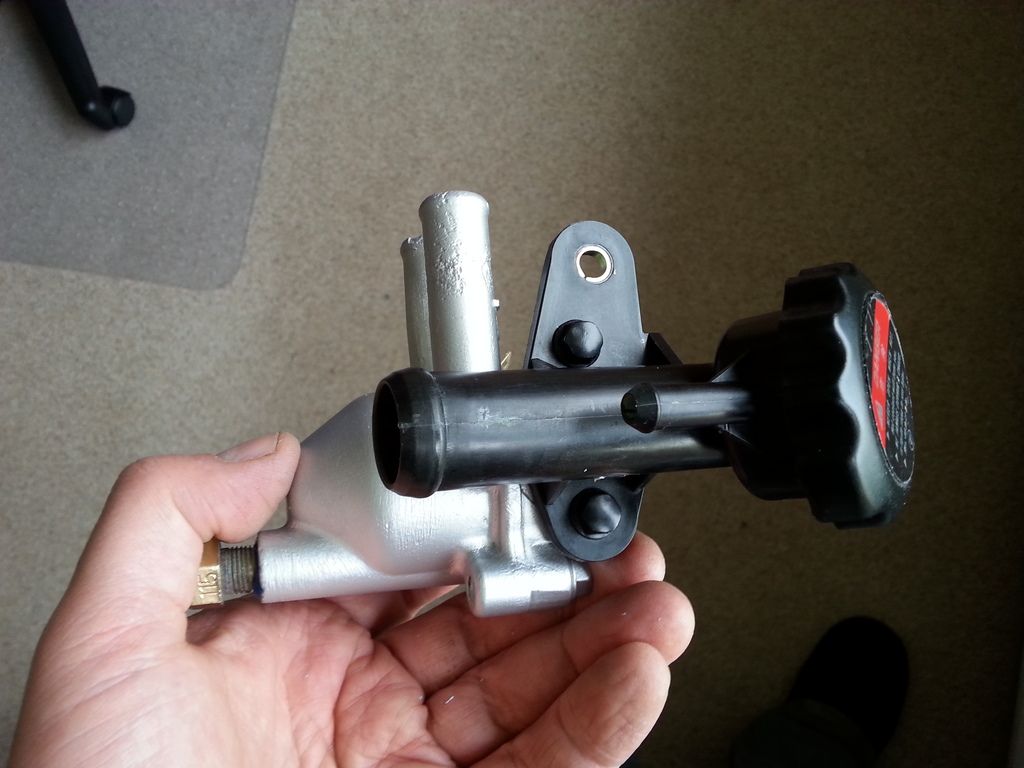
Reassembled and done. Not perfect, but some of the corrosion damaged will be hidden by the new hoses, and this is hidden in the guts of the engine anyway.

Suffering the usual aluminium corrosion.

Disassembled, start to clean up the alu with a variety of wire brushes.


Hmm ... the inlet (or is it outlet) is badly corroded. Not all the way through mind.

... so lets fill it out with some chemical metal.

... which we then file then sand back.

Here's a little tip for you. Want to paint something, but don't want paint on a mating surface ? Cover the area with masking tape. Then use a small hammer and tap round (right on the edge of the flange ... heh ... snigger, I said flange ...)

Keep going round, gently (you don't want to be rough on your flange. snigger) and then you'll break through the tape, which can be pulled away.

Et voila. One mating surface, protected from paint. You can also use this method to create custom gaskets from gasket paper.

Reassembled and done. Not perfect, but some of the corrosion damaged will be hidden by the new hoses, and this is hidden in the guts of the engine anyway.

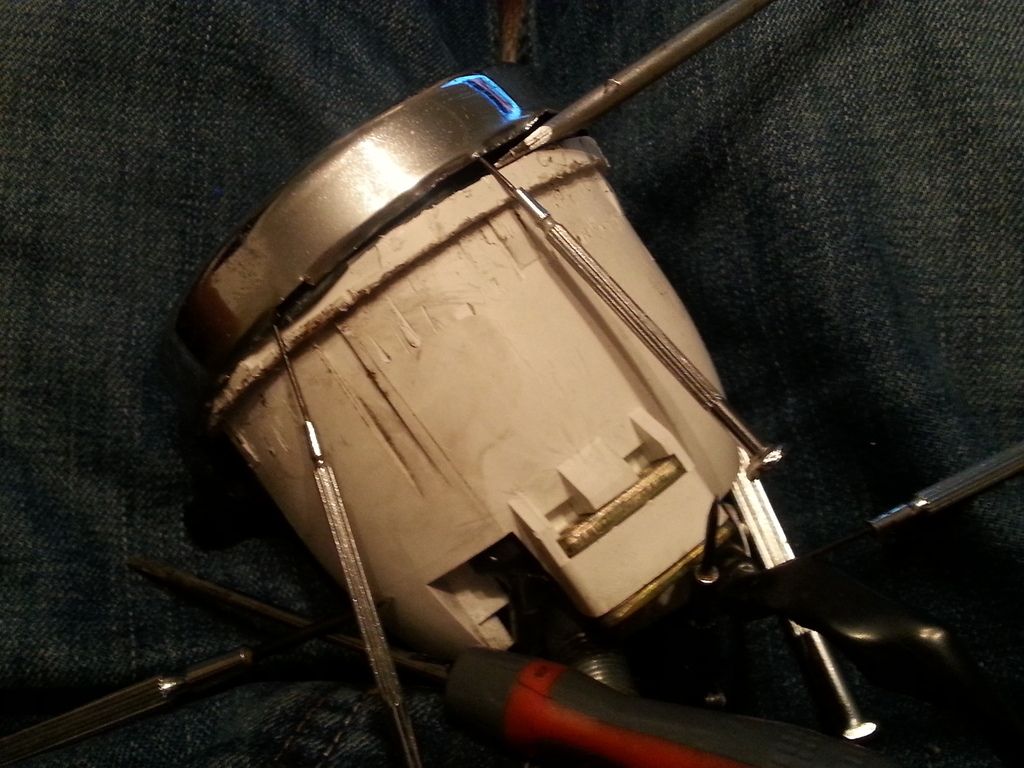
I've found somewhere that can (apparently) spray chrome paint onto plastic. But I've got to disassemble the clocks first. I will also have to do all the prep work.
The backs come off easy enough with one screw.
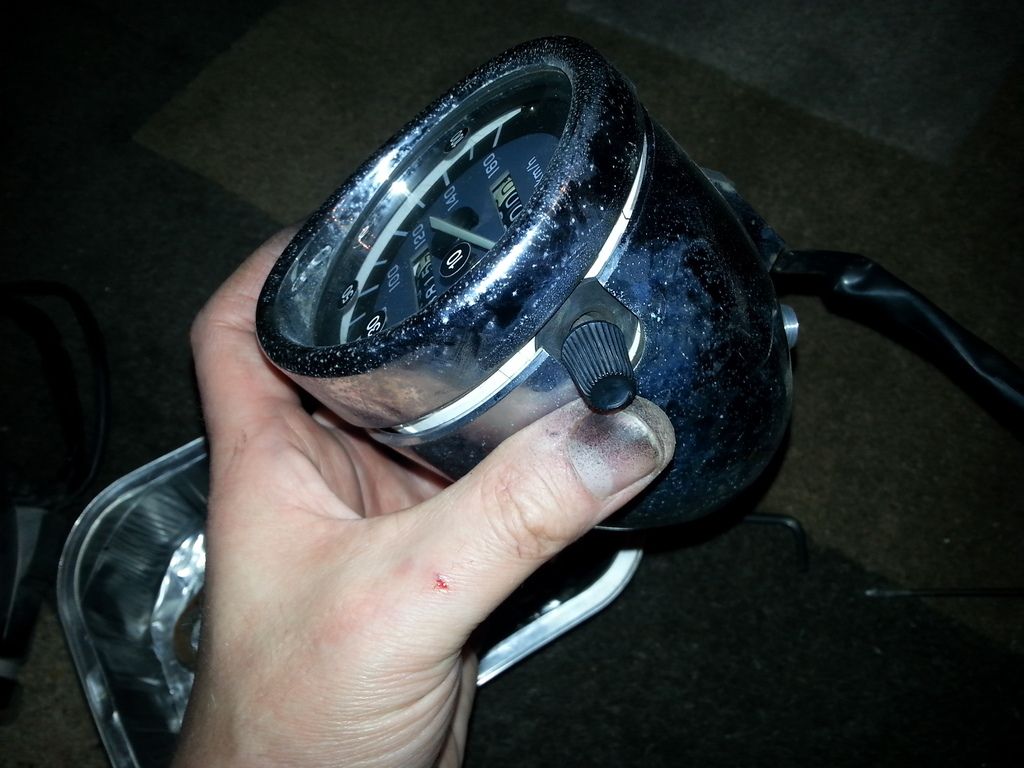
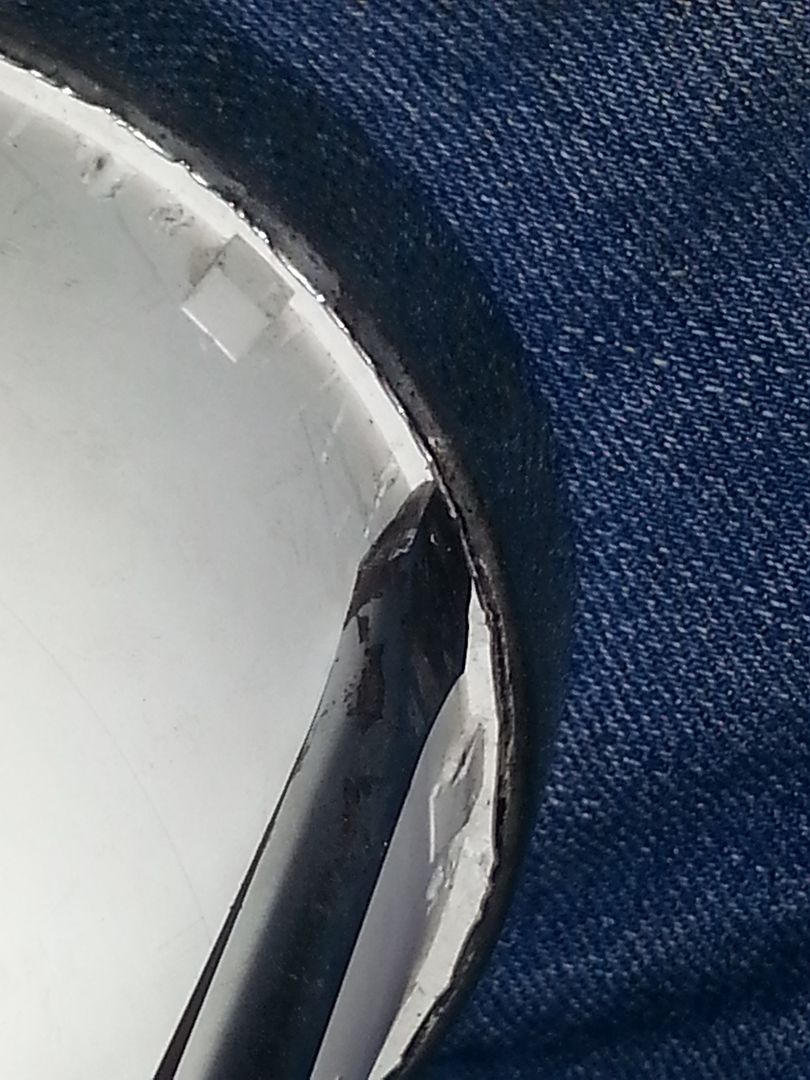
The trim round the clocks are a pig though. They are made of tin, and crimped into position. Get a flat screwdriver and slowly work round the edge, levering it up. Only need to go round 180 degrees of the clock, as the other half can be levered off, so best to start from the bottom (where any damage won't be seen, post re-fitting)
As you go, slowly start to insert small screw drivers to lever the bezel off. I did this sat in front of the TV watching Masterchef. I have an understanding wife.

Eventually you'll end up with screw drivers round 50% of the clock
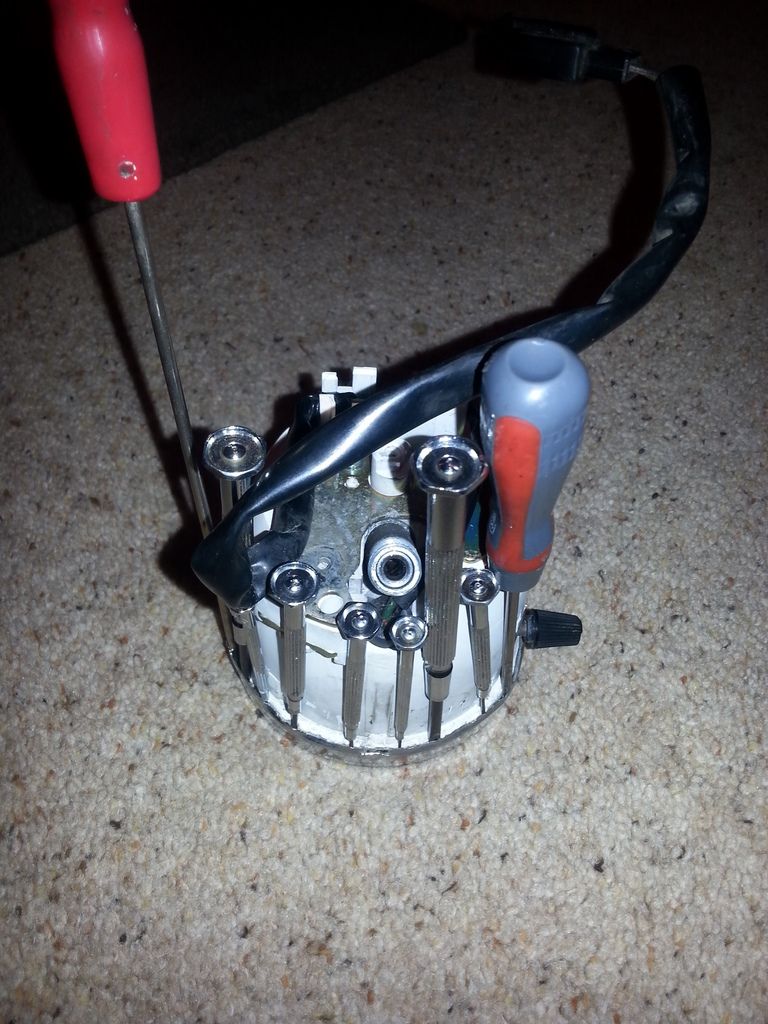
Then you can lever off the bezel.
The bent, rough edge can be hammered back flat with a vice and smaller hammer, plus a small file to remove any peaks. It needs to go back to being a tight fit, but just enough so it'll go back onto the clock when it comes back painted.
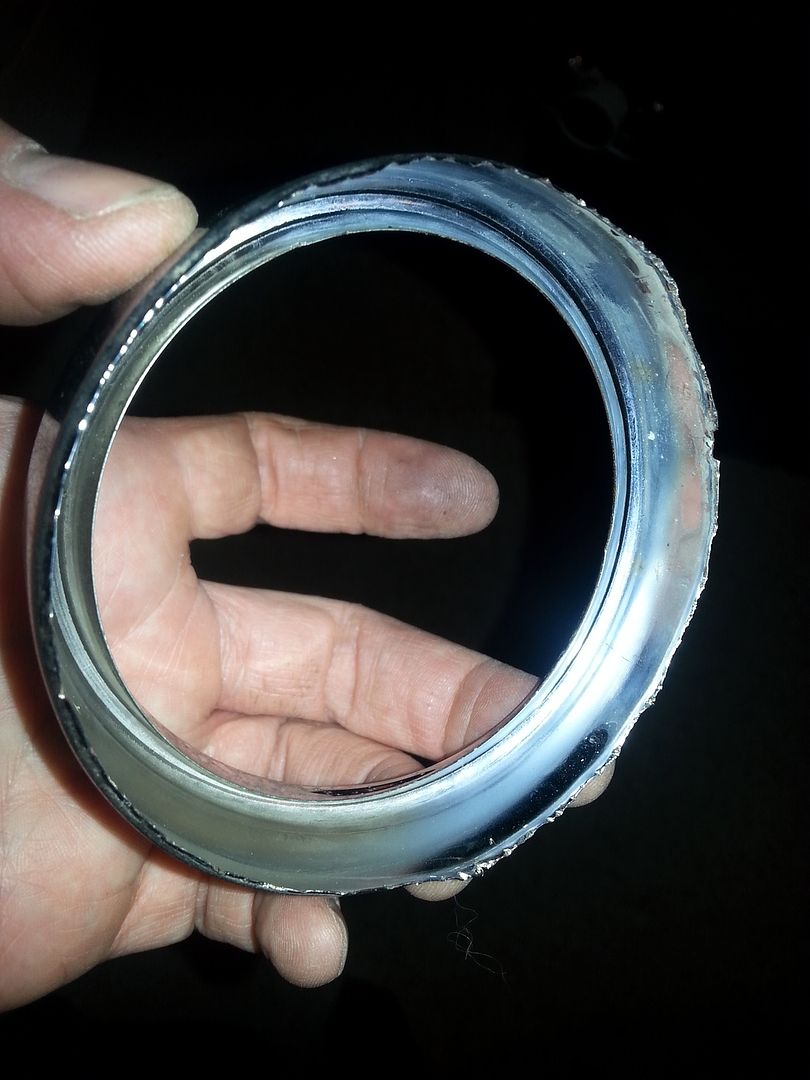
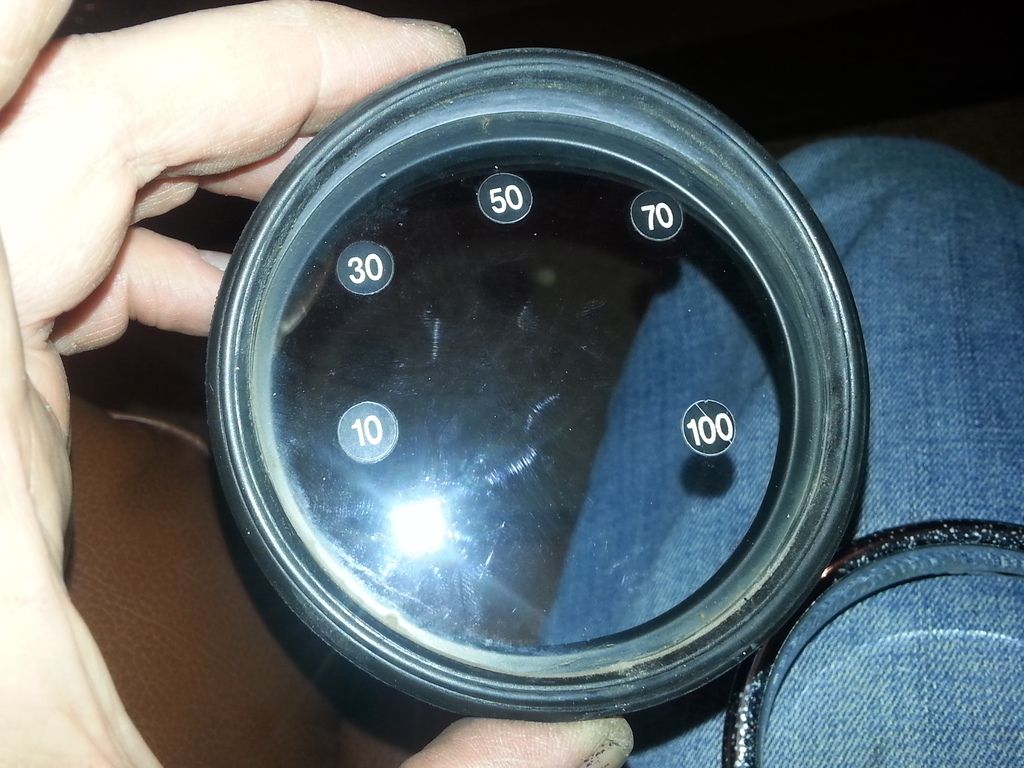
I should be able to come up with a more elegant solution to converting from KPH to MPH

The backs come off easy enough with one screw.

The trim round the clocks are a pig though. They are made of tin, and crimped into position. Get a flat screwdriver and slowly work round the edge, levering it up. Only need to go round 180 degrees of the clock, as the other half can be levered off, so best to start from the bottom (where any damage won't be seen, post re-fitting)

As you go, slowly start to insert small screw drivers to lever the bezel off. I did this sat in front of the TV watching Masterchef. I have an understanding wife.

Eventually you'll end up with screw drivers round 50% of the clock

Then you can lever off the bezel.

The bent, rough edge can be hammered back flat with a vice and smaller hammer, plus a small file to remove any peaks. It needs to go back to being a tight fit, but just enough so it'll go back onto the clock when it comes back painted.

I should be able to come up with a more elegant solution to converting from KPH to MPH

Gassing Station | Biker Banter | Top of Page | What's New | My Stuff