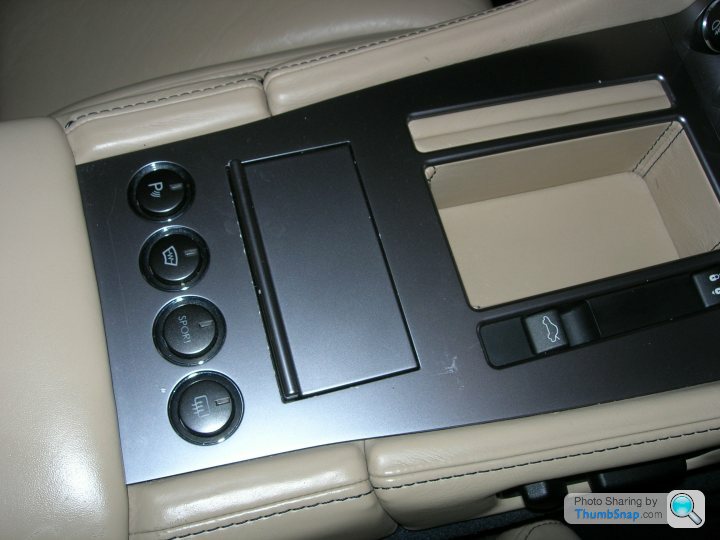
Chipped Centre Console DB9
Discussion


Please, Please, don't follow that video! It makes me wince when I see it.
Removal of that piece is quite straightforward, however it is different between V8 and DB9.
Start by using a flat blade (not screwdriver) spatula, trim tool, something thin wide and flat..... Insert between the end of the armrest and the bottom of the 'ski ramp' (below the sub speaker) and lift gently in either corner, do not twist the tool. This will release two 'fir tree' clips'. Lift out and set aside trim piece. Next remove the three Philips screws towards the front of the panel between the rear seats (one is offset from centre). Lift (slightly) the housing for the sub assembly. This will allow you to slide back and then lift from the front the armrest. Remove the two screws retaining the aluminium centre console piece and lift from the rear and slide towards the rear disconnecting electrical plugs as you go.
You can still turn the ignition on with this trim panel disconnected without putting any warning. Lights on the dash.
Hope this helps.
Perhaps I should do a UK you tube version!!
GerryS said:
Oooh, that does look a bit painful  Does anyone know what kind of paint is used on these bits ? Just wondering if smaller chips could be carefully touched up
I don't know what paint is used but mine had issues and I had the dealer sort it before I picked the car up. It was AM Amersham and it is a perfect match. Could do with something for the door arm as a little bit of wear evident on that. Does anyone know what kind of paint is used on these bits ? Just wondering if smaller chips could be carefully touched up GerryS said:
...Does anyone know what kind of paint is used on these bits ? Just wondering if smaller chips could be carefully touched up
You know you want to.http://www.amazon.co.uk/b?ie=UTF8&node=2010650...


Jockman said:
Brutal.. very brutal 
yeti said:
It's a bespoke service so anything that you can think of, the sky's the limit. Mine:

I'm really looking forward to seeing this one when fully assembled Yeti.I like the engine turned finish, looks great in stuff like Spykers, I just can't quite imagine it in an Aston. I suspect it will work with the cream leather and look very nice, just curious to see it

Have you had the top bit with the sat-nav done too?
Gassing Station | Aston Martin | Top of Page | What's New | My Stuff