Fixation of the Door catch cover plate
Discussion
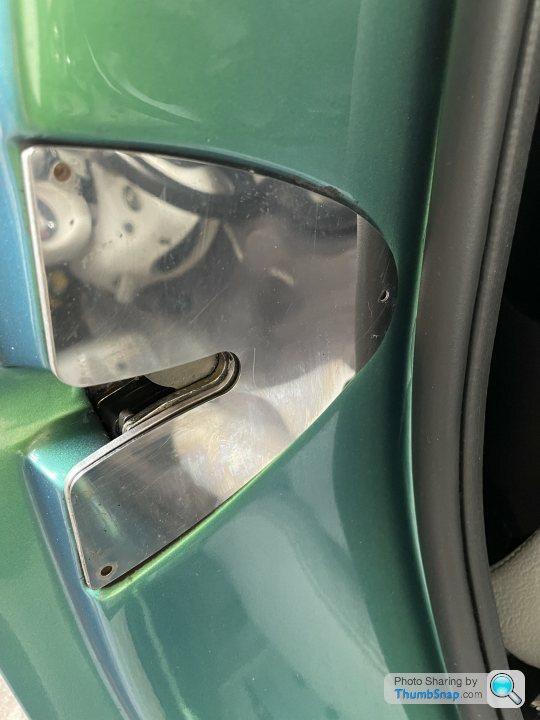
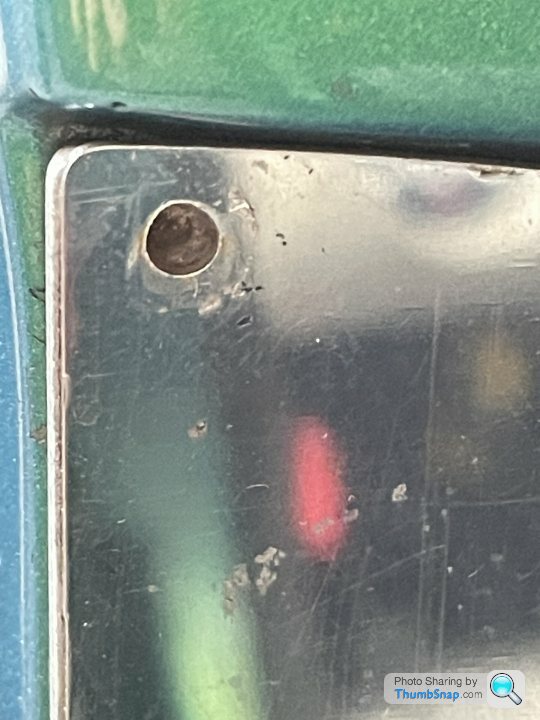
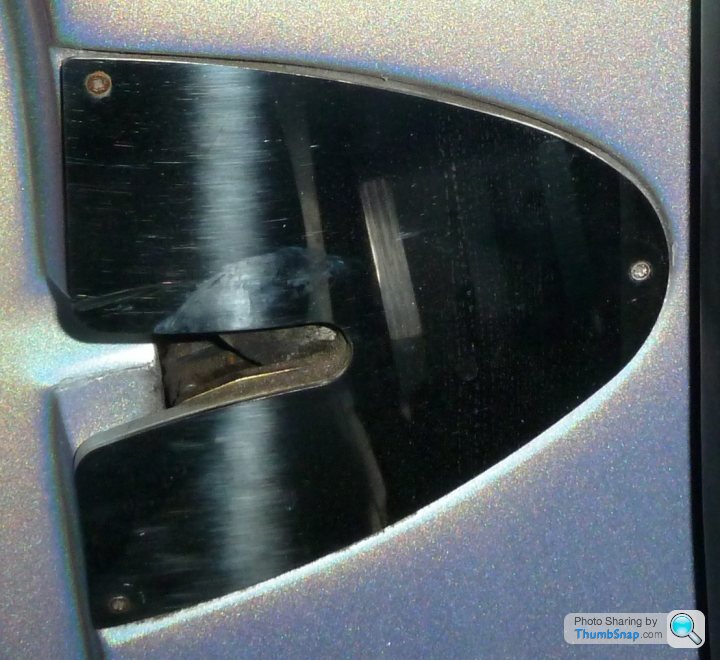
Does anyone know how the door catch cover plate is mounted on the door catch?

Looking at my plate this seems not to be screwed as all screws are below the cover.

Is it glued with sikaflex? Or is it fixed with screws from inside the body?
I want to inspect the catch as the door sometimes does not know whether it is open or not. I want to avoid to damage it by dismantling. Thanks for your help!

Looking at my plate this seems not to be screwed as all screws are below the cover.

Is it glued with sikaflex? Or is it fixed with screws from inside the body?
I want to inspect the catch as the door sometimes does not know whether it is open or not. I want to avoid to damage it by dismantling. Thanks for your help!
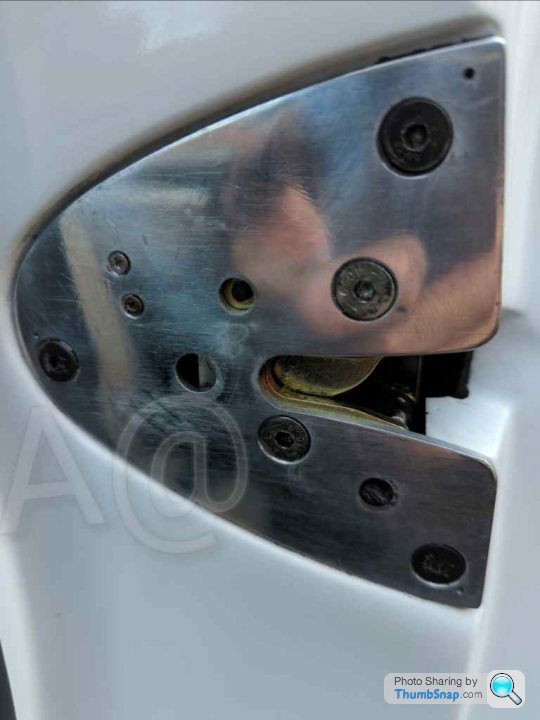
I would say both, as I found them to be both screwed and bonded (sealed to stop water ingress). I have just replaced the latches and micro-switches on both of my Tamora doors (all the nuts bolts and washers are listed with the Ford part numbers of the latches within the pictures on my FB page) and found that the micro-switch counter sunk heads proud of the back plate surface (changed to shallower S/S ones, adding more counter-sink on the alloy base plate will be a cure for that) and this was holding the S/S cover plate 'sprung and under tension' with the three minor M2 countersunk headed set bolts stripped (one had been replaced with a self tapping screw which then sheared as I went into investigate). I replaced the base plate with new AND helicoiled the new base plate (the threads were loose). I replaced the sealant as was.
I had real issues with the !P67 micro-switch actuators being the wrong ones that did not match (S/S arms and lost one in the sill) and would say this is a seat out, fill (I used an old towel) the B post void beyond the latches, use the hole within the base plate to hold the micro-switch arm back flush as you are replacing the bolts. (in my picture the middle 'empty' hole is used to draw back the micro-switch actuator, so it can be released after the latch has been locked up to the base plate)
The hole for the 3 minor bolt holes are thousands smaller than the countersunk heads, this is so they sit flush when screwed in. A@

Edited by Adrian@ on Monday 7th November 07:12
Thank you very much for your comments, guys!
I assume this is no operation one should start outside parking on the street but in a garage with enough light! So will have to finish the Grantura rear brake first.
@Adrian:
It seems that you are the one with special knowledge.
As I have no facebook account: could you help me with more data about parts?
And do you have further pics of the installed mechanism: catch, micro switch etc? I still have no idea how it works. Is the switch operated by contact with the door striker?
Gassing Station | Tamora, T350 & Sagaris | Top of Page | What's New | My Stuff


