Rustproofing my Monaro
Discussion


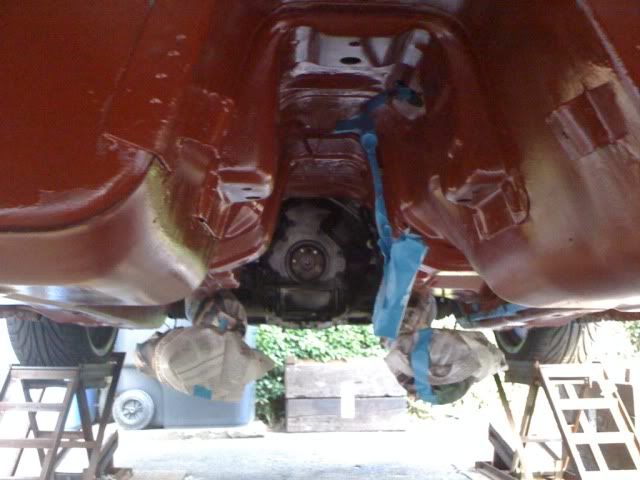
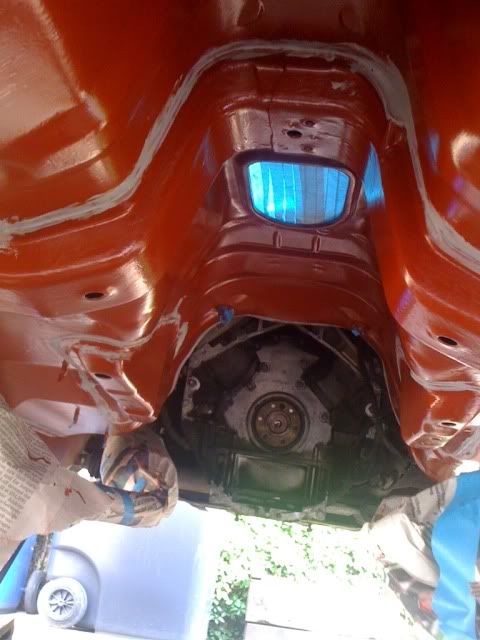
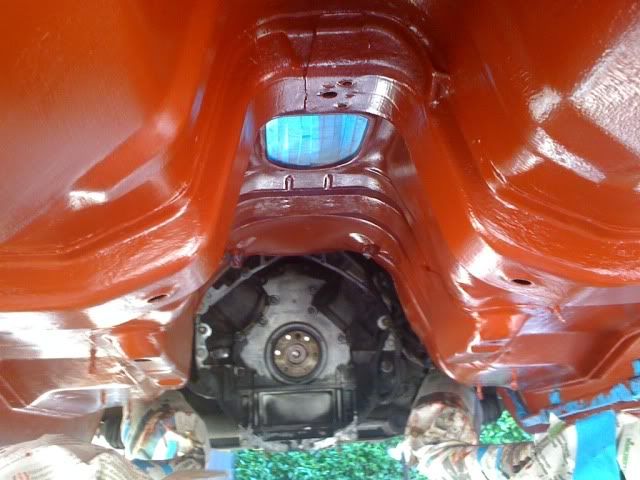
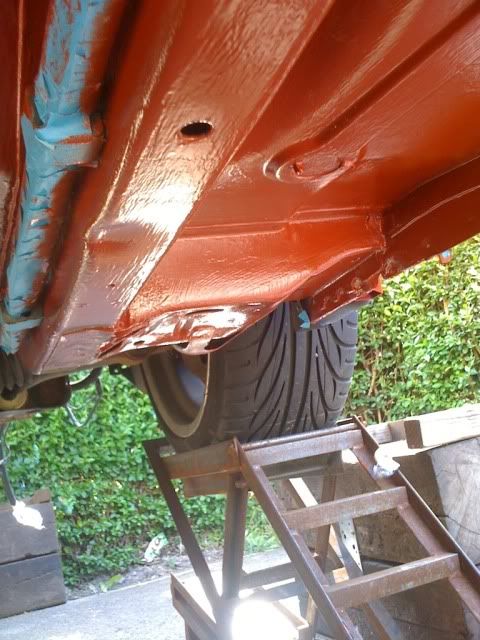
Taken some photos of my efforts so far
It's still a work in progress, i plan to apply 2 coats of epoxy mastic 121 in red, with a coat of seam sealer in between. Dinitrol RC900 in the sills and chassis rails, followed by bilt hamber dynax s50.
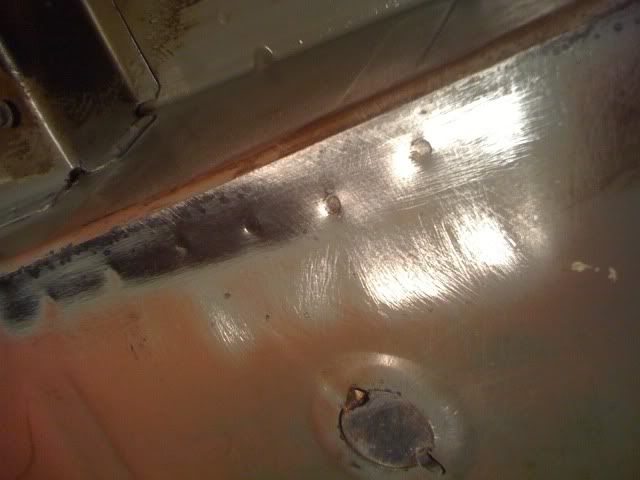
I have lost count the number of hours i have spent so far rust proofing. I scraped all the old stuff of and applied a temporary coat of dynax s50 6 months ago. I recently removed that and have started to get the car clean, and remove all traces of surface corrosion.
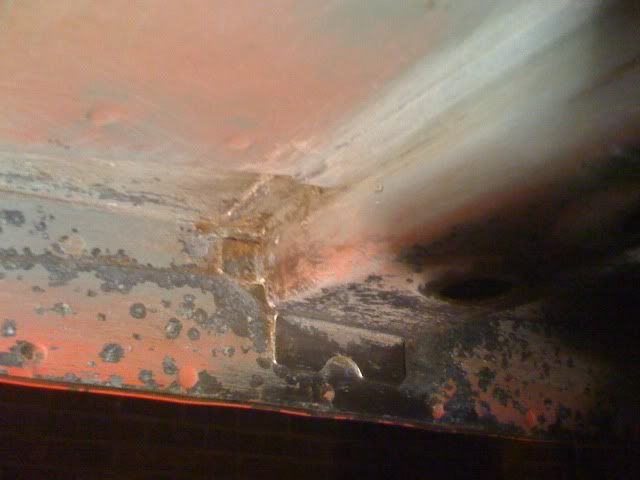
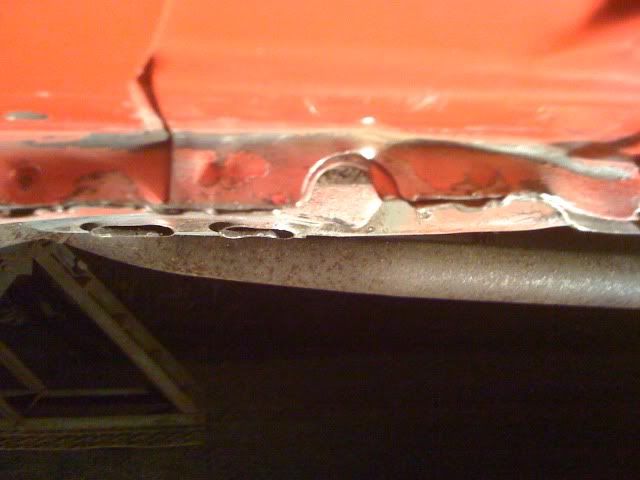
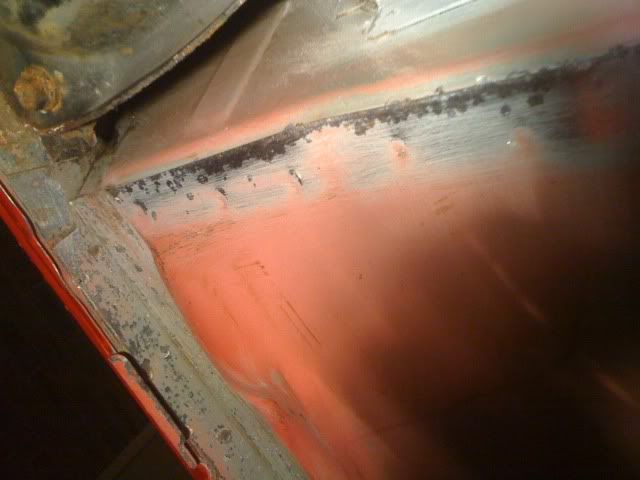
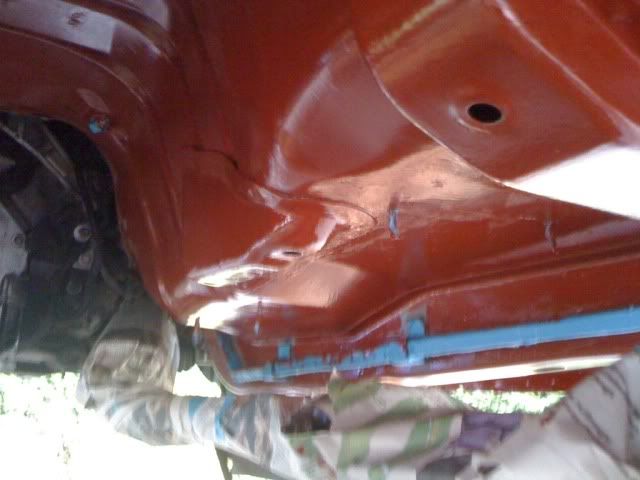
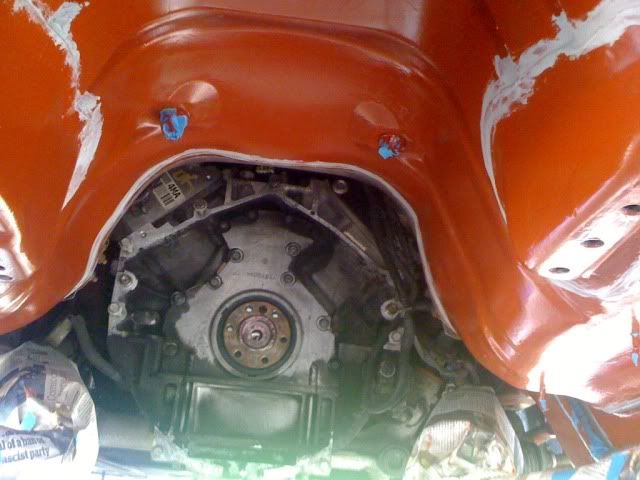
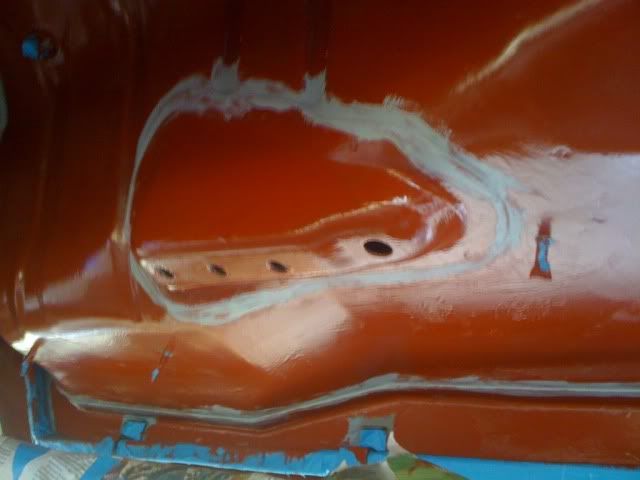
I have noticed that the spot welds seem to get surface corrosion and the paint starts to flake off them.
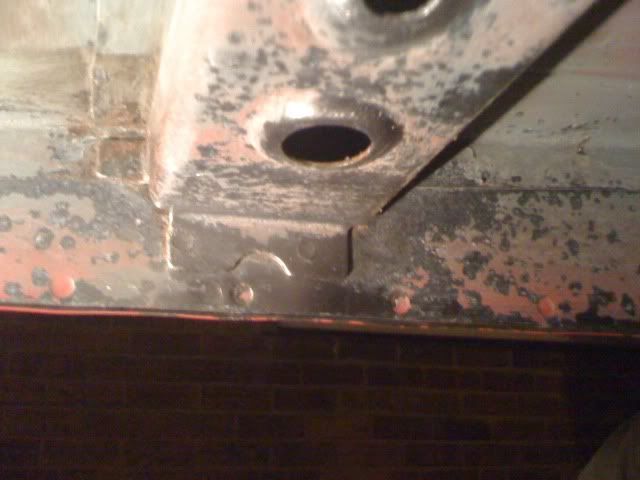
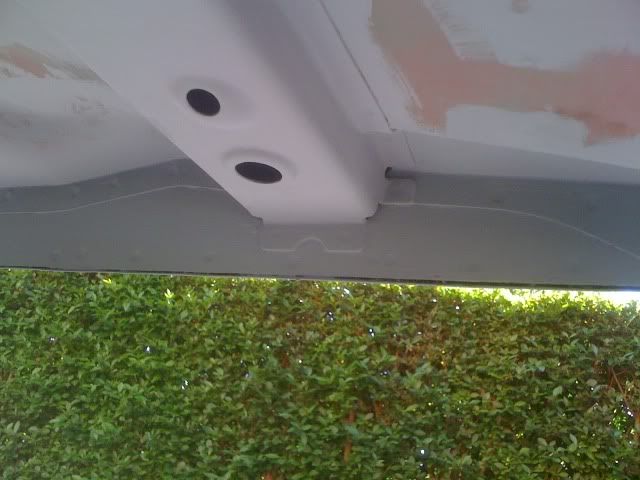
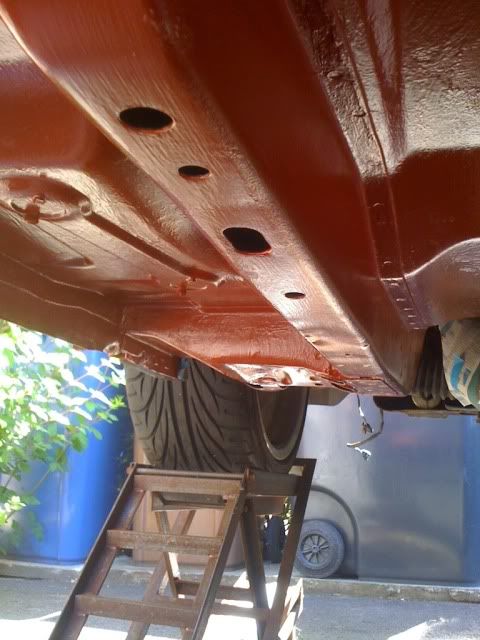
I have found that the monaro has 2 large bungs in the rear arches so if you remove them you can easily treat the sills, also underneath the side skirts there are 4 little rubber bungs, they also provide good access to for cavity wax.
It's still a work in progress, i plan to apply 2 coats of epoxy mastic 121 in red, with a coat of seam sealer in between. Dinitrol RC900 in the sills and chassis rails, followed by bilt hamber dynax s50.
I have lost count the number of hours i have spent so far rust proofing. I scraped all the old stuff of and applied a temporary coat of dynax s50 6 months ago. I recently removed that and have started to get the car clean, and remove all traces of surface corrosion.
I have noticed that the spot welds seem to get surface corrosion and the paint starts to flake off them.
I have found that the monaro has 2 large bungs in the rear arches so if you remove them you can easily treat the sills, also underneath the side skirts there are 4 little rubber bungs, they also provide good access to for cavity wax.

ARAF said:
Whay are you taking it back to bare metal? Aren't the panels zinc coated?
If they are then the coating is poor, as the spot welds all look fairly rusty.Im only taking the scabbing, rusty bits back to bare metal, the rest is just going to get a quick sand to smooth out the places where the paint has chipped.
Hex said:
How you working under your car? Set of ramps?
ive got some adjustable ramps at the front, got them off ebay a while back for around £150http://www.cjautos.site90.net/adjramp.html
and ive got some huge axle stands under the rear subframe bolts
http://www.northerntooluk.com/automotive-equipment...
i have tried to shake the car side to side to check stability, i know i was a bit nervous but i can assure you that this setup is totally stable.
Gives you loads of room underneath
 bloody H&S), was with regards to room underneath
gsd2000 said:
ARAF said:
Whay are you taking it back to bare metal? Aren't the panels zinc coated?
If they are then the coating is poor, as the spot welds all look fairly rusty.
Im only taking the scabbing, rusty bits back to bare metal, the rest is just going to get a quick sand to smooth out the places where the paint has chipped.
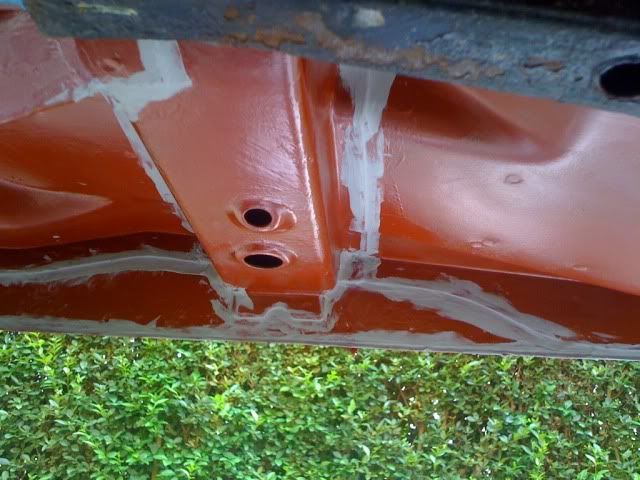
Although the panels may be galvanised (zinc) the welds are not as the panels are spot welded together after galvanising. It is usual that any welds are painted using a zinc paint to reduce corrosion from the weld joints. Therefore, they are a weak point.
Galvanising the panels allows the zinc to work as a sacrificial coating, allowing itself to deteriorate whilst protecting the steel.Hence the white powder or oxidisation seen on all galvanised substrates (Zinc Oxide). The zinc coating is primarily to reduce corrosion creep caused by impact damage. Any oxidastion MUST be removed prior to painting to allow the correct adhesion to take place. From what I can see in the photo's, the preparation is correct. Just make sure the painting takes place before the rustproofing is used or the paint will fall off.
Edited by Desert Fox on Thursday 10th March 15:21
the_ferret82 said:
love the ramps G if only i had the space to store them i would buy a few sets...
Thats just what I thought.do these guy have a sense of humour, or just didn't match the captions to the pics?

WIDE TYRES NOT A PROBLEM
Yes those 145s must give Mr Chumley-warner excellent grip is the most difficult of conditions.
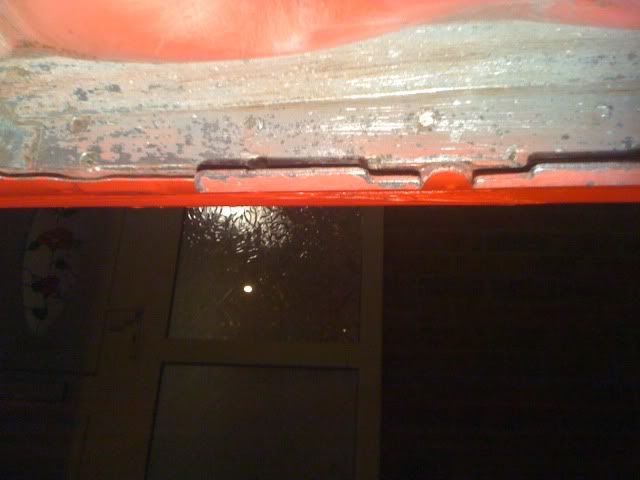
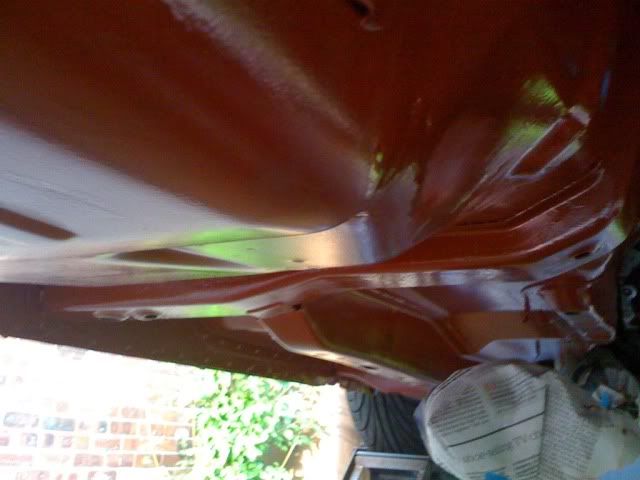
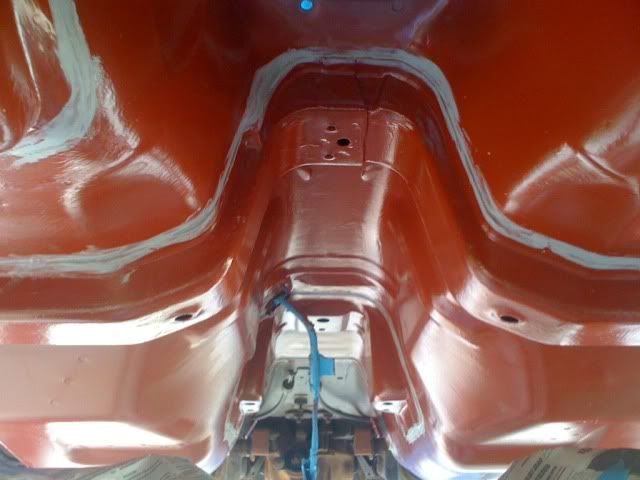
some more photos, all the main underside which was down to bare metal has been treated with 2 coats of Bilt Hamber Electrox Zinc primer, the areas which i couldnt get totally clean were treated with bilt hamber deox c gel and then bilt hamber hydrate 80.
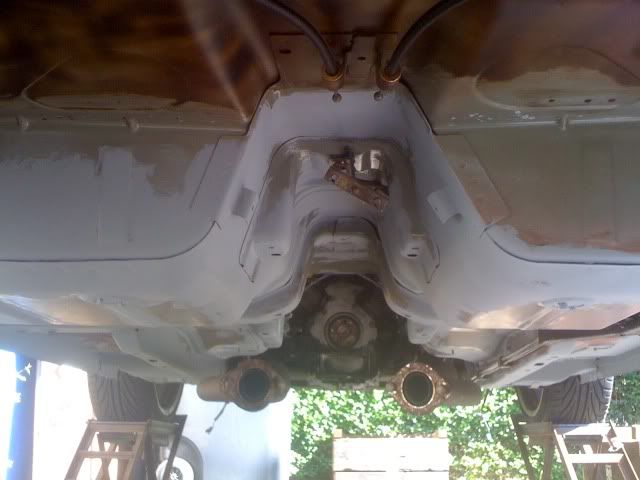
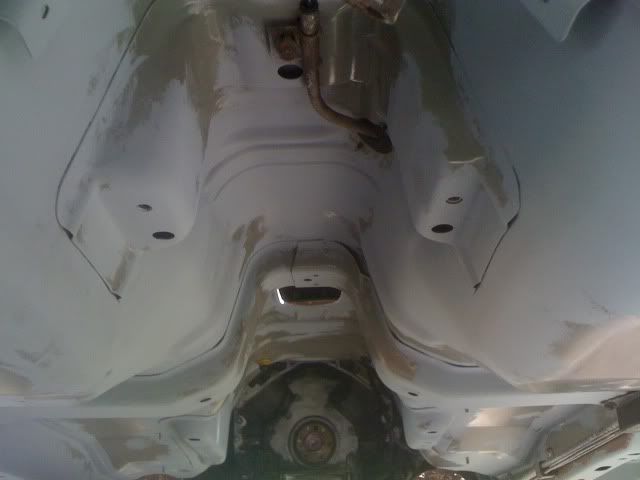
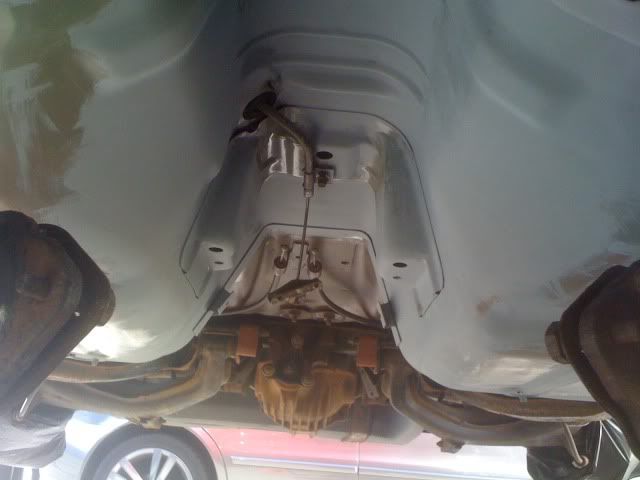
It's still not perfect but overall its alot better and should be good for a few more years to come.
Just need to overcoat with some Epoxy Mastic 121 and 3M Seam sealer
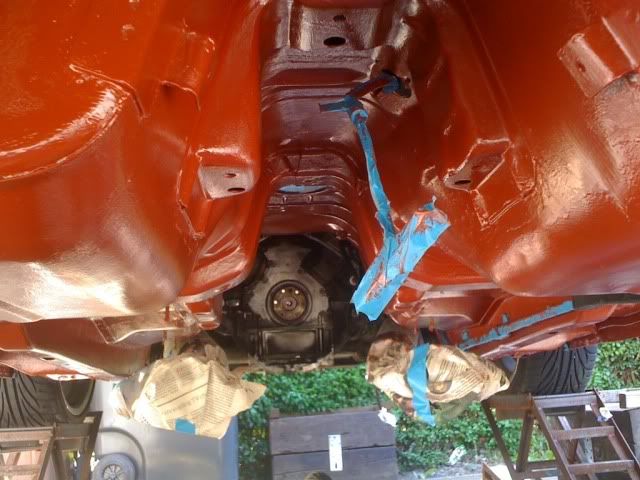
The front and rear subframe will get a tidy up with some bilt hamber hydrate 80 rust converter
It's still not perfect but overall its alot better and should be good for a few more years to come.
Just need to overcoat with some Epoxy Mastic 121 and 3M Seam sealer
The front and rear subframe will get a tidy up with some bilt hamber hydrate 80 rust converter
gsd2000 said:
If they are then the coating is poor, as the spot welds all look fairly rusty.
Im only taking the scabbing, rusty bits back to bare metal, the rest is just going to get a quick sand to smooth out the places where the paint has chipped.
The plating looks poor, or our salt is extra aggressive. Looks as though sokme of those corners need blasting to get at it all. Good attention to details though Mate.Im only taking the scabbing, rusty bits back to bare metal, the rest is just going to get a quick sand to smooth out the places where the paint has chipped.
Gassing Station | HSV & Monaro | Top of Page | What's New | My Stuff