Discussion


Hi guys
Yesterday I had my air con regassed by kwik fit, as it had stopped working over the last few weeks. Today I woke to find a small puddle of green refridgerant under the car.
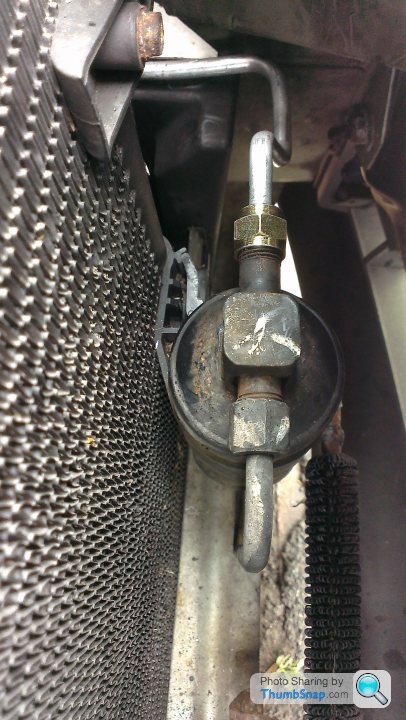
I have tracked it down to a joint, I believe its on the dryer (its a cylinder mounted to the front of the condensor, the joints thats leaking is on the passenger side of the car connected to an aluminium pipe-the pipe seems fine-no obvious damage). It leaks (bubbles) when the a/c is on quite badly, less so when a/c is off. I nipped up the joint, its no leaking at all when off, but is still trickling out when on.
Has anyone had this leak before, Ive tightened it as much as I feel comfortable doing, should it be a case of changing a seal in the joint? A friend has said he could braze the joint, but I dont really want to do this, is there any product on the market similar to lsx plumbing sealant for air con, just to seal the joint without disassembly?
Its a 04 cv8 btw.
Thanks for any suggestions
John
Yesterday I had my air con regassed by kwik fit, as it had stopped working over the last few weeks. Today I woke to find a small puddle of green refridgerant under the car.
I have tracked it down to a joint, I believe its on the dryer (its a cylinder mounted to the front of the condensor, the joints thats leaking is on the passenger side of the car connected to an aluminium pipe-the pipe seems fine-no obvious damage). It leaks (bubbles) when the a/c is on quite badly, less so when a/c is off. I nipped up the joint, its no leaking at all when off, but is still trickling out when on.
Has anyone had this leak before, Ive tightened it as much as I feel comfortable doing, should it be a case of changing a seal in the joint? A friend has said he could braze the joint, but I dont really want to do this, is there any product on the market similar to lsx plumbing sealant for air con, just to seal the joint without disassembly?
Its a 04 cv8 btw.
Thanks for any suggestions
John
Edited by bigmadjohn on Saturday 20th July 21:01
The joint that its leaking can be ssen in this ebay ad
http://www.ebay.co.uk/itm/Vauxhall-Monaro-5-7L-Pet...
Its the joint without a connector on it (right side) and is leaking from the gap from the nut to the pipe going through the nut.
Also if the pipe is damaged is it the £20 pipe or £330 pipe that connects here, hard to tell from pictures.
Thanks alot
John
Do you mean this pipe ? ( The shiny bit )
If so, you can get a replacement for Around £20 from a well known fishy named supplier of Monaro parts.
As you may well have guessed, I've recently had to replace this on my 04 cv8. I'll post a set of pictures to show how it's done. ( Not including my scraped forearms though )
I'll presume I'm allowed to post this link.. http://www.monkfishperformance.co.uk/air-con-pipe-...
This is the part that you need.
This is the part that you need.
Ok, to begin then. I'll presume that there is nothing left in your air con system, as there wasn't in mine. In fact when I went to undo the old nut the entire pipe sheared immediately. 17mm spanner btw, the devils own job to get it anywhere near the nut itself, but as it's only suposed to be 7-12Nm tightness ( not very ), it's not so much of an issue. ( apart from the scraped forearms ).
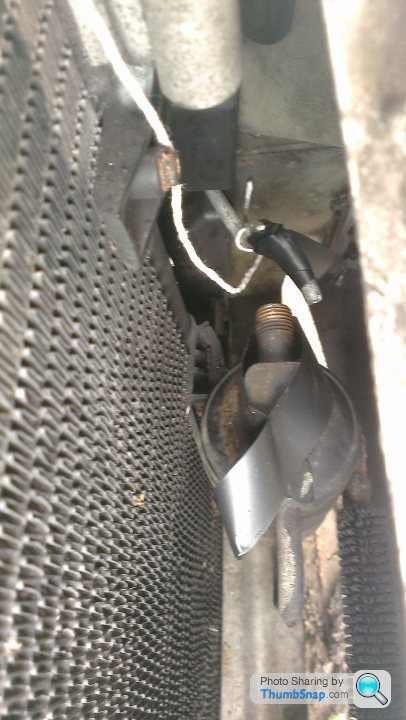
You'll see my attempt to cover the open end so as not to let crud in, and also the sheared pipe with more tape and string on it as I'd hoped that I'd be able to draw it past the radiators, and pull the new one through. Absolutely no way you can do this however.
You'll see my attempt to cover the open end so as not to let crud in, and also the sheared pipe with more tape and string on it as I'd hoped that I'd be able to draw it past the radiators, and pull the new one through. Absolutely no way you can do this however.
The pipe itself runs past the radiators and along a gutter underneath EVERTHING else towards the bulkead.
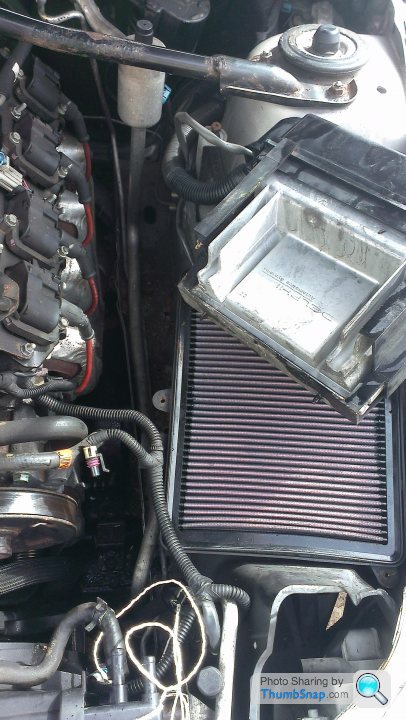
So, remove engine cover, top of air box and intake. Then remove the coolant reservoir ( disconnect pipes, pull ! )
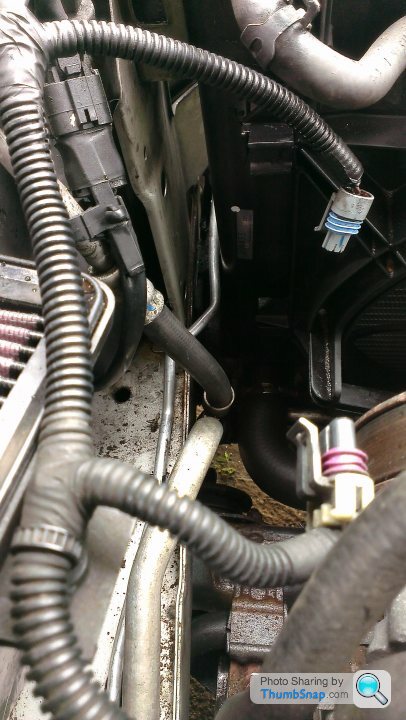
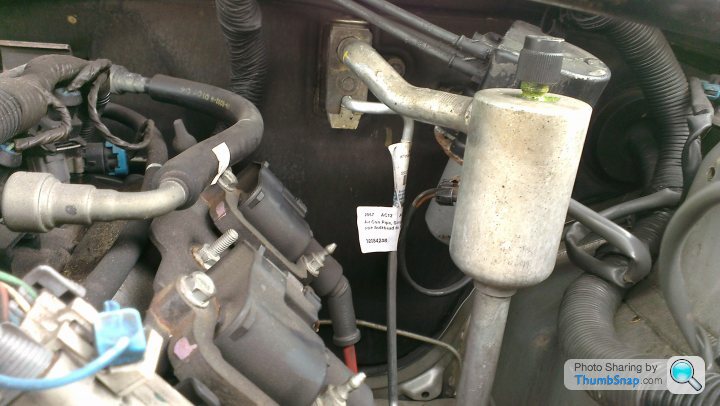
Next, there is a heat sheld between the delphi unit and the engine. ( underneath the reservoir ) Pull it straight up a bit, and put a screwdriver down it's back to release it from it's sliders which you should be able to see. Here is a photo looking down at the area with the shield removed.
Next the Delphi unit itself will need to be moved. The plastic housing that the heat shield is on is also what it is mounited on too. The whole thing is attached to the wing with two 10m bolts. One at the front, one at the back. A socket and standard extension gets you access to these, just !
In the next picture you'll see that once I got those bolts out I lifted ( but didn't unplug ) the Delphi unit up and rested it out of the way.
So, remove engine cover, top of air box and intake. Then remove the coolant reservoir ( disconnect pipes, pull ! )
Next, there is a heat sheld between the delphi unit and the engine. ( underneath the reservoir ) Pull it straight up a bit, and put a screwdriver down it's back to release it from it's sliders which you should be able to see. Here is a photo looking down at the area with the shield removed.
Next the Delphi unit itself will need to be moved. The plastic housing that the heat shield is on is also what it is mounited on too. The whole thing is attached to the wing with two 10m bolts. One at the front, one at the back. A socket and standard extension gets you access to these, just !
In the next picture you'll see that once I got those bolts out I lifted ( but didn't unplug ) the Delphi unit up and rested it out of the way.
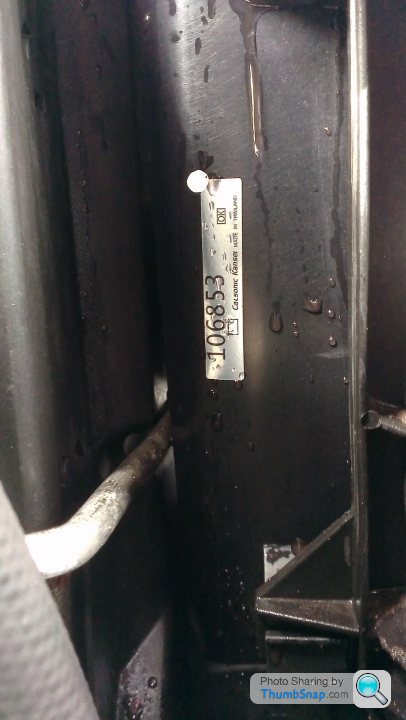
If you've not already done so, unscrew the bolt ( 10mm again ) holding the FDR plate on the bulkhead so you can release the other end of the pipe. This picture shows the pipe now loose. I put the plate back loosely to hopefully prevent anything cruddy getting in there.

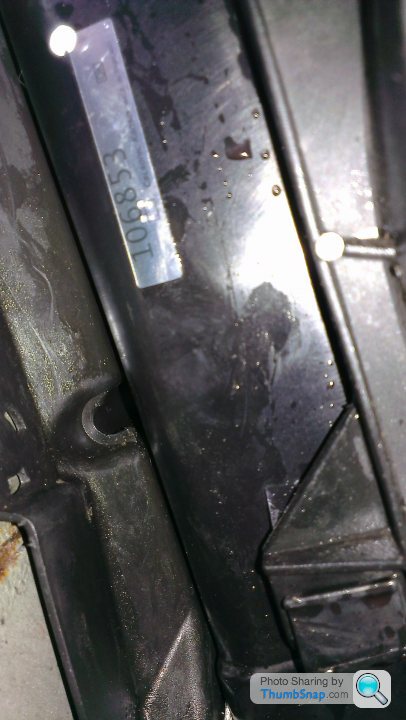
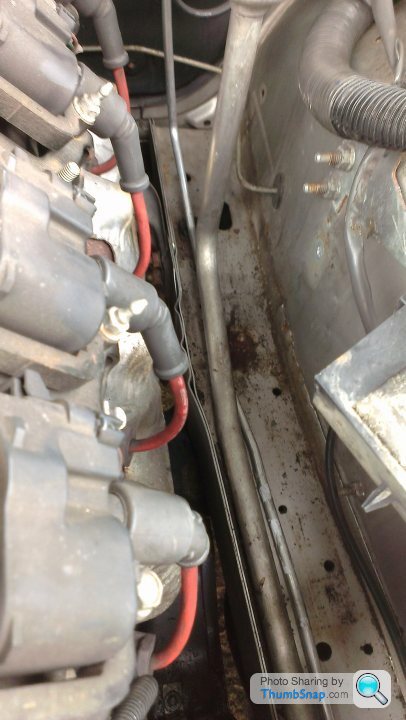
This photo below shows the gutter the the pipe runs along. The larger pipe will at this point also be loose if you leave the FDR plate off. Although there seems to be plenty of space, with the Delphi unit in place the pipe really only has one path.

This photo below shows the gutter the the pipe runs along. The larger pipe will at this point also be loose if you leave the FDR plate off. Although there seems to be plenty of space, with the Delphi unit in place the pipe really only has one path.
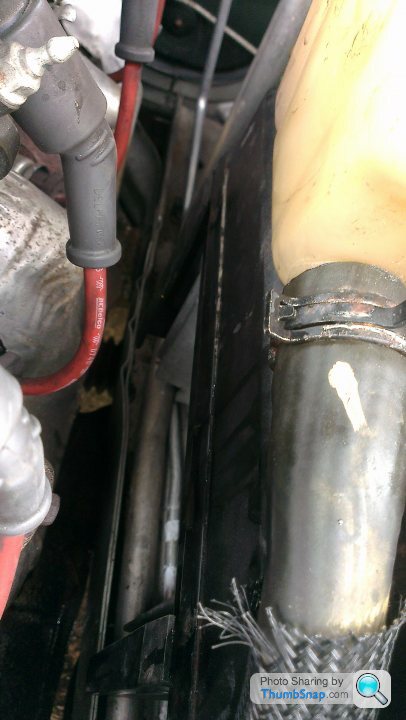
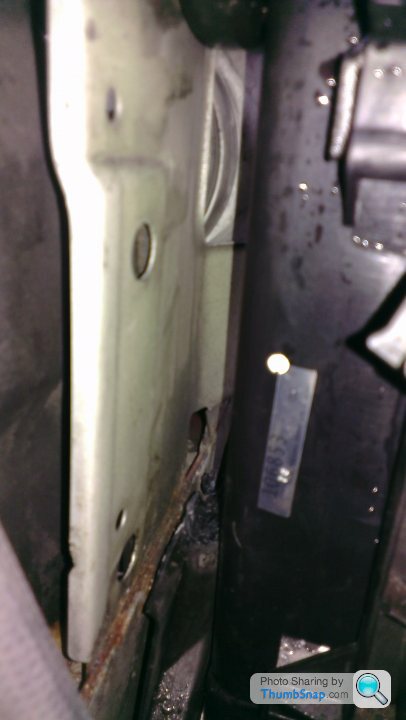
Here is a picture of the original pipe passing next to the radiator. This is looking forwards. Yes it's a new radiator, dribbles are from the loose water pipes recently disconnected !
The next photo is with the old pipe removed. As the nut sheared off when I undid it, the old one came out through this, whilst being bent virtually straight in the process ( remember that it turns sharp right once past the radiators ).
I knew the the replacement could not be fitted back through here like this, not only was the hole not big enough for the nut but there is another clip behind this one that held the original pipe in place in two places.
I am not a 'natural' mechanic, my main skills are bleeding from the knuckles and rounding off nuts and screw heads of all sizes. Plastic on the other hand is something that I can cut with a knife or melt with something hot, so I set too.
My drill with reaming bit wouldn't fit anywhere near this, nor would my selection of files, or any hacksaws or blades, so I decided to melt it instead.
After about 10 minutes of leaning in upside down carefully attacking the hole with a 50w soldering iron taking great care not to hit the plastic on the radiator and slowly poisoning myself in the process I hit on another plan.
Given that even if I bored/carved/melted out the hole to accommodate the nut, this would still involve probably terminally damaging my shiny new pipe by having to bend it straight then bend it again afterwards once through. This wasn't going to work.
So, as this piece of plastic was already half knackered due to my soldering iron, I took a stanley knife to the visible bit in front of the radiators and ripped the top half completely out !! I am a fearful oik.
Now we had space to work with.
Edited by MarvinTPA on Tuesday 23 July 22:29
From here on in, it was not such a bad job really.
The old pipe was removed by manoeuvring it to the left of the larger pipe in the gutter then feeding it backwards and upwards at the bulkhead end. This was also good practice for the new pipe, as if I damaged the old one trying to extract it then I'd ( hopefully ) know what to avoid installing the new one.
Fitting the new one only involved slight bending around the now much larger space next to the radiator.
Here is the new pipe ( looking forwards ) from the front of the gutter past the radiator.
And looking backwards towards the bulkhead in it's proper place. ( Note I brushed the crap out of here too ).
Last I fitted the ends, i used little of the oil from behind the FDR plate on the o rings, making sure my hands were clean first, then put all the bits now filling my boot all back on again.
The nut for the FDR plate and also the nut at the front end are 7-12.5Nm apparently. I did them hand tight plus lightish pressure, figuring that if they leaked they could be tightened more, if overtightened in the first place I would look like an idiot.
And that was that. One £50 gas charge later and it all worked, icy cold.
I hope this is a help.
Good luck.
Gassing Station | HSV & Monaro | Top of Page | What's New | My Stuff