Outer CV joint rebuild help
Discussion
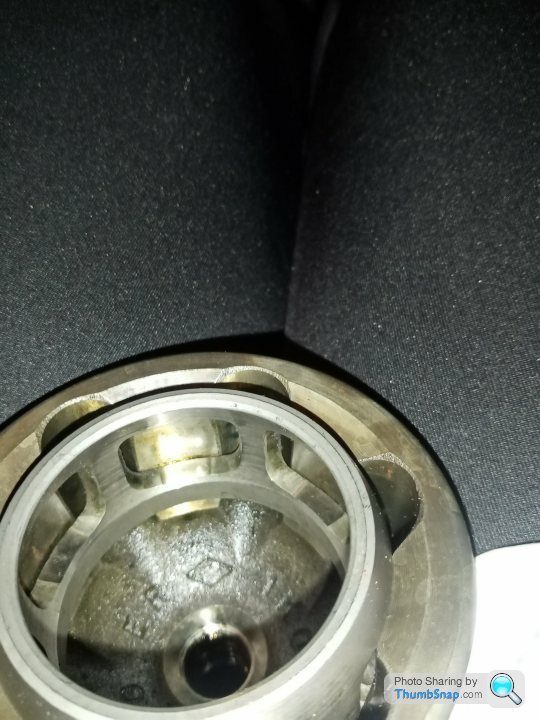
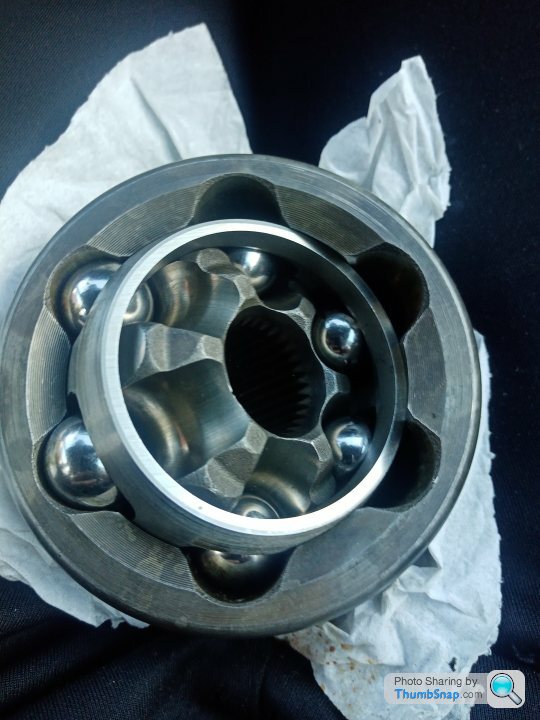
Hi guys, need some help here. I managed to dismantle outer cv joint for cleaning on a 2012 Golf manual.
The problem is I cant seem to get the ball bearing cage back in the housing where the windows line up with the grooves for the ball bearing. The cage does go into the housing but does not manoeuvre to where the windows line up with the grooves.
How are these cv joint cages put back in?

The problem is I cant seem to get the ball bearing cage back in the housing where the windows line up with the grooves for the ball bearing. The cage does go into the housing but does not manoeuvre to where the windows line up with the grooves.
How are these cv joint cages put back in?

You need to assemble the outer, cage, inner and balls at the same time. There are different styles of CV that use different techniques, but I think that style will assemble by putting the input shaft and stub axle at such an acute angle that the cage is exposed so that you can drop a ball in (ETA and then turning the assembly so you can insert the other balls in turn). On the other hand if it is a plunging type, the inner and cage complete with balls should simply push straight in.
Edited by GreenV8S on Saturday 5th February 13:35
the slots on the cup are angled, there is only one correct way for them to go in. The wrong way usually sees the joint lock up.
It's been a few years since I did one, but I think you need to start one ball at a time and rotate, inserting the next as you go.
Bound to be videos on youtube of it...there are everything else lol
But if it locks up, you started in the wrong place. Start again, rotate and start in the next space.
It's been a few years since I did one, but I think you need to start one ball at a time and rotate, inserting the next as you go.
Bound to be videos on youtube of it...there are everything else lol
But if it locks up, you started in the wrong place. Start again, rotate and start in the next space.
It's a long time since I did one but....
I don't think you have the cage bit in far enough. I think you may find two opposing holes in that cage are slightly larger, rotate the cage 90 degs about an axis through those two holes, then wiggle it in further into the cup before turning it back to the correct orientation. You'll know when it's in right - the two surfaces just fit together nicely.
Surely these days theres a YouTube video showing it!
Gassing Station | Engines & Drivetrain | Top of Page | What's New | My Stuff


