Dad! Your Exhaust Manifold Gasket is blowing!
Discussion
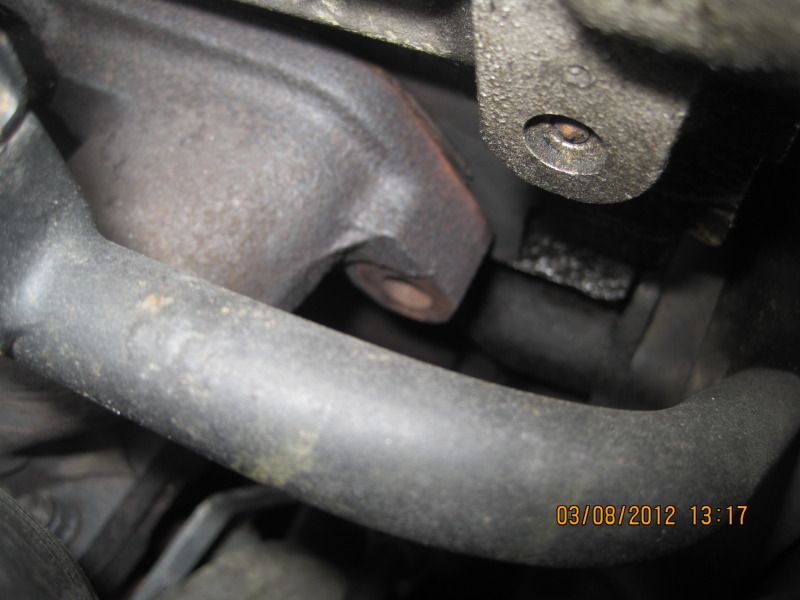
It is and has been for about a month now on my green 620ti. Decided to get stuck in. Disconnected the Positive Clamp on the Battery ~ don't want any sparks flying ... literally! When opening the bonnet, first thing I see is a missing Exhaust manifold Stud. Still, save me having to remove it. If only that was the case. More on this later :~
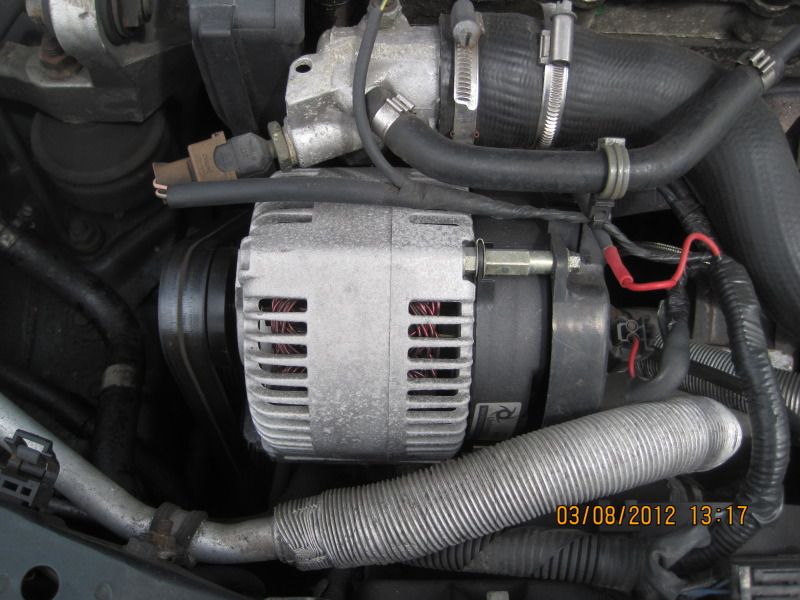
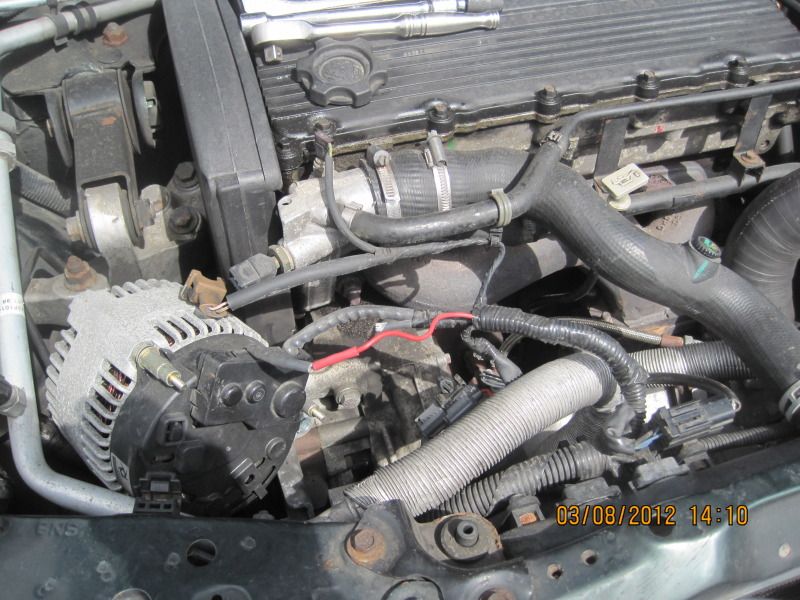
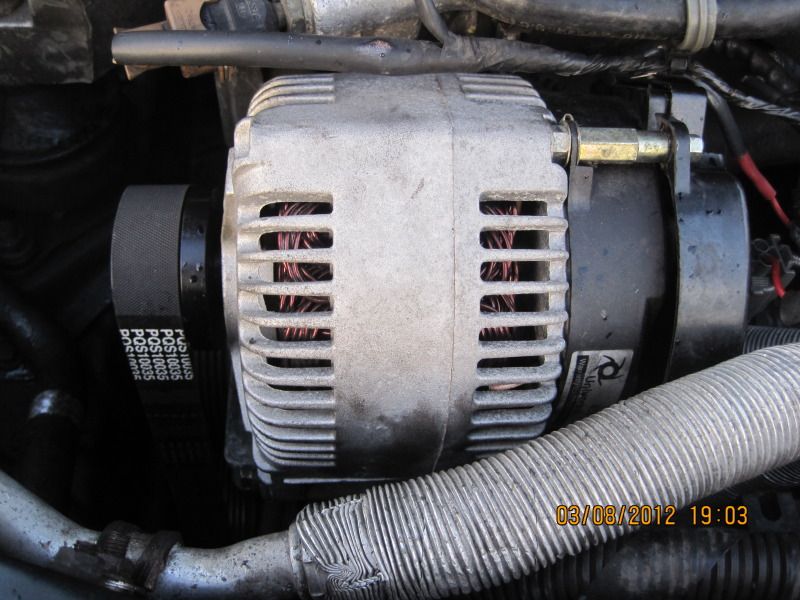
First, need to remove the Belt from the Alternator and move the Alternator out of the way :~
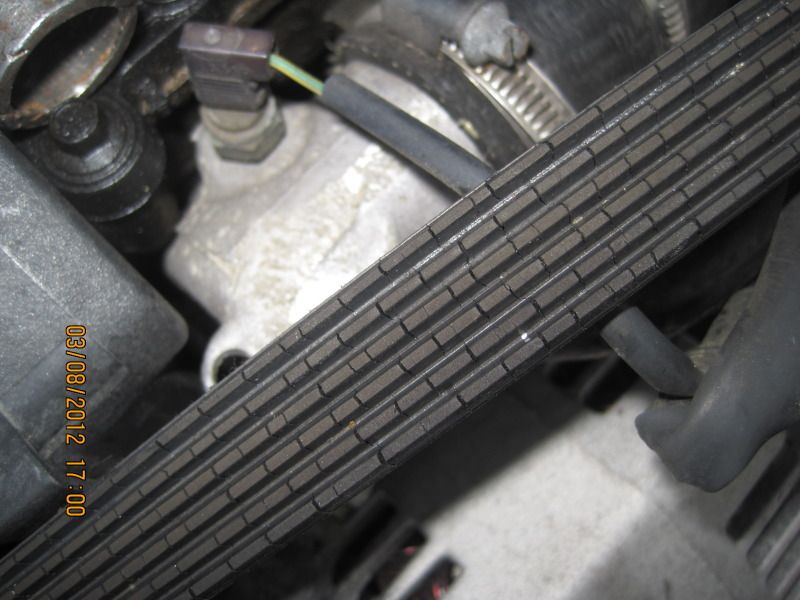
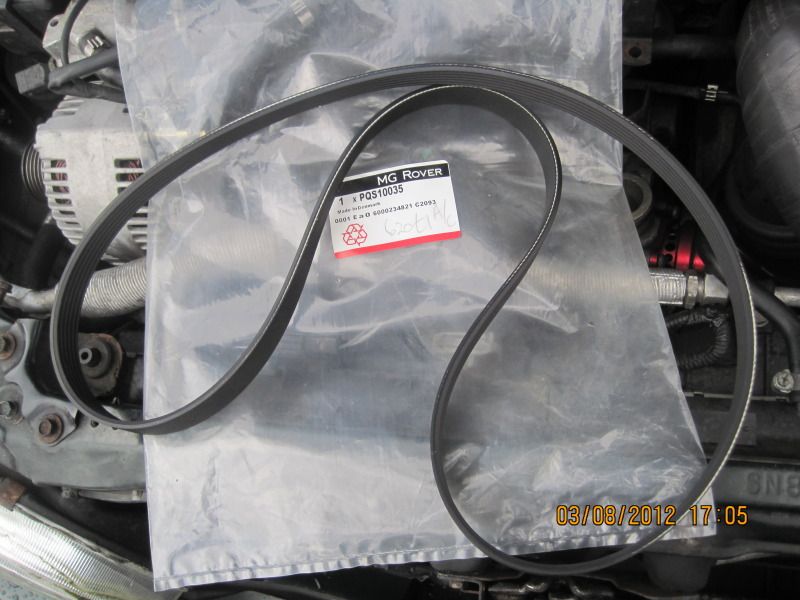
The old Polyvee Belt has seen better days. I bought two a couple of years ago when one of our cars needed a new one. Glad I did. Saves me another trip and the time :~
The Studs and Nuts I could see looked badly corroded. Here's two of them :~
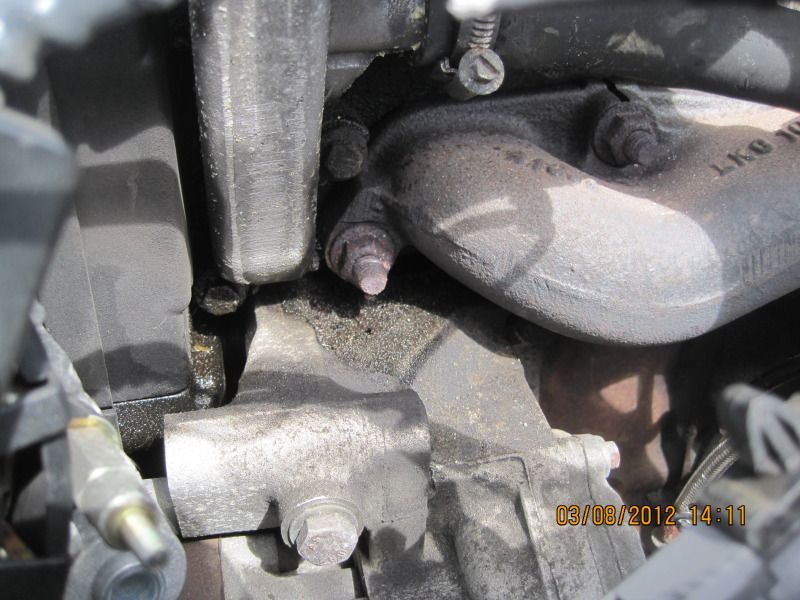
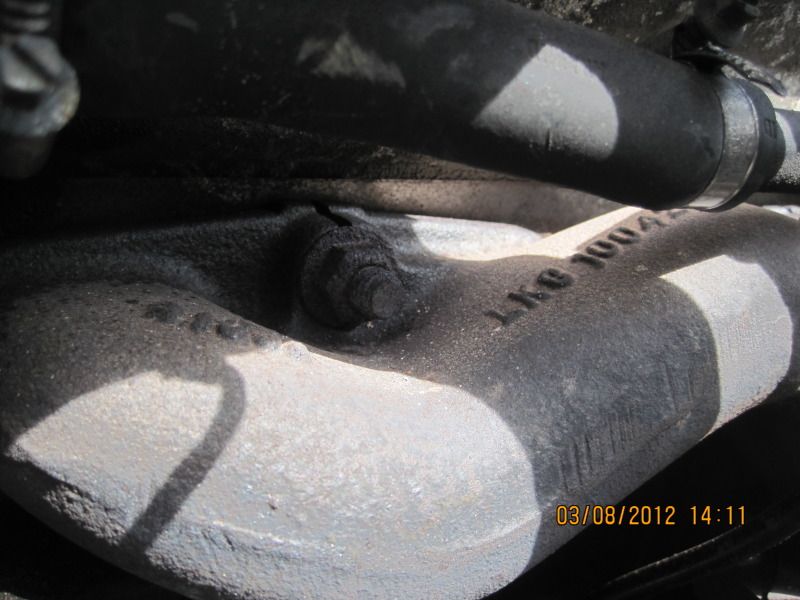
They all came out once the Alternator had been moved to one side :~
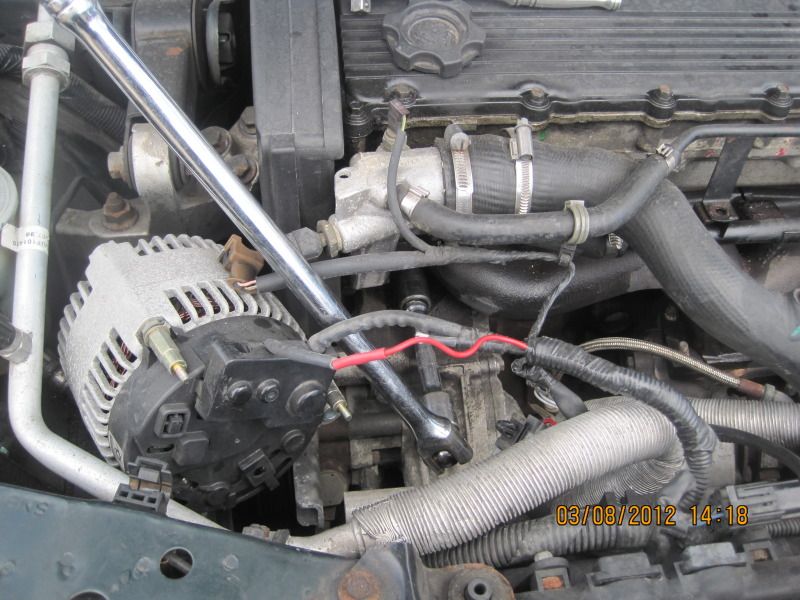
All the four were corroded and so both Nut and Stud came out as one. Glad about that as it actually saves time. I had a set of Stainless Allen Key Drive Studs to fit in their place :~
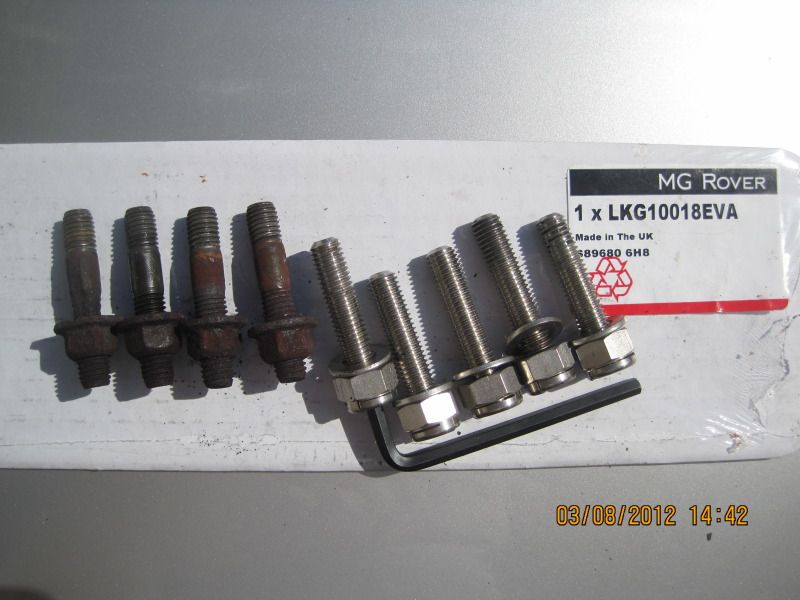
Make sure you have all the old exhaust manifold gasket. If you leave a broken bit behind, the new gasket will not clamp up flush and will soon blow again :~
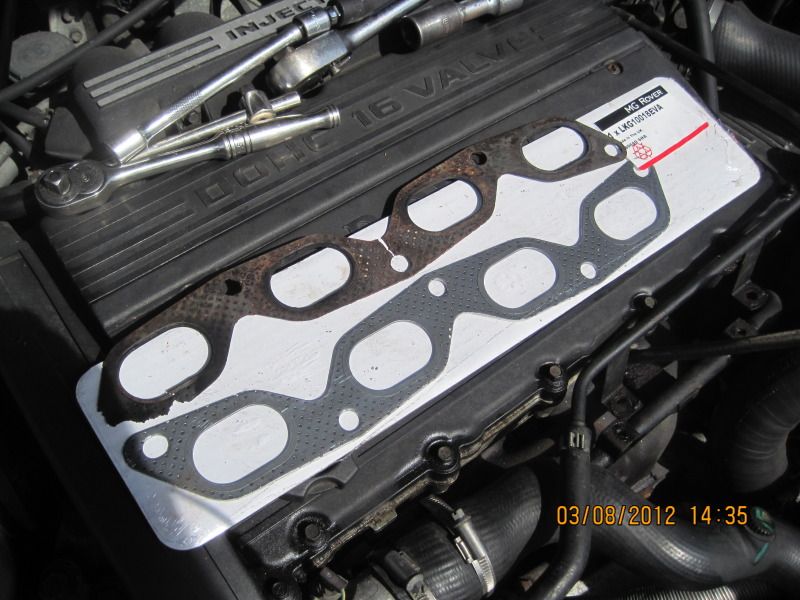
To allow clearance access to slide the new Manifold Gasket in sideways in place, it helps to remove the top of the Air Filter housing. I gave the K and N a good wash at the same time. It was filthy and full of dead flies, leaves etc.
Managed easily to insert four of the Stainless Steel Studs into their locations using the Allen Key but no way could I get the last one into the stud hole in the missing one! Regarding "more on this later", after a few wasted minutes trying to fit the last one, I gave up. I removed it and used a thinner rod to see if there was anything blocking the stud's entry. There was. I suspect the original stud had sheered off in previous ownership and had simply been inserted broken off. I've had this car over two years and I'm certain I would have noticed the missing bolt before now. It has recently dropped out.
These are the unseen 'bodges' or lack of TLC you can sometimes inherit when buying a used car. Annoying but, that's the way the cookie crumbles sometimes. The car is a good one though. So, it all went back together without that final stainless steel stud in place. To remove that old broken off stud for a Helicoil insert is realistically a cylinder head off job owing to very restricted access.
All back together now with a new Auxiliary Polyvee Drive Belt. Two birds with one stone ... almost except for that missing stud. Three if you count the stud upgrades.
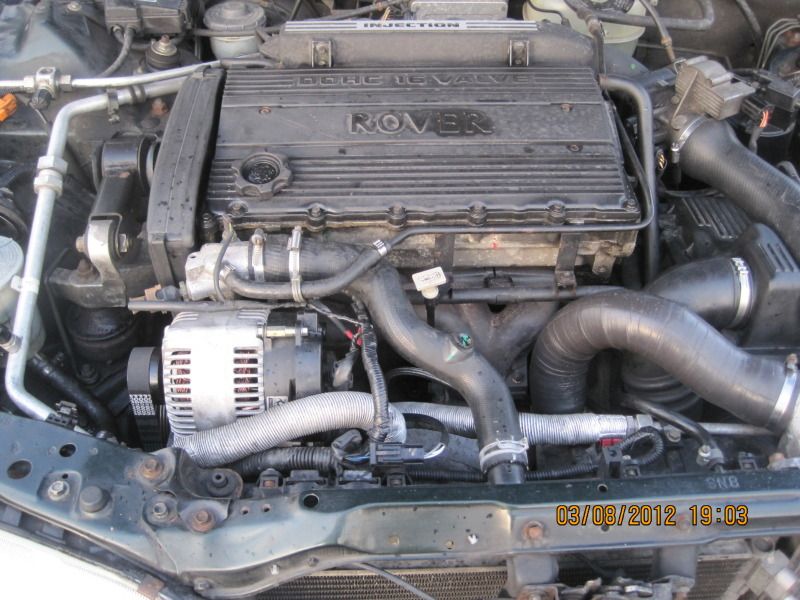
Took car for a five mile run to warm up and check if my work has been successful. So far so good. Hope the gasket lasts without that final stud in place. It should do. Time will tell.
NOTE: The Rain Gods were not on my side today.
Previously on other 620ti in the family, this job can be a leisurely couple of hours for the DIYer. Not so today. We had periods of brilliant warm sunshine and an equal number of heavy downpours including hail. I gave up counting after getting my back soaked three times, maybe four. Because of these alternating weather conditions, the job took far longer. I did get it done between frequent soakings right through to the skin... hey ho ... all part of life's rich wossname so some say ...

First, need to remove the Belt from the Alternator and move the Alternator out of the way :~


The old Polyvee Belt has seen better days. I bought two a couple of years ago when one of our cars needed a new one. Glad I did. Saves me another trip and the time :~

The Studs and Nuts I could see looked badly corroded. Here's two of them :~


They all came out once the Alternator had been moved to one side :~

All the four were corroded and so both Nut and Stud came out as one. Glad about that as it actually saves time. I had a set of Stainless Allen Key Drive Studs to fit in their place :~

Make sure you have all the old exhaust manifold gasket. If you leave a broken bit behind, the new gasket will not clamp up flush and will soon blow again :~

To allow clearance access to slide the new Manifold Gasket in sideways in place, it helps to remove the top of the Air Filter housing. I gave the K and N a good wash at the same time. It was filthy and full of dead flies, leaves etc.
Managed easily to insert four of the Stainless Steel Studs into their locations using the Allen Key but no way could I get the last one into the stud hole in the missing one! Regarding "more on this later", after a few wasted minutes trying to fit the last one, I gave up. I removed it and used a thinner rod to see if there was anything blocking the stud's entry. There was. I suspect the original stud had sheered off in previous ownership and had simply been inserted broken off. I've had this car over two years and I'm certain I would have noticed the missing bolt before now. It has recently dropped out.
These are the unseen 'bodges' or lack of TLC you can sometimes inherit when buying a used car. Annoying but, that's the way the cookie crumbles sometimes. The car is a good one though. So, it all went back together without that final stainless steel stud in place. To remove that old broken off stud for a Helicoil insert is realistically a cylinder head off job owing to very restricted access.
All back together now with a new Auxiliary Polyvee Drive Belt. Two birds with one stone ... almost except for that missing stud. Three if you count the stud upgrades.


Took car for a five mile run to warm up and check if my work has been successful. So far so good. Hope the gasket lasts without that final stud in place. It should do. Time will tell.
NOTE: The Rain Gods were not on my side today.
Previously on other 620ti in the family, this job can be a leisurely couple of hours for the DIYer. Not so today. We had periods of brilliant warm sunshine and an equal number of heavy downpours including hail. I gave up counting after getting my back soaked three times, maybe four. Because of these alternating weather conditions, the job took far longer. I did get it done between frequent soakings right through to the skin... hey ho ... all part of life's rich wossname so some say ...

Gassing Station | Rover | Top of Page | What's New | My Stuff


