MGB GT, Very pic heavy
Discussion


My bandwith with Photobucket has exceeded 10gb, Should reset in the 5th
(Some shall remain as I made a new account)
I've been lurking in this part of the forum for a while now, so I suppose I better start making a contribution
I'll do my best to add the work done so far...
Bought for £500 looking like this:


Strange apparently it had an interior, I don't remember that


I soon set to work and ended up with this:


Which is pretty much how its looked since that day.
Rust and rust repairs (so far):

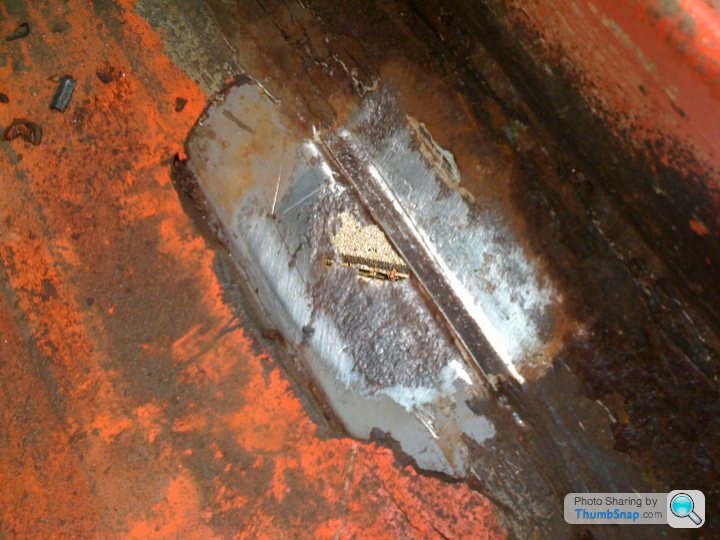

(removing some of the excess weld)


Another BIG hole found


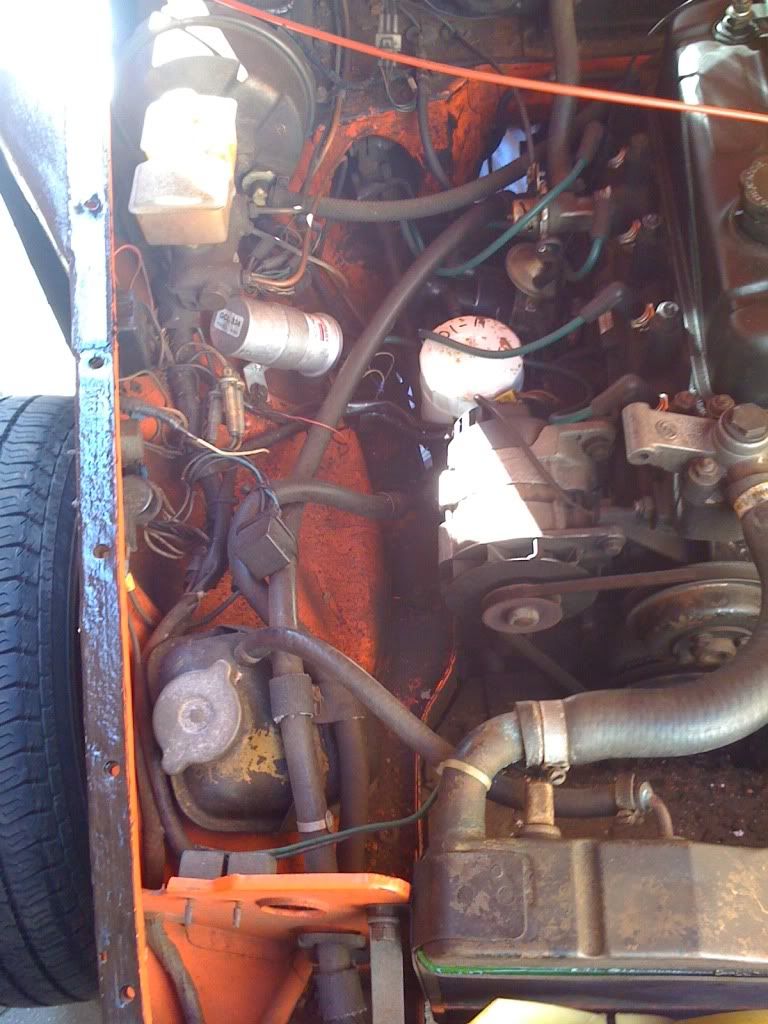
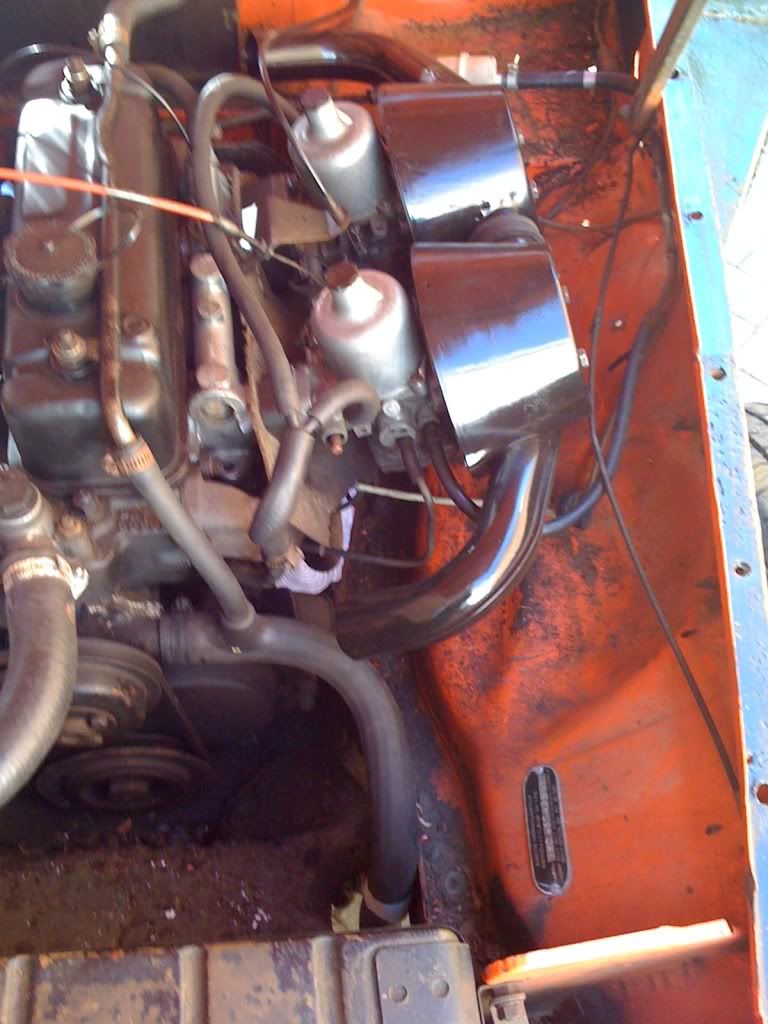
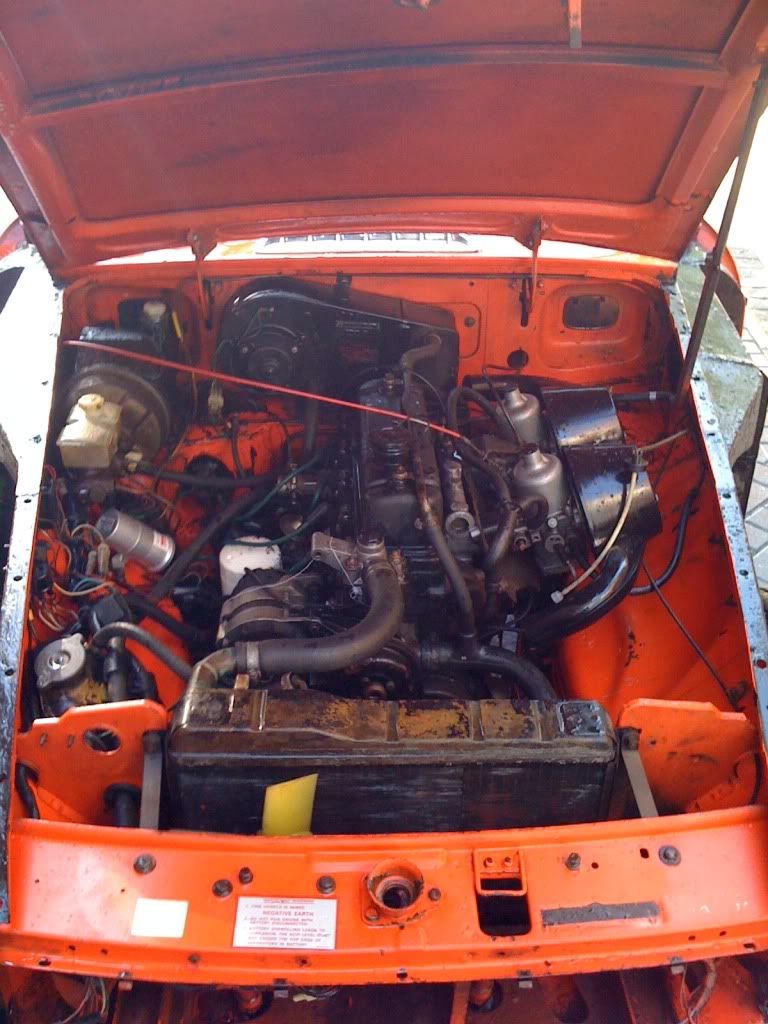
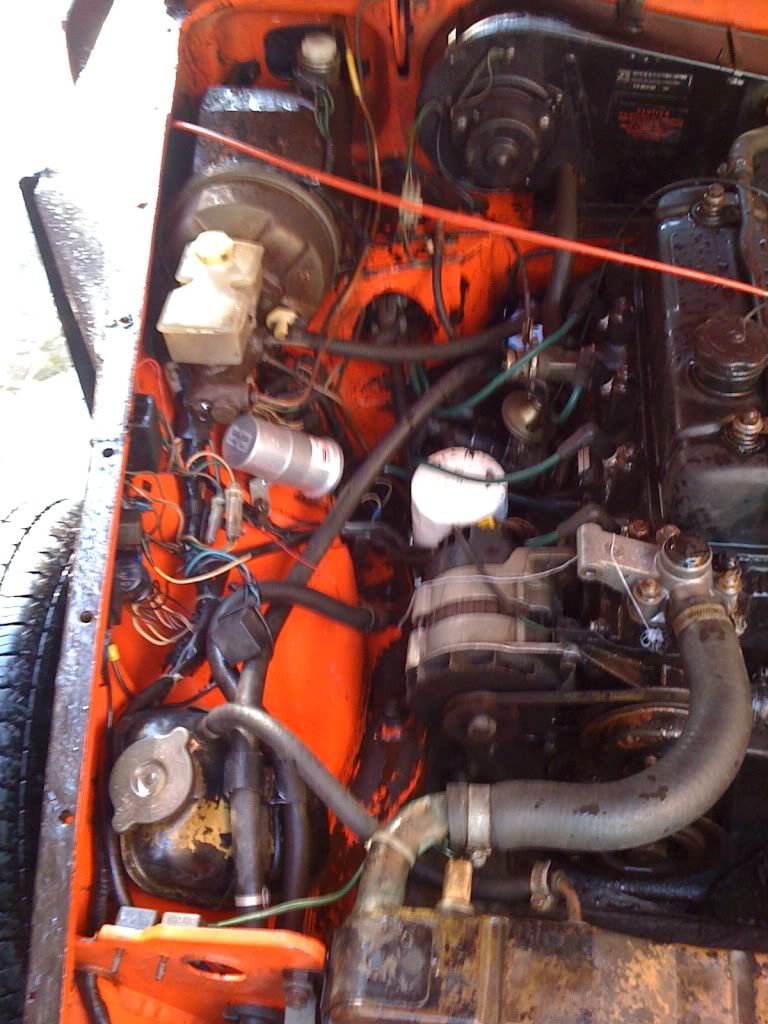
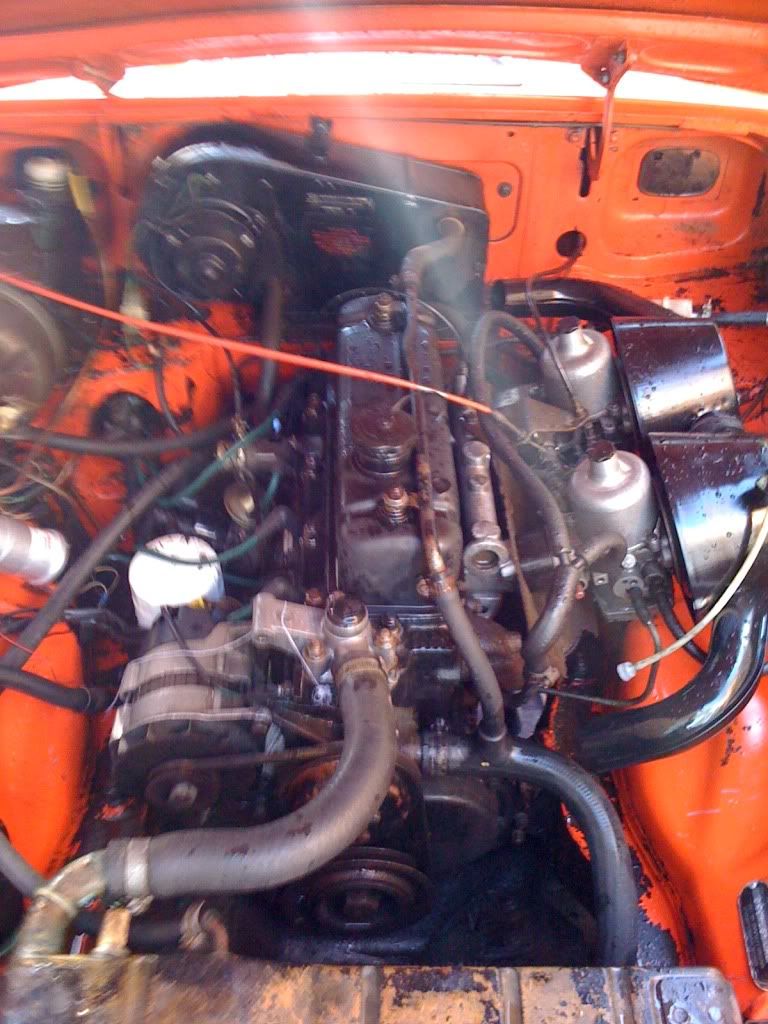
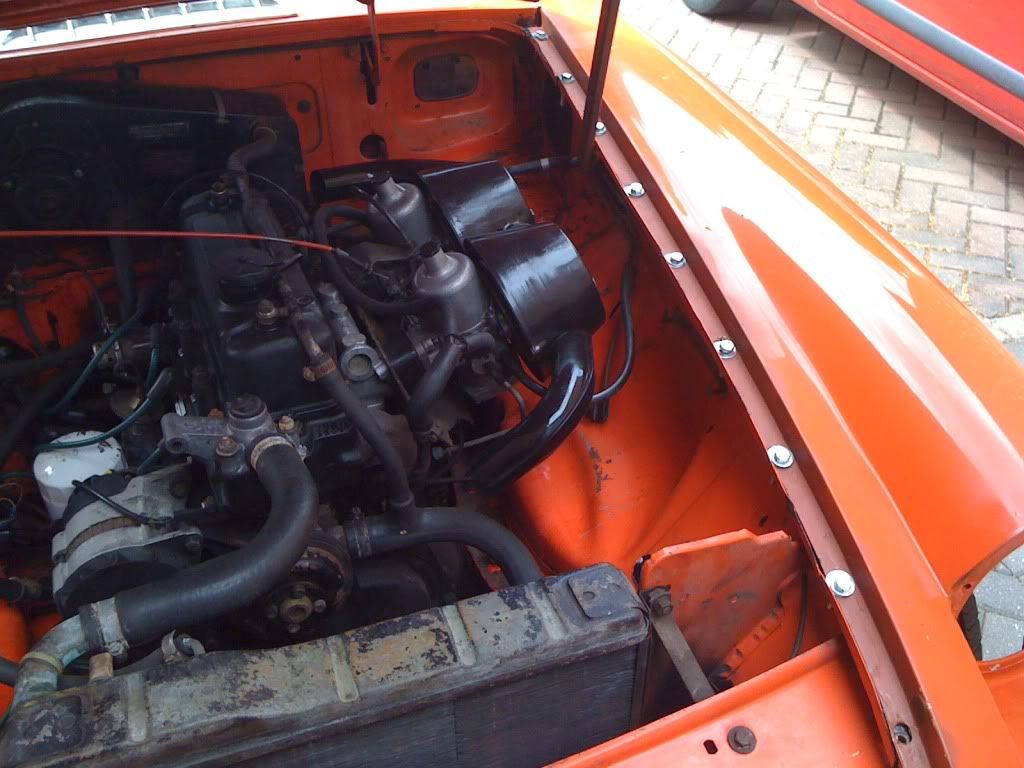
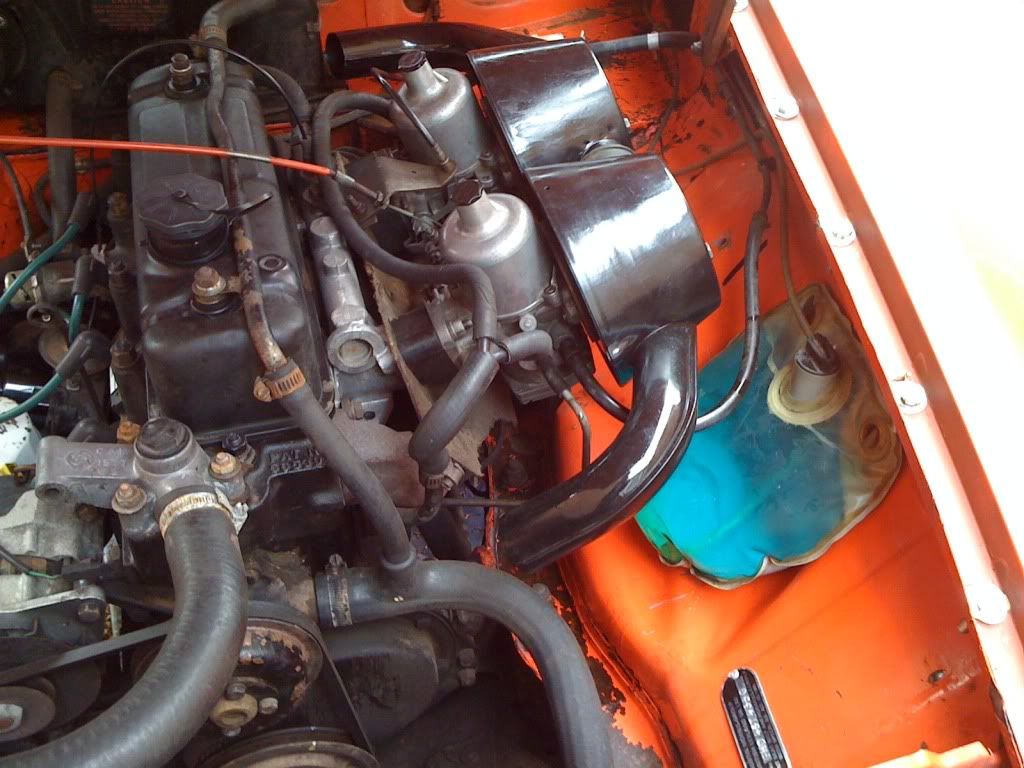
She has a misfire, although we've replaced all of the ignition parts, so the next port of call was carbs!
Visually they look a lot better and a lot cleaner inside!
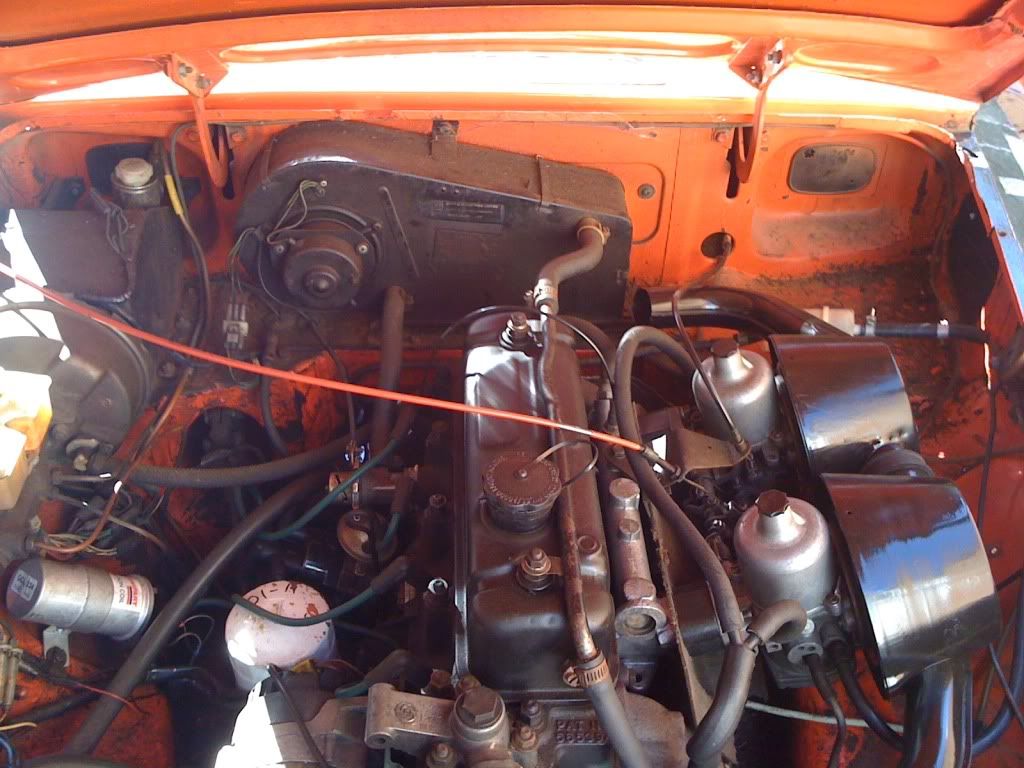
Before

After

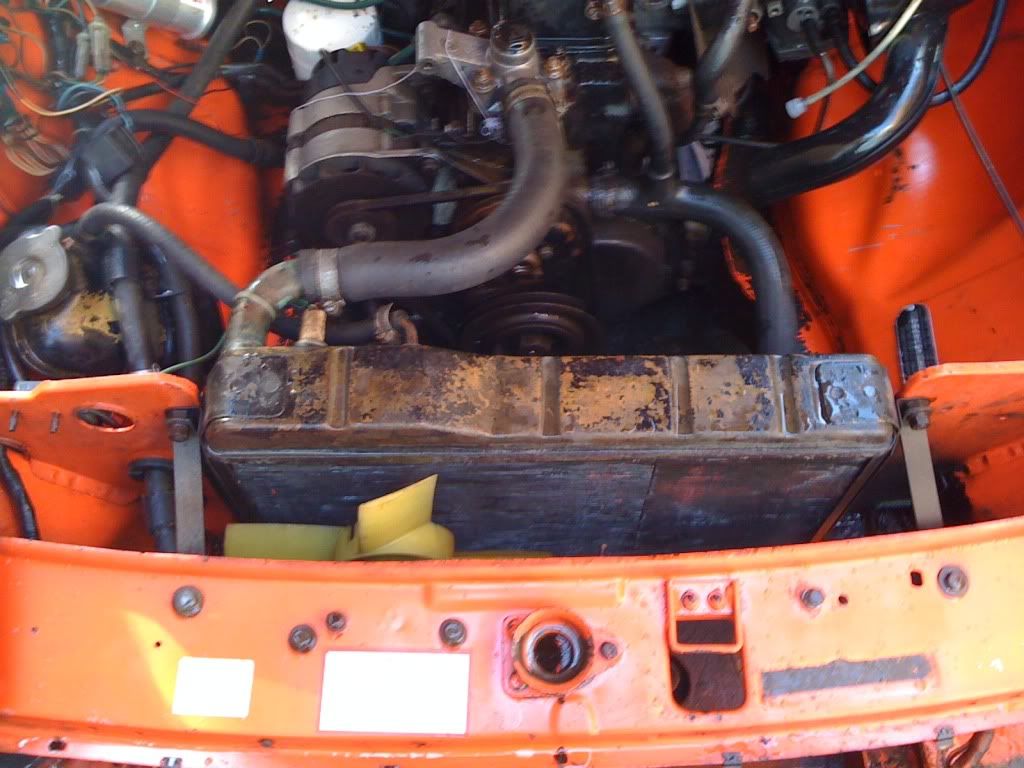
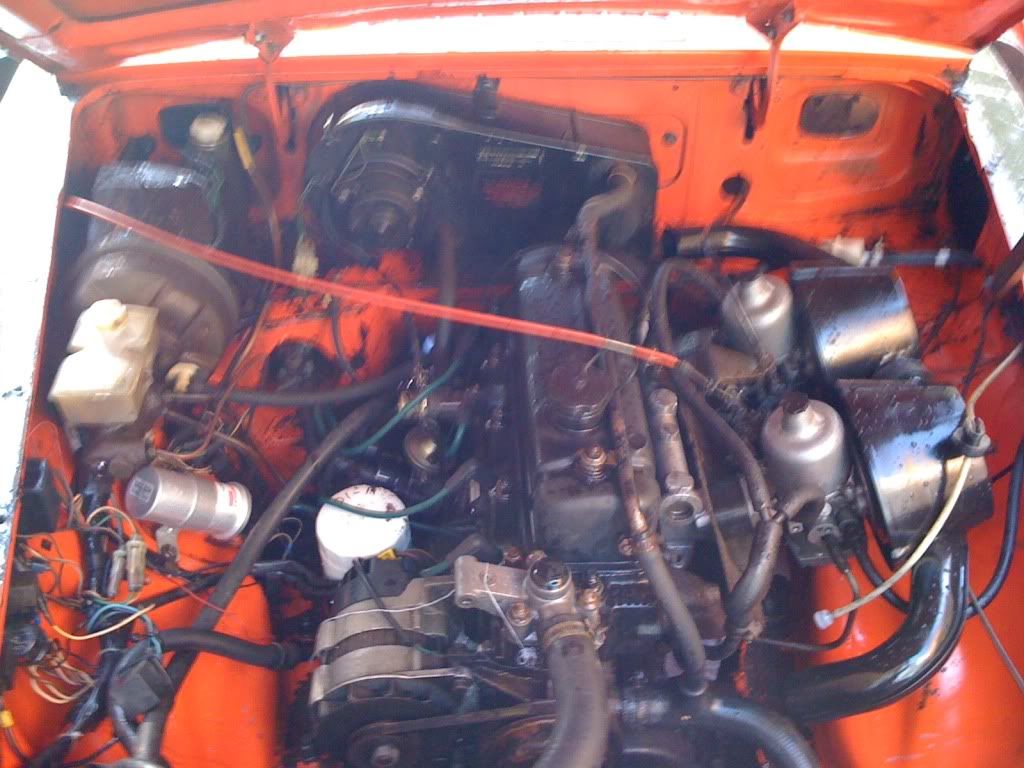
Of course now I have both wings off and the tank for painting.
Only got pics with one wing off. Both wings have the tin worm

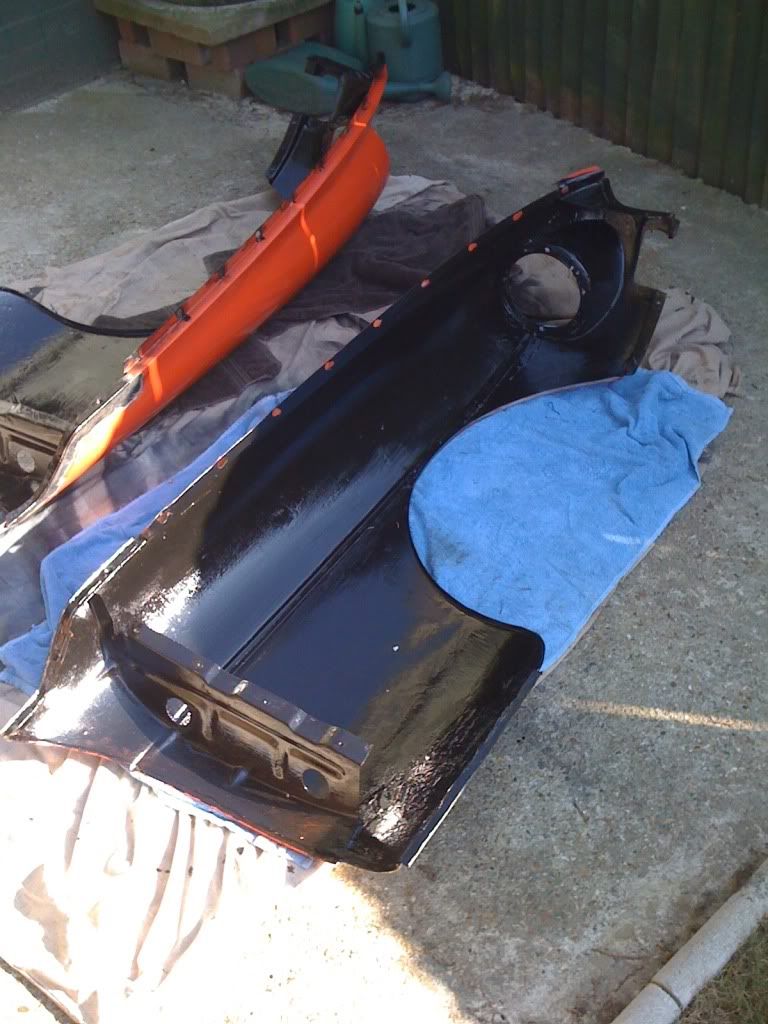
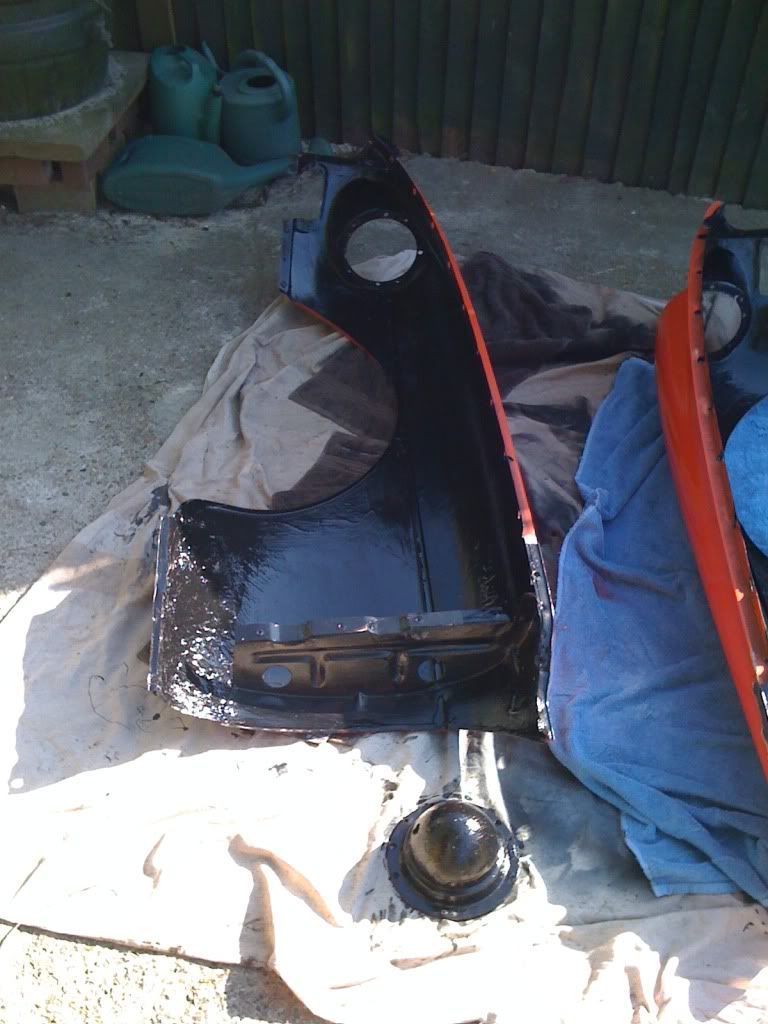
Now painted to avoid more rust


Also been doing my impression of an artist, painting lots of bits and bobs.
Fuel tank, One headlight bowl, fan grill, stone grill and the air filter pots.


And then I actually put something back on!

Also whilst I was painting I attacked the boot floor


Also refurnished the seats. Rubbed down and painted the frames and replaced the base foams as the old ones were knackered.

Hopefully this is everything so far!
Now I've got this much posted I'll be able to keep you up to date.
I also have a big box of new interior parts, we've fitted new rear springs, the valve clearances need doing, the rest of the base needs hammeriting. Believe that's it (currently)
All pics here:
Rest of those pics here:
http://s125.photobucket.com/albums/p56/kkswat/MGB%...
EDIT:
Nearly forgot!
I've got a bonnet sat in the shed as the current is rotted to buggery.
Cost an extortionate 99p off of eBay!
Hopefully it wont want a full respray...
Also forgot, We've replaced the gearbox oil, filter and overdrive seal.
(Some shall remain as I made a new account)
I've been lurking in this part of the forum for a while now, so I suppose I better start making a contribution
I'll do my best to add the work done so far...
Bought for £500 looking like this:
Strange apparently it had an interior, I don't remember that
I soon set to work and ended up with this:
Which is pretty much how its looked since that day.
Rust and rust repairs (so far):
(removing some of the excess weld)
Another BIG hole found
She has a misfire, although we've replaced all of the ignition parts, so the next port of call was carbs!
Visually they look a lot better and a lot cleaner inside!
Before
After
Of course now I have both wings off and the tank for painting.
Only got pics with one wing off. Both wings have the tin worm
Now painted to avoid more rust
Also been doing my impression of an artist, painting lots of bits and bobs.
Fuel tank, One headlight bowl, fan grill, stone grill and the air filter pots.
And then I actually put something back on!
Also whilst I was painting I attacked the boot floor
Also refurnished the seats. Rubbed down and painted the frames and replaced the base foams as the old ones were knackered.
Hopefully this is everything so far!
Now I've got this much posted I'll be able to keep you up to date.
I also have a big box of new interior parts, we've fitted new rear springs, the valve clearances need doing, the rest of the base needs hammeriting. Believe that's it (currently)
All pics here:
Rest of those pics here:
http://s125.photobucket.com/albums/p56/kkswat/MGB%...
EDIT:
Nearly forgot!
I've got a bonnet sat in the shed as the current is rotted to buggery.
Cost an extortionate 99p off of eBay!
Hopefully it wont want a full respray...
Also forgot, We've replaced the gearbox oil, filter and overdrive seal.
Edited by MGB Boy on Thursday 8th April 23:22
Edited by MGB Boy on Saturday 1st May 21:56


West4x4 said:
Wow the first one looks to be quite a project and the second wow that looks lovely now!!
It's not 'that much' work.
Well that's what I keep telling myself and I think I've convinced myself.
Once the wings are done should just be a case of putting it back together.
And then the dreaded paint work...
Spent today rubbing down the passenger side wing.
Started with this:


(The other side of the main rust at the bottom of the wing)


Then the preliminary wire brush attack brought it to this:


Don't worry, It's not 'as bad' as I thought it was going to be
Got the trim off:

Then attacked it:

Then some of the front:

Rivets ay?

No challenge for cobalt steel drill bits!

This wants cleaning up though...

Then, I broke the drill (but it wasn't me)

Highlighted in yellow is a nice line in the paint where its been half painted at some point in time...

Finished with this:


The drivers side wing currently looks like this (was done with a different tool which I broke hence more paint rubbed off)


Started with this:
(The other side of the main rust at the bottom of the wing)
Then the preliminary wire brush attack brought it to this:
Don't worry, It's not 'as bad' as I thought it was going to be
Got the trim off:
Then attacked it:
Then some of the front:
Rivets ay?
No challenge for cobalt steel drill bits!
This wants cleaning up though...
Then, I broke the drill (but it wasn't me)
Highlighted in yellow is a nice line in the paint where its been half painted at some point in time...
Finished with this:
The drivers side wing currently looks like this (was done with a different tool which I broke hence more paint rubbed off)
Coming on well Kieren, done the same to my previous B, I replaced my wings with decent secondhand ones when mine looked liked that, but you look like you're going to be able to save them. You can buy a lower section front wing replacement panel for about £15 if you find that they're too far gone.
Did you find it fun trying to get to the 3 wing fixing bolts under the dash? I found a 1/4 inch socket drive set with a couple of fexible universal joints done the job,(although I think I only put 2 bolts back in on each wing!).
I completely reconstructed most of the rear arches upto the chrome strip from filler and mesh, when people used to ask if the ride height had been lowered, I used to tell them it was the weight of the filler!
Update
More wing work!


Next step...

Anyone who's used this stuff before may know they use the term 'Brushable' lightly.
I found it much easier just to get a glove and slap it on by hand!


And then done!
Step 3...

This stuff is brushable (much easier to use with a brush, trust me)


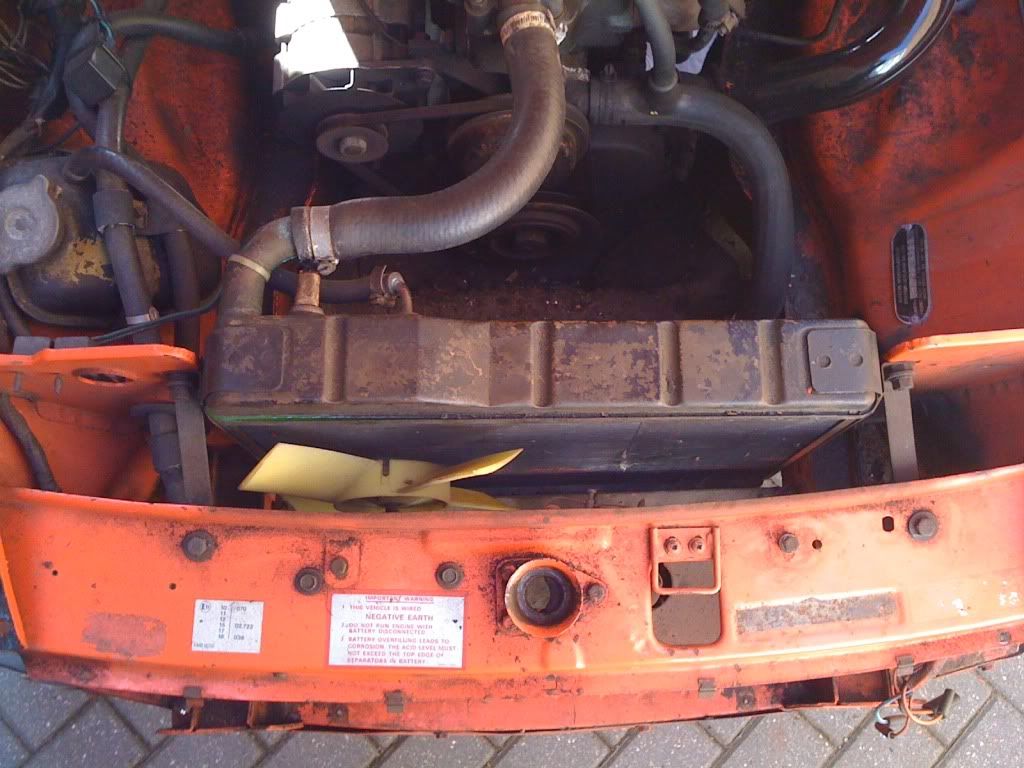
Next work, TANK!
No I'm not building a tank.
The fuel gauge float had a hole in, filled with petrol and therefore read empty (even with the 28ltrs that was in the tank )
)
Stuff

Stuff on (My beautifully painted tank)


More wing work!
Next step...
Anyone who's used this stuff before may know they use the term 'Brushable' lightly.
I found it much easier just to get a glove and slap it on by hand!
And then done!
Step 3...
This stuff is brushable (much easier to use with a brush, trust me)
Next work, TANK!
No I'm not building a tank.
The fuel gauge float had a hole in, filled with petrol and therefore read empty (even with the 28ltrs that was in the tank
)Stuff
Stuff on (My beautifully painted tank)
Edited by MGB Boy on Wednesday 14th April 17:16
Edited by MGB Boy on Wednesday 14th April 17:19


Started getting it ready for it's trip to see the MOT man as the MOT runs out on the 7th.
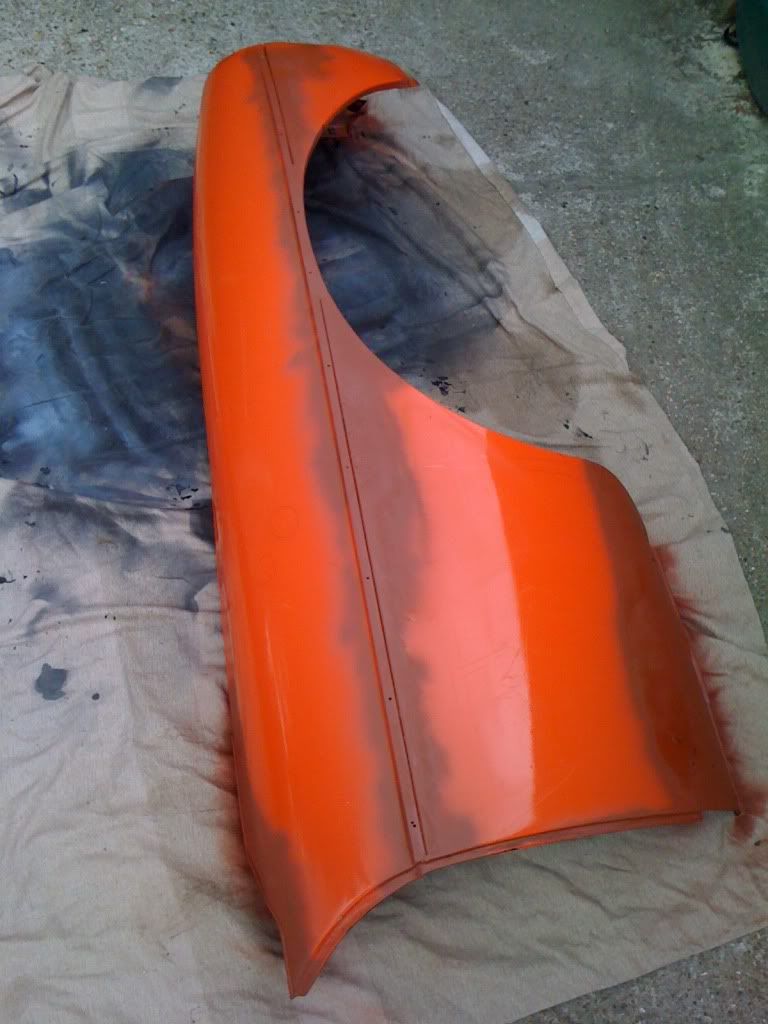
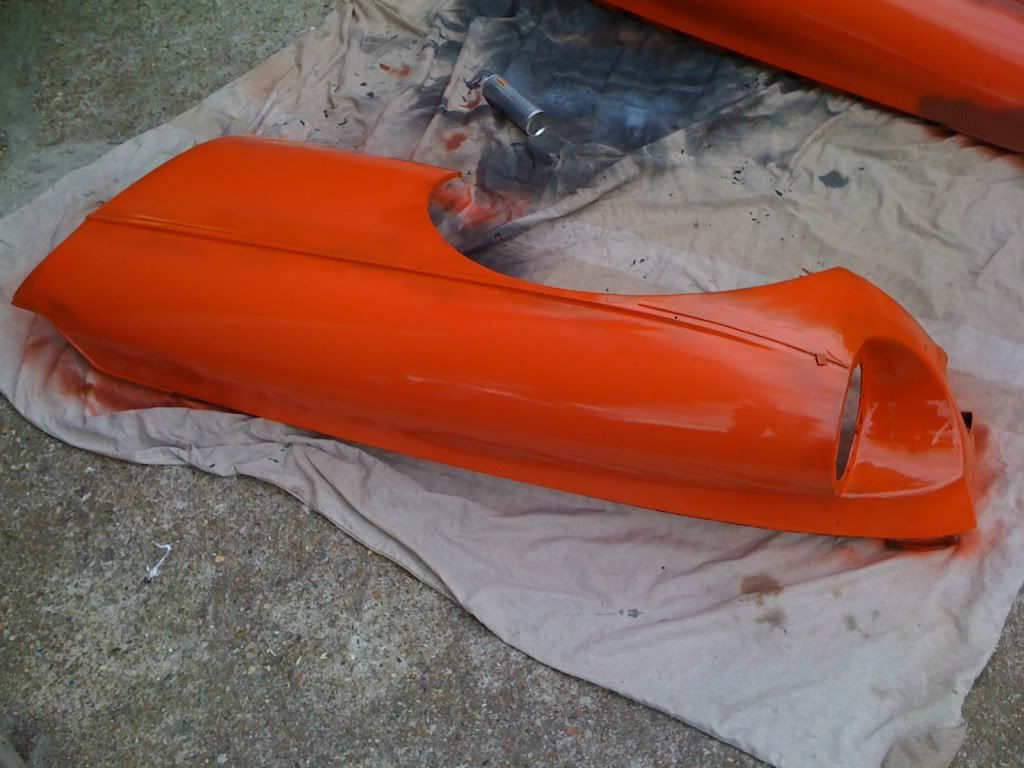
Put some paint on the wings to stop them going rusty (One has a top coat but then the paint ran out)
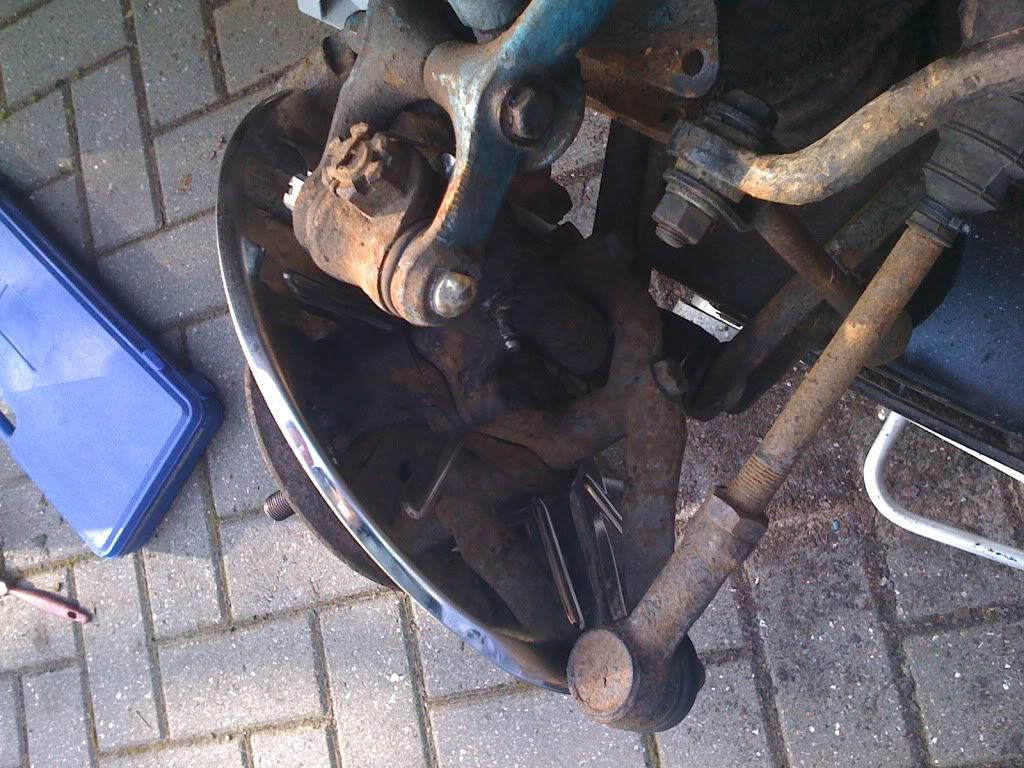
Mostly fitted, the worst f king job going on MGBs.... Still not completely fitted
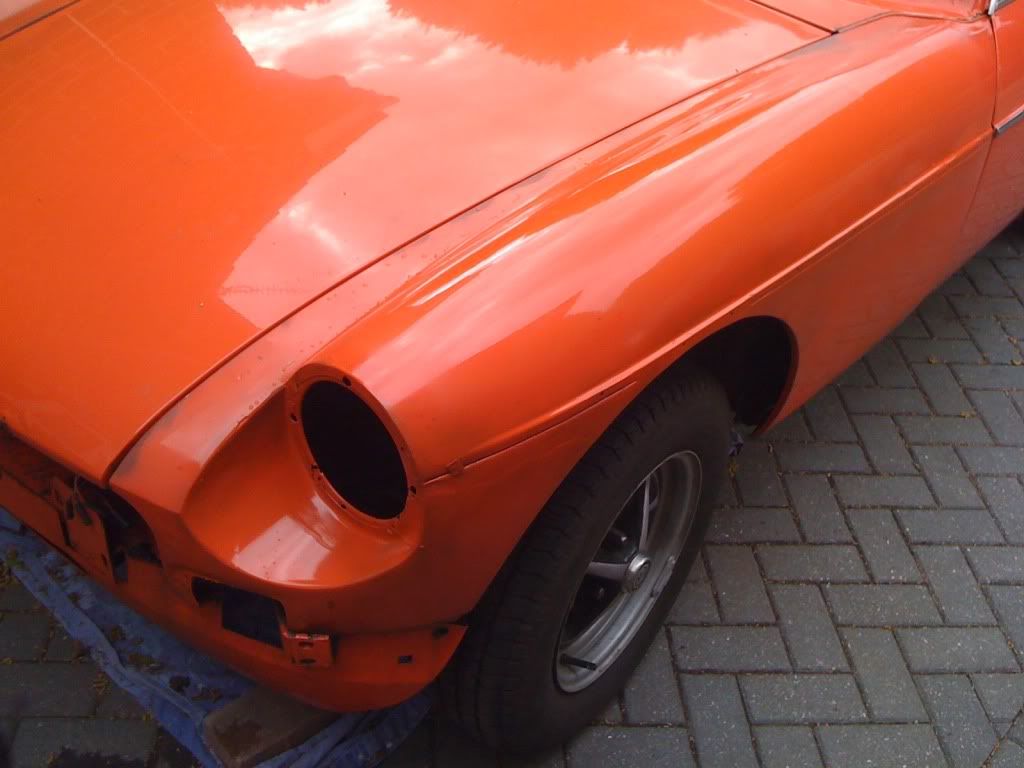
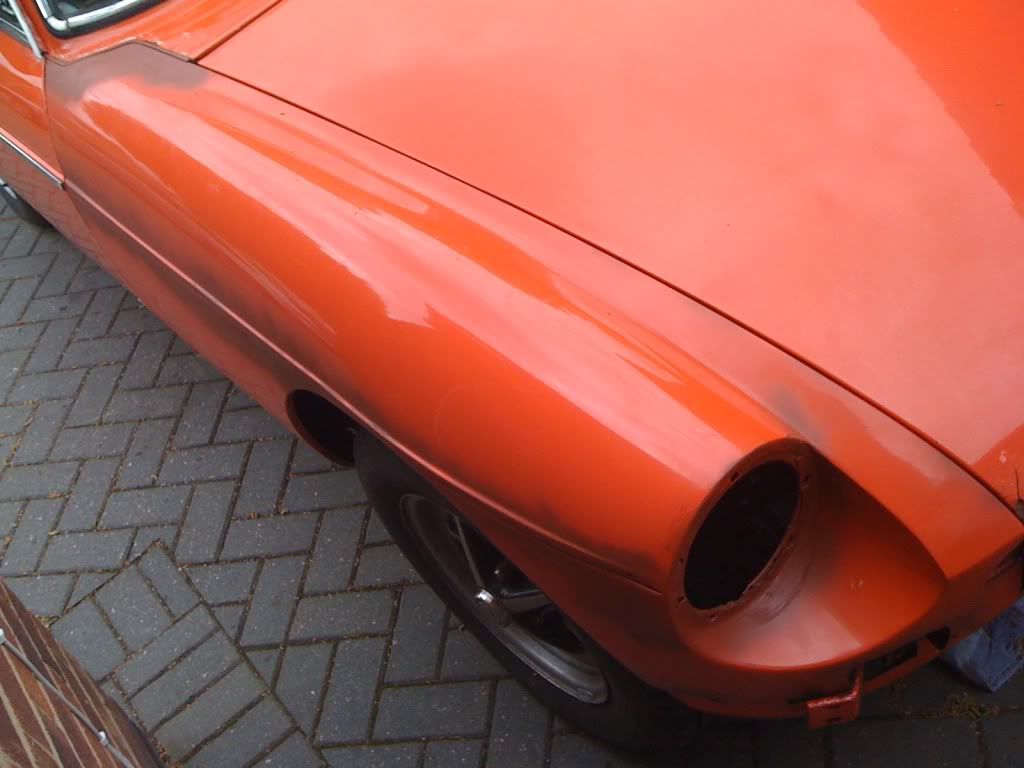
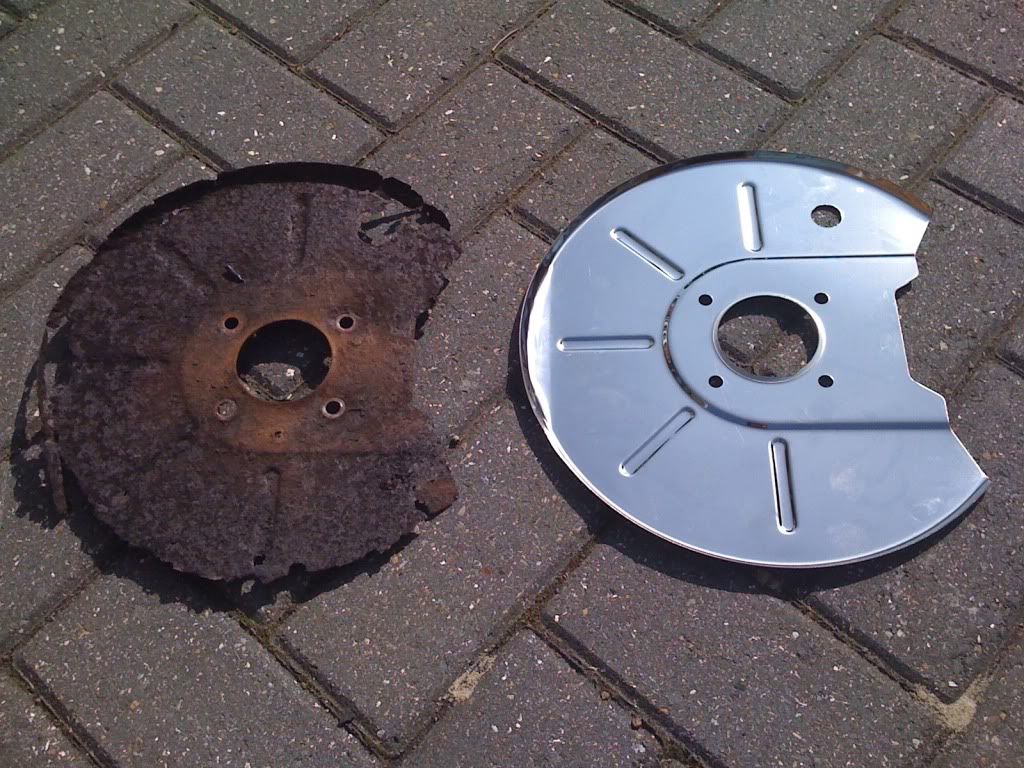
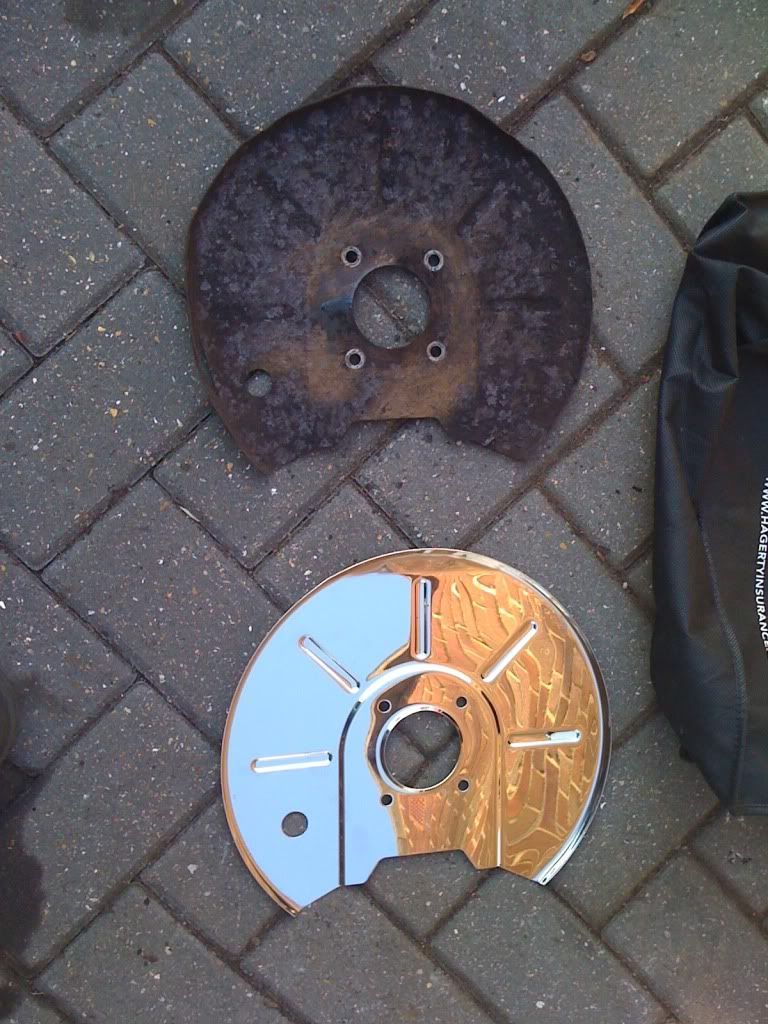
Spot the difference
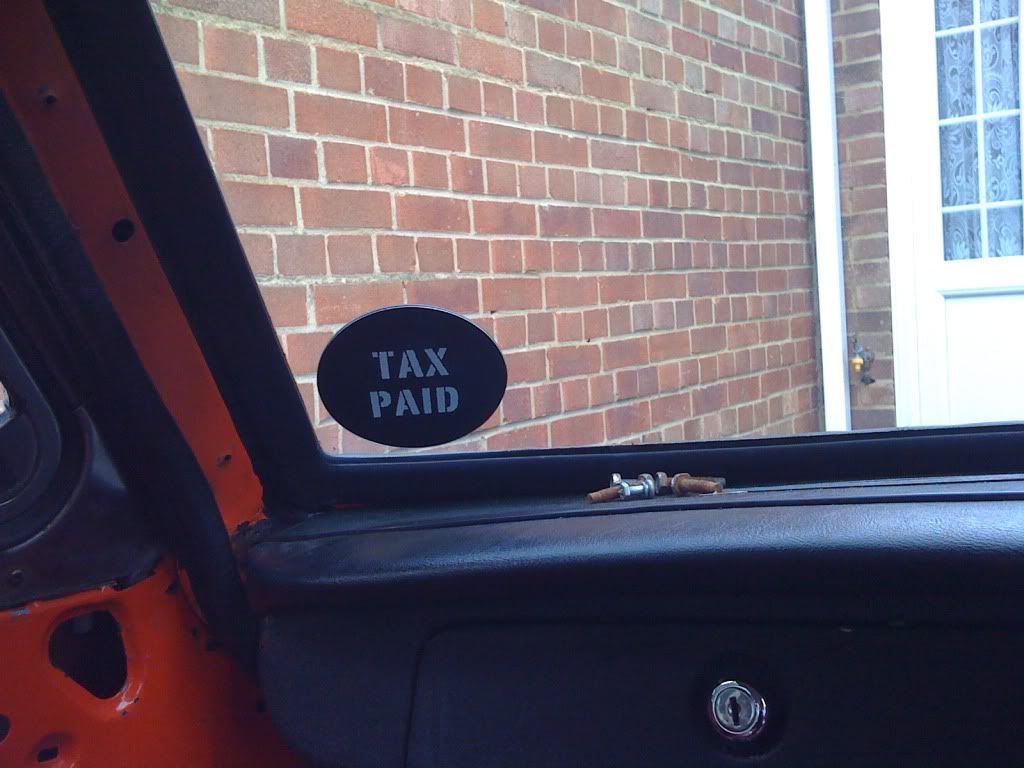
Put the tax in to make it road legal
The small jobs also included refitting the fixed drivers door mirror and refitting the radiator fan grill. Forgot to picture both of these though
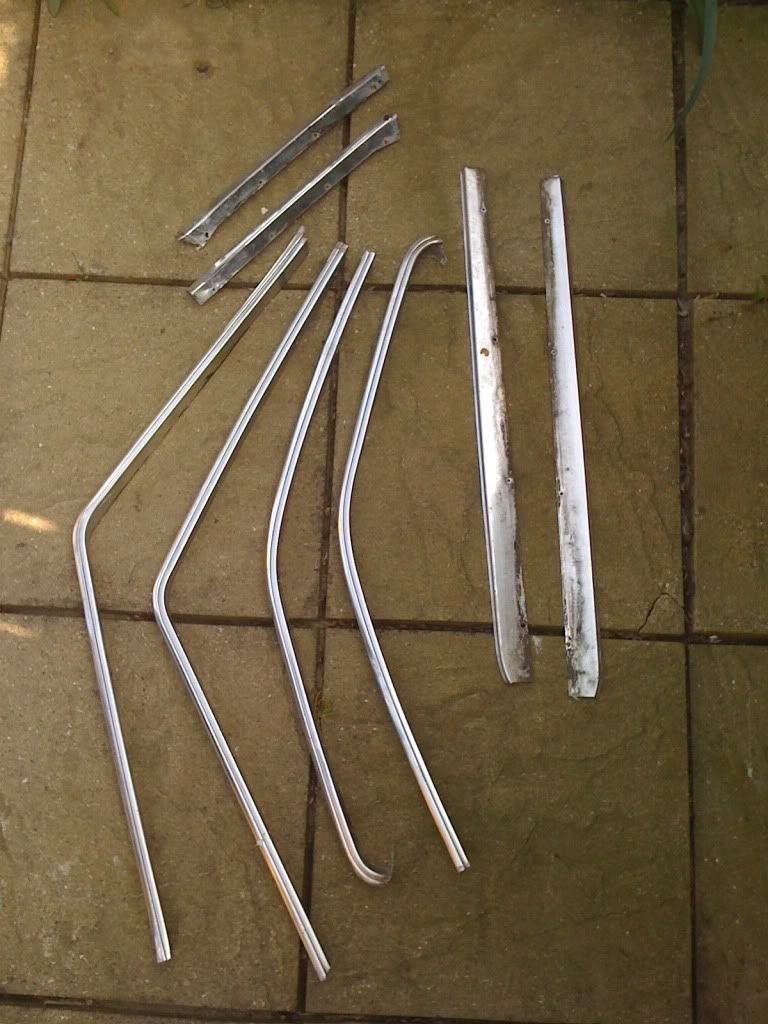
Also ordered some new used chrome trim, as mine is completely shagged. Even with polishing it seems to get a white hazy layer over it. These cost me a staggering £30 delivered
Next jobs included refitting headlights, front bumper and the seats for the MOT man!
Put some paint on the wings to stop them going rusty (One has a top coat but then the paint ran out)
Mostly fitted, the worst f
king job going on MGBs.... Still not completely fittedSpot the difference
Put the tax in to make it road legal
The small jobs also included refitting the fixed drivers door mirror and refitting the radiator fan grill. Forgot to picture both of these though
Also ordered some new used chrome trim, as mine is completely shagged. Even with polishing it seems to get a white hazy layer over it. These cost me a staggering £30 delivered
Next jobs included refitting headlights, front bumper and the seats for the MOT man!
 . Anyway great build, I'm looking forward to seeing it when its done.
Gassing Station | Readers' Cars | Top of Page | What's New | My Stuff