106 Xsi Project (lots of pics)
Discussion


IVE COPIED ALOT OF THIS FROM ANOTHER FORUM. SO SOME OF IT MAY MAKE SCENSE LOL
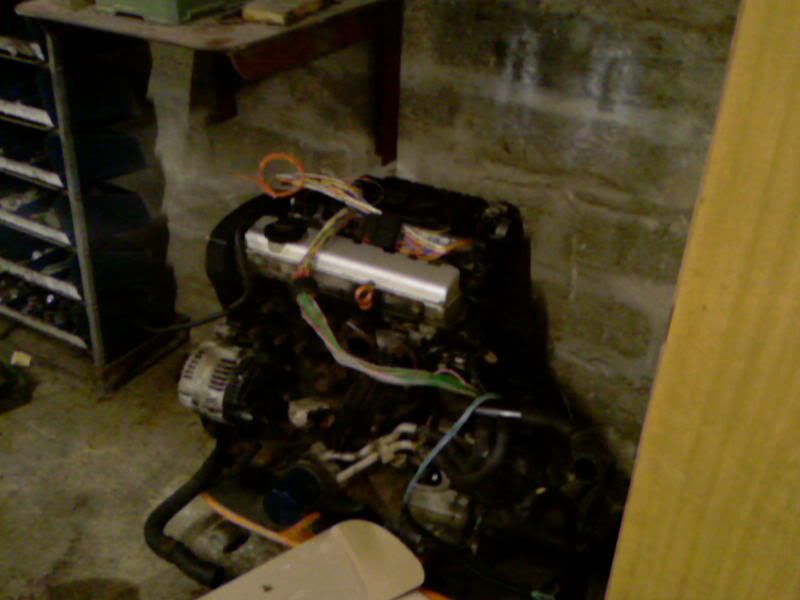
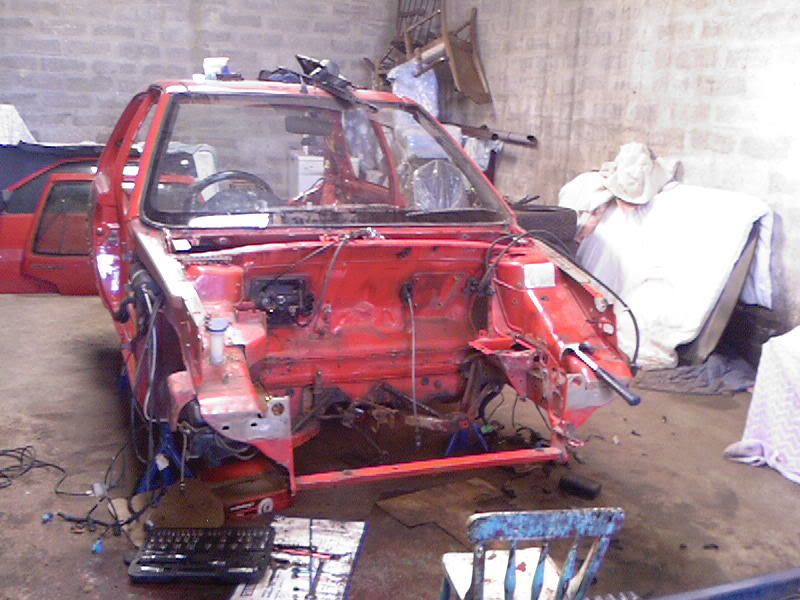
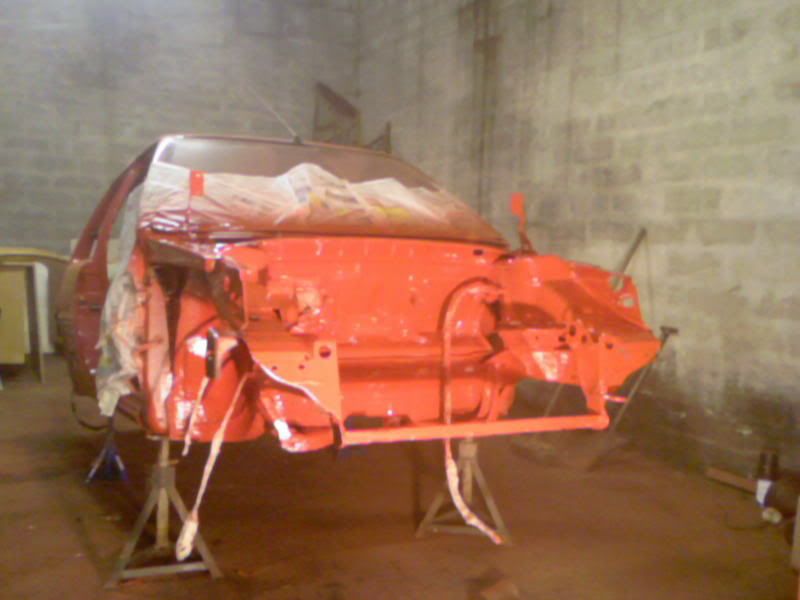
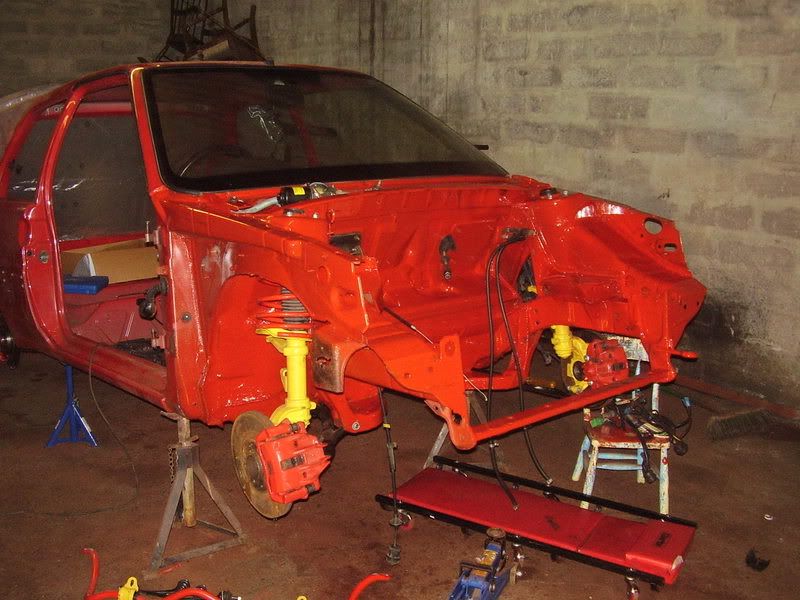
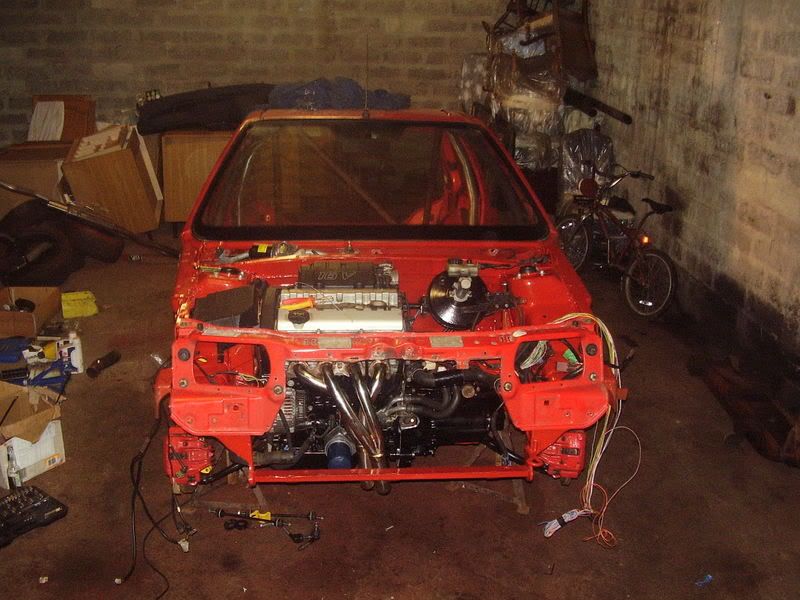
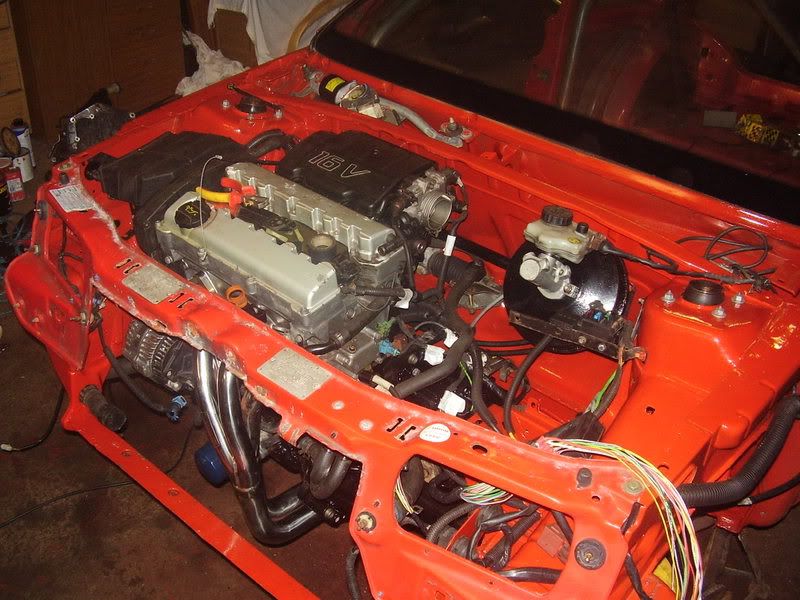
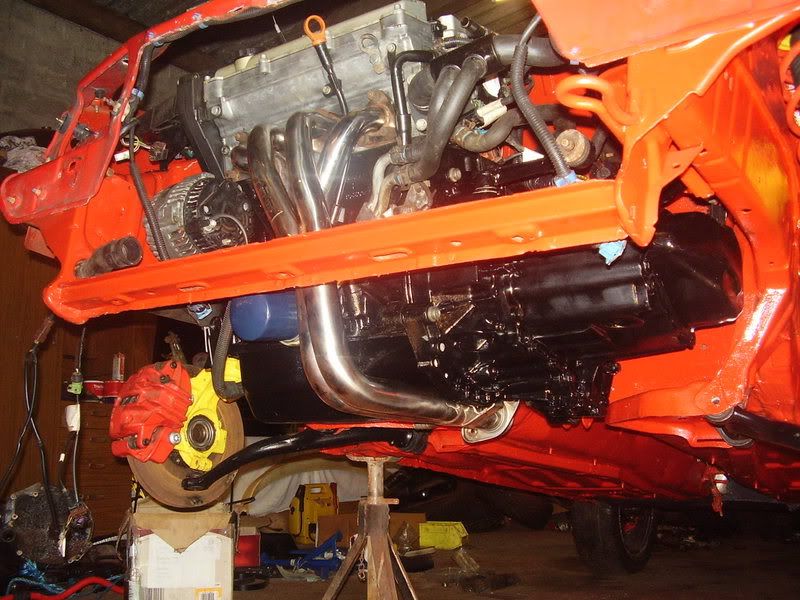
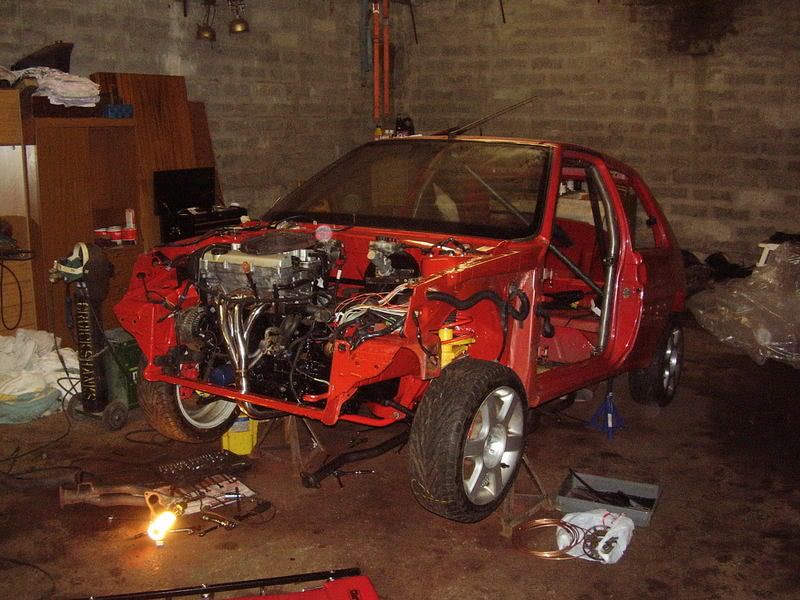
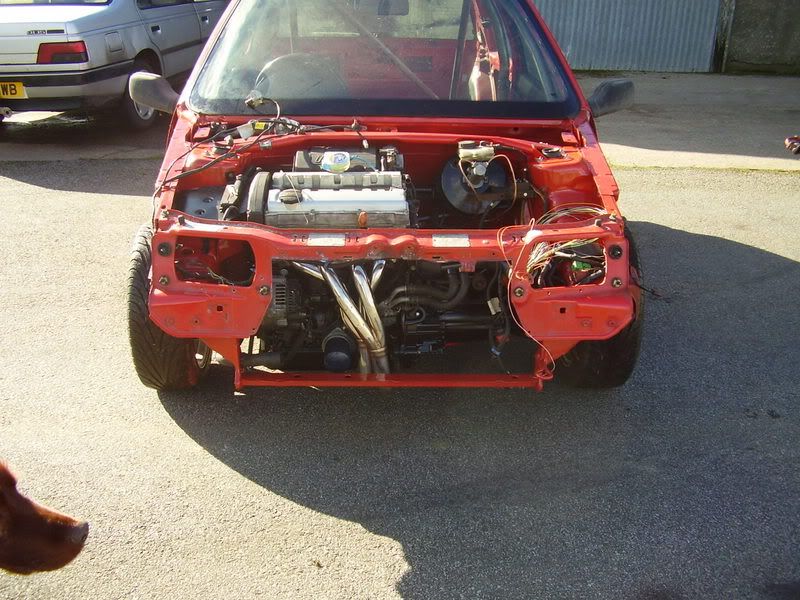
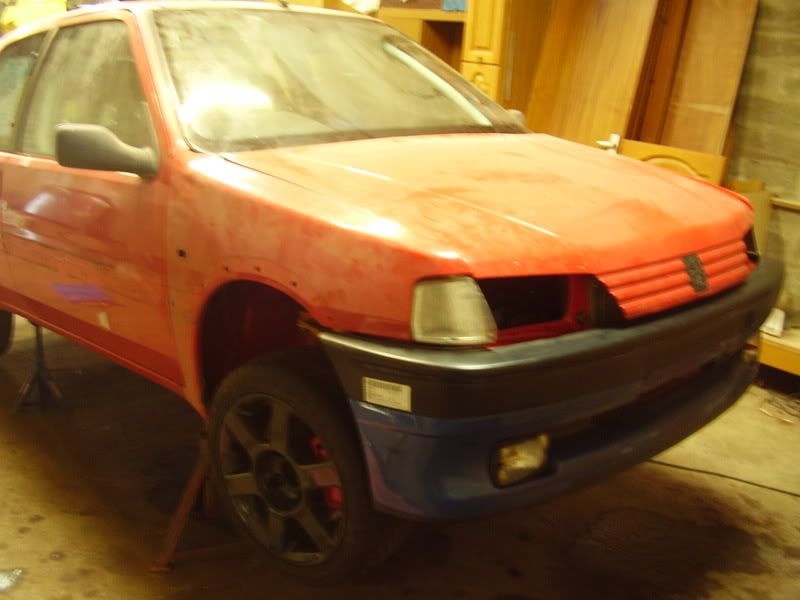
Picked it up from aberdeen, the engine is in already but the wiring needs completing. Its a VTS engine with 60k on it. Its got Gti-6 brakes on it.
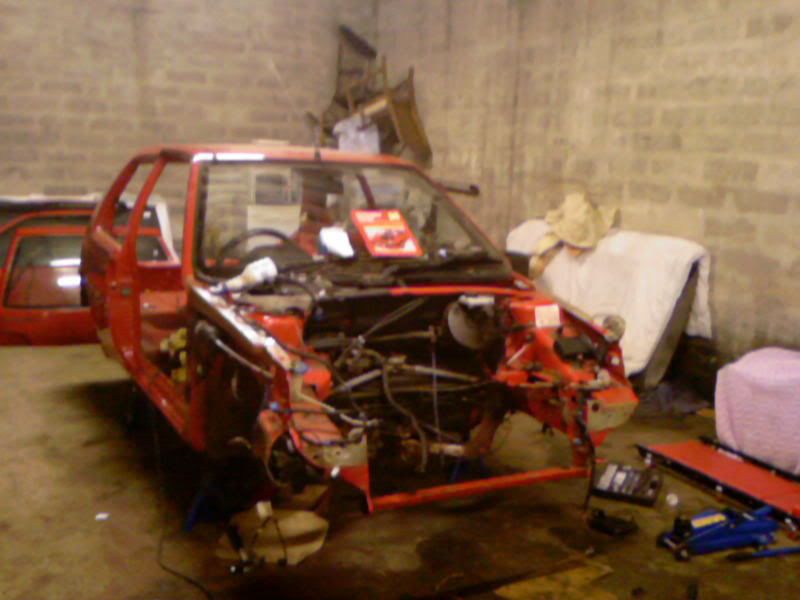
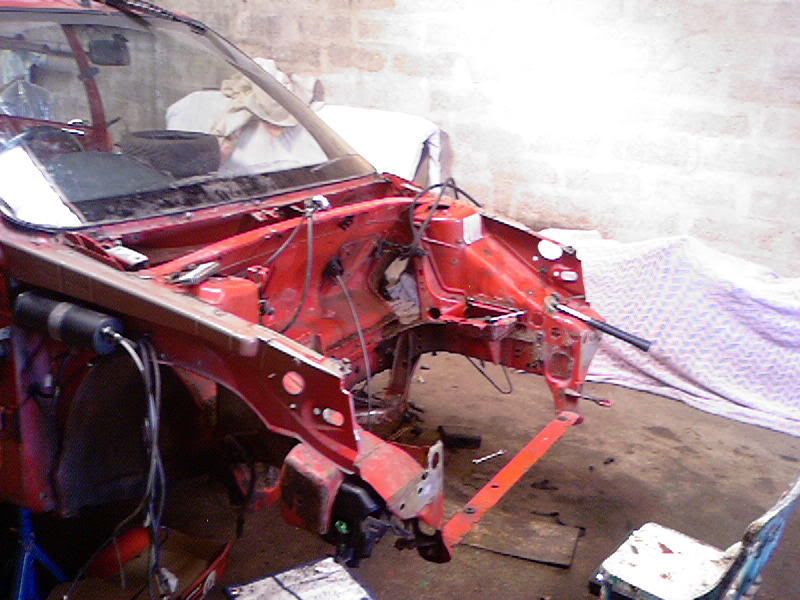
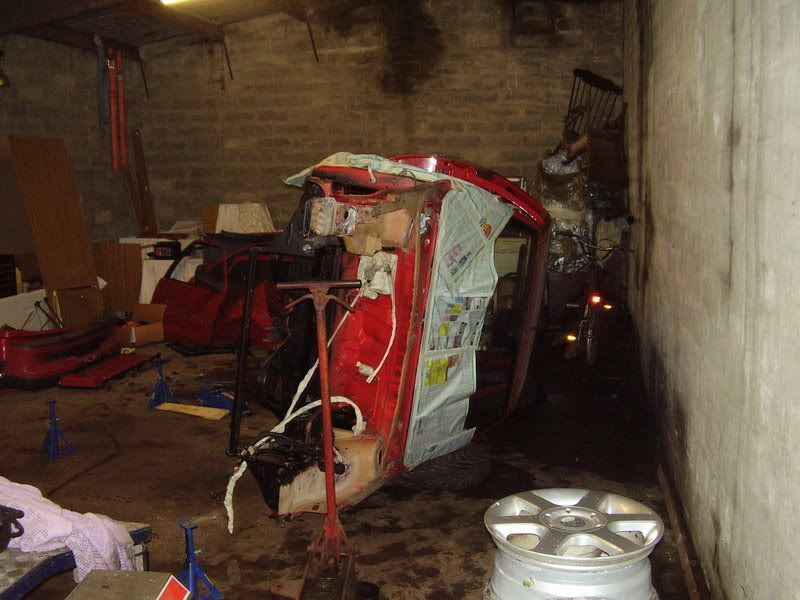
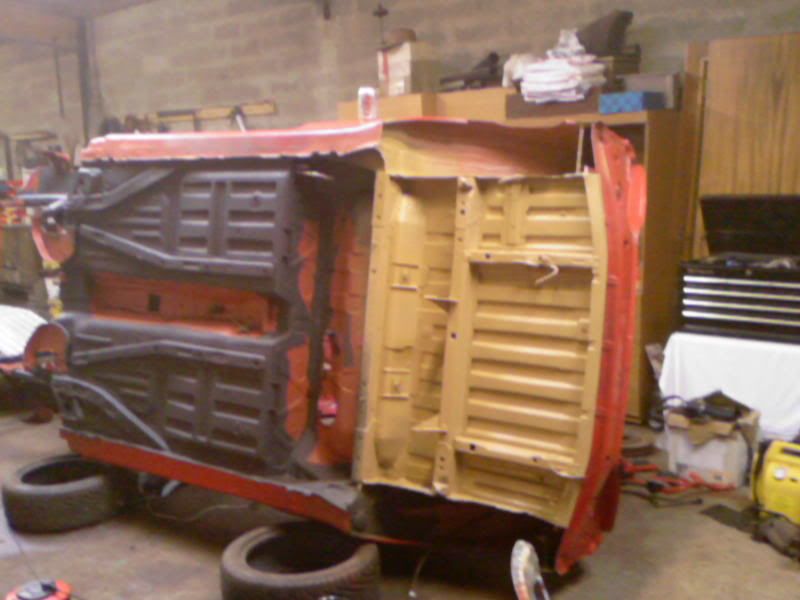
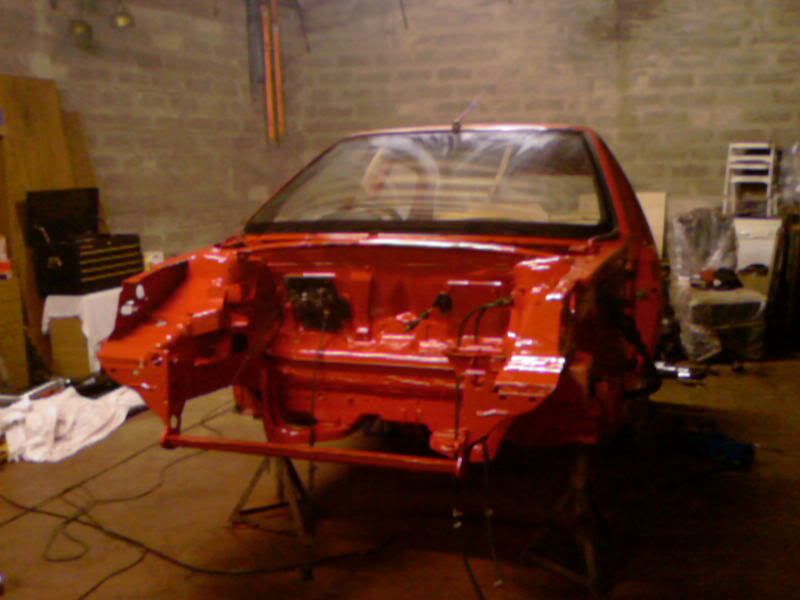
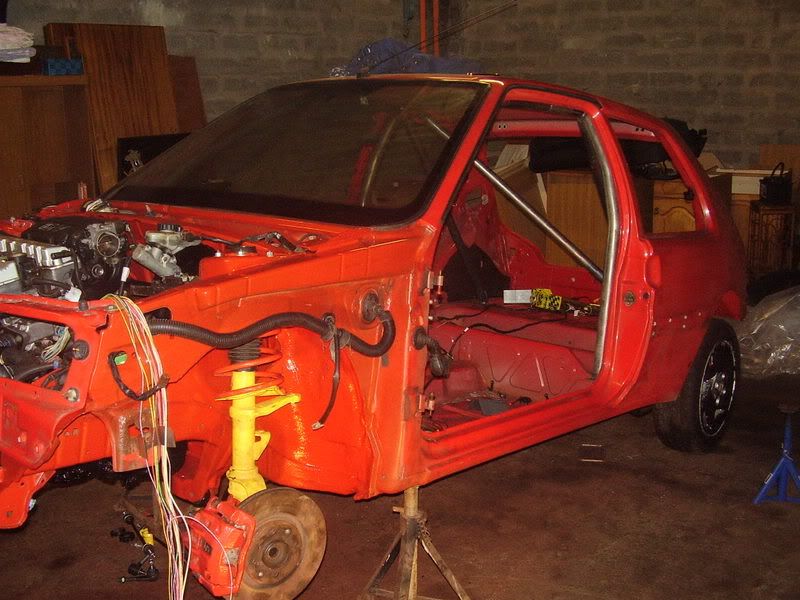
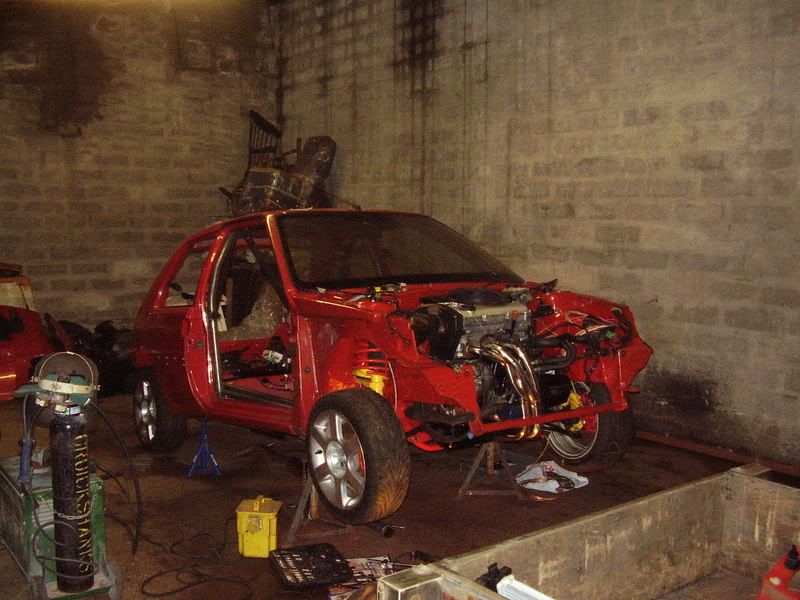
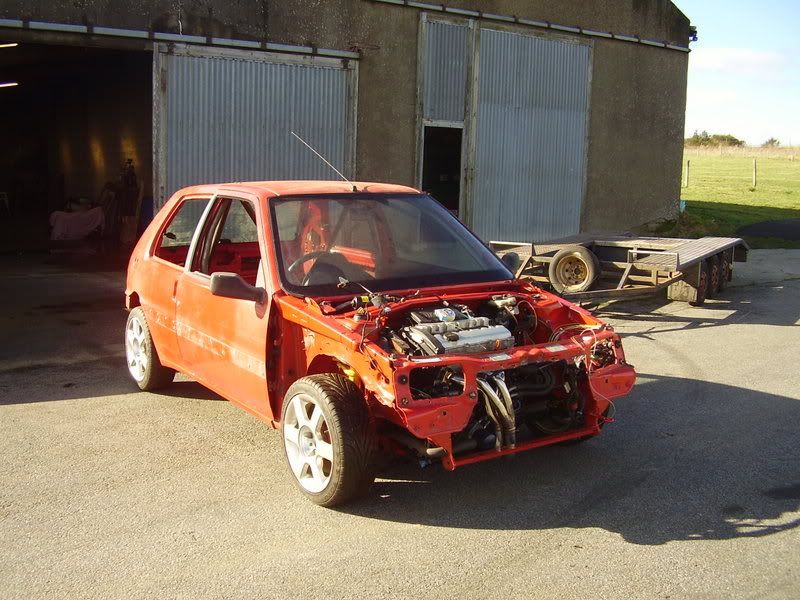
im stripping it out and starting a-fresh. It needs a full re-spray basicly as theres lots of dents etc all over it. (few bad ones on roof)
sorry about the pic size.
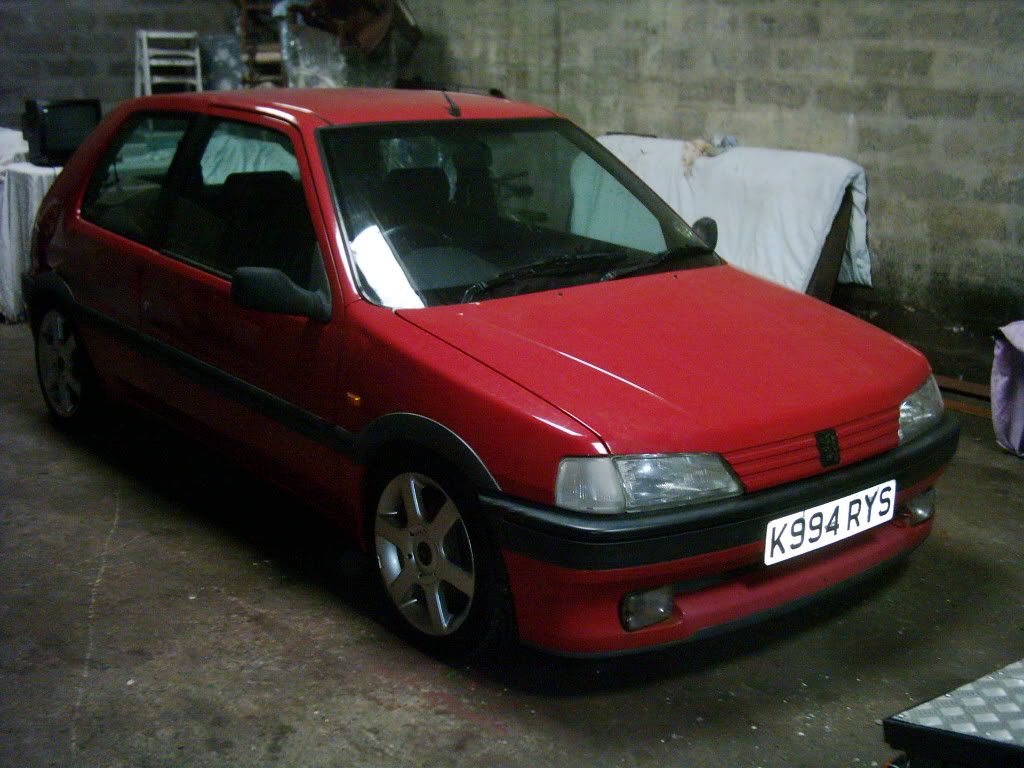
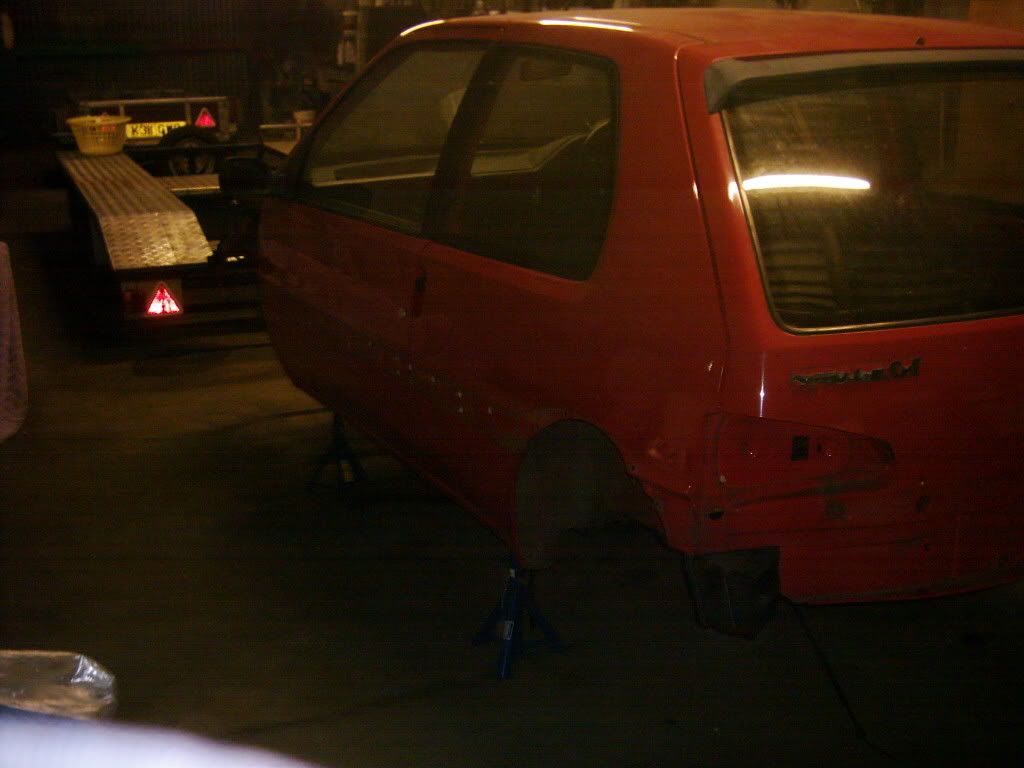
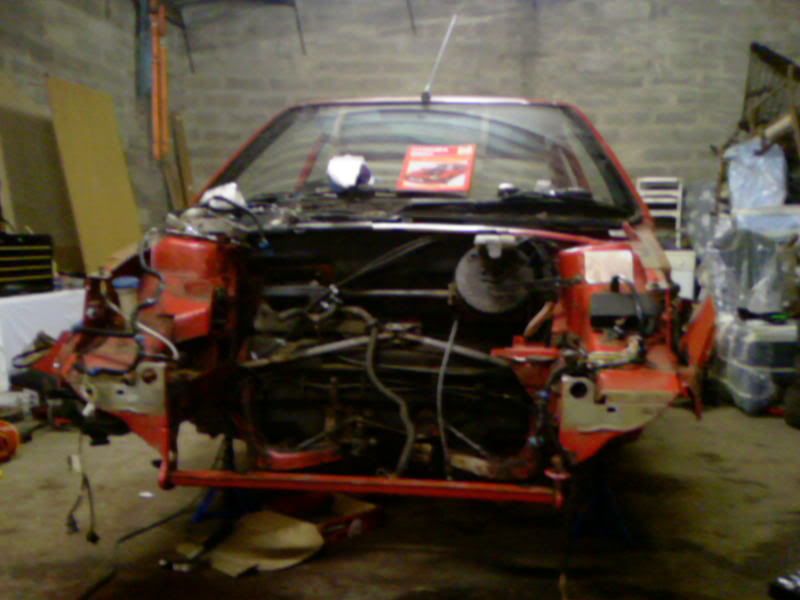
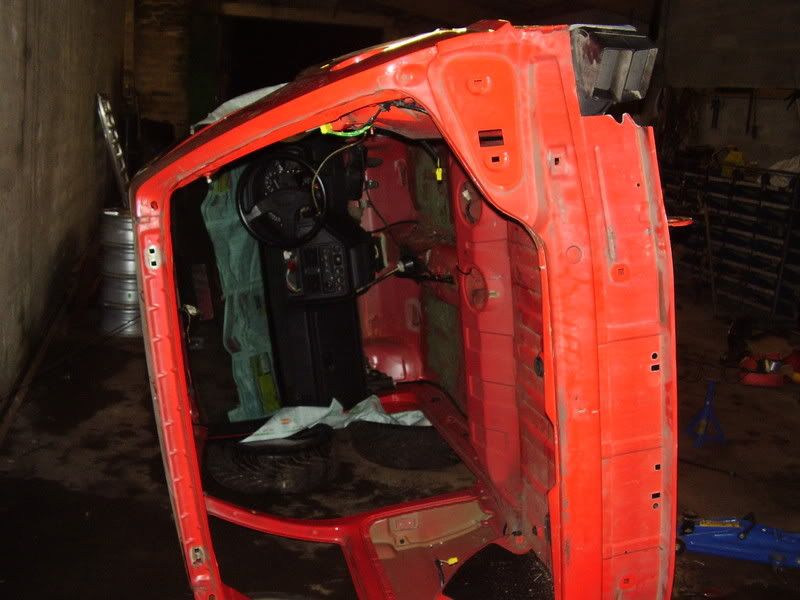
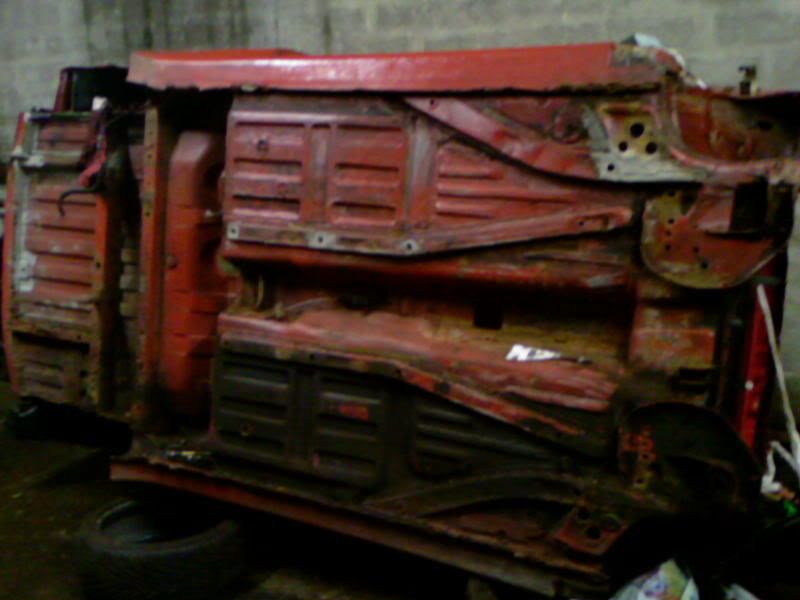
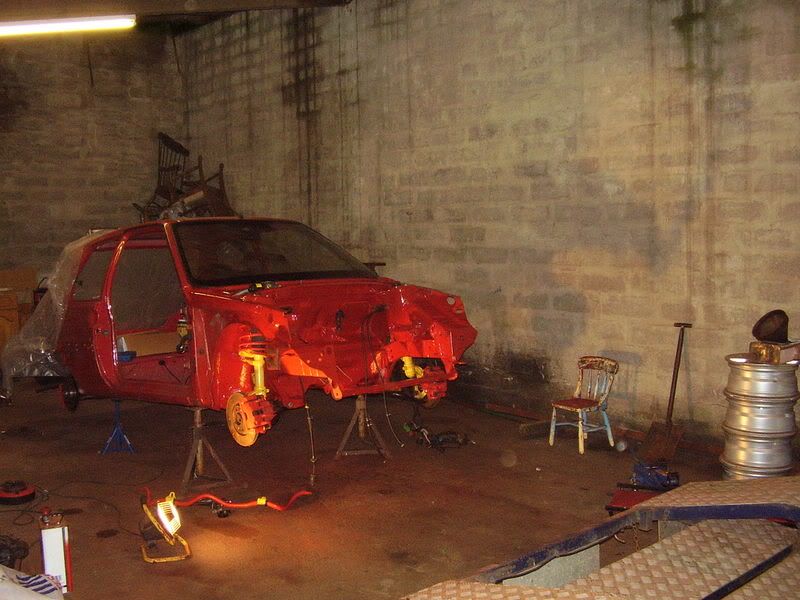
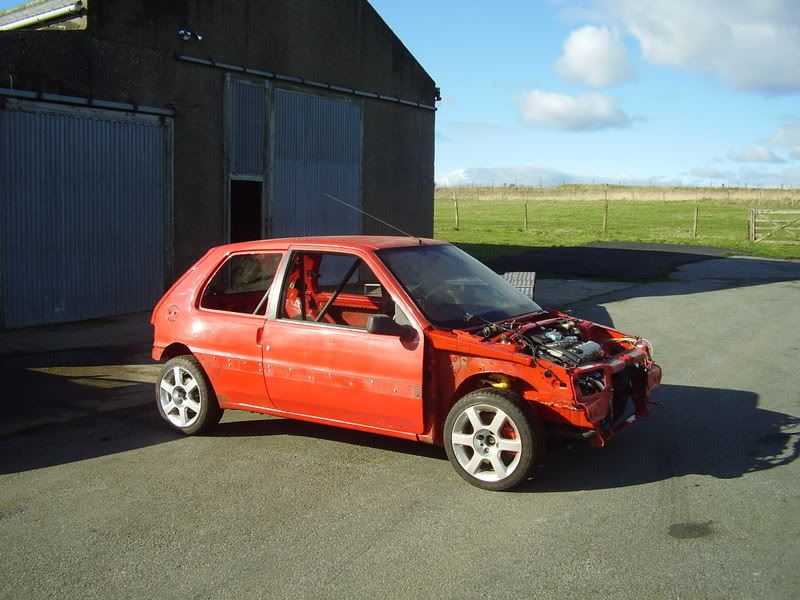
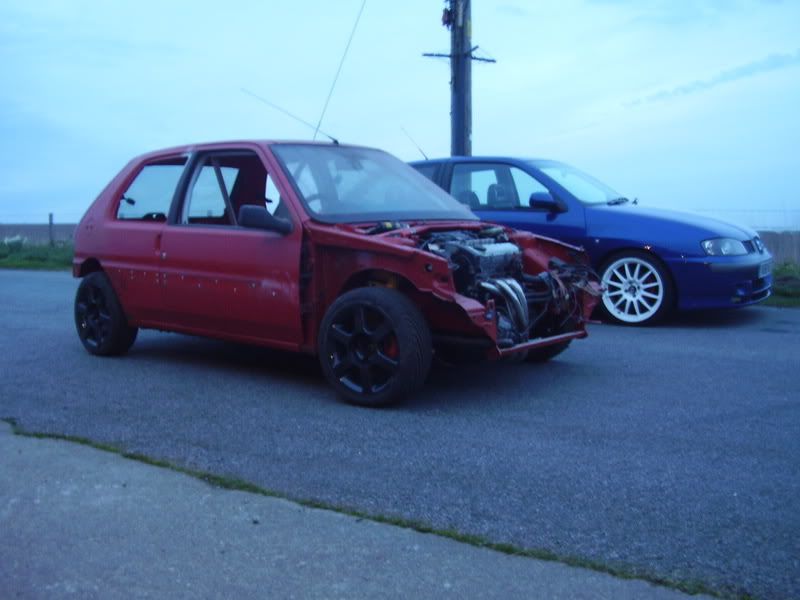
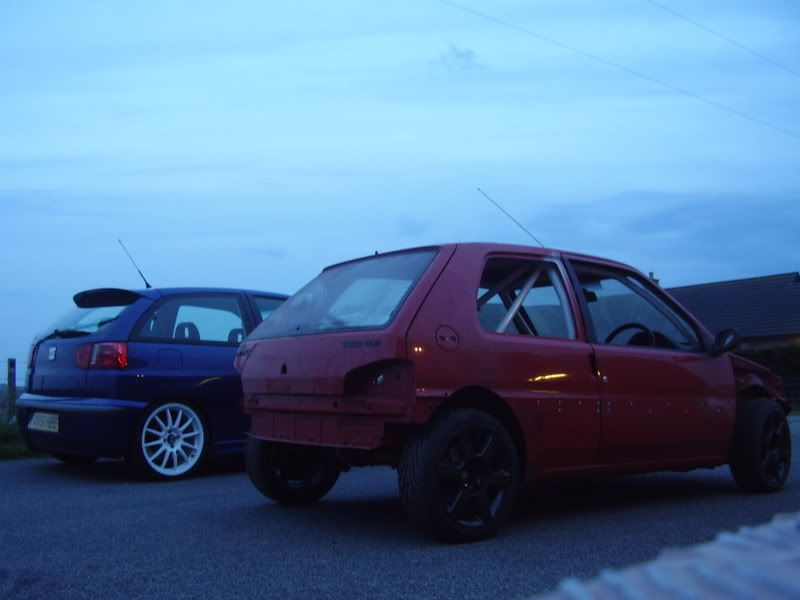
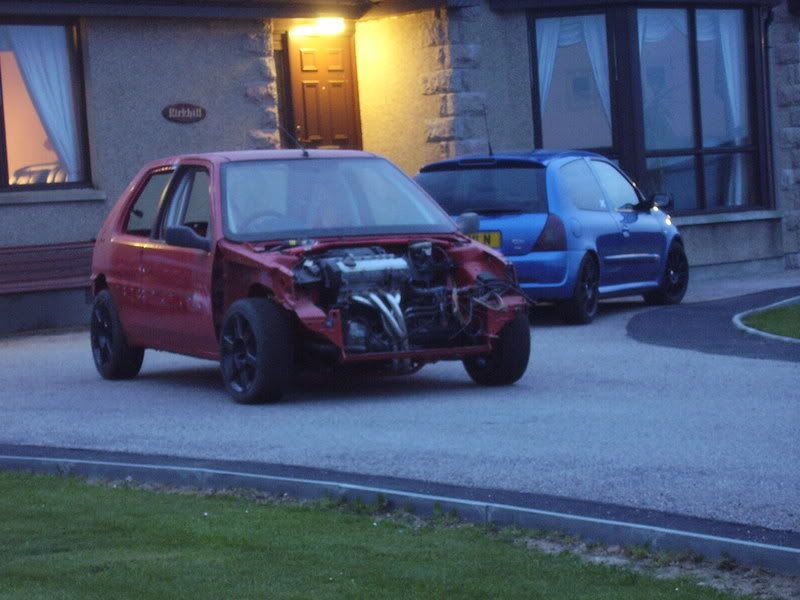
this is what it looked like when i bought it.

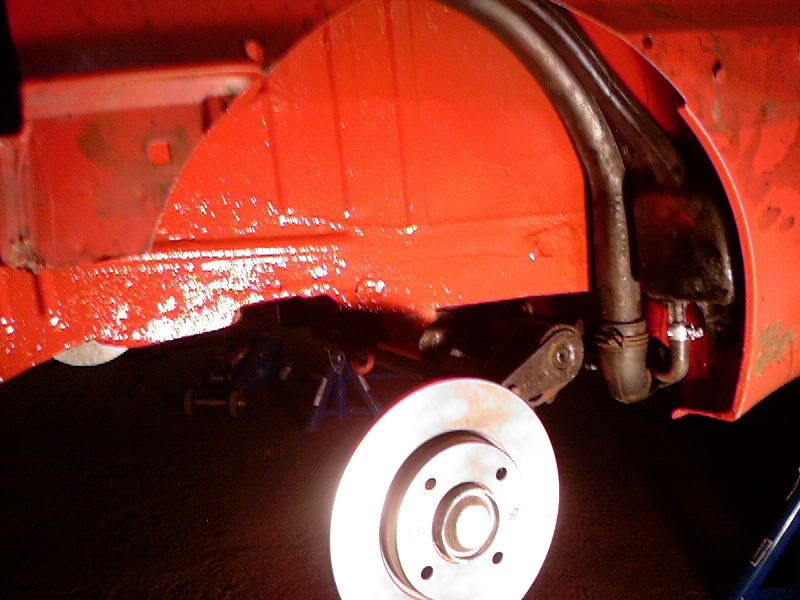
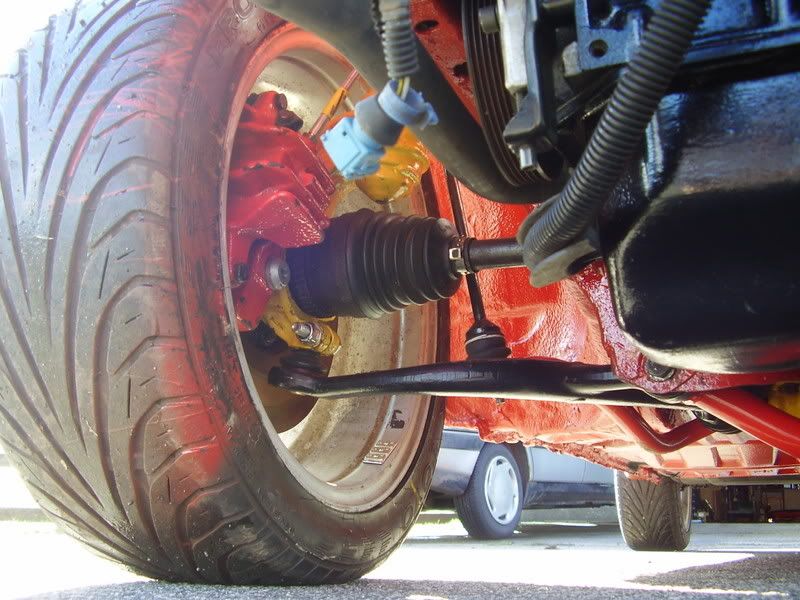
all new ARB bushes, track rod ends, drop links, strut top mounts and bearings, new wheel bearings. So that should be the front end lots better as most of the bushes and ball joints were shot.
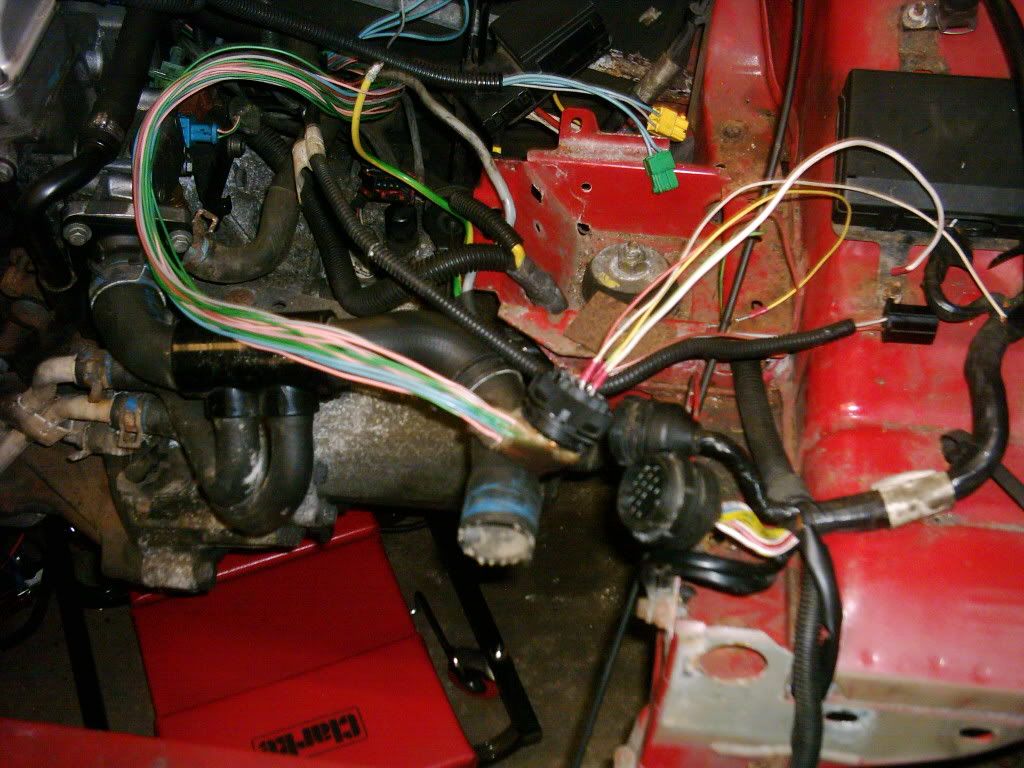
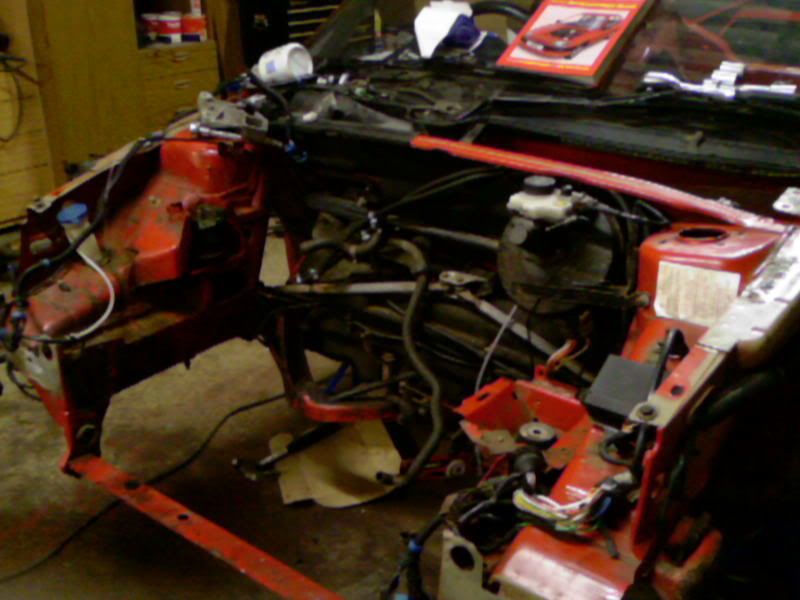
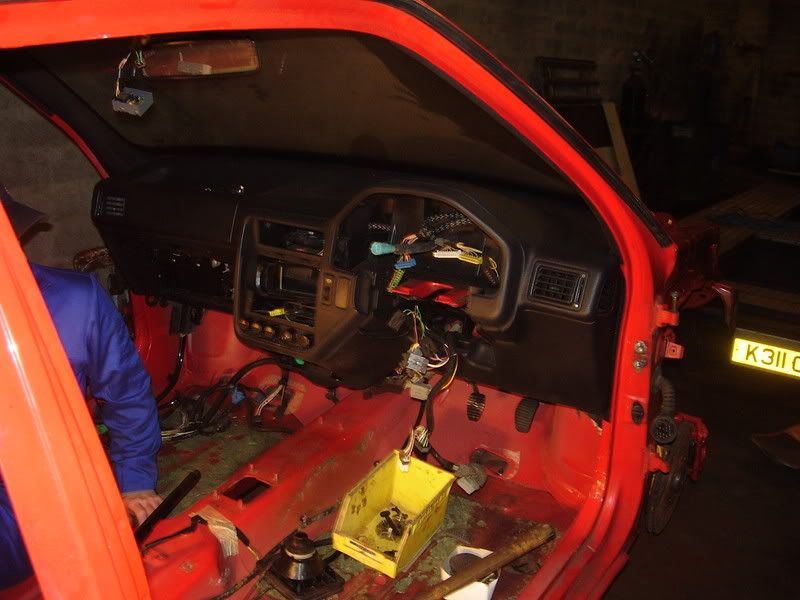
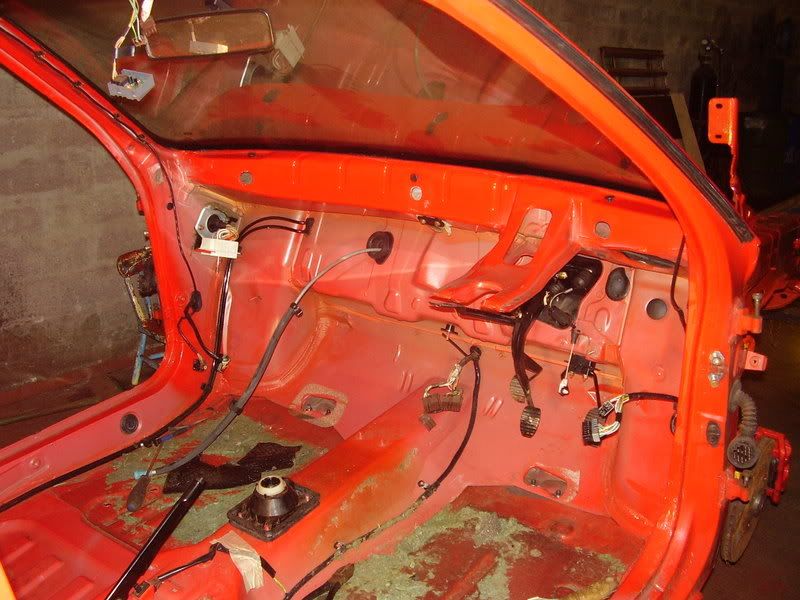
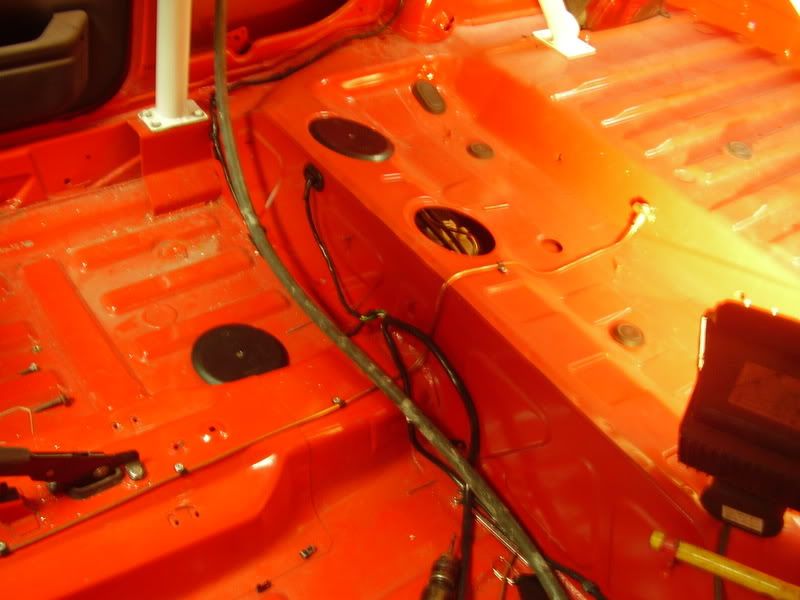
Crazy wiring!!?? lol
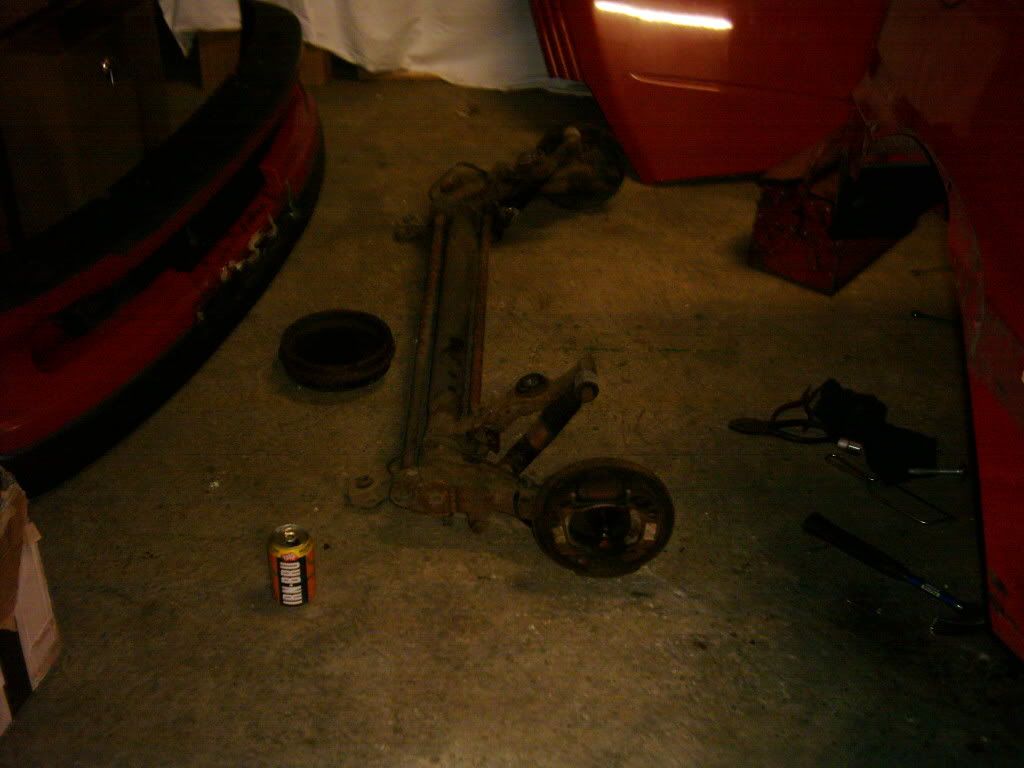
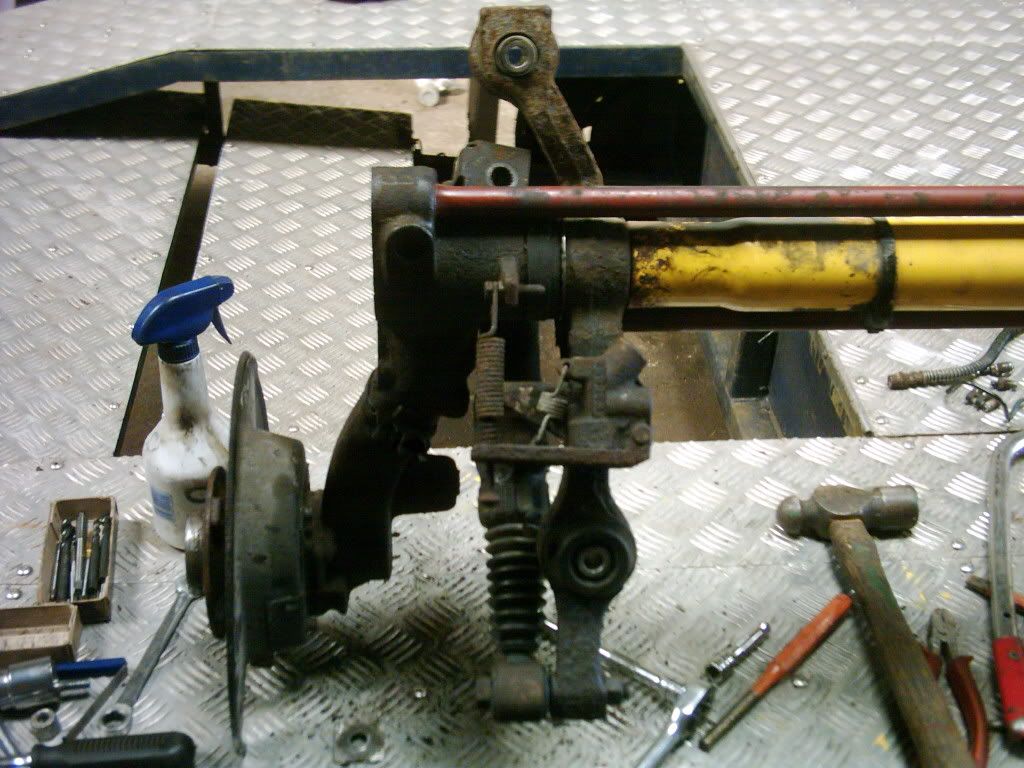
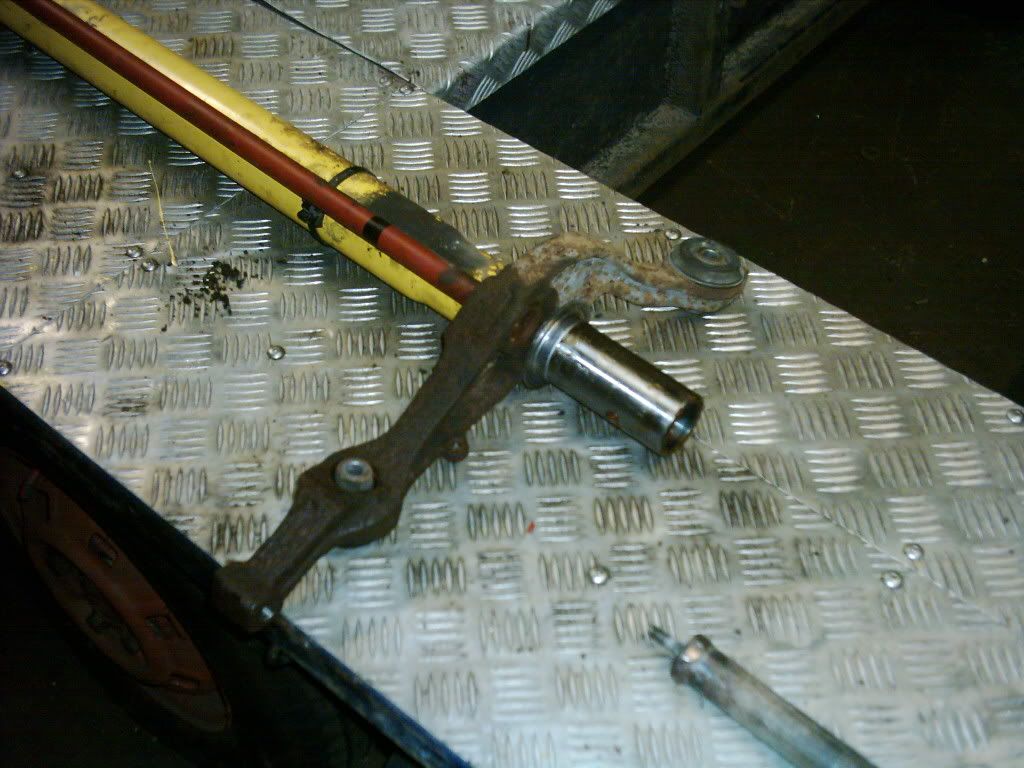
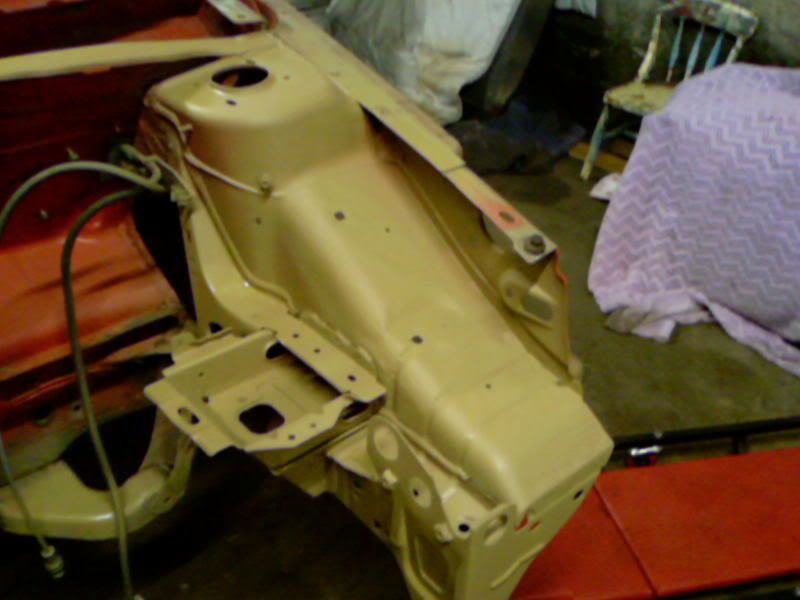
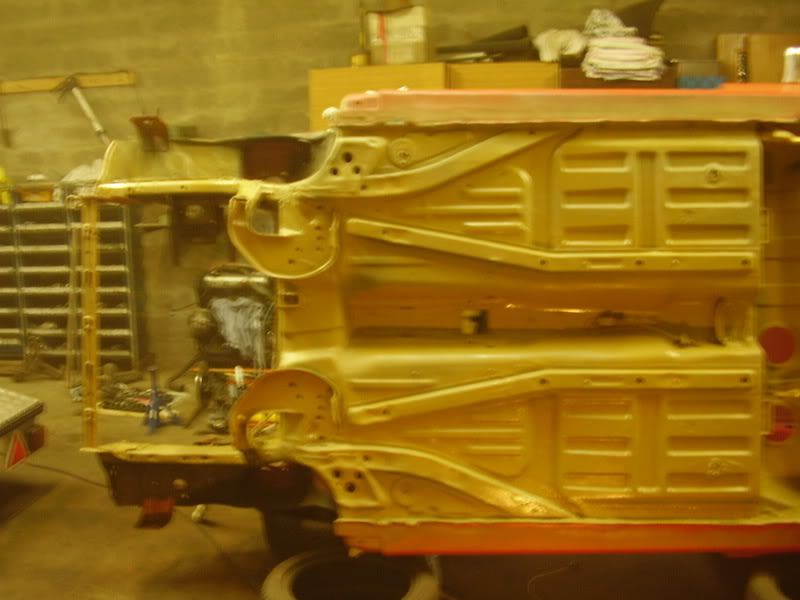
Old Tired Beam
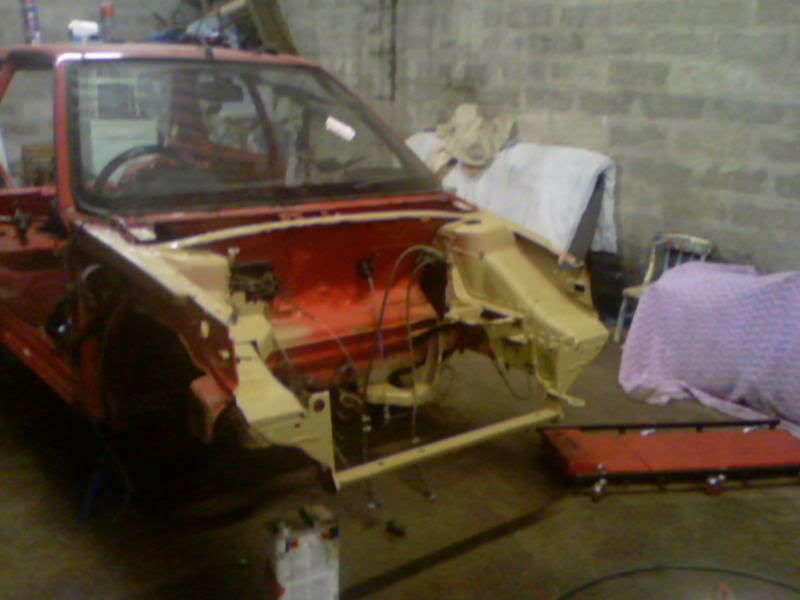
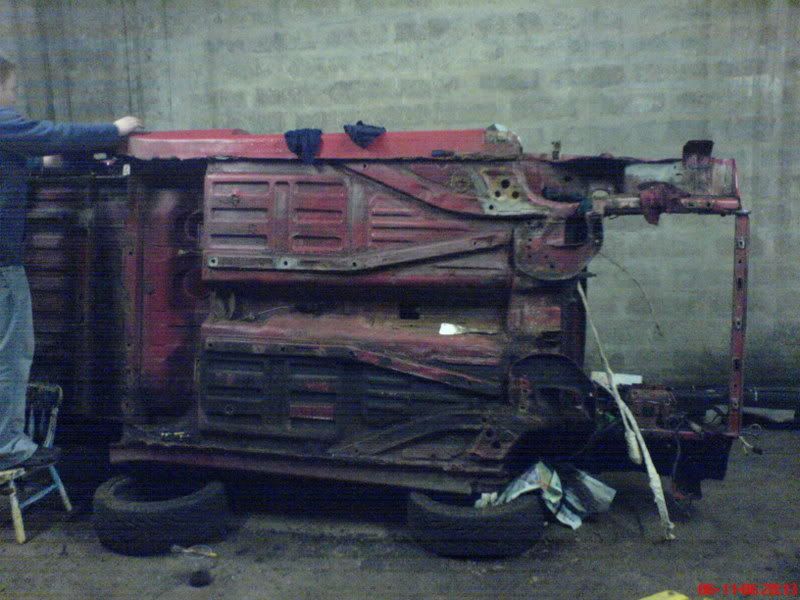
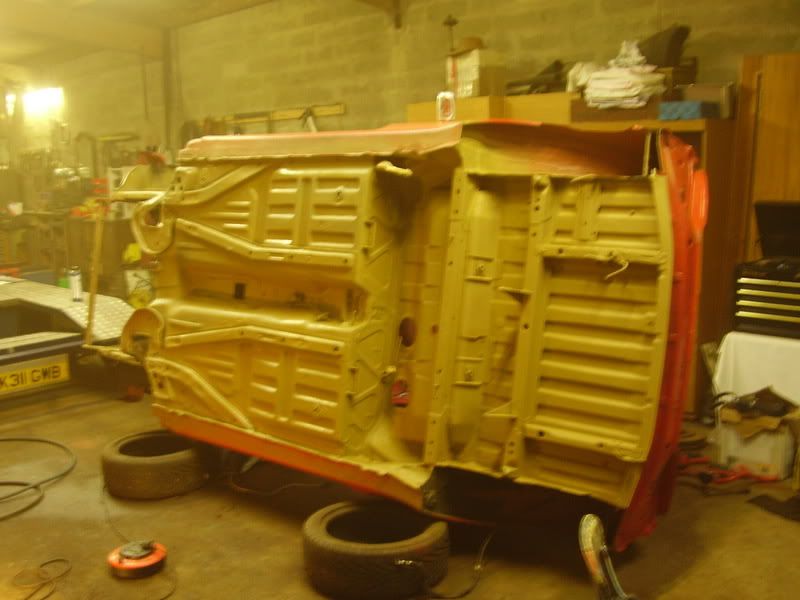
Bare

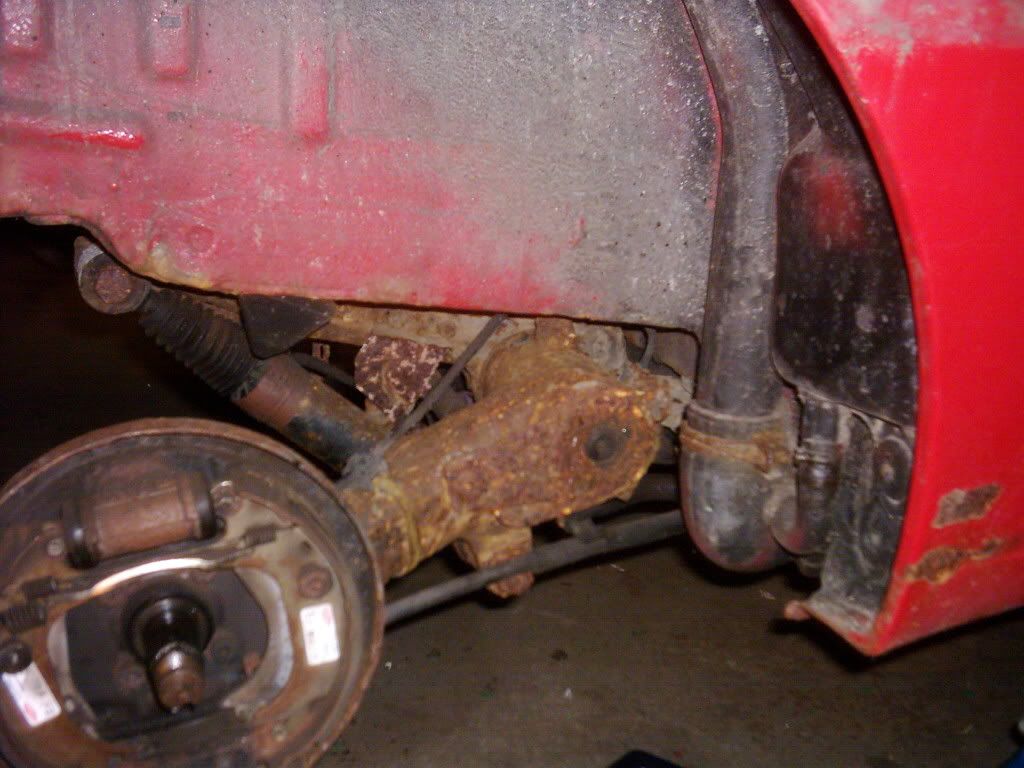
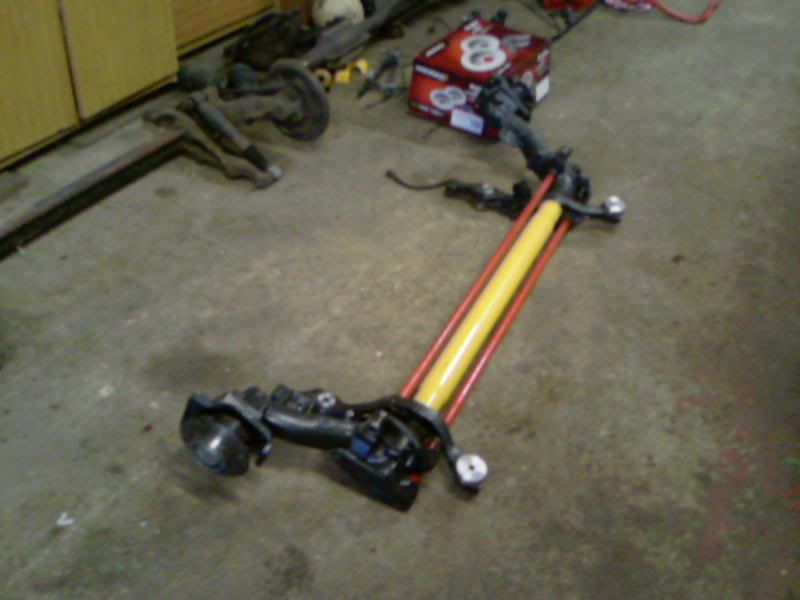
VTR axle
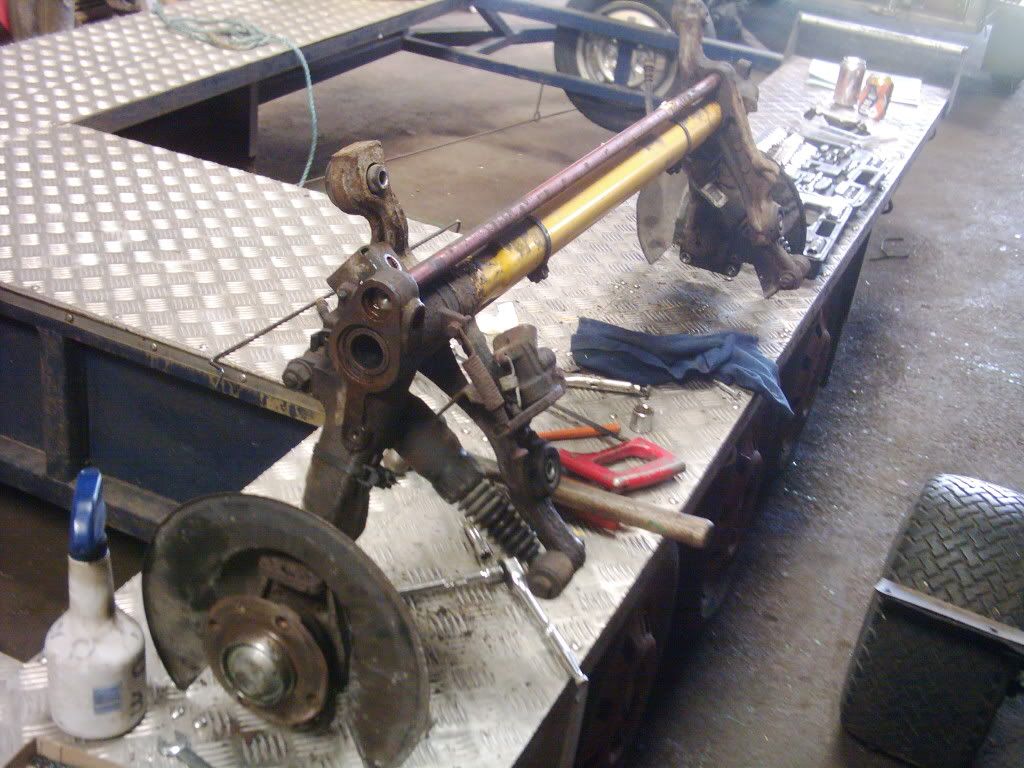
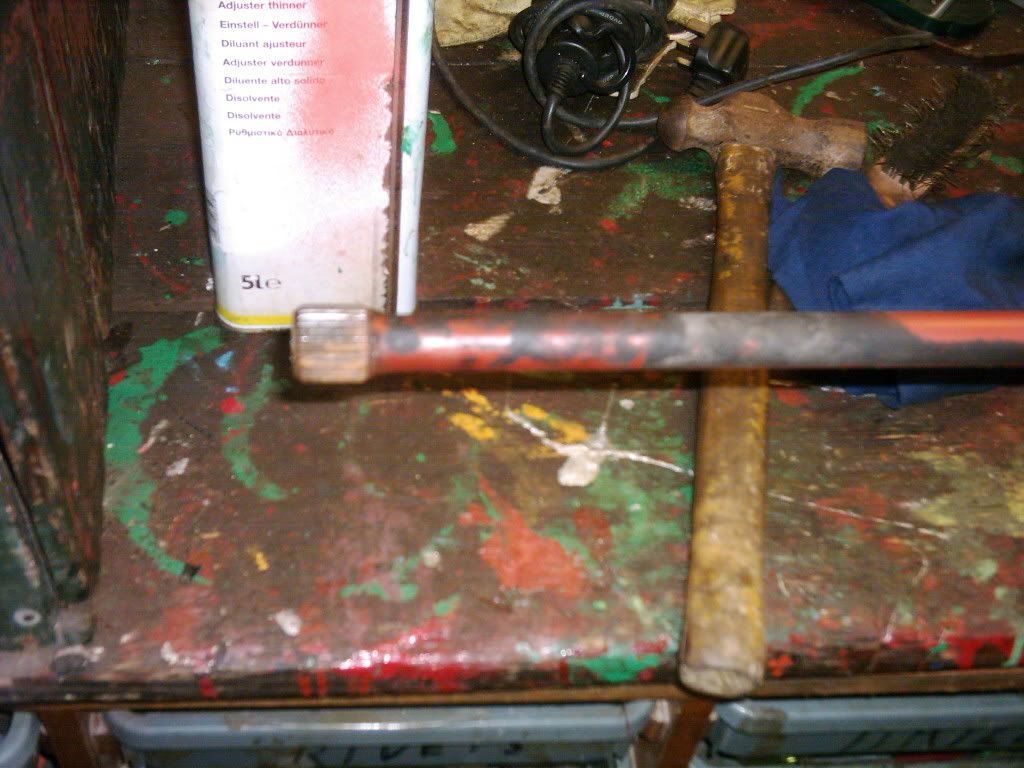
Yes my workbench is a trailer lol
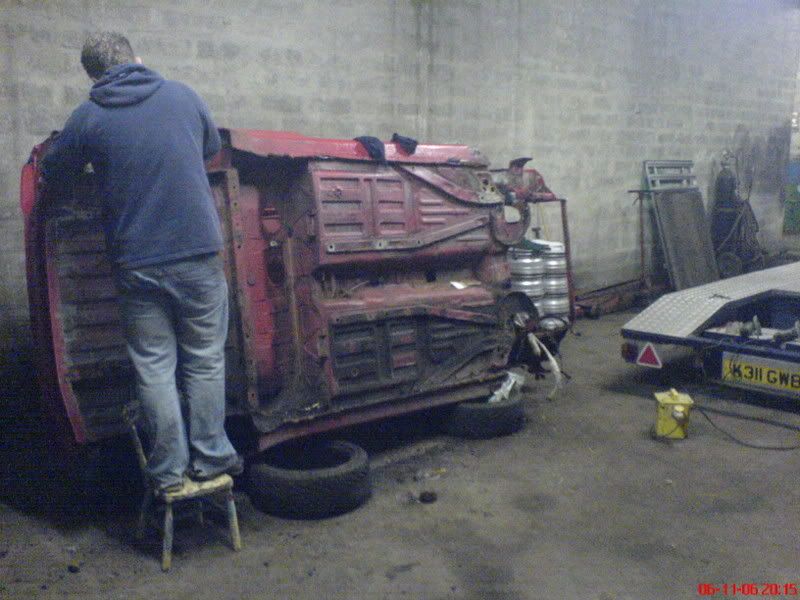
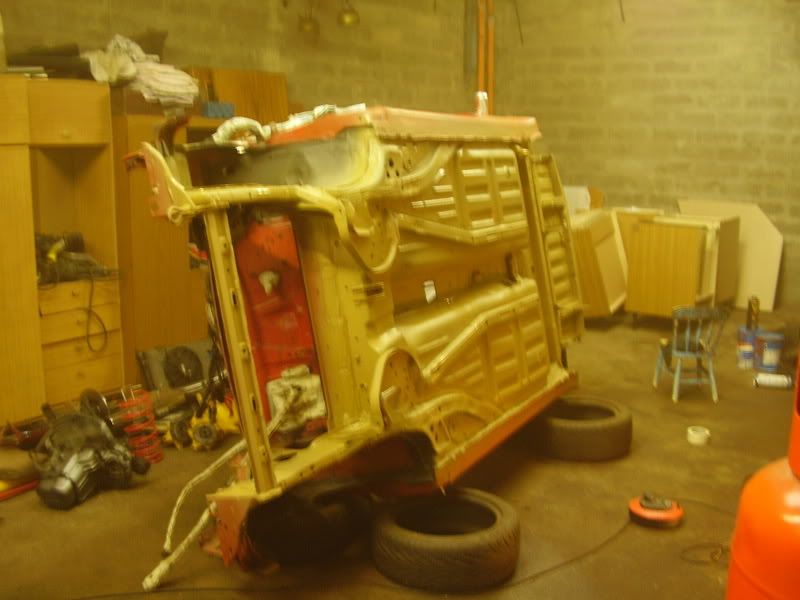
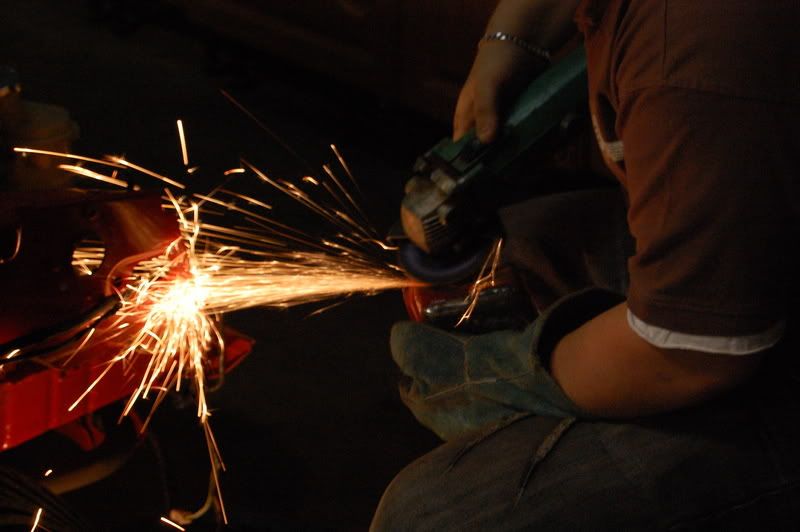
2 Whole Nights of needle gunning the rust etc off of it.

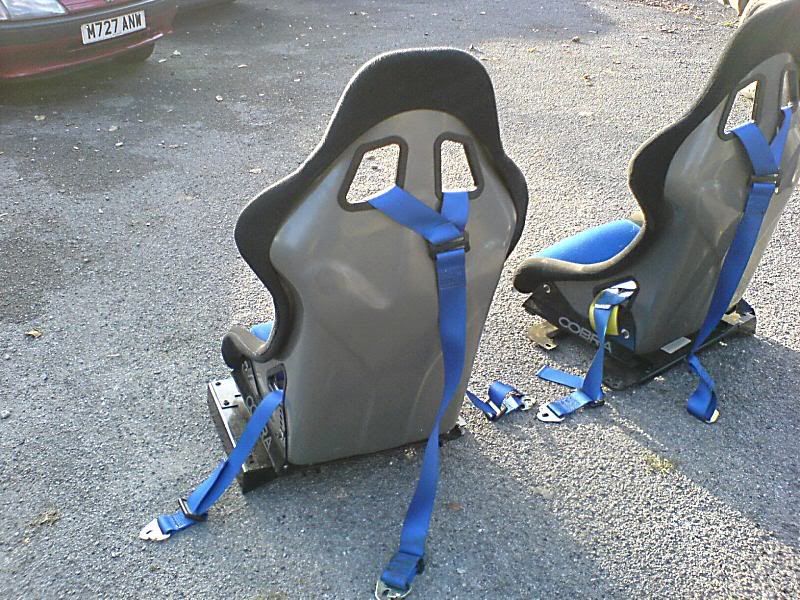
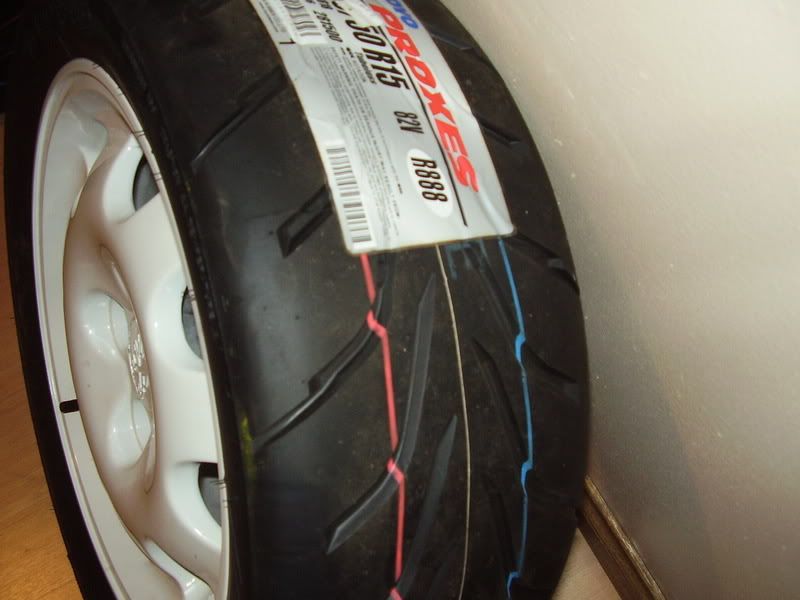
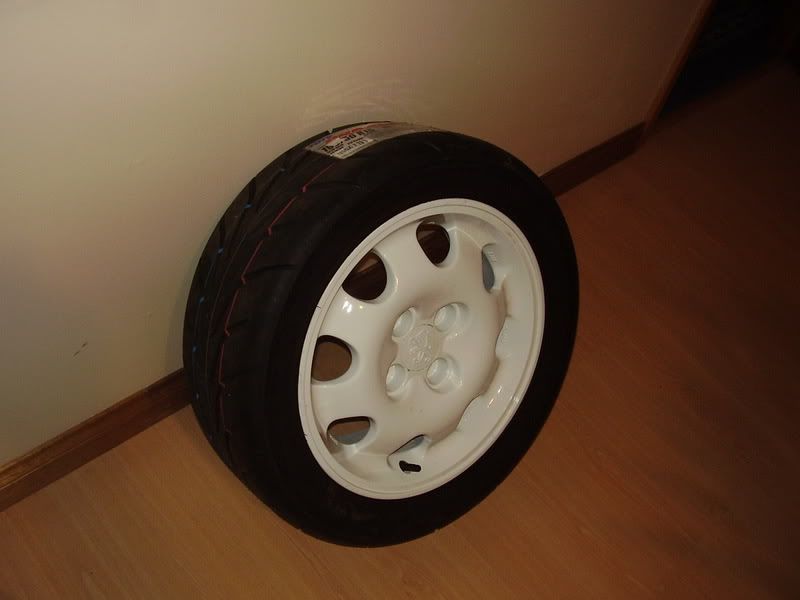
my latest purchase;
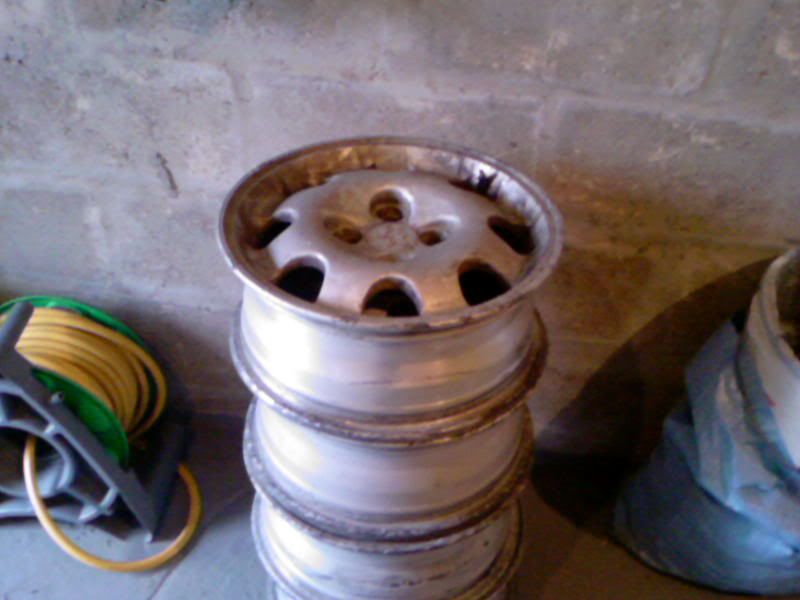
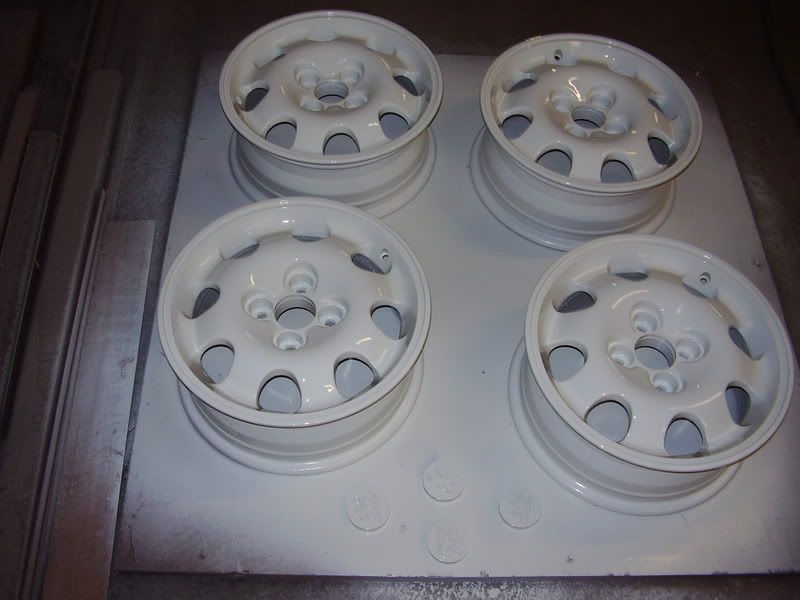
Picked them up for £50, they need a rub down and a paint but are not badly kerb'd etc.
I was planning on painting them white or black anyway so im happy!
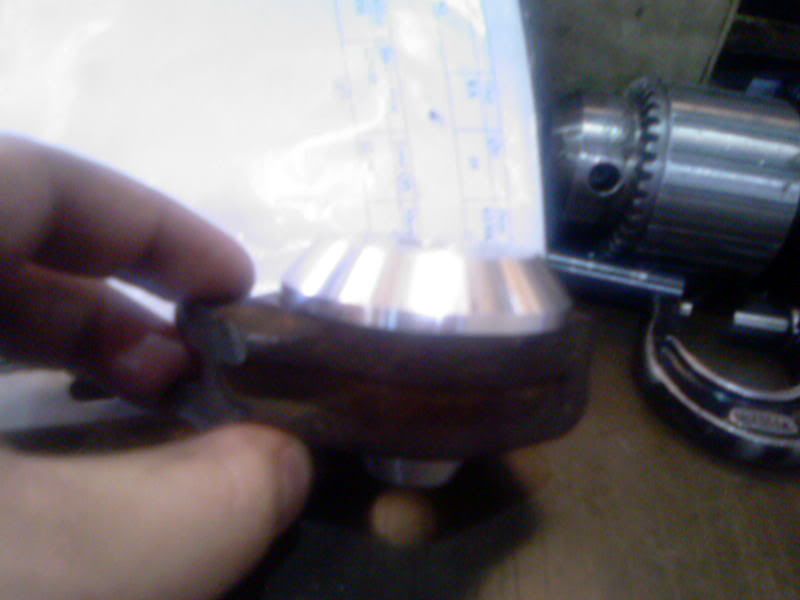
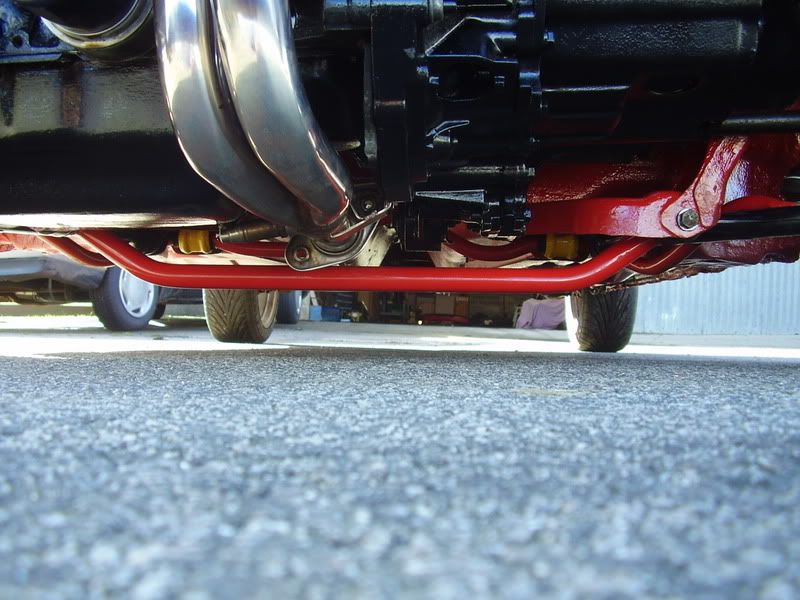
and Ive also been experimenting at work with the idea of solid rear beam mounts.
wrote a new prog on my CNC lathe at work and made a test piece today.
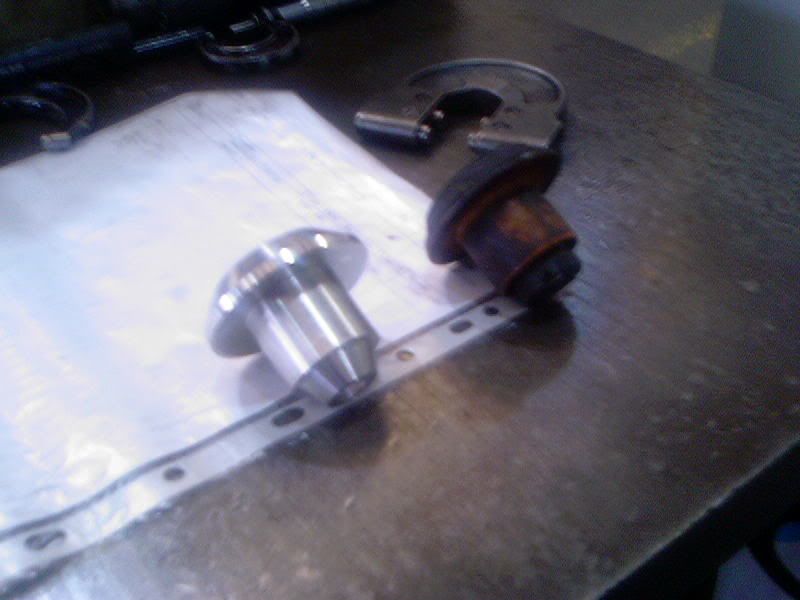
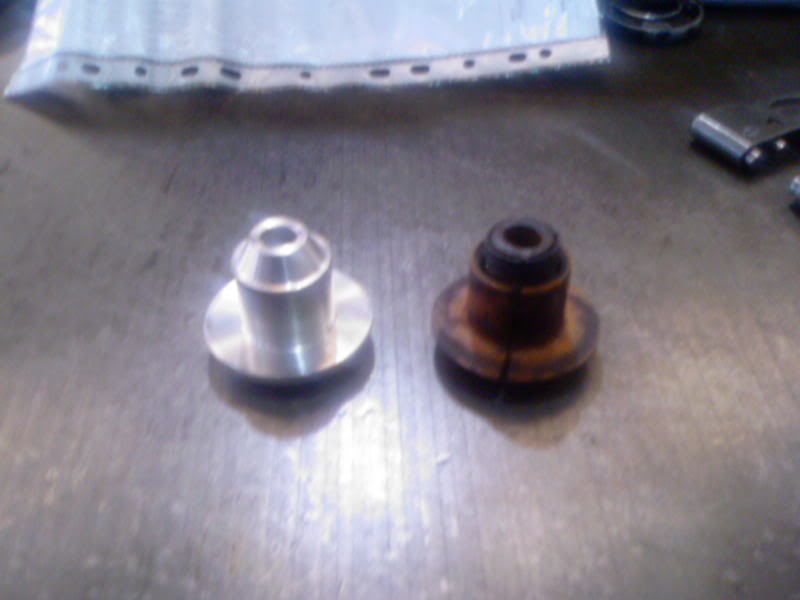

thats my mintex discs and pads for new rear beam.
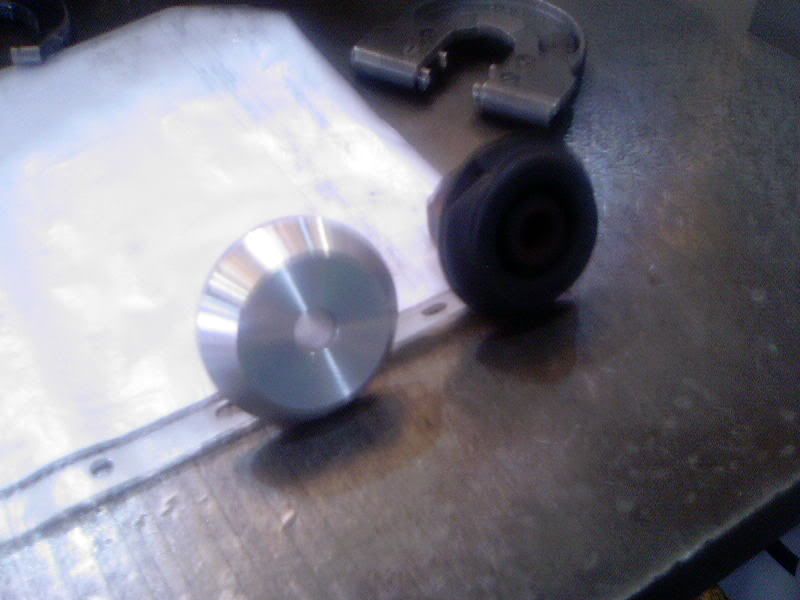
also my homemade beam bushes.
New Bushes in newly refurbed axle, they fit like a glove!!
Picked it up from aberdeen, the engine is in already but the wiring needs completing. Its a VTS engine with 60k on it. Its got Gti-6 brakes on it.
im stripping it out and starting a-fresh. It needs a full re-spray basicly as theres lots of dents etc all over it. (few bad ones on roof)
sorry about the pic size.
this is what it looked like when i bought it.
all new ARB bushes, track rod ends, drop links, strut top mounts and bearings, new wheel bearings. So that should be the front end lots better as most of the bushes and ball joints were shot.
Crazy wiring!!?? lol
Old Tired Beam
Bare
VTR axle
Yes my workbench is a trailer lol
2 Whole Nights of needle gunning the rust etc off of it.
my latest purchase;
Picked them up for £50, they need a rub down and a paint but are not badly kerb'd etc.
I was planning on painting them white or black anyway so im happy!
and Ive also been experimenting at work with the idea of solid rear beam mounts.
wrote a new prog on my CNC lathe at work and made a test piece today.
thats my mintex discs and pads for new rear beam.
also my homemade beam bushes.
New Bushes in newly refurbed axle, they fit like a glove!!
Edited by mi1ne on Saturday 6th October 00:55
Edited by mi1ne on Saturday 6th October 23:33
few jobs done after my work on friday,
can now start respraying inside the wheel arches and doing the engine bay.
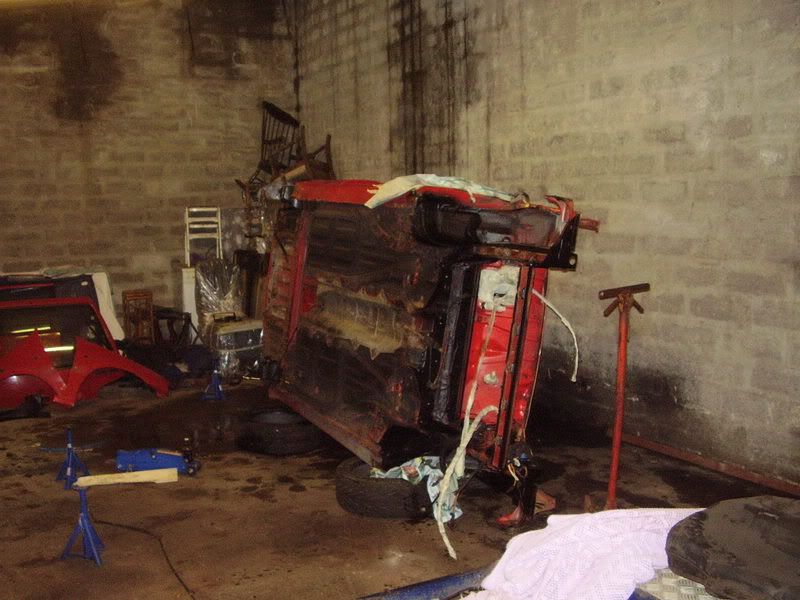
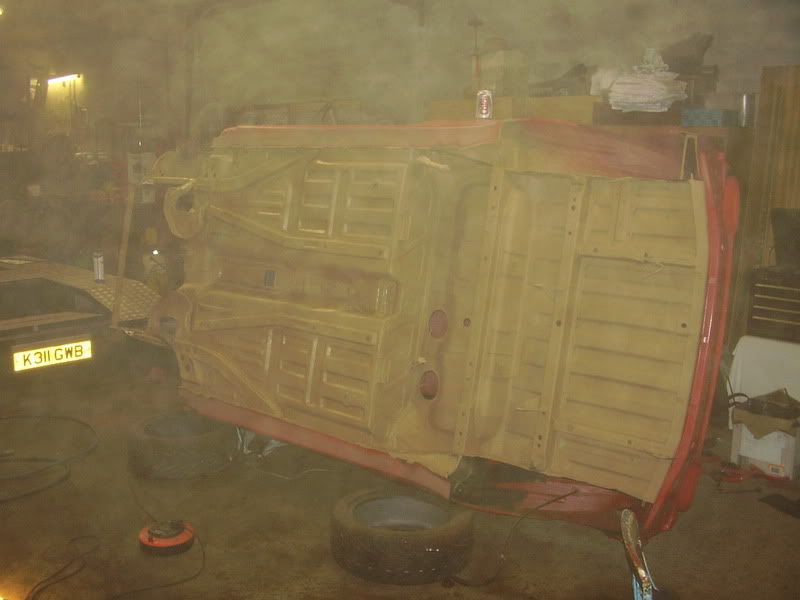
once thats all done im going to flip the car on its side and do underneath. im not really bothered about doing the "outside" bodywork now as it can be done when everything is nearly complete.
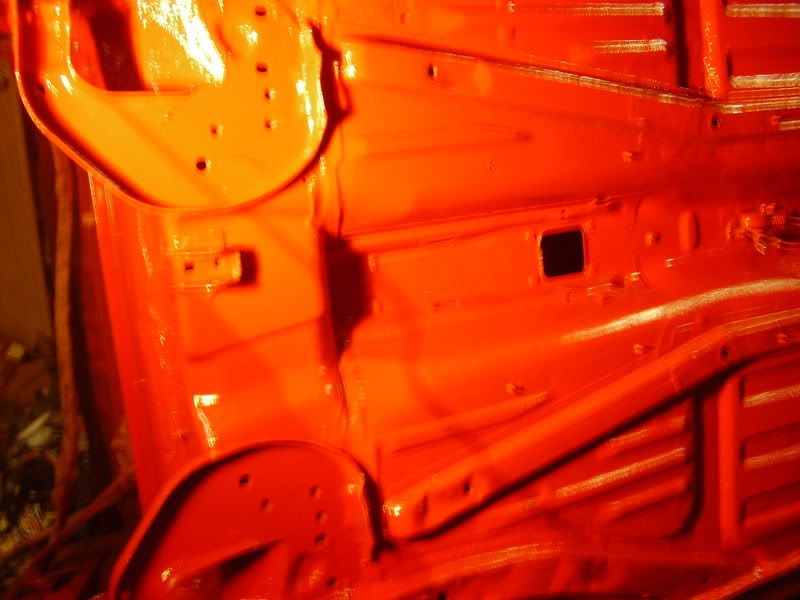
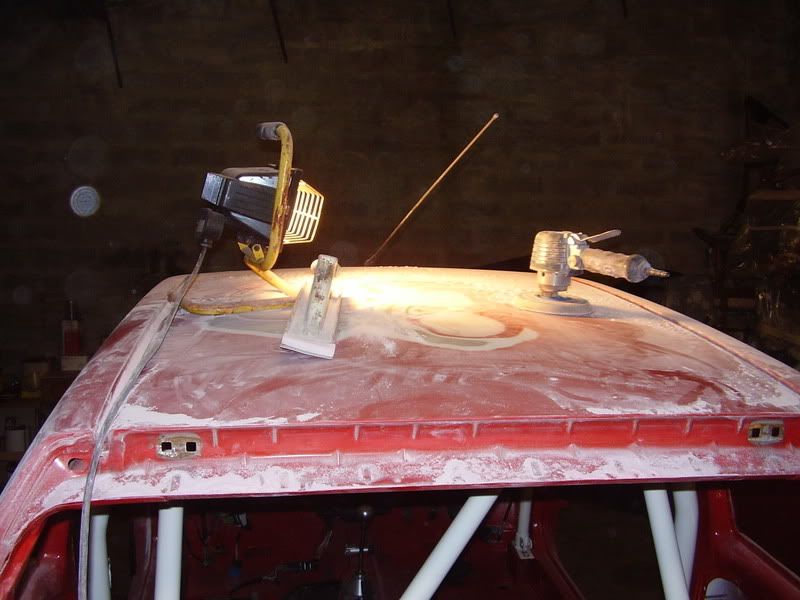
Just a quick 1st coat of primer on some areas.
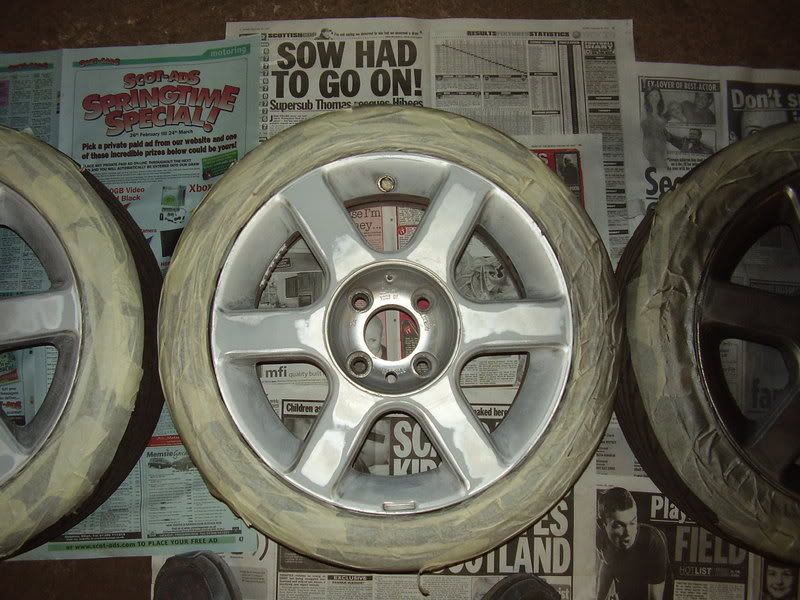
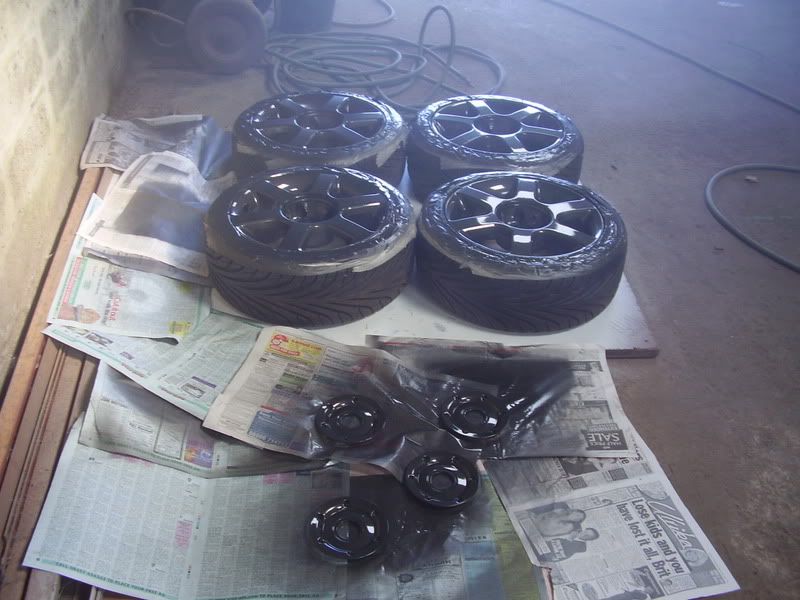
Also started rubbing down my 205 gti alloys
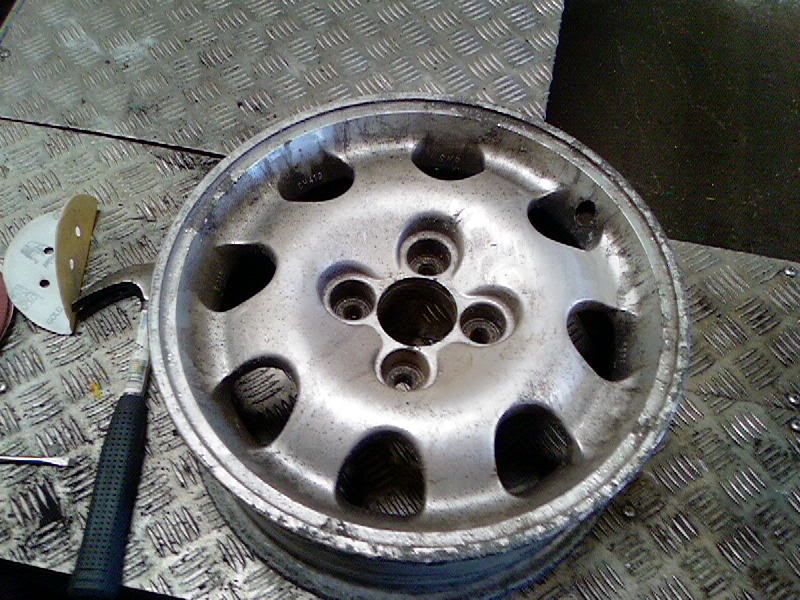

Yes, the pic is the correct way up

Fair Chuffed!!

Quite alot of stuff to come off

Hour or Two of scraping.
can now start respraying inside the wheel arches and doing the engine bay.
once thats all done im going to flip the car on its side and do underneath. im not really bothered about doing the "outside" bodywork now as it can be done when everything is nearly complete.
Just a quick 1st coat of primer on some areas.
Also started rubbing down my 205 gti alloys
Yes, the pic is the correct way up
Fair Chuffed!!
Quite alot of stuff to come off
Hour or Two of scraping.
Still Getting this stuff off. 
this is taking longer than expected.
small update:
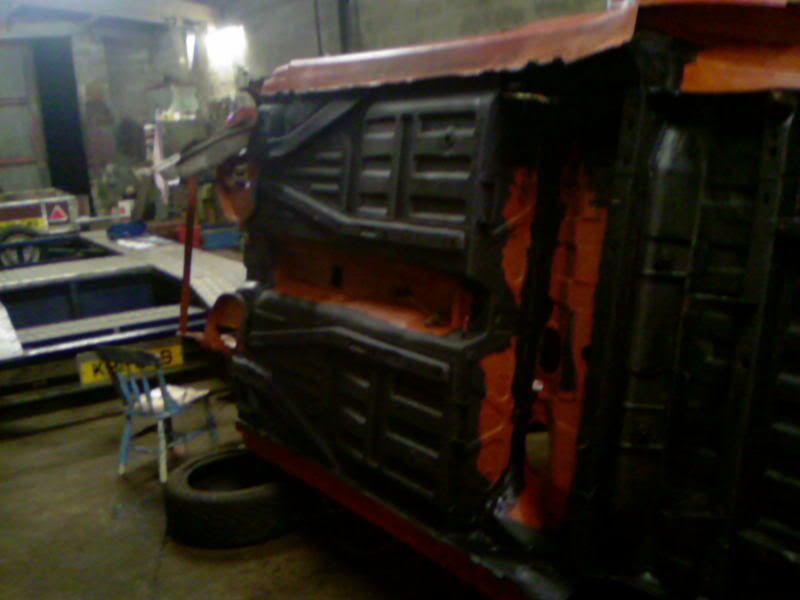
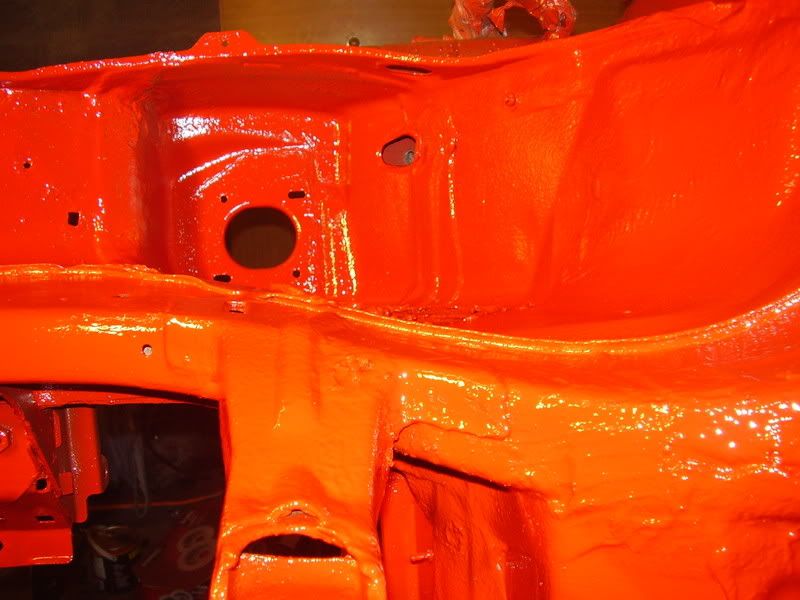
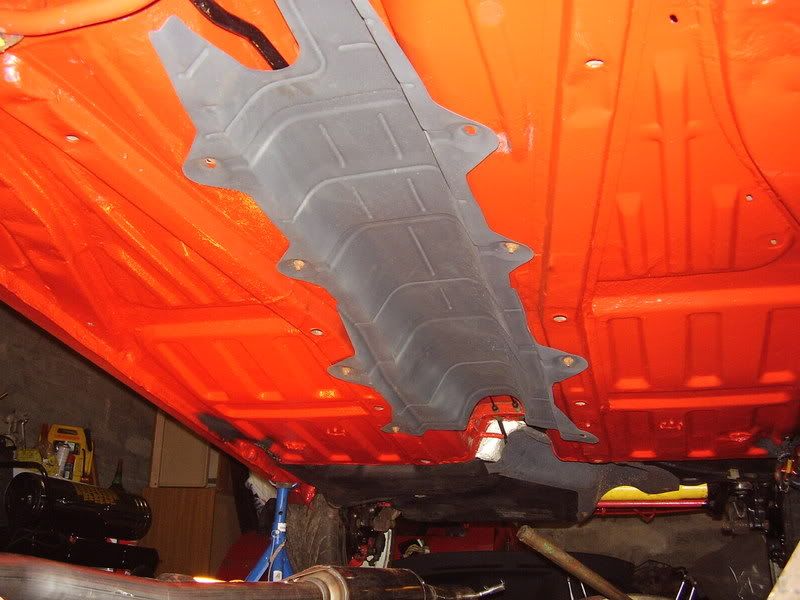
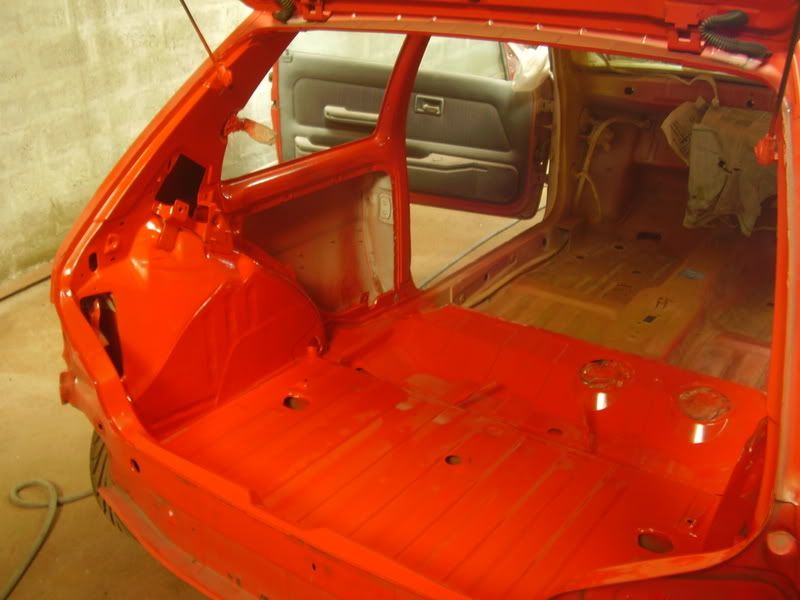
Back end looking alot cleaner. all rust removed, coated with ku-rust then painted with anti corrosion primer. the underseal and body colour paint is still to follow.

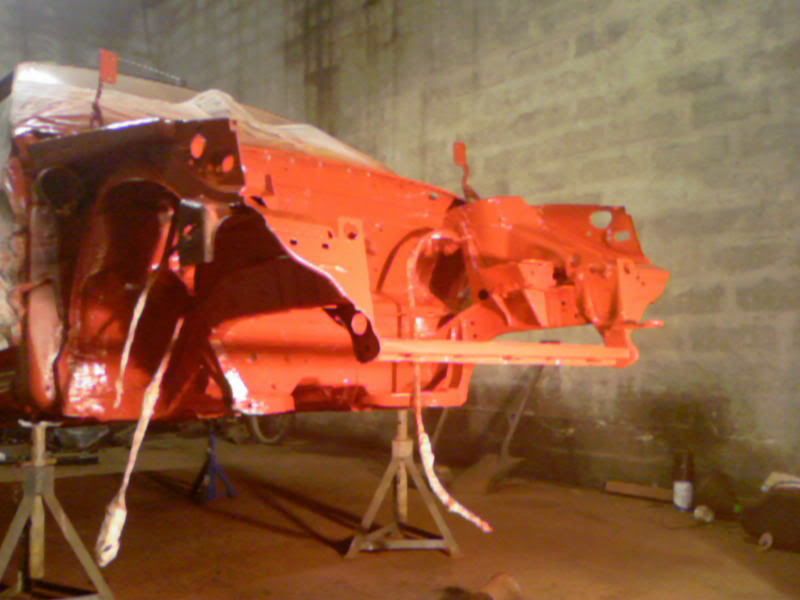
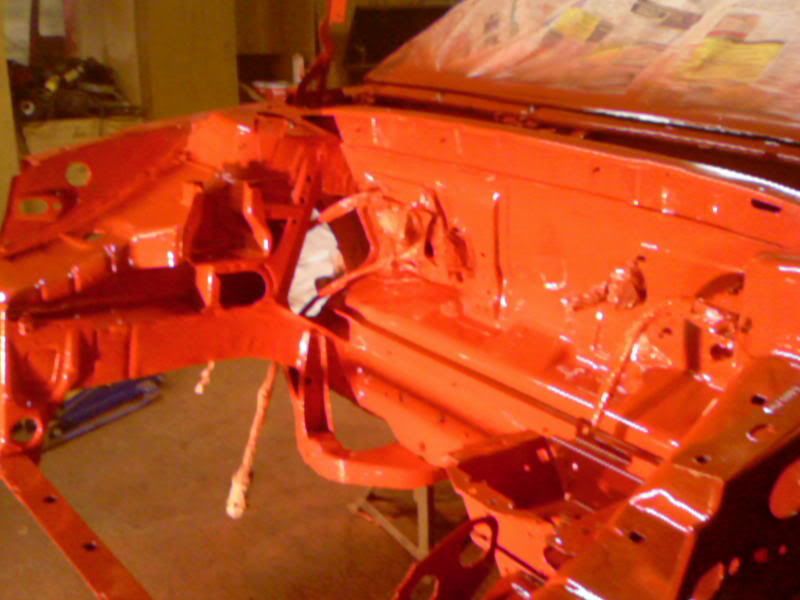
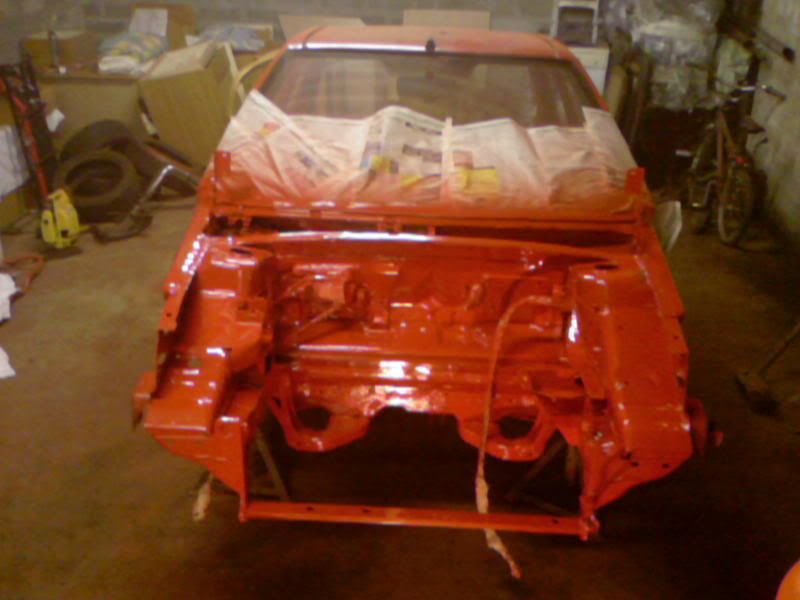
This is the stage its at now. This is alot harder going than i was expecting to be perfectly honest. very time consuming indeed.

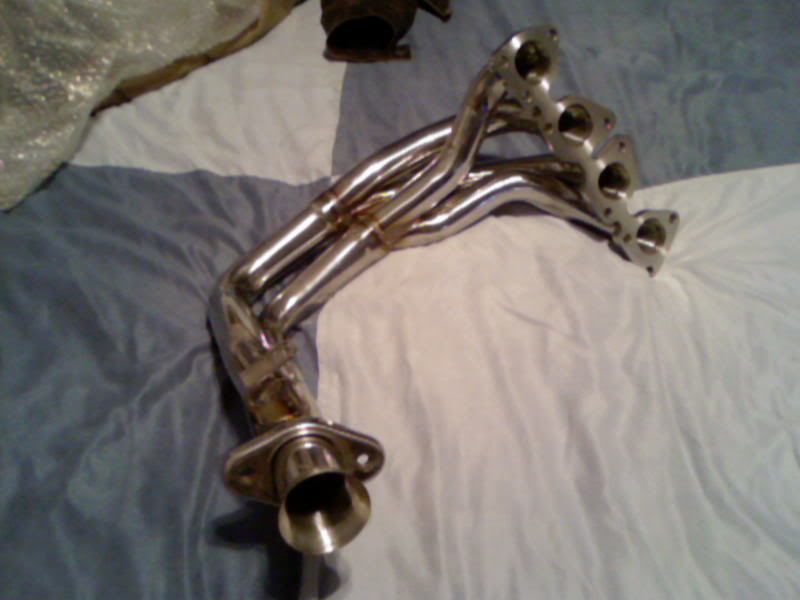
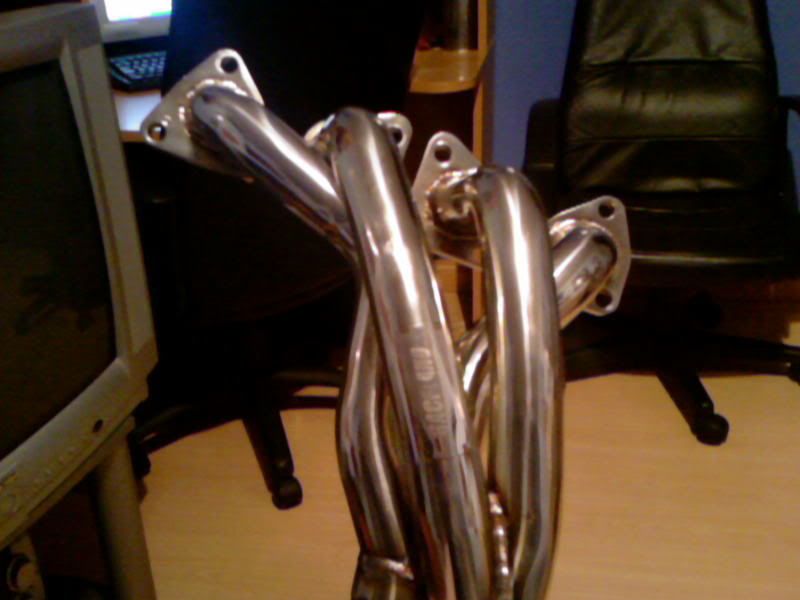
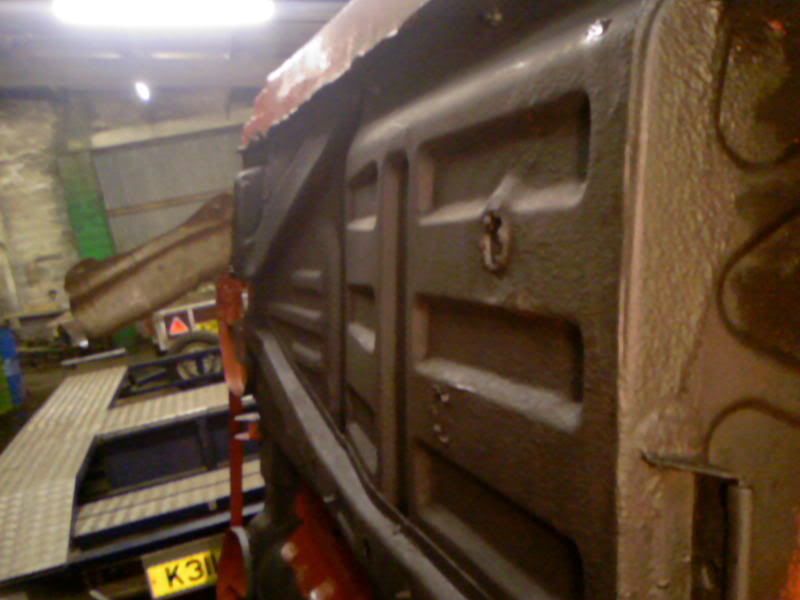
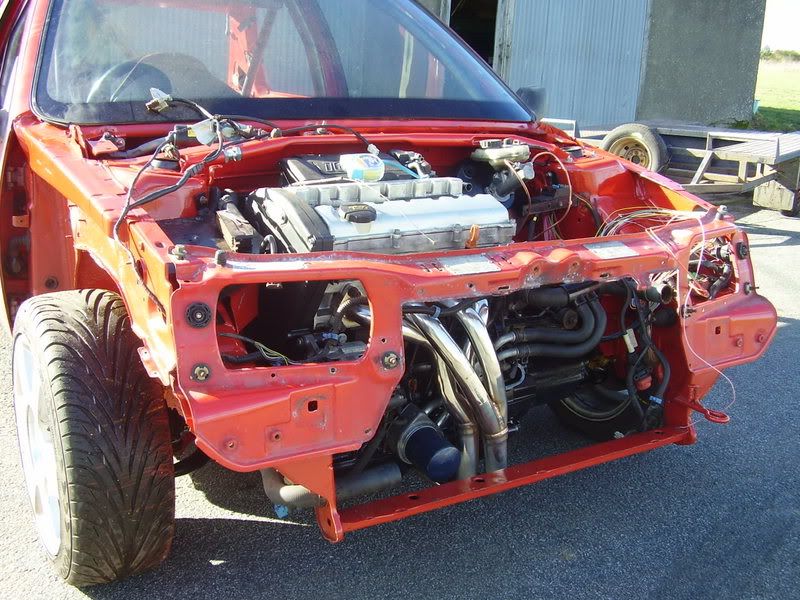
New manifold!
An extra pair of hands is always handy!!
Last few nights i have put the new underseal on. used stuff called toughseal from kent chemicals, its very good indeed.

Some pics about 30 secs after 1st coat primer

After 5 mins or so,
im happy with the way its turned out, but if i ever have to re-shell a car this will "NOT" be happening again. alot more work than what it first seems.
just stopped for some dinner, will probibly have the underside finished by tonight fingers crossed!! then it can go back on its stands and have the engine bay done. then the real fun starts! putting it back together!!
been busy es last few days, was working sunday (crap, but double time).
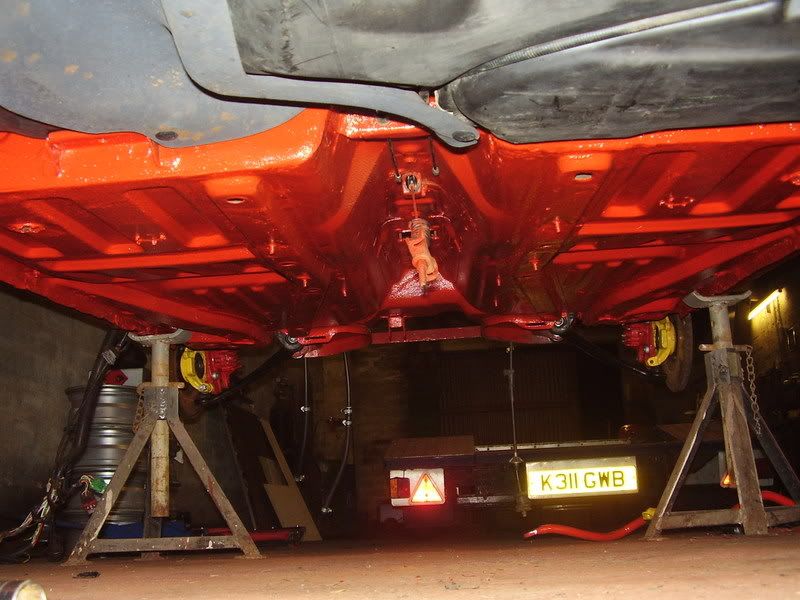
got the underneath finished tonight and im well chuffed its finished!! and it looks nae too bad either.


this is taking longer than expected.
small update:
Back end looking alot cleaner. all rust removed, coated with ku-rust then painted with anti corrosion primer. the underseal and body colour paint is still to follow.
This is the stage its at now. This is alot harder going than i was expecting to be perfectly honest. very time consuming indeed.
New manifold!
An extra pair of hands is always handy!!
Last few nights i have put the new underseal on. used stuff called toughseal from kent chemicals, its very good indeed.
Some pics about 30 secs after 1st coat primer
After 5 mins or so,
im happy with the way its turned out, but if i ever have to re-shell a car this will "NOT" be happening again. alot more work than what it first seems.
just stopped for some dinner, will probibly have the underside finished by tonight fingers crossed!! then it can go back on its stands and have the engine bay done. then the real fun starts! putting it back together!!
been busy es last few days, was working sunday (crap, but double time).
got the underneath finished tonight and im well chuffed its finished!! and it looks nae too bad either.


its not spotless but at the end of the day how fussy does the engine bay have to be? its a huge improvement on what it used to be.
Im happy with the way it came out.
now to let it dry and then clean up the block. (will be making a diy engine stand from box section this next weekend hopfully)
took all the tape off of the engine bay
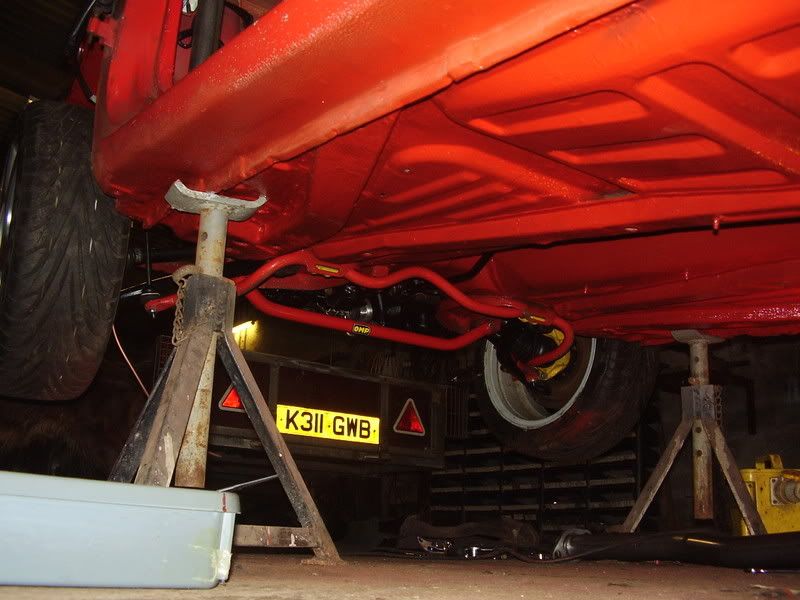
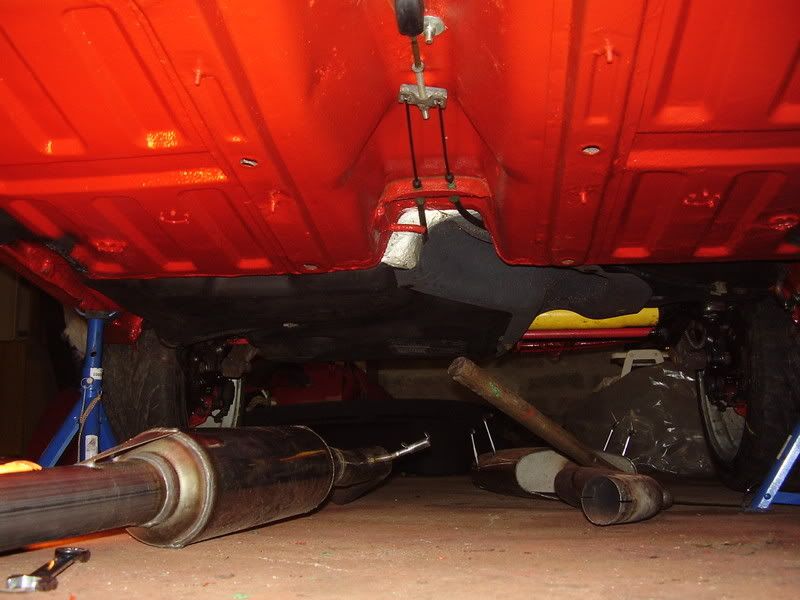
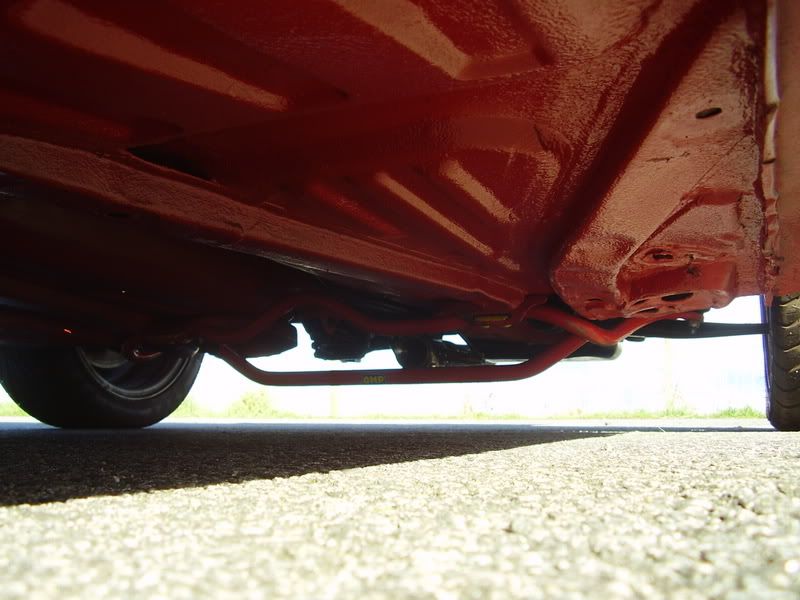
Cleaned up the fuel tank and refitted it, then fitted the axle (on my own) anyone ever changed an axle on there own before? its awkward!!

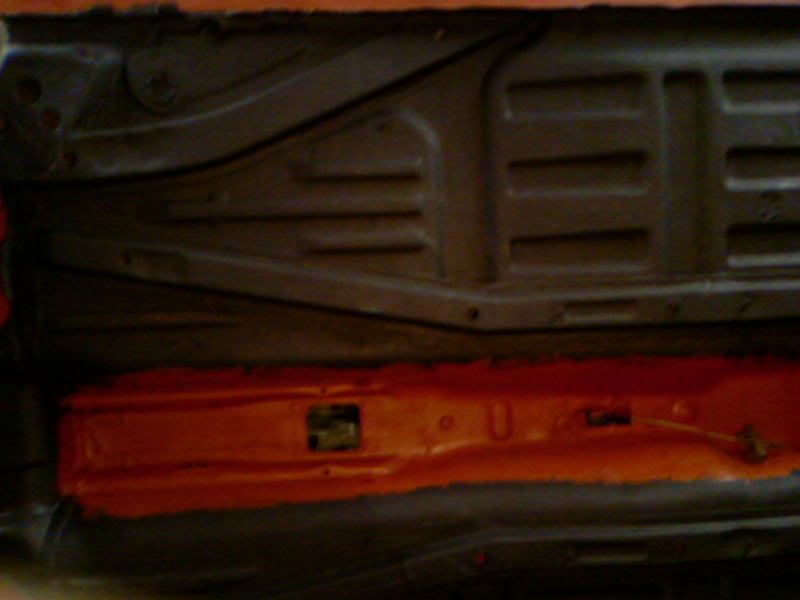
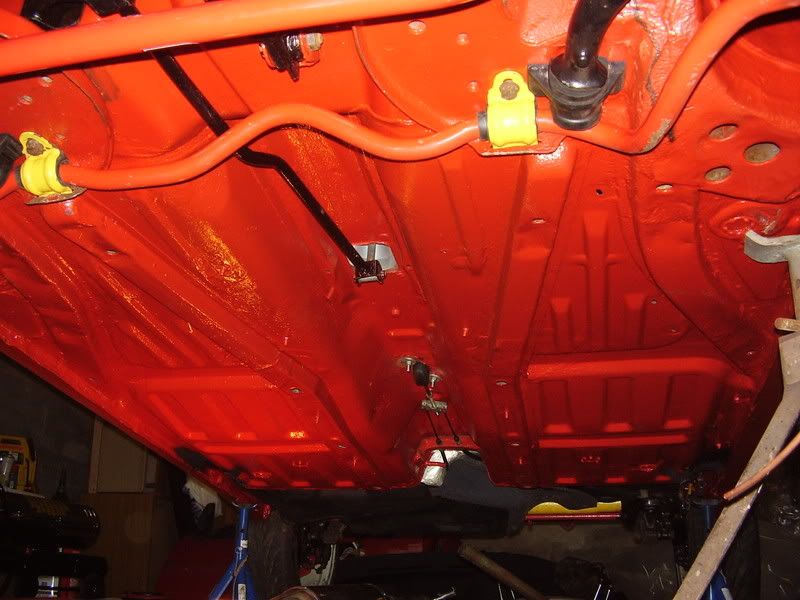
Pic of floor after fuel tank, beam etc fitted.
Struts built up, and fitted with lower wishbones half put on.

And this picture just because i like it!!
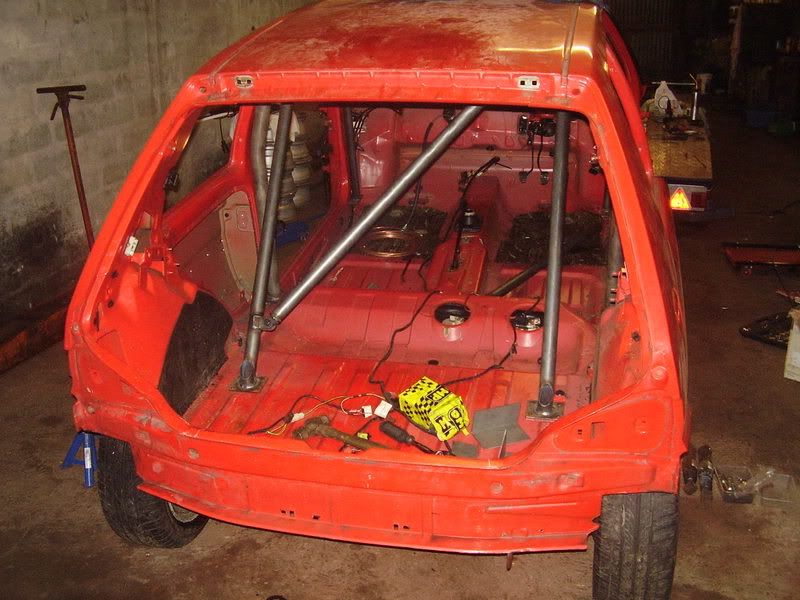
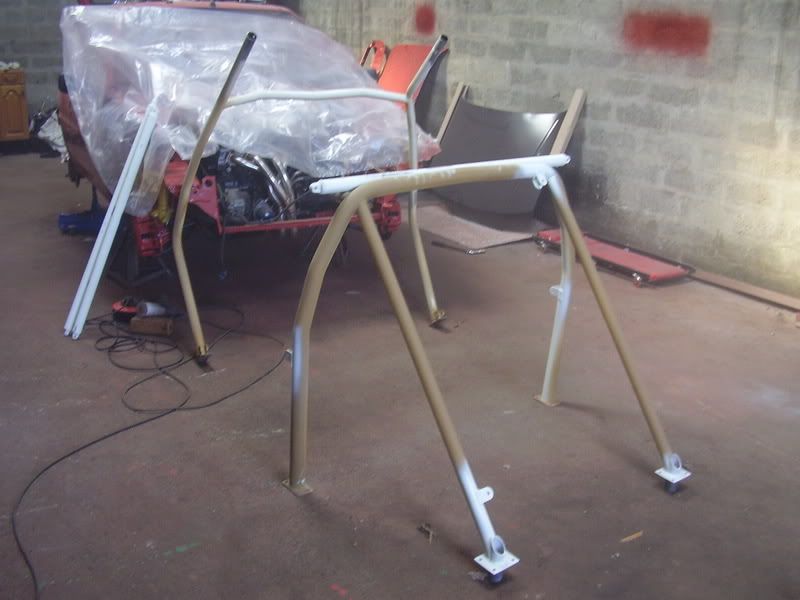
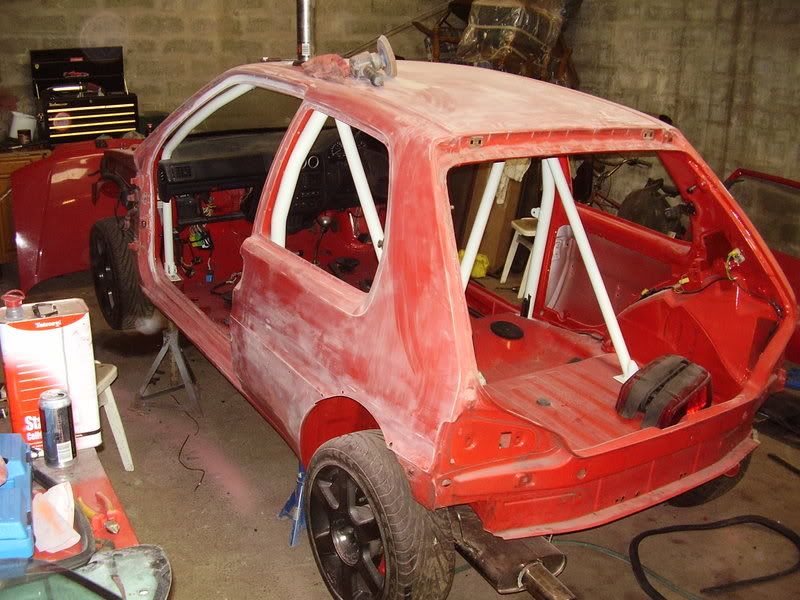
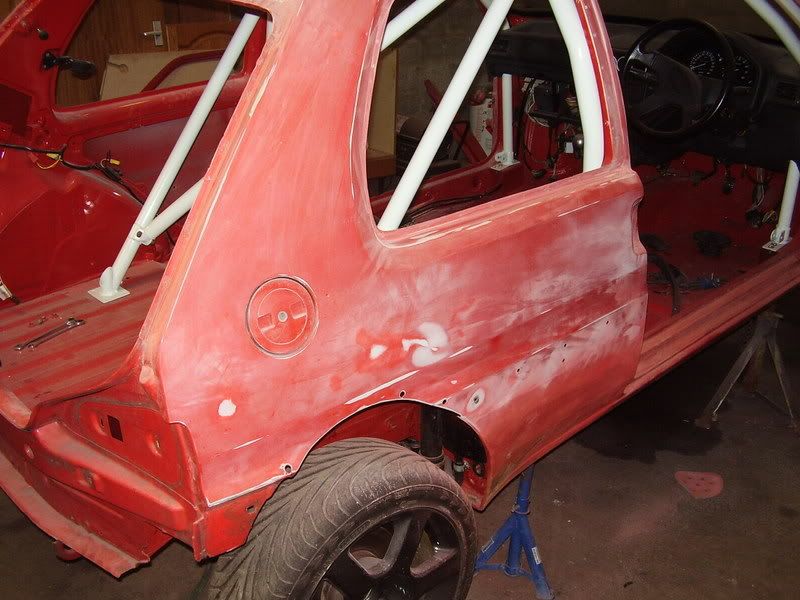
anyway my rollcage should be here tomorow, sat or monday hopfully.
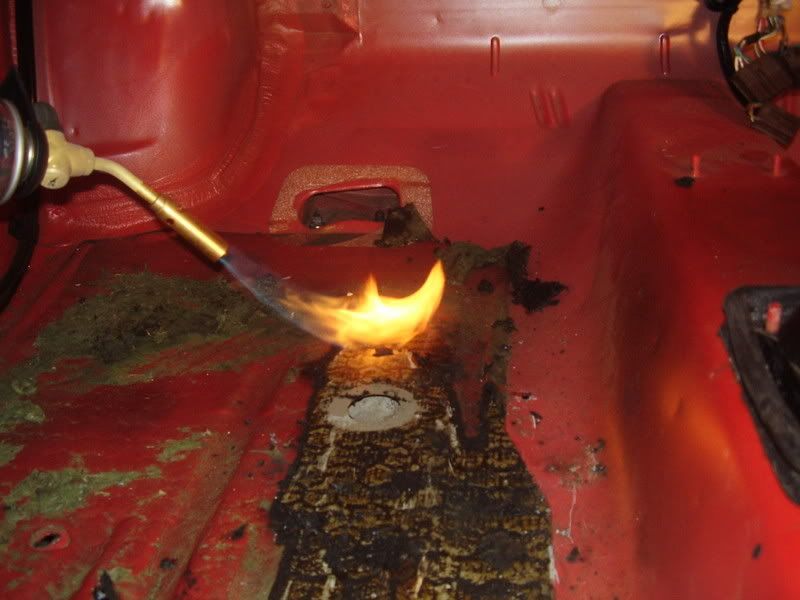
Its an omp job which means dash needs cut, hence why we removed the dash.


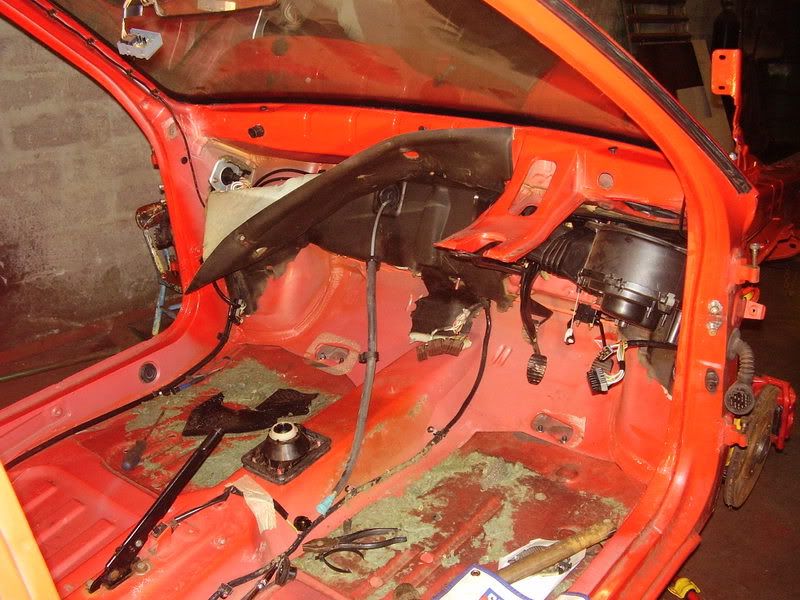
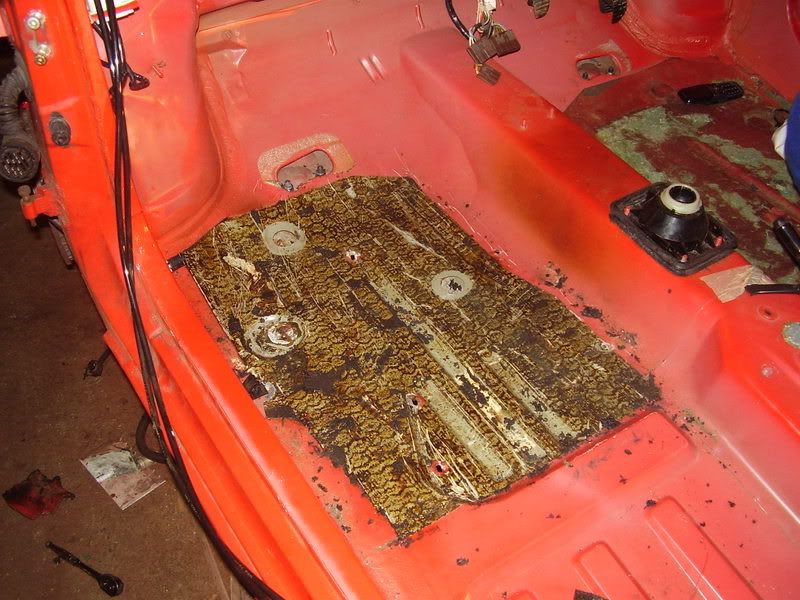
Wasnt sure what to do about the tar type stuff on the floors, so we heated it and scrapped it off. what a nightmare of a job
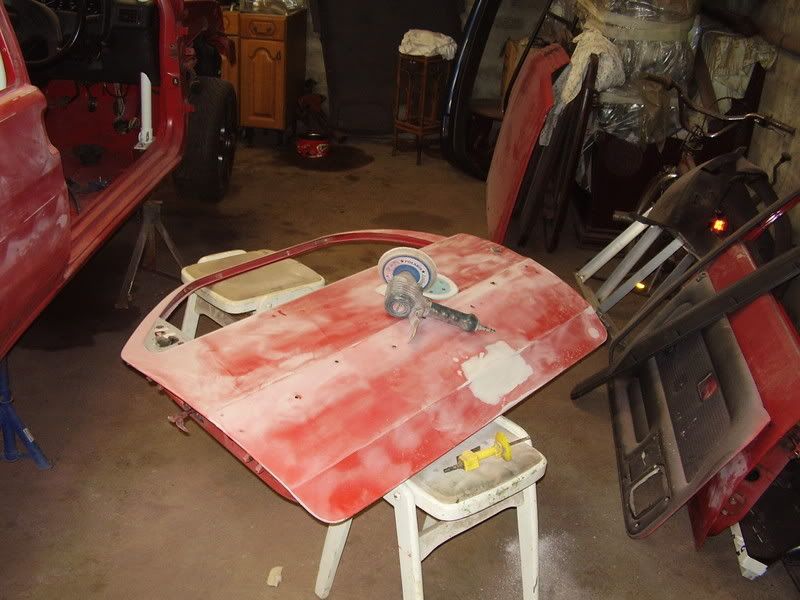
finished the passenger side mostly.

Nearly finished
Obviously alot of rubbing down etc needed before i paint the inside, but that will come later.
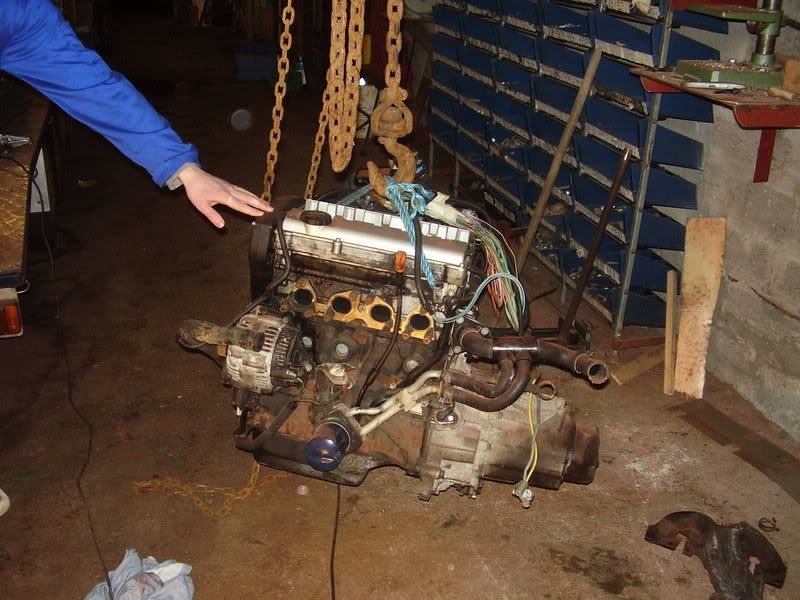
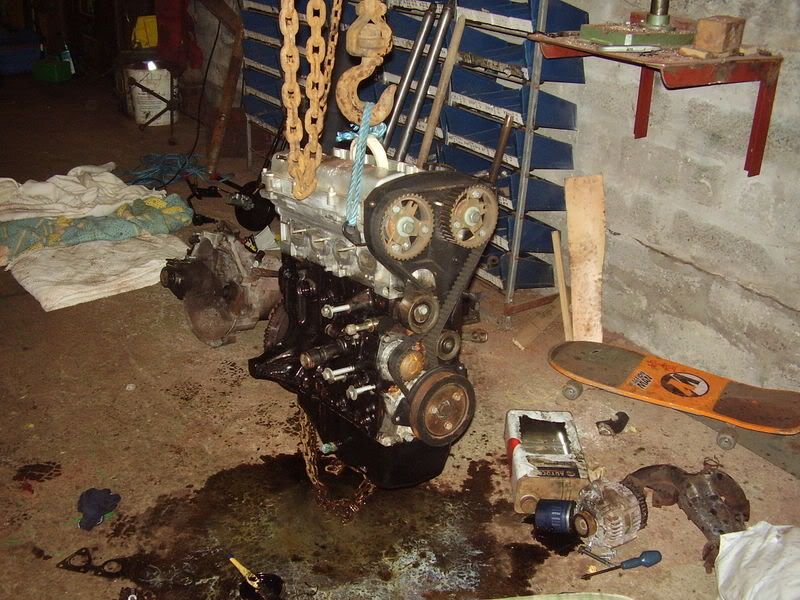
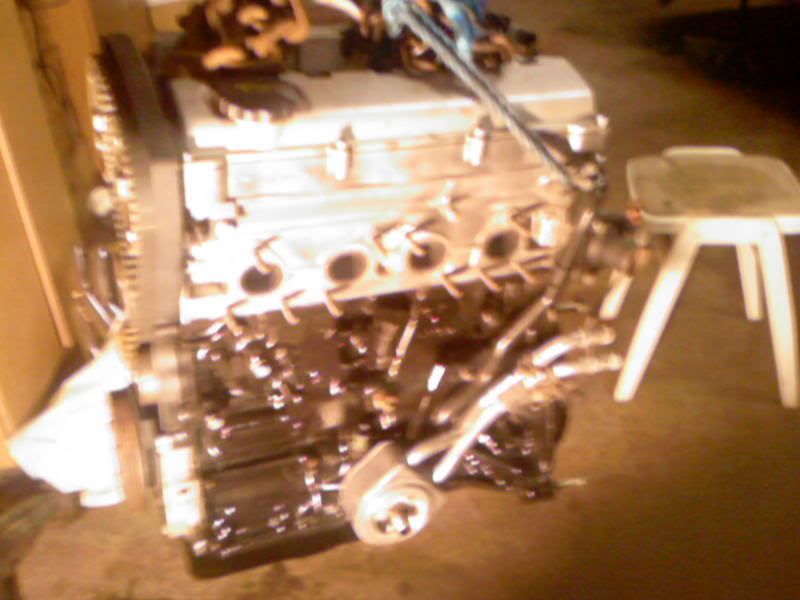
Also dug the engine out of the corner and hung it from the roof so i can start tacking parts off to get it fresh for paint.
anyway

sorry about pants quality pics their from my phone.
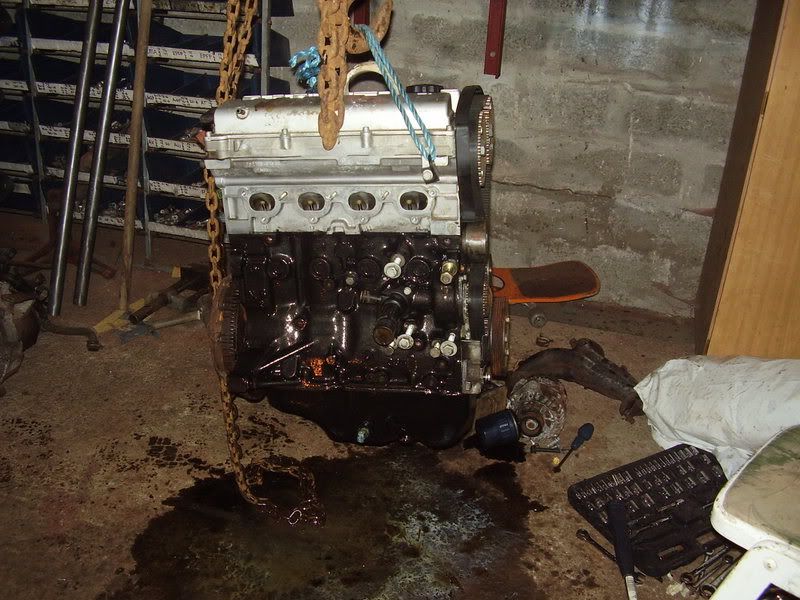
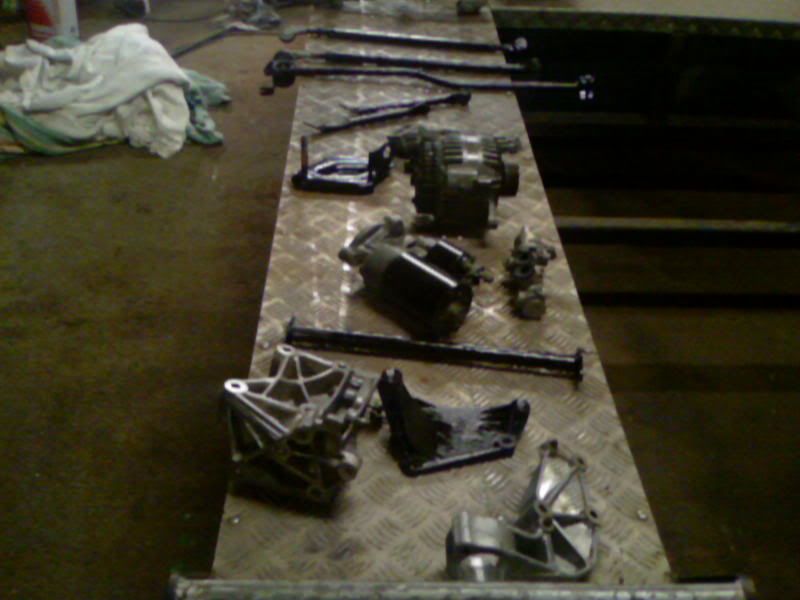
ive now painted the block and cleaned up the top half with wire brush, also wire brushed the oil cooler sandwich plate, altenator, starter motor and all the mounts on the block.
also finished painting a few other bits and bobs.
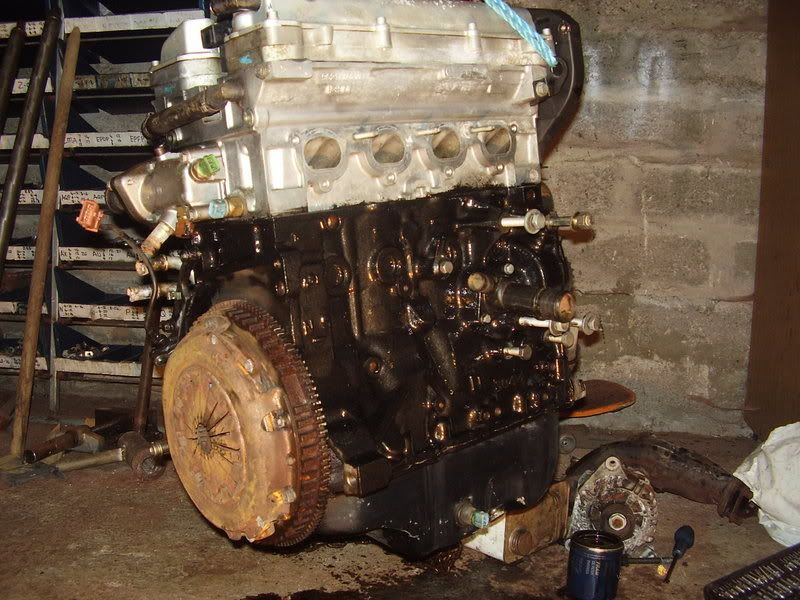
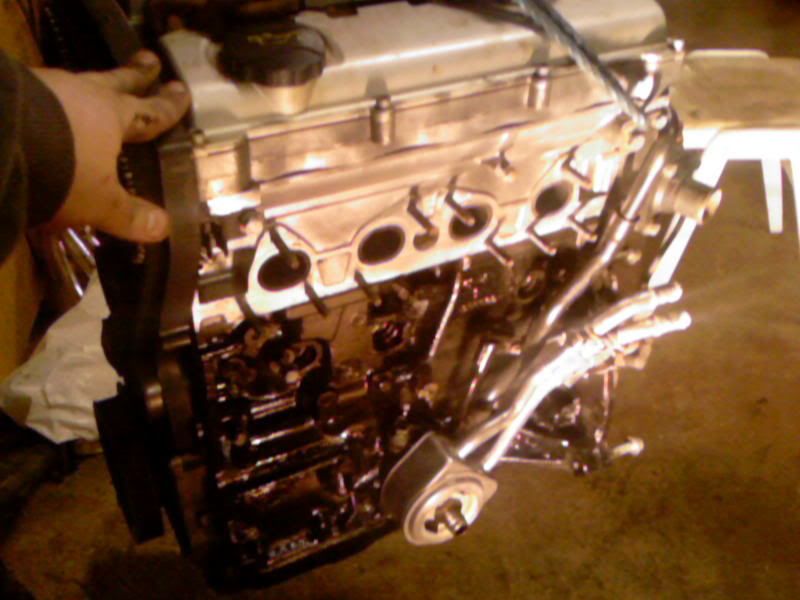
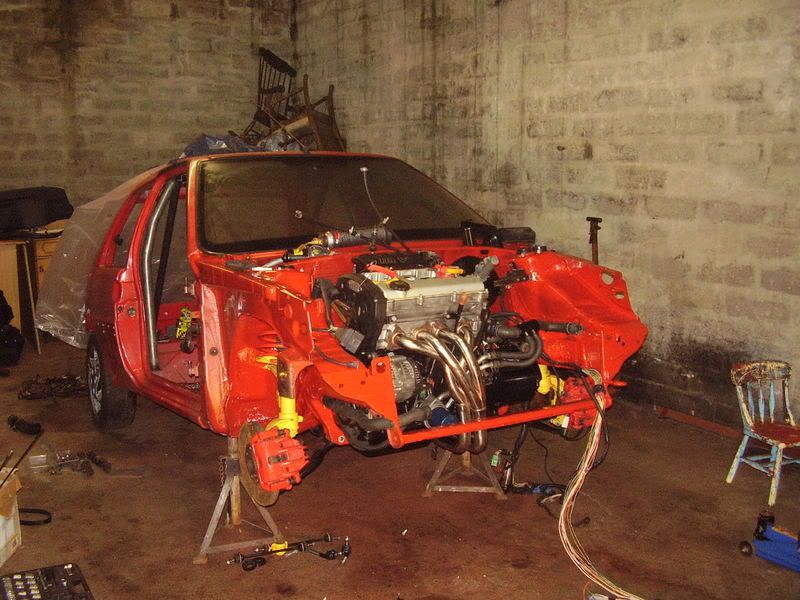
well engine is back in, manifold is fitted, engine loom is almost all tidy and neat (apart from a few bits)
my mate said i was a numpty for painting the gearbox black but i think it looks fine.
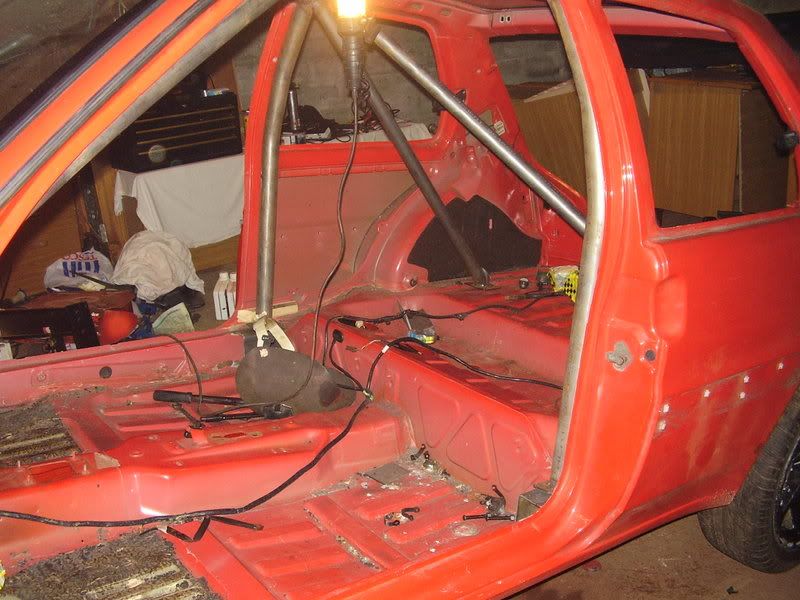
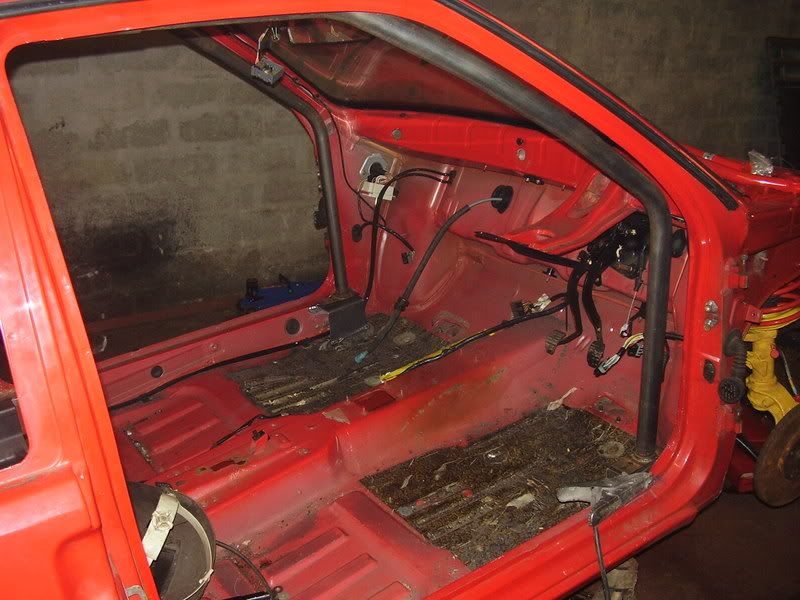
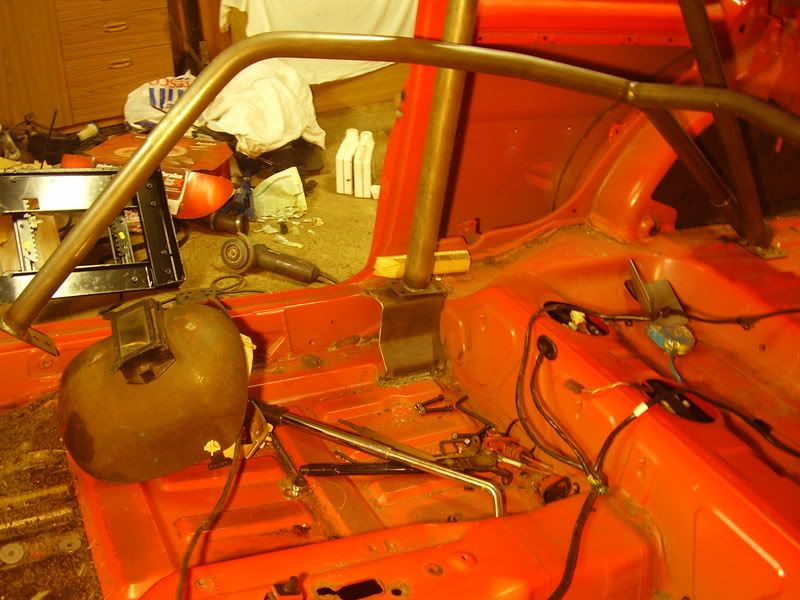
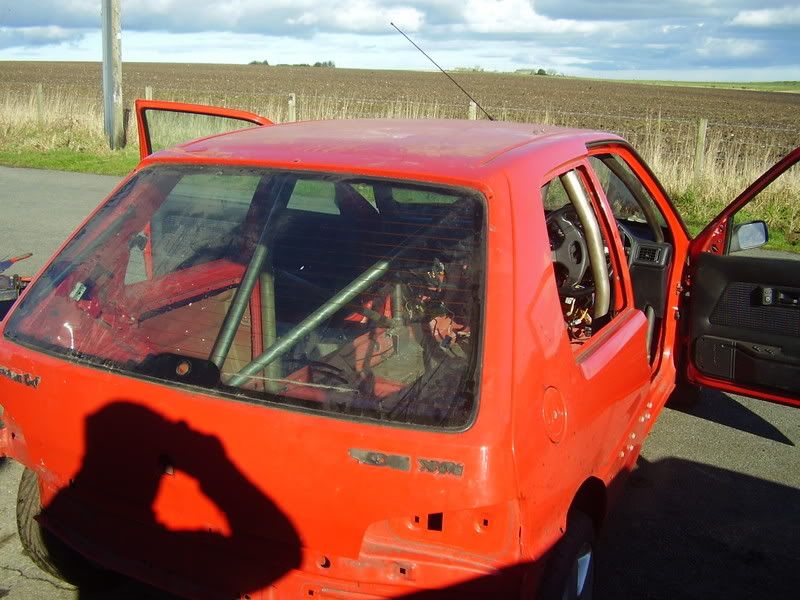
pic of cage
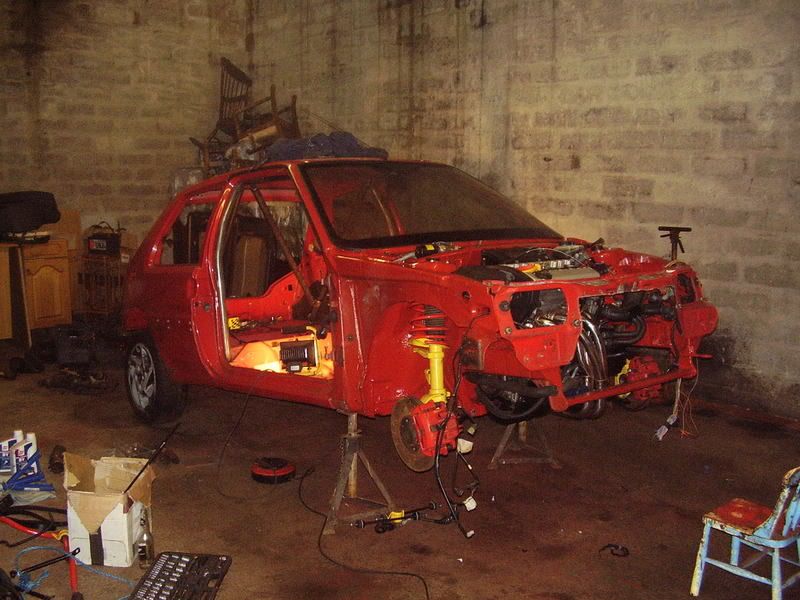
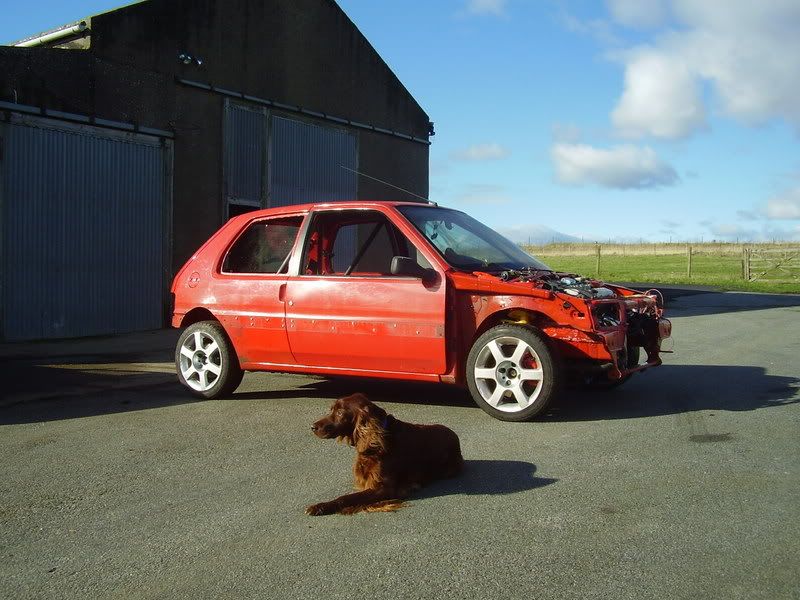
General Pictures From Tonight


And some random Outside pics, is in show and shine section as well.
This is the 1st time it has seen the light of day since the day i bought it!


Well its been a long night. just in from the garage 23:15.
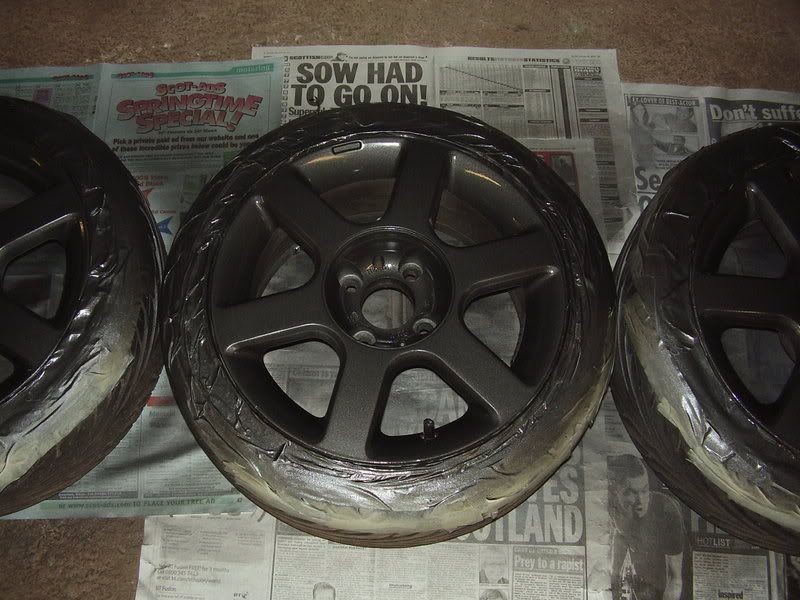
got a fair bit done. 205 wheels are finished now. (wasnt happy the way they came out 1st time)
Rubbed down the Wolfrace wheels
Basecoat (will get laquered tomorow)
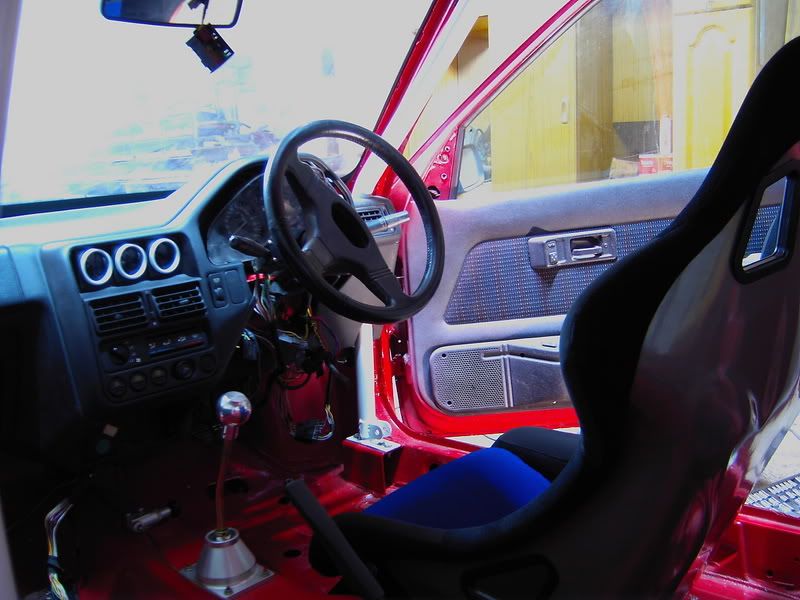
And finally The interior is finished!! whoop


the cage needs repainted then put back in still.
Removed all masking from the inside

Had to rub down the whole cage again because it was a mess
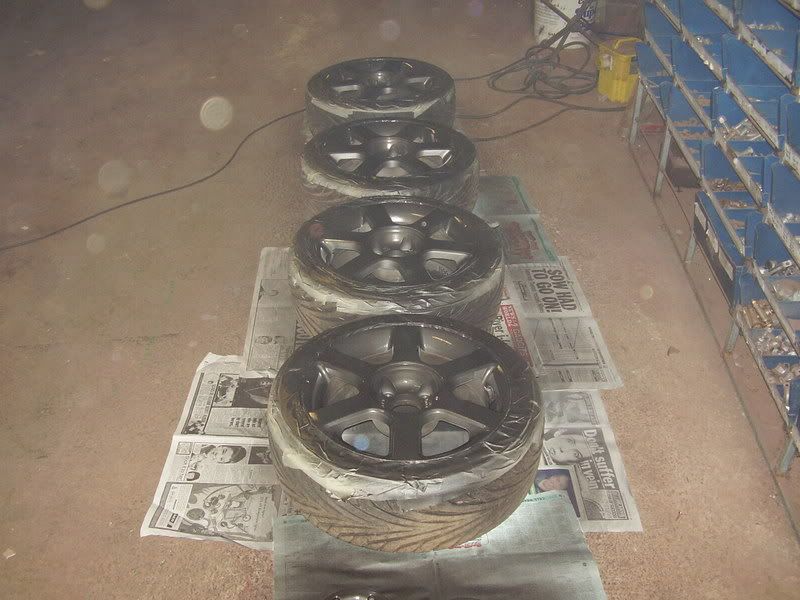
Finished off the wheels and gave them a coat of laquer
Primed The Rollcage

Put new wheels on once dry

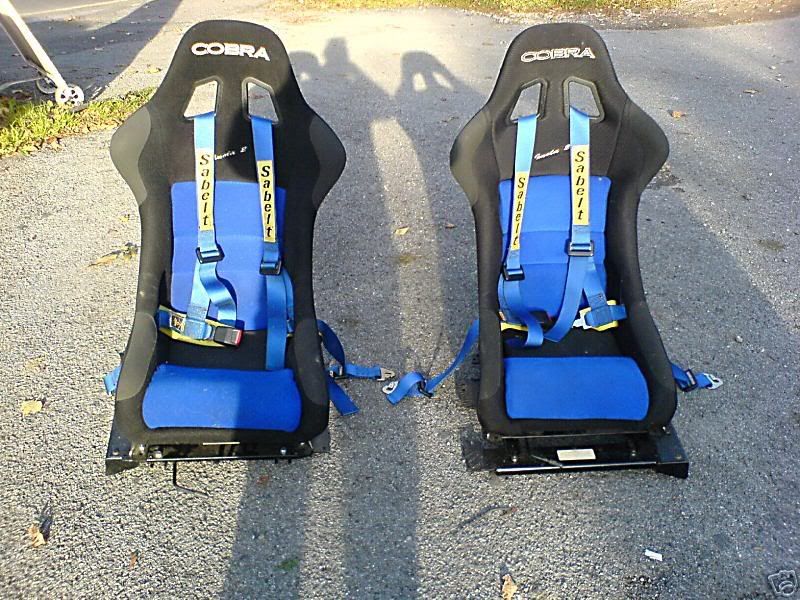
Decided to take it for a blast so installed a custom seat
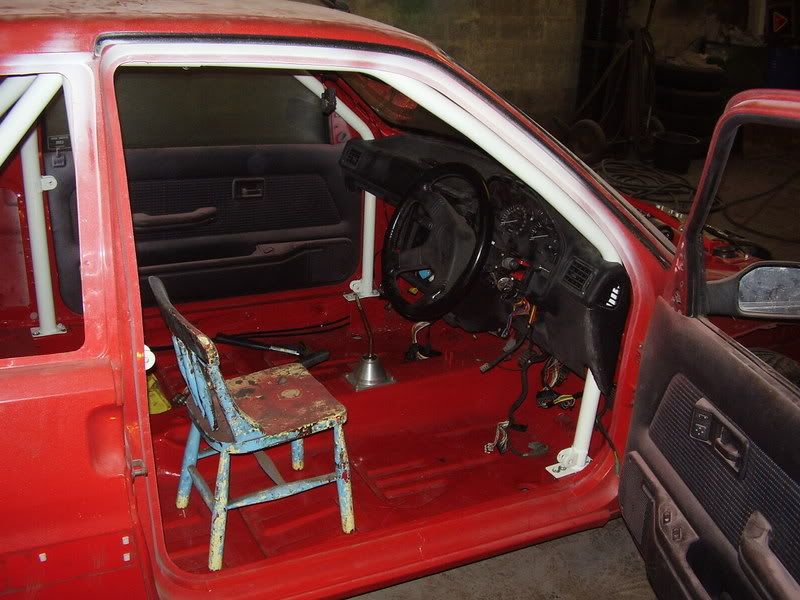
Dash is back in, steering columb is back on.
handbrake is back on
and gear stick is all connected up.
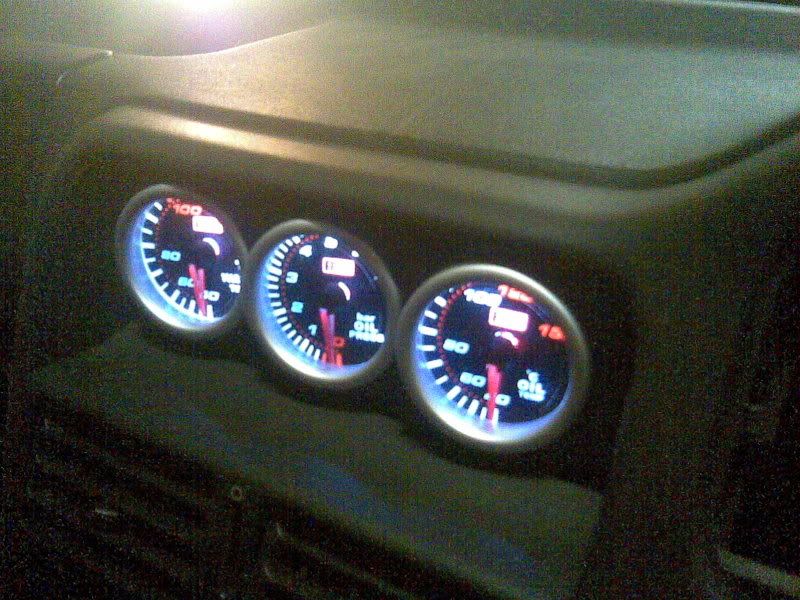
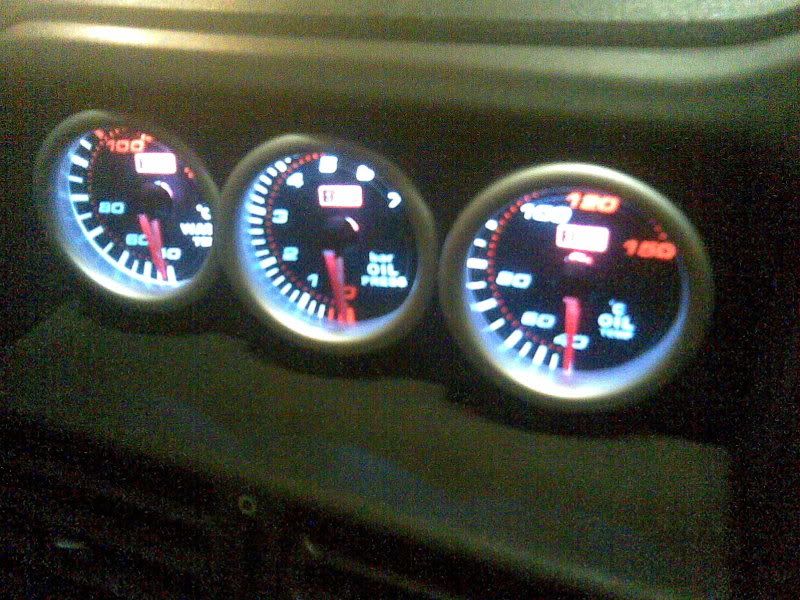
clocks are in.
Cage is in!!!!!!!!!!! whoopie (tho i did scratch it a few times)
Pics of it outside, next to my pals car who was helping me. (the ibiza has since been written off)


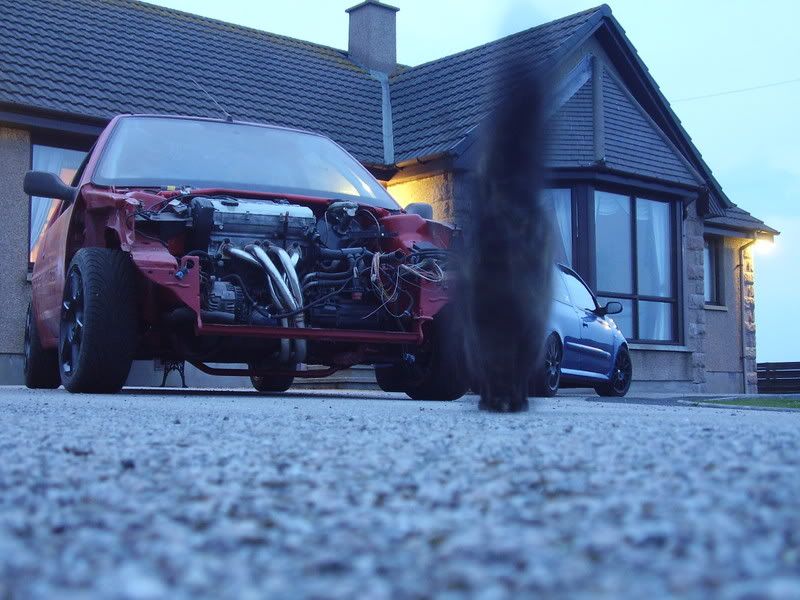
and as for this picture lol, my cat was sneaking up on camera.
looks weird in the pic! haha
wiring is now all tidy and neat, and started putting the gauges in.
also got the brakes pretty much finished. so its drivable basicly!!
Had to weld in brakets to hold the flexihose

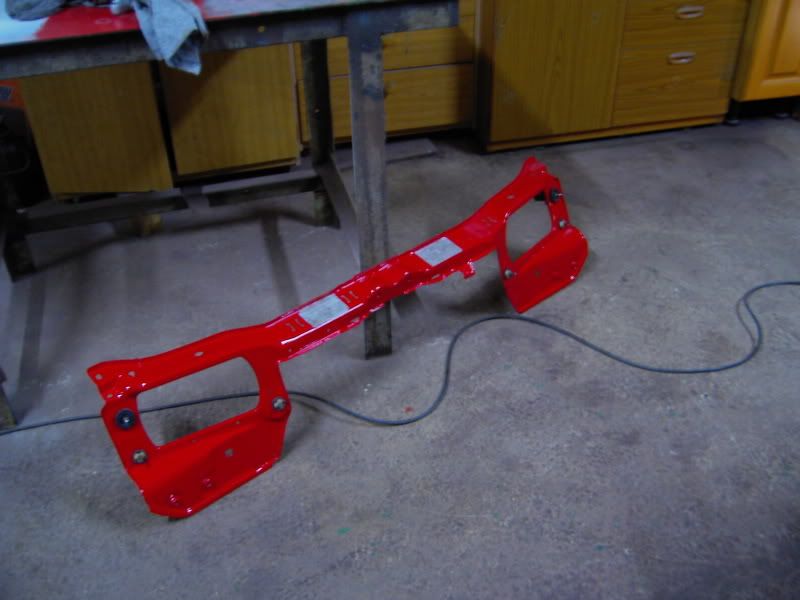
i painted the slam panel.
Pic of inside (seats just sitting on the floor)
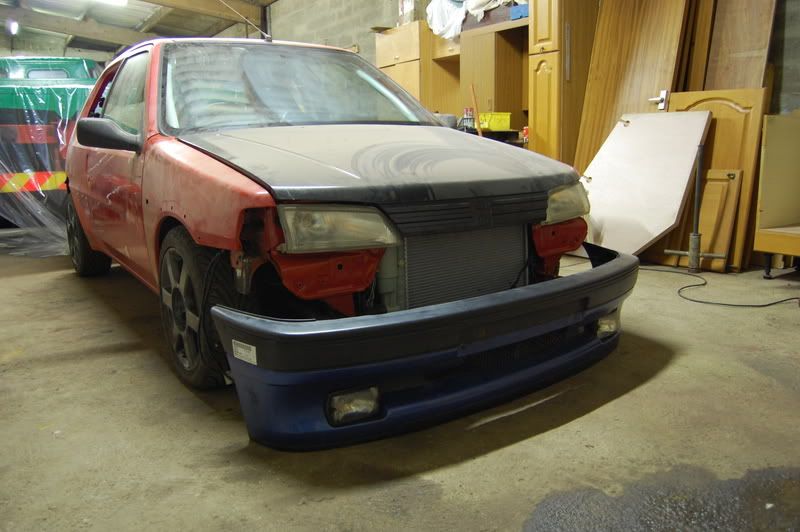
And then i put everything together just to see how it would look. obviosuly not properly. (note the coffee jars holding up the bumper etc lol.

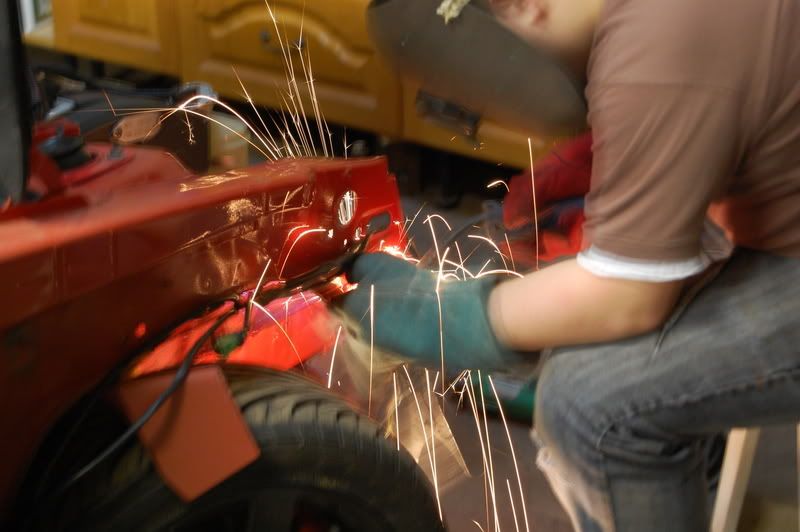
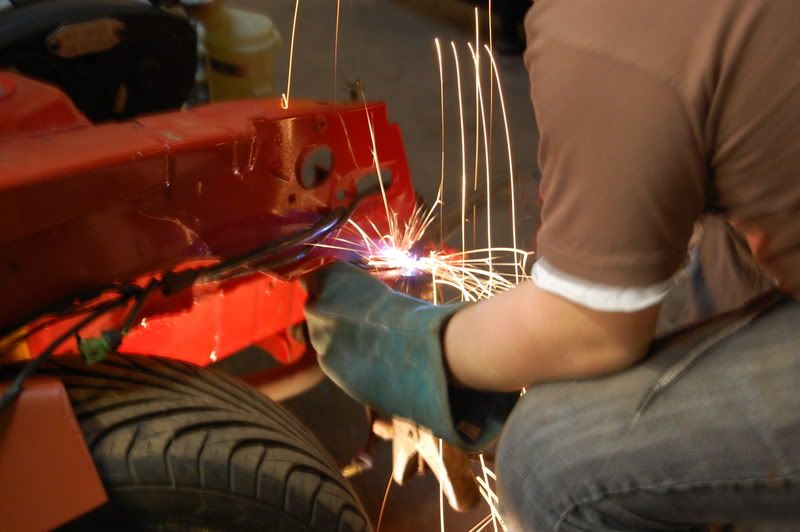
few action shots lol
And i got my new £25 bumper (with fogs and horn still on it!)
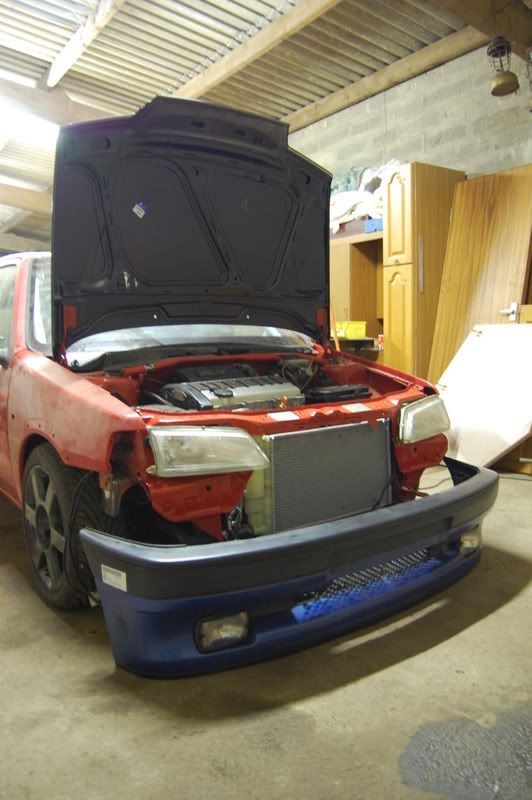
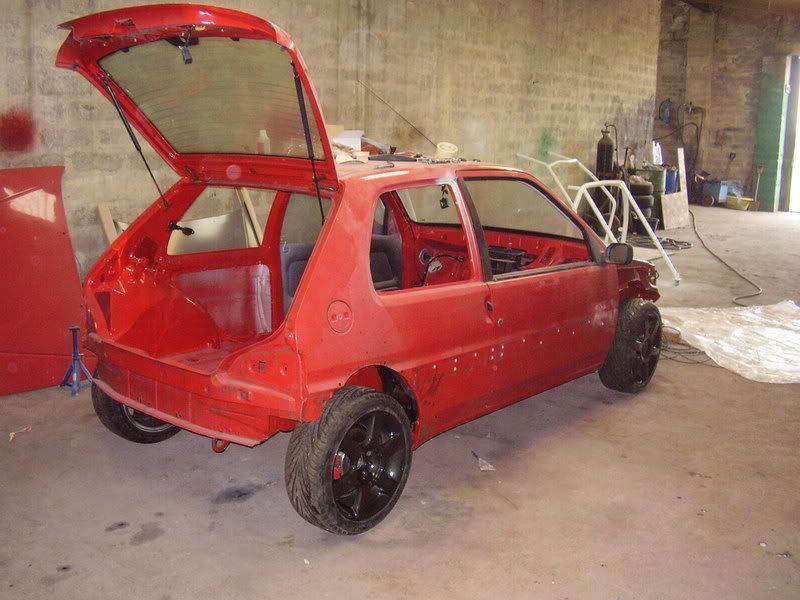
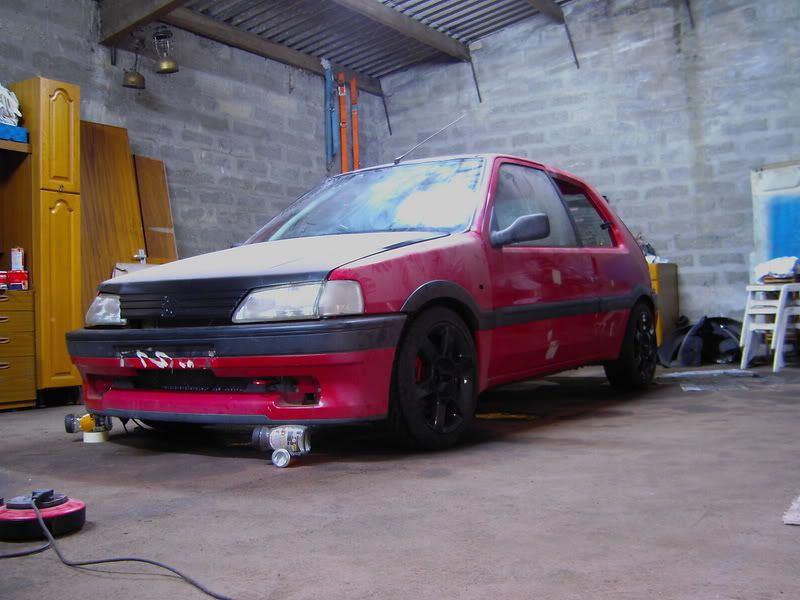
And this is how the car is now. as of 6th October 2007


shell is basicly ready for primer, need to get the rev counter and speedo working.
all the gauges are wired up and working.
re-done ALL of the brake pipes, and am sooooo much happier with them.
Had to rub down the whole cage again because it was a mess
Finished off the wheels and gave them a coat of laquer
Primed The Rollcage
Put new wheels on once dry
Decided to take it for a blast so installed a custom seat
Dash is back in, steering columb is back on.
handbrake is back on
and gear stick is all connected up.
clocks are in.
Cage is in!!!!!!!!!!! whoopie (tho i did scratch it a few times)
Pics of it outside, next to my pals car who was helping me. (the ibiza has since been written off)
and as for this picture lol, my cat was sneaking up on camera.
looks weird in the pic! haha
wiring is now all tidy and neat, and started putting the gauges in.
also got the brakes pretty much finished. so its drivable basicly!!
Had to weld in brakets to hold the flexihose
i painted the slam panel.
Pic of inside (seats just sitting on the floor)
And then i put everything together just to see how it would look. obviosuly not properly. (note the coffee jars holding up the bumper etc lol.
few action shots lol
And i got my new £25 bumper (with fogs and horn still on it!)
And this is how the car is now. as of 6th October 2007
shell is basicly ready for primer, need to get the rev counter and speedo working.
all the gauges are wired up and working.
re-done ALL of the brake pipes, and am sooooo much happier with them.


Gassing Station | Readers' Cars | Top of Page | What's New | My Stuff