Had the Mustang detail, many pictures inside....
Discussion


Hi there
Thought I'd shared with you all that I had my Mustang detailed last Thursday by a professional. I have quoted his post from detail world here so you can see the results. My car may have looked good previously but its amazing how much damage there was to the paint work. No doubt from the 1st owner and its time in the USA as I have always washed using two bucket method and decent products. Needless to say since Matt has detailed the car it now looks amazing. Read the quoted post below for information on how Matt found my car:-
Matts post from detailworld regarding my car
I just thought I'd share this one with you all. It turned out to be a long and testing day and probably the ultimate test that a detailer can have - Its a huge car, it was badly marked, it was gloss (non metallic) black and the paint was very soft. Oh and one day to complete!
Background
Well I was asked to look at this car - Its a 2005 Ford mustang. It had an original owner from new in the US. It was then imported and breifly owned by a UK owner then bought by the current. The current owner is pretty swwitched on to car care and has always washed correctly. However The previous two had not really cared for it correctly - this became very apparent upon inspection.
Detail Requirements
The said owner just wanted the paint correction service carried out. He wanted the car to be rid of the swirls and scratches and wanted to be able to fill up at the petrol station without having to look at at horrendous marring!
The detail
I arrived at 0730 hours - set out my tools and equipment and took the car out for washing. I knew this car would be a challenge and wanted to get started asap.
First up - the wash. Usual procedure here, TBM, Megs Shampoo plus, dried with sonus towel.
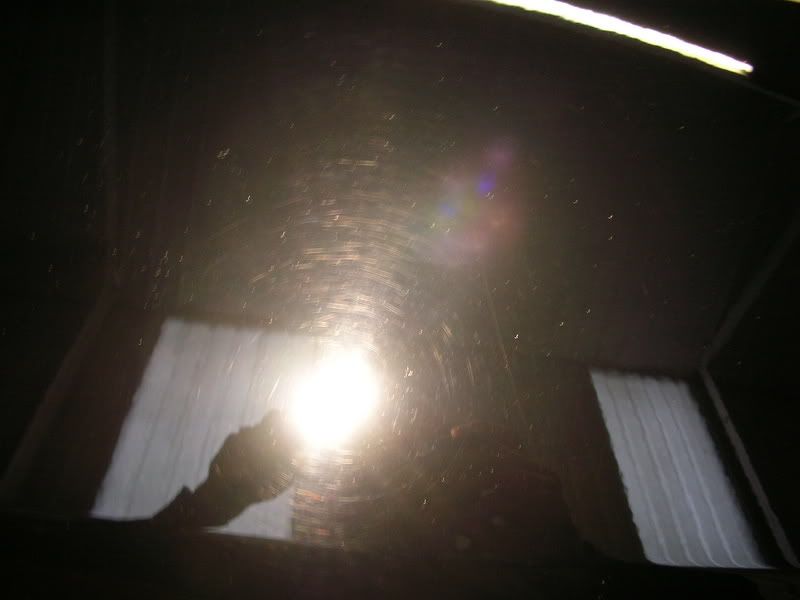
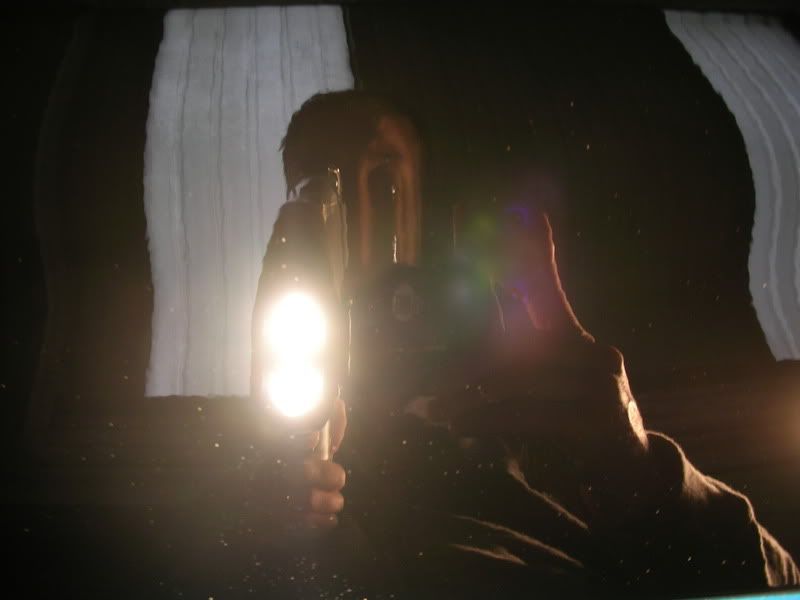
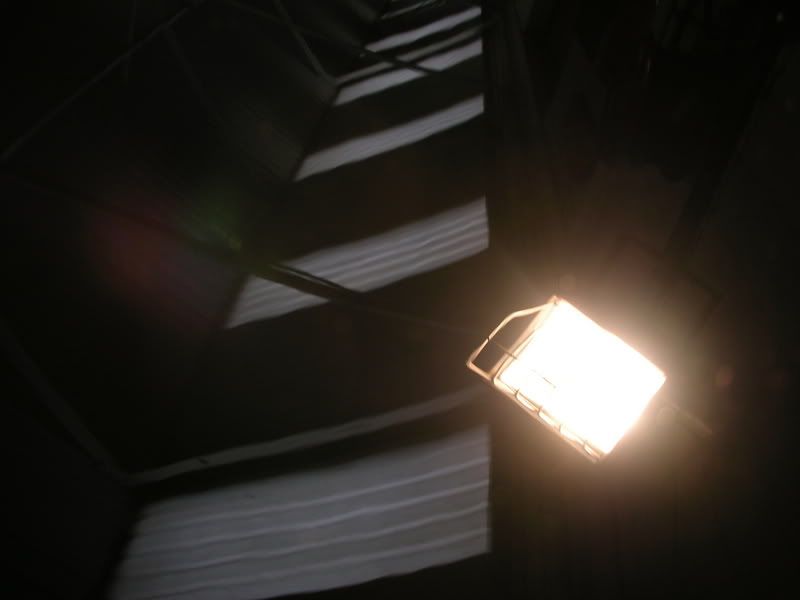
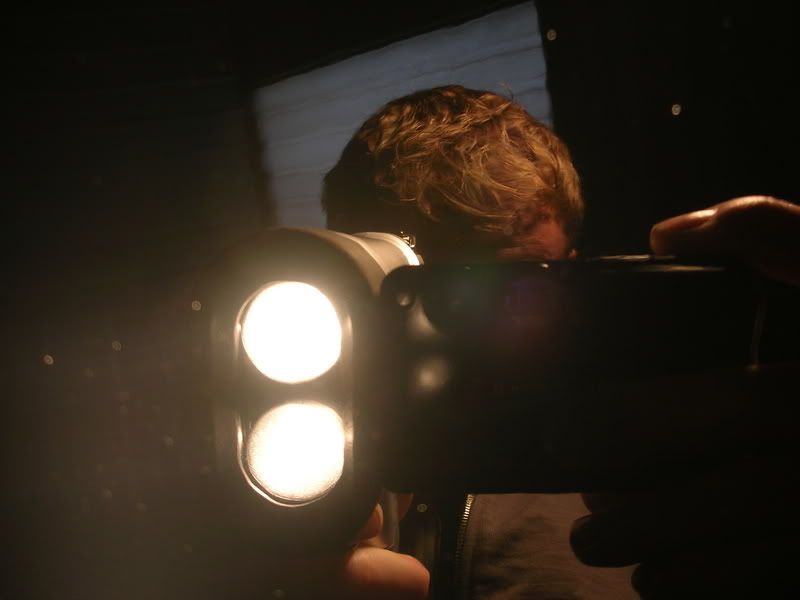
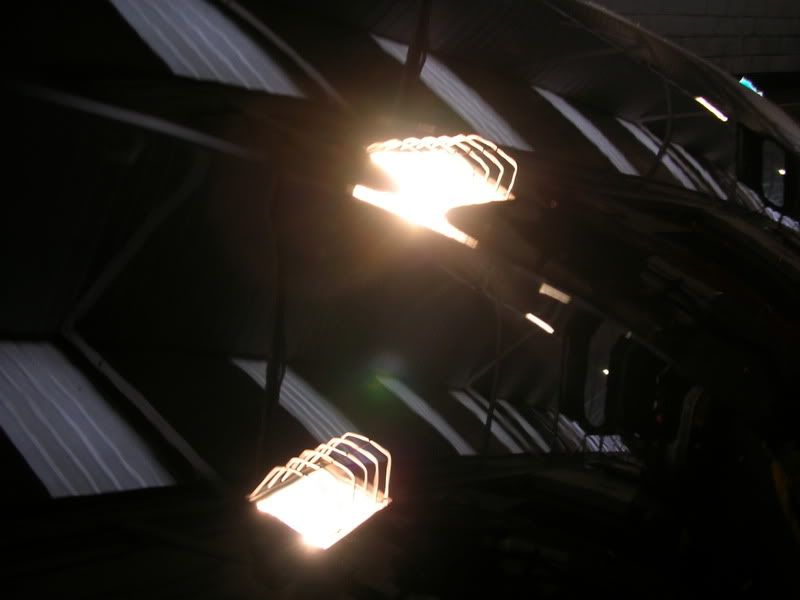
With the car washed and dried I could get the lighting on and the inspection stage started - heres some brinkmann and halogen shots. You will notice the defects are a combination of bad swirling and lots of straight scratches.
Note the light dispersion as it is scattered out across the defects - you can hardly tell the twin filaments of the brinkmann apart as they just blur into one messy reflection
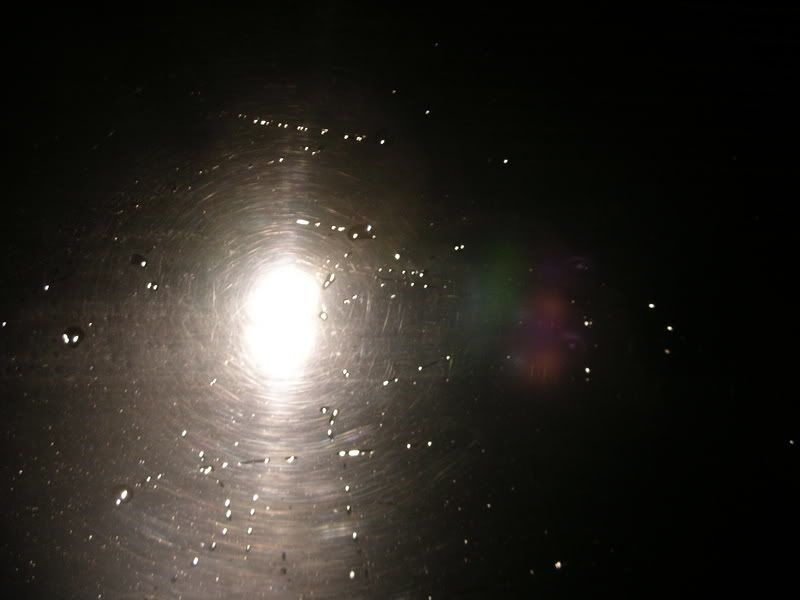
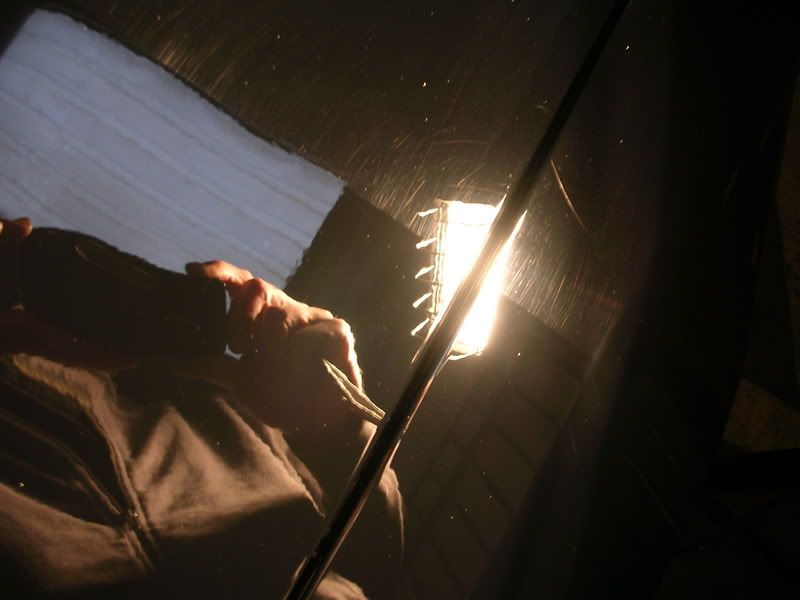
heres a better shot of the scratches

I set about taping up ( taking longer than normal due to the stripes) and then proceeded to take PTG readings. For a big american car the standard of paint application was very good indeed and pretty uniform throughout giving an average of around 125 microns top to toe.
I started by taping up sections on the bonnet so i could determine the best and safest method of correction.
Knowing the paint was soft i tried a sonus polishing pad on the makita graced with a small amount of menzerna FF and started to work in on speed 1 then then 2 then back down to one. This removed most of the swirls but 3 sepaerate applications and passes were needed to get perfect.
I checked the PTG and approx 2 microns saw safe removal. Now at this stage i wanted to speed up the defect removal as I had a huge car infront of me. I switched pad to sonus light cut and stuck with FF - this brought it down to 2 passes. In the end it was the same pad dressed with Menz IP - working in at speed 1 then right up to 3.5 with mid to high pressure and one pass. Then down to 2 then one. This was good and very quick and againg saw approx 2 micron removal. and some excellent clarity, however to perfect I passed with PC wearing megs polishing pad and FF.
I did some 50:50 shots too to highlight the effectivness
Same procedure as above - i might add that the menz was working at its best today with the temp returning to a 10deg average - working in nicely and spreading like butter


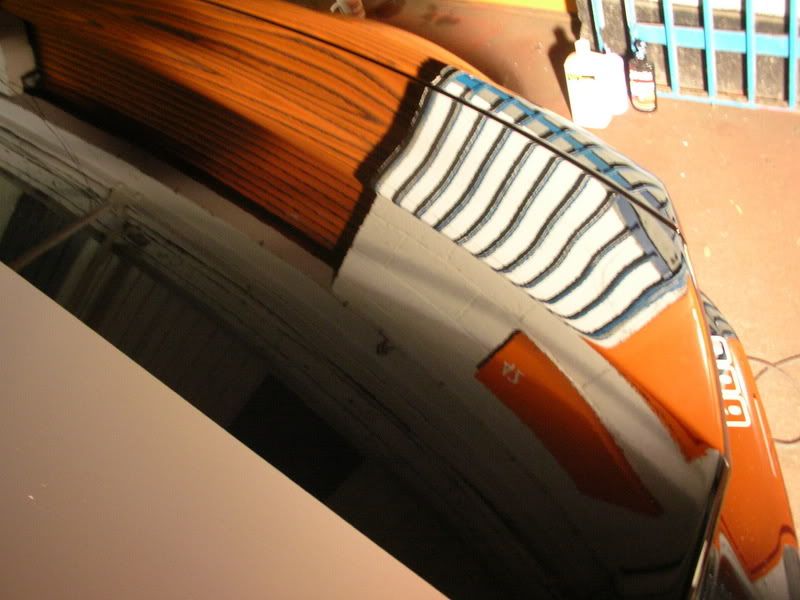
I then completed the bonnet and took a few pics - calling the owner out at this point to demostrate the finish that he could expect and to see if it was acceptable
I then dropped down and worked my way around the sides of the car - I found the swirling and scratching just as bad

again same procedure, however I found that following the final speed 1 pass a quick sprtz with with LT on panel and not the regular pad, then another quick pass brought out great clarity and negated the need for the PC follow up.
I continued around the vehicle correcting the paint. I then cleaned the polish residue out of the paint using clearned fluid on PC. Given the cars usage the owner wanted a durable finish so it was Klasse SG and collinite 476s as I would be retuning in a few months to apply a carnauba for summer.
I actually stopped a eight o'clock so a full twelve hours on just correction.
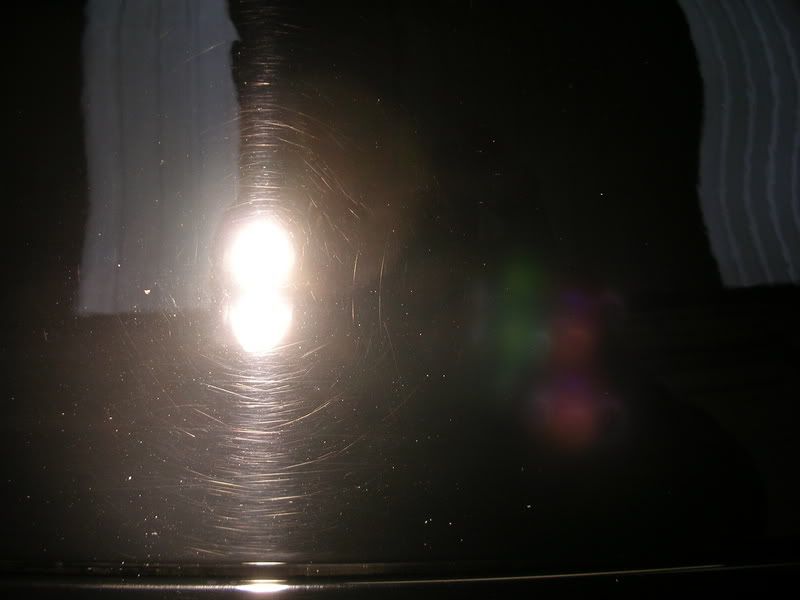
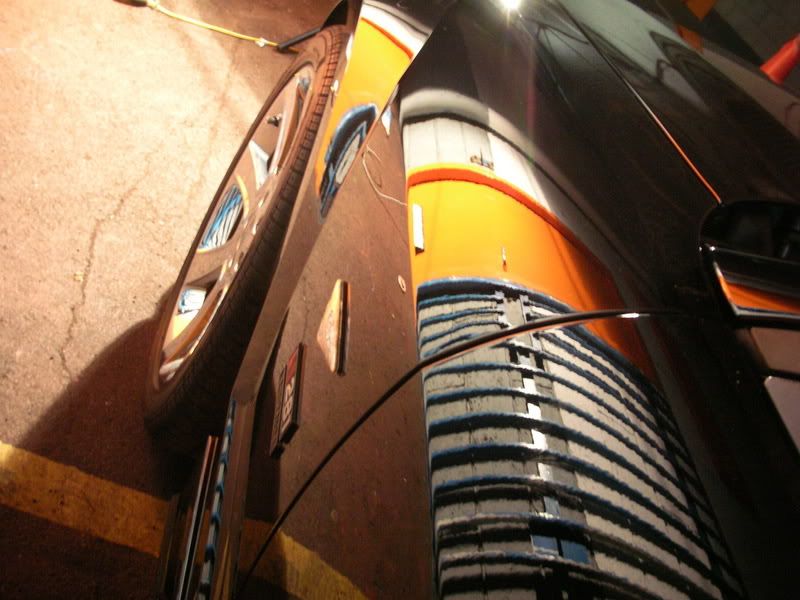
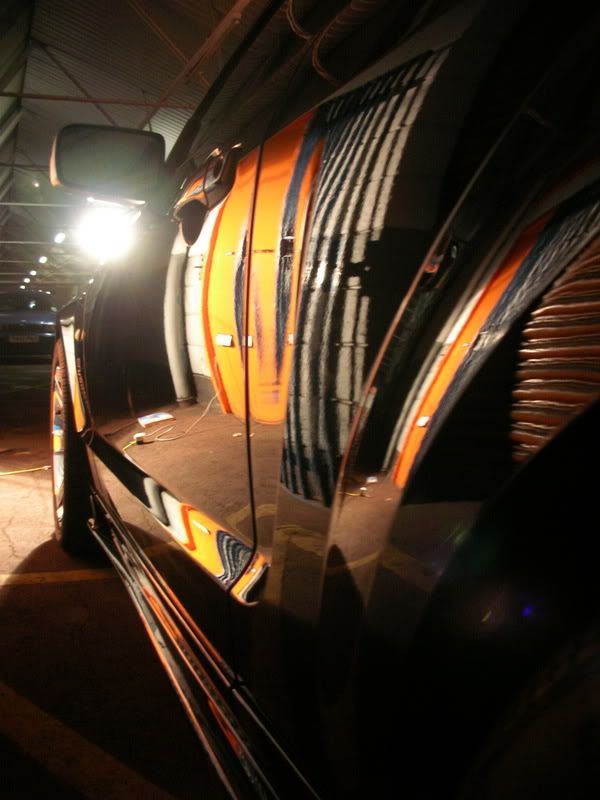
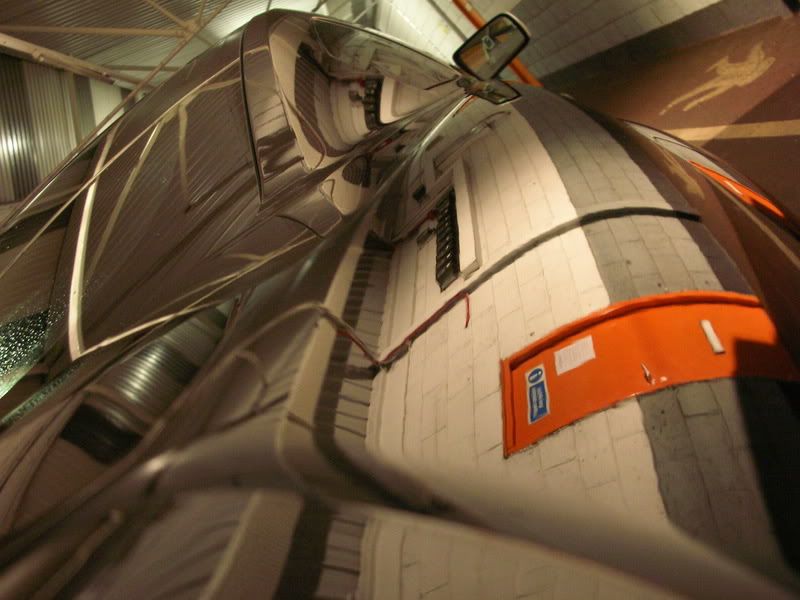
Needless to say It was dark outside so Ive only got some close up reflective shots and a few poorly lit indoor shots. Returning next week for another so I will get some dayligh ones added.

All in all a very rewarding day for me - I went through it all and at the end I felt I had acheived something and faced one of the hardest correction jobs a detailer could have to work on - soft gloss black. days like these can serve as a good tester and these jobs keep you hooked and coming back for more. The customer was impressed too which above all is the most important thing
Thanks for reading
Matt
Thought I'd shared with you all that I had my Mustang detailed last Thursday by a professional. I have quoted his post from detail world here so you can see the results. My car may have looked good previously but its amazing how much damage there was to the paint work. No doubt from the 1st owner and its time in the USA as I have always washed using two bucket method and decent products. Needless to say since Matt has detailed the car it now looks amazing. Read the quoted post below for information on how Matt found my car:-
Matts post from detailworld regarding my car
I just thought I'd share this one with you all. It turned out to be a long and testing day and probably the ultimate test that a detailer can have - Its a huge car, it was badly marked, it was gloss (non metallic) black and the paint was very soft. Oh and one day to complete!
Background
Well I was asked to look at this car - Its a 2005 Ford mustang. It had an original owner from new in the US. It was then imported and breifly owned by a UK owner then bought by the current. The current owner is pretty swwitched on to car care and has always washed correctly. However The previous two had not really cared for it correctly - this became very apparent upon inspection.
Detail Requirements
The said owner just wanted the paint correction service carried out. He wanted the car to be rid of the swirls and scratches and wanted to be able to fill up at the petrol station without having to look at at horrendous marring!
The detail
I arrived at 0730 hours - set out my tools and equipment and took the car out for washing. I knew this car would be a challenge and wanted to get started asap.
First up - the wash. Usual procedure here, TBM, Megs Shampoo plus, dried with sonus towel.
With the car washed and dried I could get the lighting on and the inspection stage started - heres some brinkmann and halogen shots. You will notice the defects are a combination of bad swirling and lots of straight scratches.
Note the light dispersion as it is scattered out across the defects - you can hardly tell the twin filaments of the brinkmann apart as they just blur into one messy reflection
heres a better shot of the scratches
I set about taping up ( taking longer than normal due to the stripes) and then proceeded to take PTG readings. For a big american car the standard of paint application was very good indeed and pretty uniform throughout giving an average of around 125 microns top to toe.
I started by taping up sections on the bonnet so i could determine the best and safest method of correction.
Knowing the paint was soft i tried a sonus polishing pad on the makita graced with a small amount of menzerna FF and started to work in on speed 1 then then 2 then back down to one. This removed most of the swirls but 3 sepaerate applications and passes were needed to get perfect.
I checked the PTG and approx 2 microns saw safe removal. Now at this stage i wanted to speed up the defect removal as I had a huge car infront of me. I switched pad to sonus light cut and stuck with FF - this brought it down to 2 passes. In the end it was the same pad dressed with Menz IP - working in at speed 1 then right up to 3.5 with mid to high pressure and one pass. Then down to 2 then one. This was good and very quick and againg saw approx 2 micron removal. and some excellent clarity, however to perfect I passed with PC wearing megs polishing pad and FF.
I did some 50:50 shots too to highlight the effectivness
Same procedure as above - i might add that the menz was working at its best today with the temp returning to a 10deg average - working in nicely and spreading like butter
I then completed the bonnet and took a few pics - calling the owner out at this point to demostrate the finish that he could expect and to see if it was acceptable
I then dropped down and worked my way around the sides of the car - I found the swirling and scratching just as bad
again same procedure, however I found that following the final speed 1 pass a quick sprtz with with LT on panel and not the regular pad, then another quick pass brought out great clarity and negated the need for the PC follow up.
I continued around the vehicle correcting the paint. I then cleaned the polish residue out of the paint using clearned fluid on PC. Given the cars usage the owner wanted a durable finish so it was Klasse SG and collinite 476s as I would be retuning in a few months to apply a carnauba for summer.
I actually stopped a eight o'clock so a full twelve hours on just correction.
Needless to say It was dark outside so Ive only got some close up reflective shots and a few poorly lit indoor shots. Returning next week for another so I will get some dayligh ones added.
All in all a very rewarding day for me - I went through it all and at the end I felt I had acheived something and faced one of the hardest correction jobs a detailer could have to work on - soft gloss black. days like these can serve as a good tester and these jobs keep you hooked and coming back for more. The customer was impressed too which above all is the most important thing
Thanks for reading
Matt
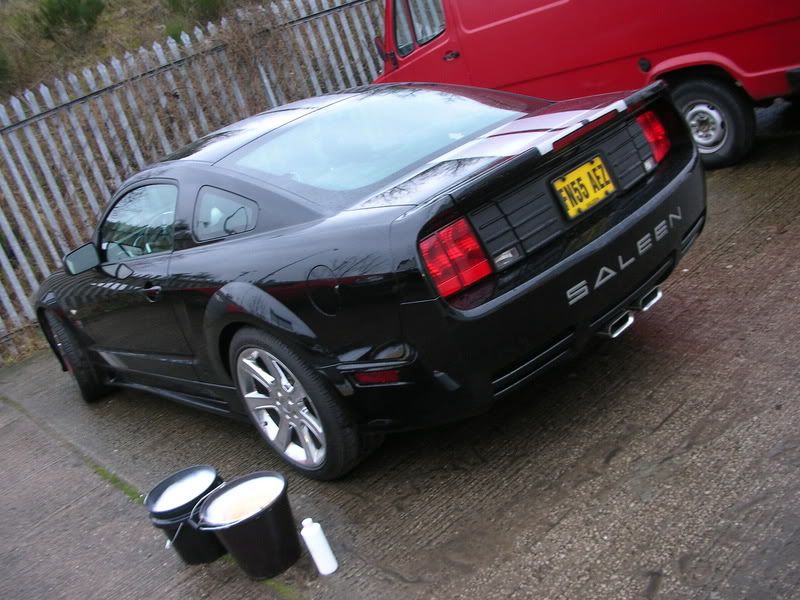
Here are some outdoor shots I took on Friday:-
Right guys just taken the car outside and taken some pictures of the whole car.
Now I am sorry about the location for the photographs, my camera skills and the fact I have used a £50 camera. Still hope these pictures help demonstrate how clean the car is now. Unfortunately it was dull/cloudy with not a lot of sun so hard to show of the mirror like finish. Also as you will see from the pictures my new larger Shelby GT500 brake conversion which I fitted myself a couple of weeks ago.


I am very impressed with the results Matt got on my car and therefor happy to recommend his services to anyone. So if you want your car doing you can contact him on 07881934788 or matt.wakefield1@btinternet.com
Click the pictures to get full size images!
Right guys just taken the car outside and taken some pictures of the whole car.
Now I am sorry about the location for the photographs, my camera skills and the fact I have used a £50 camera. Still hope these pictures help demonstrate how clean the car is now. Unfortunately it was dull/cloudy with not a lot of sun so hard to show of the mirror like finish. Also as you will see from the pictures my new larger Shelby GT500 brake conversion which I fitted myself a couple of weeks ago.
I am very impressed with the results Matt got on my car and therefor happy to recommend his services to anyone. So if you want your car doing you can contact him on 07881934788 or matt.wakefield1@btinternet.com
Click the pictures to get full size images!
Edited by [OcUK]Gibbo on Monday 26th February 10:30
Hi there
For what I had done which is paint correction (removing swirls) and then sealing it with a good wax Matts normal price is £270.00
However I got a good discount as we are having two cars done, me and my mate so he discounted for two cars.
It is something you can do yourself but by the time you finish buying every you need its cheaper to just let a pro do it and get better results without the risk of messing it all up.
euroboy said:
[quote=[OcUK]Gibbo]Hi there
For what I had done which is paint correction (removing swirls) and then sealing it with a good wax Matts normal price is £270.00
However I got a good discount as we are having two cars done, me and my mate so he discounted for two cars.
It is something you can do yourself but by the time you finish buying every you need its cheaper to just let a pro do it and get better results without the risk of messing it all up.
Thats a fair price
 Did he do the roof? I paid £250 for mine, but the paint on my car was actually in worse shape. Good to know I didn't pay over the odds anyway!
 [/quote]
Hi m8
He did the entire exterior of the car, so yes roof, bonnet, boot, side panels, bumpers etc. etc.
Then polished it all and then sealed it with a hard wearing wax.

Such a beautiful, nearly new car ?! What numpties there are !
Here's the lovely finish on my 97 GT.
http://picasaweb.google.co.uk/andybek
Here's the lovely finish on my 97 GT.
http://picasaweb.google.co.uk/andybek

Gassing Station | Readers' Cars | Top of Page | What's New | My Stuff