2007 MX-5 2.0 SPORT
Discussion
After 3 years of a new daughter and no fun car, I decided to purchase my Mx5 sport 2.0L with Bilsteins and an LSD from factory. I believe these were 10mm lower than standard mk3 NC1's.
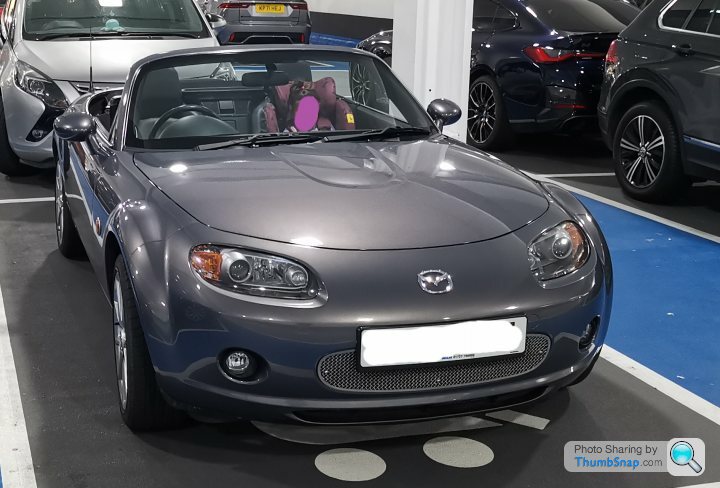
This was the advert picture below
I set about preventative maintenance, I had heard there are 2 common spots that leak water, the 3rd break light and the grommets under the windscreen scuttle panel trim, so set about sealing them up.

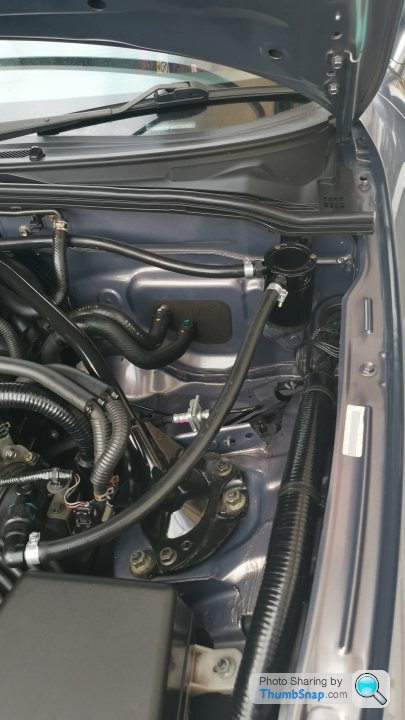
I then set about installing an oil catch can to keep the intake clean,
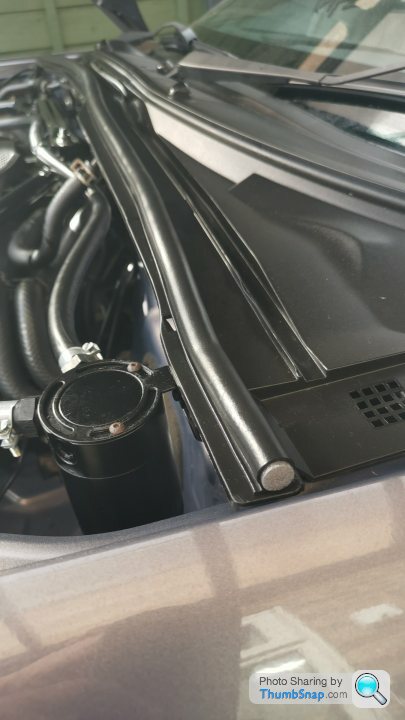
And an old trick from my previous MK2 was to line the bonnet rubber gasket with some grey construction foam, like a big long sausage of it, to help keep out hot air from the engine entering the cabin space.
And a nice little decal, not to everyone's taste I'm sure but I like it...

I am planning on undersealing it next.
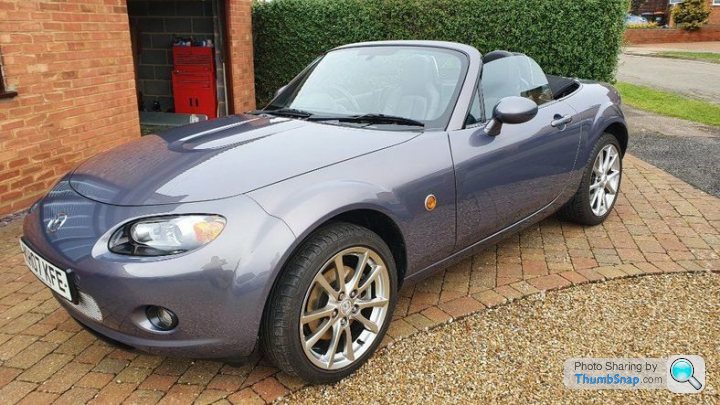
This was the advert picture below

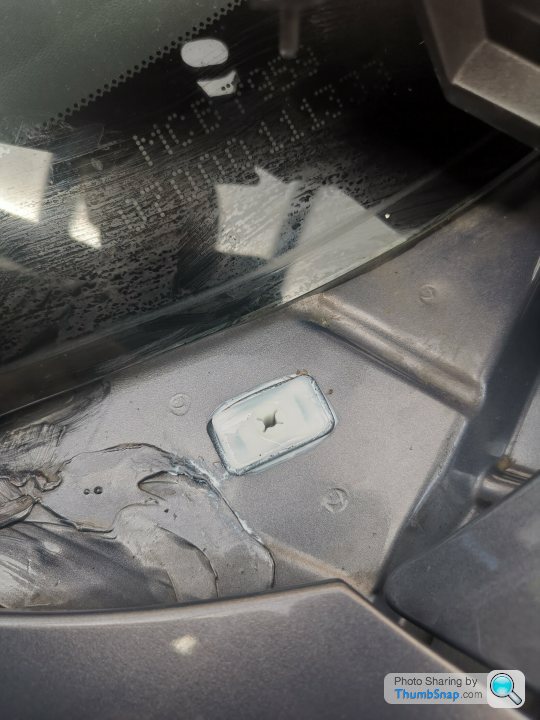
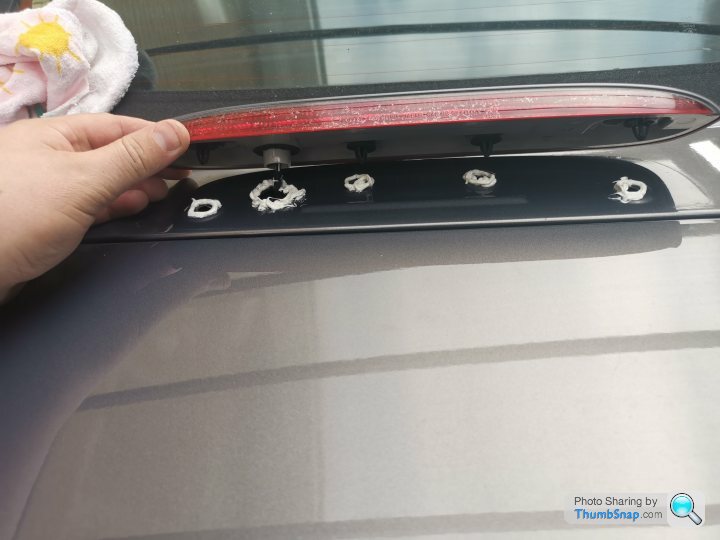
I set about preventative maintenance, I had heard there are 2 common spots that leak water, the 3rd break light and the grommets under the windscreen scuttle panel trim, so set about sealing them up.


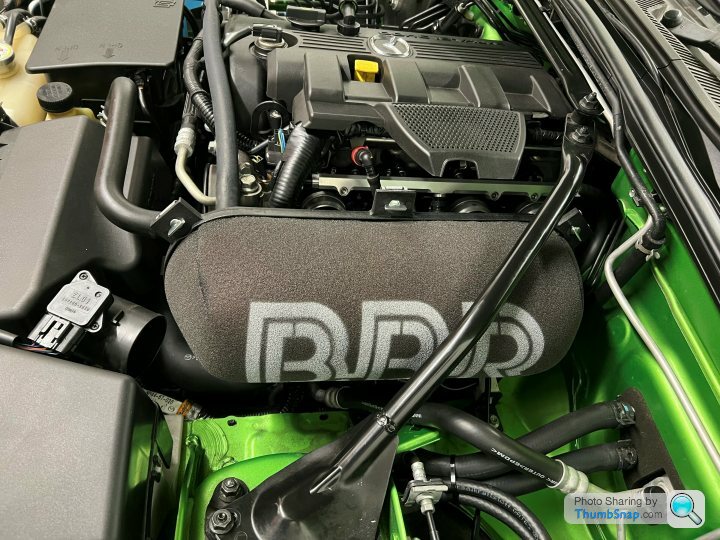
I then set about installing an oil catch can to keep the intake clean,

And an old trick from my previous MK2 was to line the bonnet rubber gasket with some grey construction foam, like a big long sausage of it, to help keep out hot air from the engine entering the cabin space.

And a nice little decal, not to everyone's taste I'm sure but I like it...

I am planning on undersealing it next.
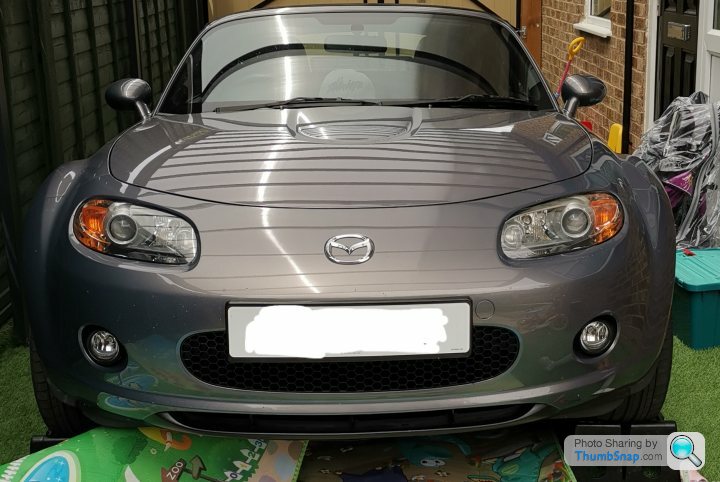
It had a stainless "Lockwood" grill kit fitted
Not really to my taste, so up on the ramps to remove it and ta da.. much better I think
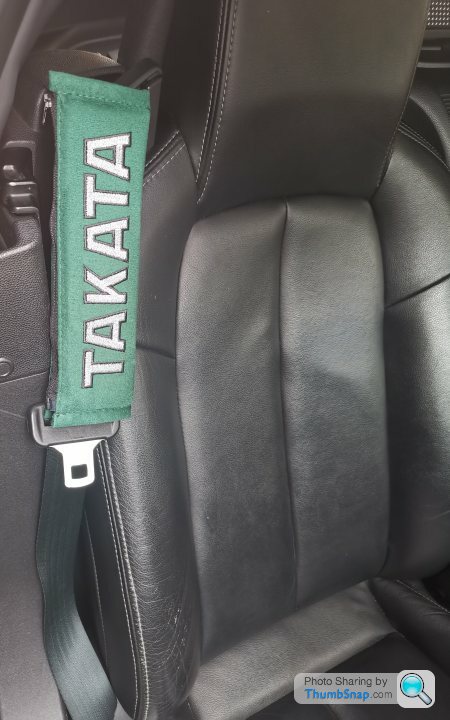
Also got a set of these Takata shoulder pads
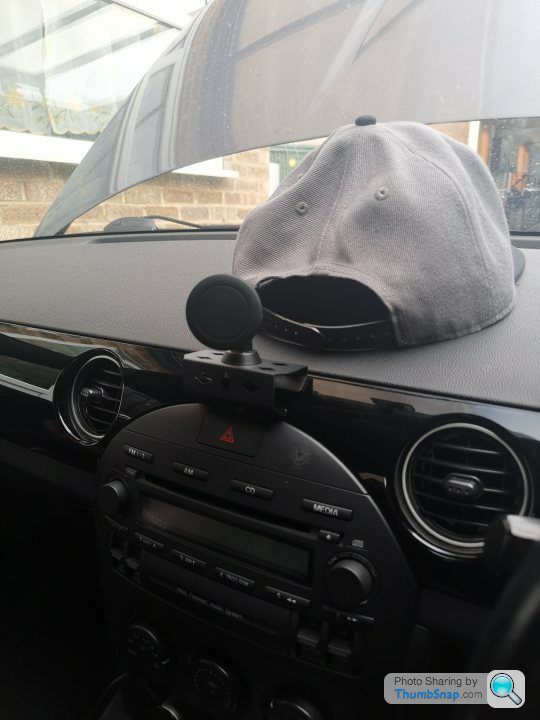
And this nice little NC specific phone mount
Lot's more to do, luckily she already has a K&N panel filter fitted so that saves me a job.

Not really to my taste, so up on the ramps to remove it and ta da.. much better I think

Also got a set of these Takata shoulder pads

And this nice little NC specific phone mount

Lot's more to do, luckily she already has a K&N panel filter fitted so that saves me a job.
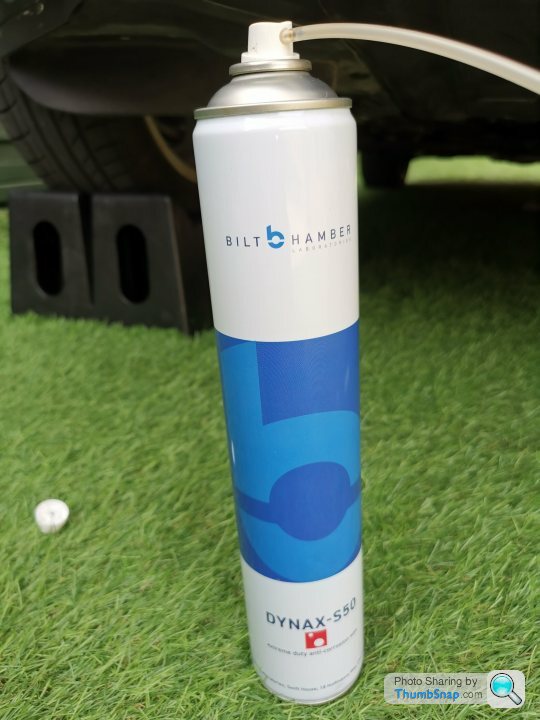
So my Bilthamber s50 cavity wax arrived,
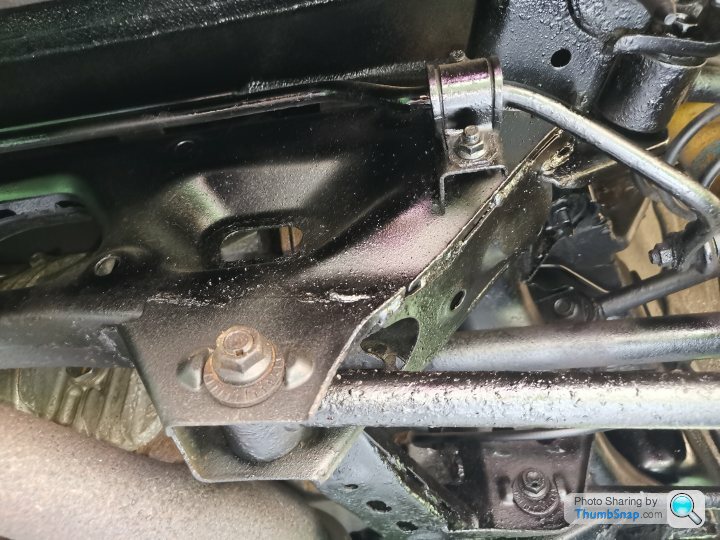
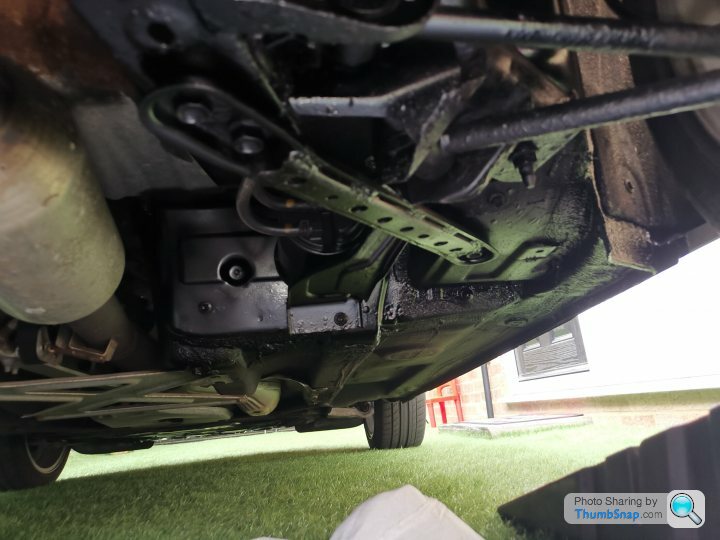
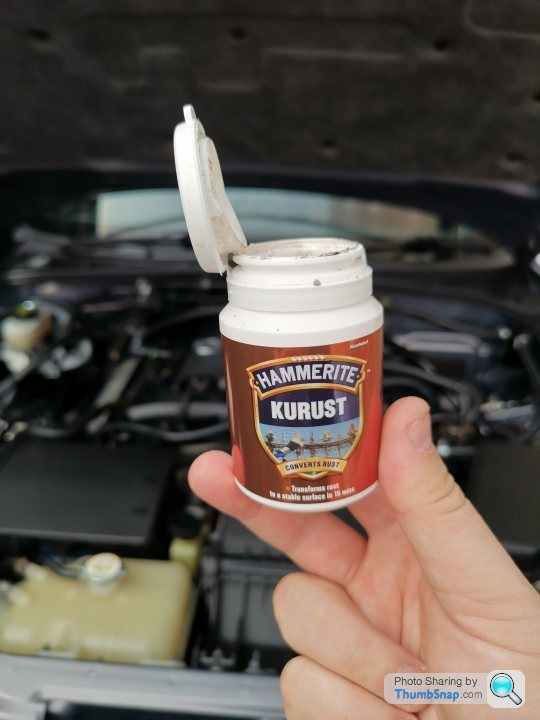
Having the front of the car raised on my drive on Rhino ramps, I removed the undertray, and coated anything that looks like surface rust in 'Kurust' rust converter,
 [url]
[url]
Then I sprayed all the cavities I could find at the front of the car.
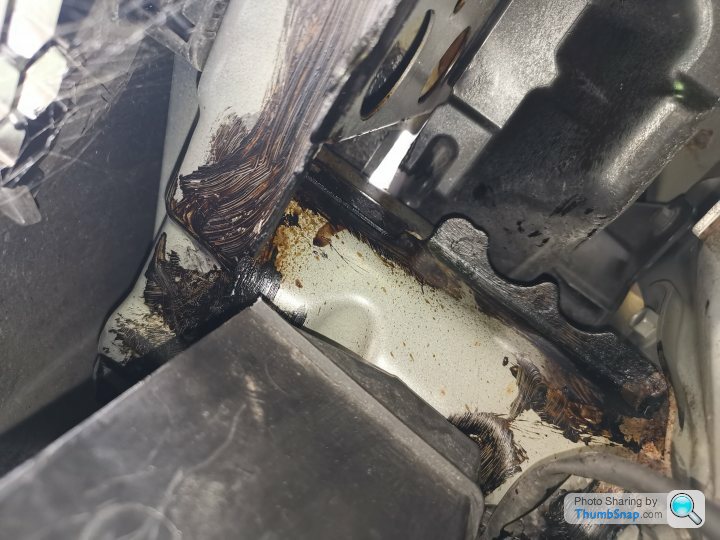
And coated everything metal in 'Hammerite underseal with waxoil'
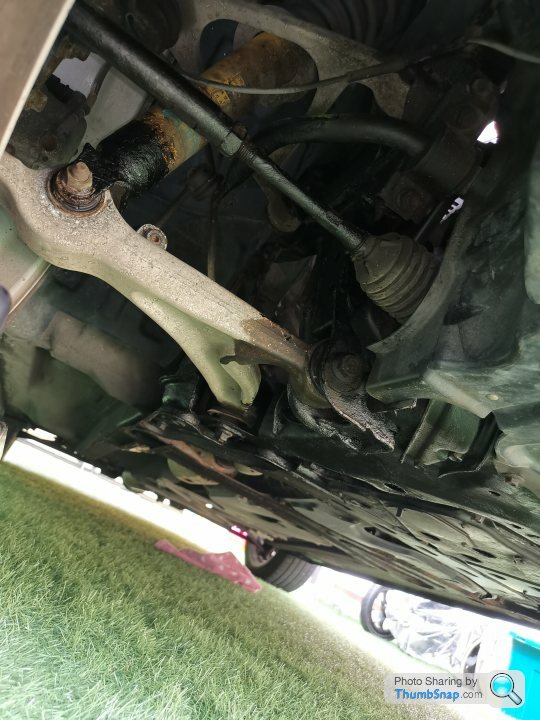
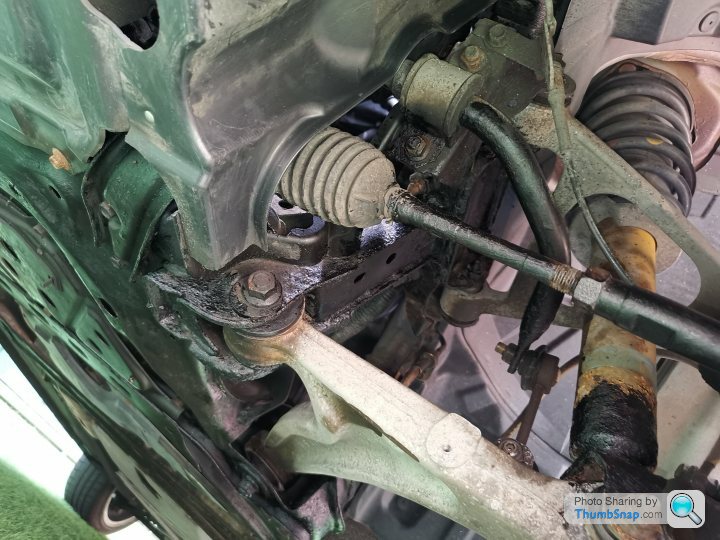
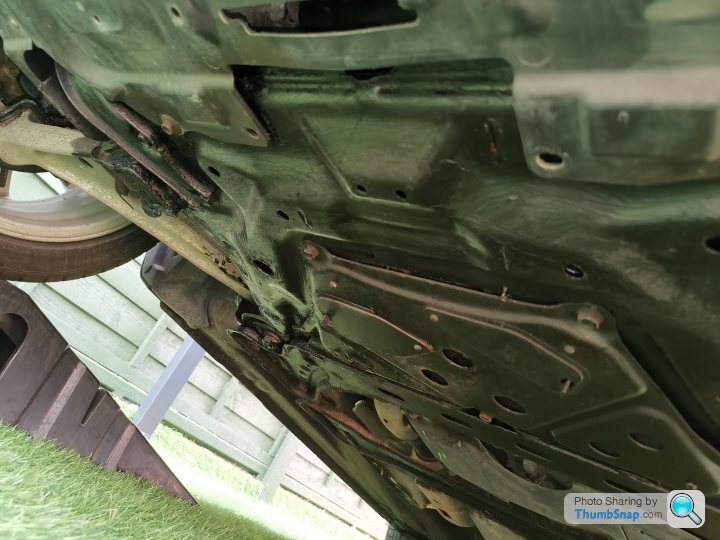
And I convinced my lovely wife to wash the undertray ??
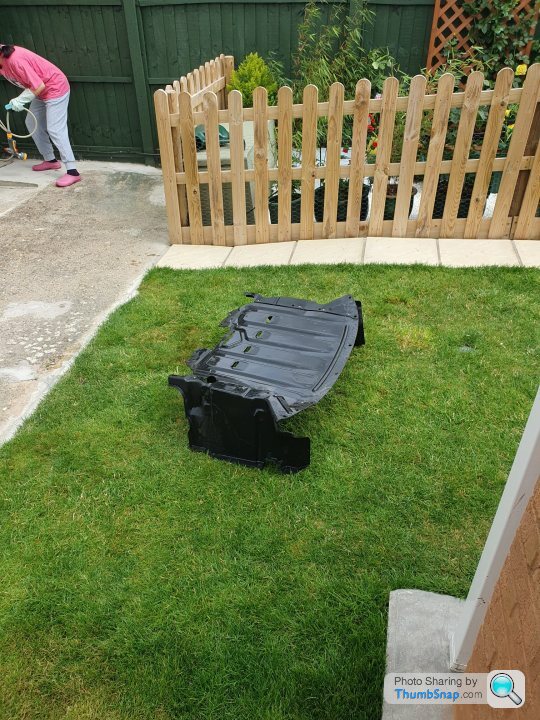
That's the front of the car rust proofed for the foreseeable future, the middle and rear is on the to do list.
I noticed that when I filled the washer fluid bottle, a lot of floaty bits of scum swished around, so I removed the bottle and pump, and gave it a thorough cleaning with a bleach solution and ran it through the dishwasher. It is now squeaky clean
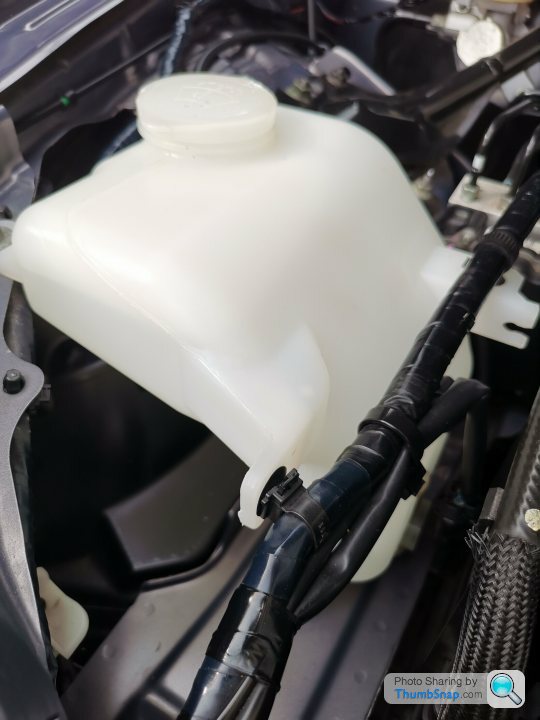
I filled it with water and added a few drinking water purification tablets to stop the mould reappearing.
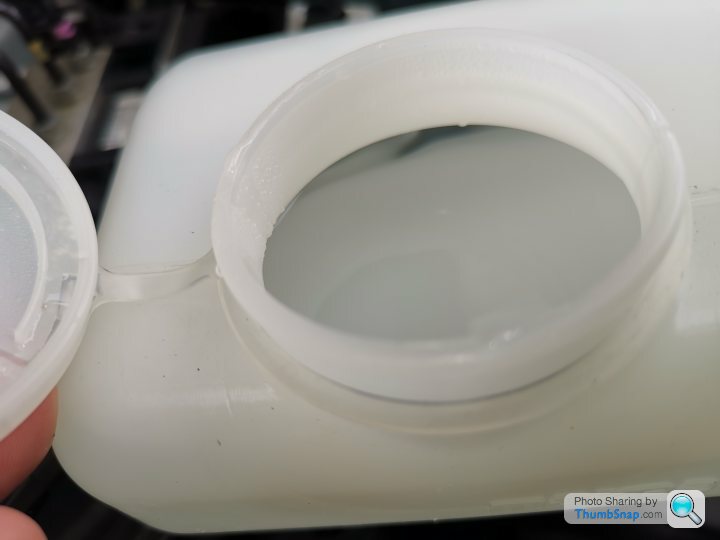
Whilst under the bonnet, I used a syringe plunger to suck out all the break and power steering fluid from their respective reservoirs and refilled with fresh fluid. I plan to do the same to the coolant when I get hold of some FL22 coolant.
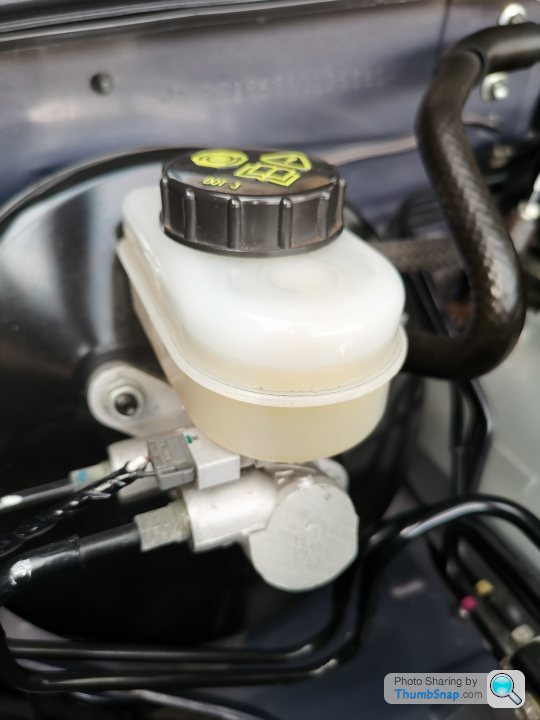
When the breaks needing doing ill do a full flush through.
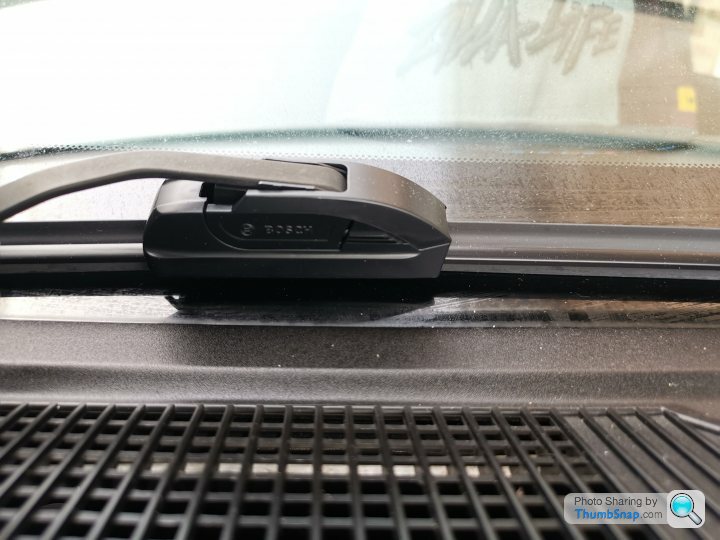
I also fitted some Bosch Aerotwin wipers as the old ones had seen better days.

Having the front of the car raised on my drive on Rhino ramps, I removed the undertray, and coated anything that looks like surface rust in 'Kurust' rust converter,
 [url]
[url]Then I sprayed all the cavities I could find at the front of the car.

And coated everything metal in 'Hammerite underseal with waxoil'


And I convinced my lovely wife to wash the undertray ??

That's the front of the car rust proofed for the foreseeable future, the middle and rear is on the to do list.
I noticed that when I filled the washer fluid bottle, a lot of floaty bits of scum swished around, so I removed the bottle and pump, and gave it a thorough cleaning with a bleach solution and ran it through the dishwasher. It is now squeaky clean

I filled it with water and added a few drinking water purification tablets to stop the mould reappearing.

Whilst under the bonnet, I used a syringe plunger to suck out all the break and power steering fluid from their respective reservoirs and refilled with fresh fluid. I plan to do the same to the coolant when I get hold of some FL22 coolant.

When the breaks needing doing ill do a full flush through.
I also fitted some Bosch Aerotwin wipers as the old ones had seen better days.

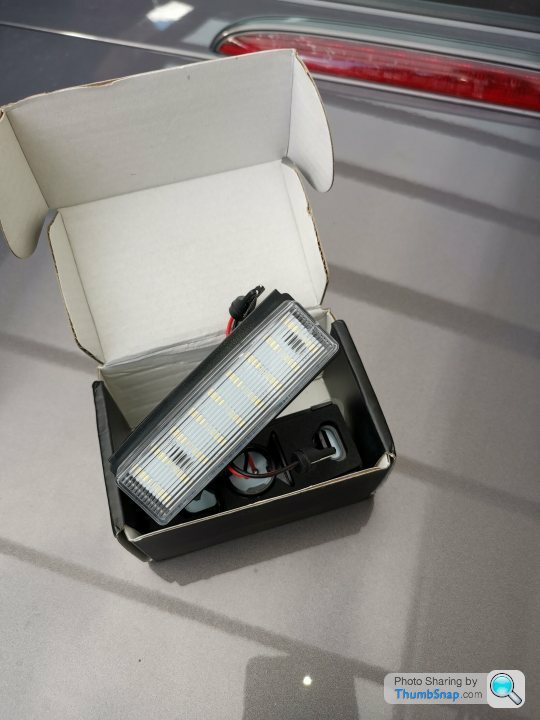
So these LED number plate lights arrived,
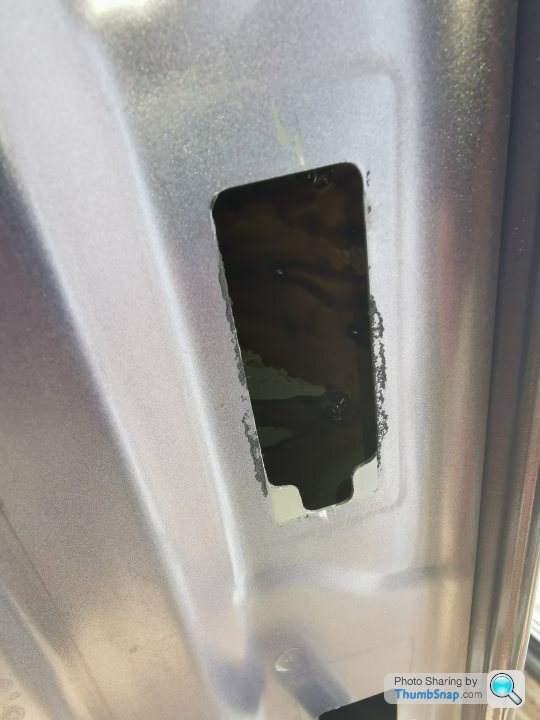
After removing the old lights, I cleaned it up and applied some s50 cavity wax using the lance to prevent the common boot lid corrosion issues.
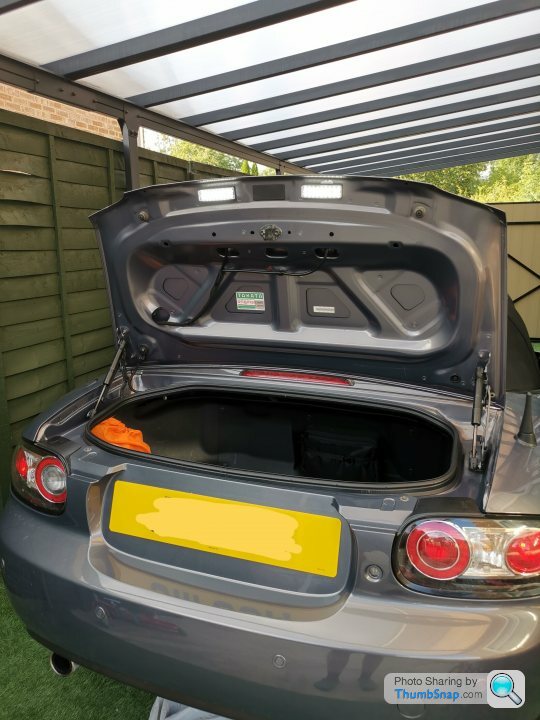
Fitted, a nice modern white light.
I also hoovered the roof, and applied a good layer of Meguiars cloth top waterproofer/UV protection spray.
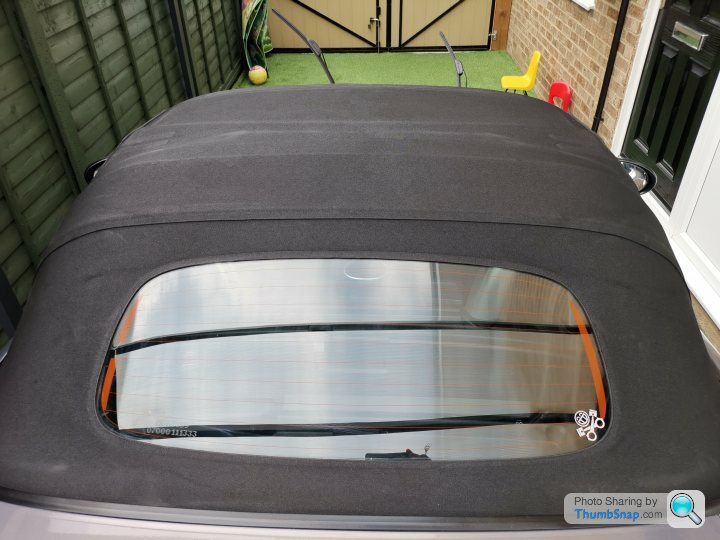
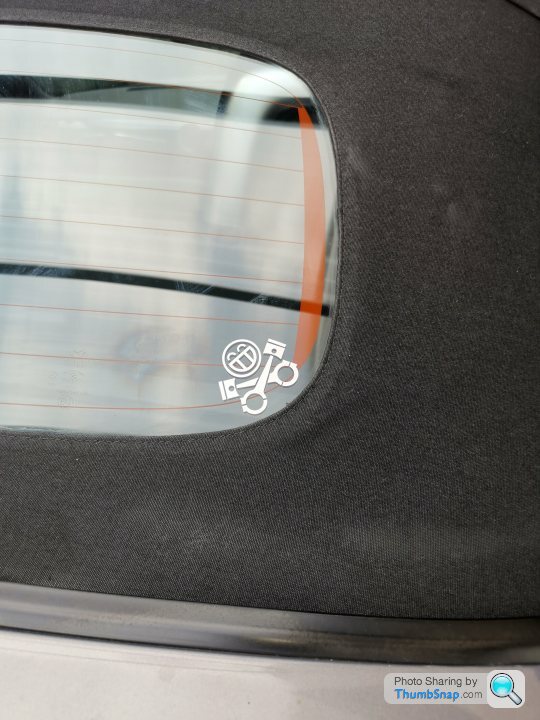
And of course fitted the PH decal,
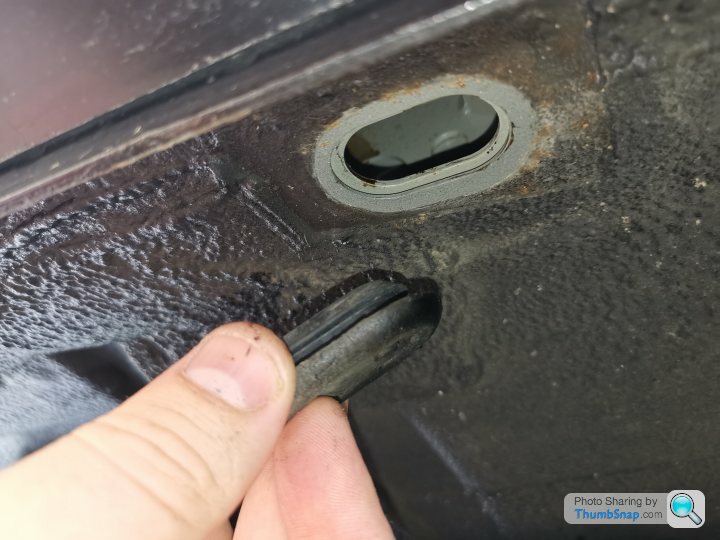
And sprayed a healthy amount of s50 cavity wax into the rear cills by first removing this little rubber grommet on each side,
And then inserting the lance until I could hear it hit the back of the cill, then spraying and slowly withdrawing it, it was a bit messy as it dripped out of the cill drain holes, the s50 is not thick at all and kind of like water in consistency which helps it get into all the crevices and also not bung up the cill drain holes.
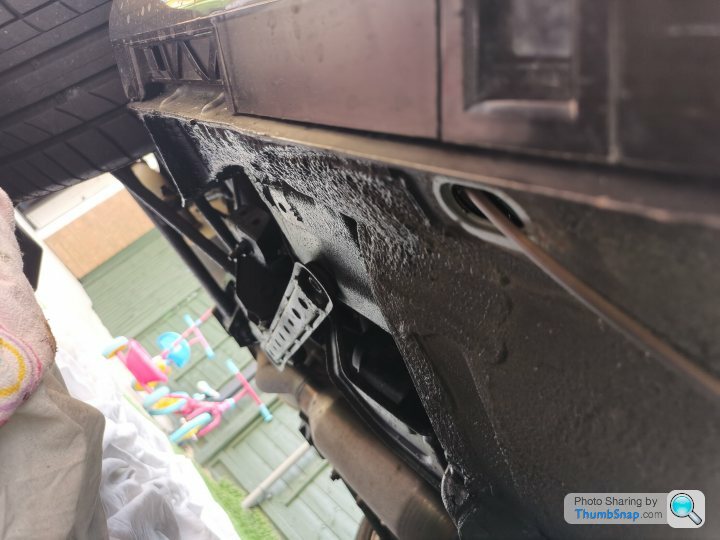
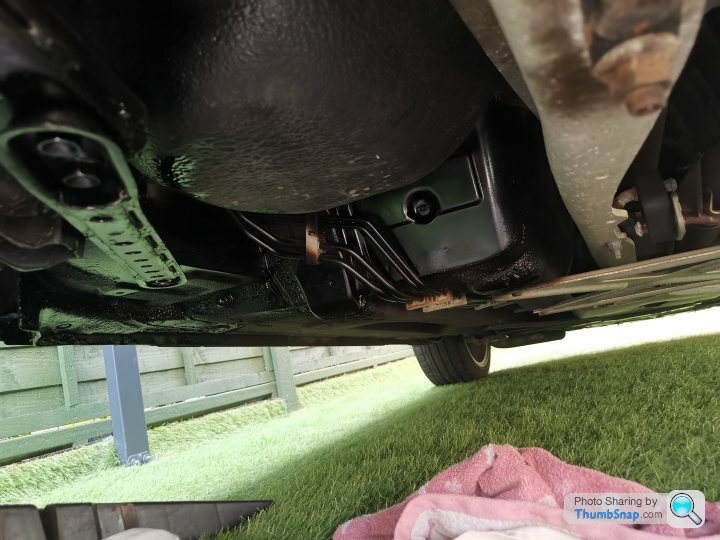
And then coating all the chassis parts with underseal
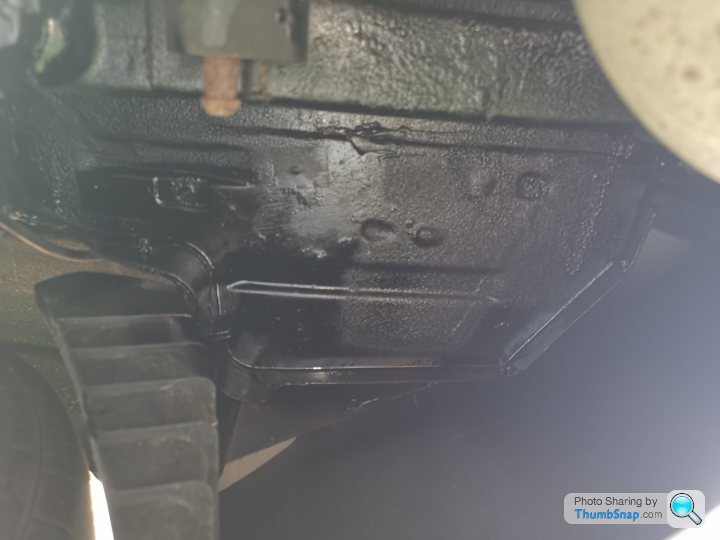
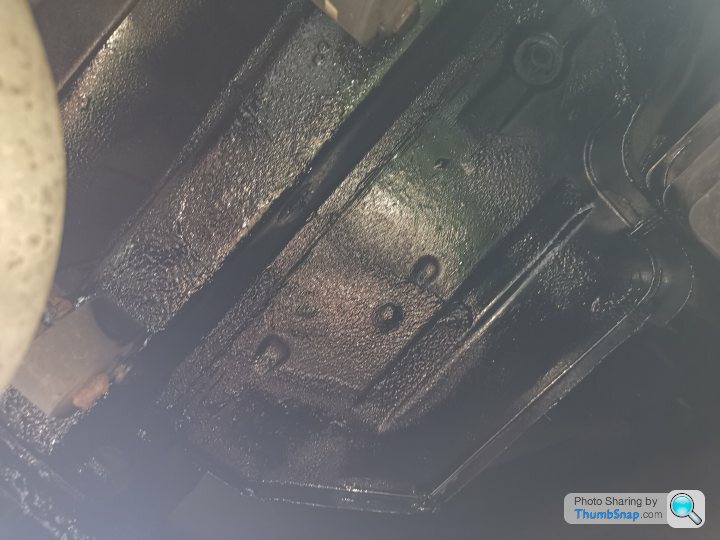

After removing the old lights, I cleaned it up and applied some s50 cavity wax using the lance to prevent the common boot lid corrosion issues.

Fitted, a nice modern white light.

I also hoovered the roof, and applied a good layer of Meguiars cloth top waterproofer/UV protection spray.

And of course fitted the PH decal,

And sprayed a healthy amount of s50 cavity wax into the rear cills by first removing this little rubber grommet on each side,

And then inserting the lance until I could hear it hit the back of the cill, then spraying and slowly withdrawing it, it was a bit messy as it dripped out of the cill drain holes, the s50 is not thick at all and kind of like water in consistency which helps it get into all the crevices and also not bung up the cill drain holes.

And then coating all the chassis parts with underseal


Edited by BubbaDooDoo on Thursday 20th July 12:30
Edited by BubbaDooDoo on Friday 21st July 17:52
Xcore said:
How hard are these to turbo?
Stuck a kit on my mk1 and it was a right giggle
That does sound like fun, not sure how easy it is on these, I'd possibly try a 4-1 header first. Stuck a kit on my mk1 and it was a right giggle
Sko77y said:
Looks a tidy example, certainly cleaner underneath than mine when I purchased it. Get some lowering springs and a fast road alignment and it'll transform it, from my experience.
Thanks, which springs would you recommend? I have a lot of plans for it 
W201_190e said:
Lovely car.
covmutley said:
That looks to be in very tidy condition. Enjoy it!
Thank you both! Edited by BubbaDooDoo on Friday 21st July 17:56
Edited by BubbaDooDoo on Friday 21st July 17:57
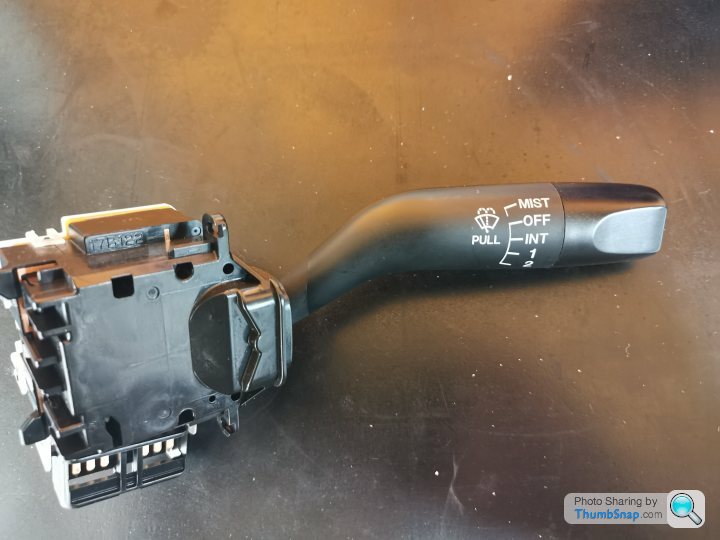
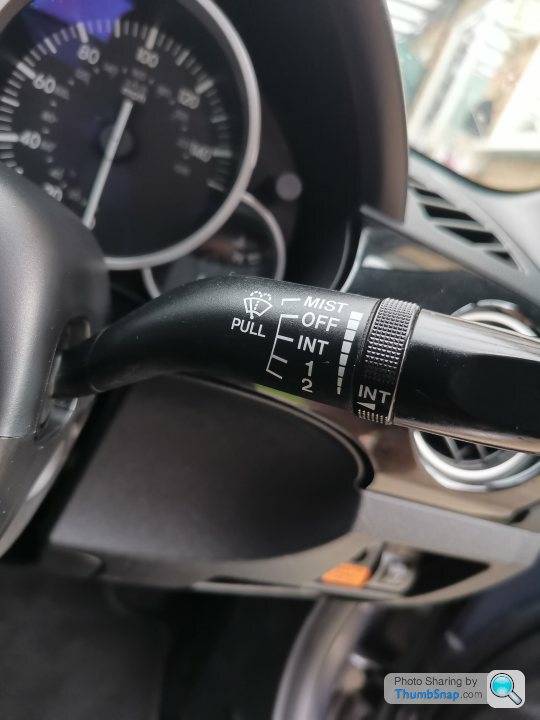
So the rx8 wiper stalk arrived, these have the intermittent wiper adjustable time period switch, where as the mx5s just had 1 speed for intermittent.
Below mx5 wiper removed
And then the rx8 one fitted
I also cleaned out the roof drain holes with a trombone brush and flushed through with warm soapy water and am happy to report not much dirt came out. Although I forgot to take pictures while doing this, it wasn't that interesting and is well documented online.
Below mx5 wiper removed

And then the rx8 one fitted

I also cleaned out the roof drain holes with a trombone brush and flushed through with warm soapy water and am happy to report not much dirt came out. Although I forgot to take pictures while doing this, it wasn't that interesting and is well documented online.
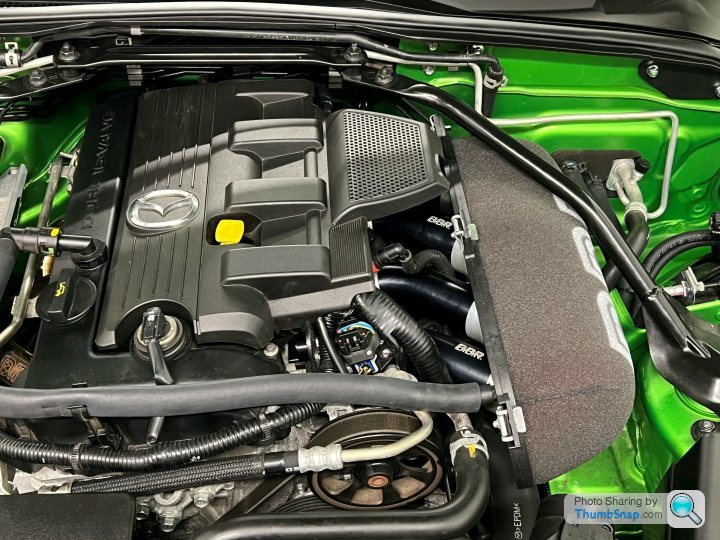
I couldn't resist and ordered this
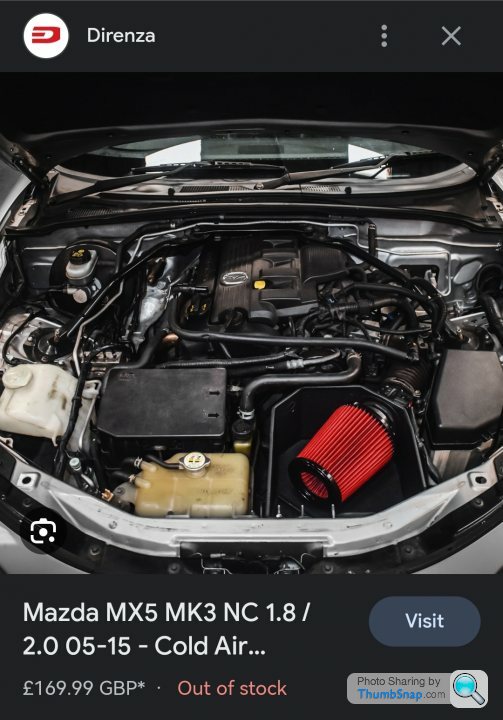
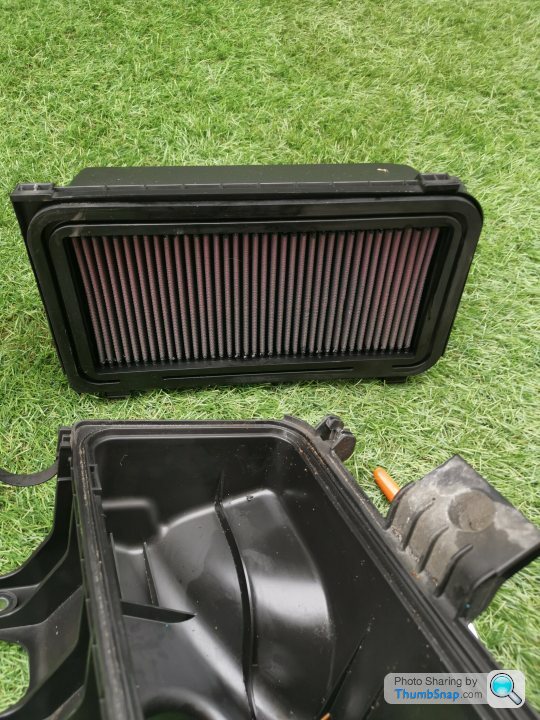
I removed the original which did have a k&n panel filter fitted, nice to confirm.
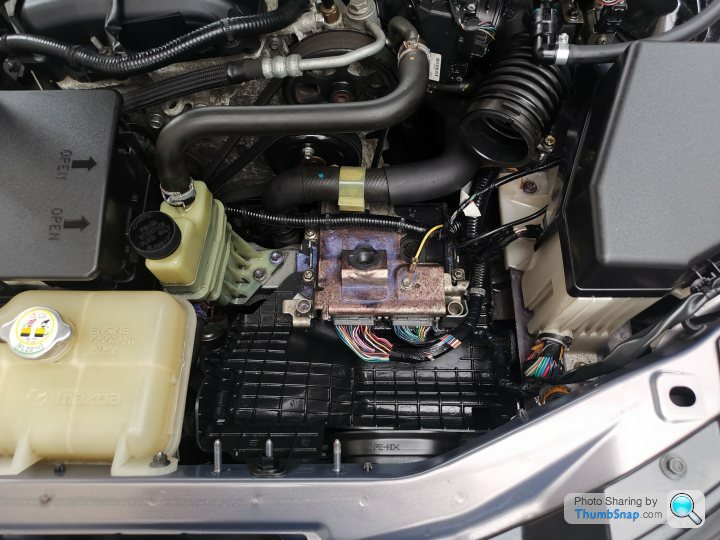
Decided to clean up the ecu area and kurust any surface rust on the mounting brackets, which was probably absolutely pointless but I like knowing its clean and protected..
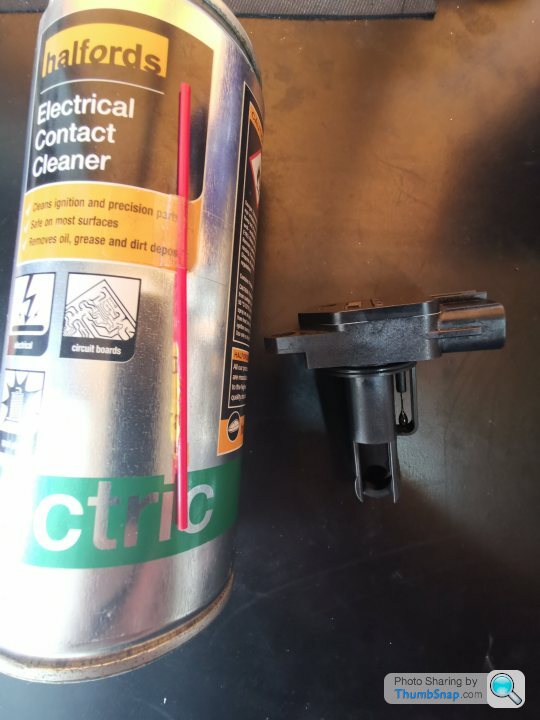
I also cleaned the MAF sensor with special contact cleaner
And the install finished...
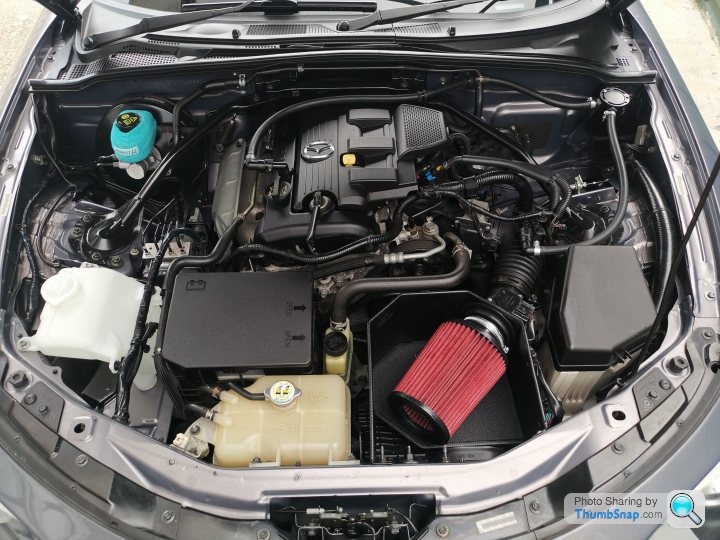
I cannot wait to drive it to see what it sounds like!

I removed the original which did have a k&n panel filter fitted, nice to confirm.

Decided to clean up the ecu area and kurust any surface rust on the mounting brackets, which was probably absolutely pointless but I like knowing its clean and protected..

I also cleaned the MAF sensor with special contact cleaner

And the install finished...

I cannot wait to drive it to see what it sounds like!
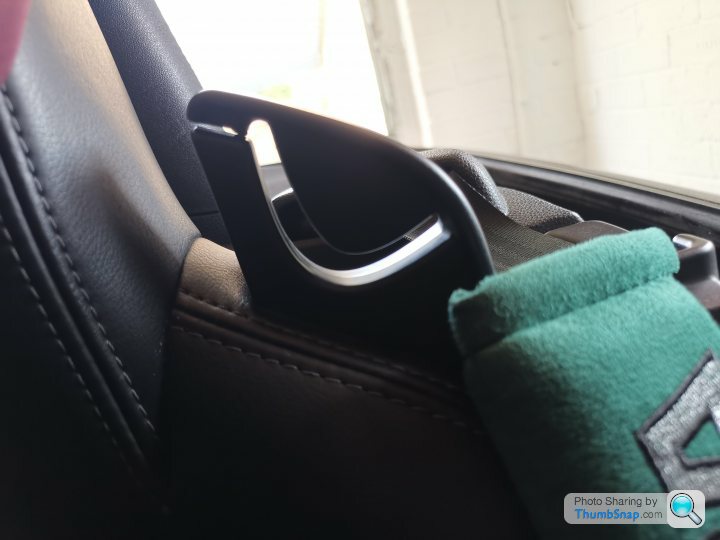
A little update, the stock seat belt retainers were a poor design and caused the belt to get jammed easily, as seen below,
Fortunately mazda released an updated version on later models which I got hold of and retrofitted as seen below.
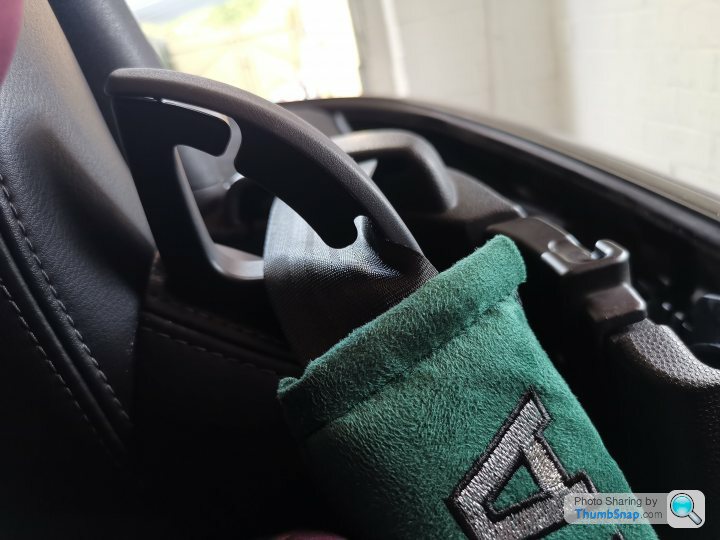
Much better.
Also did a little sound proofing, before,
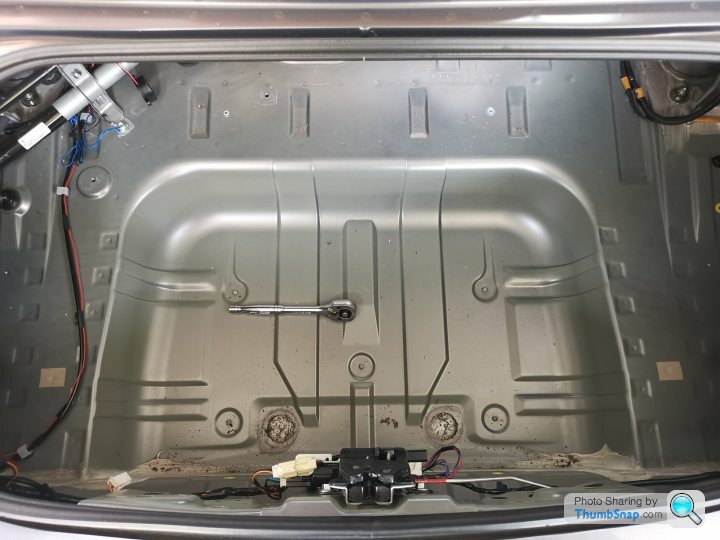
And after
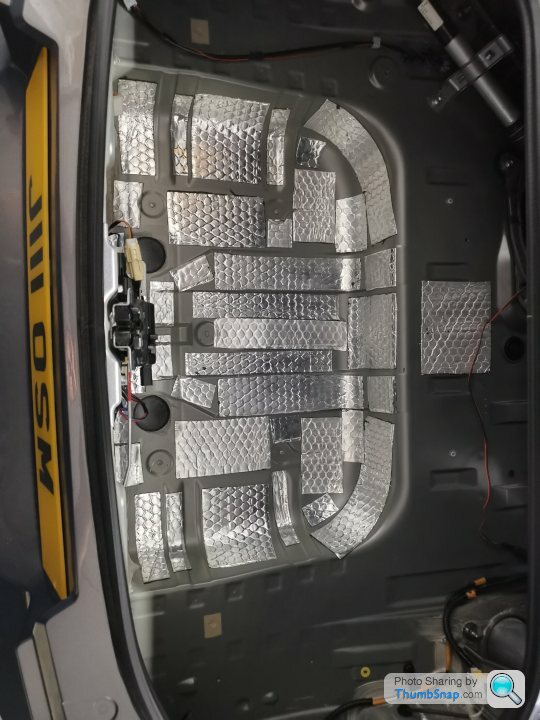
Also added some foam layers which I didn't take pictures of. Seems quieter with the roof up now, I'll do the doors when I get around to upgrading the ICE.
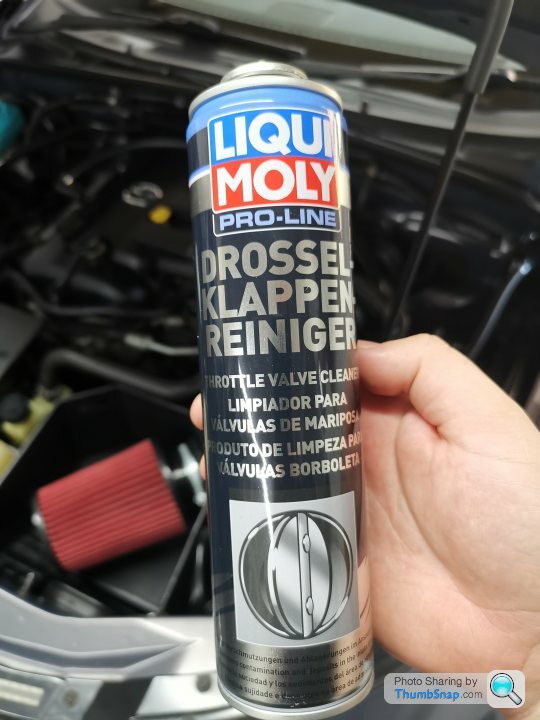
I also got hold of some of this valve cleaner and ran it through at fast idle as per instructions, this stuff has good results on some guys video on YouTube where he uses a borescope camera to show before and after. So thought I'd treat the mx5.
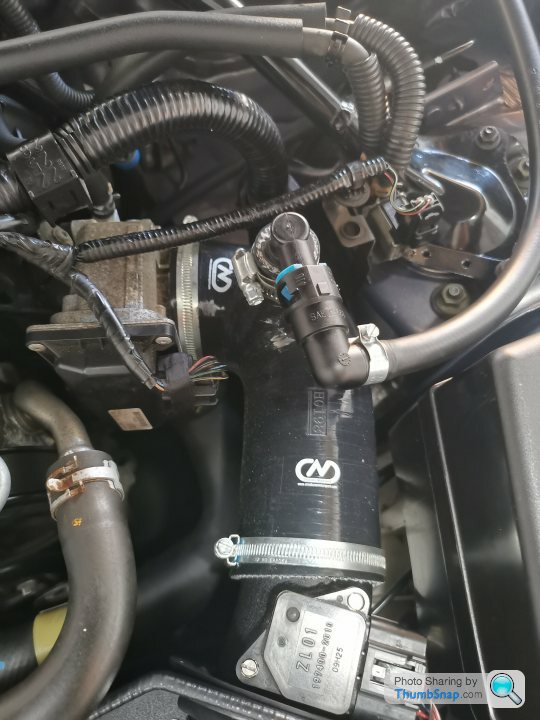
And I fitted this silicone elbow to go with my intake.
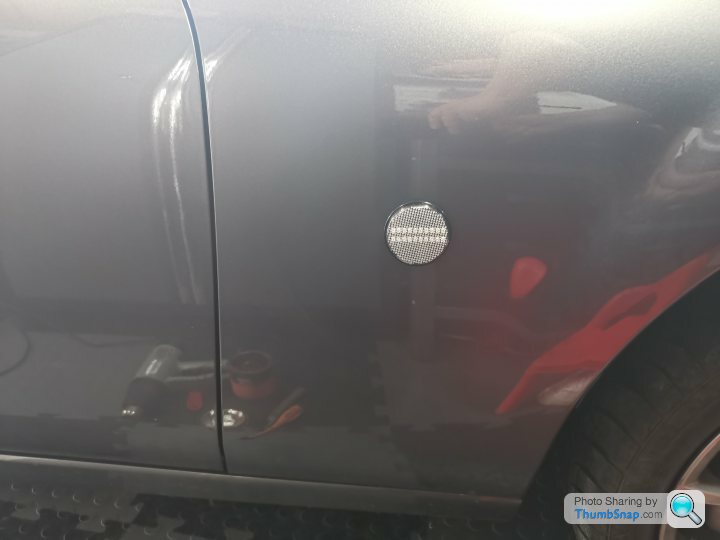
And fitted some clear led indicators,
Before
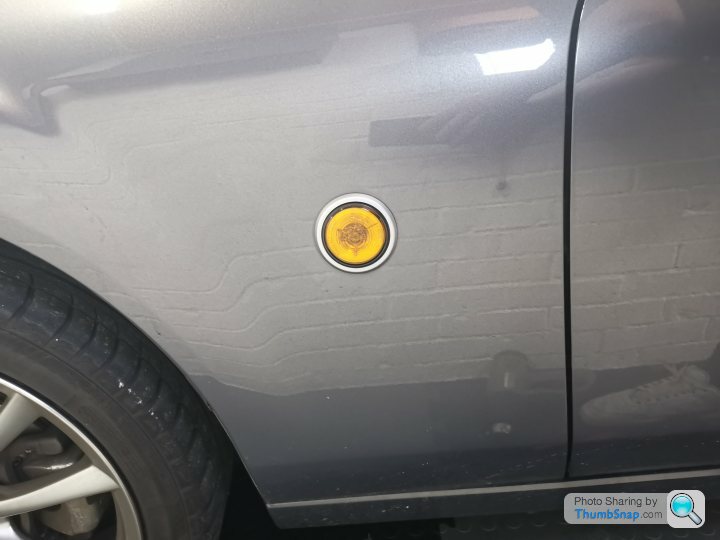
After
I've got some Jass seat lowering brackets to fit next.

Fortunately mazda released an updated version on later models which I got hold of and retrofitted as seen below.

Much better.
Also did a little sound proofing, before,

And after

Also added some foam layers which I didn't take pictures of. Seems quieter with the roof up now, I'll do the doors when I get around to upgrading the ICE.
I also got hold of some of this valve cleaner and ran it through at fast idle as per instructions, this stuff has good results on some guys video on YouTube where he uses a borescope camera to show before and after. So thought I'd treat the mx5.

And I fitted this silicone elbow to go with my intake.

And fitted some clear led indicators,
Before

After

I've got some Jass seat lowering brackets to fit next.
Sko77y said:
Looks a tidy example, certainly cleaner underneath than mine when I purchased it. Get some lowering springs and a fast road alignment and it'll transform it, from my experience.
Agreed with this, that's what mine has (Eibach springs if you're wondering), but what really transformed it was the alignment, bloody hell, thing handles amazingly now. I was going to get coilovers but I'm not bothering now.Nice looking car OP, welcome to the "boat" club

Doing things right OP, nice to see.
How you finding the intake?
On mine I had the skuzzle / ramair one fitted and didn't notice much a difference. With it being mounted right down in the bumper too couldn't hear any intake noise at all.
We ended up "modding" the stock airbox basically just drilling holes into it so has let a bit of sound through. But still intrested in this direnza kit as seems to be the way forward. However, I'm unable to find any sound clips or further reviews of it anywhere.
Don't want to spend the money on it and it then not make a difference at all ha.
wilksy61 said:
I've always been curious about these.I've got the BBR Super 200 kit already (manifold, cams, intake, map, exhaust) and it sounds pretty damn nice now, how much better is this? Have you compared it with a Super 200?
I don't have the money for them to be honest, but I always wonder how much better it could get than it is now.
Gassing Station | Readers' Cars | Top of Page | What's New | My Stuff


