2005 Volvo V70 2.5T SE
Discussion
I took a flight to Heathrow on Tuesday and drove 420 miles home in a lovely shade of willow green V70 2.5T
It turned over 64,007 when I arrived home
I filled the tank in Slough with 63.4 litres of BP Ultimate and once home OBC says I averaged 33.5mpg (it was at 37.4 before I got stuck in traffic going round Birmingham) and the OBC now says I can still drive another 115 miles.
It had a fresh MOT on Monday with a couple of advisories for cracks in the rear tyres. It had an oil change with Shell Helix 0W-30 and genuine Volvo filters.
A few niggly jobs to be done but nothing serious.
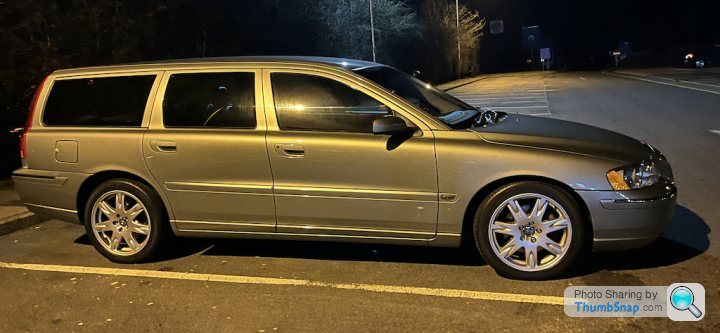
First comfort stop at Forton services and a quick picture in the dark
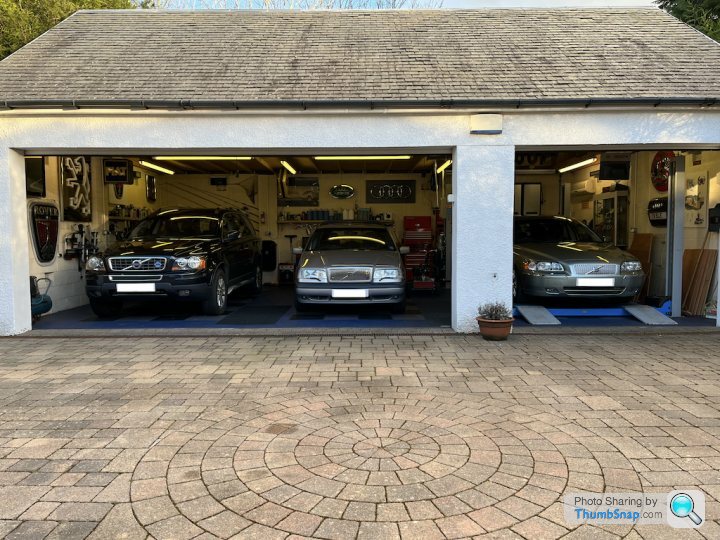
Three in a row, still space for another but divorces are expensive
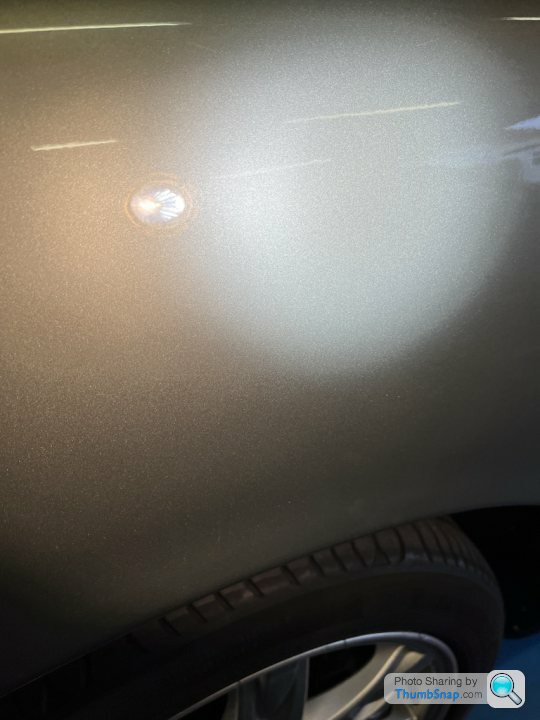
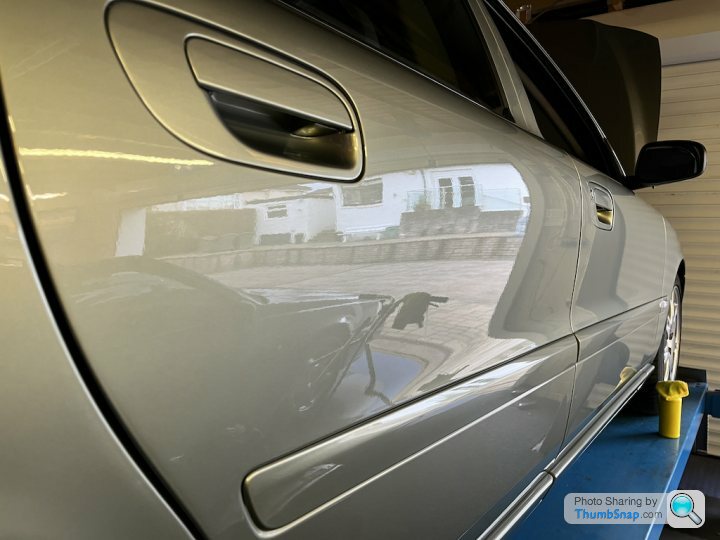
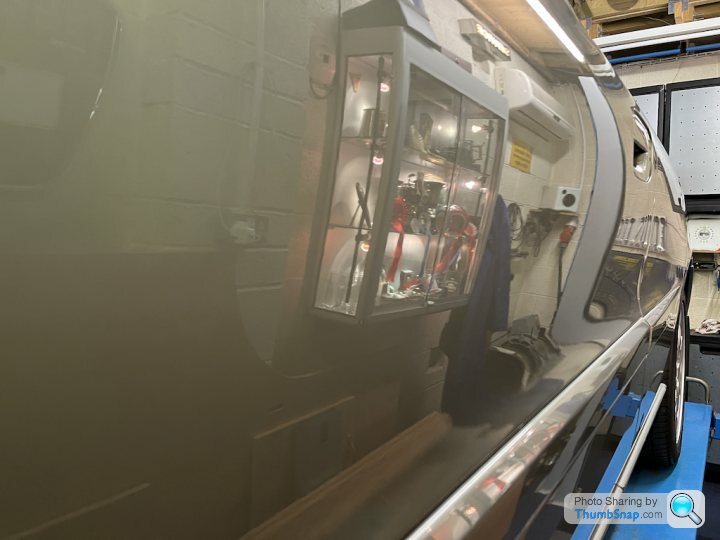
A day spent detailing the paintwork and the willow green is looking good

It turned over 64,007 when I arrived home
I filled the tank in Slough with 63.4 litres of BP Ultimate and once home OBC says I averaged 33.5mpg (it was at 37.4 before I got stuck in traffic going round Birmingham) and the OBC now says I can still drive another 115 miles.
It had a fresh MOT on Monday with a couple of advisories for cracks in the rear tyres. It had an oil change with Shell Helix 0W-30 and genuine Volvo filters.
A few niggly jobs to be done but nothing serious.
First comfort stop at Forton services and a quick picture in the dark

Three in a row, still space for another but divorces are expensive

A day spent detailing the paintwork and the willow green is looking good


Thanks for the kind words. Yes a 4 post lift and yes the 5 pot does sound good at the expense of fuel consumption.
The garage was built in 2008. I dug the founds then employed a bricky to do the blockwork, then I went on a huge learning curve with many sleepless nights and built the rest myself. Not something I would like to tackle again and glad it's done. The original plans included a pit but when I excavated the hole it filled with water to the natural water table level so I filled it in and when putting the roof on I fitted extra roof trusses above to allow me to cut the truss strings and open up the roof space to allow me extra height
The garage was built in 2008. I dug the founds then employed a bricky to do the blockwork, then I went on a huge learning curve with many sleepless nights and built the rest myself. Not something I would like to tackle again and glad it's done. The original plans included a pit but when I excavated the hole it filled with water to the natural water table level so I filled it in and when putting the roof on I fitted extra roof trusses above to allow me to cut the truss strings and open up the roof space to allow me extra height
Edited by 47p2 on Sunday 26th February 21:51
Edited by 47p2 on Sunday 26th February 21:52
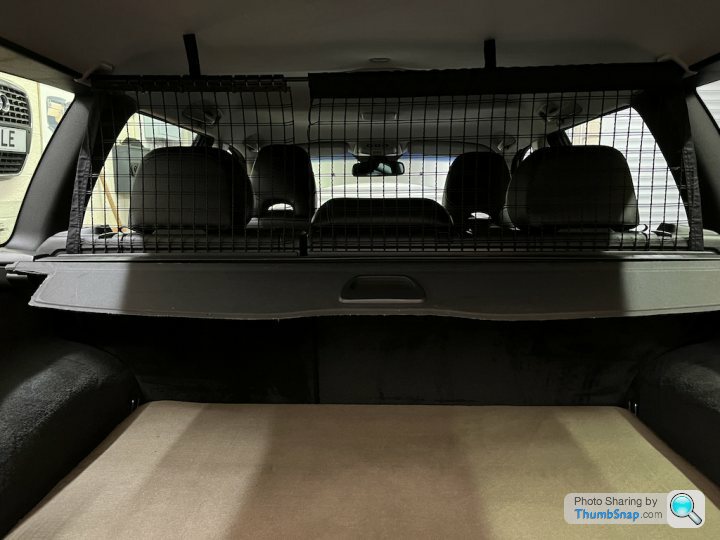
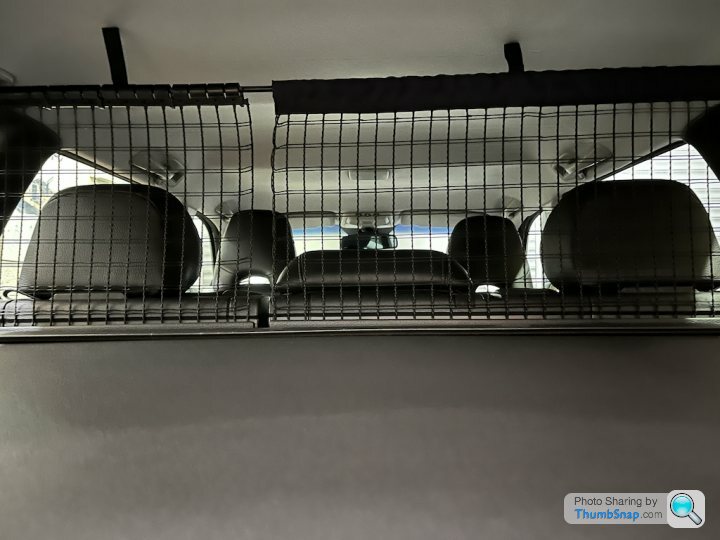
Got a surprise tonight when I was tinkering with the car, I discovered it had the load retaining nets fitted and I didn't even know. Those who follow my 850 thread will have seen I managed to buy nets for that car last summer after over 2 years of searching for them so this was a huge bonus for me tonight...


On Saturday I decided to remove the rear wiper arm to reposition it as it was resting on the channel at the bottom edge to the glass. I loosened the nut and put the wiper arm removal tool on and cranked the handle and the arm came off after a bit of persuasion. What I didn't realise was the rear washer jet protruded from the centre spindle and the pressure of the removal tool snapped it. A check online took me to Youtube and a chap removing his broken jet. He put a screw into the plastic remnants that were stuck in the brass tube and he pulled the entire brass tube which goes through the motor to the hose connection. He then had to dismantle the motor to sort it.
I didn't fancy having to dismantle the tailgate and decided to use a 1.5mm drill bit then a 2mm drill bit to open up the aperture and weaken the grip the plastic had on the brass tube. I then used screw of a suitable size to easily pull the remaining part of the jet out. So today's job is to put the new jet in...
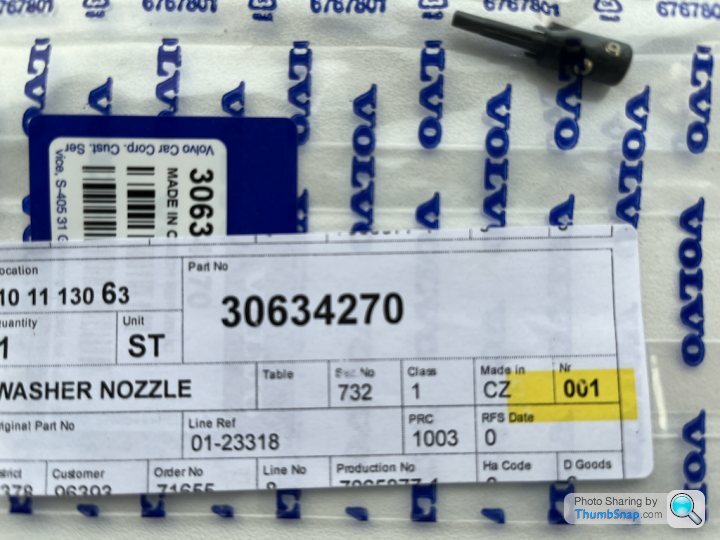
I didn't fancy having to dismantle the tailgate and decided to use a 1.5mm drill bit then a 2mm drill bit to open up the aperture and weaken the grip the plastic had on the brass tube. I then used screw of a suitable size to easily pull the remaining part of the jet out. So today's job is to put the new jet in...

Paid my VED this morning and went out for a wee drive to run a few errands. Had to fuel up before I left so the obligatory filling station picture.
The cashier behind the counter did give me a funny look...
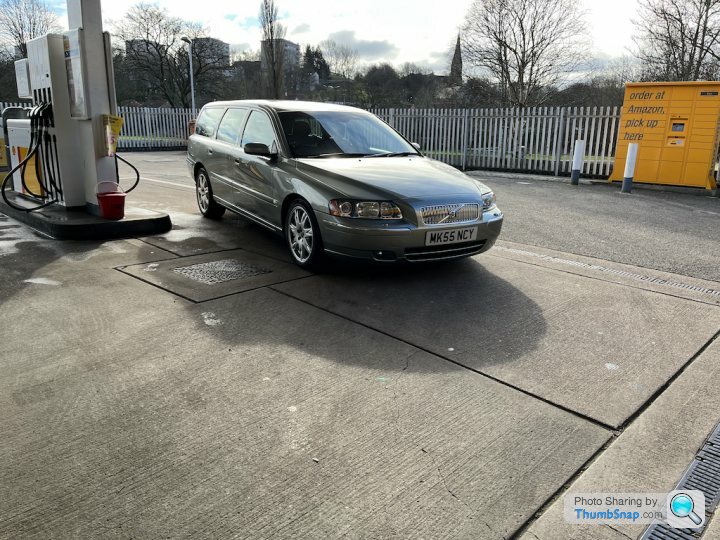
I thought I was being organised when I removed the original number plates to make way for my personal plate. I cleaned the paintwork, bought the sticky pads and put my personal plates on the car ready for this morning as I had expected to be able to transfer the number straight away once the V70 was taxed but the DVLA have a different outlook on us mere mortals and I can't change them over until my road tax is showing online. I had to stick the old plates on top of my personal plates. Those who know, know is quite appropriate now

The cashier behind the counter did give me a funny look...

I thought I was being organised when I removed the original number plates to make way for my personal plate. I cleaned the paintwork, bought the sticky pads and put my personal plates on the car ready for this morning as I had expected to be able to transfer the number straight away once the V70 was taxed but the DVLA have a different outlook on us mere mortals and I can't change them over until my road tax is showing online. I had to stick the old plates on top of my personal plates. Those who know, know is quite appropriate now

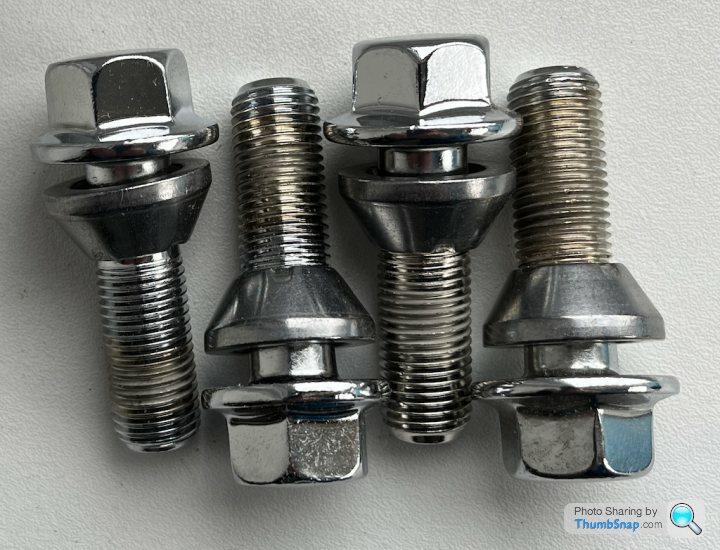
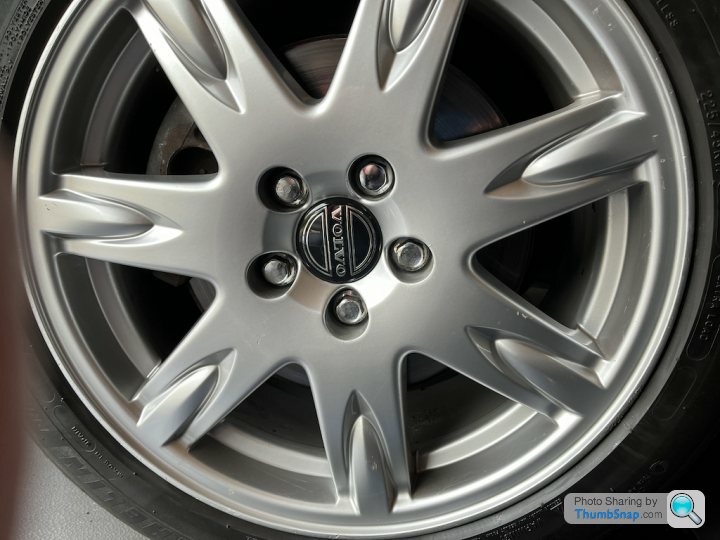
Locking wheel bolts are now on a shelf in the garage, they won't be required ever again while I own the V70
Booked the car in to my local air-con specialist today not knowing what the outcome would be as the car had been sitting unused in a garage for almost 10 years. The machine was hooked up and first protocol is removal of any gas already in the system. There was nothing extracted which meant all gas in the system had escaped which isn't a good sign, the machine then does a vacuum test which I expected it to fail and was surprised that it passed, a couple of minutes later fresh oil and gas recharged the engine was started with trepidation not knowing if the compressor would kick on. I was relieved when the mechanic told me it was all good and everything was working. Another job ticked off the list.
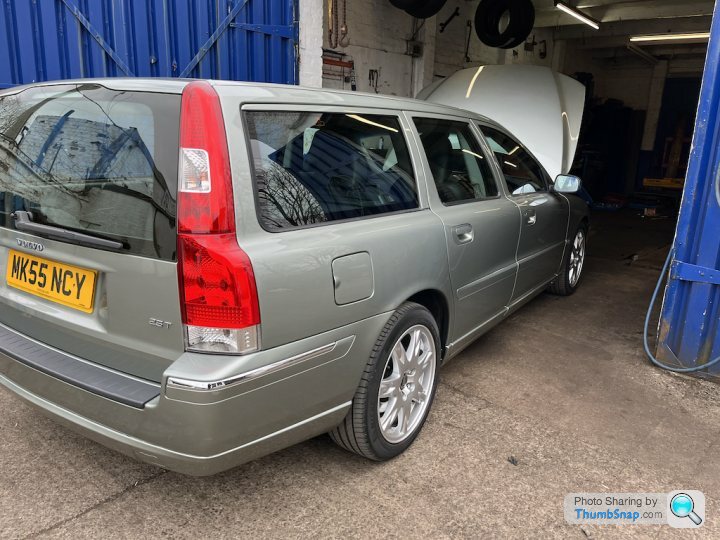
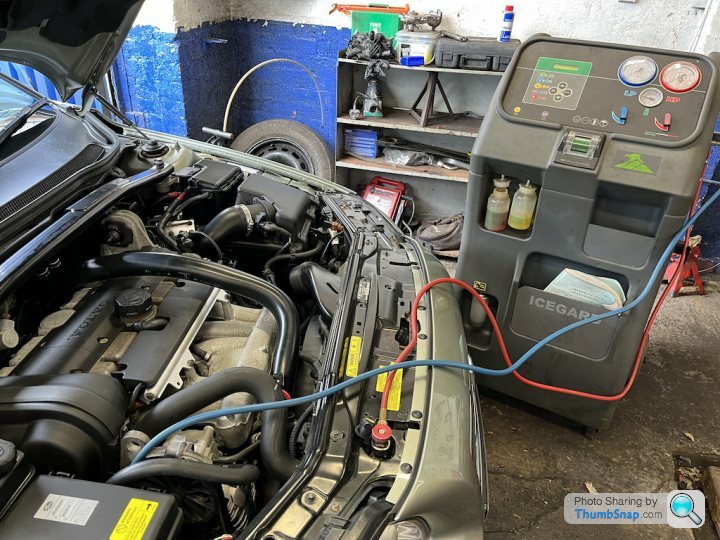

Booked the car in to my local air-con specialist today not knowing what the outcome would be as the car had been sitting unused in a garage for almost 10 years. The machine was hooked up and first protocol is removal of any gas already in the system. There was nothing extracted which meant all gas in the system had escaped which isn't a good sign, the machine then does a vacuum test which I expected it to fail and was surprised that it passed, a couple of minutes later fresh oil and gas recharged the engine was started with trepidation not knowing if the compressor would kick on. I was relieved when the mechanic told me it was all good and everything was working. Another job ticked off the list.


Edited by 47p2 on Wednesday 20th September 14:11
Thank you both Edmond and Sebastien
Yes Sebastien you'll have seen in on FB, the pictures don't so it justice, it really does look better in the flesh that my camera can capture
I went to a Volvo meet today where it attracted a lot of attention
Some pictures other Volvo owners took of the car today

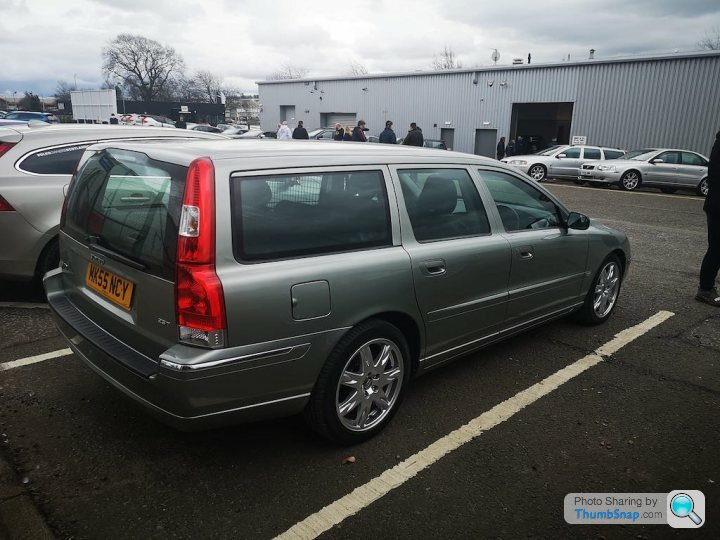

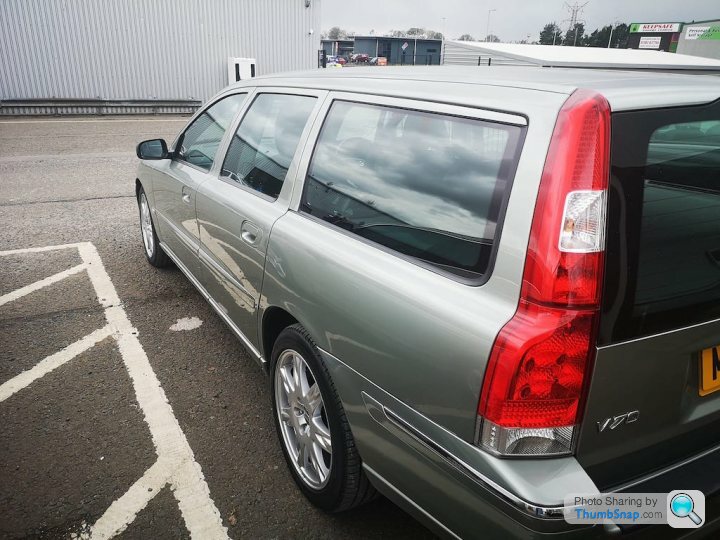
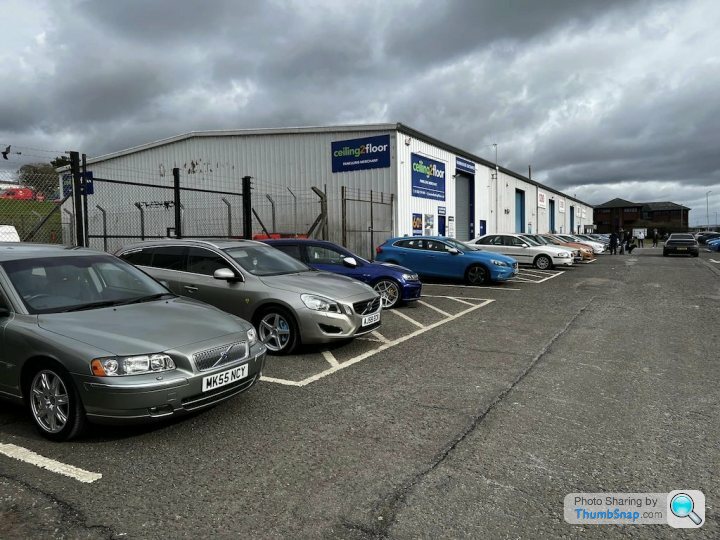

Yes Sebastien you'll have seen in on FB, the pictures don't so it justice, it really does look better in the flesh that my camera can capture
I went to a Volvo meet today where it attracted a lot of attention
Some pictures other Volvo owners took of the car today


Edited by 47p2 on Sunday 5th March 22:09
Thanks the-norseman for your kind words.
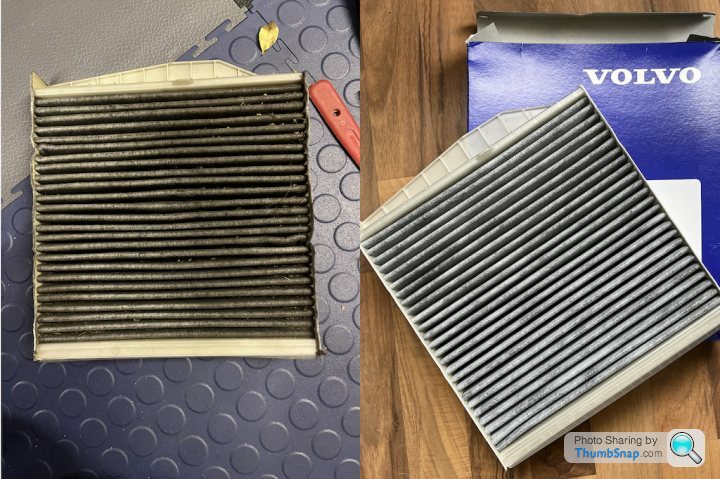
New cabin filter arrived and fitted in less than 10 minutes, if only everything was as easy...
 |https://thumbsnap.com/zWtVo9TV[/url]
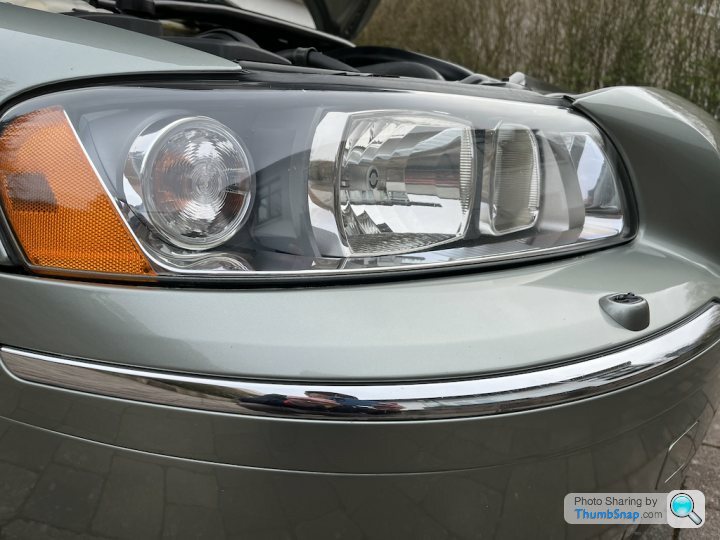
Turned my DRLs off with Vida, why did Volvo not keep the 850 system where you could press a tiny button on the headlamp switch to alternate between on and off, finding it in Vida for the V70 was a PITA.
 |https://thumbsnap.com/NNhPXTCa[/url]
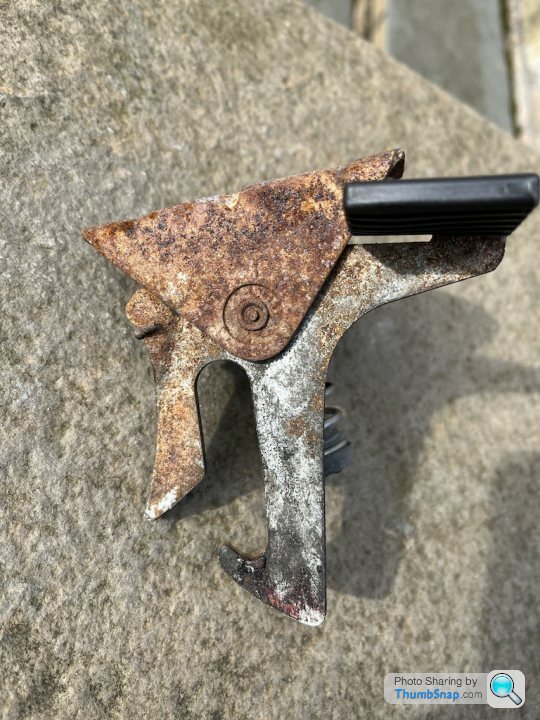
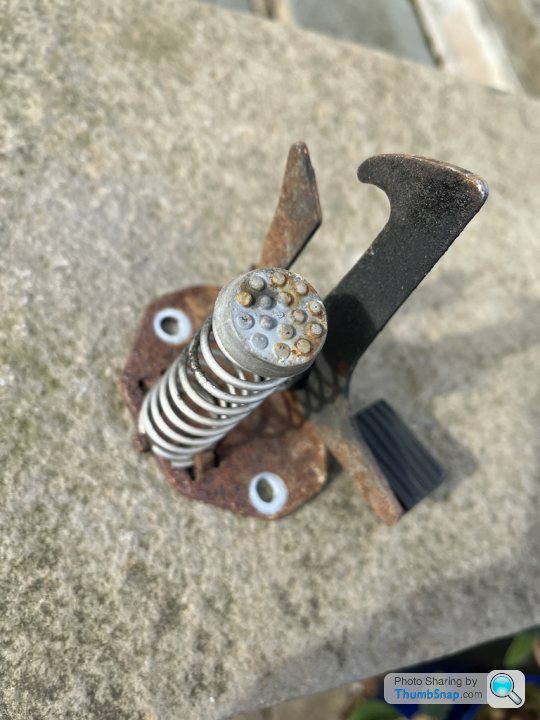
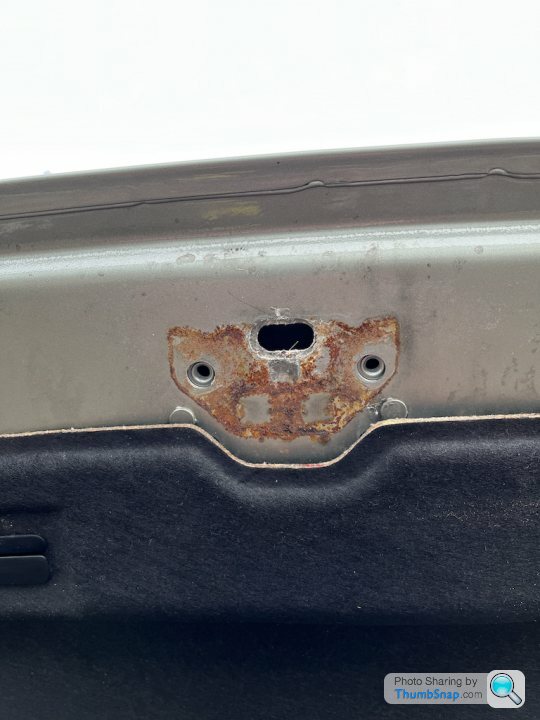
Next I removed the rusty looking bonnet safety catch and my plan was to clean it up and give it a coat of paint.
 [url]
[url]
 |https://thumbsnap.com/ZhVsdHQZ[/url]
I put the catch in an ultrasonic bath and left it for 5 minutes, then another 5 minutes and another 5 minutes, once removed there wasn't much difference so all the Youtube videos must be telling porkies.
Into the vice and some emery cloth did a better job then into the sink with steel wool and that was when plan B took place.
 [url]
[url]
 |https://thumbsnap.com/WXJ7z5zN[/url]
I decided rather than paint it a better long term solution was to cover the catch with Lanoguard grease. This isn't a grease for lubrication, it is used on nuts and bolts on the underside of the vehicle to prevent the threads getting rusty. I heated the grease in the microwave (SHMBO was out) and applied it with a brush then lubricated the pin with some 60w oil. Once refitted to the car I used a hairdryer to heat and even out the grease
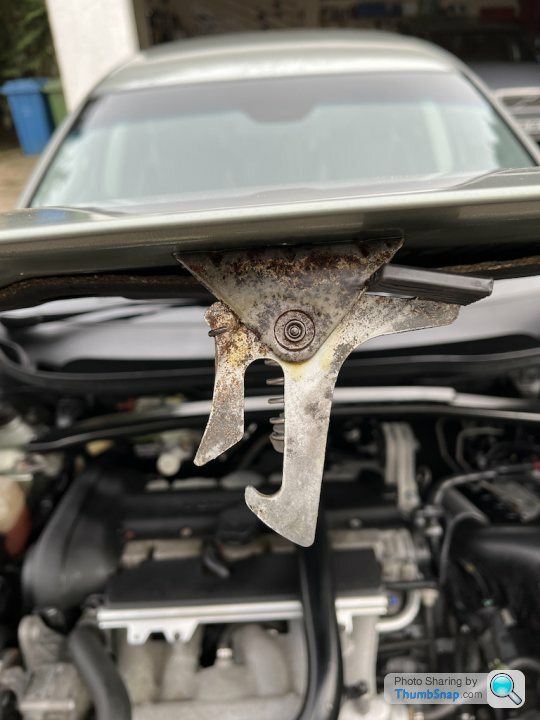
The rusty catch has caused some marks on the bonnet, I tried to remove them but was unable, the Lanoguard grease will prevent any further reaction between the two surfaces
New cabin filter arrived and fitted in less than 10 minutes, if only everything was as easy...
 |https://thumbsnap.com/zWtVo9TV[/url]
Turned my DRLs off with Vida, why did Volvo not keep the 850 system where you could press a tiny button on the headlamp switch to alternate between on and off, finding it in Vida for the V70 was a PITA.
 |https://thumbsnap.com/NNhPXTCa[/url]
Next I removed the rusty looking bonnet safety catch and my plan was to clean it up and give it a coat of paint.
 [url]
[url] |https://thumbsnap.com/ZhVsdHQZ[/url]
I put the catch in an ultrasonic bath and left it for 5 minutes, then another 5 minutes and another 5 minutes, once removed there wasn't much difference so all the Youtube videos must be telling porkies.
Into the vice and some emery cloth did a better job then into the sink with steel wool and that was when plan B took place.
 [url]
[url] |https://thumbsnap.com/WXJ7z5zN[/url]
I decided rather than paint it a better long term solution was to cover the catch with Lanoguard grease. This isn't a grease for lubrication, it is used on nuts and bolts on the underside of the vehicle to prevent the threads getting rusty. I heated the grease in the microwave (SHMBO was out) and applied it with a brush then lubricated the pin with some 60w oil. Once refitted to the car I used a hairdryer to heat and even out the grease

The rusty catch has caused some marks on the bonnet, I tried to remove them but was unable, the Lanoguard grease will prevent any further reaction between the two surfaces

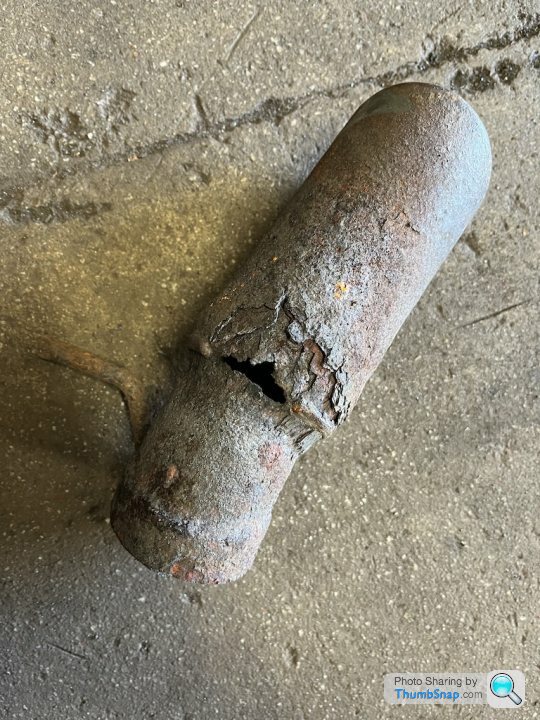
The car was booked into my favourite exhaust shop (C+C at Hillington) to have the tail pipe replaced. The original tail pipe rusty chrome and not looking very nice.
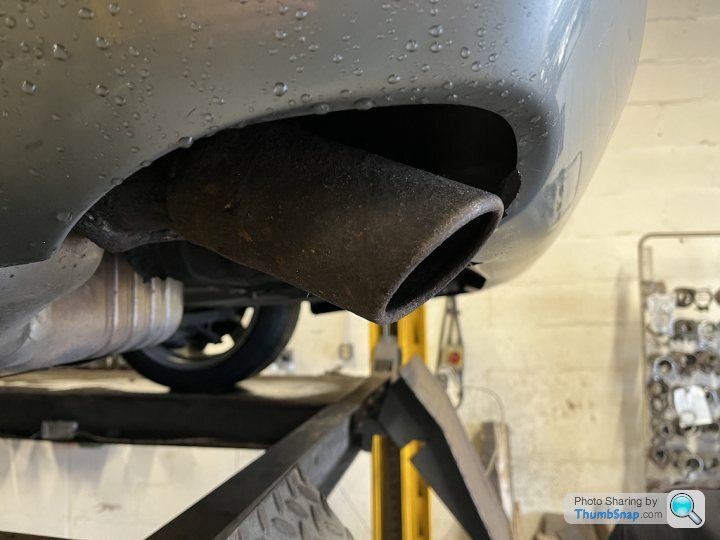
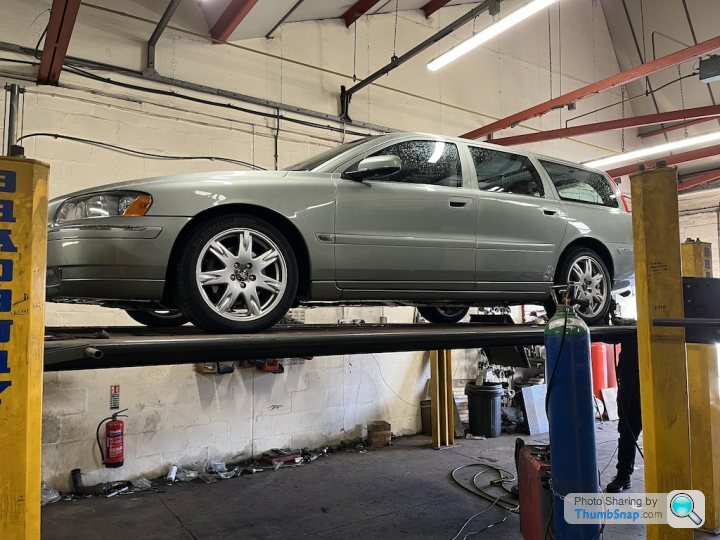
Campbell decided that it would be best to chop the old pipe off from the box and start from there, I did wonder why but am glad he did as there was a hidden hole at the top of the pipe.
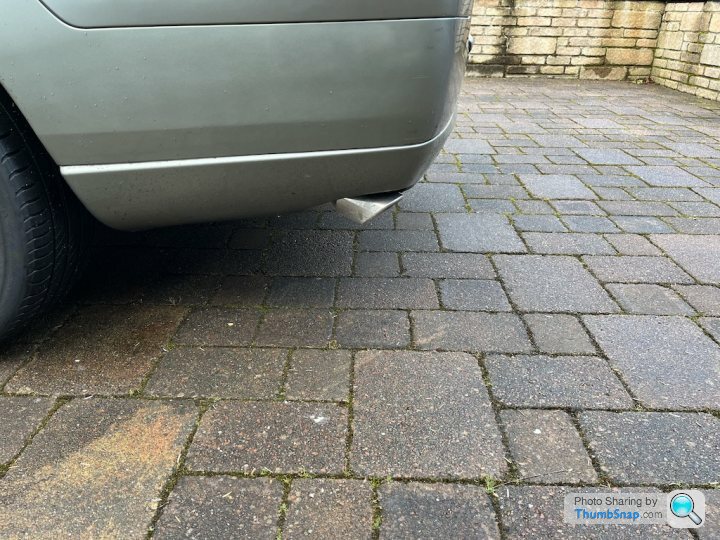
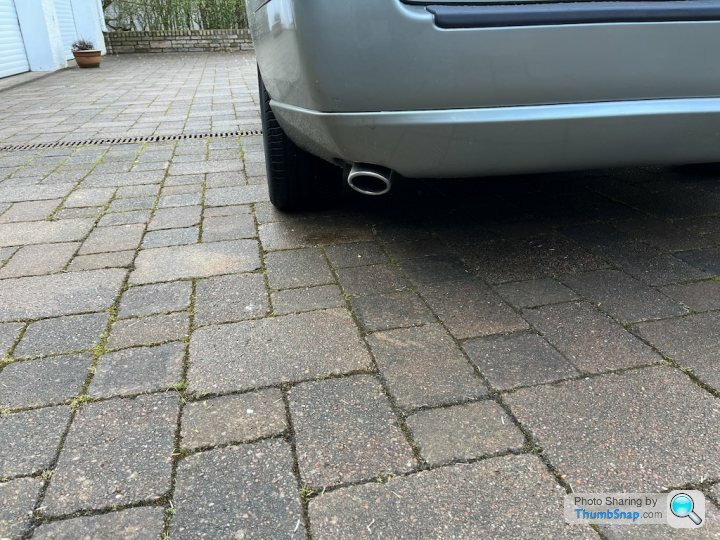
After a bit of fabrication the job was completed and I now have a smart looking tail pipe that will keep the MOT tester happy


Campbell decided that it would be best to chop the old pipe off from the box and start from there, I did wonder why but am glad he did as there was a hidden hole at the top of the pipe.

After a bit of fabrication the job was completed and I now have a smart looking tail pipe that will keep the MOT tester happy


Well that put my blood pressure up a point or two. I've never heard spark plugs squeal as much as they did today when I tried to remove the old plugs from the car, they were obviously reluctant to vacate their home after all this time. I originally started with a cold engine but the noise was so bad that I heated it up for 15 minutes before proceeding any further.
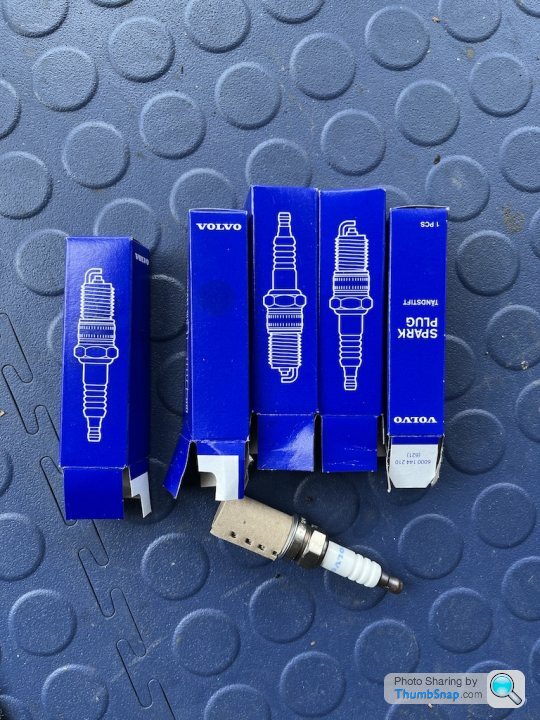
I ordered the plugs from one of the UK's largest Volvo dealer's online stores and before ordering I asked them what the correct plugs were for my 2.5T engine. I was given the part number for the longer reach plugs and proceeded to order them. Then my mate said it should be short plugs in my engine so after researching further I discovered I had indeed been given the incorrect information. Caveat Emptor...
I think the longer plugs could have caused a lot of damage had I fitted them...
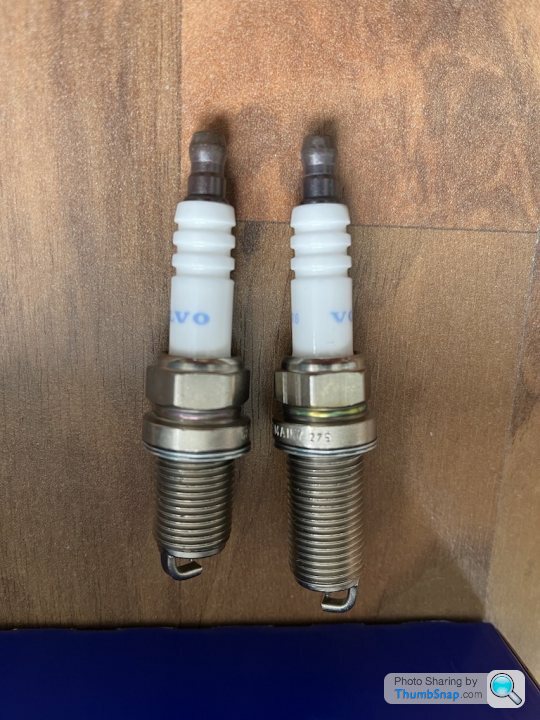
New plugs correctly gapped and ready to fit
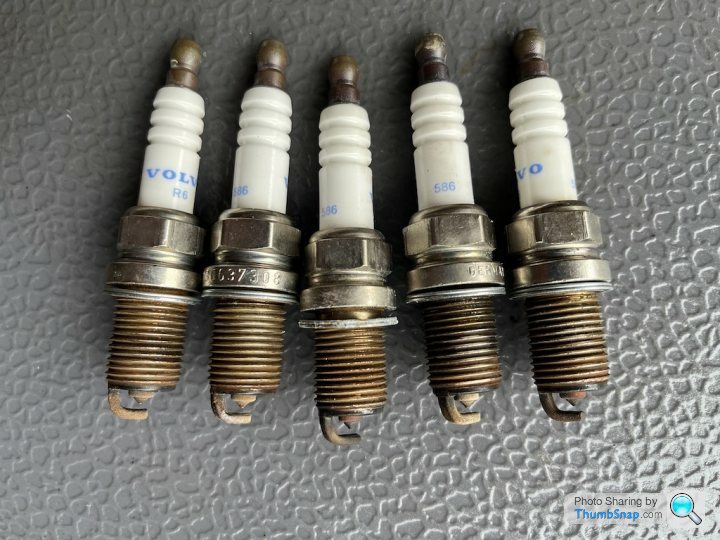
18 years and 64,000 miles later
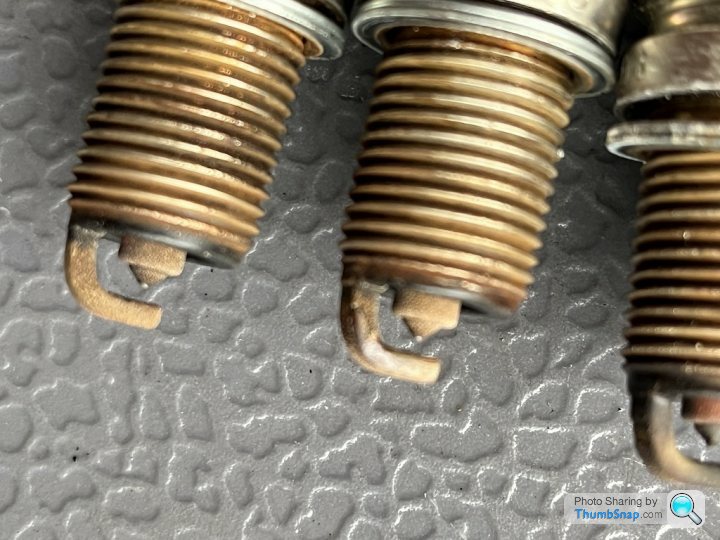
Colour is good but electrode is well past its best
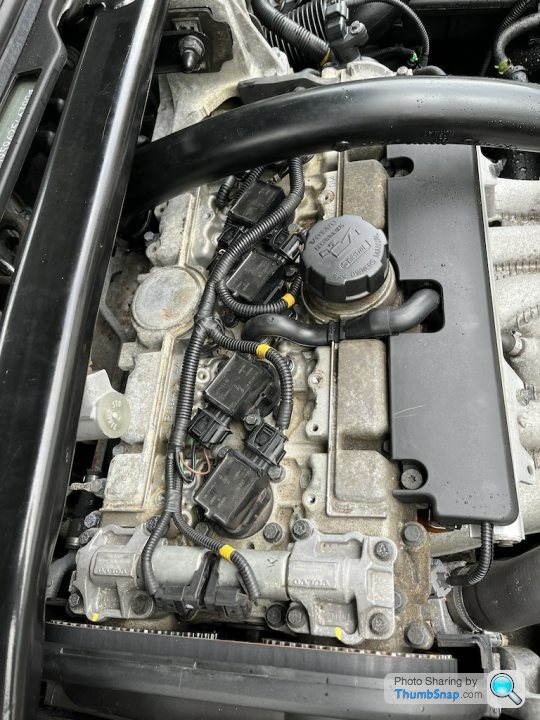
Ready to stick back together
I ordered the plugs from one of the UK's largest Volvo dealer's online stores and before ordering I asked them what the correct plugs were for my 2.5T engine. I was given the part number for the longer reach plugs and proceeded to order them. Then my mate said it should be short plugs in my engine so after researching further I discovered I had indeed been given the incorrect information. Caveat Emptor...
I think the longer plugs could have caused a lot of damage had I fitted them...

New plugs correctly gapped and ready to fit

18 years and 64,000 miles later

Colour is good but electrode is well past its best

Ready to stick back together

Edited by 47p2 on Wednesday 20th September 14:16
Edited by 47p2 on Wednesday 20th September 14:17
Gassing Station | Readers' Cars | Top of Page | What's New | My Stuff


