1976 2500M Build Thread
Discussion
Hi All,
My engine rebuild turned into a full body off restoration.
I have no experience in this, so I am hoping a bunch of knowledgeable forum members can subscribe to this and give me some advice and answer the numerous questions I will have along the way.
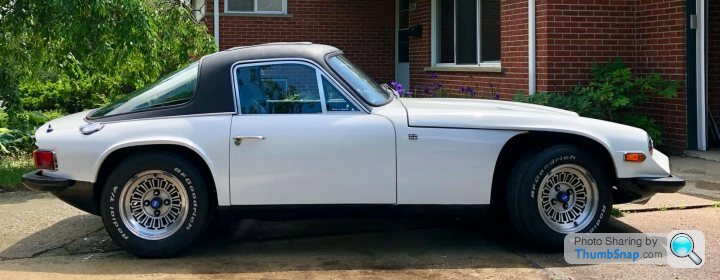
The car is a 1976 2500M. I got the build records from TVR and it has the original numbers matching engine, transmission, and diff. The vehicle also has the correct black vinyl top and A/C unit.
Anyway, here is a picture prior to the tear down that started last month. The car drove great, so I'm doing this as an opportunity to learn, keep busy in a Michigan winter, and add another 40 strong years to this little beauty.
My first set of questions are regarding the Frame and Rr Suspension.
1) Any suggestions to improve the frame strength/rigidity? I don't want to do anything crazy, but I would weld on a few braces in locations known to crack/flex based on any advice.
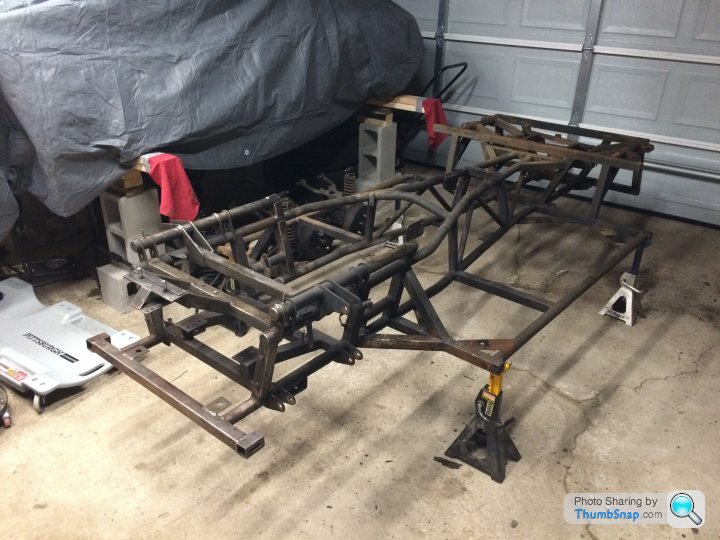
2) Plan is to have the frame blasted, 2K Apoxy Primer, and then Urethane top coat. Anybody can suggest anything better or is this the right way to do it.
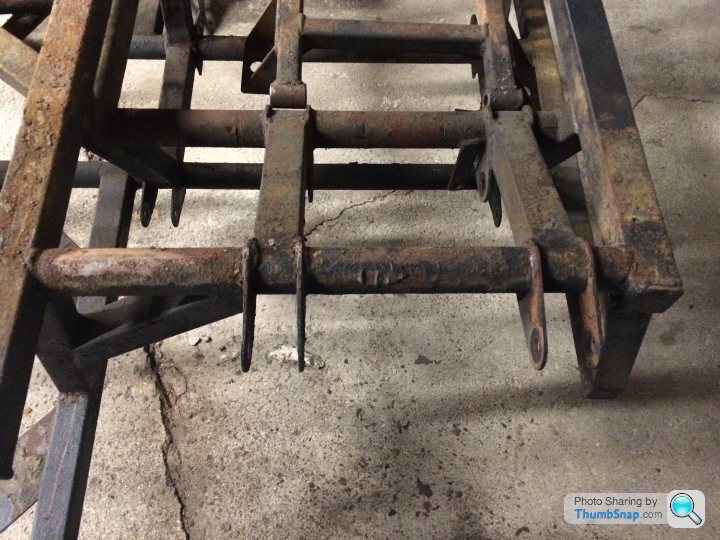
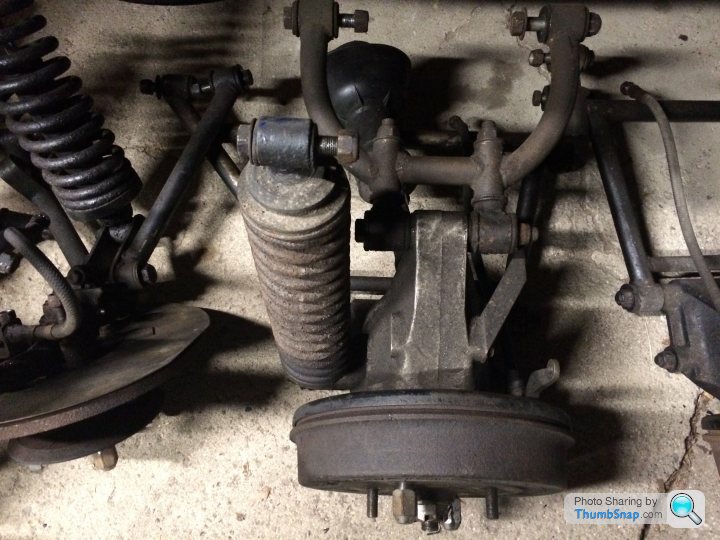
3) The Rear Suspension seems to be missing a secondary damper/spring. The frame indicates an additional attachment point between the upright and the frame for another gas damper/spring. I searched for photos online and found some with and without. Can someone shed any light on this? Is 1 rear damper/spring setup preferred over the factory 2 per side? Is the factory actually 2 per side?
thanks in advance for those that take the time to help me out,
Joe
My engine rebuild turned into a full body off restoration.
I have no experience in this, so I am hoping a bunch of knowledgeable forum members can subscribe to this and give me some advice and answer the numerous questions I will have along the way.
The car is a 1976 2500M. I got the build records from TVR and it has the original numbers matching engine, transmission, and diff. The vehicle also has the correct black vinyl top and A/C unit.
Anyway, here is a picture prior to the tear down that started last month. The car drove great, so I'm doing this as an opportunity to learn, keep busy in a Michigan winter, and add another 40 strong years to this little beauty.

My first set of questions are regarding the Frame and Rr Suspension.
1) Any suggestions to improve the frame strength/rigidity? I don't want to do anything crazy, but I would weld on a few braces in locations known to crack/flex based on any advice.

2) Plan is to have the frame blasted, 2K Apoxy Primer, and then Urethane top coat. Anybody can suggest anything better or is this the right way to do it.
3) The Rear Suspension seems to be missing a secondary damper/spring. The frame indicates an additional attachment point between the upright and the frame for another gas damper/spring. I searched for photos online and found some with and without. Can someone shed any light on this? Is 1 rear damper/spring setup preferred over the factory 2 per side? Is the factory actually 2 per side?


thanks in advance for those that take the time to help me out,
Joe
If it’s for road use, occasional track day stuff the chassis is pretty good anyway without any additional bracing.
Some people have done it and may post up further recommendations.
I’ve made a few mods I’ll post pics of later , but they are mainly for additional harness points and roll hoop mountings.
More important is check for corrosion and replace where you can.
Check existing welds, grind out and re cap if they’re dodgy.
Outrigger tubes and extensions suffer with corrosion.
Over the diff area suffers.
Where the front inner wings attach suffer.
The Ms only had one rear spring, the rear most mounting point had a bracket which the seat belt mounted too.
Again people have done double spring conversions.
Paint system sounds good, but it’s a subject that has many opinions so as long as it keeps out the wet and is durable it’ll work.
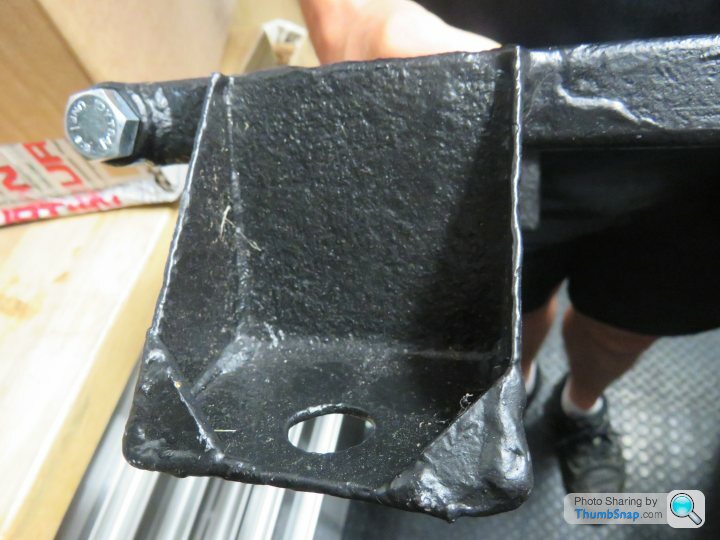
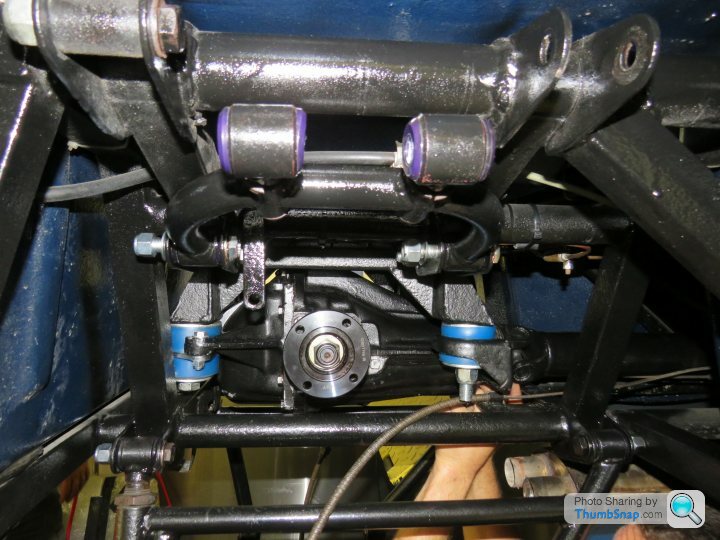
In fairness i would not add any extra bracing as it really as a road car does not need it if your keeping the Triumph Differential set up then worth doing some bracing on that and updating the Bushes to Polly.
Easily available Triumph parts but modified to fit at the back to clear the chassis on the TVR.
Andrew
Easily available Triumph parts but modified to fit at the back to clear the chassis on the TVR.


Andrew
Thank you for the information John.
I feel silly already, off course the second mounting point was for the seatbelt retractor mounting bracket. I only removed that attachment 2 weeks ago and I already forgot.
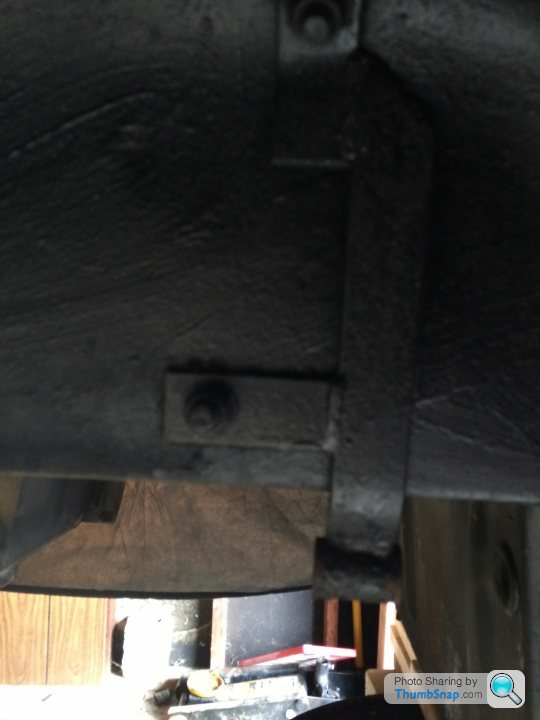
As for the rust, by far the worst rust on the frame is the rear end. But even that I can remove back to shiny metal with a wire brush and some elbow grease. The outriggers seem to be in decent shape, but I will inspect closely after blasting.
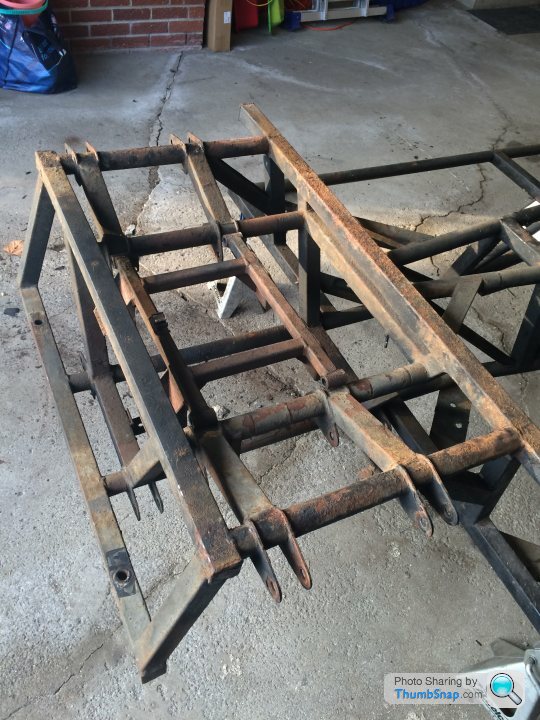
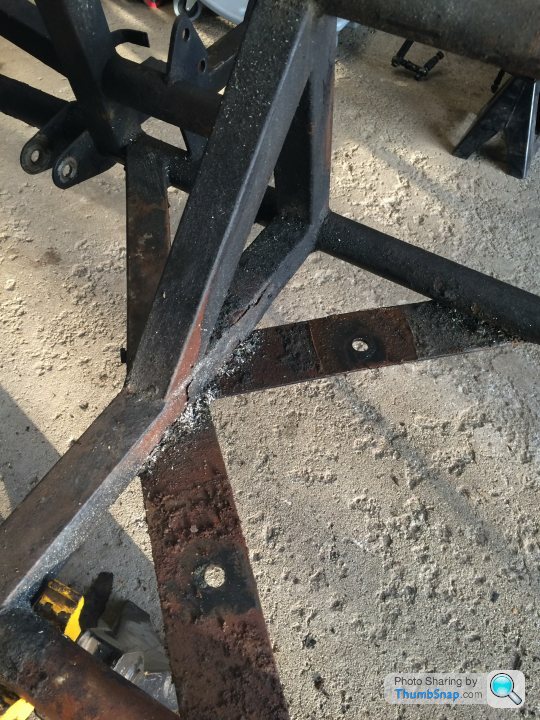
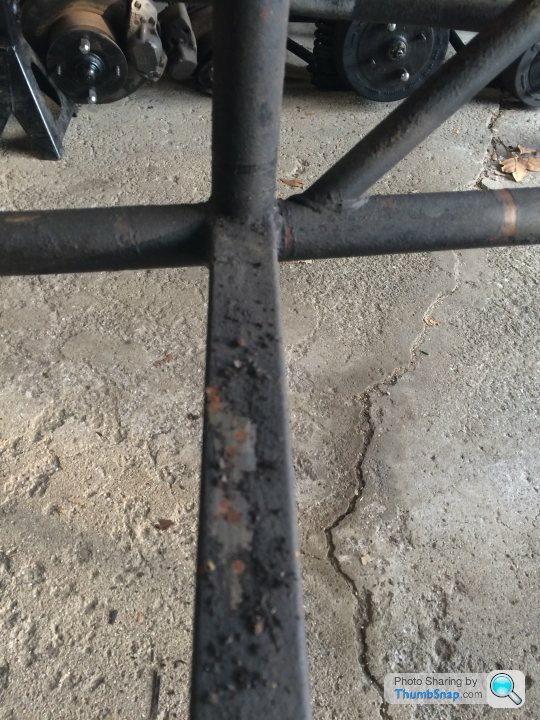
I feel silly already, off course the second mounting point was for the seatbelt retractor mounting bracket. I only removed that attachment 2 weeks ago and I already forgot.

As for the rust, by far the worst rust on the frame is the rear end. But even that I can remove back to shiny metal with a wire brush and some elbow grease. The outriggers seem to be in decent shape, but I will inspect closely after blasting.


Thank you for the comment Alan. This will take some time to finish, but it will be very rewarding.
Thanks for the information Andrew.
Yes I do plan to keep the Triumph diff, and I will do the reinforcements as you have done. Thanks!!.
I also do plan to replace all bushings on the vehicle, so if you have any advice on product/supplier in the USA, I would greatly appreciate it.
Thanks for the information Andrew.
Yes I do plan to keep the Triumph diff, and I will do the reinforcements as you have done. Thanks!!.
I also do plan to replace all bushings on the vehicle, so if you have any advice on product/supplier in the USA, I would greatly appreciate it.
Bill at Dominion Spares is a good source of new and used parts.
https://my-tvr.com/dominion-spares-llc/
https://my-tvr.com/dominion-spares-llc/
Hello Joe,
I love watching these things get torn down and put back together.
When you get to priming and painting the chassis. Might I recommend using a different color primer. Perhaps grey. Then a top coat of.....I assume black. It will be so much easier to see the areas that you have or have not put a second coat on. There are so many surfaces and nooks that it is easy to miss a spot or two or three.
Best of luck with the build.
Arthur
Thanks for the photos John. I actually have a that picture of your frame on file from research I did a couple of months back. 
I will definitely look into Dominion Spares Sunbeamtiger65. Up until now I have been using Moss and BPNW for the engine rebuild. It is great to know about other options.
That is great advice about the primer color Arthur. Thank you for sharing. I will have the paint work done by a highly recommended paint shop in Ann Arbor, but I will ask them about using a different color primer for my own confidence.
Last night I thought I would tear down all the suspension components to prepare for painting and make a parts list of items I need to buy. Thinking I had plenty of time, I expected to have all 4 corners done.
4 hours later, I was still struggling with the first passenger side corner.
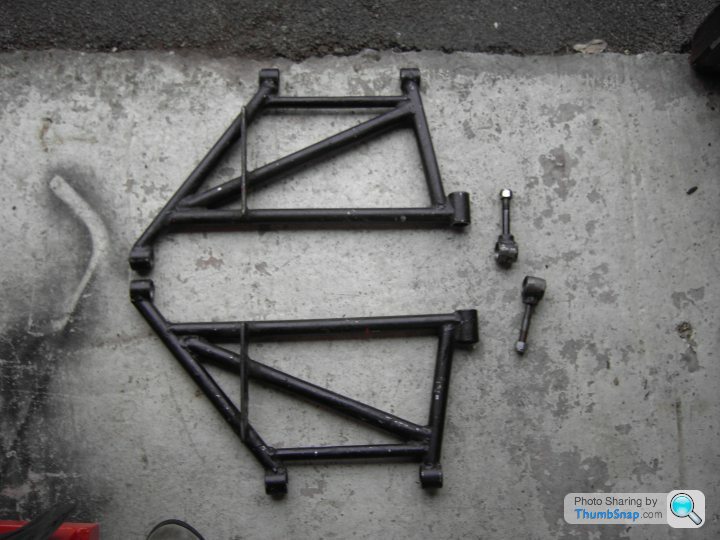
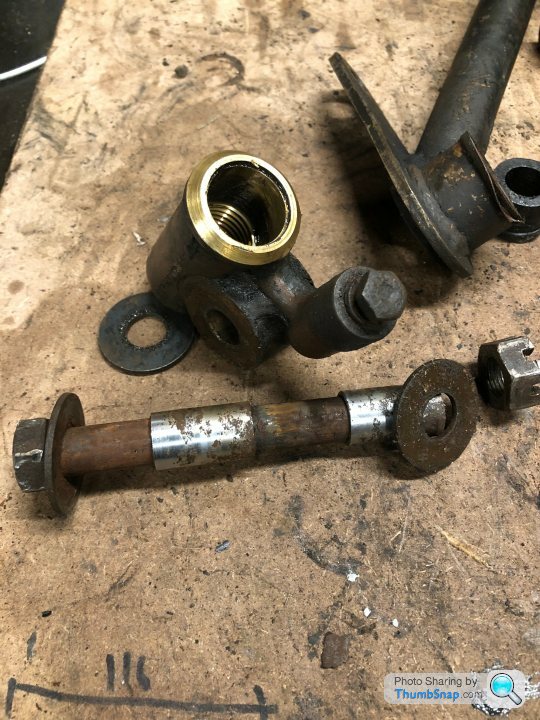
I could not for the life of me separate the lower bolt connecting the Trunnion to the lower A-arm.
After a little research, it seems this is a common problem. The consistent advice was that I need to cut the bolt from both sides as close to the Trunnion as possible, then try and press the remaining bolt shaft out.
This means I need to go and buy a shop press. . Unless someone else has a better method/idea?
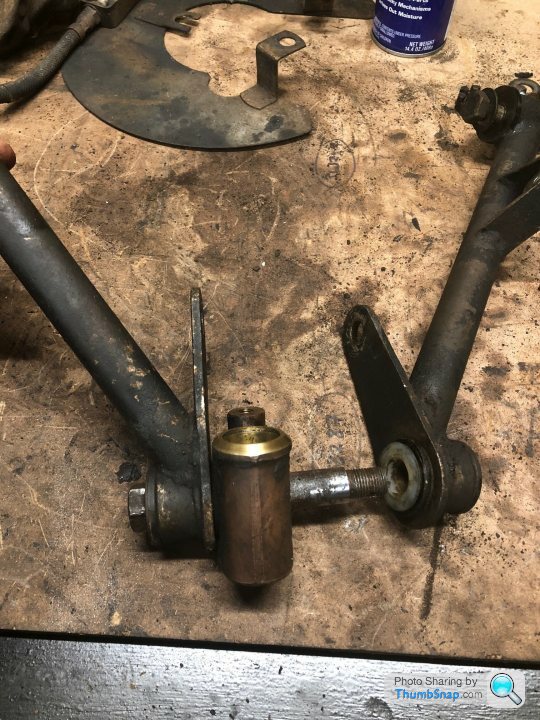
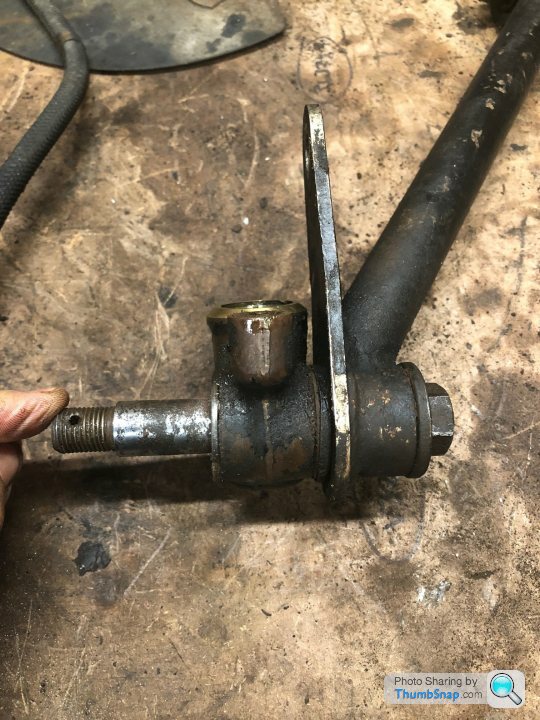
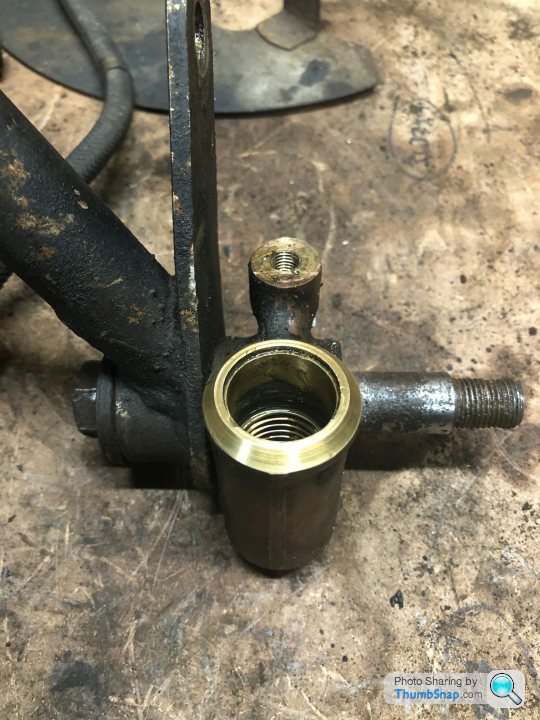
4 hours later, I was still struggling with the first passenger side corner.
I could not for the life of me separate the lower bolt connecting the Trunnion to the lower A-arm.
After a little research, it seems this is a common problem. The consistent advice was that I need to cut the bolt from both sides as close to the Trunnion as possible, then try and press the remaining bolt shaft out.
This means I need to go and buy a shop press.
 . Unless someone else has a better method/idea?


So I ended up taking the easy route and buying a Harbor Freight Shop Press to push out seized Trunnion bolts.
It also made easy work of pushing out all the suspension bushings. Eventually I will also need it to press fit new bearings and bushings etc.
A good $104 spent, and it also gave my daughter something to do for about an hour.
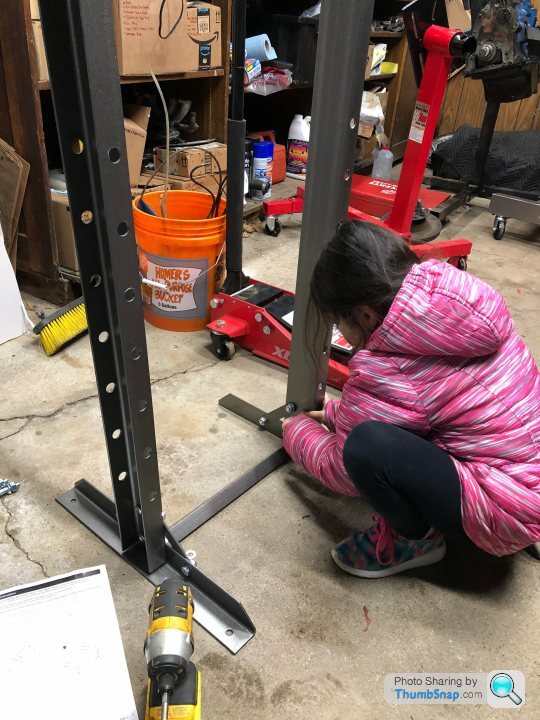
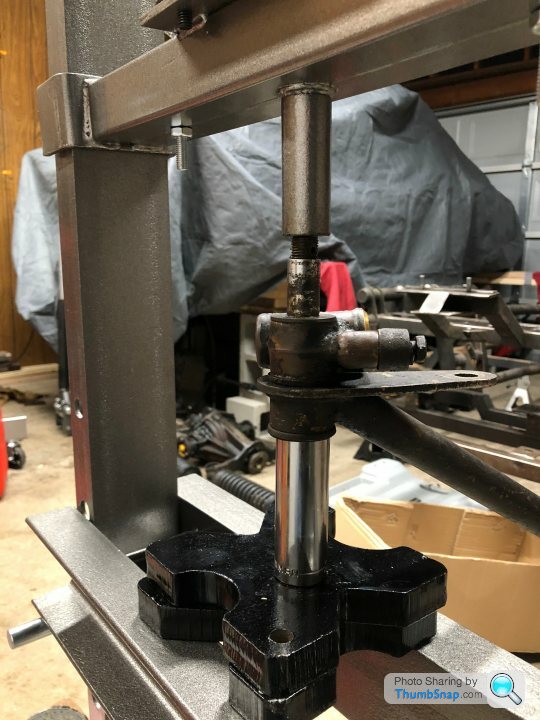
It also made easy work of pushing out all the suspension bushings. Eventually I will also need it to press fit new bearings and bushings etc.
A good $104 spent, and it also gave my daughter something to do for about an hour.


GAjon said:
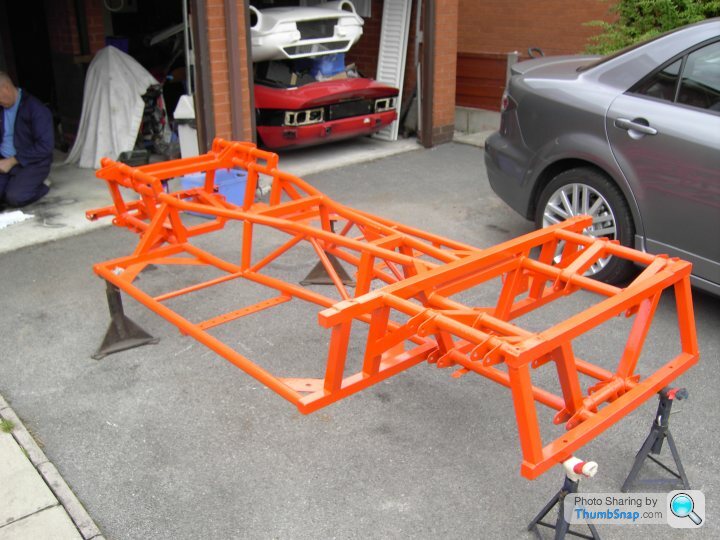
an overall of my chassis
Hi Jon. A quick question about your frame. Did you have it powder coated or painted?I am finding that blasting and painting (2K Epoxy Primer + Urethane coat) is very similar price to blasting and powder coat.
Do you have any suggestion of frame and suspension component finishing?
Paint one and powder coat the other? paint both? powder coat both?
Thanks.
Liking the press for c $100.00 what a bargain.
Chassis is painted, by a painting company to -
Gritblast to SA2.5
Zinc metal spray ZN4 100 microns nominal
2 pk epoxy sealer dft 25 mu
2 pk epoxy high build dtf 50mu
2 pk polyurathane gloss dft 35 mu
Wishbones, brackets all powder coated.
I've previously had the whole chassis powder coated and was happy with it also,
One mistake I made with the chassis painting was, I didn't over bore the bolt holes to compensate for the paint thickness, so I had to file out and fettle when assembling, which was a pain and also compromised the paint protection.
Thanks Jon.
I'll speak with the paint shop about the process/layers you used on your frame and see what their feedback is.
I still cannot decide what will give me the best result. Have someone Paint, Powder Coat, or have the frame blasted and POR15 (or equivalent) it myself.
At least if I do it myself I can control how clean and prepped it is before I apply the layers. (I have trust issues)
Hey Joe,
A few years back I did a body-off on my 2500M. I had mine media blasted, zinc primed and then powdercoated. Including all of the suspension etc. bits. I would have liked to do it myself but knew I would not have been able to find the hours it required. I have not done it but I believe it could have been POR15'd by a thorough person to as good or better than getting it powdercoated.
Not certain that helps with your decision making.
The fun bit with powdercoating is the selection of colors and finishes that are available.
Unless you are leaning toward originality then you will go down a similar road as H. Ford. "You can have any color you want.... as long as it is black"
Arthur
Thanks for taking the time to reply Arthur. It's always great knowing what others ended up doing when they were at the same cross road as I am.
I have decided to move the frame aside instead of rushing into a decision.
I'm continuing to receive and gather additional information about small modification I may want to do to the frame. I think it is also wise to decide on, and maybe complete, the rebuild of the suspension and diff, as this may also drive some frame modification.
Last thing I want is to have the frame finished, then find out I need to re-work something.
I now have everything torn down and making a list of bushings, U-joints, bearing, rebuild kits (Fr/Rear Brakes), etc so that everything goes back on new or rebuilt.
I have a few questions for those with experience.
1) I plan on ordering everything from Moss or BPNW. They seem to have everything that I need by putting in one big order instead of having to go multiple places. Has anyone in the USA had a bad experience with any specific parts from these retailers.
2) I am getting mixed information about suspension bushing size. My understanding is that suspension bushes on the M are TR6 lower inner wishbone bushes, 24 in total. What I cannot get a straight answer on, is it the early or late TR6? The later TR6s have slightly larger bushes. My 2500M inner bushing housing diameters are measuring around 25mm.
3) I plan on going the Poly bushings all around (most likely sourced from BPNW). Anyone have a bad experience with these?
4) I want to get new damper/springs all around. Adrian Venn from Exactly TVR has been so great in providing information and options, and I will buy from him if I cannot find decent options on this side of the world. Can anyone in the USA/Canada recommend a specific damper/shock and retailer?
Please keep in mind that this vehicle will not be raced.
thanks,
Joe
Gassing Station | TVR Classics | Top of Page | What's New | My Stuff


