Time for a refresh
Discussion
My Vixen although only restored 6 years ago certainly gets a lot of work in all weathers and before i had the new workshop garage was not stored exactly warm and dry the average garage is a little Damp so i thought it was the Vixens turn for some TLC starting with the front end leaving the gear box to the rear until later in the year when i will fit uprated new uprights and quill shafts etc.
With the chassis being painted rather than powder coated its much easier to strip rub down and treat and paint and although i like the finish on a powder coated chassis its not as easy to maintain if needed.
I think should i ever restore a Grantura painting will be my choice of finish.
All new fasteners as looking at them i dont think they where replaced when re built last time.
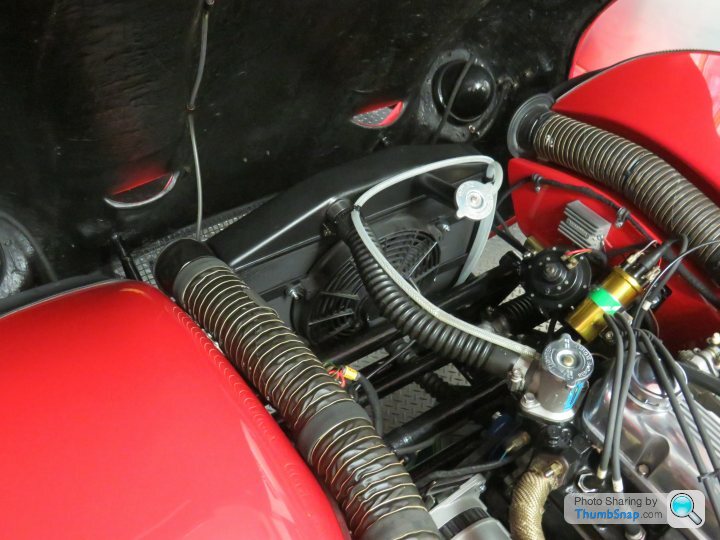
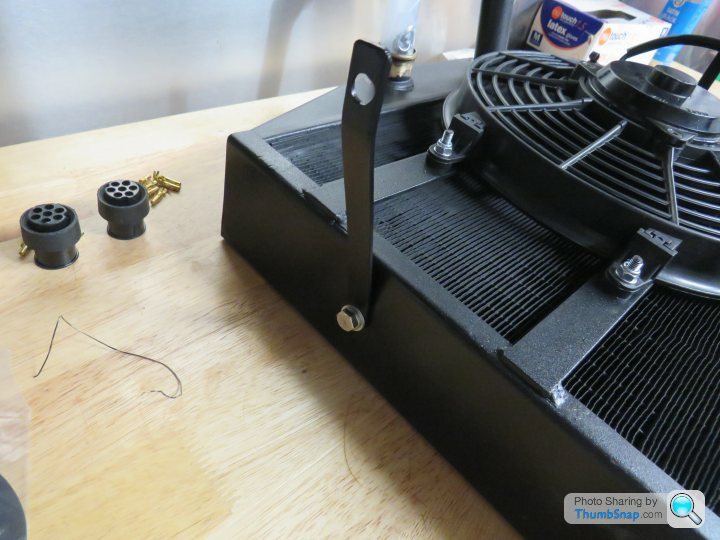
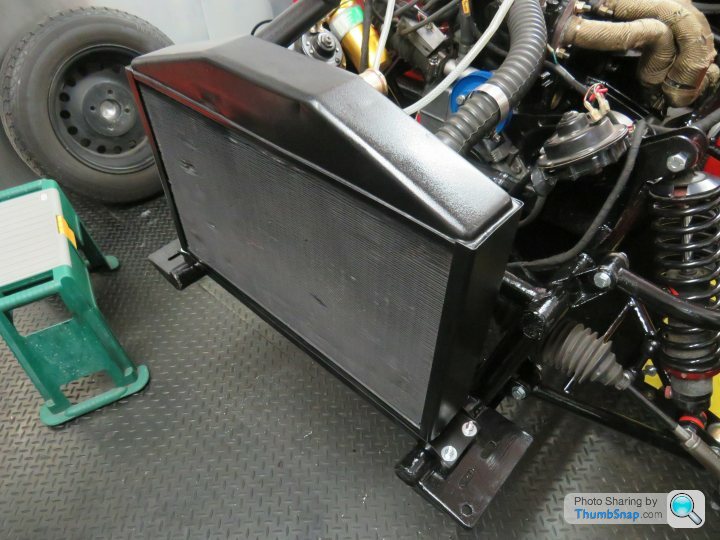
Also a good opportunity to do some upgrades and convert the Bonnet electrics to quick release refurbish the radiator etc while i am at it and give the car a full service upgrade the brake hoses.
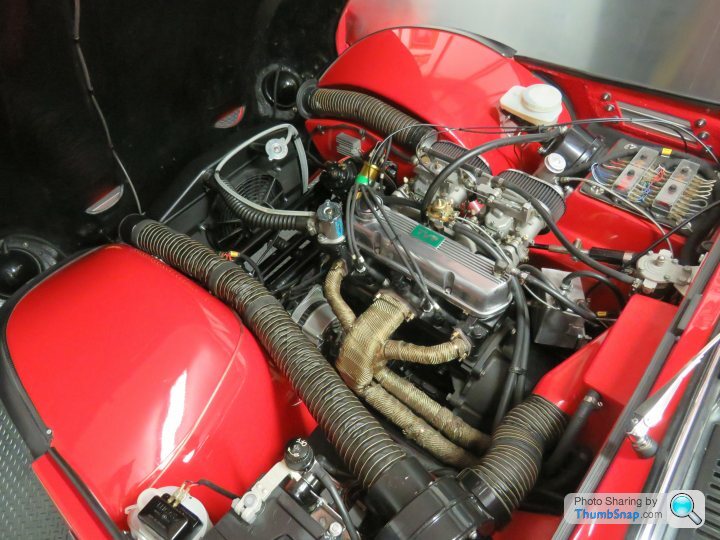
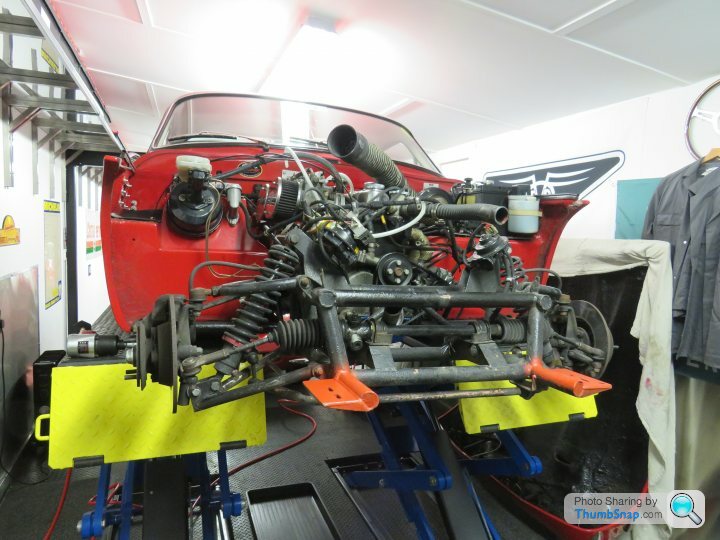
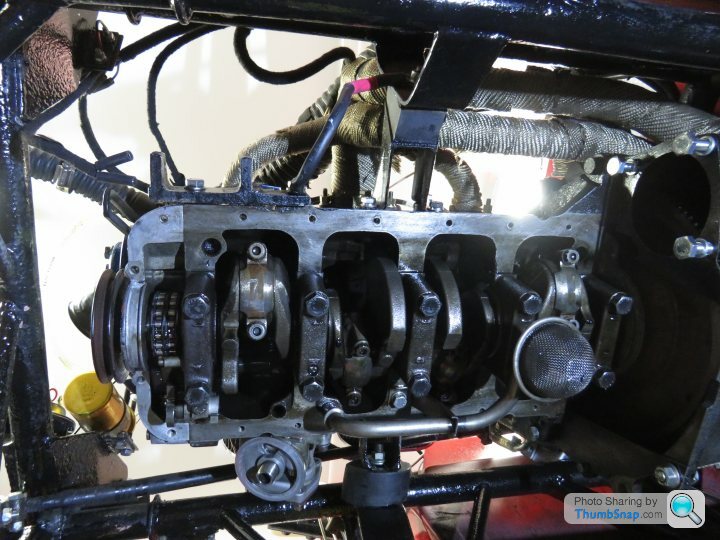
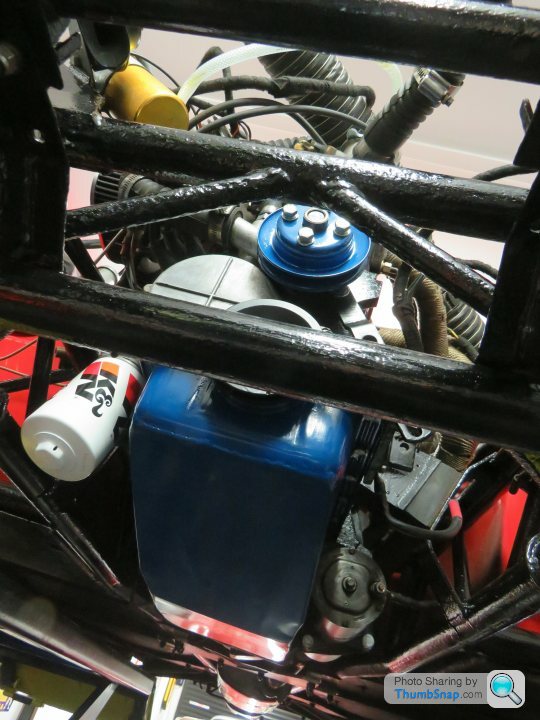
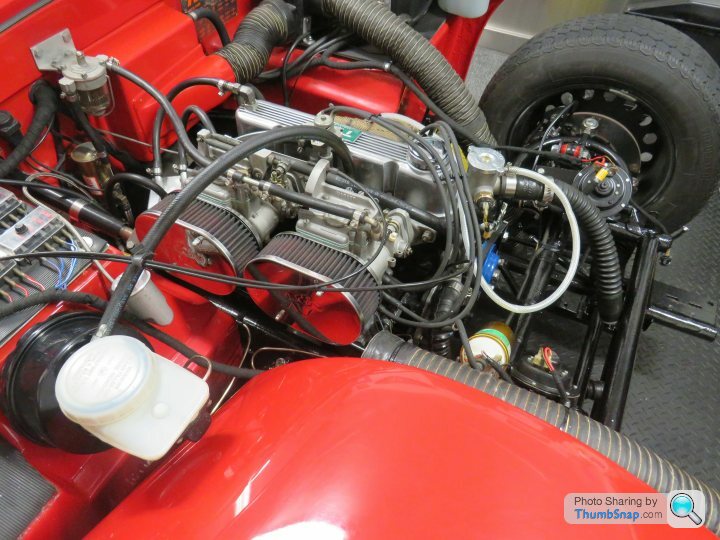
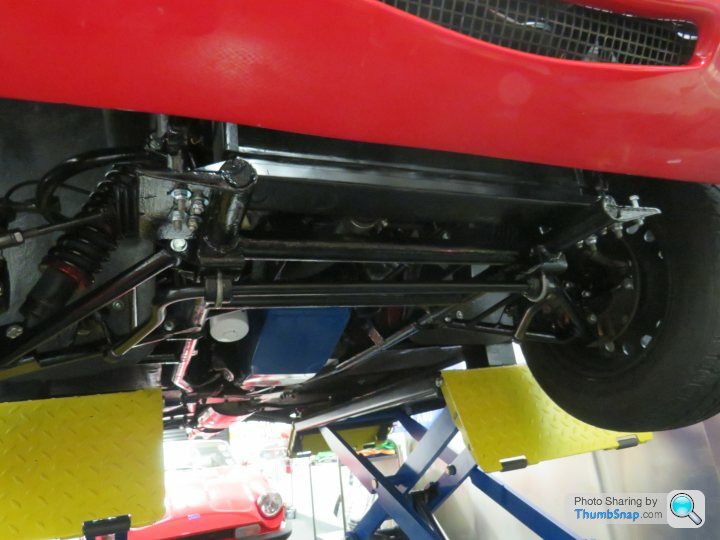
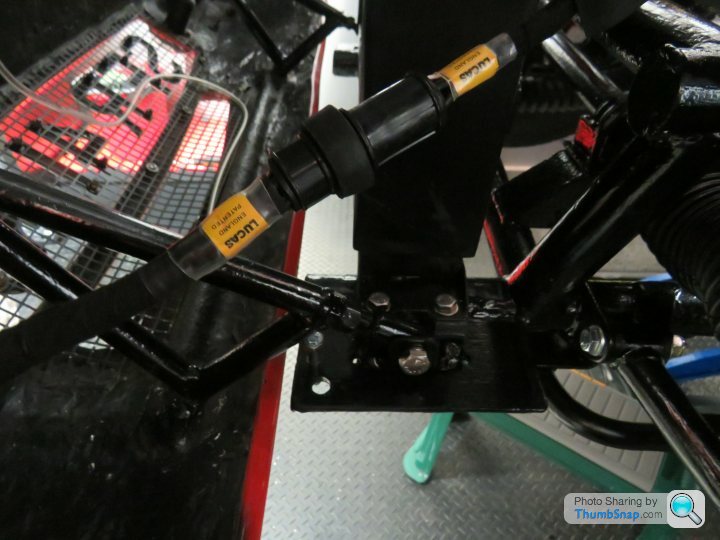
here are a few pictures nearly finished everything on the front of the car removed refurnished chassis painted bushes replaced new gaskets etc work has take 3 weeks working about 9 days on the car.
We all love cars that are pristine however its impossible to do that and use them properly many prefer to just take them out on a sunny day however i think they miss out on so much fun but also the fun of getting them back to close to what they should be.
When talking to people from the Factory they often say when they built the cars they had no reason to think they would be around 10 to 15 years later we all live in a throw away society.
Cars can deteriorate so quick in my short time of TVR ownership i have seen cars that a few years where show winners and sadly are not today the important thing is they are still loved and enjoyed which i know makes those who where involved with the factory back then very proud.
Thanks Guys we love your Babies

[url]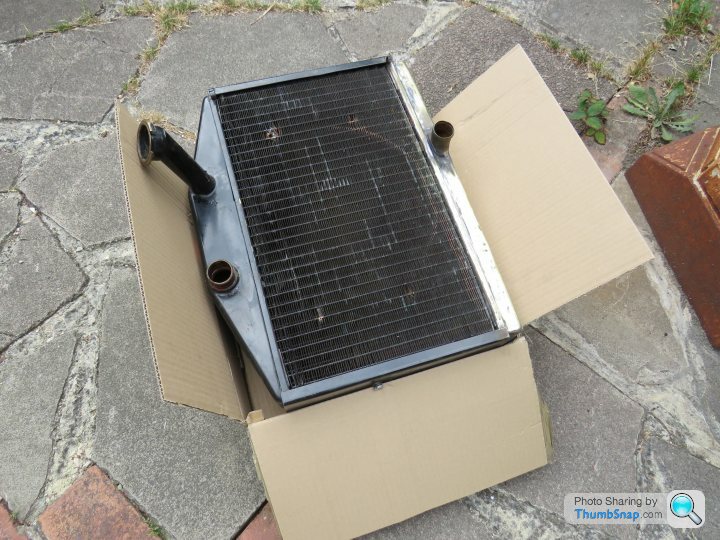 |https://thumbsnap.com/hIcewZvF[/url
[url]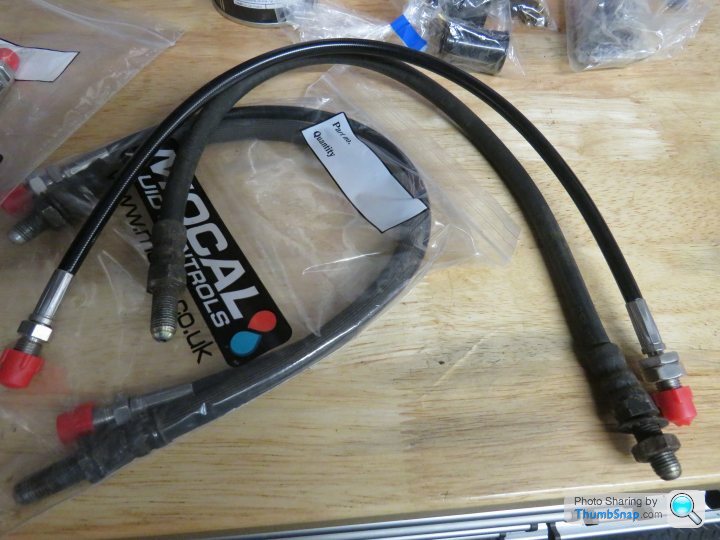 |https://thumbsnap.com/7yjoCupR[/url
 |https://thumbsnap.com/CJ6Hf2IS[/url]
 [url]
[url]
 |https://thumbsnap.com/4F9wy6na[/url]

Andrew
With the chassis being painted rather than powder coated its much easier to strip rub down and treat and paint and although i like the finish on a powder coated chassis its not as easy to maintain if needed.
I think should i ever restore a Grantura painting will be my choice of finish.
All new fasteners as looking at them i dont think they where replaced when re built last time.
Also a good opportunity to do some upgrades and convert the Bonnet electrics to quick release refurbish the radiator etc while i am at it and give the car a full service upgrade the brake hoses.
here are a few pictures nearly finished everything on the front of the car removed refurnished chassis painted bushes replaced new gaskets etc work has take 3 weeks working about 9 days on the car.
We all love cars that are pristine however its impossible to do that and use them properly many prefer to just take them out on a sunny day however i think they miss out on so much fun but also the fun of getting them back to close to what they should be.
When talking to people from the Factory they often say when they built the cars they had no reason to think they would be around 10 to 15 years later we all live in a throw away society.
Cars can deteriorate so quick in my short time of TVR ownership i have seen cars that a few years where show winners and sadly are not today the important thing is they are still loved and enjoyed which i know makes those who where involved with the factory back then very proud.
Thanks Guys we love your Babies

[url]
 |https://thumbsnap.com/hIcewZvF[/url
[url]
 |https://thumbsnap.com/7yjoCupR[/url
 |https://thumbsnap.com/CJ6Hf2IS[/url]
 [url]
[url] |https://thumbsnap.com/4F9wy6na[/url]


Andrew
Looks nice and clean you could eat your dinner off that.
I see you have the heater valve screwed into manifold instead of attached to the bulkhead. That's a good idea neater than on my 1600M where it was on the bulkhead.
What did you use to wrap around the exhaust manifold to reduce engine bay heat.
A small question about your lifts, could you tell me about them or maybe start another blog about lifts.
Thanks and just keep painting and polishing
Alan
Looks good Andrew. Powder coat can be rubbed down and recoated with paint to good effect but I agree paint is a nice option to keep things looking good.
A pedant may criticise the brake hoses as a technical cause for MOT failure but fortunately there are very few MOT pedants that would enforce the technicality .
.
A pedant may criticise the brake hoses as a technical cause for MOT failure but fortunately there are very few MOT pedants that would enforce the technicality
 .
.plasticpig72 said:
Looks nice and clean you could eat your dinner off that.
I see you have the heater valve screwed into manifold instead of attached to the bulkhead. That's a good idea neater than on my 1600M where it was on the bulkhead.
What did you use to wrap around the exhaust manifold to reduce engine bay heat.
A small question about your lifts, could you tell me about them or maybe start another blog about lifts.
Thanks and just keep painting and polishing
Alan
Hi Alan i will do a separate one on lifts later the wrap is just normal exhaust wrap however if you have a Stainless system dont use as the heat kept in may cause the manifold to become brittle and cause cracks should only be used in a steel Manifold the other option is to ceramic coat however with a stainless system its advisable to coat inside as well as outside for the same reason I see you have the heater valve screwed into manifold instead of attached to the bulkhead. That's a good idea neater than on my 1600M where it was on the bulkhead.
What did you use to wrap around the exhaust manifold to reduce engine bay heat.
A small question about your lifts, could you tell me about them or maybe start another blog about lifts.
Thanks and just keep painting and polishing
Alan
Andrew
plasticpig72 said:
Why could the brake pipe be a problem. If it is in Kunifer which i am sure it is perfectly alright.
Maybe i'm missing something!!
Alan
All stainless braded hoses technically can been a fail due to the fact that the MOT inspector cant see the condition of the inner hose then in a way the braiding being covered by the black outer layer adds another barrier.Maybe i'm missing something!!
Alan
This is never enforced John was just pointing out the point however like all items the hoses should be treated as a service item and replaced certainly every 10 years for peace of mind especially as you cant see the condition of the inner core until its to late
My 3000s ones are coming up to that point so are on the list to change
Andrew
Andrew. Not sure what paint system you use but Rustoleum combi-colour is available on line from Rawlins Paints. It takes a while to dry but it has very high pigmentation and great flow characteristics. I use it on powder coated repairs but it is equally at home on older painted surfaces. It is particularly good at smoothing out any deeper pock marked areas and has an excellent finish from a brush, doesn't chip or crack. It can also be mixed in any Ral or BS4800 colour by Rawlins.
I have messed about with various paints over the years but have settled on this as a very good long lasting surface treatment.
N.
I have messed about with various paints over the years but have settled on this as a very good long lasting surface treatment.
N.
Andrew Gray said:
Hi Alan i will do a separate one on lifts later the wrap is just normal exhaust wrap however if you have a Stainless system dont use as the heat kept in may cause the manifold to become brittle and cause cracks should only be used in a steel Manifold the other option is to ceramic coat however with a stainless system its advisable to coat inside as well as outside for the same reason
Andrew
I'm a little sceptical of using exhaust wrap after my engine melted a piston at Curborough. The ally pistons in a crossflow will melt at 660 degrees, therefore getting heat out of the block is a good thing where as keeping it in may not be.Andrew
Moto
Moto said:
I'm a little sceptical of using exhaust wrap after my engine melted a piston at Curborough. The ally pistons in a crossflow will melt at 660 degrees, therefore getting heat out of the block is a good thing where as keeping it in may not be.
Moto
Well the wrap is not new i have had that on since i bought the car as i added it shortly after buying her so about 10 000 miles with it on Steve and no issues it will come off later in the year when i fit the stainless manifold to match the exhaust and will leave it plain Moto
Andrew
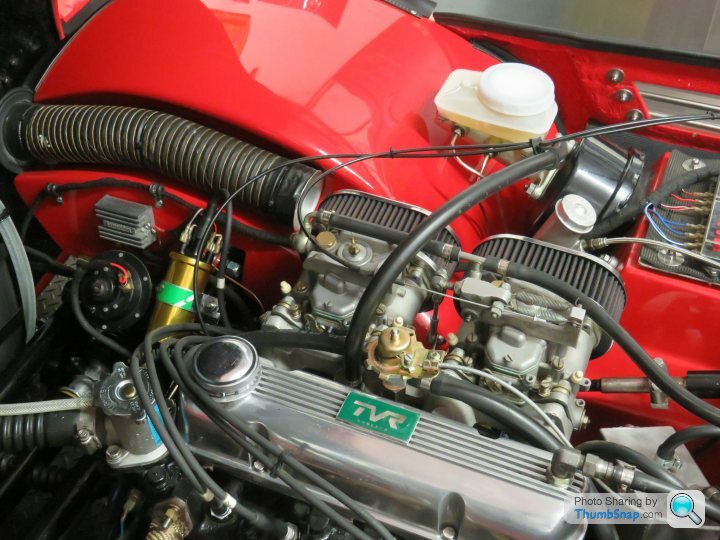
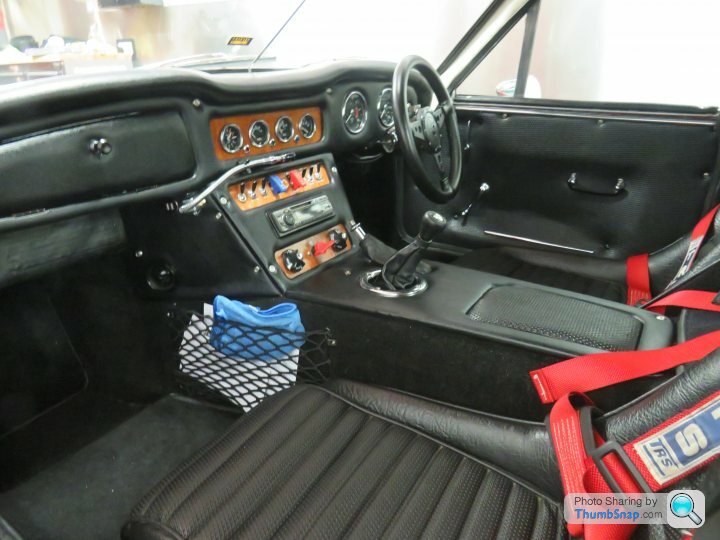
All finished ready for her MOT Friday fitted the new coil and Brake Master which was a good call as the old one was starting to weep a bit which i noticed when i took the old one off Coil i tend to change every few years as a service item with the one that come off going into the spares emergency cupboard in the footwell so all cleaned ready for the show on Sunday

[url] |https://thumbsnap.com/epJwTNbV[/url
]


[url]
 |https://thumbsnap.com/epJwTNbV[/url
]


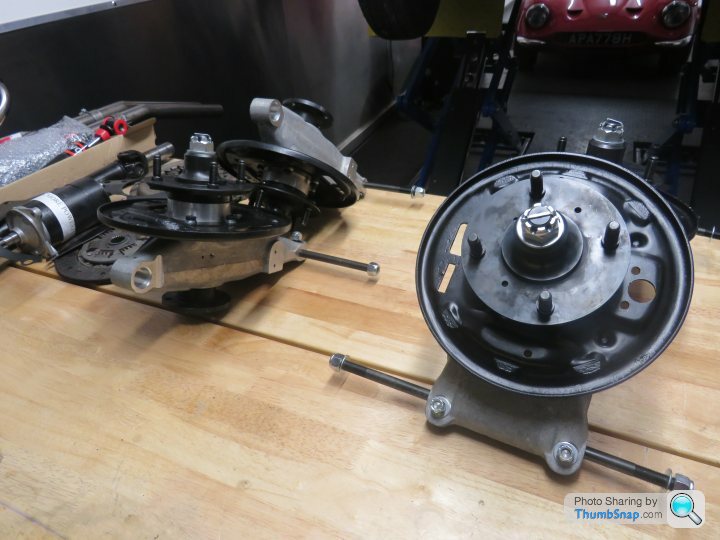
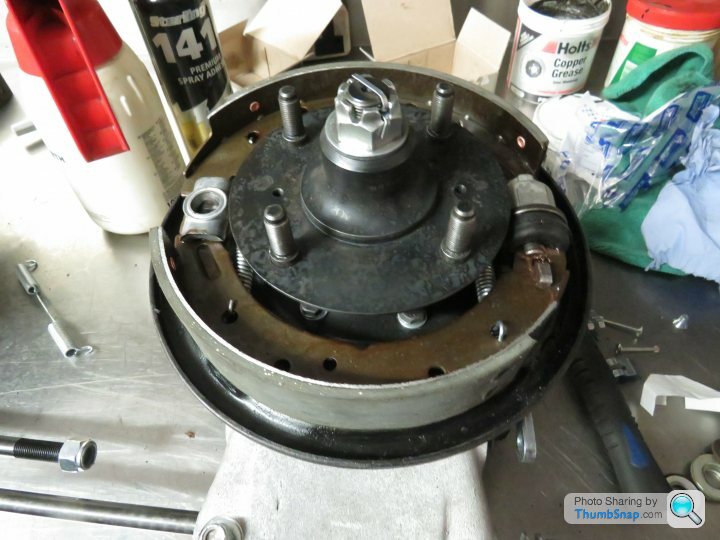
Well the last few weeks have been fun and managed to nearly get the rear end refreshed along with a few other upgrades and changes
On the list for this time are the following.
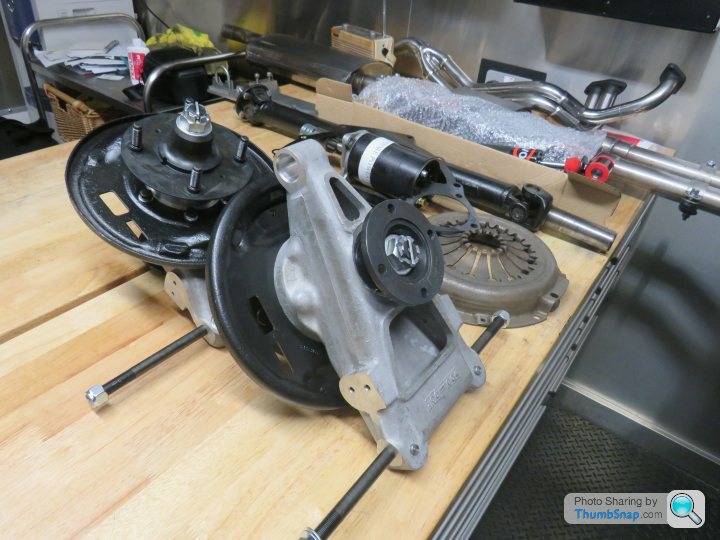
Strip the running gear and Differential.
Replace with new from David Gerald and Nigel Reubens with Nigel rebuilding the uprights
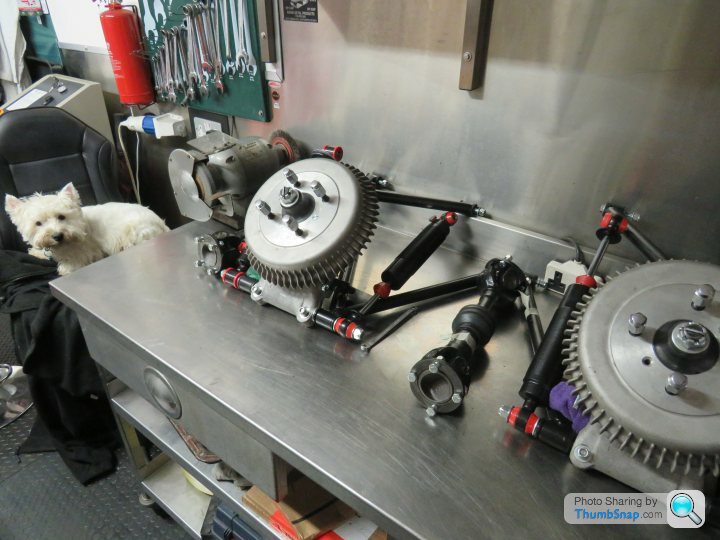
Change Pivot bar for stronger ones and add second damper as she was running on one spring one damper.
Clean and prep and re paint the rear end of the chassis.
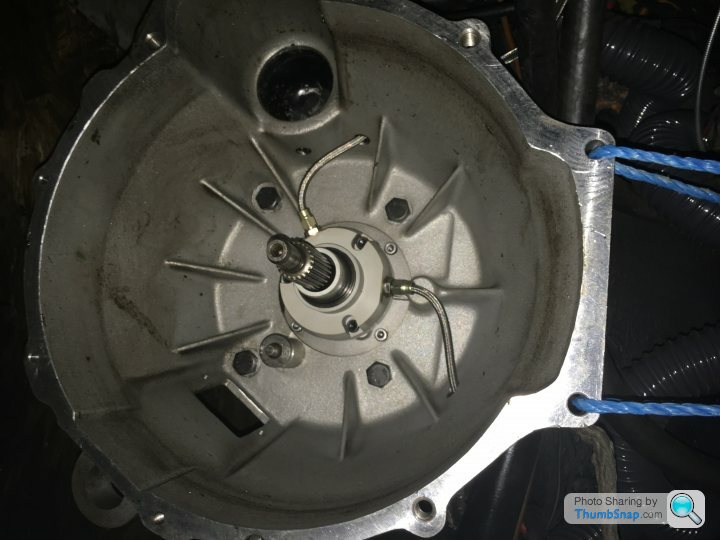
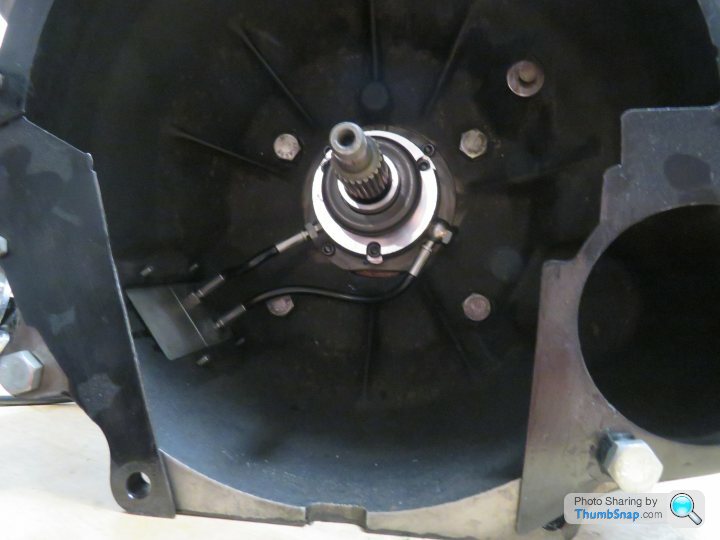
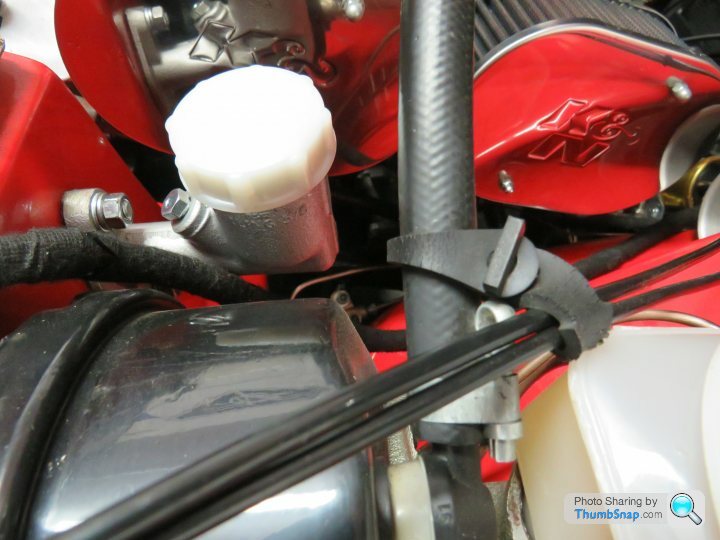
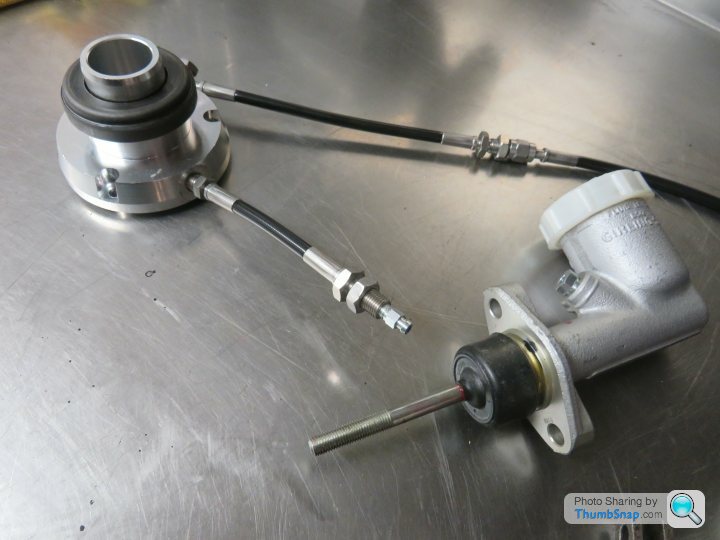
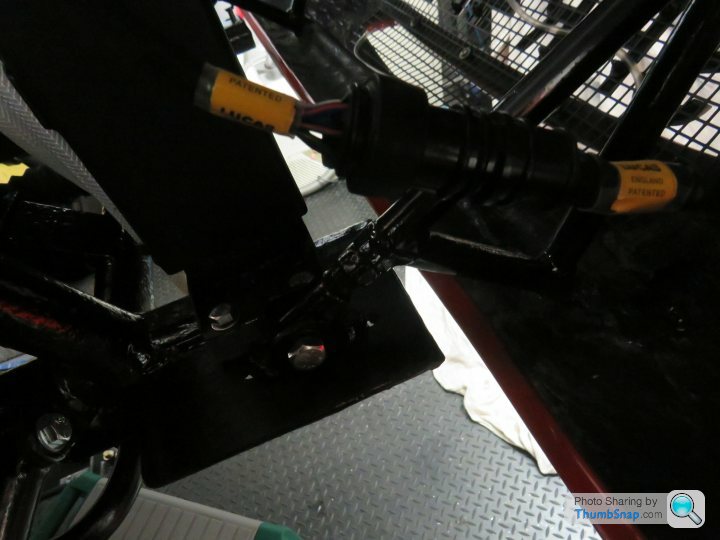
Fit new Clutch slave and Girling Master and replace flex line to slave with hard line.
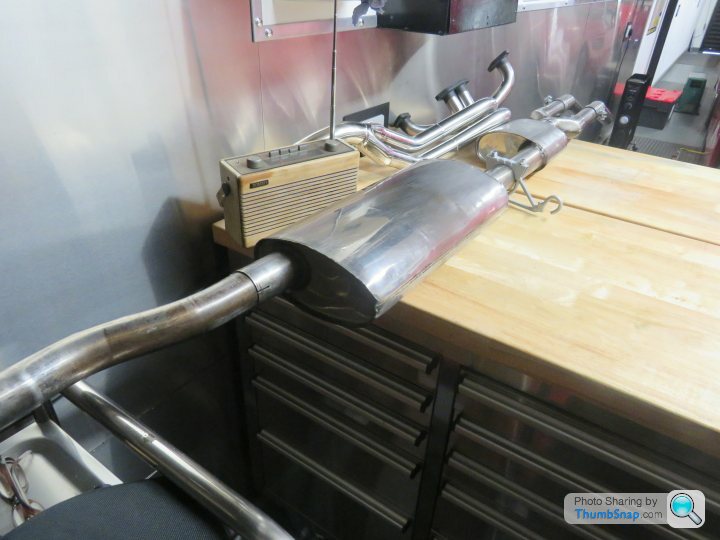
Fit High torque starter motor and stainless manifold to match the exhaust.
Change exhaust brackets for stainless ones.
Fit Polly bushes to differential.
Nearly done should be ready at the weekend.
A few pictures of the progress
[url]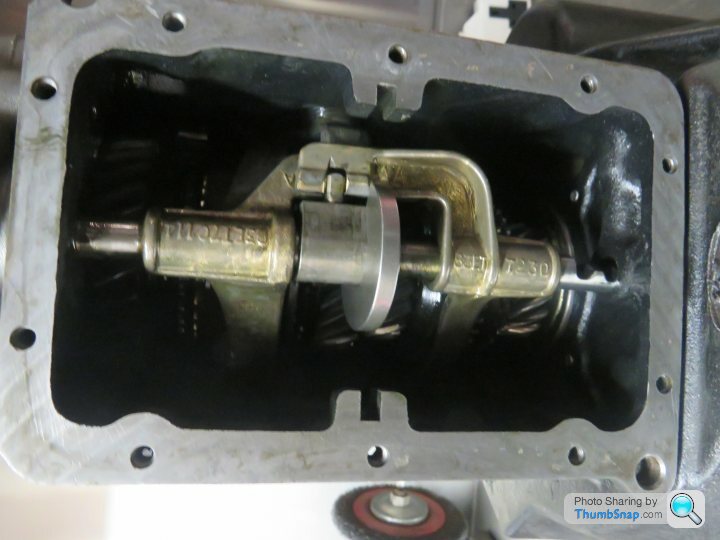 |https://thumbsnap.com/s87HfxqF[/url
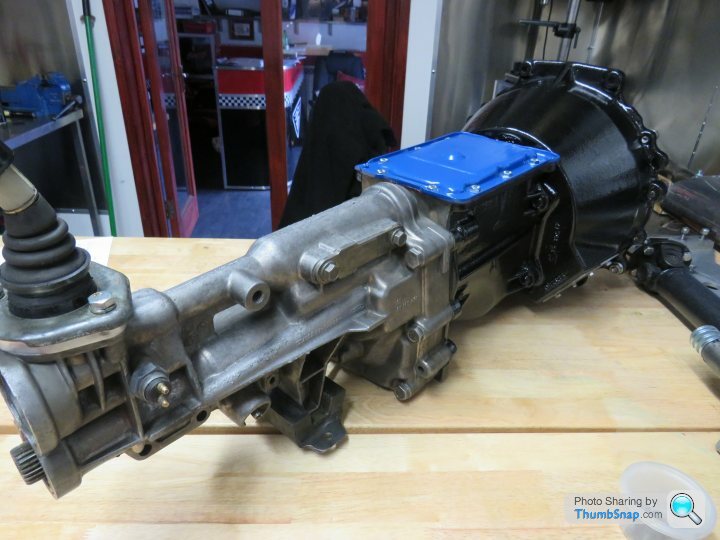
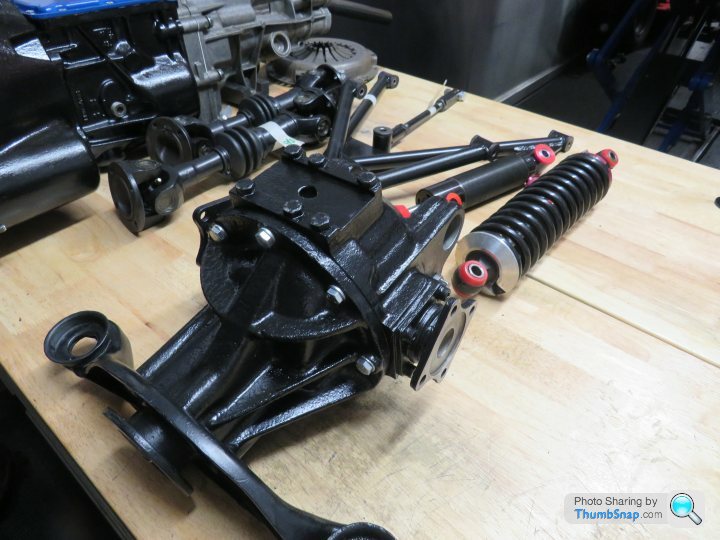
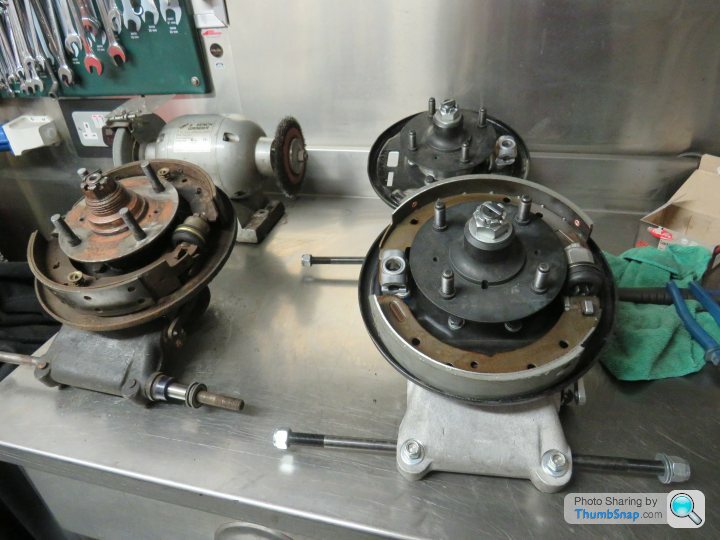
Note springs wrong did correct them before i finished
[url]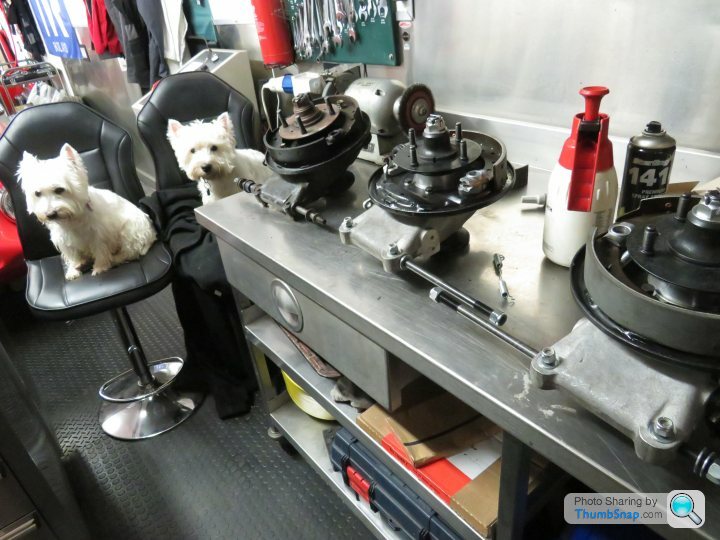 |https://thumbsnap.com/HyCHlhRN[/url
On the list for this time are the following.
Strip the running gear and Differential.
Replace with new from David Gerald and Nigel Reubens with Nigel rebuilding the uprights
Change Pivot bar for stronger ones and add second damper as she was running on one spring one damper.
Clean and prep and re paint the rear end of the chassis.
Fit new Clutch slave and Girling Master and replace flex line to slave with hard line.
Fit High torque starter motor and stainless manifold to match the exhaust.
Change exhaust brackets for stainless ones.
Fit Polly bushes to differential.
Nearly done should be ready at the weekend.
A few pictures of the progress


[url]
 |https://thumbsnap.com/s87HfxqF[/url


Note springs wrong did correct them before i finished

[url]
 |https://thumbsnap.com/HyCHlhRN[/url
Andrew Gray said:
Been that way for years and never had an issue before just replacing like for like with new hoses and new slave if there had been an issue i would have addressed it Sir.
A
Fair enough, but it’s easy to change as with the backing plate there are actually six positions the slave can be oriented. A
V6Pushfit said:
Fair enough, but it’s easy to change as with the backing plate there are actually six positions the slave can be oriented.
Totally agree there is and there are lots of ways you can do it you can create a bleed thats up in the engine bay so you can bleed off the ramp as well however its only needed bleeding a couple of times in six years and never been an issue so i decided to leave as it was.Andrew
Gassing Station | TVR Classics | Top of Page | What's New | My Stuff


 |https://thumbsnap.com/rP8QxO6p[/url