
A110 Fuel Cap Alignment
Discussion


I've noticed recently that what was a slight mis-alignment of the fuel cap is now much more pronounced. I'm booked in to run the gauntlet which is Orpington's service department for them to take a look at offside rear wheel arch paint corrosion (mine is a 22 vehicle) and a driver side rattle so will get them to take a look at this as well. Just wondered if anyone else has seen similar and maybe there's a quick fix although I'm not convinced it isn't actually a warping of the cover vs the catch not securing the flap correctly.
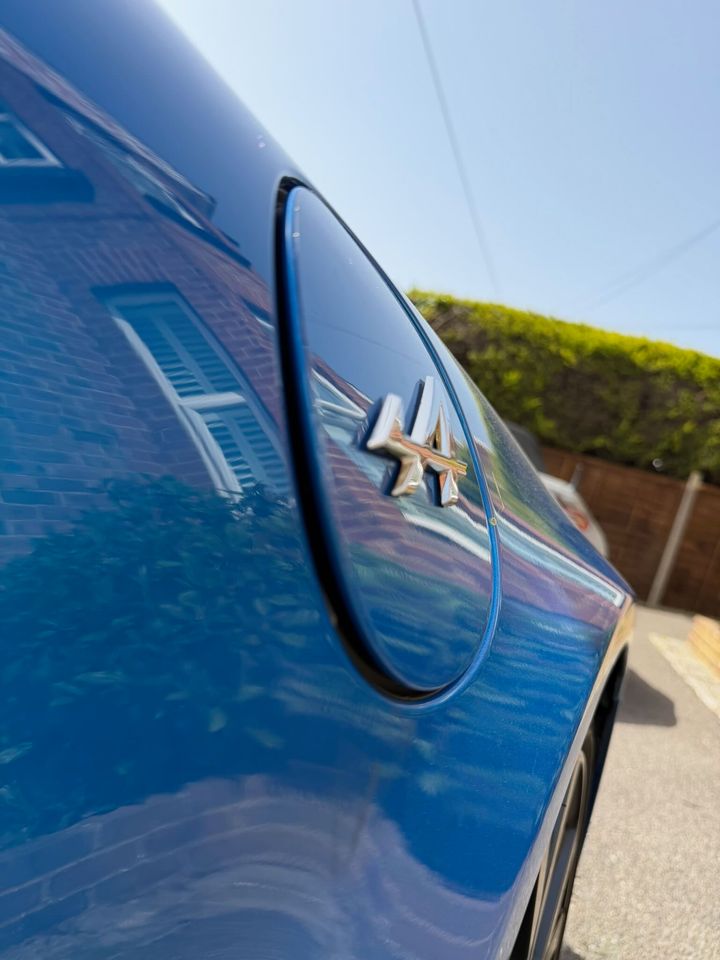
Mine came back from paintwork rectification with a wonky filler cap that looked like yours. It went back for the rectification work to be rectified, and the filler cap was adjusted at the same time; apparently there is a degree of adjustment possible. I do wonder if the Torx screws on the black inner moulding might allow this, but I have yet to investigate.

worldwidewebs said:
Fuel flap adjustment requires removal of the wheel arch liner and then adding/removing shims as required
Can I ask where and what are you are adding these shims too. I've had a look and can't figure out where to add these shims or why it happens in the first place.
Could it be something in the spring return mechanism?
Well I had a spare morning so thought I would get to the bottom of this and now it's fixed and aligns perfectly.
First mission was to confirm how the filing cup carcass attaches to the front wing so after removing the inner wing liners i unscrewd the two torx screws attaching the filler carcass to the tank filter tube, oh and the electrical connection from inside the wing.
Low and behold the carcass was flopping about in it's mounting hole and was relatively easy to manoeuvre almost out to examine how it is located.
Forget all the talk of spacers etc, it is held in place by three plastic spring compression type pieces, part of the moulding, over time and use these must loose there effectiveness and allow the cup to work loose. I positioned the chip in place and used a small screw driver to lever out the three plastic parts back over the aperture in the wing (see photos) et voilà the cup now securely in place, just stay the tank pipe, electric connector etc. if it happens again I'm going to find something to wedge behind these three locators to keep them pushed out. Hope it helps.
First mission was to confirm how the filing cup carcass attaches to the front wing so after removing the inner wing liners i unscrewd the two torx screws attaching the filler carcass to the tank filter tube, oh and the electrical connection from inside the wing.
Low and behold the carcass was flopping about in it's mounting hole and was relatively easy to manoeuvre almost out to examine how it is located.
Forget all the talk of spacers etc, it is held in place by three plastic spring compression type pieces, part of the moulding, over time and use these must loose there effectiveness and allow the cup to work loose. I positioned the chip in place and used a small screw driver to lever out the three plastic parts back over the aperture in the wing (see photos) et voilà the cup now securely in place, just stay the tank pipe, electric connector etc. if it happens again I'm going to find something to wedge behind these three locators to keep them pushed out. Hope it helps.

Gassing Station | Alpine | Top of Page | What's New | My Stuff