
New Garden Shed Build
Discussion


Thought I would start a thread to show my new shed build / replacement.
Moved into the house about 11 years ago and in the garden was a small hen house which had been re-purposed into a small garden shed approx 3ft by 4ft
Since moving in we have done what everyone does and accumulate garden furniture, a BBQ and other stuff that would really be better housed inside over the winter some of that is currently kept in my log store but clearly that isn't ideal as it reduces actual log storage. Based on this I have had plans for a long time to build a new bigger shed and indeed began fabrication on the frame in November 2021
Start of frame fabrication:
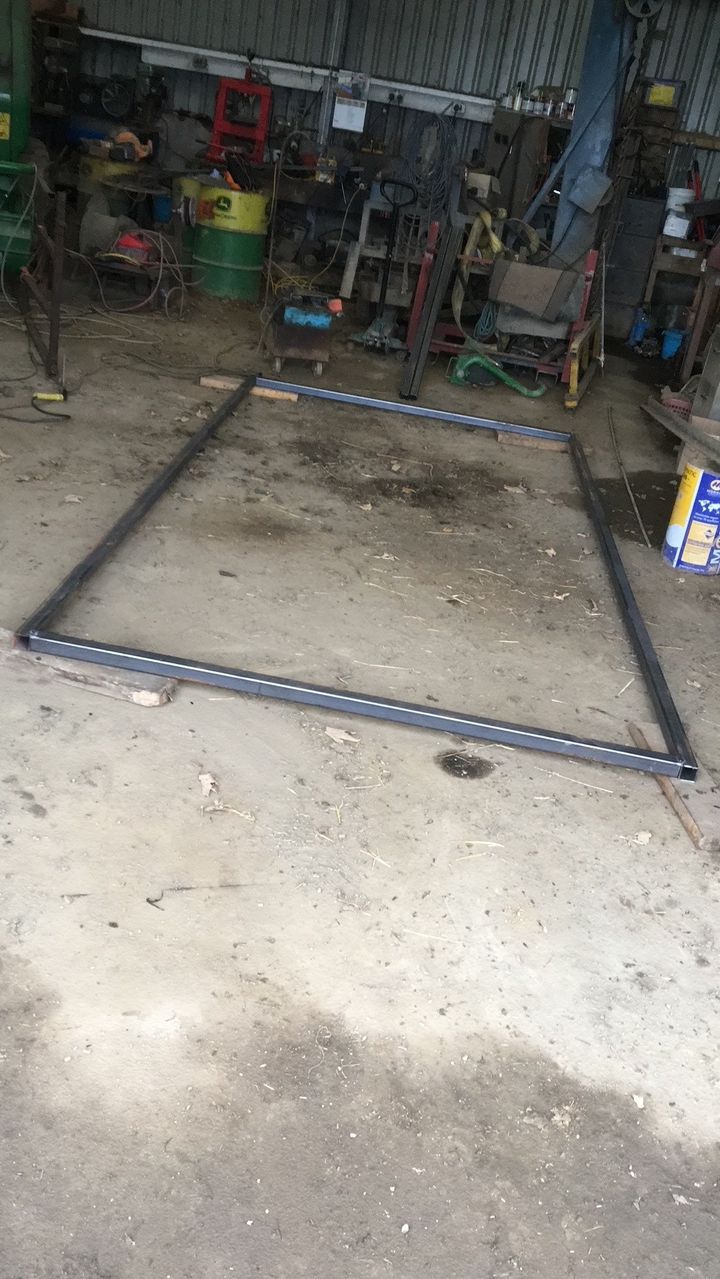
First side completed:
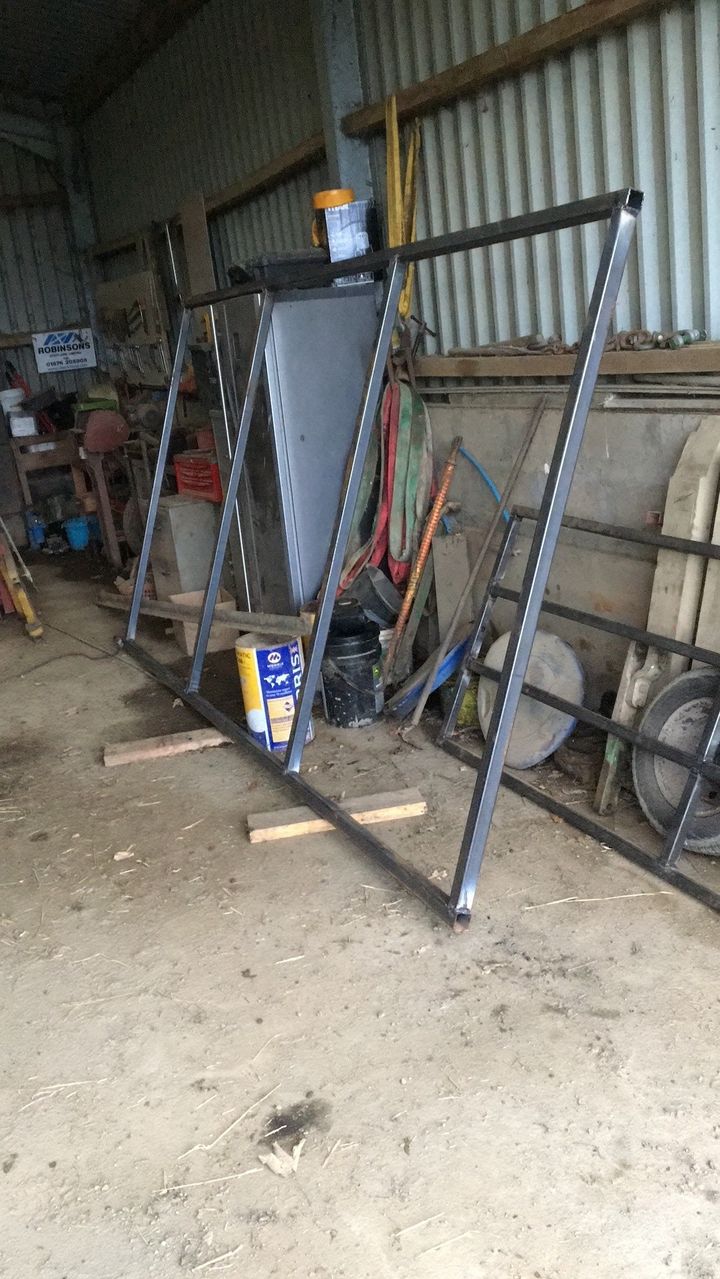
The basic design of the shed was going to be a steel frame, with a box profile steel roof and larch cladding.
Fast forward to August last year and a large tree forced the acceleration of my previous slow burn project slow project........
Moved into the house about 11 years ago and in the garden was a small hen house which had been re-purposed into a small garden shed approx 3ft by 4ft
Since moving in we have done what everyone does and accumulate garden furniture, a BBQ and other stuff that would really be better housed inside over the winter some of that is currently kept in my log store but clearly that isn't ideal as it reduces actual log storage. Based on this I have had plans for a long time to build a new bigger shed and indeed began fabrication on the frame in November 2021
Start of frame fabrication:
First side completed:
The basic design of the shed was going to be a steel frame, with a box profile steel roof and larch cladding.
Fast forward to August last year and a large tree forced the acceleration of my previous slow burn project slow project........
So my poor chicken house was the victim of a summer storm in 2025
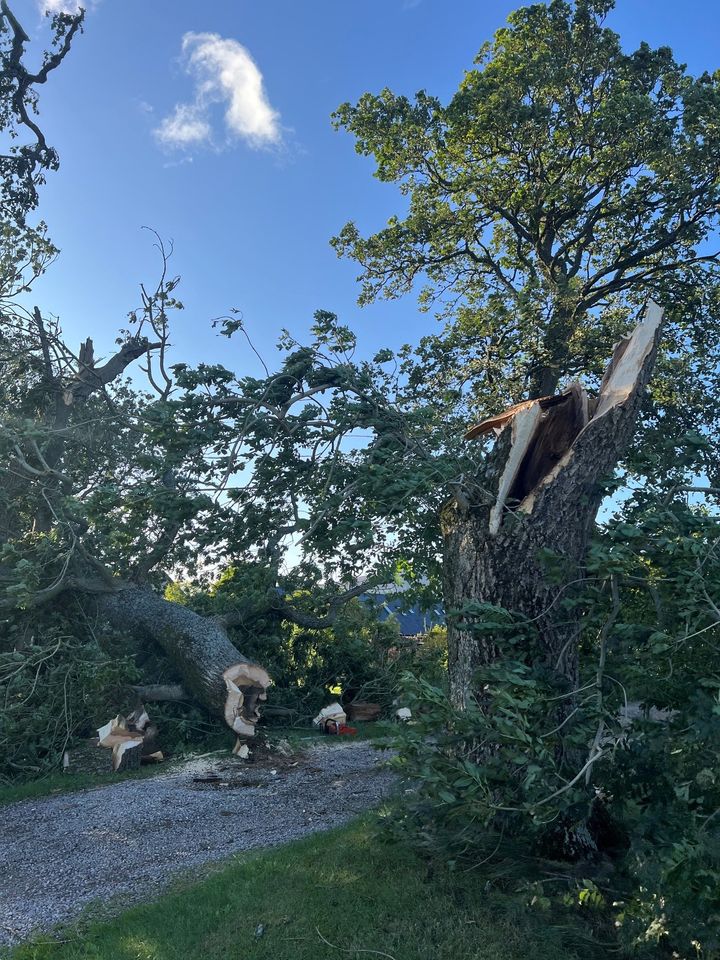
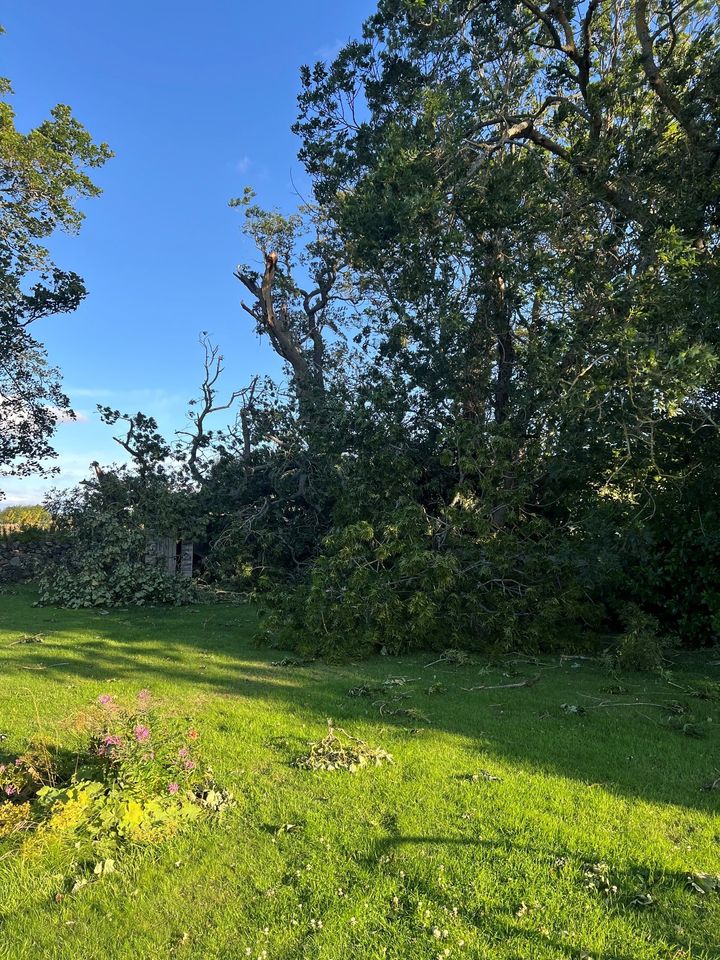
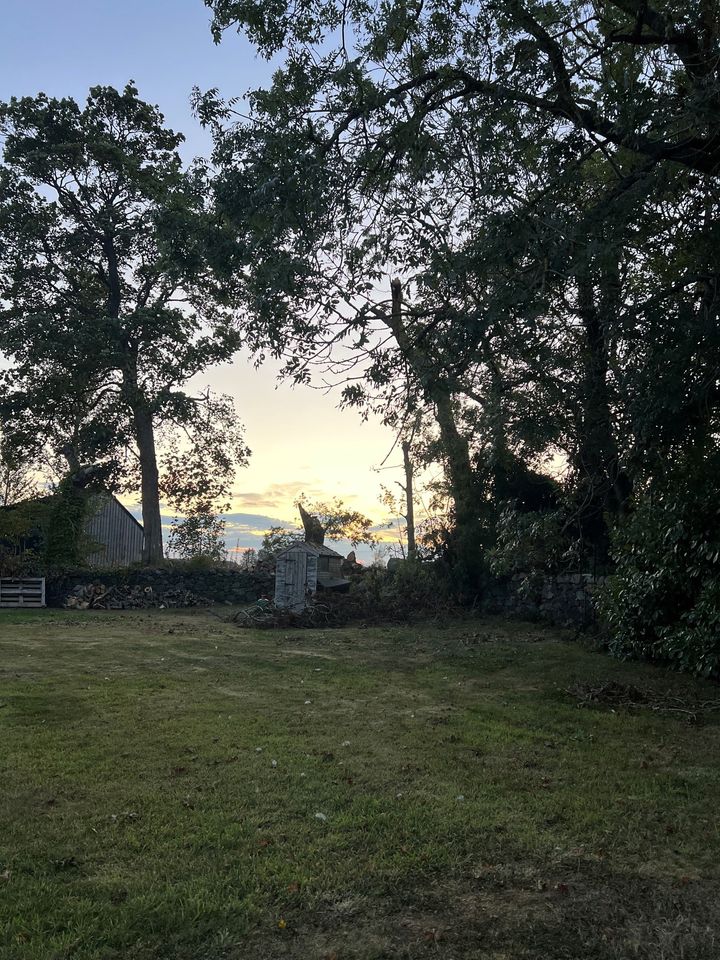
Although Shed looks remarkably unscathed by the monster tree that came down, it took enough of a hit to put a small puncture hole in the roof and also knock the whole structure out of shape such that the door wouldn't close.
Although Shed looks remarkably unscathed by the monster tree that came down, it took enough of a hit to put a small puncture hole in the roof and also knock the whole structure out of shape such that the door wouldn't close.
Fast forward to this summer and I finally built up the motivation to begin the ground works.
I did half of it by hand before, I was able to borrow a small digger and get permission from SWMBO to bring it across the grass to get the far edge of the site.
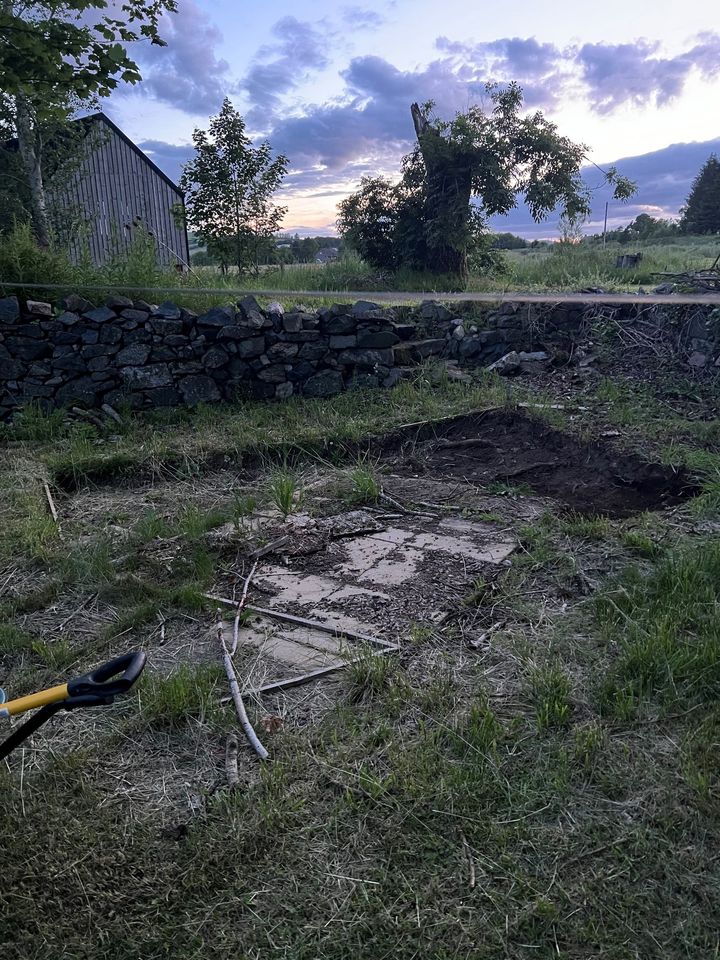
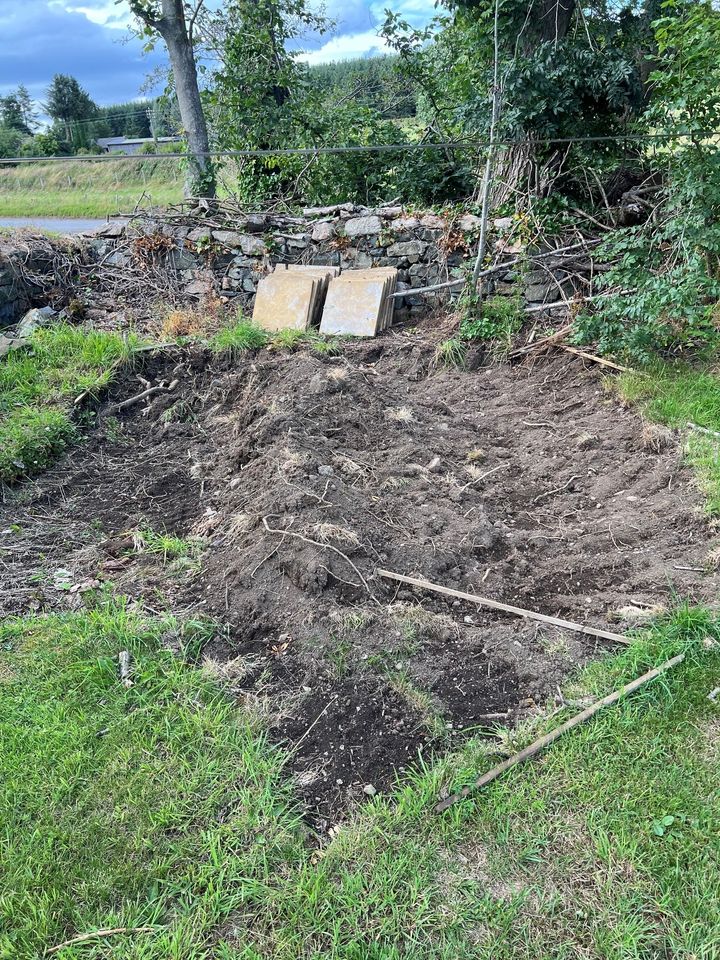
Once I got to this point I had all the spoil close enough that I could reach it with my digger from a position that wouldn't destroy the garden
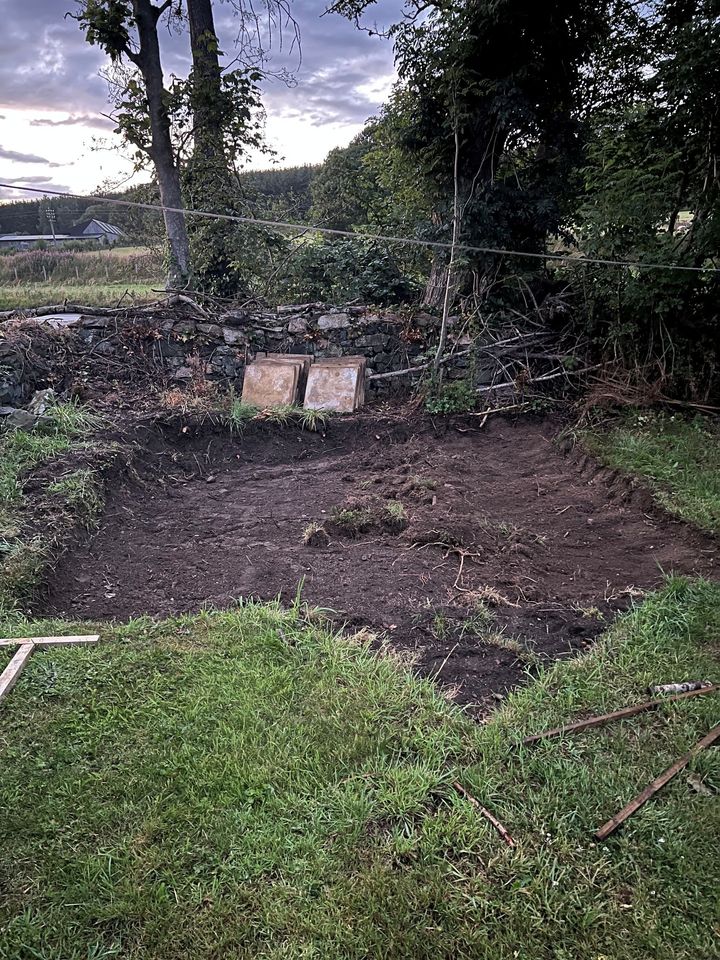
I was then able to lift in tonne bags of hardcore and then tip them over with the digger and level out the base for the shed to sit on.
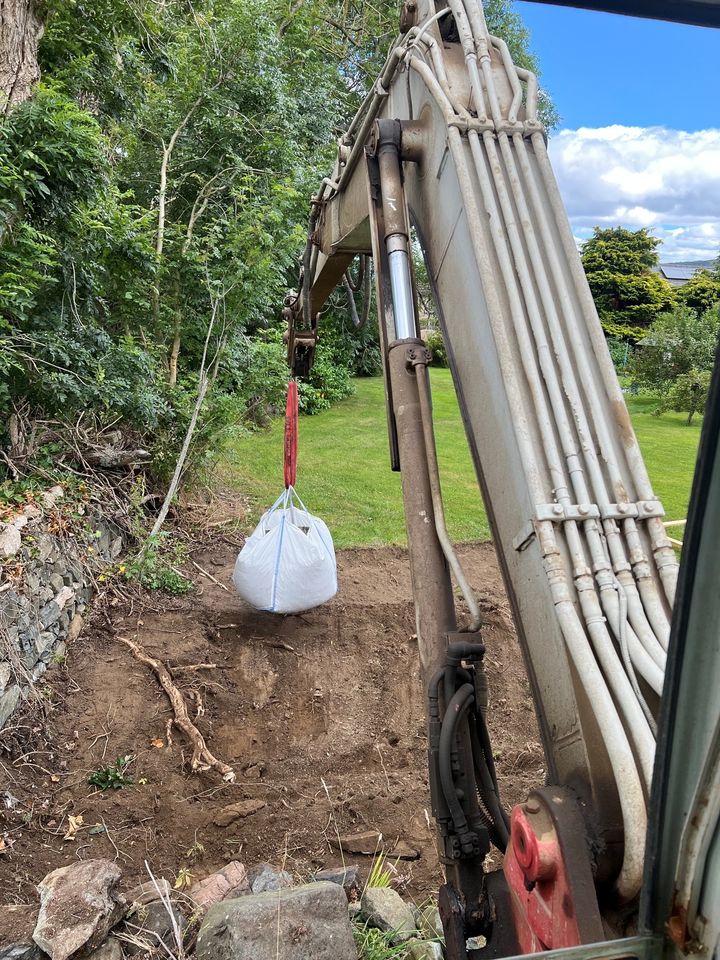
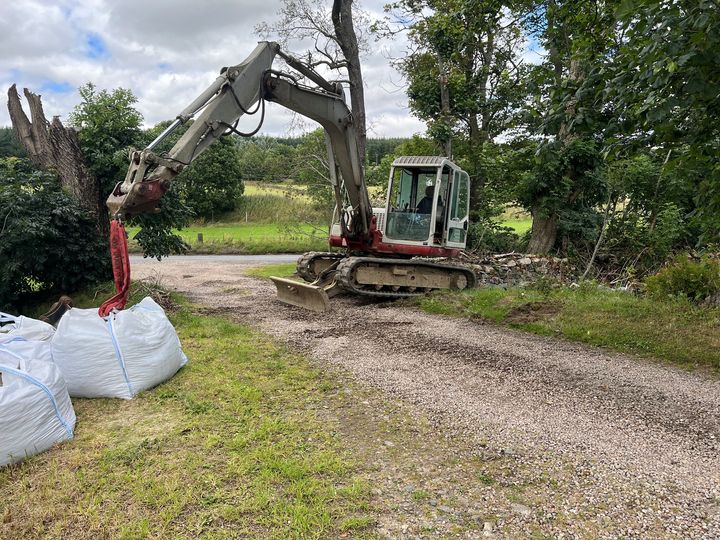
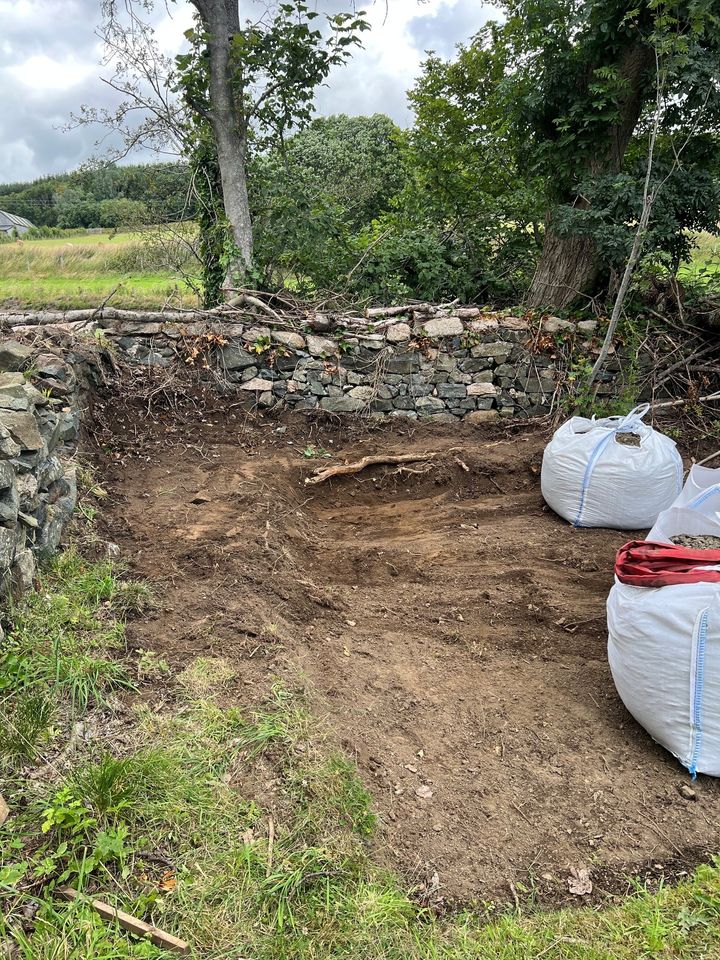
I had hoped to borrow a small twin drum roller to compact it but I couldn't get my neighbours one to start so in the end I used an old Granite roller that I had in the garden, not ideal but I was keen to get moving. I will probably hire a vibrating plate prior to doing the flooring and the ground was relatively hard so fingers crossed I don't find any issues further down the line.
I did half of it by hand before, I was able to borrow a small digger and get permission from SWMBO to bring it across the grass to get the far edge of the site.
Once I got to this point I had all the spoil close enough that I could reach it with my digger from a position that wouldn't destroy the garden
I was then able to lift in tonne bags of hardcore and then tip them over with the digger and level out the base for the shed to sit on.
I had hoped to borrow a small twin drum roller to compact it but I couldn't get my neighbours one to start so in the end I used an old Granite roller that I had in the garden, not ideal but I was keen to get moving. I will probably hire a vibrating plate prior to doing the flooring and the ground was relatively hard so fingers crossed I don't find any issues further down the line.
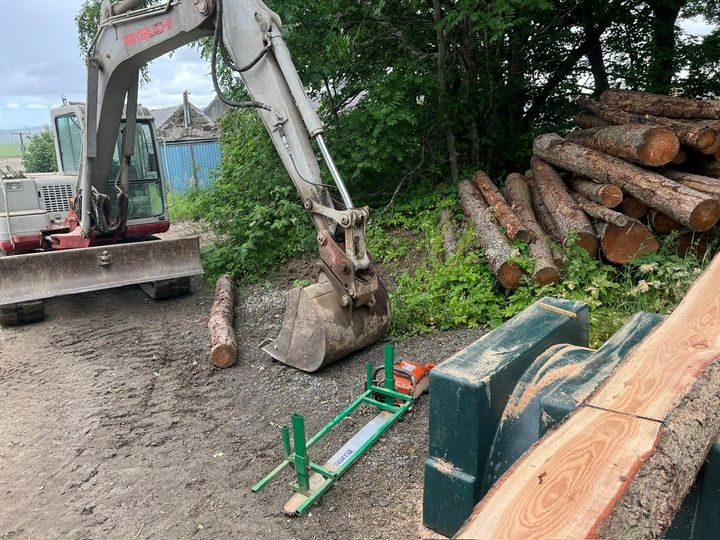
In parallel with building the steel frame I have also been busy milling the cladding over the winter & spring too.
I was able to pick up around 12 tonnes of Larch logs, some of which are a good side for slabbing into boards and others will become firewood.
Hardest part of this process is doing the first on the log and also getting a set up where the working height isn't too onerous.
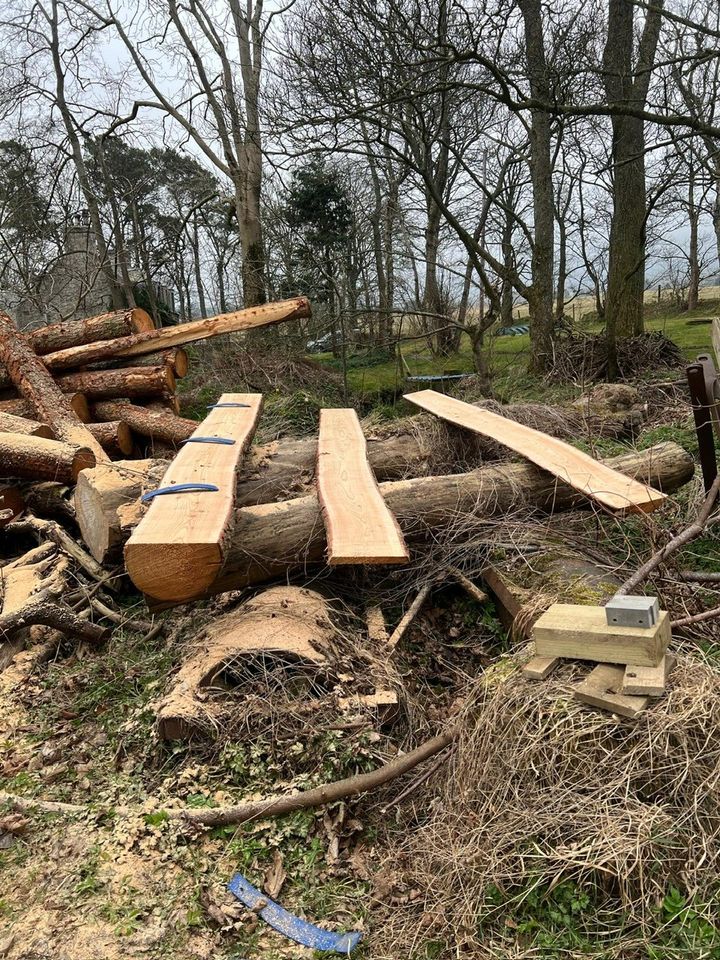
I started out just setting the logs up on some other logs but what I found was when you got down to the lower cuts the saw would clash with the supports, so I have evolved my set up to use an Old plastic oil tank cut in half and upsides down as the ridges in the tank are quite well sized for supporting the log and preventing it rolling and then when you get to the last few cuts you can spin the log 90 degrees and you get clearance for the saw.
I have been using the digger to load the logs and also prevent them sliding forward as you cut the slabs which again is working well.
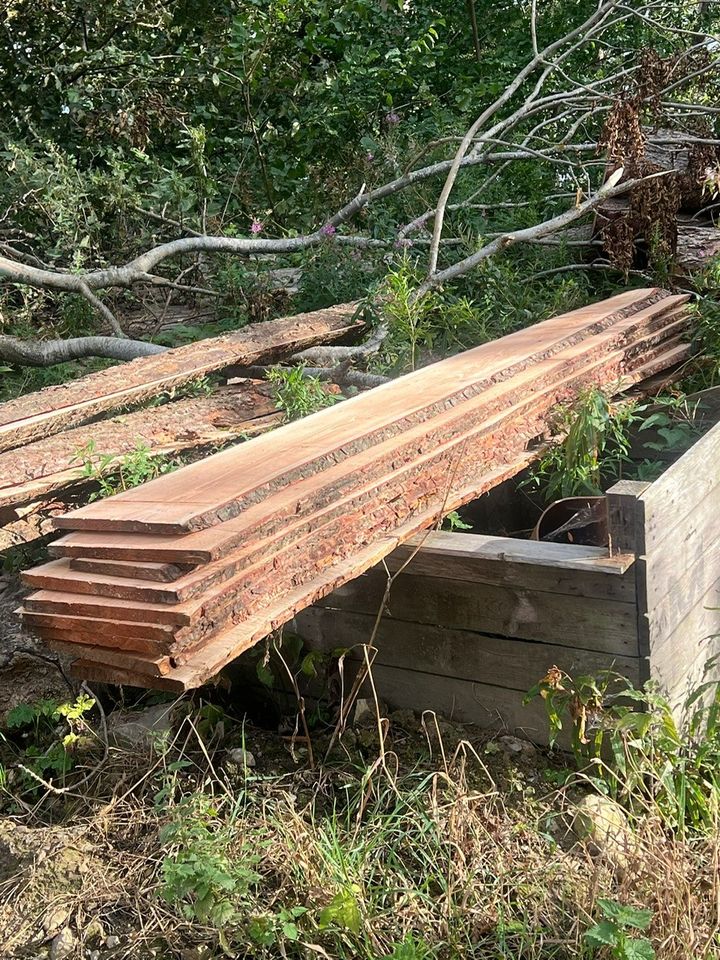
Picture showing some of the slabs I have cut to date, I am storing them inside to hopefully dry out before fitting to the frame
I was able to pick up around 12 tonnes of Larch logs, some of which are a good side for slabbing into boards and others will become firewood.
Hardest part of this process is doing the first on the log and also getting a set up where the working height isn't too onerous.
I started out just setting the logs up on some other logs but what I found was when you got down to the lower cuts the saw would clash with the supports, so I have evolved my set up to use an Old plastic oil tank cut in half and upsides down as the ridges in the tank are quite well sized for supporting the log and preventing it rolling and then when you get to the last few cuts you can spin the log 90 degrees and you get clearance for the saw.
I have been using the digger to load the logs and also prevent them sliding forward as you cut the slabs which again is working well.
Picture showing some of the slabs I have cut to date, I am storing them inside to hopefully dry out before fitting to the frame
After I finished fabricating the frame I decided it might be a good idea to do a trial assembly before taking it to my garden and having to do all fit up work exposed to the elements
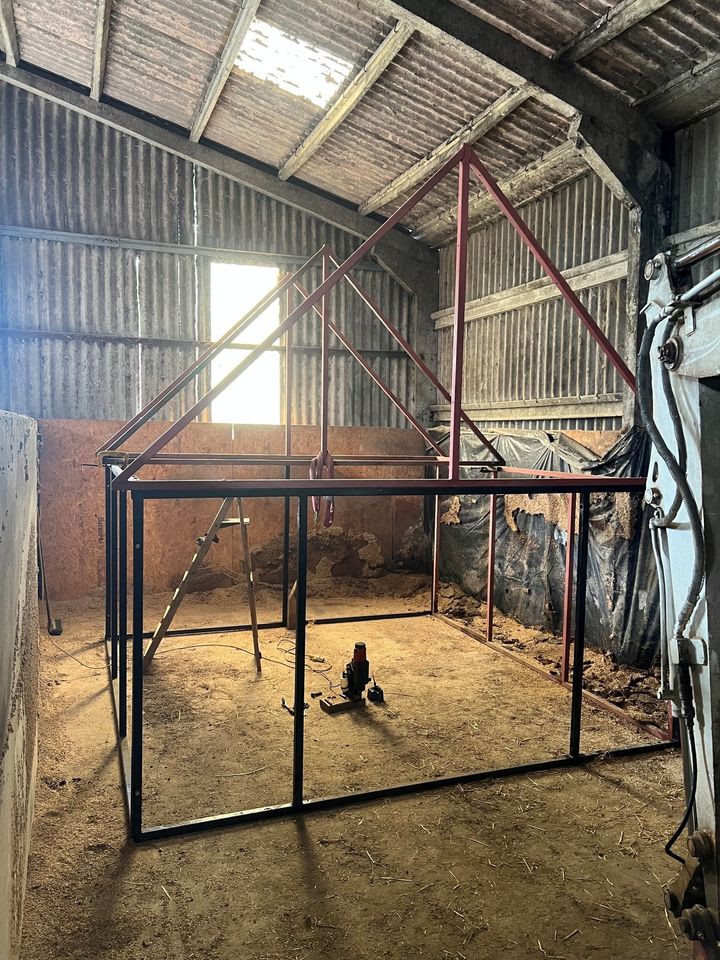
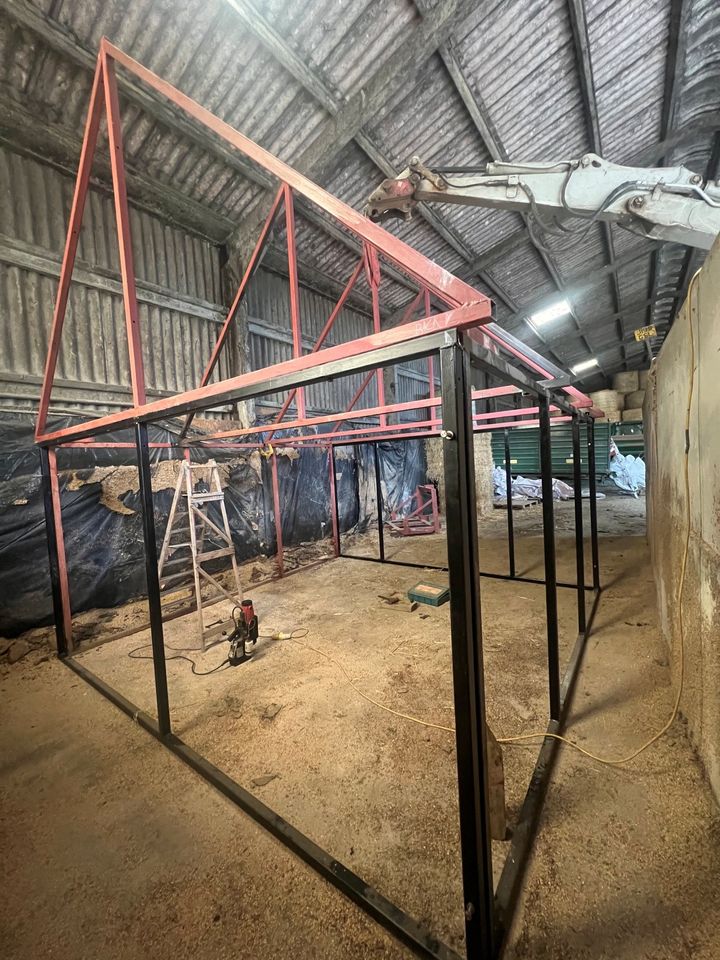
Got it all bolted together and then drilled the up rights and bolted timber batons to the steel for screwing the cladding onto.
At the corners I used 3" x 2" and the middle up rights I used 2" x 2" batons this meant that where I would have joins in the cladding I could screw a 1" thick cladding board to the up right so that if I see any shrinkage of the cladding over time I don't have gaps or different materials exposed.
Got it all bolted together and then drilled the up rights and bolted timber batons to the steel for screwing the cladding onto.
At the corners I used 3" x 2" and the middle up rights I used 2" x 2" batons this meant that where I would have joins in the cladding I could screw a 1" thick cladding board to the up right so that if I see any shrinkage of the cladding over time I don't have gaps or different materials exposed.
First picture of the frame being assembled on site with the timber batons now in place on the steel frame.
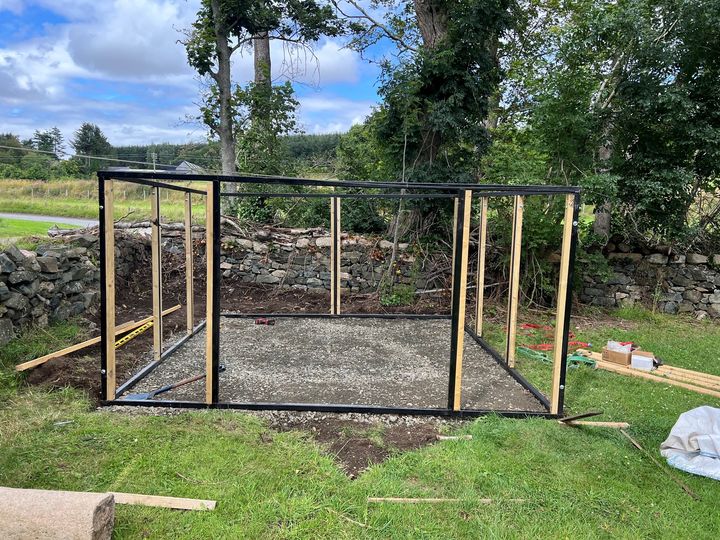
It took us about an hour to build the main square structure and then we were ready to lift up the trusses
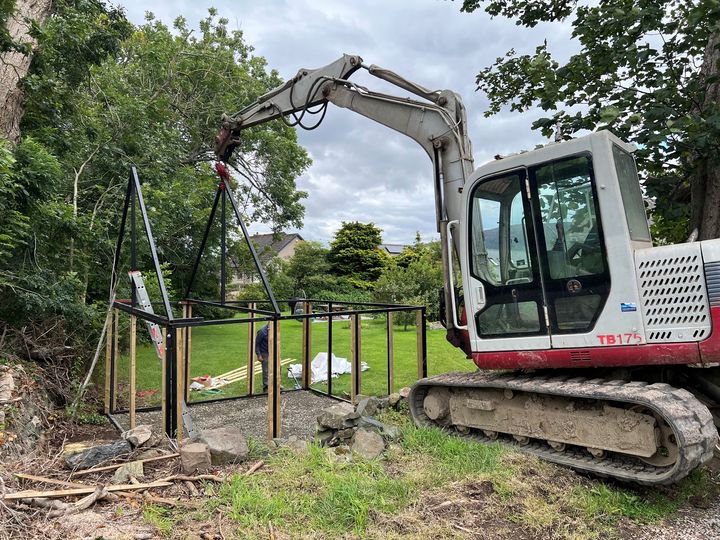
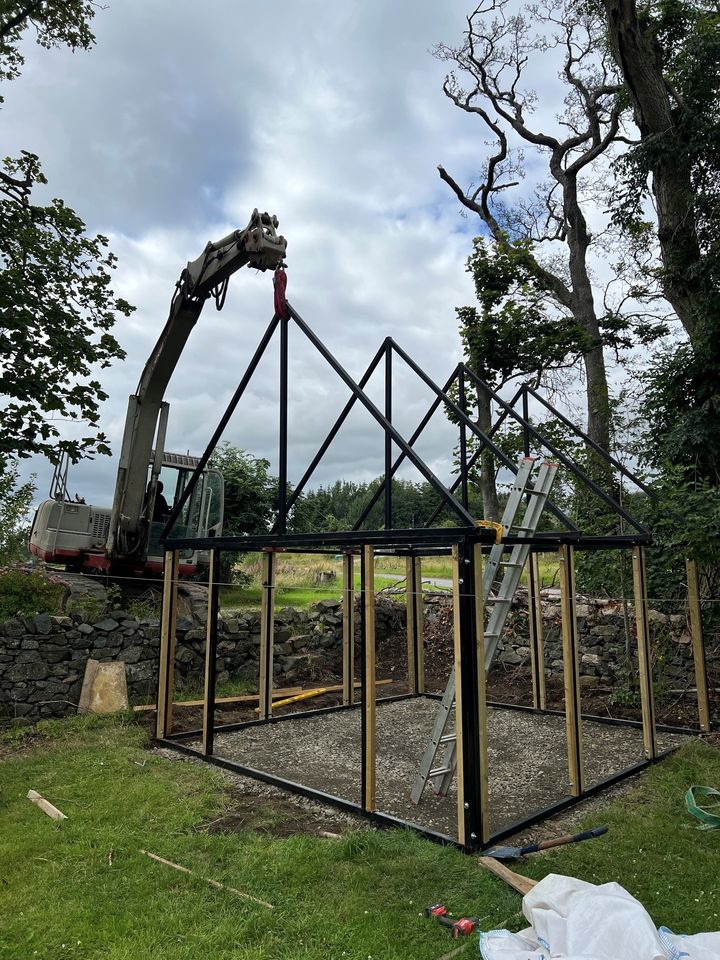
With the trusses up we then drilled and bolted the purlins onto the trusses
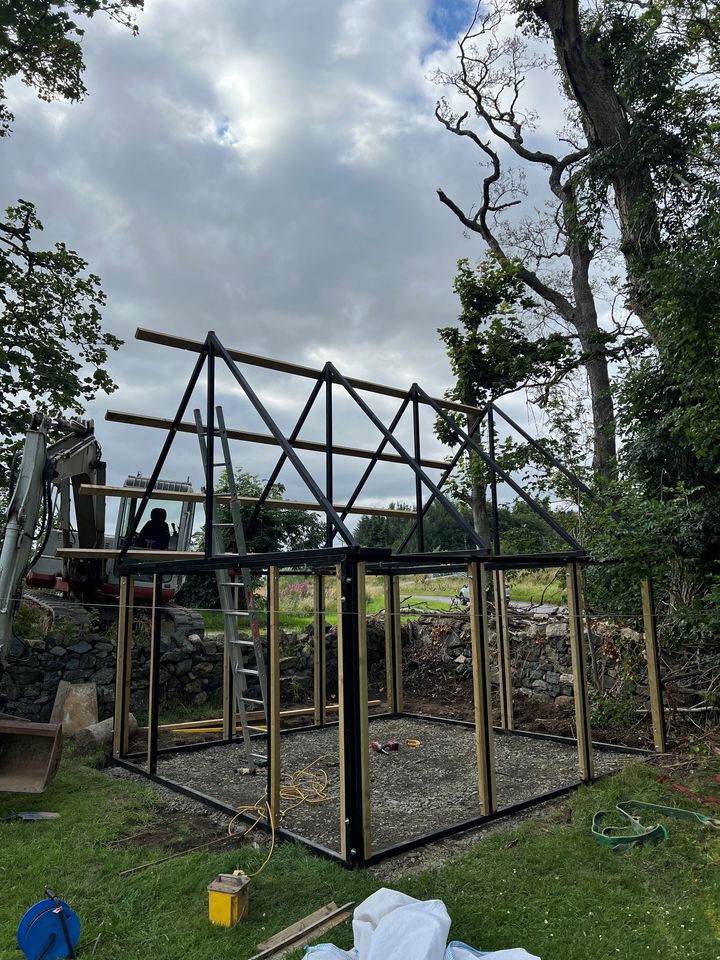
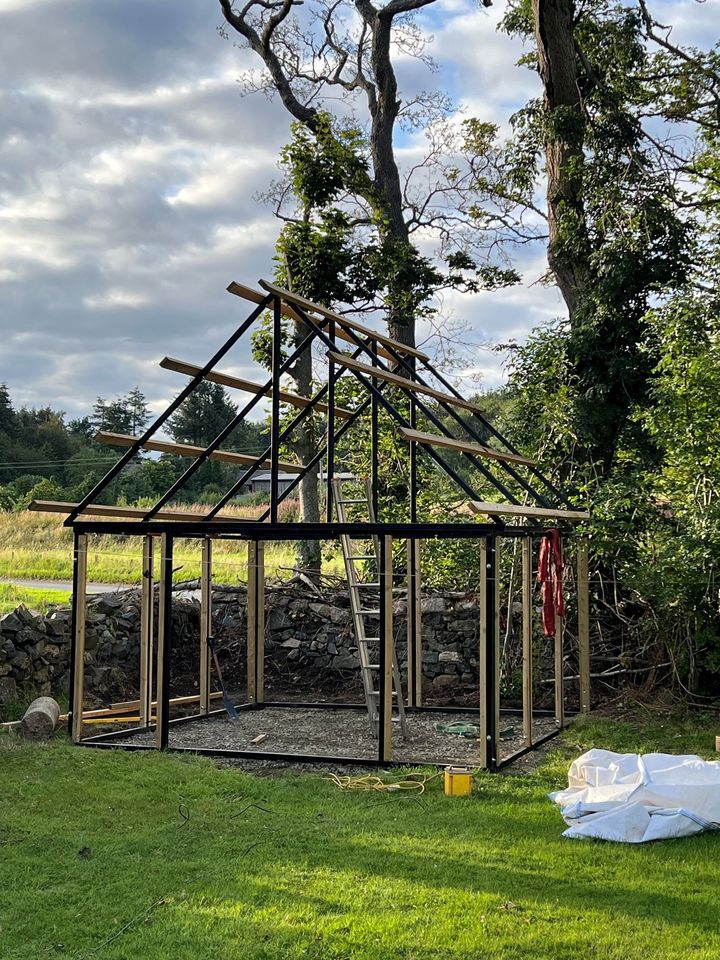
Final picture from the first day of assembly with all the purlins on, I went with 4" x 2"s for the purlins, which should be more than strong enough given the pitch of the roof and relatively small spans.
It took us about an hour to build the main square structure and then we were ready to lift up the trusses
With the trusses up we then drilled and bolted the purlins onto the trusses
Final picture from the first day of assembly with all the purlins on, I went with 4" x 2"s for the purlins, which should be more than strong enough given the pitch of the roof and relatively small spans.
Gassing Station | Homes, Gardens and DIY | Top of Page | What's New | My Stuff