Repointing this internal wall - advice please (lime mortar)
Discussion
Hi,,
we have a small Victorian terrace.
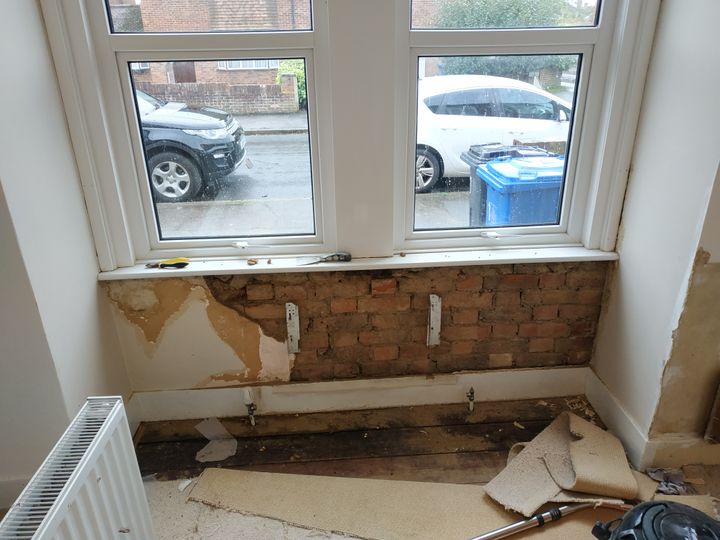
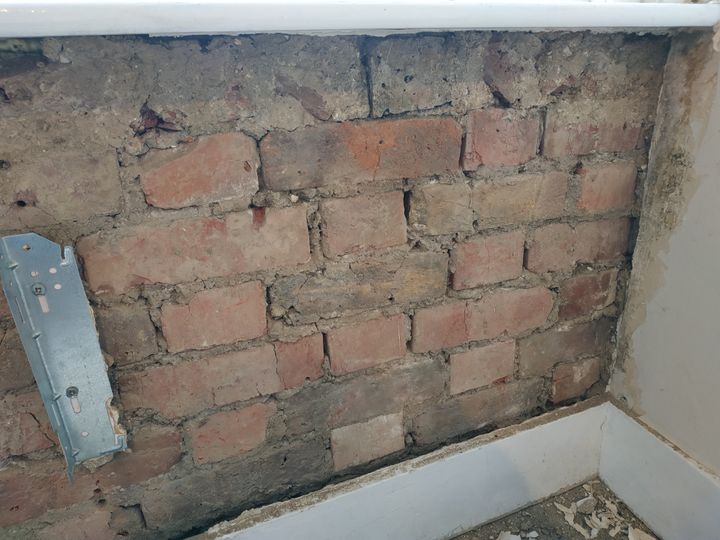
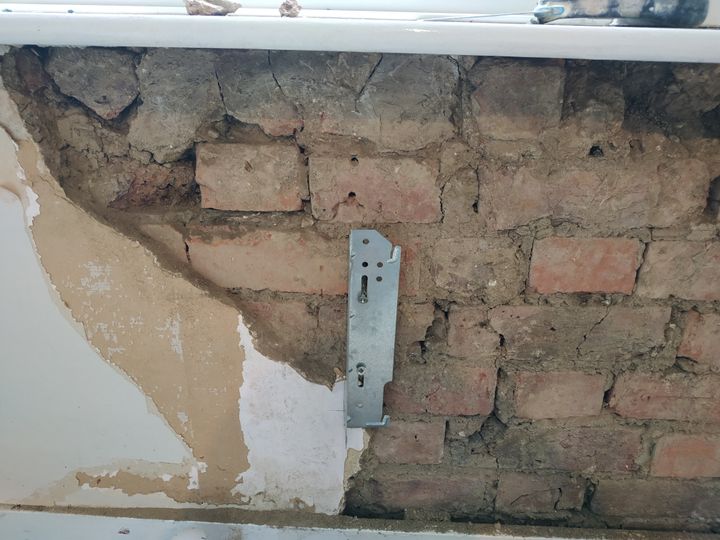
The lime plaster behind the radiator in the front room had blown so it was removed.
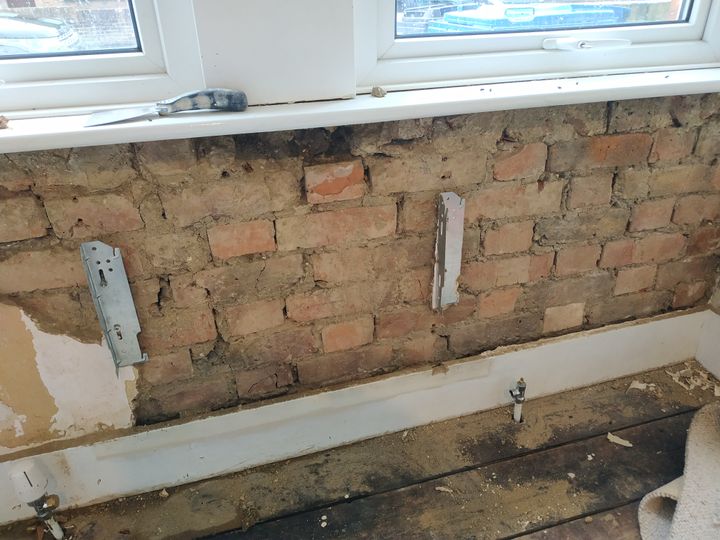
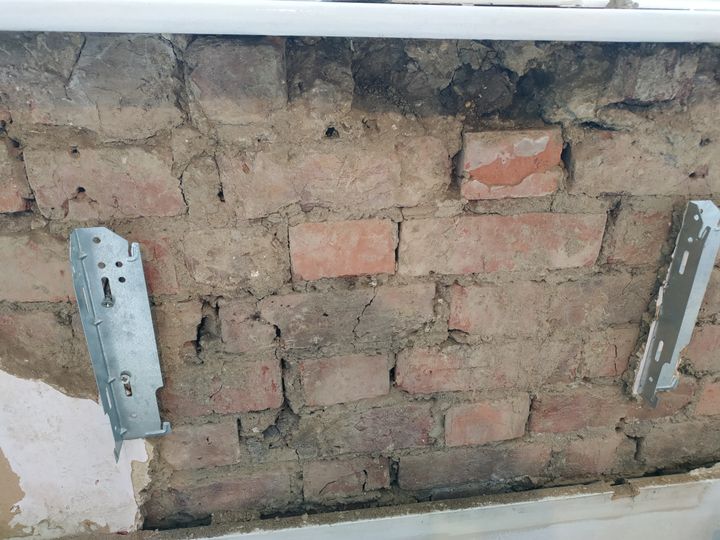
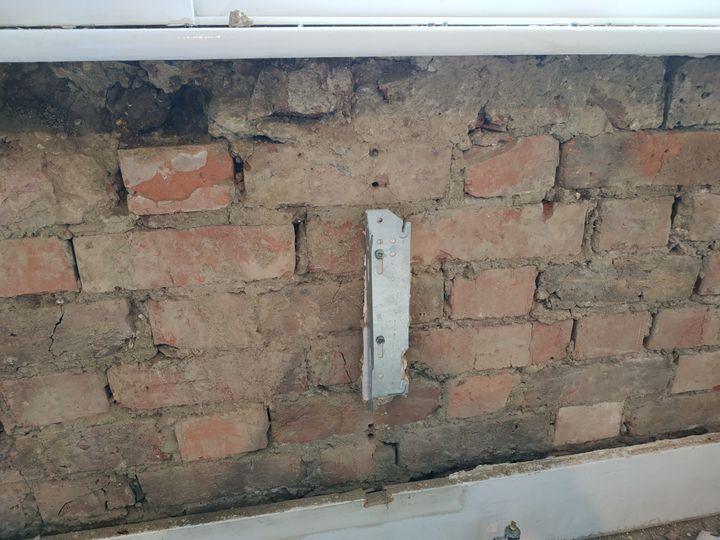
There's a little lime mortar missing as shown in the photos.
Should i just fill the gaps with nhl3.5 lime mortar or should the old mortar be completely removed first?
Do i have to wait 90 days for it to dry before replastering with lime plaster or can that be done straight away? (does the answer differ depending on the answer to the previous question?).
Also, i'm a bit concerned about rehanging the radiator.
Is it ok to put normal cement mortar on the area where the radiator brackets screws are (for strength)?
Thanks
Don't get too fixated on lime, it really isn't necessary in this situation - you just need a pragmatic solution (you've abandoned best 'conservation' practice anyway with the UPVC window).
I would render with 4:1 sand and cement + SBR then skim finish. Dabbing a thermal board onto the render is however likely to be beneficial as it looks like you have a local reduction in wall thickness there - you'd only need to extend your window board and refix the skirting.
I would render with 4:1 sand and cement + SBR then skim finish. Dabbing a thermal board onto the render is however likely to be beneficial as it looks like you have a local reduction in wall thickness there - you'd only need to extend your window board and refix the skirting.
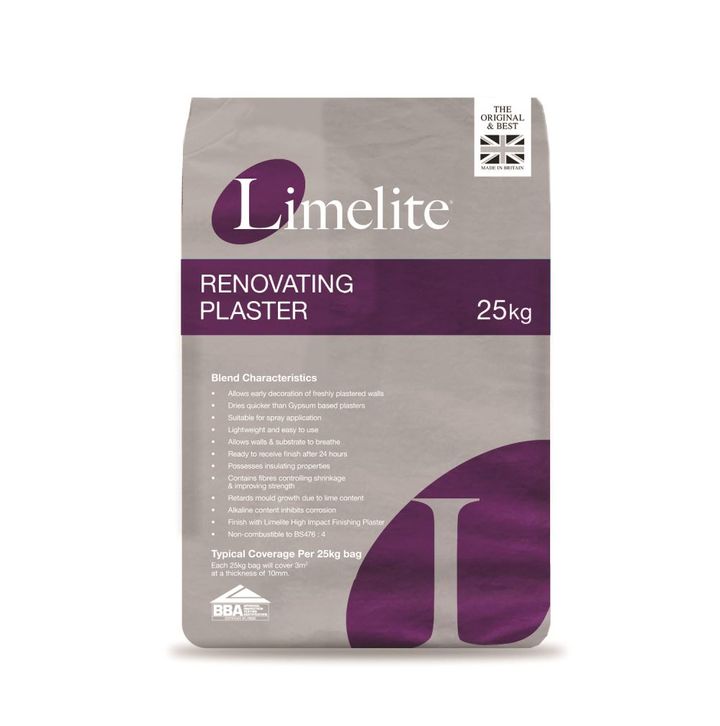
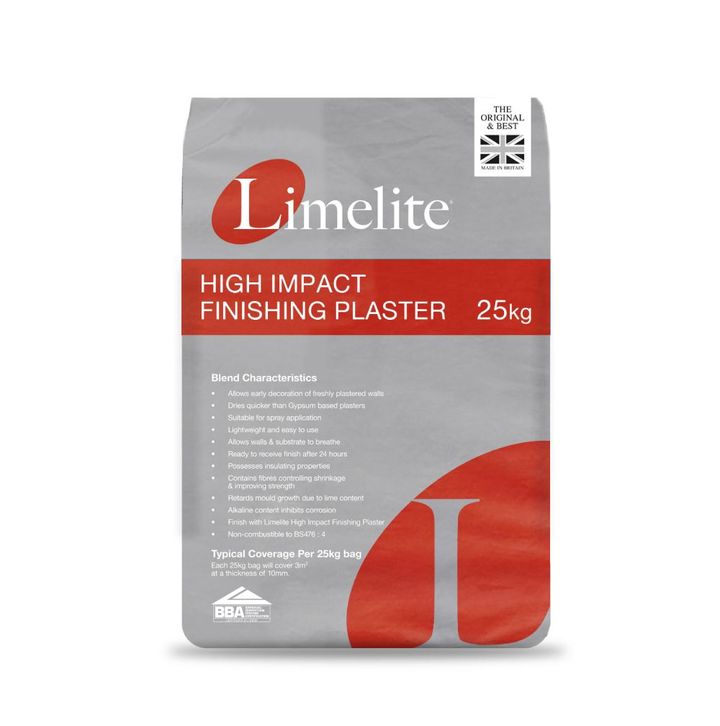
Are you doing all the work yourself? First off I’d make sure the screws for the rad brackets go into the bricks, not the crumbly old s t they are laid with. I’d wouldn’t bother filling in the joints as a separate task, just make sure your plaster of choice is well pressed in, think of it as an additional mechanical key;) As an alternative to sand and cement look up a product called Limelight renovating plaster, Lotobear alluded to it in another post recently. It’s a bit of a halfway house between traditional mortar and full on lime Nazi, it will keep the wall ‘slightly’ warmer as well: the only drawback is the finishing plaster recommended to go with it is absolutely horrible to use.
 t they are laid with. I’d wouldn’t bother filling in the joints as a separate task, just make sure your plaster of choice is well pressed in, think of it as an additional mechanical key;) As an alternative to sand and cement look up a product called Limelight renovating plaster, Lotobear alluded to it in another post recently. It’s a bit of a halfway house between traditional mortar and full on lime Nazi, it will keep the wall ‘slightly’ warmer as well: the only drawback is the finishing plaster recommended to go with it is absolutely horrible to use.
philv said:
Thanks for the replies.
What is a thermal board?
It's in relation to the bricks that have crumbled somewhat in the top middle?
https://www.british-gypsum.com/products/board-products/gyproc-thermaline-pir-63mm#characteristicWhat is a thermal board?
It's in relation to the bricks that have crumbled somewhat in the top middle?
(other manufacturers and various thicknesses available)
A fairly strong sand and cement render, with a coarse sand, will help to 'tighten' up your brickwork and fill the open joints. I find it's always a good solution on old brickwork such as this which can be a bit loose and it creates a good base for either a plaster or dry lined solution on top.
(your crumbled bricks should be 'pieced up' with new or 2nd hand bricks)
Yeah, options range from a full lime product, via the limelite stuff, to foam backed gypsum plasterboard.
Given it's one small area or one wall, right next to the radiator, I expect any of the above would be fine unless the house has a known damp problem.
I would remove the last bit of that one wall area, but carefully avoid taking any more off unless its properly detached and hanging off already.
I would likely go for the middle ground and slap some Limelite on it which we have used on our house, in truth its a cement based product which has a good amount of lime in to help improve breathability, but that means it goes off quickly and you can get on with the job. For that small area, most of which will be covered by the rad, I would would confidently diy it despite broadly working hard to avoid all plastering in favor of getting someone in to do it.
We then stuck some 5mm thick foil covered radiator foam behind any rads on external walls.
And yes, if the old rad is undersized, which is probably is, swap it for a larger and or triple convector unit.
Gassing Station | Homes, Gardens and DIY | Top of Page | What's New | My Stuff


