Tamiya 1/24 Nissan Skyline GT-R Z-Tune build (many pics)
Discussion
Box Art

The real thing, with stickers

or without

Been building this over the past few weeks, was supposed to save it for later, but I couldn't really resist . No real mods, just a good old OOB build, so far it's been a real nice kit to work with.
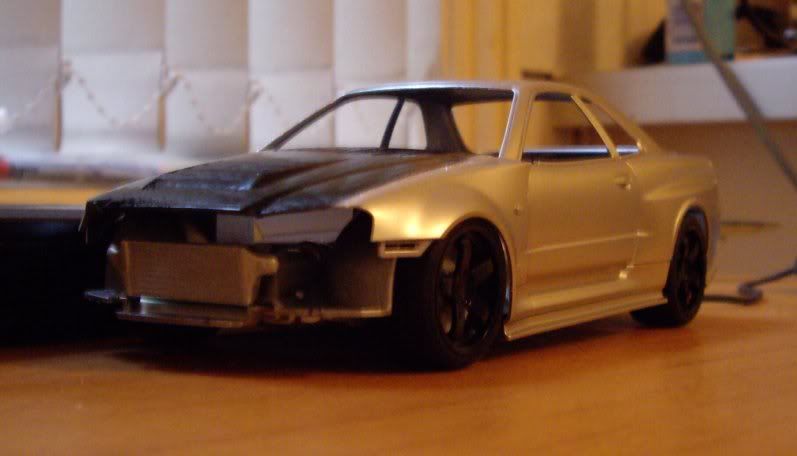
Mine will be slightly different from typical due to my own preferences and shortcomings in some materials. For example I will be substituting the red interior inserts with blue instead (I didn't have any red paint immediately at hand) and adding a fashionable black bonnet as it looks a bit dull in the all grey colour scheme.
Basically this is your standard Tamiya 1/24 R34 GT-R kit, but with a few extras to visually bring it up to Z tune spec. So you end up with a few spares for your collection in with the bargain. The most obvious alteration from stock is the new(ish) body which is slightly different from the standard Skyline, most obviously around the bonnet. You also get a Z-Tune front bar along with the stock GT-R front bar. There is also two sets of wheels, either stock GT-R six spokes, or the Z-Tune 5 spokes and also a larger set of brakes to go with each, larger discs for the Z-Tune along with the smaller stock GT-R brakes. There are two steering wheels as well, although they both look the same to me . The other difference is a transmission cooler at the rear, otherwise it's pretty much standard R34 GT-R
I rigged up a ghetto spray booth out of some old boxes so I could give it a semi-decent paint job using a spray can in my flat. Then I attempted an abortive attempt at a carbon bonnet (transers would be a real bitch on the vented, bulging bonnet) so ended up with a bit of a dodgy matt black hand painted one instead to cover up my mistakes.
Anyway with that out the way out it's on with building the kit.
Rear suspension went together nice and easy with excellent fit.
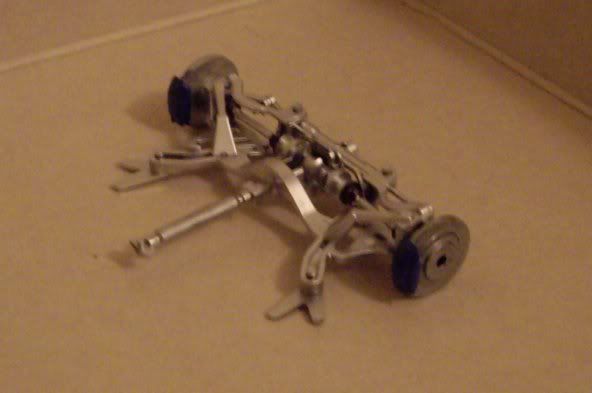
Then the front suspension, which was a bit trickier, definately recommend a dry trial fit first, needs to sort of all be done fairly quickly to get it aligned correctly.
Followed shortly by the the exhaust system. This is not a good fit, in fact it's not even the correct exhaust system at all! Caught you cost cutting Tamiya . It's just the normal exhaust from the standard GT-R (which the kit is based on) a proper Z-tune exhaust should be twin barrelled for most of the length from the reference photos I have (it's also titanium apparently, more useless trivia), but since this is going to be a kerbside model that doesn't matter greatly to me, but the pedantic modeller will need to scratchbuild their own exhaust if they want a truely accurate model. The fit of the standard exhaust is fairly poor as well, mainly the way it wraps over the rear suspension, or rather it doesn't, requiring a bit of a bending and holding the muffler until the glue sets.
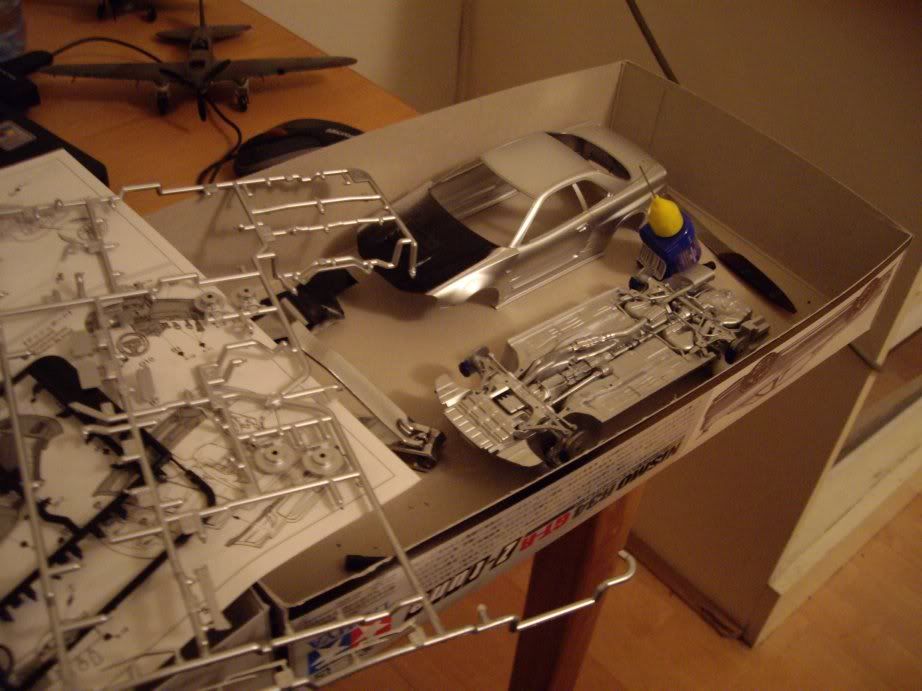
Next we add the wheels, which seem a reasonable fit, although they require a bit of adjustment to get them to sit correctly. I used a rubber band to force them to hold position and left them overnight to set.
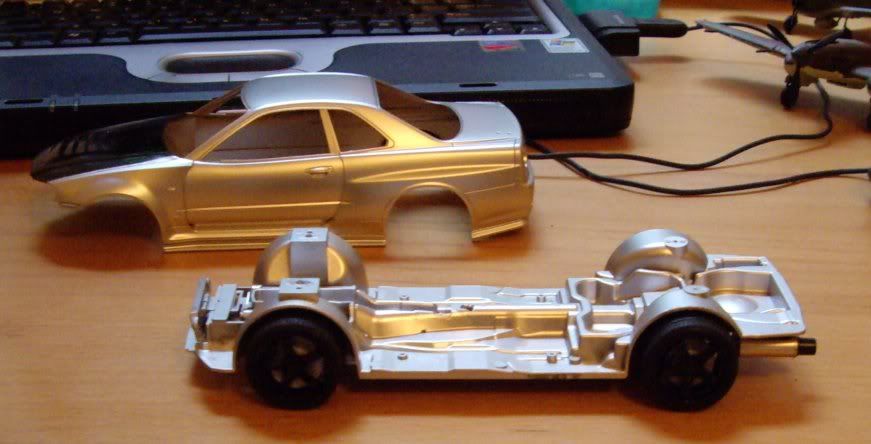
Added a few final extra braces and pieces like transmission coolers, and then we are all done with the underside. I suppose I should probably detail some parts in black, and replicate axel grease on the but I think it will be ok as is.
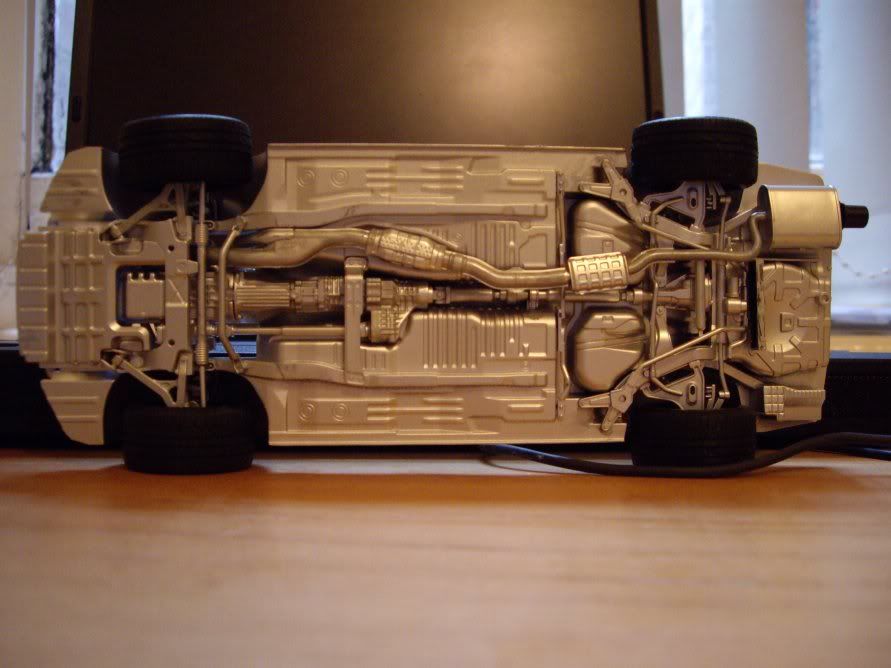
Then mount the intercooler and trial fit the body to check before we undertake the next step, which will be the interior.
Next installment should appear soon, hope to have it mostly finished over the long weekend.

The real thing, with stickers

or without

Been building this over the past few weeks, was supposed to save it for later, but I couldn't really resist
 . No real mods, just a good old OOB build, so far it's been a real nice kit to work with.
Mine will be slightly different from typical due to my own preferences and shortcomings in some materials. For example I will be substituting the red interior inserts with blue instead (I didn't have any red paint immediately at hand) and adding a fashionable black bonnet as it looks a bit dull in the all grey colour scheme.
Basically this is your standard Tamiya 1/24 R34 GT-R kit, but with a few extras to visually bring it up to Z tune spec. So you end up with a few spares for your collection in with the bargain. The most obvious alteration from stock is the new(ish) body which is slightly different from the standard Skyline, most obviously around the bonnet. You also get a Z-Tune front bar along with the stock GT-R front bar. There is also two sets of wheels, either stock GT-R six spokes, or the Z-Tune 5 spokes and also a larger set of brakes to go with each, larger discs for the Z-Tune along with the smaller stock GT-R brakes. There are two steering wheels as well, although they both look the same to me
 . The other difference is a transmission cooler at the rear, otherwise it's pretty much standard R34 GT-R
I rigged up a ghetto spray booth out of some old boxes so I could give it a semi-decent paint job using a spray can in my flat. Then I attempted an abortive attempt at a carbon bonnet (transers would be a real bitch on the vented, bulging bonnet) so ended up with a bit of a dodgy matt black hand painted one instead to cover up my mistakes.
Anyway with that out the way out it's on with building the kit.
Rear suspension went together nice and easy with excellent fit.

Then the front suspension, which was a bit trickier, definately recommend a dry trial fit first, needs to sort of all be done fairly quickly to get it aligned correctly.
Followed shortly by the the exhaust system. This is not a good fit, in fact it's not even the correct exhaust system at all! Caught you cost cutting Tamiya
 . It's just the normal exhaust from the standard GT-R (which the kit is based on) a proper Z-tune exhaust should be twin barrelled for most of the length from the reference photos I have (it's also titanium apparently, more useless trivia), but since this is going to be a kerbside model that doesn't matter greatly to me, but the pedantic modeller will need to scratchbuild their own exhaust if they want a truely accurate model. The fit of the standard exhaust is fairly poor as well, mainly the way it wraps over the rear suspension, or rather it doesn't, requiring a bit of a bending and holding the muffler until the glue sets.
Next we add the wheels, which seem a reasonable fit, although they require a bit of adjustment to get them to sit correctly. I used a rubber band to force them to hold position and left them overnight to set.

Added a few final extra braces and pieces like transmission coolers, and then we are all done with the underside. I suppose I should probably detail some parts in black, and replicate axel grease on the but I think it will be ok as is.

Then mount the intercooler and trial fit the body to check before we undertake the next step, which will be the interior.

Next installment should appear soon, hope to have it mostly finished over the long weekend.
Edited by Road_Terrorist on Thursday 24th May 17:55
Gassing Station | Scale Models | Top of Page | What's New | My Stuff


