Airfix Folland Gnat 1/72
Discussion


I thought I might try my hand at a build thread, as tinkering with polystyrene seems to have become a bit of a hobby again for me this year after a 20 year hiatus.
A few weeks ago Lidl were selling starter kits in the middle isle and I had been watching a YouTube video which suggested that the Folland Gnat would be a nice wee kit to put together. Unfortunately Lidl N.Ireland wasn't doing the same offer.
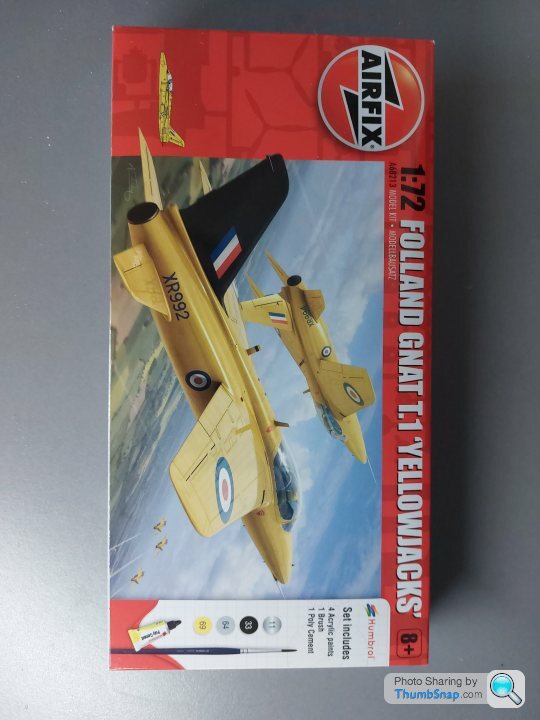
I had to have the kit, so I got one off ebay. I'm going to attempt the Yellowjacks scheme shown on the box but I've gotten myself a halfords rattle can for the yellow. A bit of research found this website, https://www.thunder-and-lightnings.co.uk/gnat/walk... with some nice photos of a similar scheme.
Hopefully it goes together easily enough and I have fun. It might take a few weeks though!
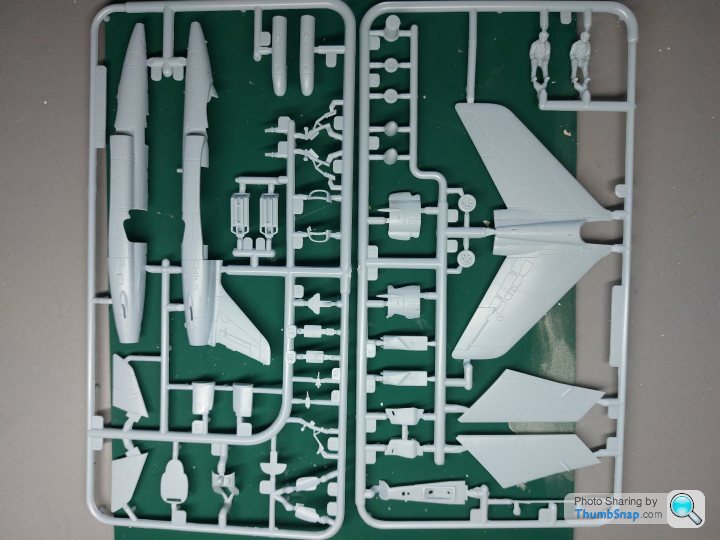
The kit
A few weeks ago Lidl were selling starter kits in the middle isle and I had been watching a YouTube video which suggested that the Folland Gnat would be a nice wee kit to put together. Unfortunately Lidl N.Ireland wasn't doing the same offer.
I had to have the kit, so I got one off ebay. I'm going to attempt the Yellowjacks scheme shown on the box but I've gotten myself a halfords rattle can for the yellow. A bit of research found this website, https://www.thunder-and-lightnings.co.uk/gnat/walk... with some nice photos of a similar scheme.
Hopefully it goes together easily enough and I have fun. It might take a few weeks though!
The kit
Murph7355 said:
First time I saw the Red Arrows they were using Gnats.
Not very long after they switched to Hawks.
Both are great looking machines.
Yes I love both, the gnat looks like it would have been really fun to fly and its a great looking machine, I have a Hawk T1 lined up for after this build.Not very long after they switched to Hawks.
Both are great looking machines.
I made a start on the cockpit, I wanted to have a go at seatbelts and some cabling on the ejection seats. It's my first attempt at this, so I'm sure the results won't turn out as well as my imagination.
Parts removed from sprue and cleaned up.
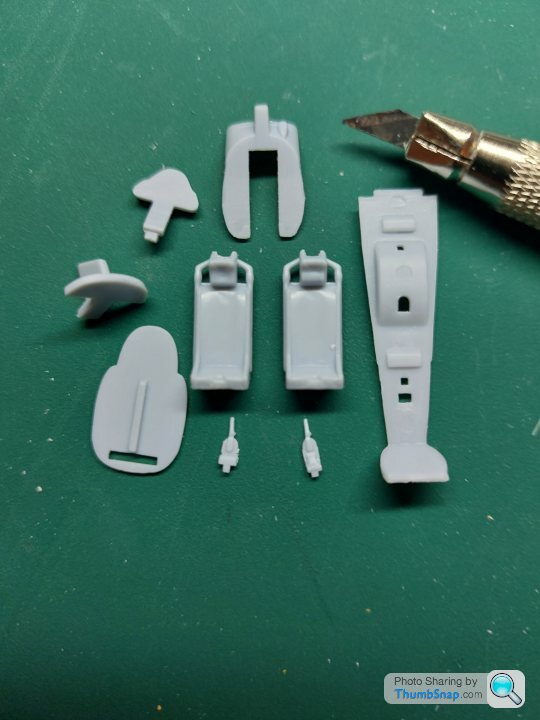
Seatbelts added to seats. I know these are highly inaccurate but they will hopefully look good through the canopy.
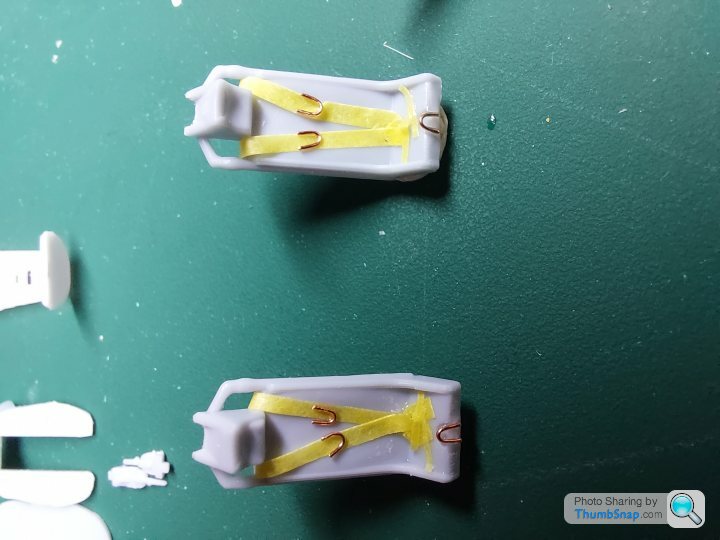
Then I added some buckles, the seat ejection cord and a cable on the seat frame. I plan to add the headrest ejection cord at the end. (Yellow/Black)
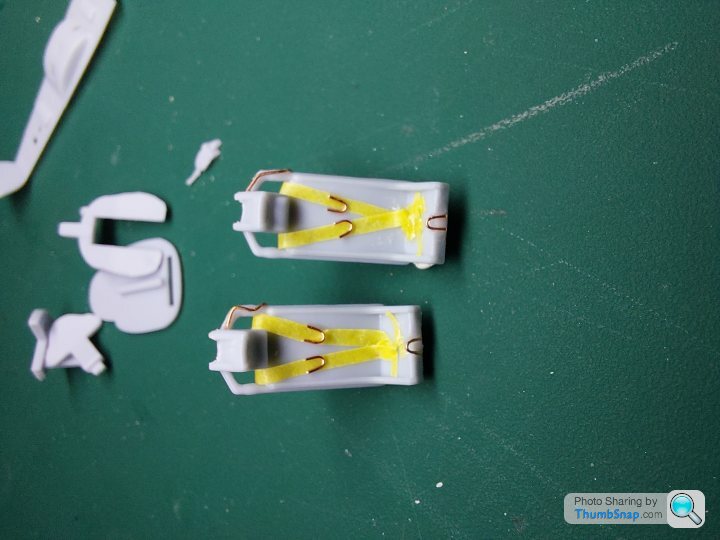
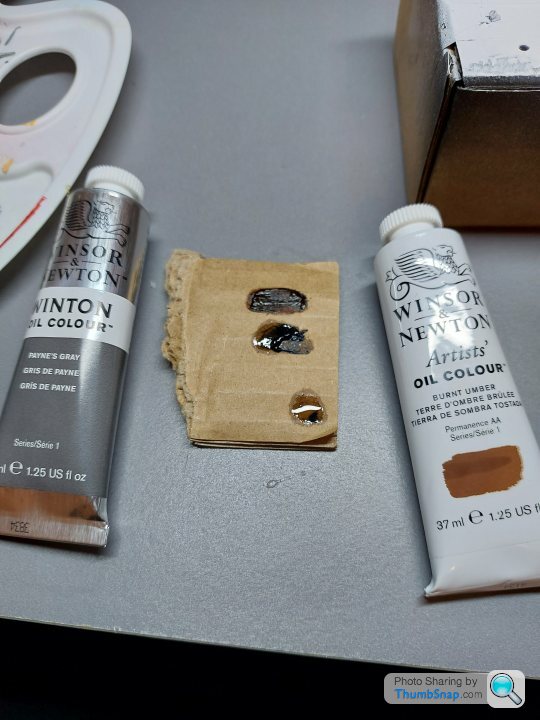
Parts all ready for primer, I'm going to use white as I'm pretty sure the cockpit is a grey colour on the gnat.
Parts removed from sprue and cleaned up.
Seatbelts added to seats. I know these are highly inaccurate but they will hopefully look good through the canopy.
Then I added some buckles, the seat ejection cord and a cable on the seat frame. I plan to add the headrest ejection cord at the end. (Yellow/Black)
Parts all ready for primer, I'm going to use white as I'm pretty sure the cockpit is a grey colour on the gnat.
tangerine_sedge said:
It's a great little kit, but I had problems with the cockpit fit on the 2 that I've made. I see lots of sanding and general fettling in your near future 
Thanks. I look forward to it, I'm hoping that by starting this thread I'll make more of an effort not to rush the build and have some patience.A bit more progress over the past 2 nights.
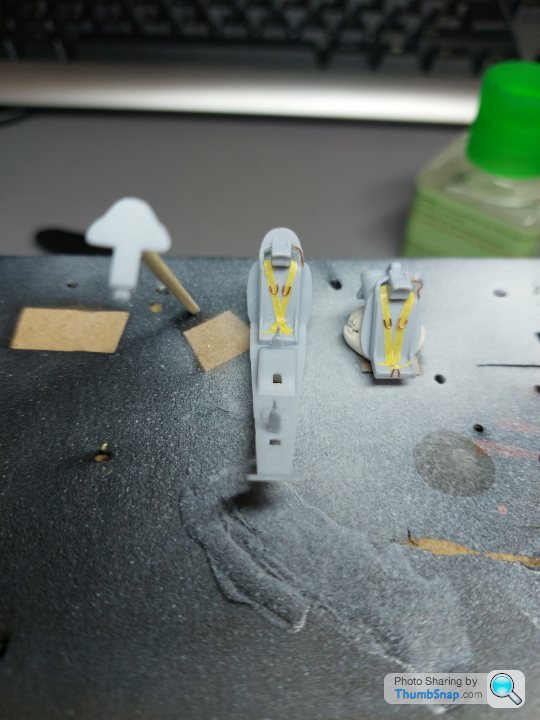
Cockpit primed in white with tamiya fine surfacer then a base coat of revell light grey for the cockpit interior colour.
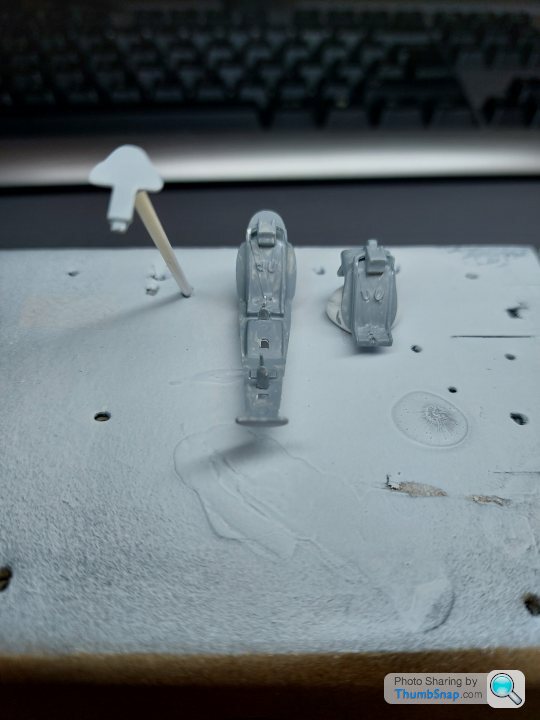
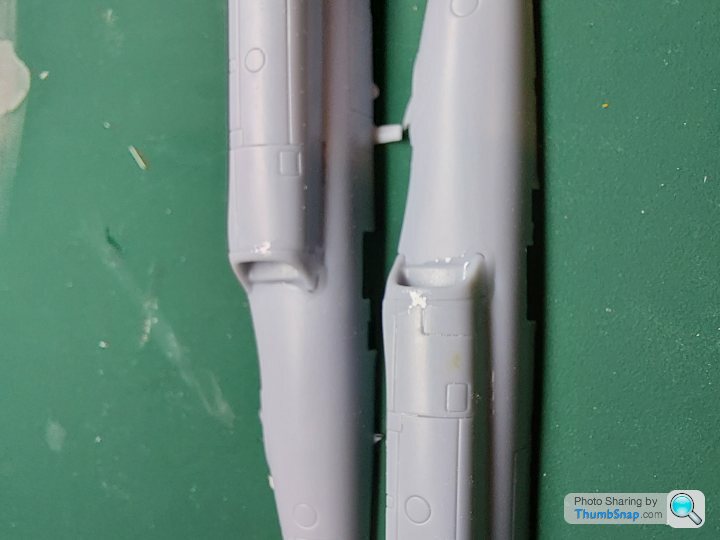
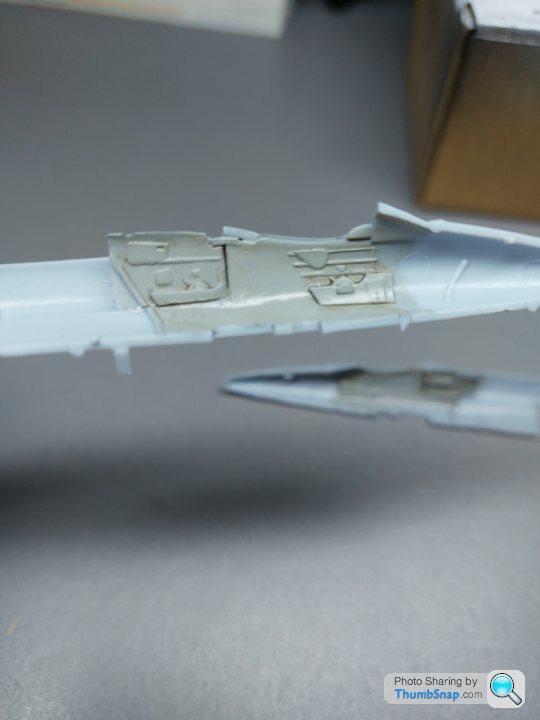
I also cut out the fuselage halves prepped them and attached the intakes. I had to add a bit of CA glue filler so that I can shape them. I will attempt to re-scribe lost panel lines.
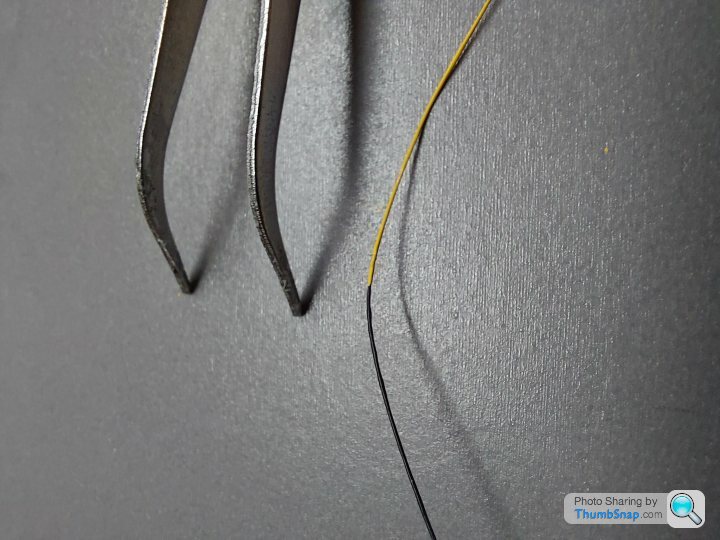
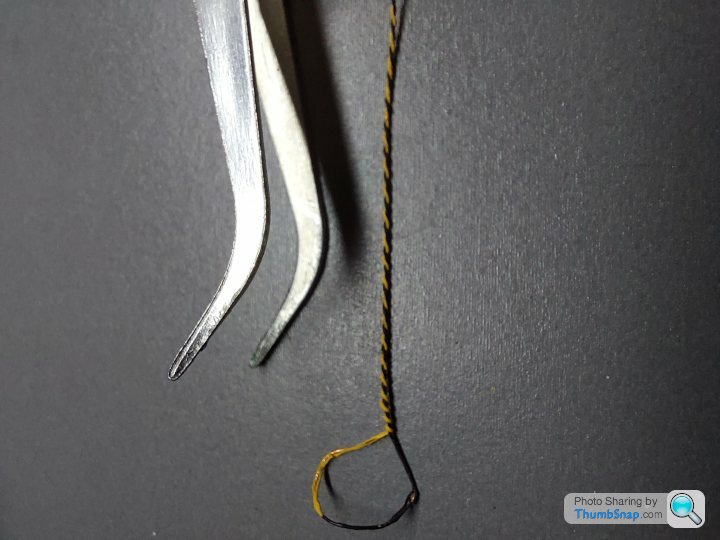
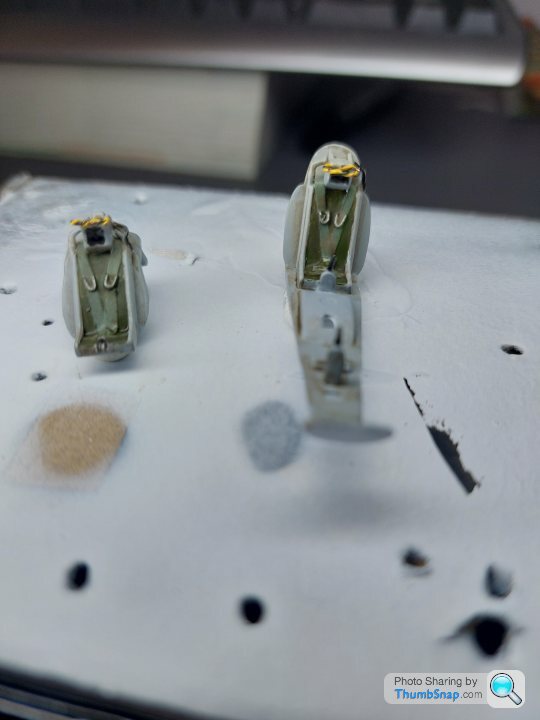
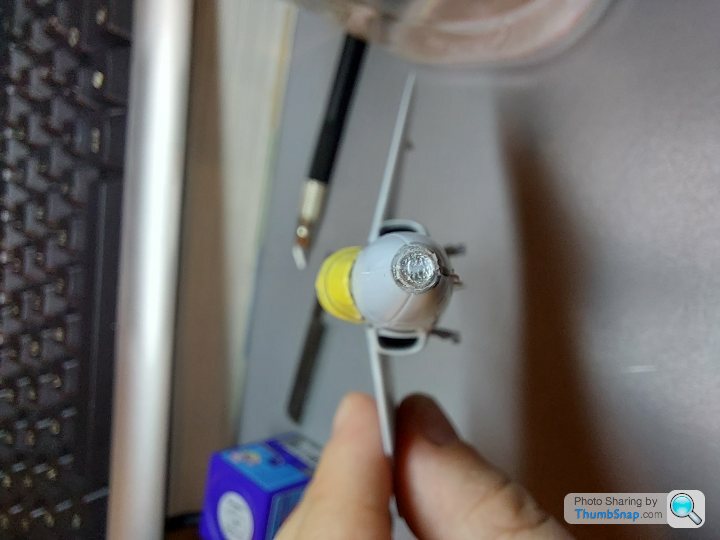
I also had a go at making the ejection handles from copper wire painted half and half black/yellow and then wound together. I might need to work on this step a bit more though.

Cockpit primed in white with tamiya fine surfacer then a base coat of revell light grey for the cockpit interior colour.
I also cut out the fuselage halves prepped them and attached the intakes. I had to add a bit of CA glue filler so that I can shape them. I will attempt to re-scribe lost panel lines.
I also had a go at making the ejection handles from copper wire painted half and half black/yellow and then wound together. I might need to work on this step a bit more though.
A bit more progress this evening.
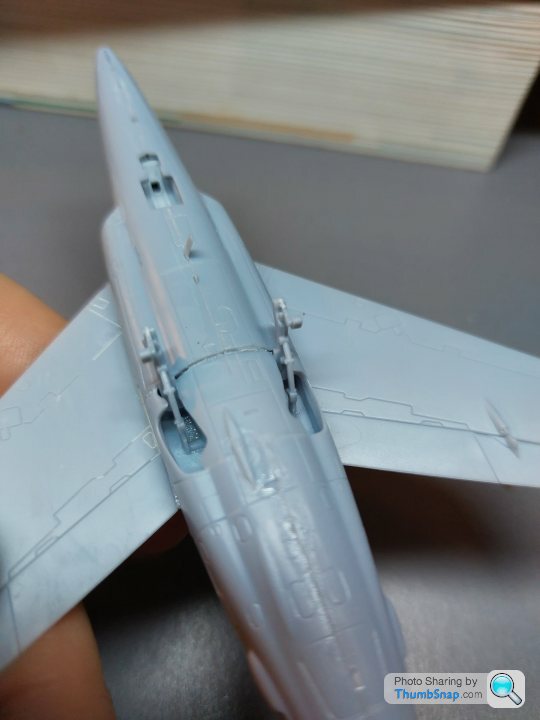
I got the intakes smoothed down, I think this makes all the difference on small jets like this one and should make the final paint finish look a lot better.
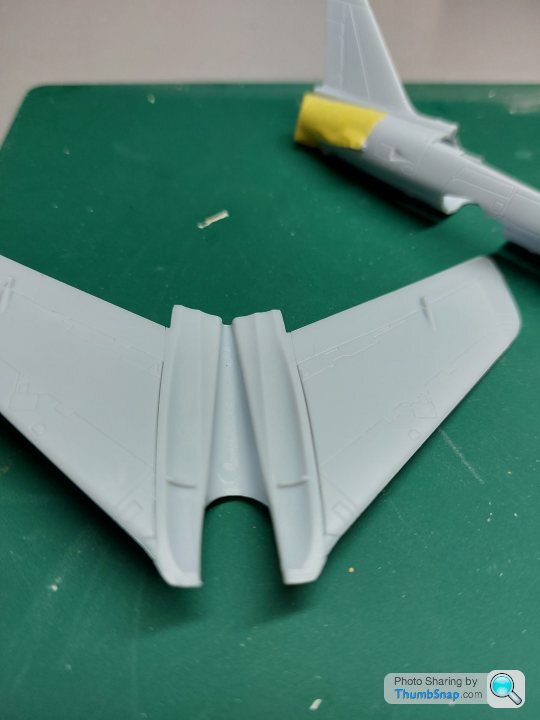
I also fitted the wings together, these went together well apart from the left underside part needed thinning a bit to make it sit flush in the outer section of the wing.
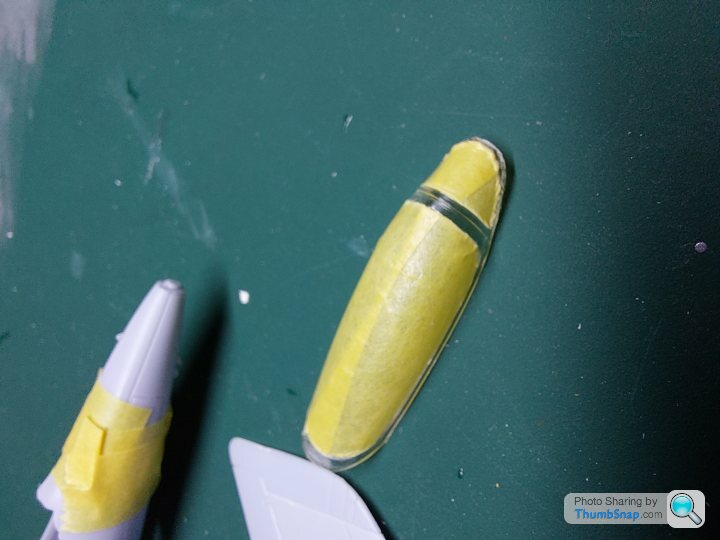
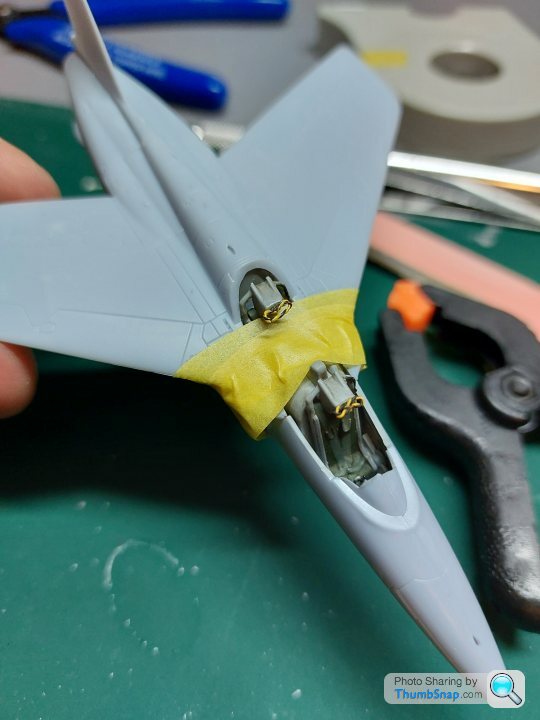
I also masked the canopy, it was a pretty straightforward task, especially as I now use a back-light and diffuser to see the frame edges clearly.
Maybe I'll get some time next week for more.
I got the intakes smoothed down, I think this makes all the difference on small jets like this one and should make the final paint finish look a lot better.
I also fitted the wings together, these went together well apart from the left underside part needed thinning a bit to make it sit flush in the outer section of the wing.
I also masked the canopy, it was a pretty straightforward task, especially as I now use a back-light and diffuser to see the frame edges clearly.
Maybe I'll get some time next week for more.
Eric Mc said:
That backlight and diffuser trick sounds good. Could you post a picture of your set up?
Hi EricI think I've billed it as more than it is, I just turn the light on my phone on and place a couple of sheets of paper over it. That combined with the tape on the canopy gives a perfect backlight to see the frame edges.
I can post a picture at some point to explain if you need.

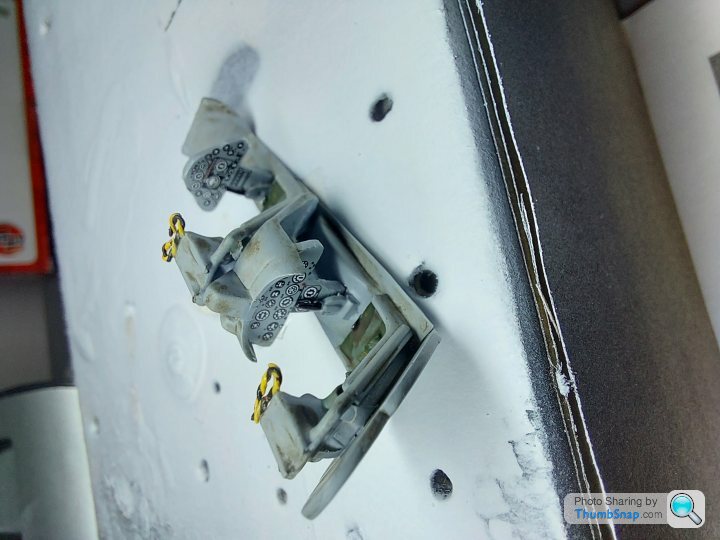
I made a little more progress last night. I finished off the painting on the seats, I'm considering giving everything a very light grey or umber oil wash. I also attached my attempt at the ejection seat cords to the head rests. 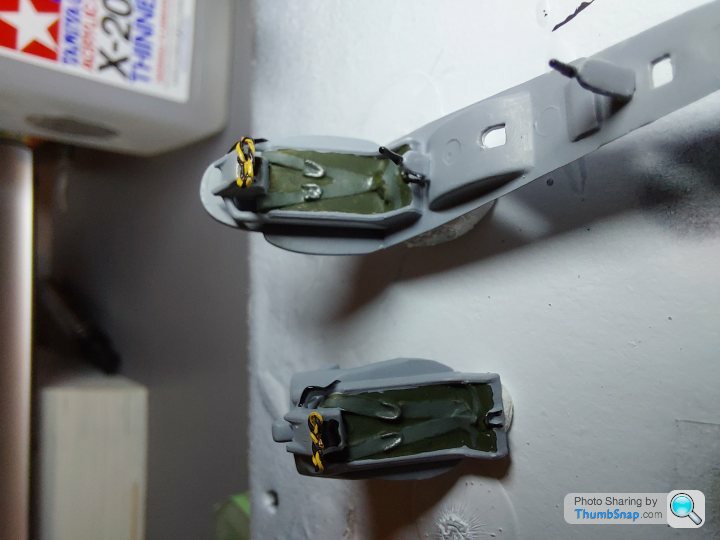
Cockpit decals added.
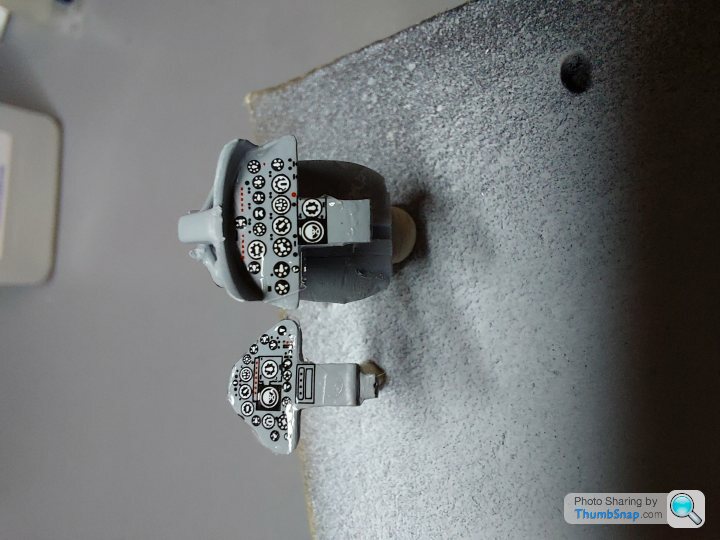
Not sure why the images are being posted in the wrong orientation.
Cockpit decals added.
Not sure why the images are being posted in the wrong orientation.
Some more progress over the past two nights.
I gave the cockpit a wash with some oil paints and put it together.
Wings on, I had to apply a lot of pressure to get these to be snug with the fuselage.
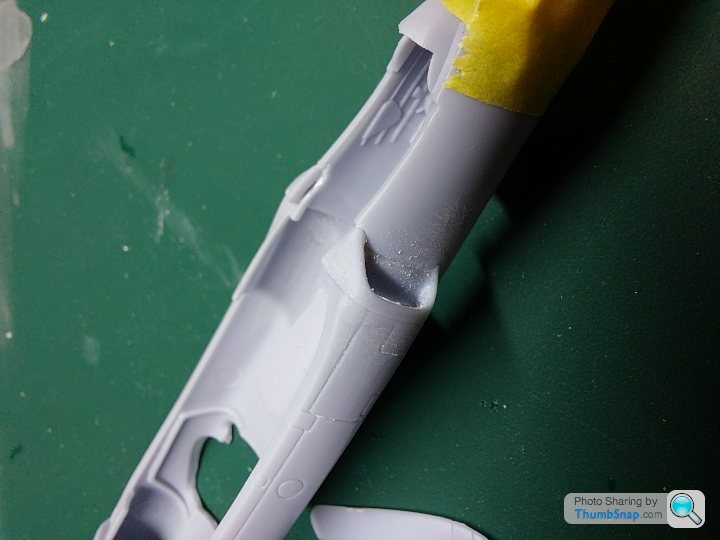
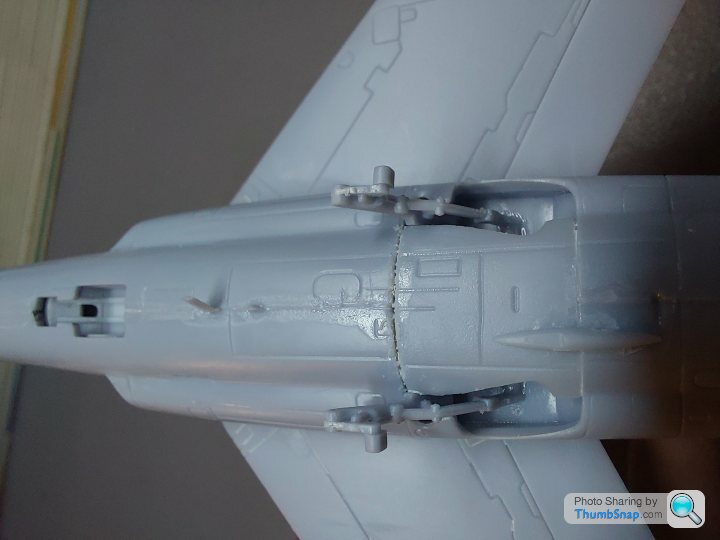
I managed to mess up the lower fuselage cover that goes between the landing gear and had to cut it away, prize it up and re-glue. A fair bit of sanding to come I'd say.
Got the clear parts fixed on as well; canopy and landing light.
I painted behind the landing light with aluminium.
I've also filled any gaps I could see with CA glue, especially around where the intakes meet the wing. I'll sand this back next time.
I gave the cockpit a wash with some oil paints and put it together.
Wings on, I had to apply a lot of pressure to get these to be snug with the fuselage.
I managed to mess up the lower fuselage cover that goes between the landing gear and had to cut it away, prize it up and re-glue. A fair bit of sanding to come I'd say.
Got the clear parts fixed on as well; canopy and landing light.
I painted behind the landing light with aluminium.
I've also filled any gaps I could see with CA glue, especially around where the intakes meet the wing. I'll sand this back next time.


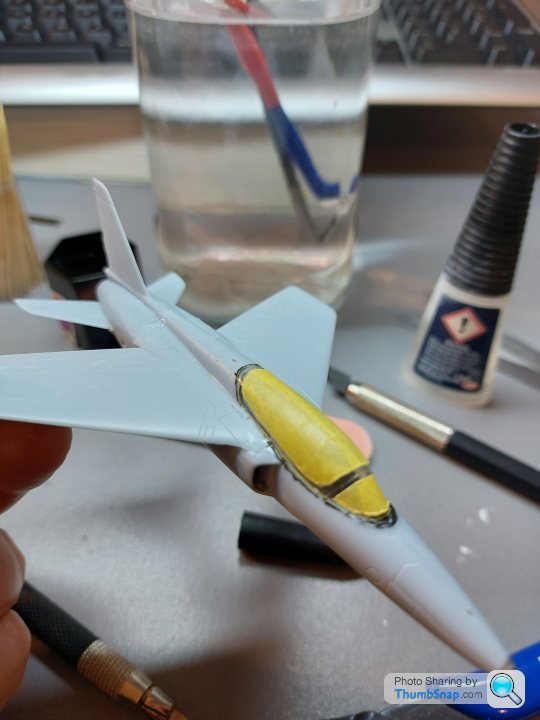
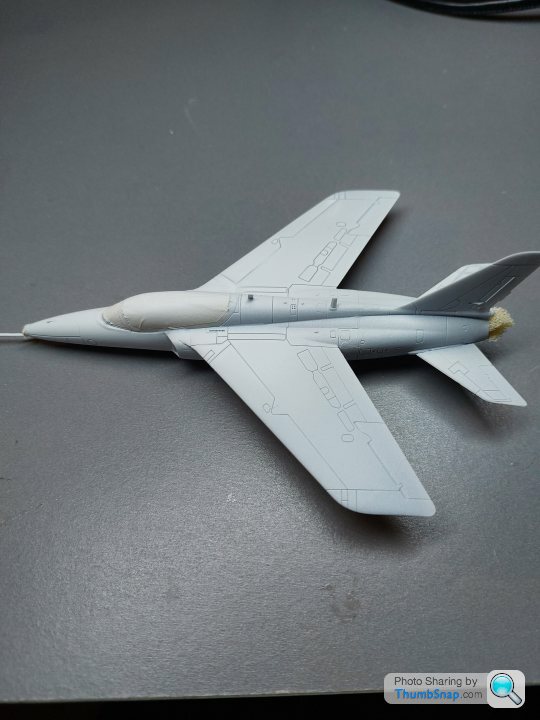
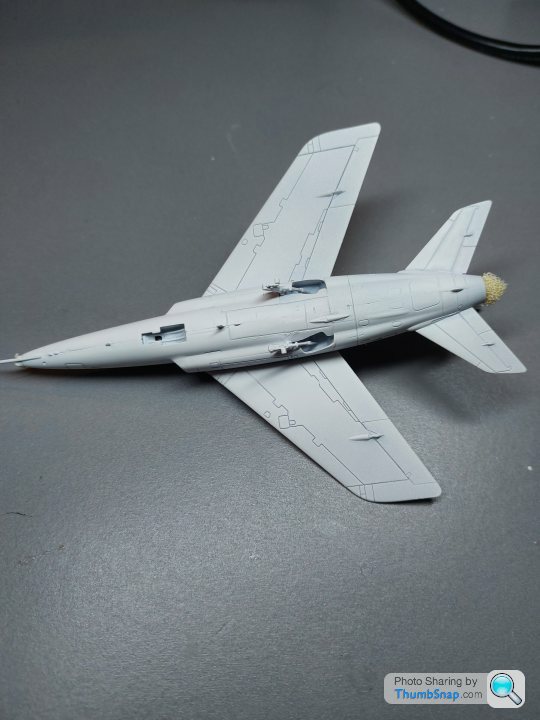
I managed to sand down all my CA filler last night and made an attempt at engraving some lost panel lines. I have to say the youtubers make engraving look so easy!
I also got my first coat of Fine surface primer on this morning before the rest of the house woke up.
I'll post up pics of the progress later.
I also got my first coat of Fine surface primer on this morning before the rest of the house woke up.
I'll post up pics of the progress later.
Rick_1138 said:
Very fun build you have going on.
I too grabbed a few from the Lidl Airfix set, got a typhoon, a Gnat, a hurricane but sadly missed out on a Zero.
I like simple models like this, just enough to satisfy the urge to be creative but quick progress and not too much faff.I too grabbed a few from the Lidl Airfix set, got a typhoon, a Gnat, a hurricane but sadly missed out on a Zero.
I recently built the Revell F4 phantom in 1/72 scale and it started to become a chore, I still haven't fixed on the weapons or given it a final coat of varnish.
Gassing Station | Scale Models | Top of Page | What's New | My Stuff