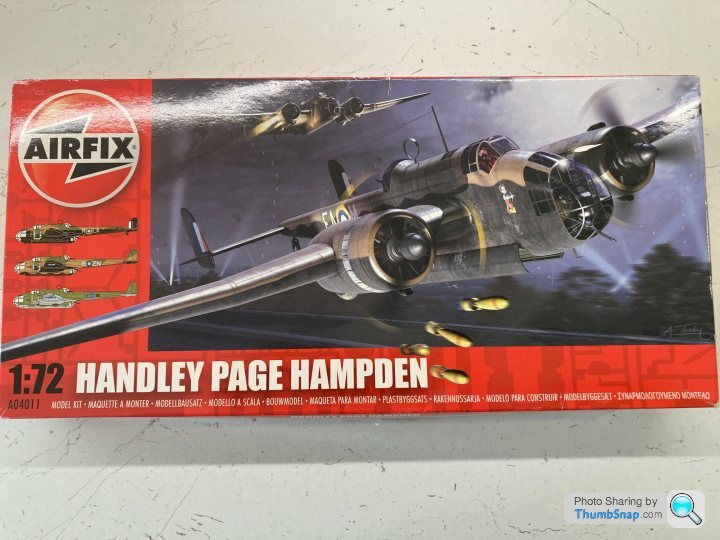
Airfix 1/72 Handley Page Hampden
Discussion


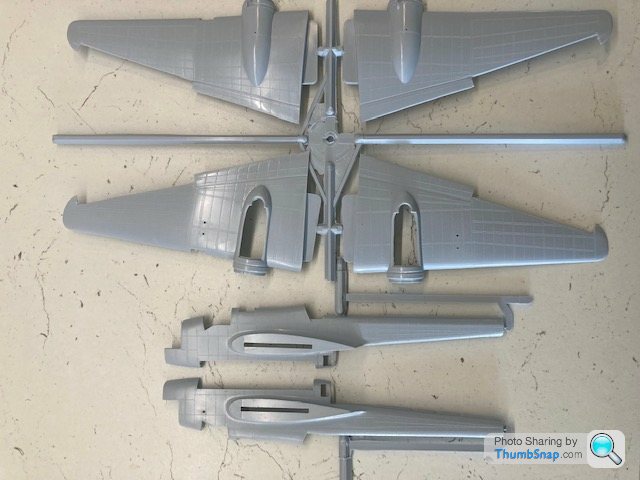
As I'm a glutton for punishment, I decided to have another go at this venerable kit. It first came out in 1968 so exhibits all the crudities of an Airfix kit from that era i.e. oversized raised rivets, simplistic interior, slightly poor fit in places etc. It's generally OK shape wise although the wing tips are too rounded (based on the scale drawings I have in my files).
I first built one of these as a kid (not long after it was released) and I had another (aborted) go at it about 20 years ago. Airfix re-issued it in a red box about ten years ago and this is the one I am building now. I still have many components from the unfinished twenty years ago project so I have no shortage of parts.
The more recent issue has some nice decals and great box art by Adam Tooby - although I have a soft spot for Roy Cross' original artwork too.
Both issues feature an aircraft from RAF 49 Squadron - and both feature cartoon character nose art. The original issue (and the one I attempted 20 years ago) had Popeye on the nose and the newer issue features Walt Disney's Pinnochio. I'm not sure which option I'll go for but I'm tempted by Popeye.
At my rate of building, it could be months before anything emerges but I've always been a fan of the Hampden so it would be nice to have one on my shelf.
Some progress.
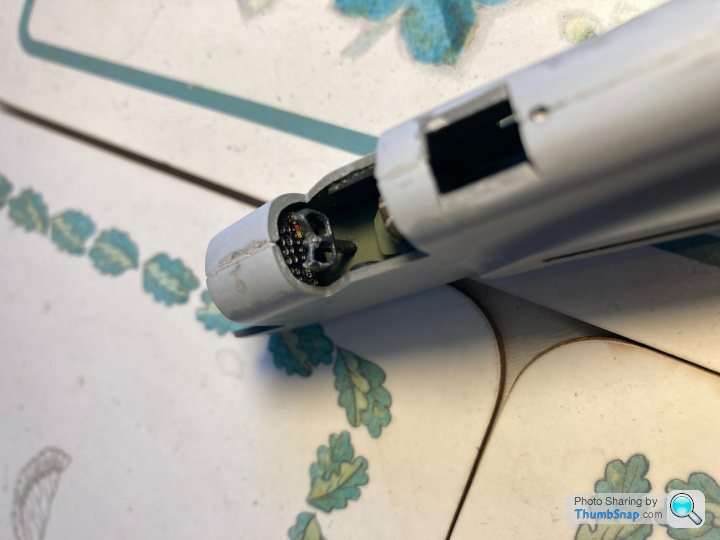
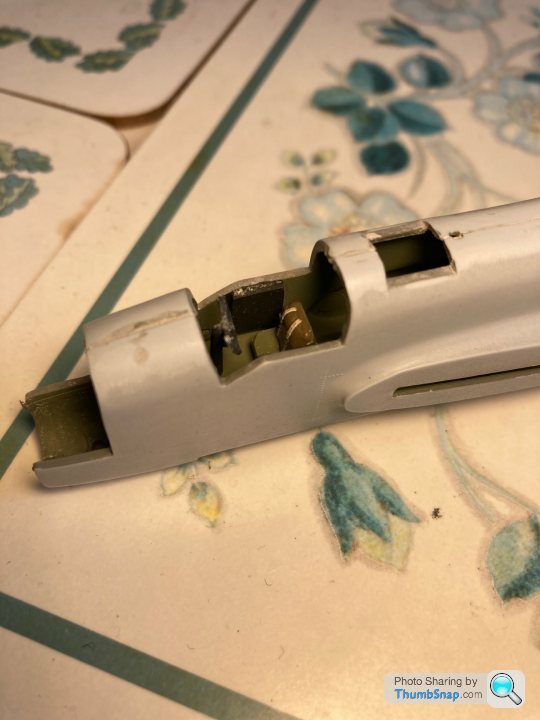
I used a Yahu 3D decal for the instrument panel and was pretty impressed. Being a 1968 kit, the cockpit is pretty spartan. Apart from the instrument panel, I've added a bit of scratch built detail into the cockpit but much of it will not be seen under the rather thick canopy.
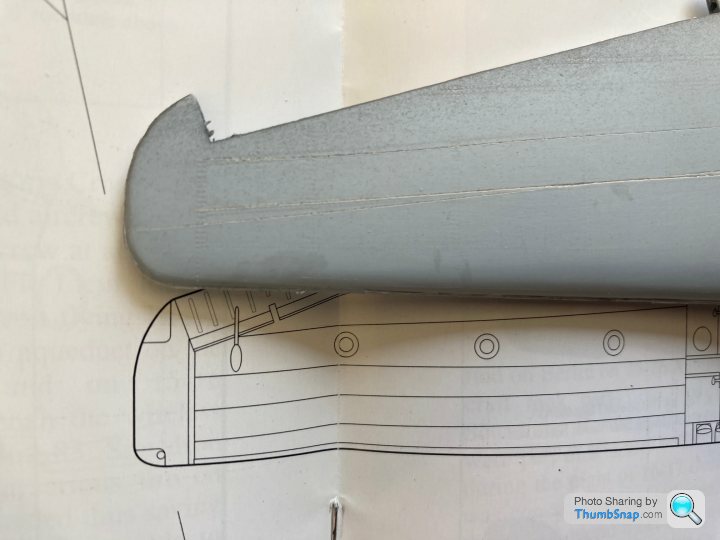
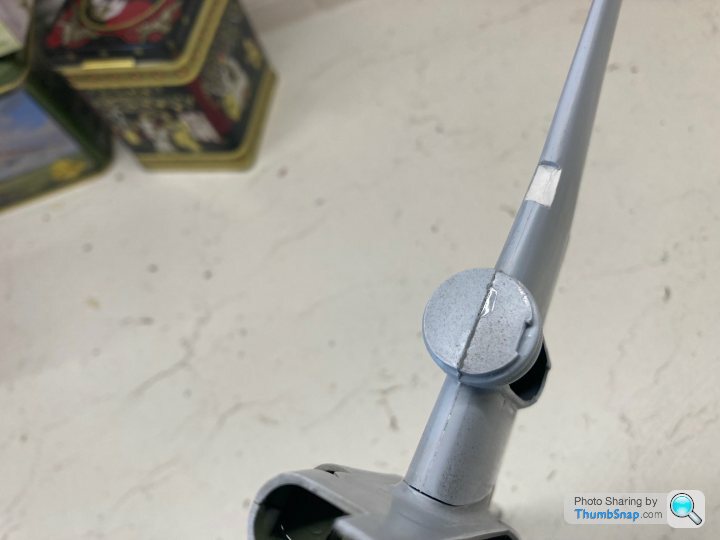
You can see how the wing tip is slightly too rounded. I've now squared it off a bit. I've also now made cut outs for the wing tip navigation and position lights.
I used a Yahu 3D decal for the instrument panel and was pretty impressed. Being a 1968 kit, the cockpit is pretty spartan. Apart from the instrument panel, I've added a bit of scratch built detail into the cockpit but much of it will not be seen under the rather thick canopy.
You can see how the wing tip is slightly too rounded. I've now squared it off a bit. I've also now made cut outs for the wing tip navigation and position lights.
Eric Mc said:
As I'm a glutton for punishment, I decided to have another go at this venerable kit. It first came out in 1968 so exhibits all the crudities of an Airfix kit from that era i.e. oversized raised rivets, simplistic interior, slightly poor fit in places etc. It's generally OK shape wise although the wing tips are too rounded (based on the scale drawings I have in my files)
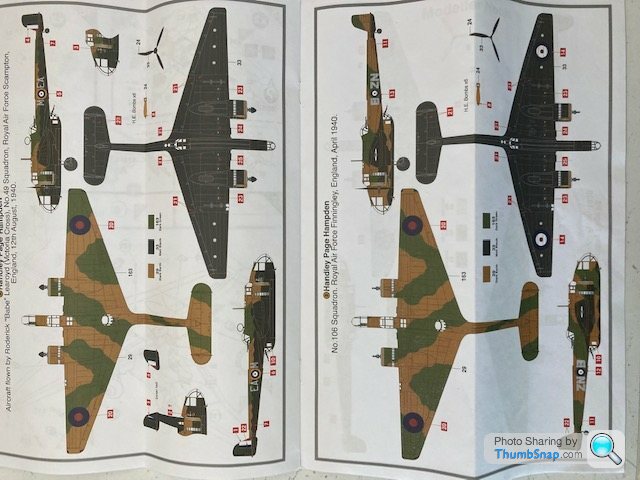
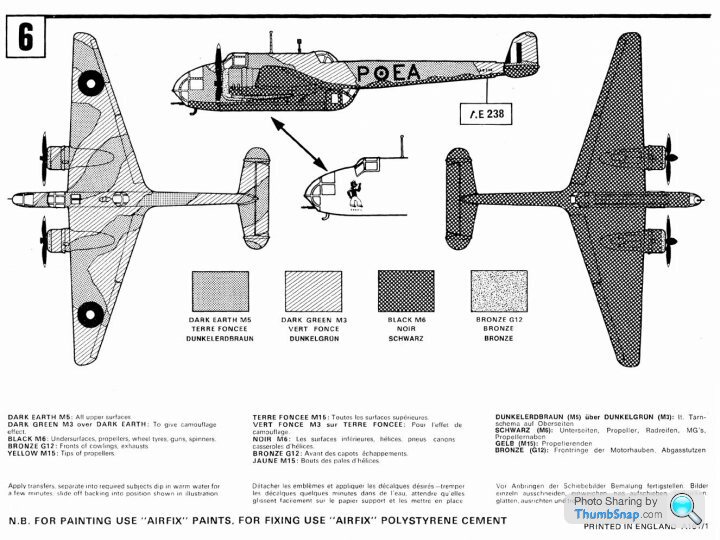
Even the Airfix painting instructions show squared-off wingtips!Looking forward to seeing this as it progresses.
The instructions would have been updated sometime in the mid 1970s when they moved from the old style verbal instructions to the pictorial instructions. I think I have an original set of instructions in the loft somewhere. It would be interesting to see what they showed - probably a fairly crude set of side and plan views.
Here's an example of the mid 70s style of paint guide drawing -
Here's an example of the mid 70s style of paint guide drawing -
Yertis said:
I recently threw away my 1977 vintage effort. Looking forward to seeing how yours turns out Eric, not seen so much from your bench recently.
For various reasons I haven't been very productive over the past few months.Also, I've been a bit reluctant to post up build threads in here as I felt that some of the posting in this section was a bit angry and acrimonious, to be honest.
Anyway, I'm trying to get on with some projects and hope to get something finished before too long.
As expected - gaps galore.
Also, the location tabs for the wings did not fit into the slots in the fuselage. Over time, I expect that wear in the moulds has eroded the tolerances that were there originally. I certainly don't remember difficulties slotting the wings into the fuselage back in 1968
However, a bit of careful scraping away of the slot apertures with a modeling knife was enough to open up the slots to allow the wings to slide in.
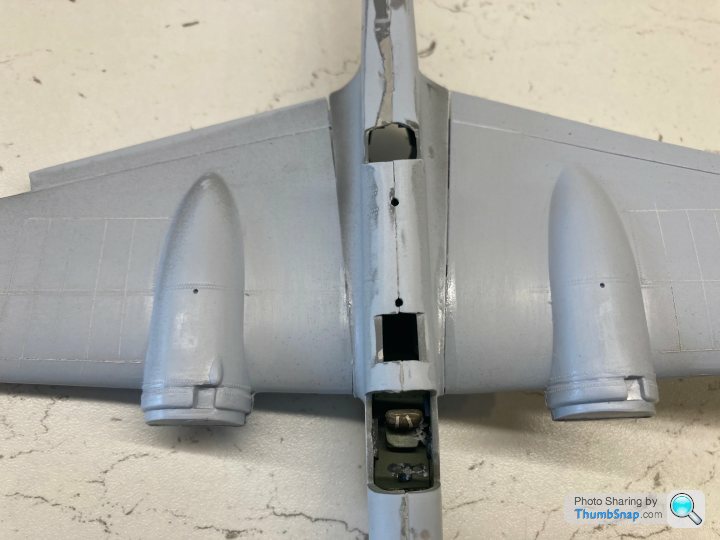
The Hampden had a fairly pronounced dihedral angle between the wings and the fuselage and I wanted to capture this as best I could. This has left some gaps at the fuselage/wing join. I will fill the gaps using a combination of plasticard strips and model putty.
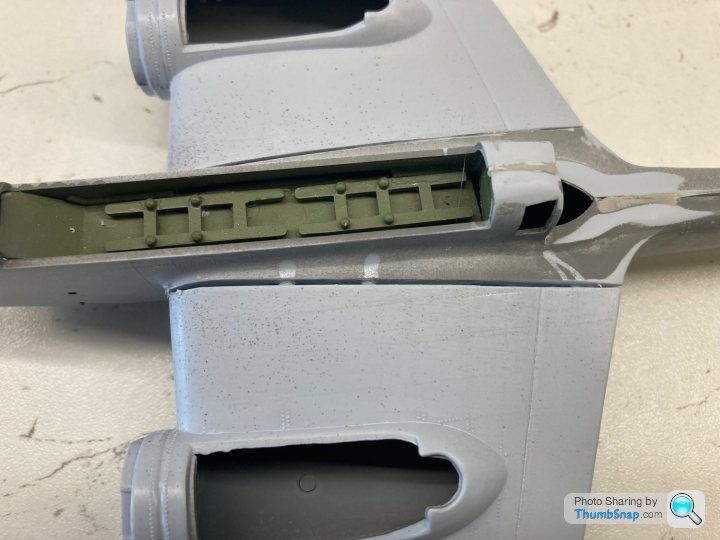
Airfix, to their credit, tried to replicate some landing light detail on the port wing. Very advanced for the time - but not very accurate. So I cut it out, refaced the internals of the lamp housing and will fabricate my own lamp reflectors using silver foil.
As can be seen, the fuselage has already been assembled and gaps filled and sanded.
Also, the location tabs for the wings did not fit into the slots in the fuselage. Over time, I expect that wear in the moulds has eroded the tolerances that were there originally. I certainly don't remember difficulties slotting the wings into the fuselage back in 1968
However, a bit of careful scraping away of the slot apertures with a modeling knife was enough to open up the slots to allow the wings to slide in.
The Hampden had a fairly pronounced dihedral angle between the wings and the fuselage and I wanted to capture this as best I could. This has left some gaps at the fuselage/wing join. I will fill the gaps using a combination of plasticard strips and model putty.
Airfix, to their credit, tried to replicate some landing light detail on the port wing. Very advanced for the time - but not very accurate. So I cut it out, refaced the internals of the lamp housing and will fabricate my own lamp reflectors using silver foil.
As can be seen, the fuselage has already been assembled and gaps filled and sanded.

Eric Mc said:
Me too. One of the earliest models I attempted painting at the time - using those old Airfix bottled paints.

Wow I remember those - though I mostly used Humbrol for some reason. In fact I still have some of them - including some odd ones like primrose yellow for something to do with the bomb racks on a Sunderland, and that slightly dark red for Spitfire gunport canvases.Simpo Two said:
Eric Mc said:
Me too. One of the earliest models I attempted painting at the time - using those old Airfix bottled paints.
Wow I remember those - though I mostly used Humbrol for some reason. In fact I still have some of them - including some odd ones like primrose yellow for something to do with the bomb racks on a Sunderland, and that slightly dark red for Spitfire gunport canvases.
I initially used these Airfix paints because they were the paints mentioned in the Airfix instructions - and were usually easily available to buy as they were on display alongside the Airfix kits.
A few years later I discovered the Humbrol range and largely switched to them.
Ironically, Airfix and Humbrol have been jointly owned since around 1986 or so (currently both owned by Hornby) so the old Airfix paint range was discontinued in the 1980s.
I switched to acrylic paints around 20 years ago so have not used Humbrol enamels for a long time.
The Hampden is coming along. Building has been delayed for a few weeks as my model shed was largely out of bounds as I'm having major landscaping work going on in my garden.
However, that project is almost done now and I have access to my shed is back again.
In fact, as part of the garden project, I'm having the shed properly wired up with power points, sockets and proper lighting.
However, that project is almost done now and I have access to my shed is back again.
In fact, as part of the garden project, I'm having the shed properly wired up with power points, sockets and proper lighting.
Edited by Eric Mc on Sunday 4th June 13:04
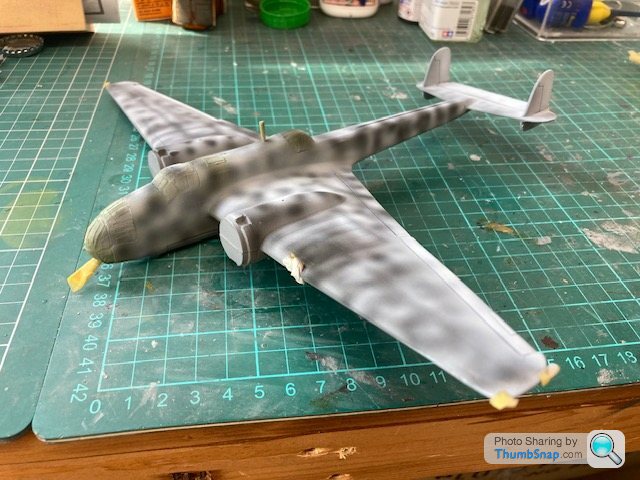
Slow progress on the Hampden. I've had a busy few weeks so not much time for model building. However, I was able to get some work done on the kit this weekend although most of the time was spent masking up the canopies. This is a very tedious task as I was just using standard Tamiya tape as opposed to a dedicated mask set. And being such an old kit the canopy frames are not that well delineated. I had to rely a lot on the 1/72 plans I have and some reference photos.
I also finally tackled the wing tip light tranparancies. I ended up cutting up a plastic box from a 1/43 car model I've had knocking about for ages. It was just the right thickness for the apertures. I used medium super glue and accelerator to glue them into position and then sanded them to shape and polished them to restore the glossy appearance.

I also finally tackled the wing tip light tranparancies. I ended up cutting up a plastic box from a 1/43 car model I've had knocking about for ages. It was just the right thickness for the apertures. I used medium super glue and accelerator to glue them into position and then sanded them to shape and polished them to restore the glossy appearance.
Gassing Station | Scale Models | Top of Page | What's New | My Stuff