1:25 Ford Mustang LX 5.0 build
Discussion


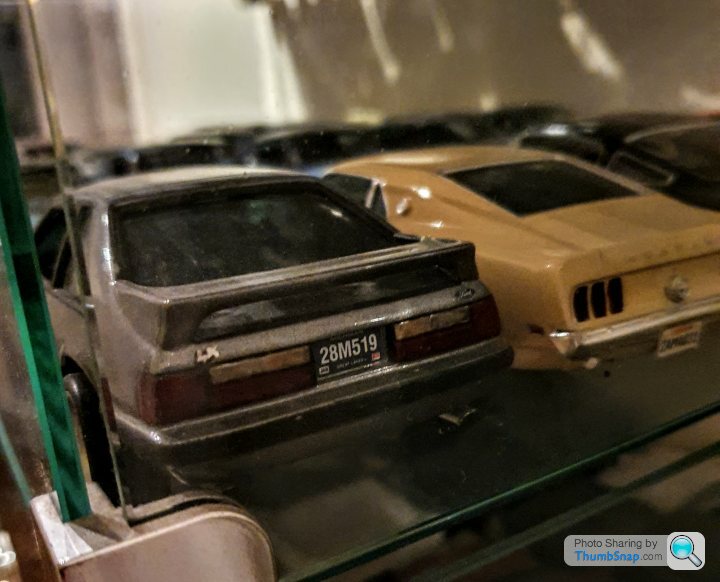
While searching the classifieds for a Fox Mustang, preferably a 5.0 LX manual for a decent asking price, I stumbled across the notchback in model form on yt, a little bit cheaper than the original and available.
Having modded a amt GT hatch almost 30 years ago, with parts from a SVO and some scratch built ones to make a LX, I would have liked a notch in the day, so now it's the time to build my first plastic model kit since 15 years.
AMT GT
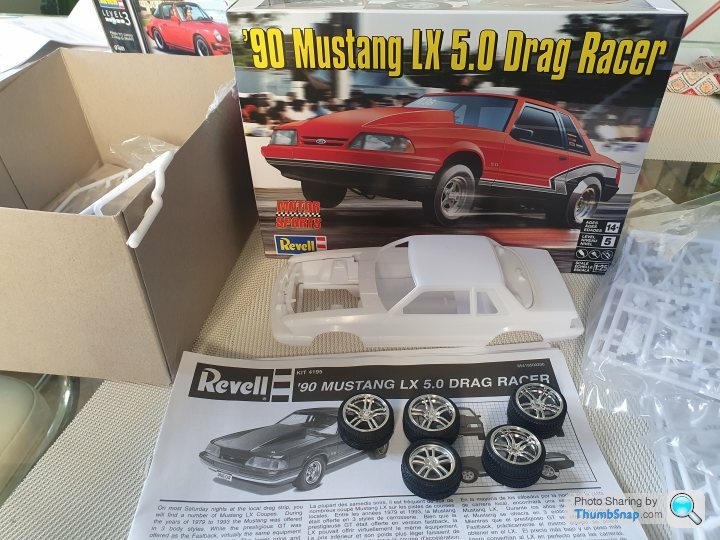
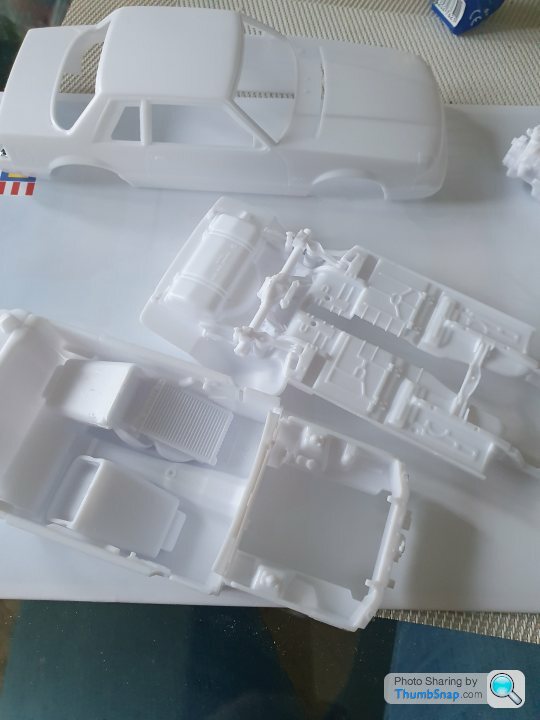
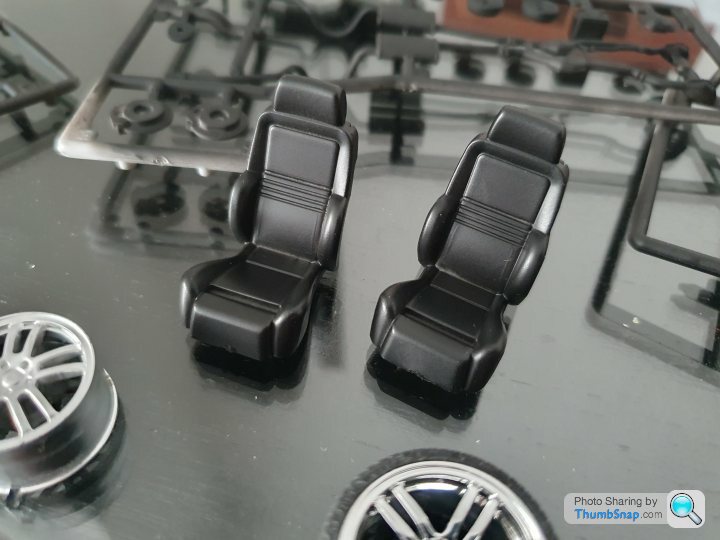
Being a newer form the parts are a world apart from the 80s/90s stuff. It's a Revell kit, so considerably more pieces compared to the older amt/monogram kits of yore, more details, sculpted door cards, rear suspension has 10 pieces, old stuff 6, you get the idea.
Unpacking the box is a treat, it can be built in stock or drag versions, so a few additional parts (ultra light front suspension, rollcage, etc) are provided. I already had a few sets of 18/19 inch wheels ordered, for the proper contemporary Foxbody stock look, so let the build begin:
[url]
 |https://thumbsnap.com/ZfKzvZ6v[/url]
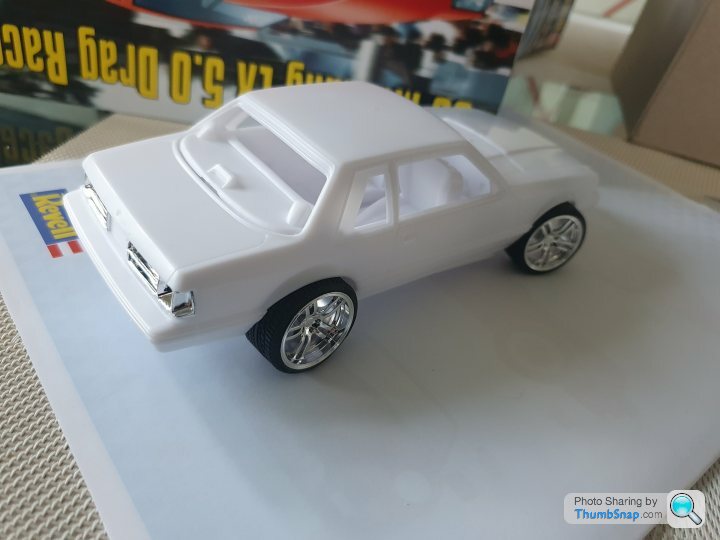
Parts come together like butter, and I feel like I'm 20 years younger, sniffing the glue and what not...
Wheel fit looks good, next is to decide what colours for the interior and the body...
Having modded a amt GT hatch almost 30 years ago, with parts from a SVO and some scratch built ones to make a LX, I would have liked a notch in the day, so now it's the time to build my first plastic model kit since 15 years.
AMT GT
Being a newer form the parts are a world apart from the 80s/90s stuff. It's a Revell kit, so considerably more pieces compared to the older amt/monogram kits of yore, more details, sculpted door cards, rear suspension has 10 pieces, old stuff 6, you get the idea.
Unpacking the box is a treat, it can be built in stock or drag versions, so a few additional parts (ultra light front suspension, rollcage, etc) are provided. I already had a few sets of 18/19 inch wheels ordered, for the proper contemporary Foxbody stock look, so let the build begin:
[url]
|https://thumbsnap.com/ZfKzvZ6v[/url]Parts come together like butter, and I feel like I'm 20 years younger, sniffing the glue and what not...
Wheel fit looks good, next is to decide what colours for the interior and the body...
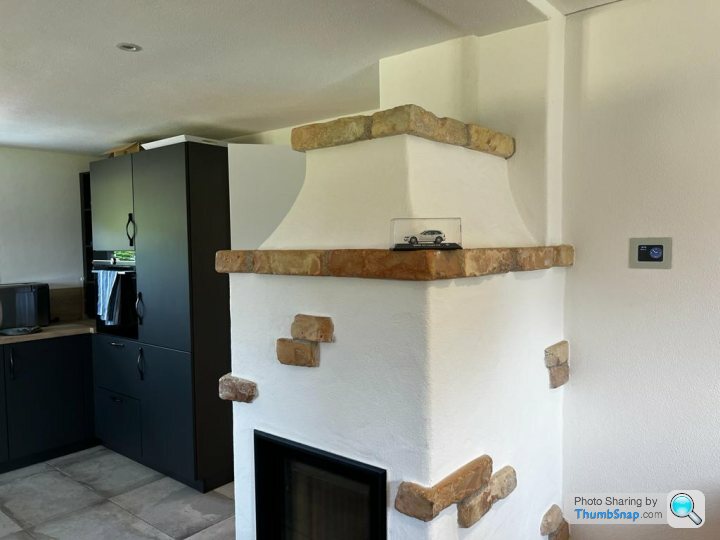
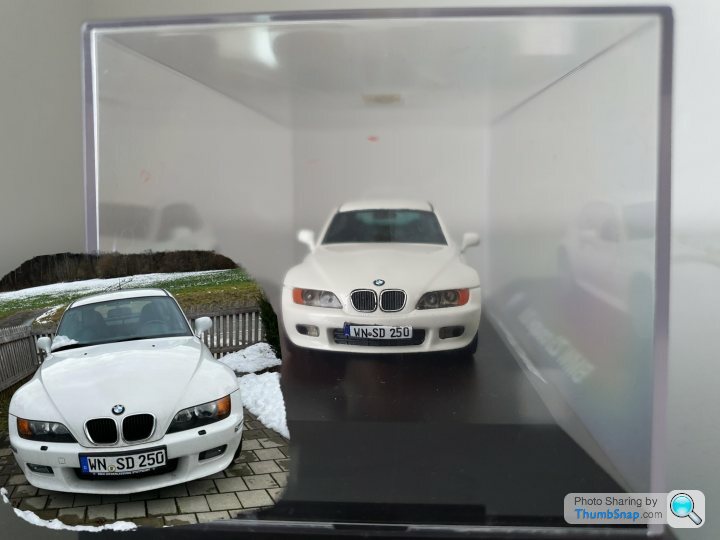
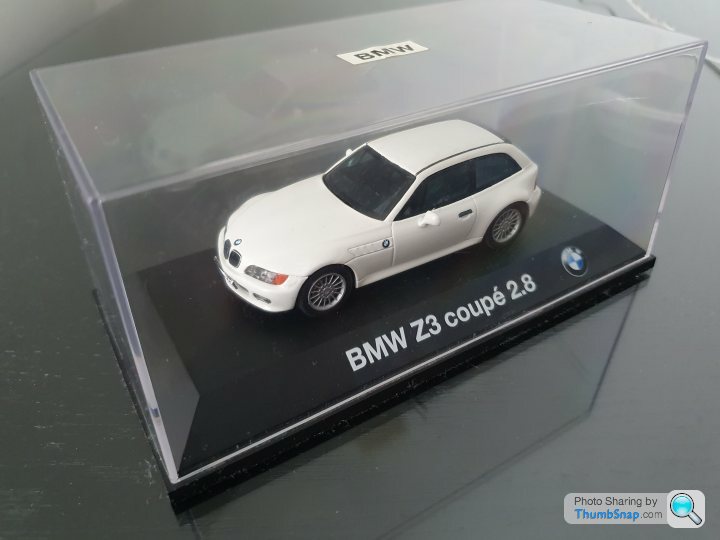
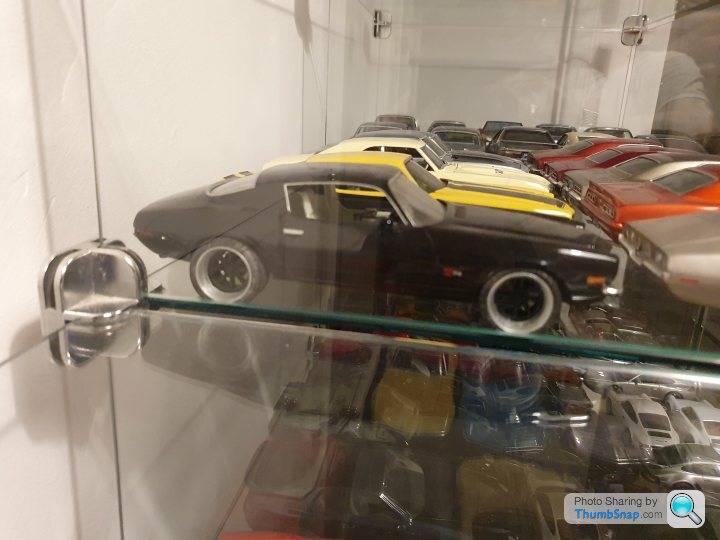
Well, it took some time, but starting with a friend's birthday, where I promised him his inherited Z3 coupe as a model finally I came around to tackle my various kits, I even started some mini-mes from my own cars.
After being absent from plastic modeling for close to ten years, it is thoroughly enjoyable to prepare the bodies, decide the colors and so on.
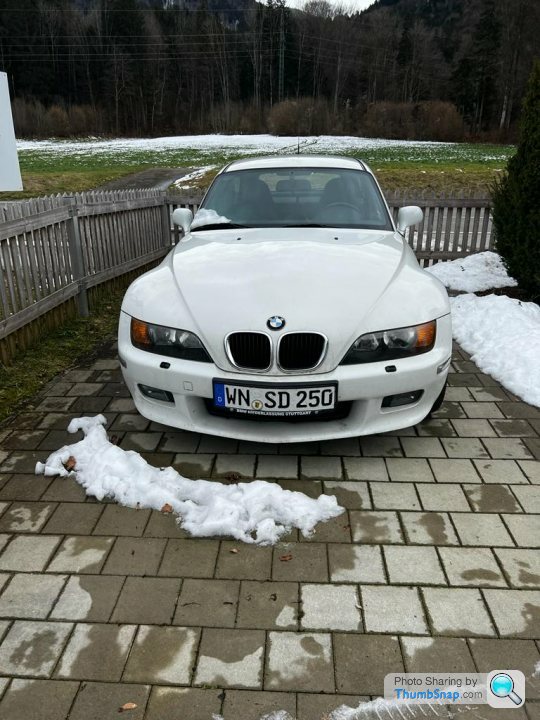
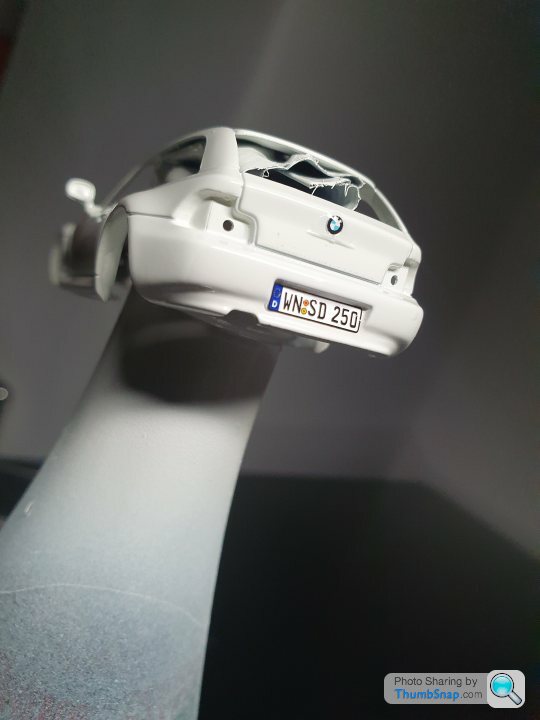
First the kick start, my friend's Z3 coupe.
Started out as a red Schuco model, was stripped and repainted in its original colour. Pretty straightforward.
The original
The mini me
[url]

After being absent from plastic modeling for close to ten years, it is thoroughly enjoyable to prepare the bodies, decide the colors and so on.
First the kick start, my friend's Z3 coupe.
Started out as a red Schuco model, was stripped and repainted in its original colour. Pretty straightforward.
The original
The mini me
[url]
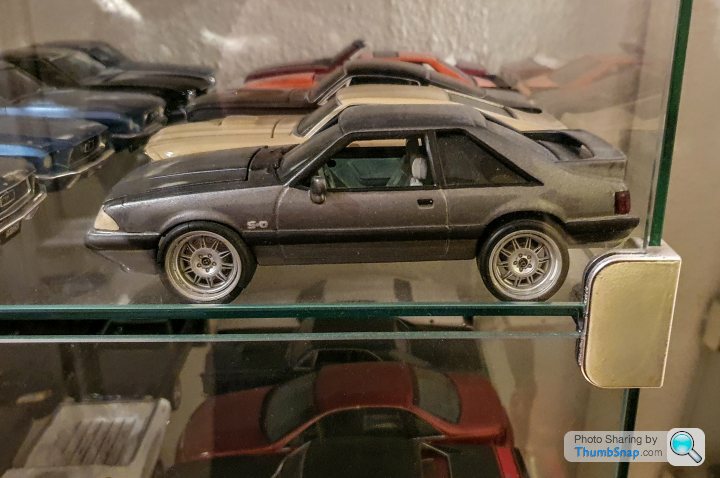
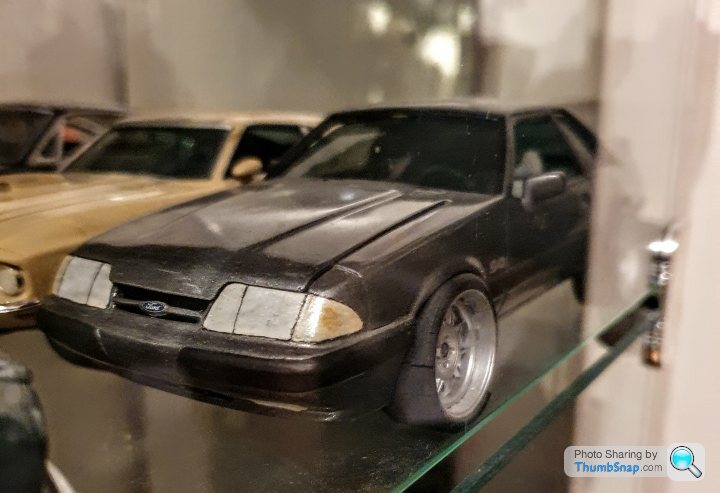
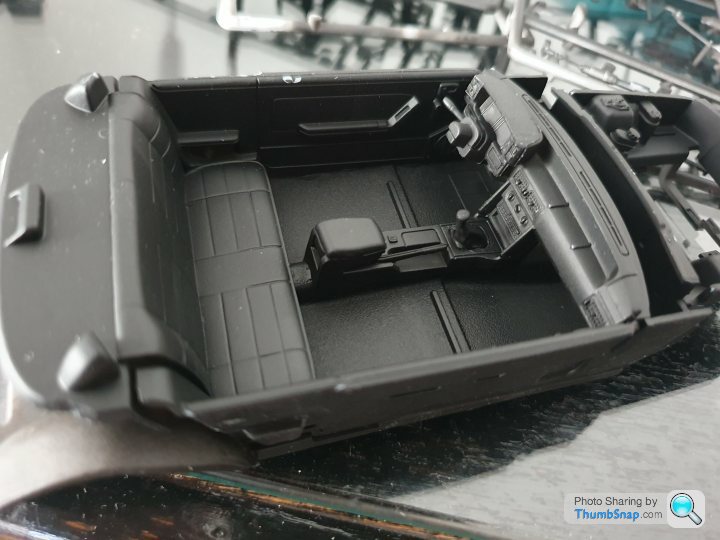
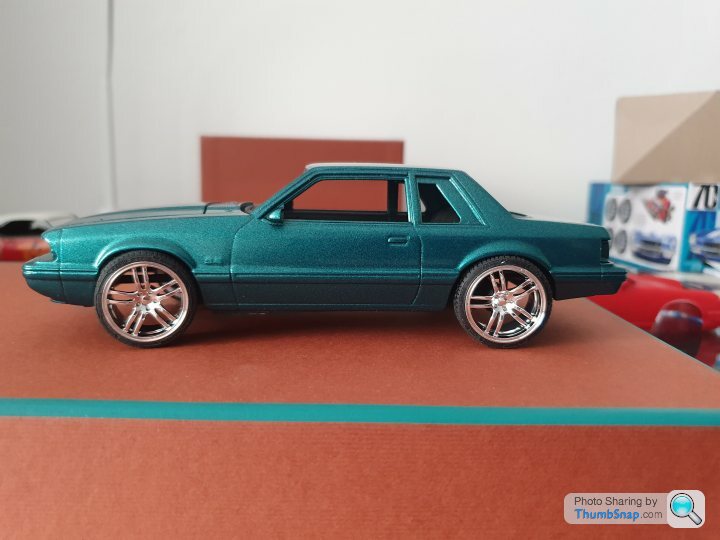
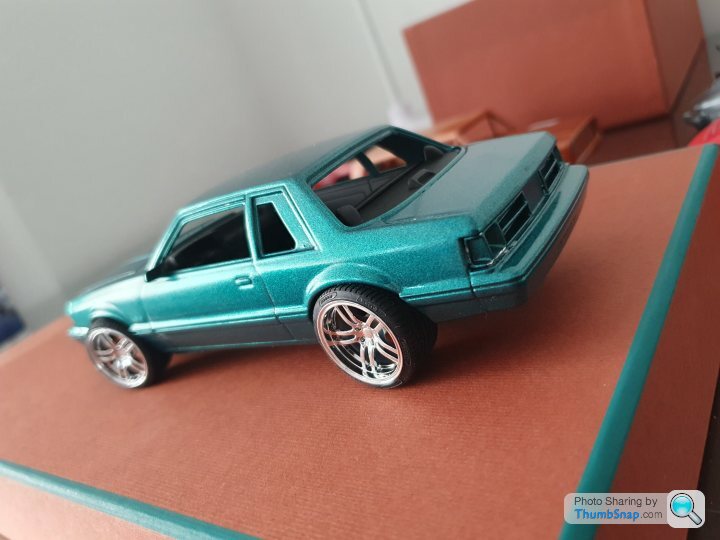
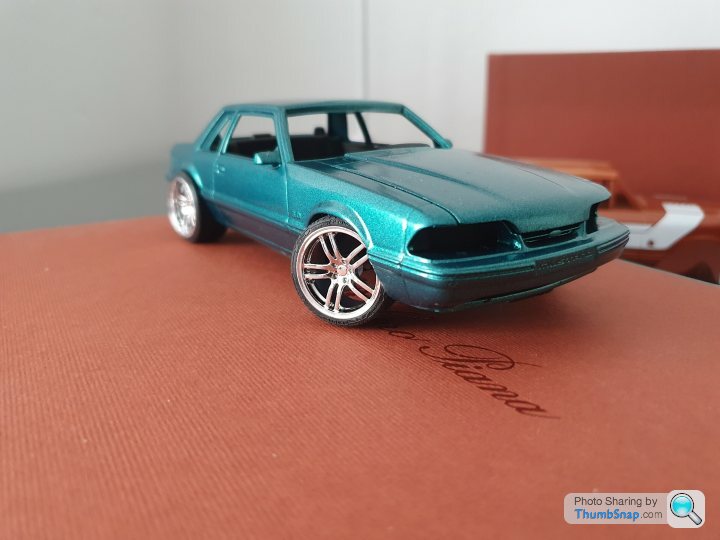
And now the foxbody
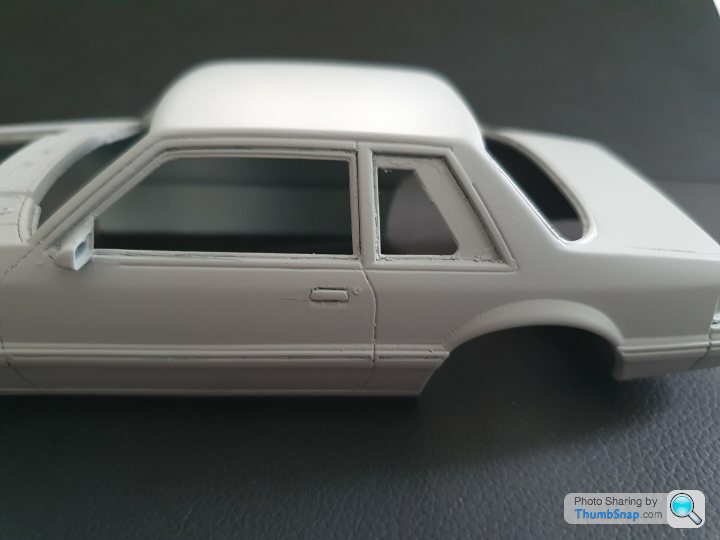
The hardest was to select the right colour.
First I was fixed on white, but the body seems to have a slight proportion problem, especially around the fixed side windows, where it would be very obvious.
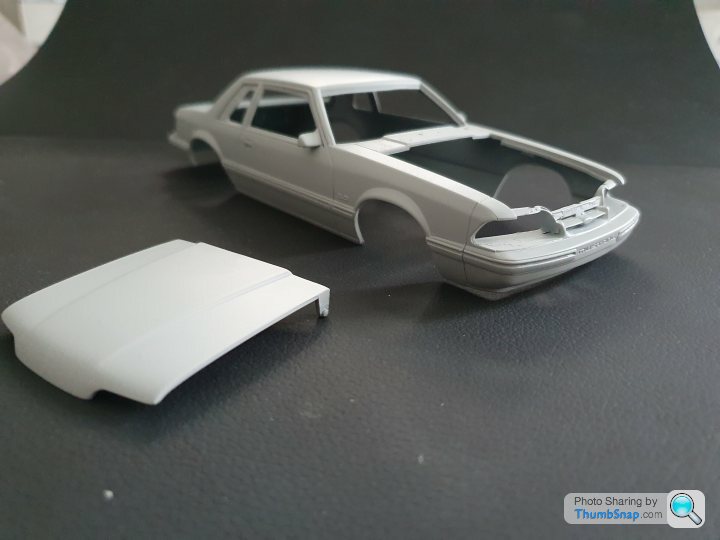
So it was black. After primer I sprayed with matte black, which I always did, and after a drying period sprayed some clear.
Unfortunately the plastic and the colour reacted quite unpleasant, and I had to sand a lot to achieve a smooth surface.
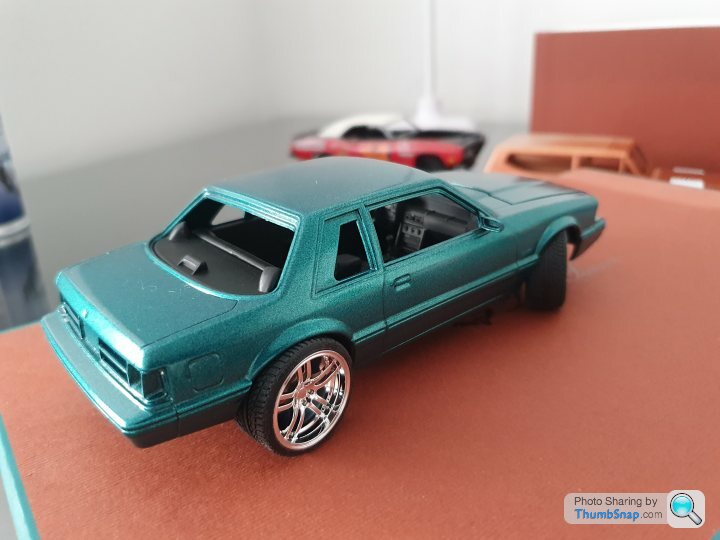
When stacking up on spray paint I came across some calypso blue/green, which always was my favourite on the late model fox, so it was that.
After preparing the interior and the chassis, the body was sufficient for clear later on.
Next step is to have the final clearcoat on the body, and finishing the interior and the chassis.
[url]
 |https://thumbsnap.com/xcpGy4RT[/url]
The hardest was to select the right colour.
First I was fixed on white, but the body seems to have a slight proportion problem, especially around the fixed side windows, where it would be very obvious.
So it was black. After primer I sprayed with matte black, which I always did, and after a drying period sprayed some clear.
Unfortunately the plastic and the colour reacted quite unpleasant, and I had to sand a lot to achieve a smooth surface.
When stacking up on spray paint I came across some calypso blue/green, which always was my favourite on the late model fox, so it was that.
After preparing the interior and the chassis, the body was sufficient for clear later on.
Next step is to have the final clearcoat on the body, and finishing the interior and the chassis.
[url]
|https://thumbsnap.com/xcpGy4RT[/url]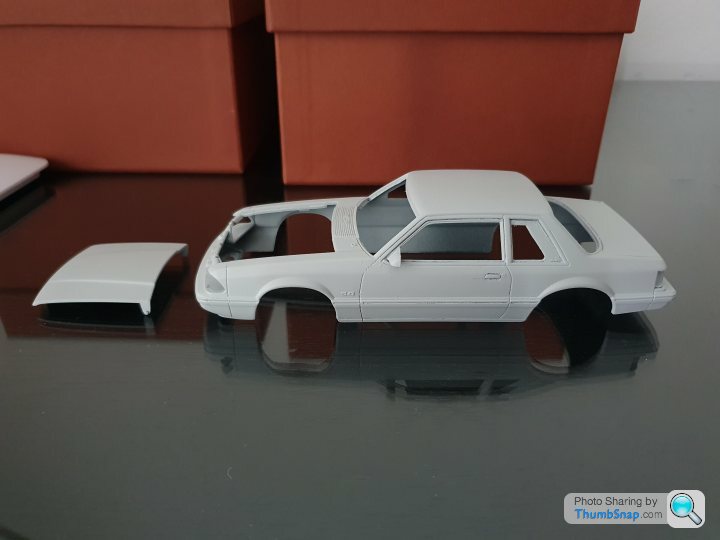
 |https://thumbsnap.com/ziYpRcTK[/url]
Gassing Station | Scale Models | Top of Page | What's New | My Stuff