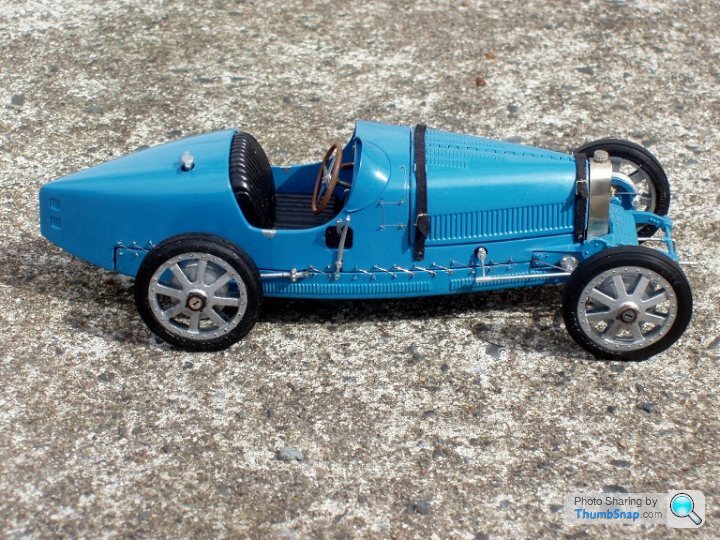
MFH Bugatti type 35 1/43 kit
Discussion
Started this model in the evenings,bought by my wife as a present approx a year ago.
Very nice highly detailed model, white metal,nickel silver, photo etch, plastic and rubber, lovely decals as usual. Ive decided to Paint it in French Blue and use semi gloss laquer as if im correct the paints in those pre war days
didnt give the type of gloss finish we all experience nowadays. Anyway here goes for anyone interested in this car or build,some pics..
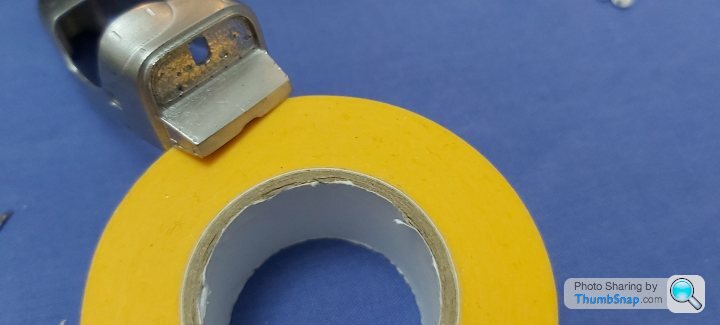
Engine turned the bulkhead with a cut and faced cocktail stick in a dremel.
 .
.
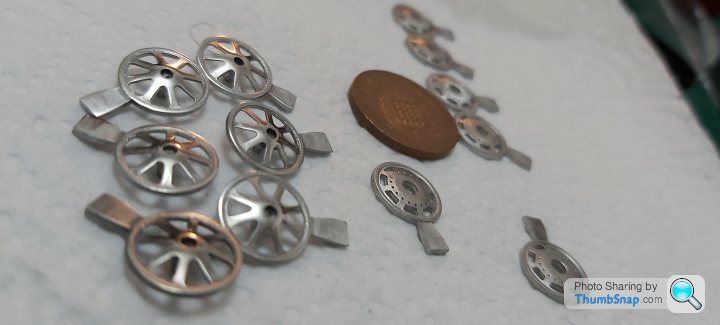
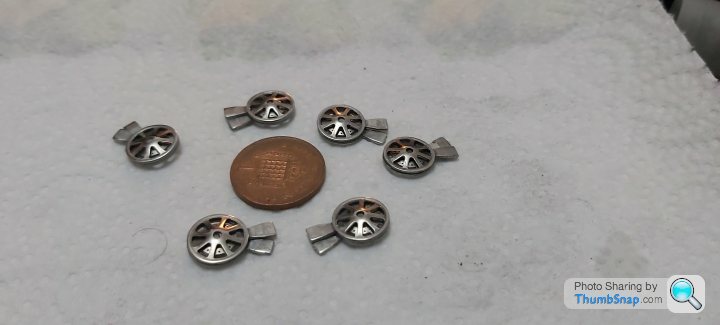
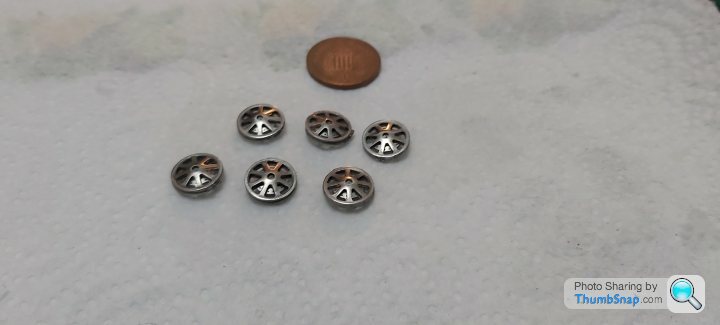
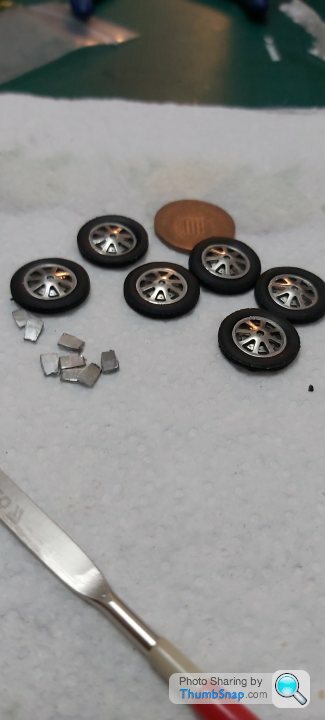
Wheels x 6 assembled, polishe. Outer rings yet to bond on..
 .
.
 .
.
 .
.
 .
.
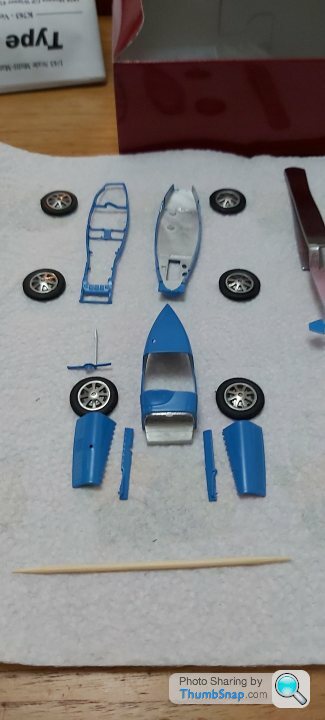
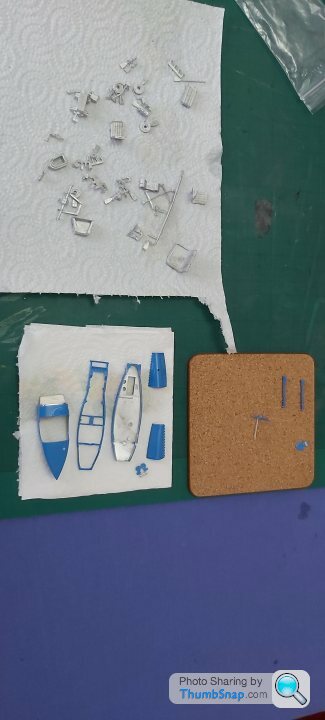
Cleaned up the castings, etch primed and Prepainted all the french blue parts.As mentioned used semi gloss laquer insted of gloss.
 .
.
 .
.
Chassis build, level1&2 completed
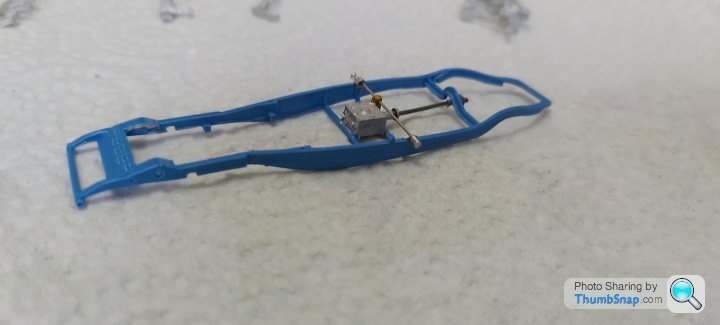 .
.
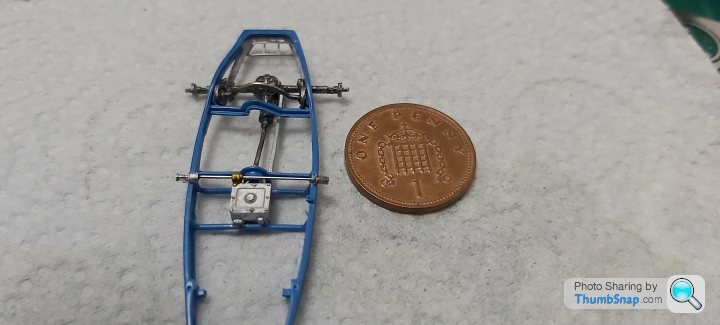 .
.
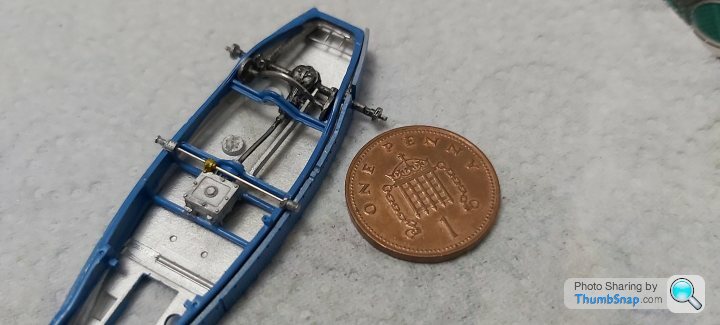 .
.
Sub assembled and checked before proceeding any further. All exposed alluminium surfaces to be polished.
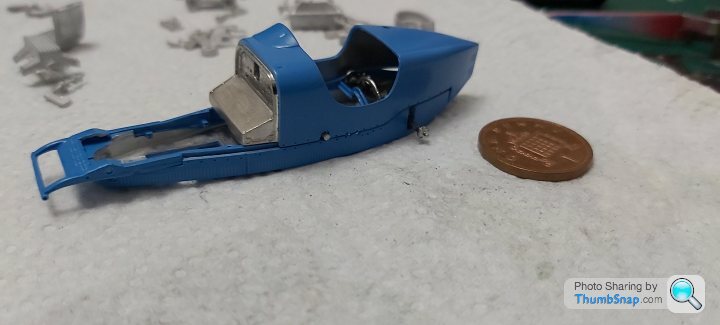 .
.
Will put more on as i go along. Cheers.
Very nice highly detailed model, white metal,nickel silver, photo etch, plastic and rubber, lovely decals as usual. Ive decided to Paint it in French Blue and use semi gloss laquer as if im correct the paints in those pre war days
didnt give the type of gloss finish we all experience nowadays. Anyway here goes for anyone interested in this car or build,some pics..
Engine turned the bulkhead with a cut and faced cocktail stick in a dremel.
 .
.Wheels x 6 assembled, polishe. Outer rings yet to bond on..
 .
. .
. .
. .
.Cleaned up the castings, etch primed and Prepainted all the french blue parts.As mentioned used semi gloss laquer insted of gloss.
 .
. .
.Chassis build, level1&2 completed
 .
. .
. .
.Sub assembled and checked before proceeding any further. All exposed alluminium surfaces to be polished.
 .
.Will put more on as i go along. Cheers.
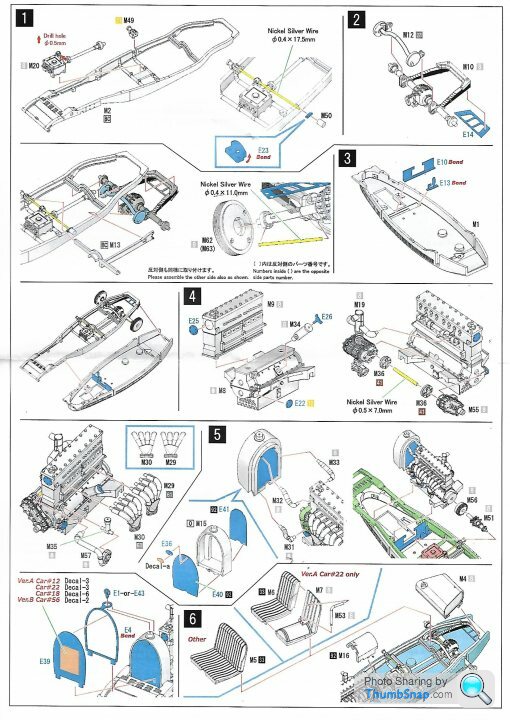
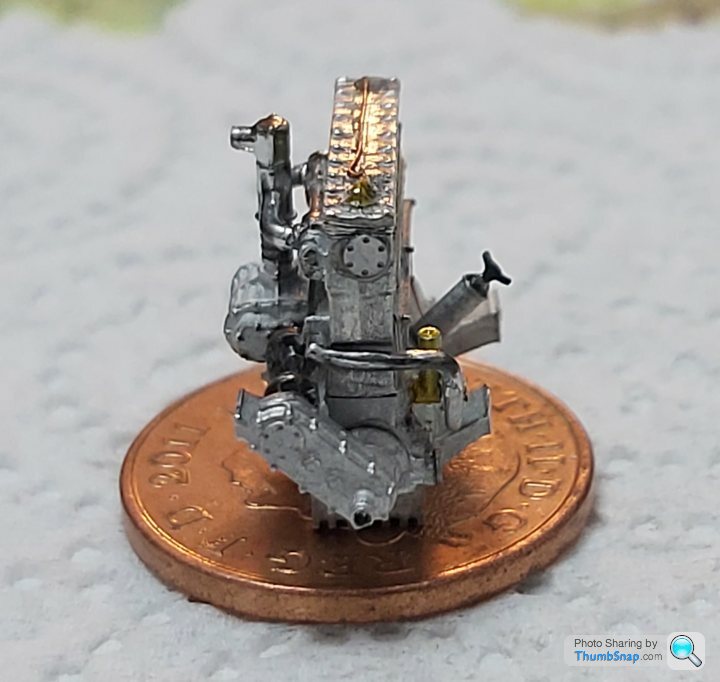
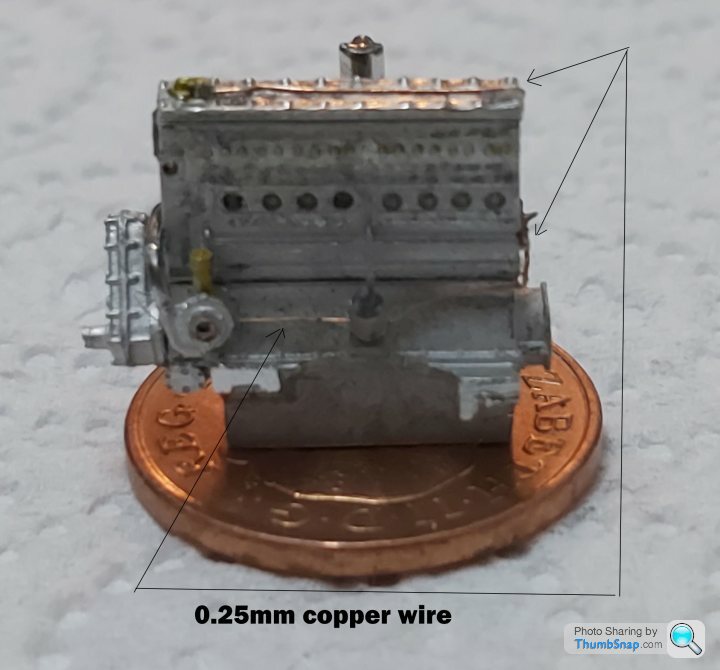
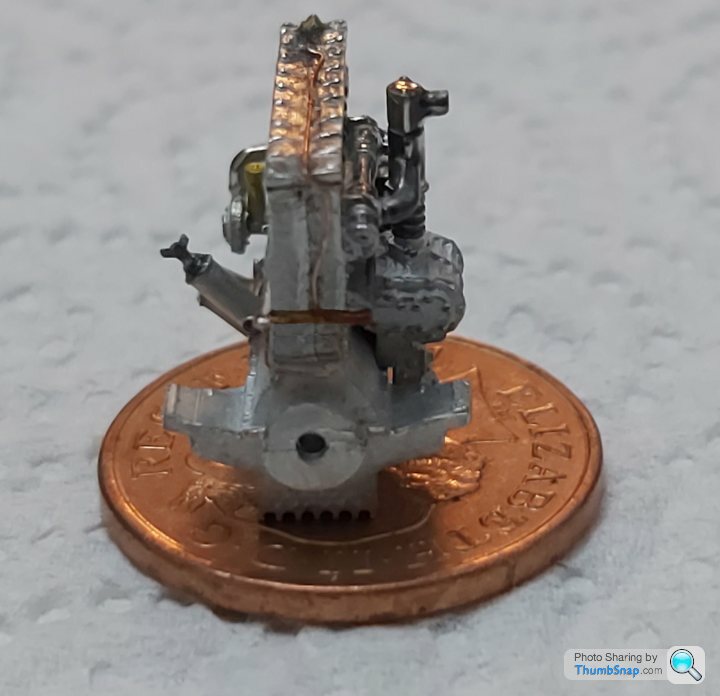
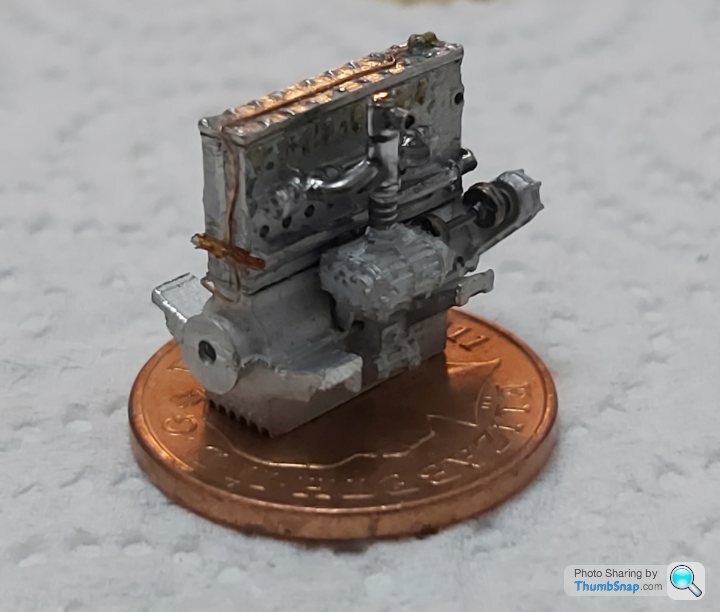
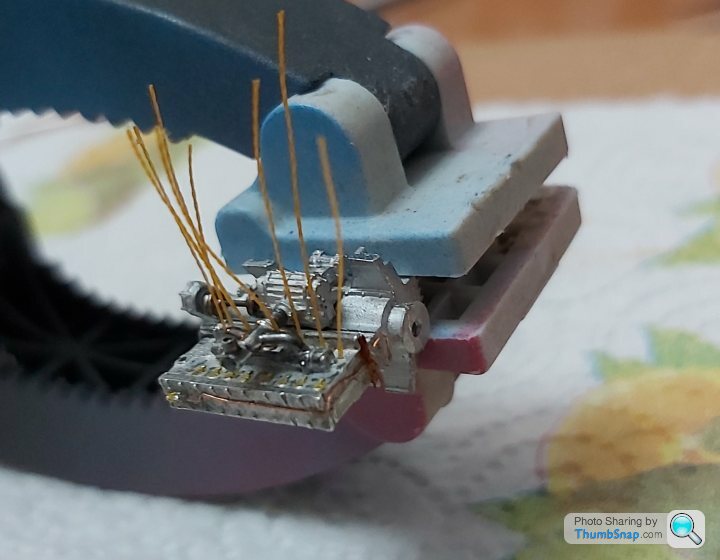
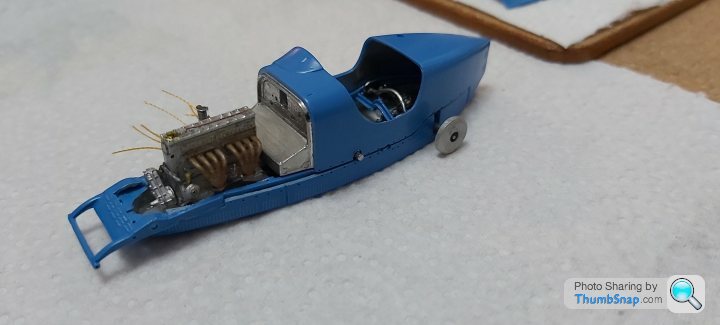
Onto the engine level 4 which is not much bigger than the diameter of a penny. Ive added a couple of copper wires for the oil lines and made ready, the spark plug leads.The engine mounts were out of position and needed correction.
Just need to finish of the exhaust which needs painting as a rust.Sorry for the poor quality photos.
Some pics.
 .
.
 .
.
 .
.
 .
.
 .
.
 .
.
Onto 5 & 6.
Just need to finish of the exhaust which needs painting as a rust.Sorry for the poor quality photos.
Some pics.
 .
. .
. .
. .
. .
. .
.Onto 5 & 6.
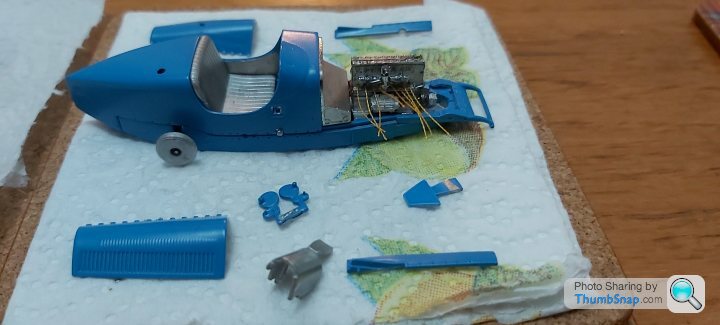
Ive realised compared to the ferrari,s ive built showing a lot of the hidden details when the covers are removed.This model when finished will hide
all the work other than the engine cover if the body is bonded on, the gearbox cover will hide the mechanics, which makes this build a bit of a nonsense. So im turning into a loose puzzle so to speak. The finished article can then be displayed assembled or broken down into 3 main parts to view all the details.The car will eventually sit on a single axle trailer kit purchased a while ago.
Some pics.
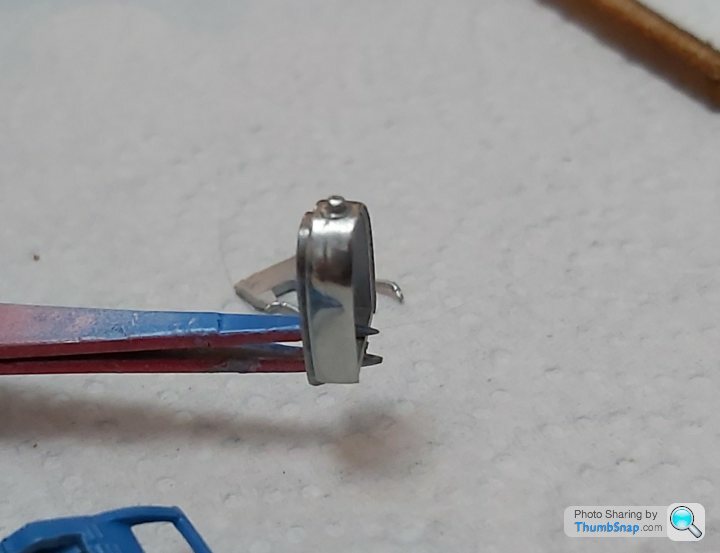
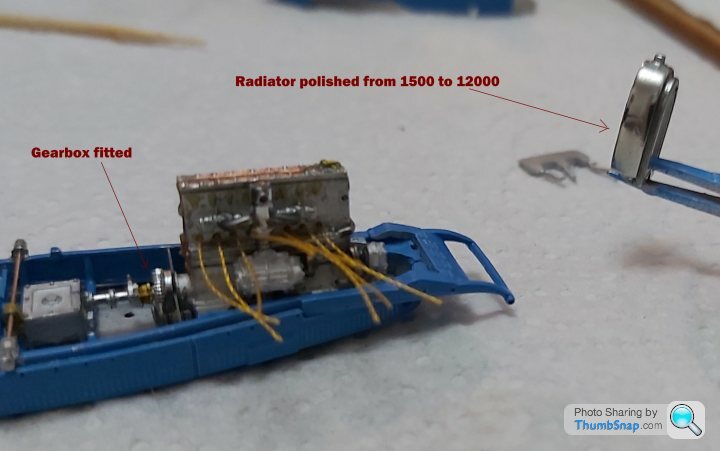
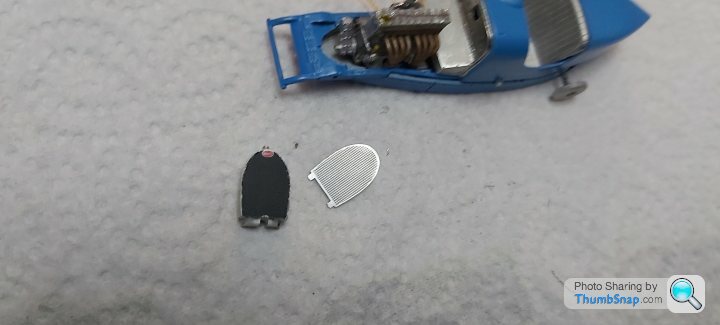
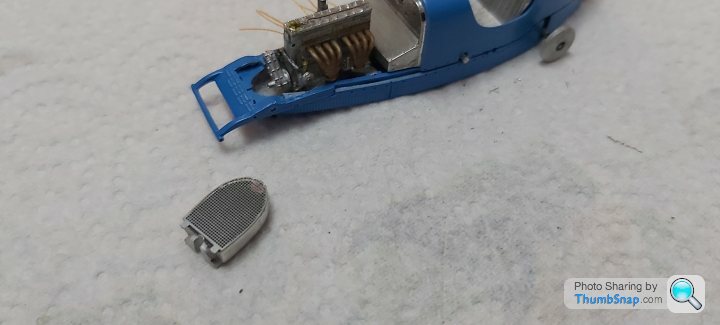
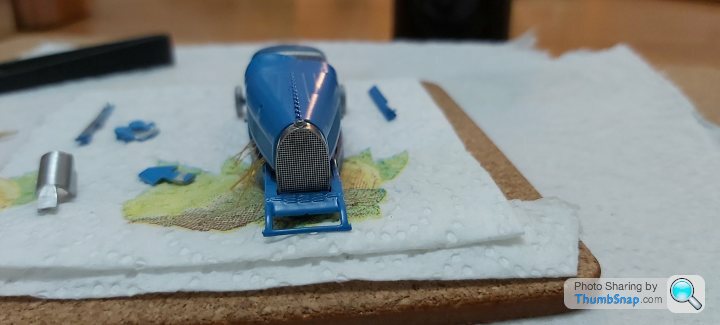
Polished Radiator to 12000
 .
.
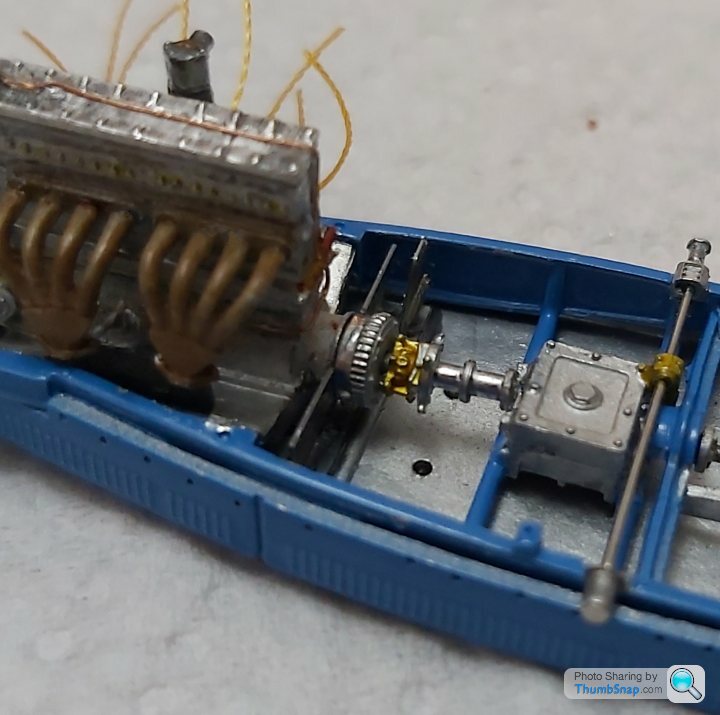
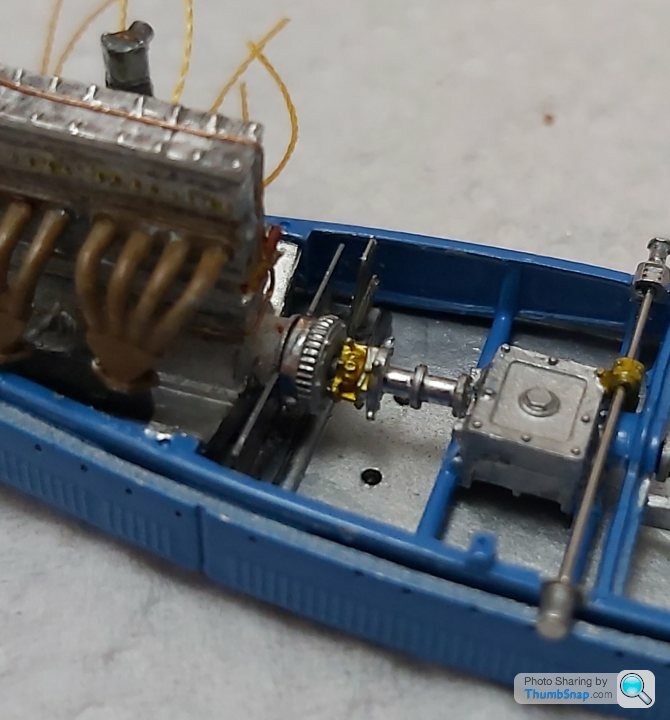
Gearbox
 .
.
Subassembly
 .
.
 .
.
 .
.
 .
.
 .
.
 .
.
 .
.
 .
.
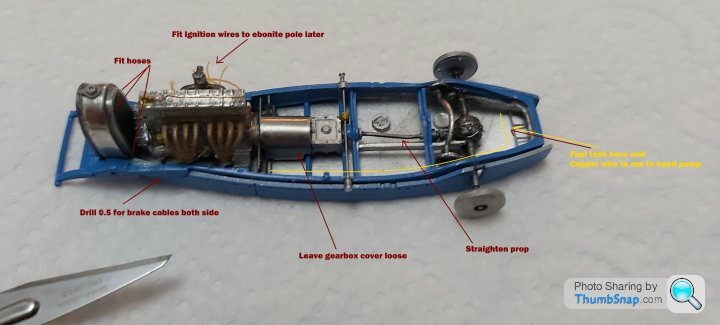
Fuel tank,some copper wire to run to the hand pump,then onto the front suspension.
all the work other than the engine cover if the body is bonded on, the gearbox cover will hide the mechanics, which makes this build a bit of a nonsense. So im turning into a loose puzzle so to speak. The finished article can then be displayed assembled or broken down into 3 main parts to view all the details.The car will eventually sit on a single axle trailer kit purchased a while ago.
Some pics.
Polished Radiator to 12000
 .
.Gearbox
 .
.Subassembly
 .
. .
. .
. .
. .
. .
. .
. .
.Fuel tank,some copper wire to run to the hand pump,then onto the front suspension.
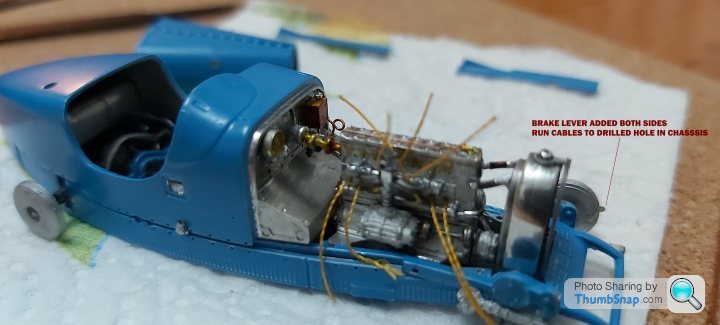
Fitted the fuel tank and added a fuel line and breather pipe, then onto the front suspension,adding lever fopr the brakes and cables.Starting to notice some touching up to do in a couple of places.
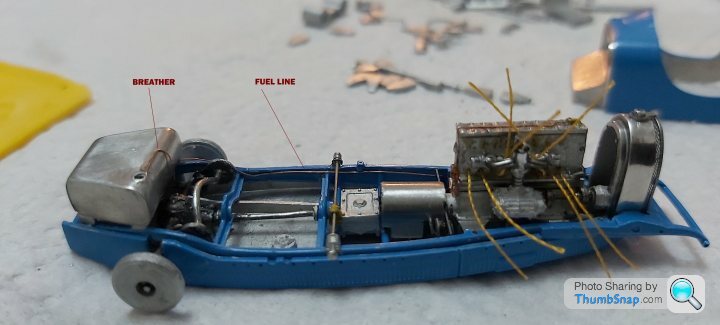 .
.
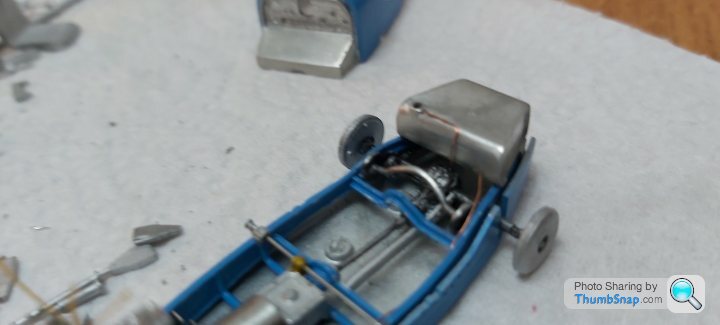 .
.
Suspension.
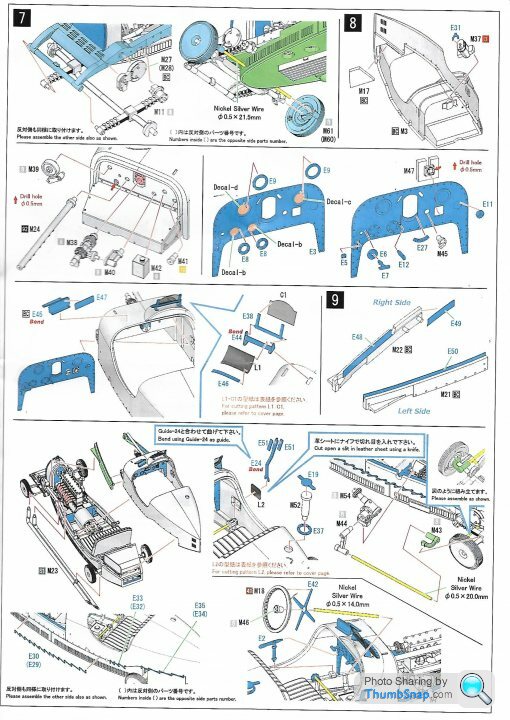 .
.
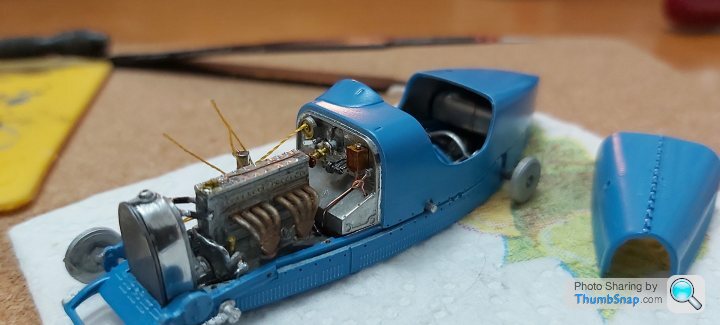 .
.
 .
.
A black line decal yet to be fitted around pulleys.
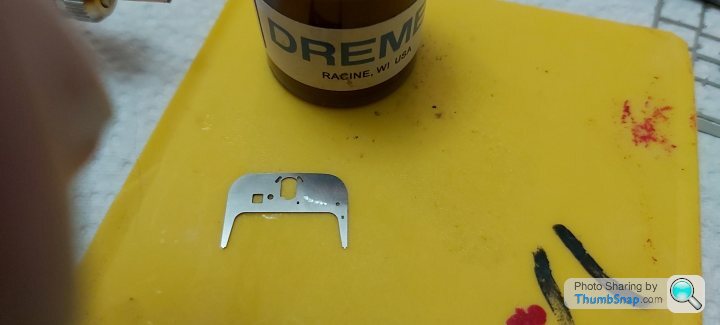
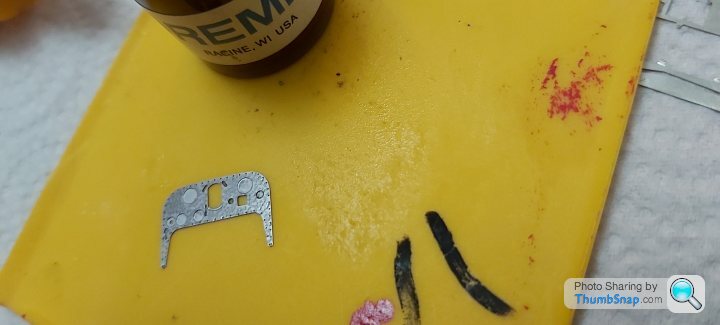
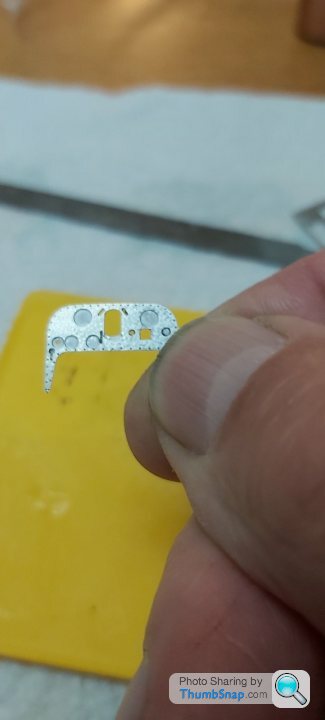
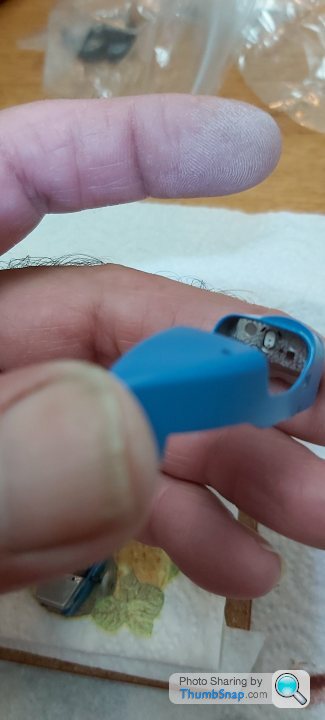
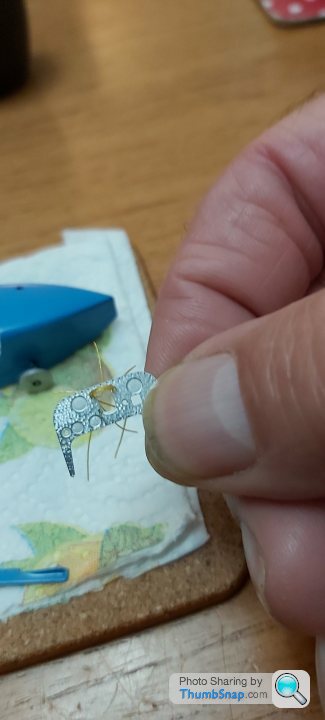
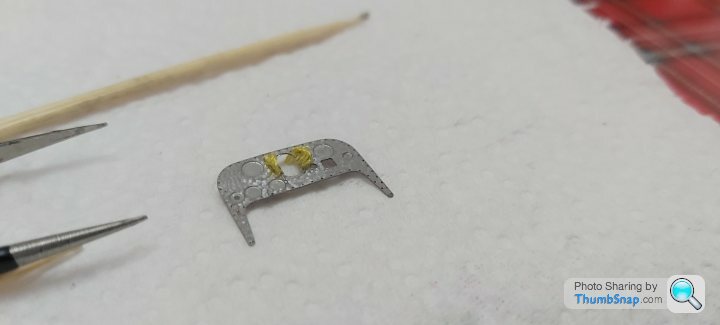
Dash. Practised some engine turning effect using a cocktail stick and polishing compound looks ok by eye and shimmers quite nicely. Added some thread to show spark plug leads to the distributor.
 .
.
 .
.
 .
.
 .
.
 |https://thumbsnap.com/hmmitSUG[/url].
 .
.
Thankyou for looking.
 .
. .
.Suspension.
 .
. .
. .
.A black line decal yet to be fitted around pulleys.
Dash. Practised some engine turning effect using a cocktail stick and polishing compound looks ok by eye and shimmers quite nicely. Added some thread to show spark plug leads to the distributor.
 .
. .
. .
. .
. |https://thumbsnap.com/hmmitSUG[/url].
 .
.Thankyou for looking.
Thankyou Alex@POD & RDMcG and to anyone else interested in this model car.
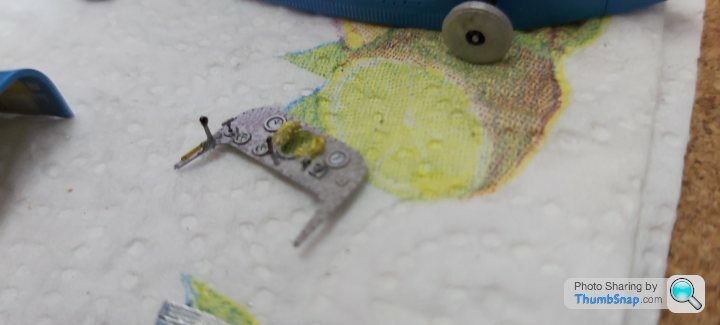
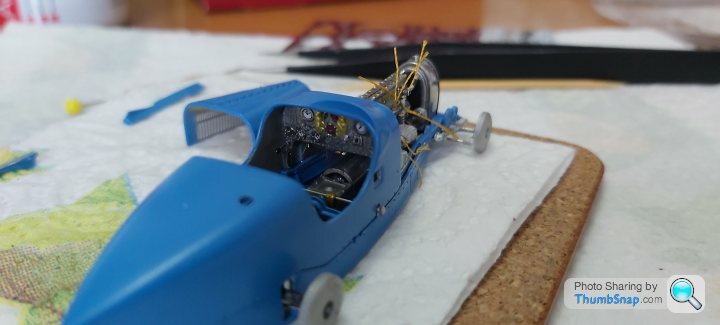
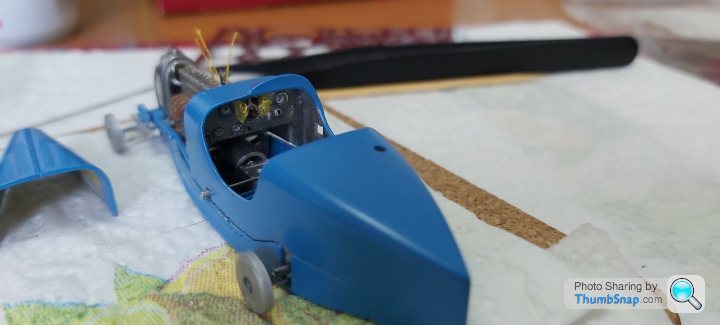
The Dash is quite a challenge with the photo etch but looks ok.The decals were sealed with micro clear and the bezels were dropped on over the micro clear as a bond.Thought it would only take an hour or two on a Saturday evening to complete the dash, ended up being a late one and shocked to see what time it was when i decided to turn in.The oil handpump is fixed to the dash only, as i want the body to be removable.Cylinder is painted a brass colour
 .
.
 .
.
 .
.
Onto the windsreen and mirror next
The Dash is quite a challenge with the photo etch but looks ok.The decals were sealed with micro clear and the bezels were dropped on over the micro clear as a bond.Thought it would only take an hour or two on a Saturday evening to complete the dash, ended up being a late one and shocked to see what time it was when i decided to turn in.The oil handpump is fixed to the dash only, as i want the body to be removable.Cylinder is painted a brass colour
 .
. .
. .
.Onto the windsreen and mirror next
gruffgriff said:
Yes, great stuff, as we've (the open-mouthed on-lookers) come to expect. Turned dash looks great, right to be pleased.
Inspiration for the Wills 1/24th type 49 I've shied away from starting!
Thankyou gruffgriff. Im ashamed of the time i went to bed. Ive been reading with interest on your 1/24th threads and others. Wowed by the details especially the Mercedes rally car. Im sure your type 49 if/when built will be a successInspiration for the Wills 1/24th type 49 I've shied away from starting!
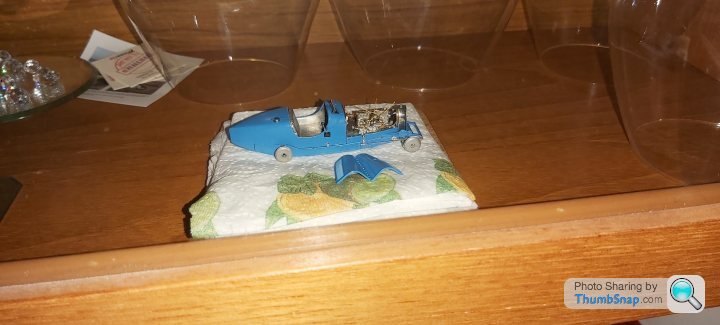
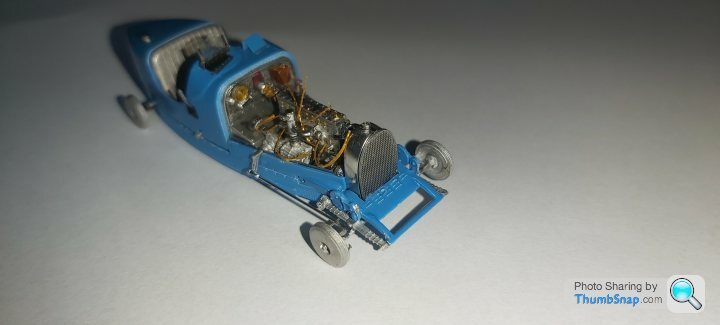
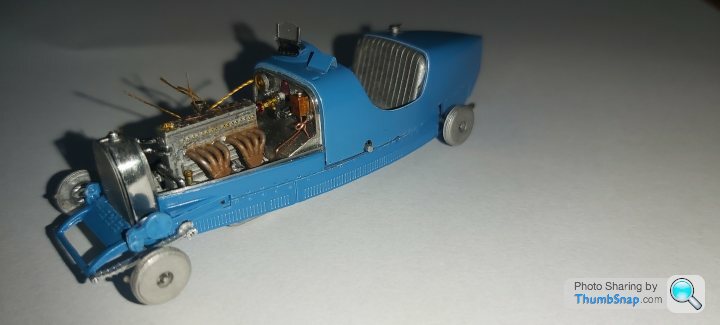
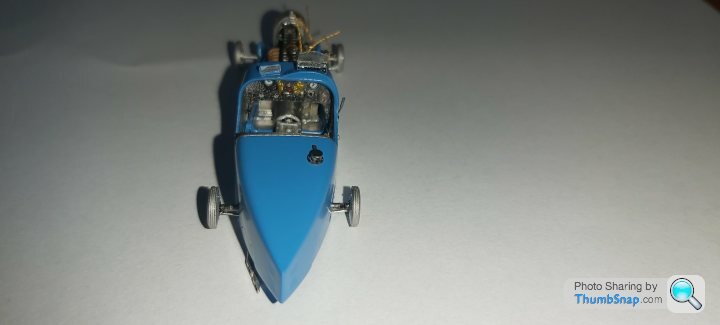
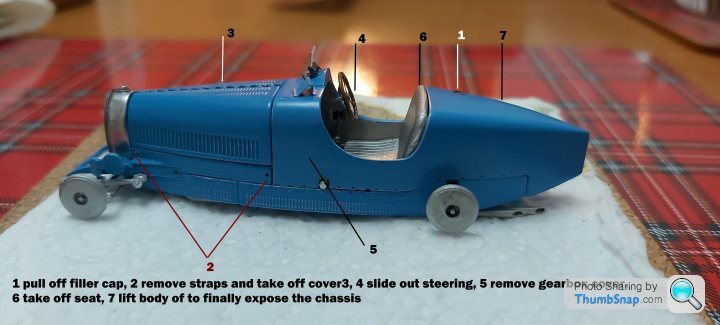
Added last weekend, the exhaust,the mirror, windscreen, gearstick and leather cover , steering box and arm, fuel filler neck. Its still working out ok to be able to remove the parts neccessary to expose the models chassis, when the mood prevails. So far i see that i will need to remove the filler neck, engine cover, seat and steering to be able to lift the rest of the body off, all these parts are just going to rest in place once finished.
 .
.
 .
.
 .
.
 .
.
A bit of cleaning up on the screen edges, some touching in then onto the steering and plug wiring.
Thanks for looking.
 .
. .
. .
. .
.A bit of cleaning up on the screen edges, some touching in then onto the steering and plug wiring.
Thanks for looking.
Last page.
 .
.
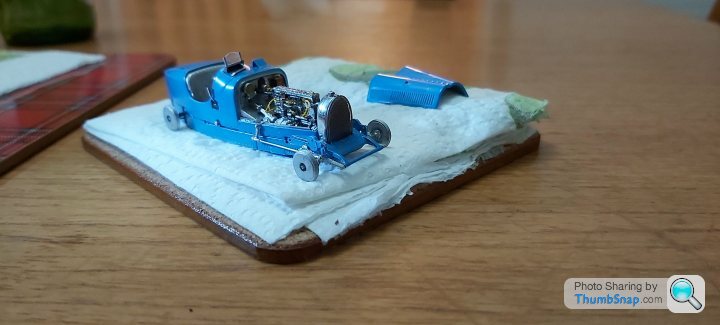
Im jumping on certain levels as its difficult to handle now mainly holding with thumb and forefinger which is starting to rub off the laquer i used (Mr clear), found to be softer than Tamiya.Im going to have to remask and repaint the areas that need touching in later.
Im going to leave the radiator guage, handbrake and "zig zag" body wire stays till last which i think is going to be the most difficult process to bond without making a mess.
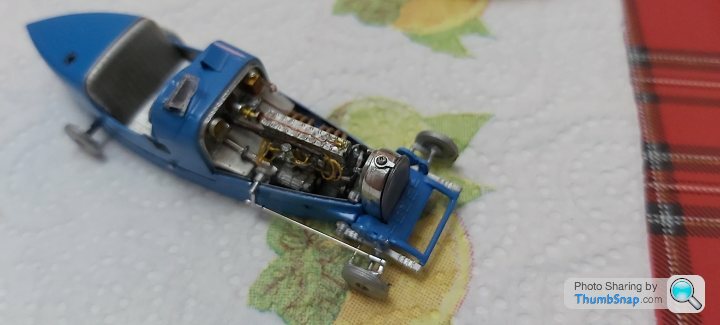
Evenings spent Finishing off the steering wheel and shaft assembly, distributor pole and joined the spark plug leads.
 .
.
 .
.
 .
.
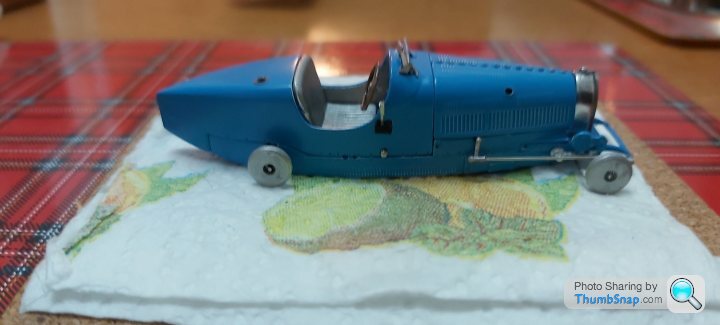
So it looks like the project to be able to take the car apart and be able to view all details is going to work, if i remove the items in a particular order.
 .
.
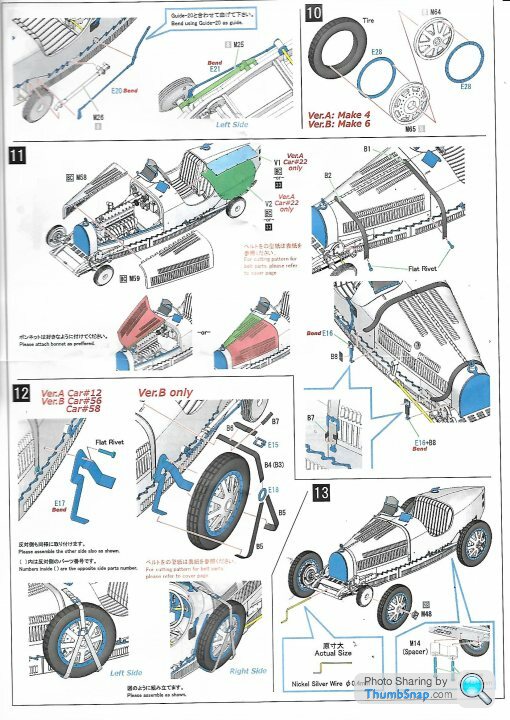
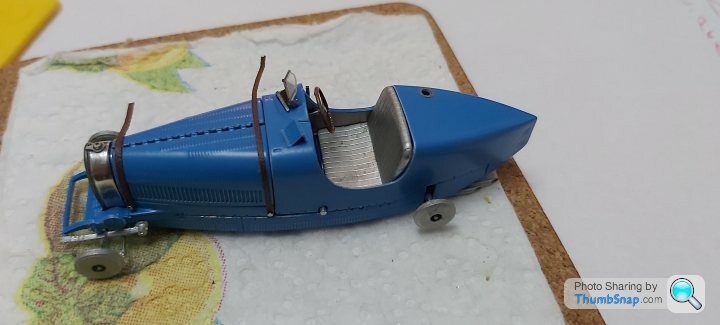
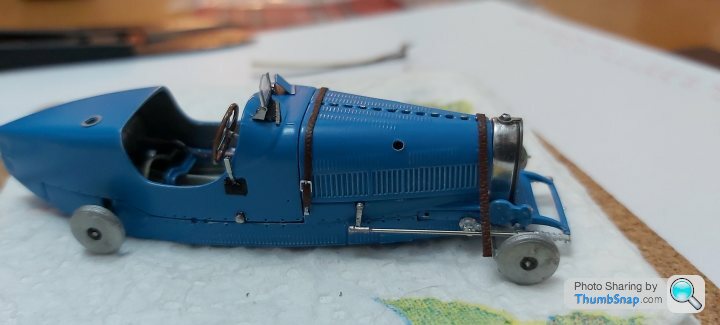
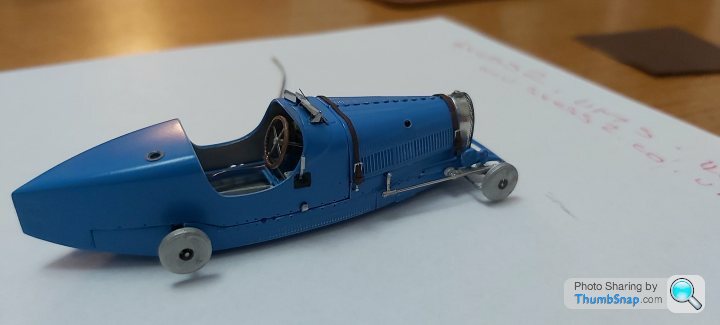
Cut the leather strips about 1mm wide,for the engine cover straps and fit on the catches/rivets, quite a difficult exercise but managed to get there.
 .
.
 .
.
 .
.
Almost there, Just seat, wheels, trailing arms, wire stays and rad cap a bit more paint left to do.
Thanks for looking
 .
.Im jumping on certain levels as its difficult to handle now mainly holding with thumb and forefinger which is starting to rub off the laquer i used (Mr clear), found to be softer than Tamiya.Im going to have to remask and repaint the areas that need touching in later.
Im going to leave the radiator guage, handbrake and "zig zag" body wire stays till last which i think is going to be the most difficult process to bond without making a mess.
Evenings spent Finishing off the steering wheel and shaft assembly, distributor pole and joined the spark plug leads.
 .
. .
. .
.So it looks like the project to be able to take the car apart and be able to view all details is going to work, if i remove the items in a particular order.
 .
.Cut the leather strips about 1mm wide,for the engine cover straps and fit on the catches/rivets, quite a difficult exercise but managed to get there.
 .
. .
. .
.Almost there, Just seat, wheels, trailing arms, wire stays and rad cap a bit more paint left to do.
Thanks for looking
Edited by henryk001 on Saturday 26th February 12:16
Gassing Station | Scale Models | Top of Page | What's New | My Stuff


