Card Alpha Tauri
Discussion


Downloaded this some time last year and printed it off full size (more later), had also printed off a concorde. Had an evening in a hotel last week (away on business) and dug the concorde out to find that I hadn't printed the undercarriage sheet. As how the undercarriage works out determines if it is built with undercarriage up or down the concorde was put away and I have started on this.
Can be found here as a free download, there is also a contemporary Red Bull available.
https://global.honda/motorsports/virtualmsland/fan...
First parts cut out and assembled
Looking at it my thought was "its big". It is 1/18th scale.
It is on hold while I print another copy out at 95% to bring it to 1/20th so it will fit in with the plastic kits I will eventually get back to.
Printed it off on a laser at 95% so here we go. Wheels bore me so this time I am starting with them, component for one wheel shown. It will take me an evening just to cut them out.
This is when I wonder if I am biting off too much, we will see. At least I will, if it doesn’t work out you probably won’t!

This is when I wonder if I am biting off too much, we will see. At least I will, if it doesn’t work out you probably won’t!
IJWS15 said:
Printed it off on a laser at 95% so here we go. Wheels bore me so this time I am starting with them, component for one wheel shown. It will take me an evening just to cut them out.
This is when I wonder if I am biting off too much, we will see. At least I will, if it doesn’t work out you probably won’t!
90% remember!This is when I wonder if I am biting off too much, we will see. At least I will, if it doesn’t work out you probably won’t!

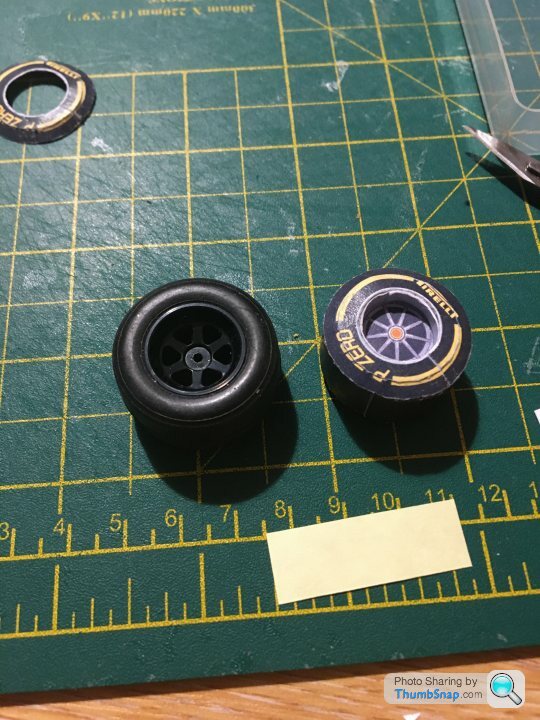
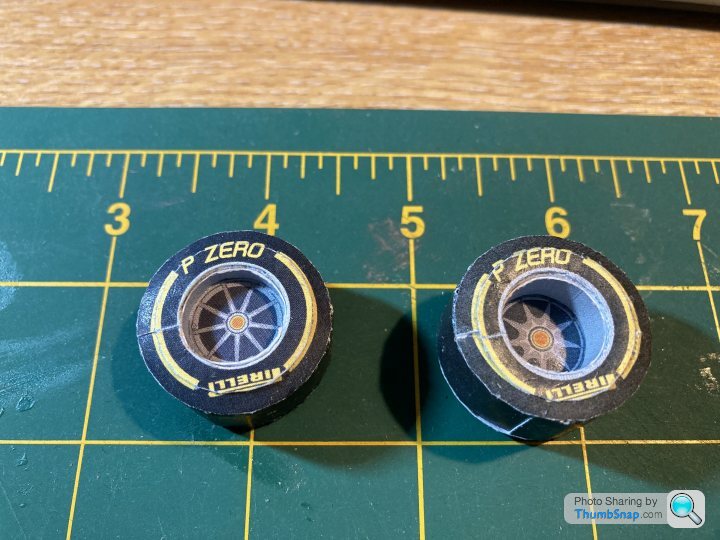
Weddings over and after a couple of hours we have a wheel.
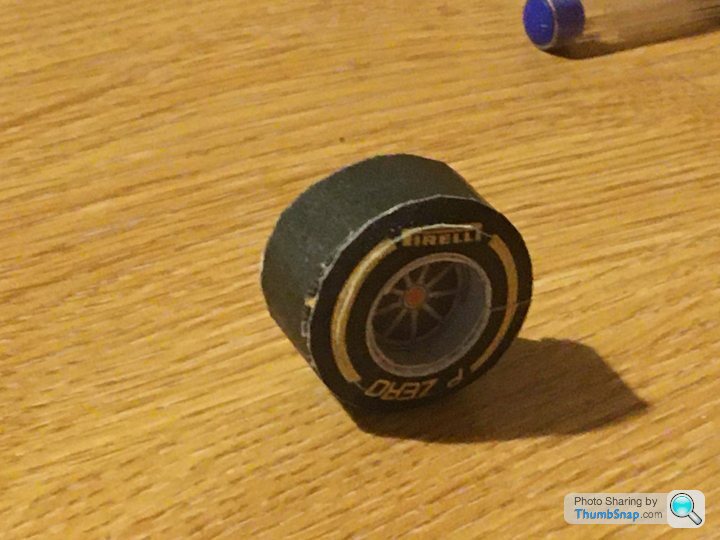
The parts in the post above include the drum. As the wheel has to fit over it I made a former to keep the drum round, there is an insert in the hub which helps but I will be looking for something the right size tomorrow to keep the next 3 tyres round.
In shot with a 1/20 Tamiya Lotus 99 wheel.
The parts in the post above include the drum. As the wheel has to fit over it I made a former to keep the drum round, there is an insert in the hub which helps but I will be looking for something the right size tomorrow to keep the next 3 tyres round.
In shot with a 1/20 Tamiya Lotus 99 wheel.
Edited by IJWS15 on Friday 12th November 20:32
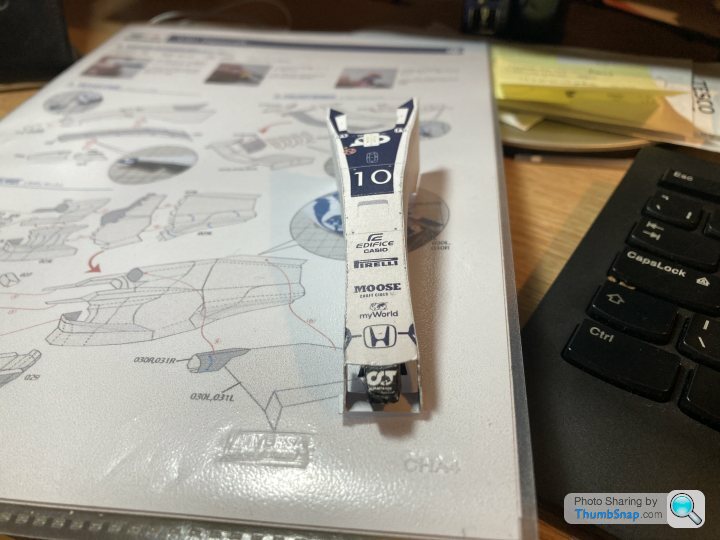
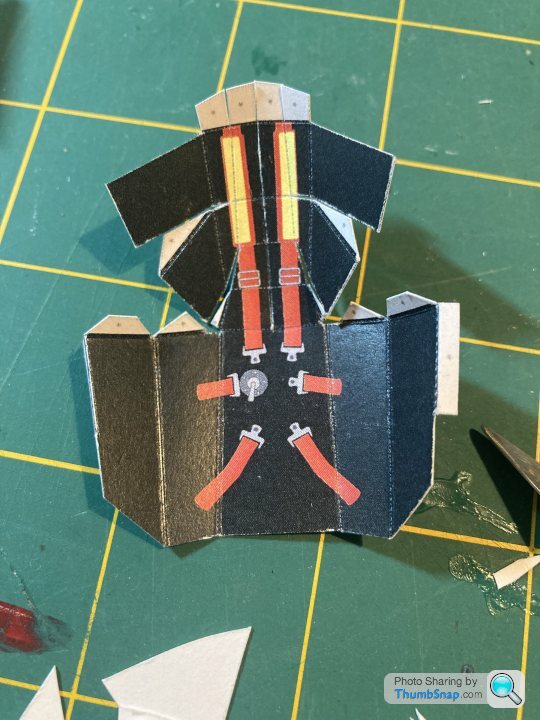
Am away with work and a quiet evening has resulted in some progress - left the wheels at home! 9 pieces assembled, was nearly 10.
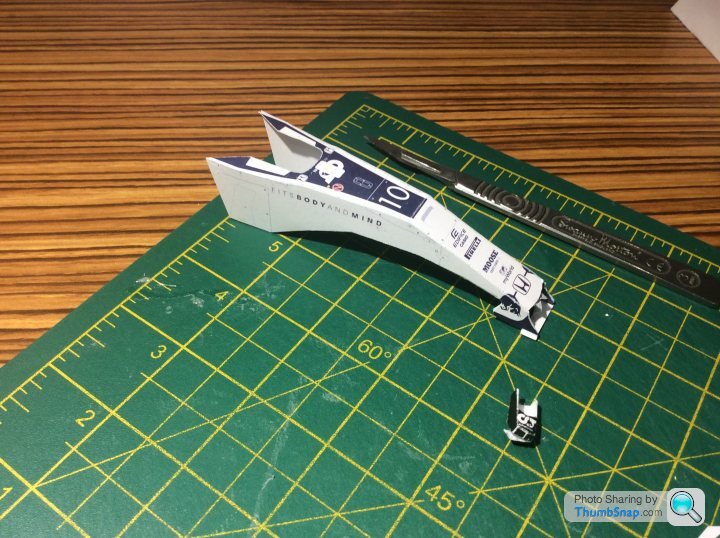
It wi. Need some colour where the folds are in the dark blue.
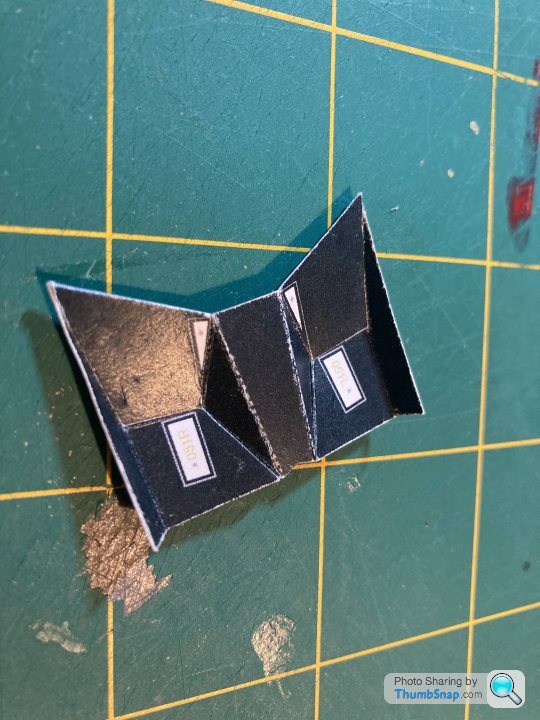
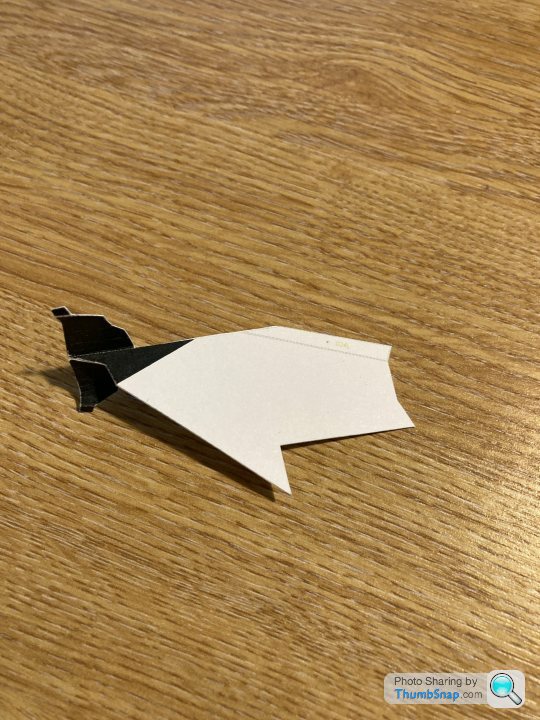
Starting to think that this is a step too far from the ATAT, it is really fiddly and will have to re-print the small nose part, I don’t appear to have the folds in the right place so it looked lop-sided when fitted so was removed before the glue dried. It is about 5mm across.
It wi. Need some colour where the folds are in the dark blue.
Starting to think that this is a step too far from the ATAT, it is really fiddly and will have to re-print the small nose part, I don’t appear to have the folds in the right place so it looked lop-sided when fitted so was removed before the glue dried. It is about 5mm across.
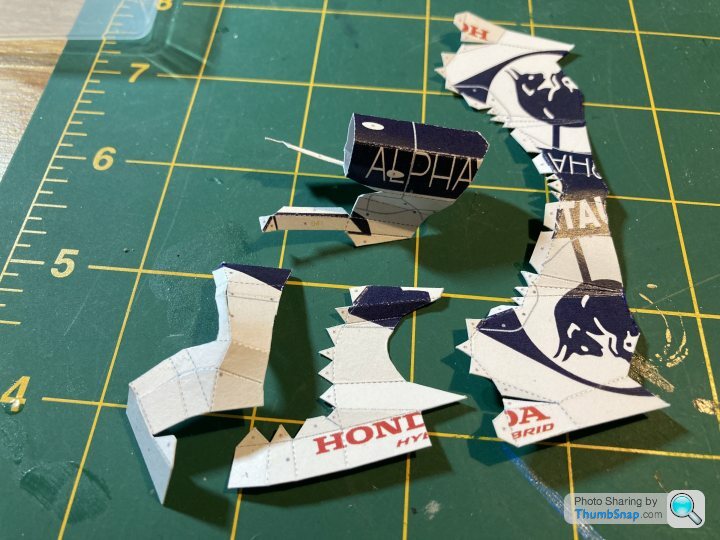
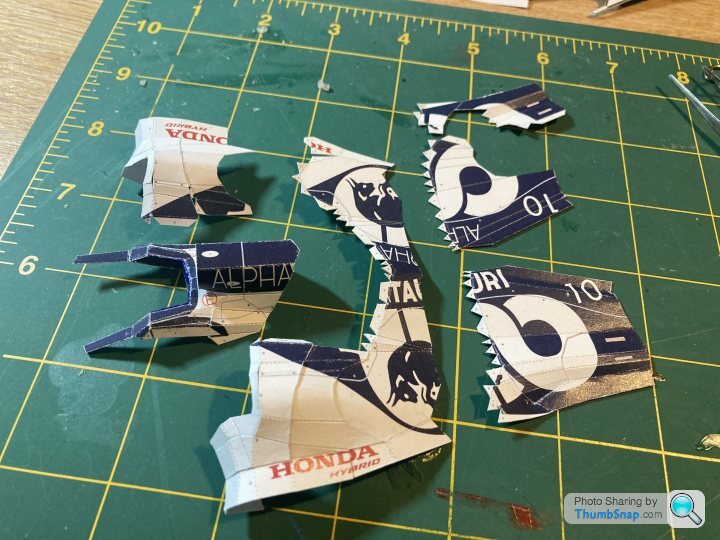
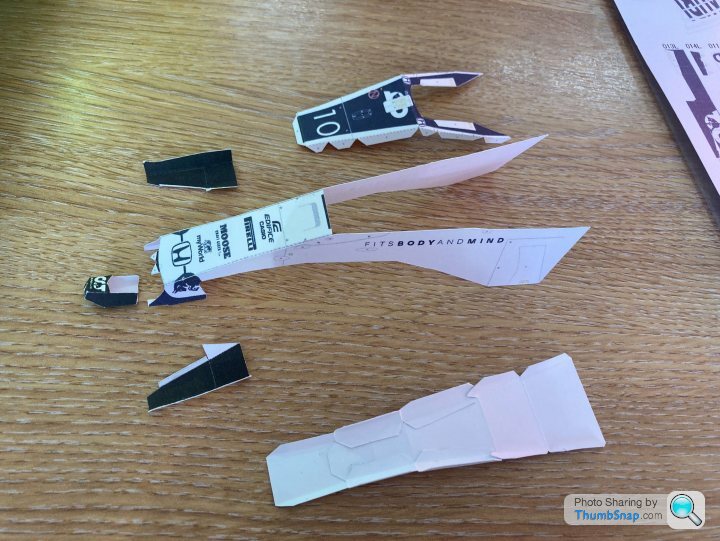
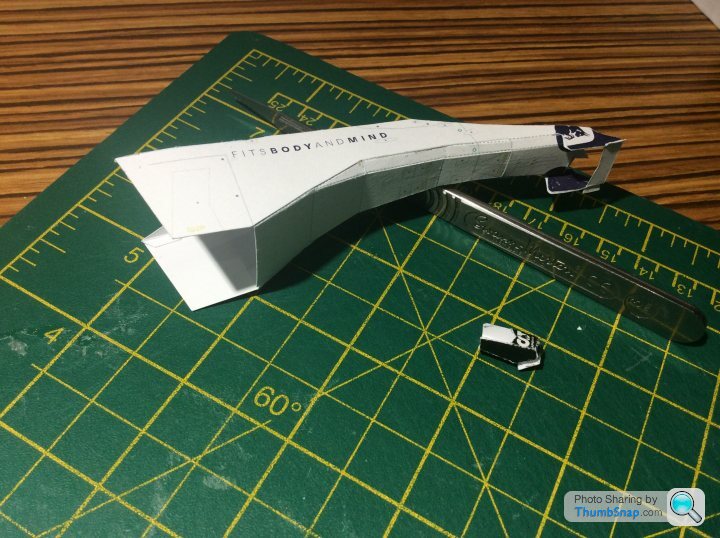
Some slow progress, I seem to spend hours on it and saw little progress but it is starting to look more like a car.
Sub assemblies so far
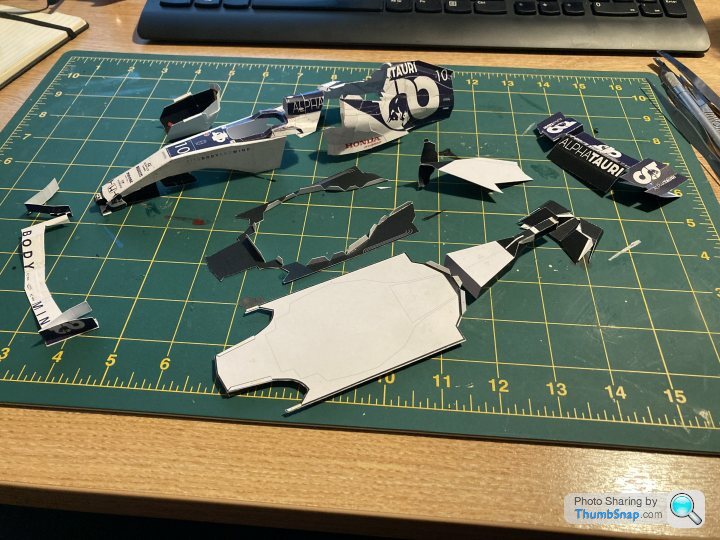
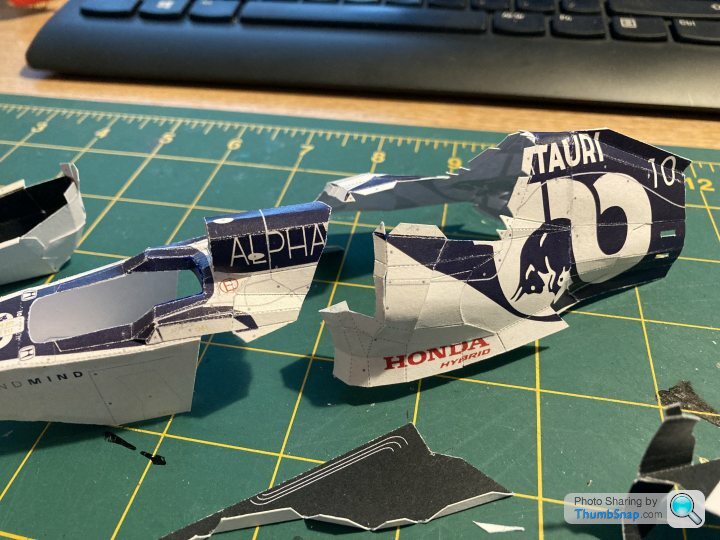
Closer view of the body
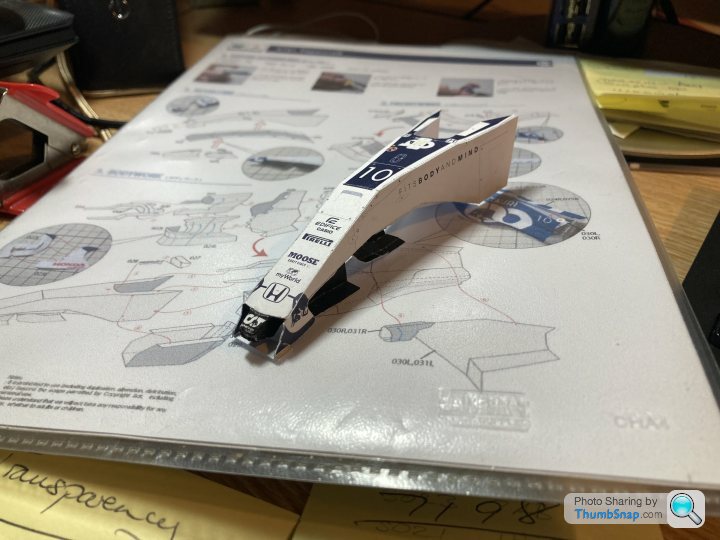
My enthusiasm got the better of me and this part
Should be glued between the rearmost parts of this …..
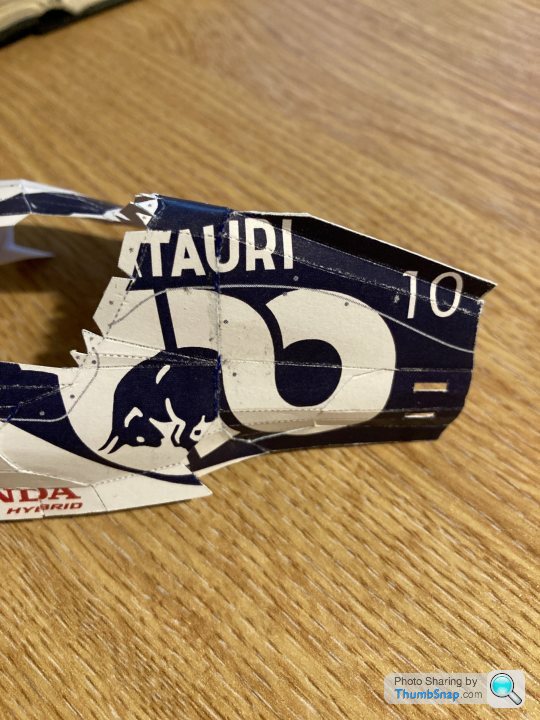
Will see how that works out as there is no going back. Worst is that I print some more parts but there is hours of work in that assembly so we will see.
Sub assemblies so far
Closer view of the body
My enthusiasm got the better of me and this part
Should be glued between the rearmost parts of this …..
Will see how that works out as there is no going back. Worst is that I print some more parts but there is hours of work in that assembly so we will see.
Looking good, despite some very complicated compound curves. I’ve never tried anything with as many facets as that.
I try to temporarily assemble parts using de-tacked Tamiya masking tape. When everything is right, apply PVA to the back of the joints. When it’s set, remove the tape and paint diluted PVA along the joint lines with a small paintbrush. Then when it’s finished, spray a coat of Matt or satin varnish over everything to get a consistent sheen.
I try to temporarily assemble parts using de-tacked Tamiya masking tape. When everything is right, apply PVA to the back of the joints. When it’s set, remove the tape and paint diluted PVA along the joint lines with a small paintbrush. Then when it’s finished, spray a coat of Matt or satin varnish over everything to get a consistent sheen.
Thanks, it is proving more of a challenge than I expected.
I am regarding it more as a learning experience now and am not convinced that it will all line up when the body is fixed to the base. I am trying to work on each side in parallel to try to keep it straight.
I must do the other two wheels . . .
I am regarding it more as a learning experience now and am not convinced that it will all line up when the body is fixed to the base. I am trying to work on each side in parallel to try to keep it straight.
I must do the other two wheels . . .
Gassing Station | Scale Models | Top of Page | What's New | My Stuff