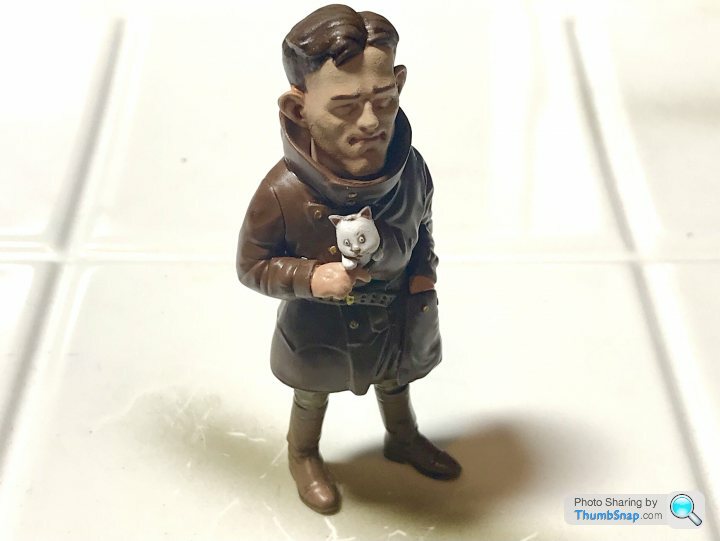
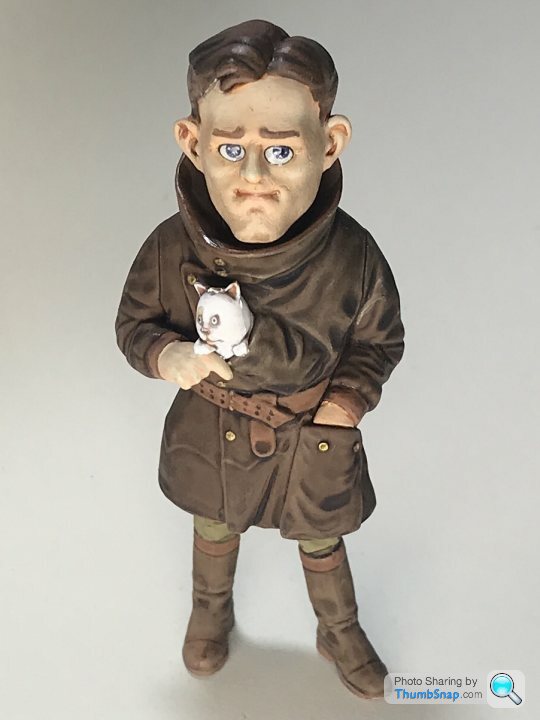
Suyata Sopwith Camel and “Brownie”
Discussion
Came across this kit in an advert in the latest Airfix model world magazine.
I’ve never heard of Suyata and the advert was a bit mad.. they seem to do a couple of egg planes, lots of spaceships and robot peanuts!
Well I ordered a kit and it turned up yesterday.
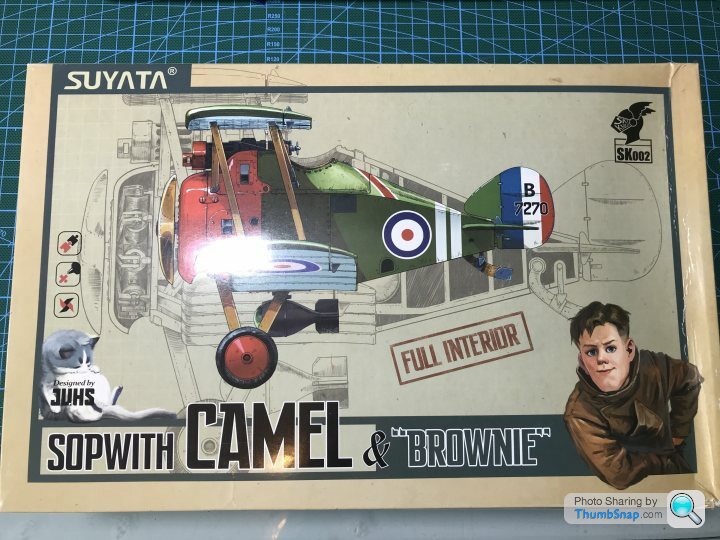
To say there is a lot in the box is an understatement. It’s flipping packed.
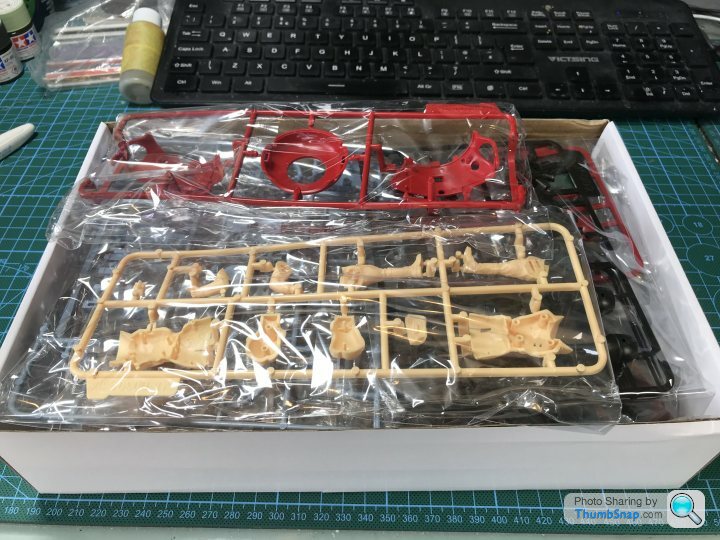
The closest thing I can compare it to is a gundam kit as all the parts are coloured. It’s also a snap fit, so you don’t even need glue.
Here’s a look at the spues
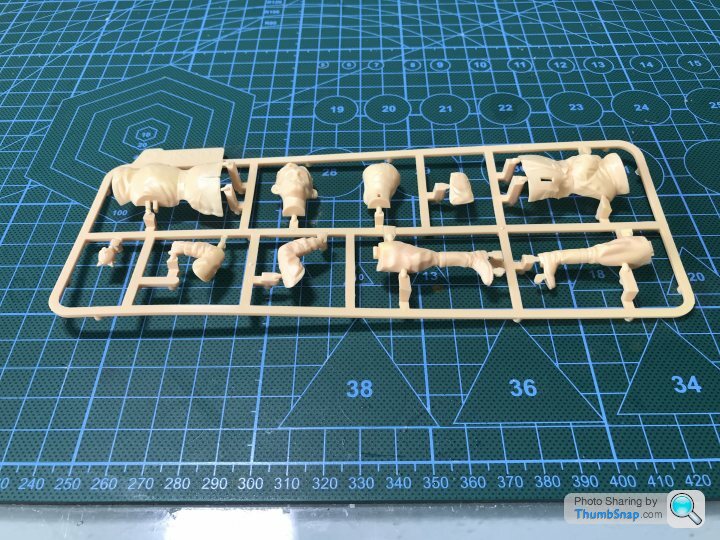
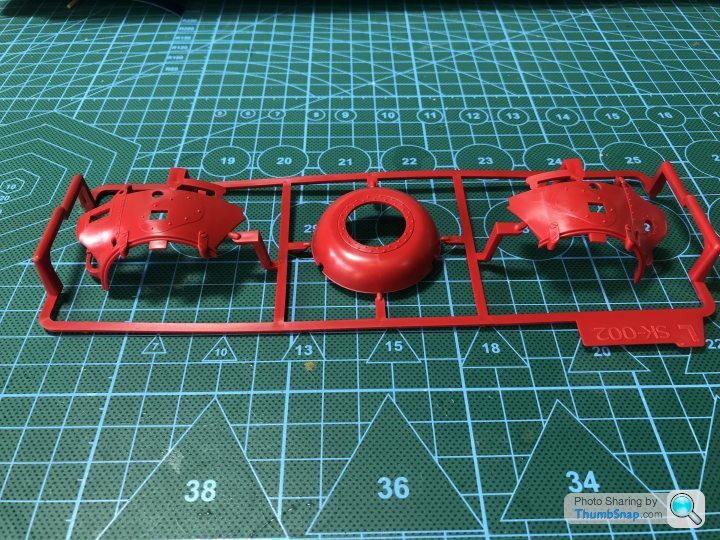
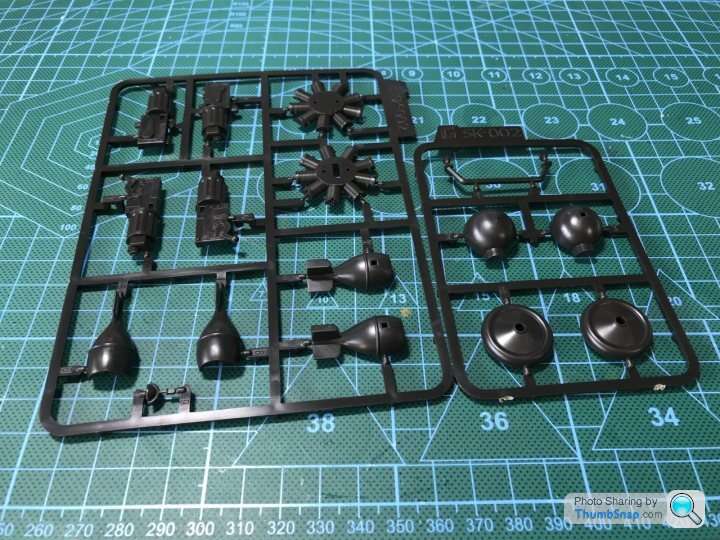
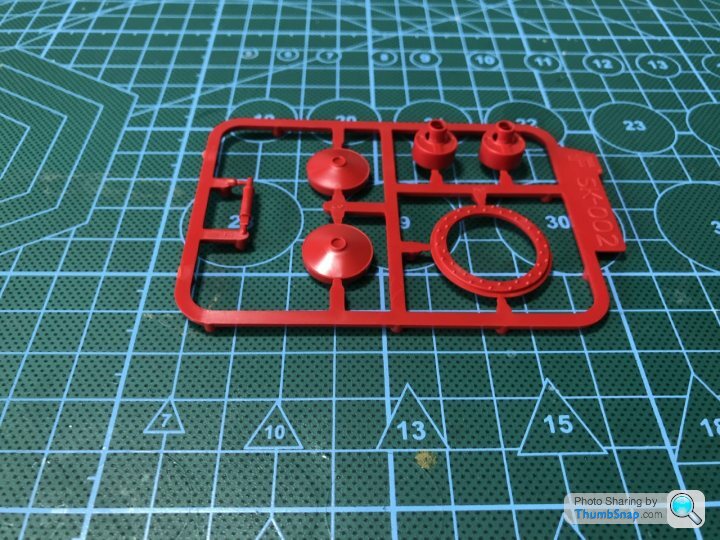
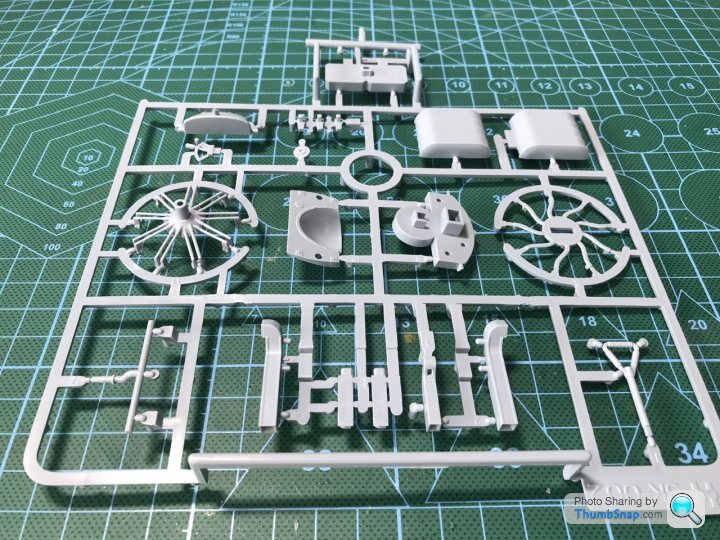
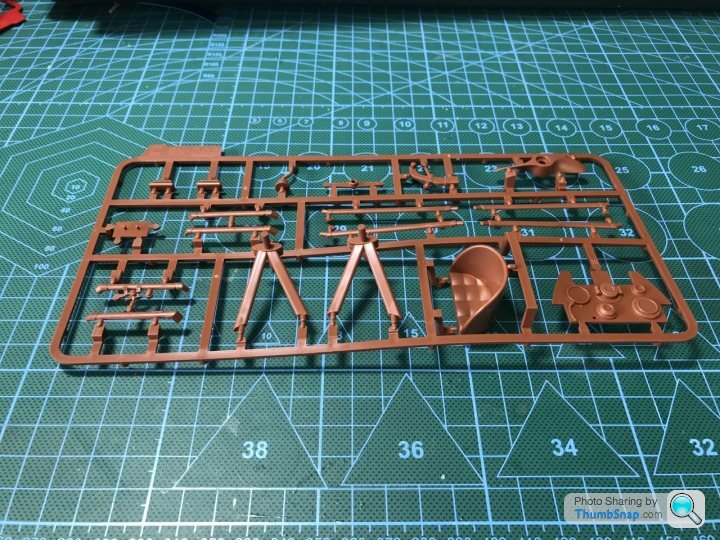
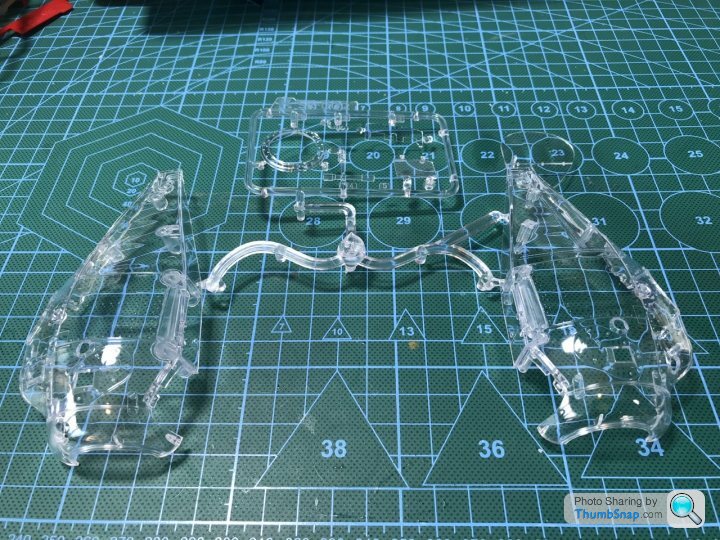
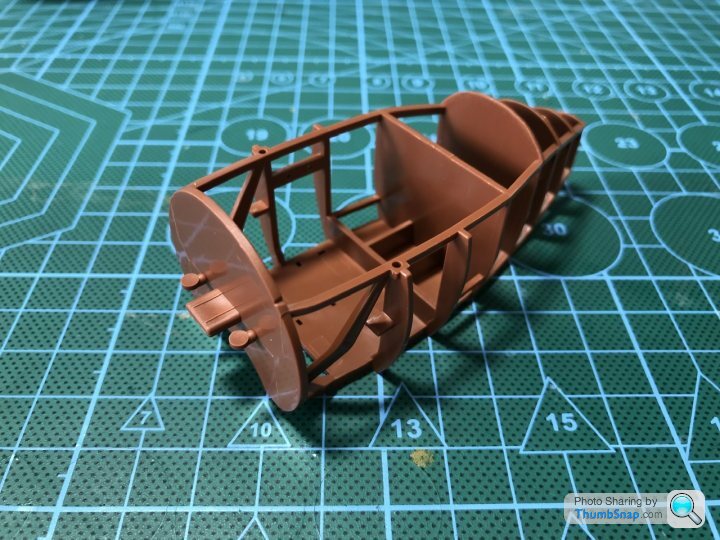
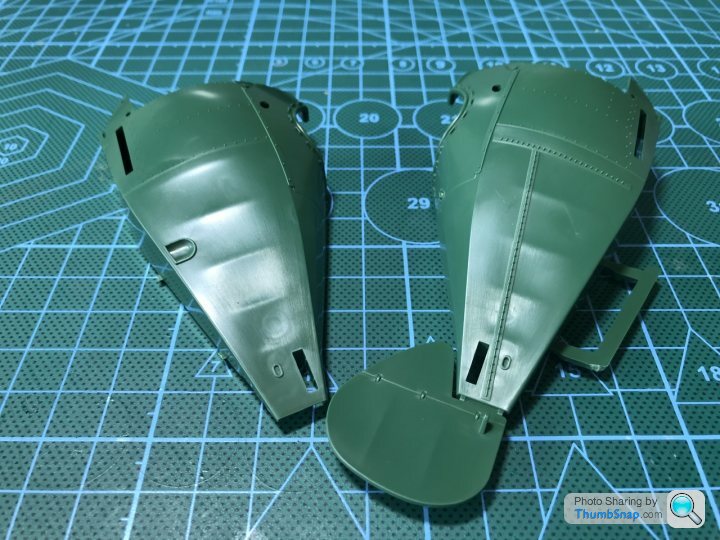
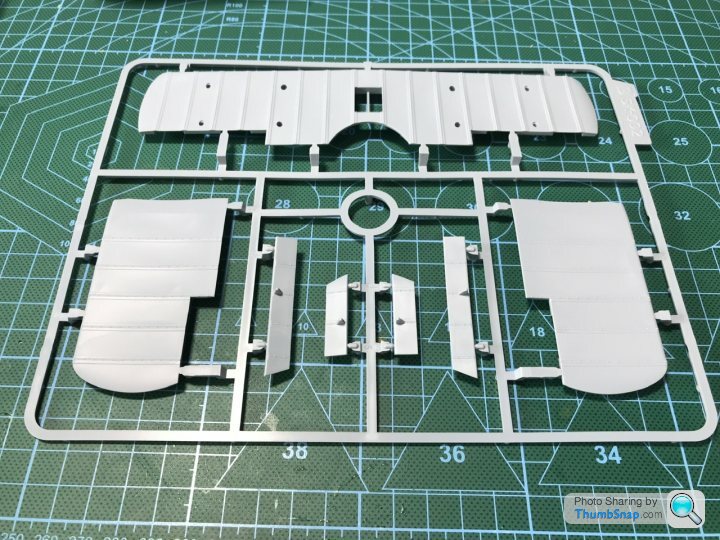
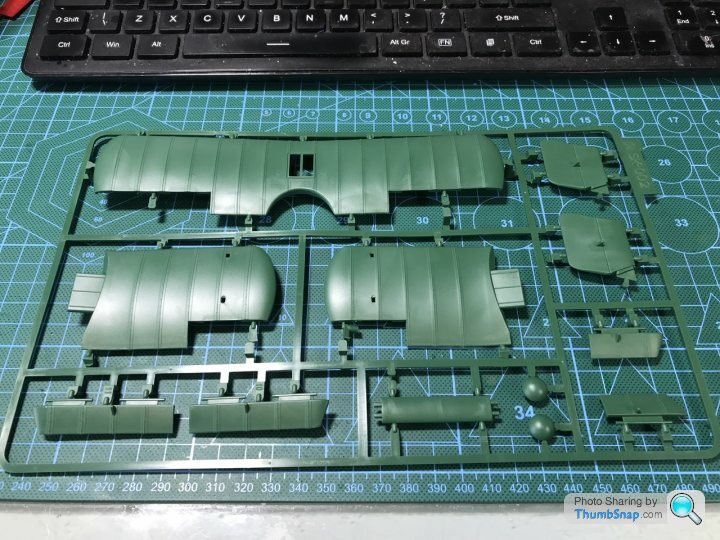
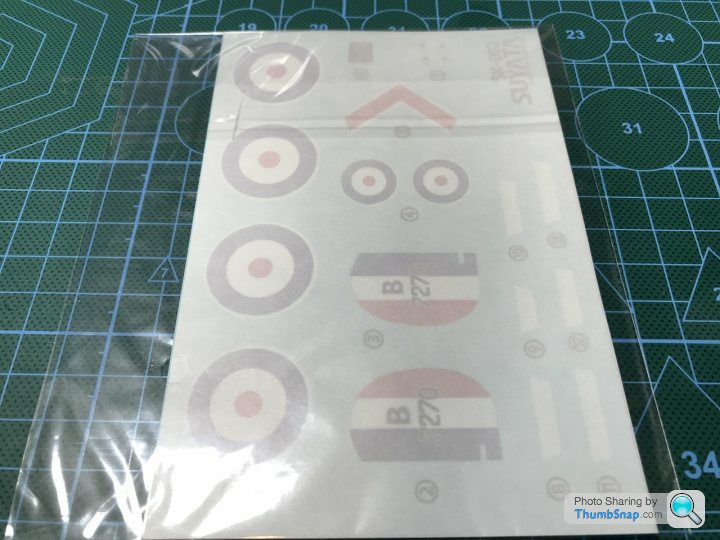
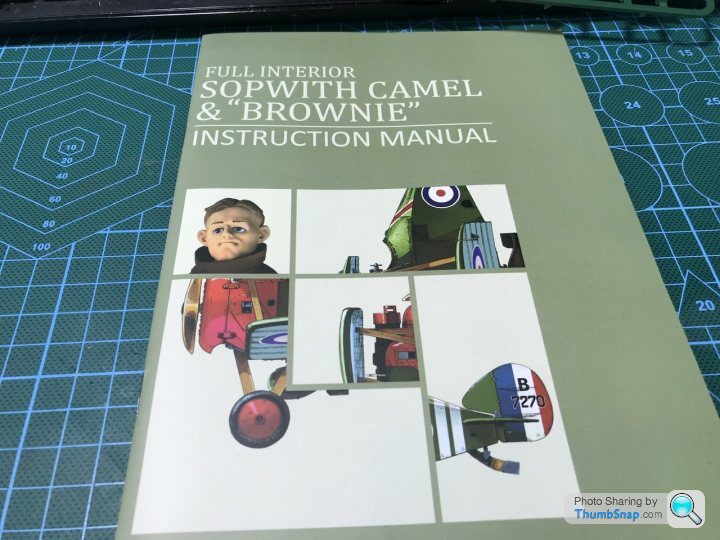
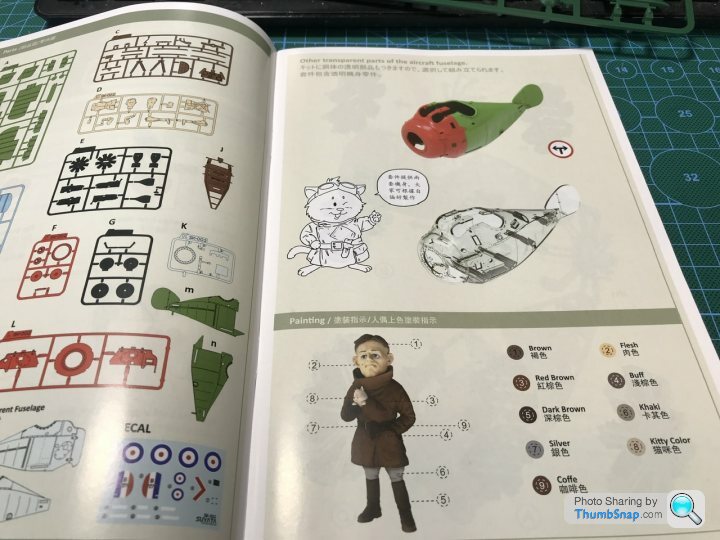
The quality seems really good with lots of detail.
We will see how it goes..
I’ve never heard of Suyata and the advert was a bit mad.. they seem to do a couple of egg planes, lots of spaceships and robot peanuts!
Well I ordered a kit and it turned up yesterday.

To say there is a lot in the box is an understatement. It’s flipping packed.

The closest thing I can compare it to is a gundam kit as all the parts are coloured. It’s also a snap fit, so you don’t even need glue.
Here’s a look at the spues


The quality seems really good with lots of detail.
We will see how it goes..
CotswoldsChap said:
Are you going to get the Red Baron tri-plane to go with it?
Possibly. Let’s see how this one goes.And on that very subject…
As Is the way of things these days I chose to start with the figure.
It’s really as simple as cutting the parts off the sprue, Cleaning up any moulding lines and making a few sub assemblies to make painting easier.
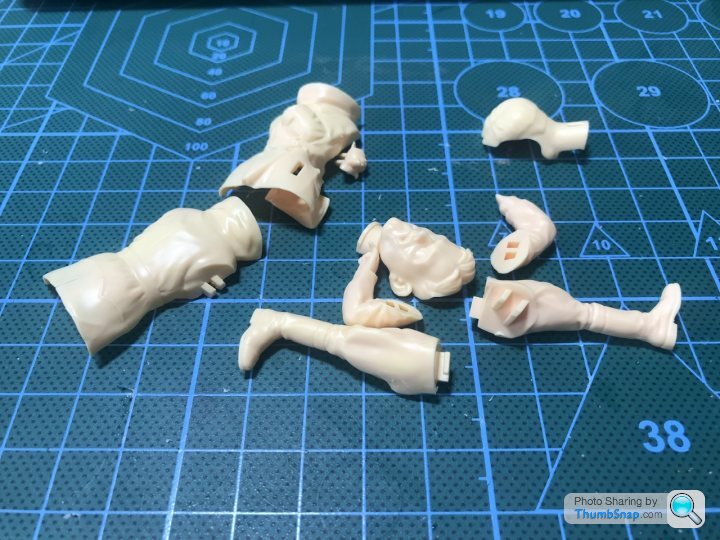
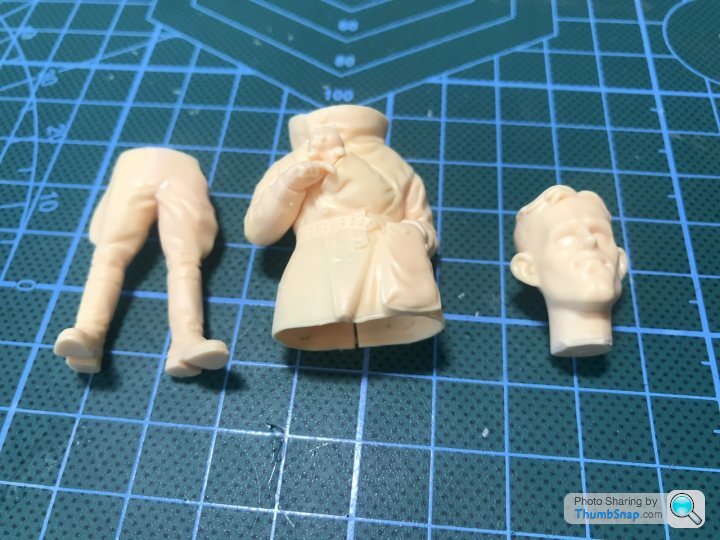
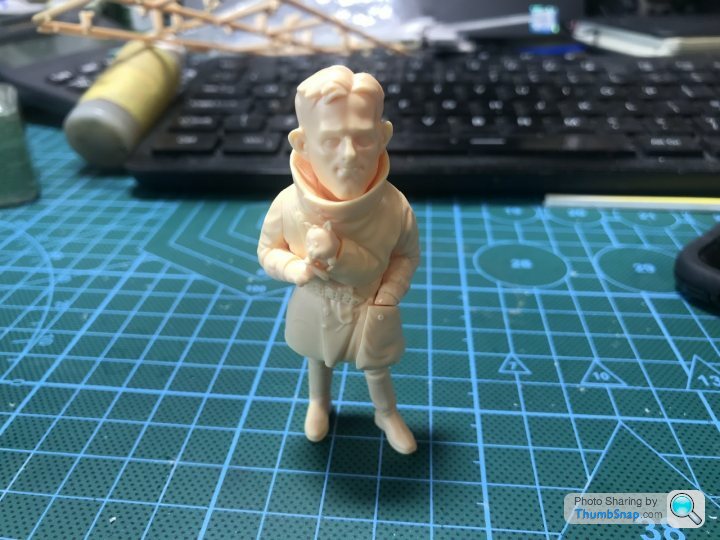
In order to make the figure disassemblable (yes I know it isn’t a word) I had to remove a couple of the snap fit tabs, but this is gonna get glued anyhoo.
Next step is to get the main blocks of colour on. This is a mix of airbrush with some simple masking and normal brush and as steady hand as I could manage.
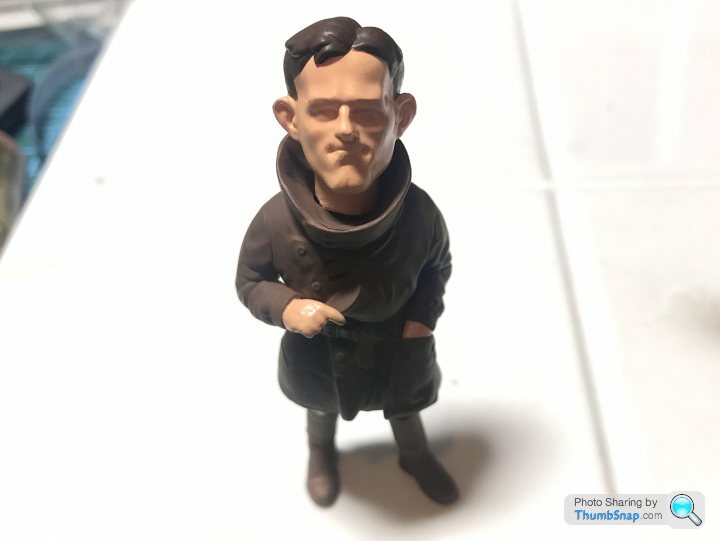
That’s enough for tonight, tomorrow it will be time for some shading.
Progress continues. Not much to show at the moment, but I am paint up a all the parts at the moment and drilling lots of tiny holes for the rigging.
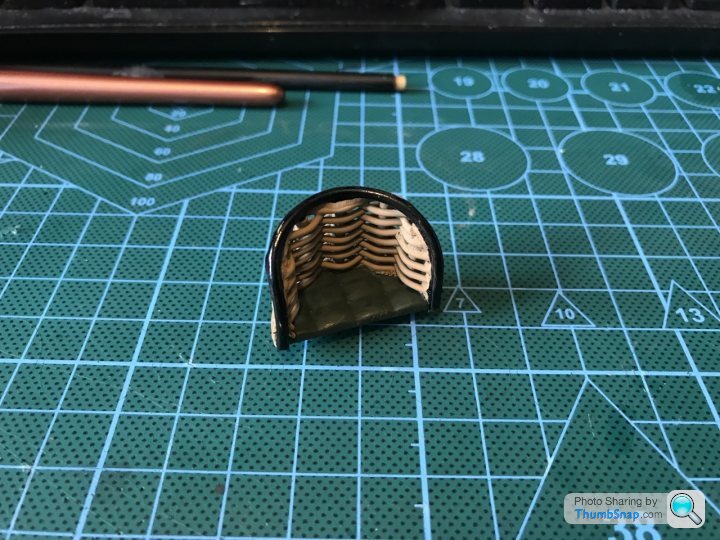
I did start to do something with the seat though.
The basic moulding looked, well, a bit basic.
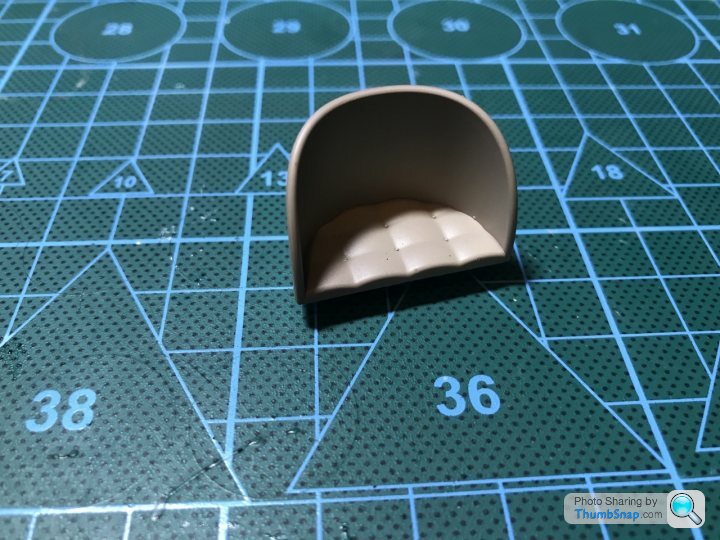
I cut the back off and used some cocktail sticks and electrical wire to produce an authentic “rattan” look
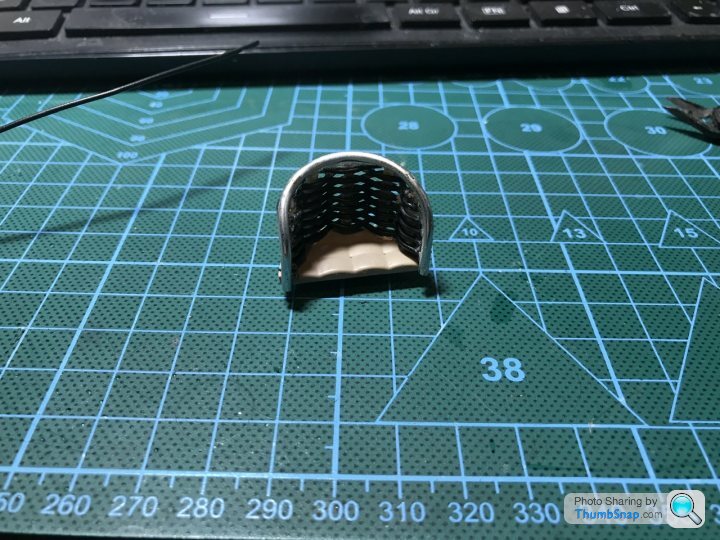
Should look okay when it’s painted and a seat belt is added.
I did start to do something with the seat though.
The basic moulding looked, well, a bit basic.

I cut the back off and used some cocktail sticks and electrical wire to produce an authentic “rattan” look

Should look okay when it’s painted and a seat belt is added.
I painted the seat!
And a lot of other parts….(this has been done over the last week)
And drilled a lot of holes for rigging..
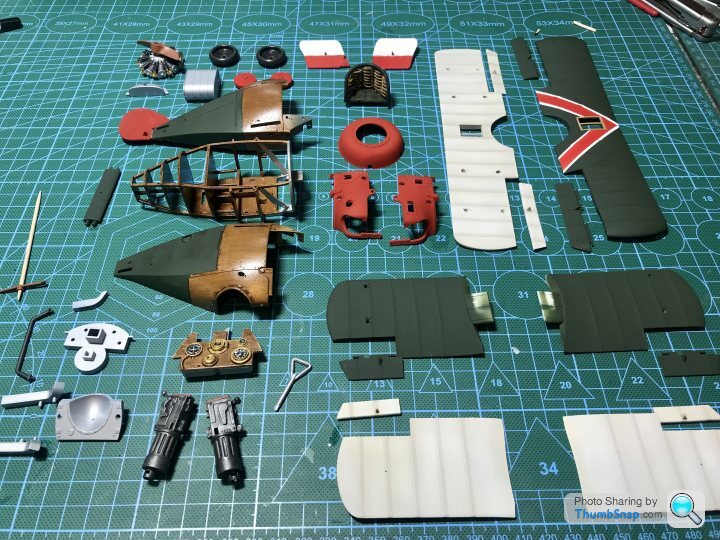
The keen eyed readers (if indeed there are any….. readers that is..) will note the absence of the various supports and struts. They are all drying. (As are the fuselage halves in all honesty)
I’m going to put it to one side for a week and let everything dry off a bit.

And a lot of other parts….(this has been done over the last week)
And drilled a lot of holes for rigging..

The keen eyed readers (if indeed there are any….. readers that is..) will note the absence of the various supports and struts. They are all drying. (As are the fuselage halves in all honesty)
I’m going to put it to one side for a week and let everything dry off a bit.
Gassing Station | Scale Models | Top of Page | What's New | My Stuff


