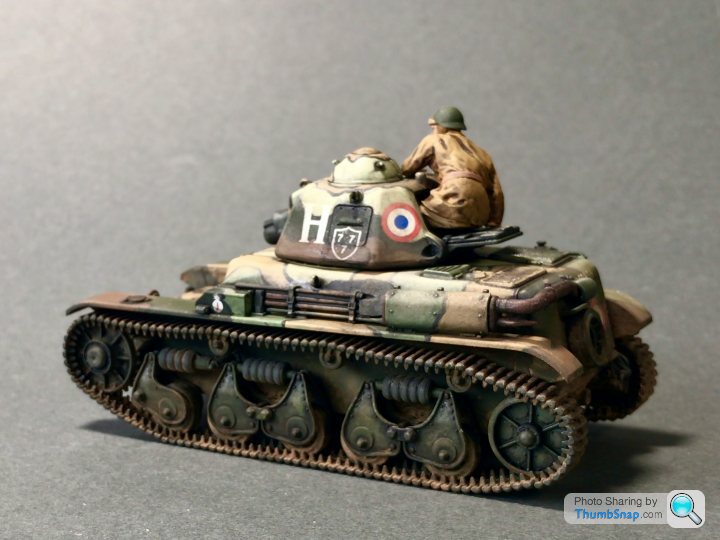
Tamiya Renault R35 - it’s a tank.
Discussion
Thought I’d try a build thread.
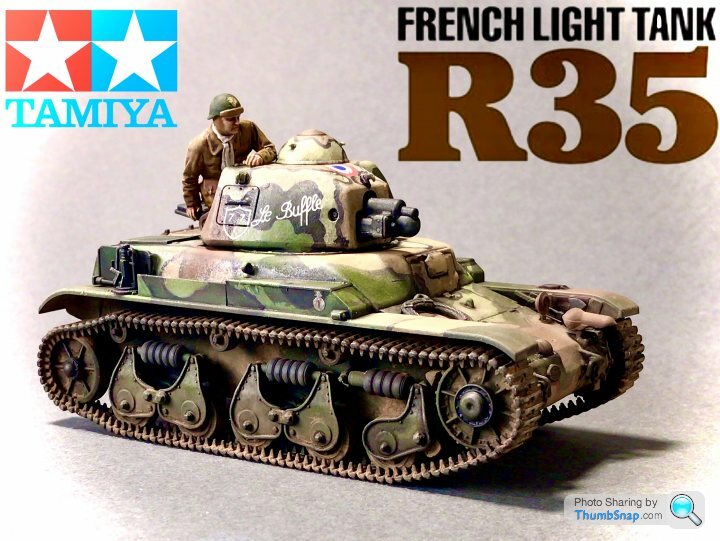
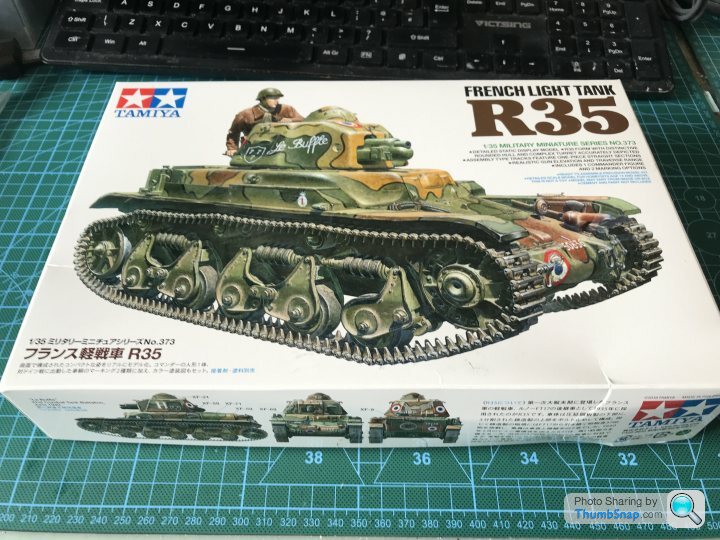
This is Tamiyas reasonably new R35 Light Tank.
It’s a pretty simple kit, but great quality as you would imagine.
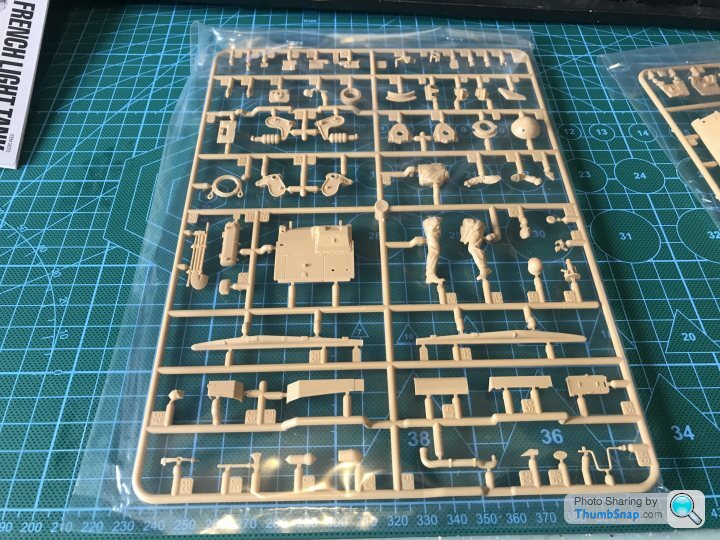
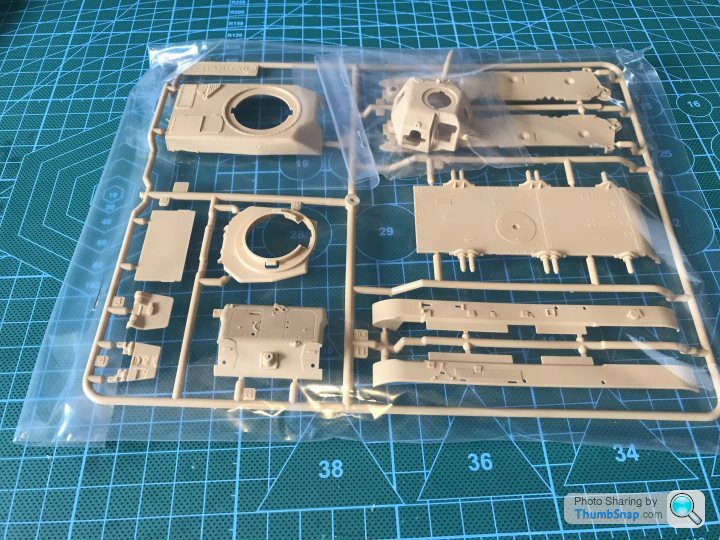
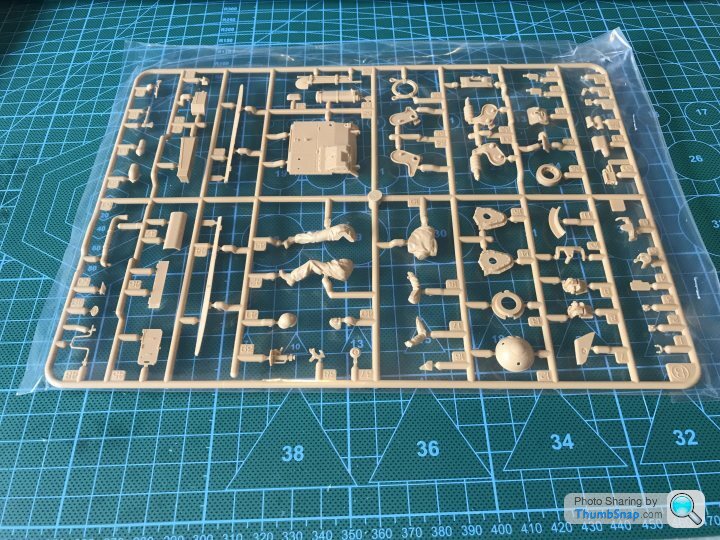
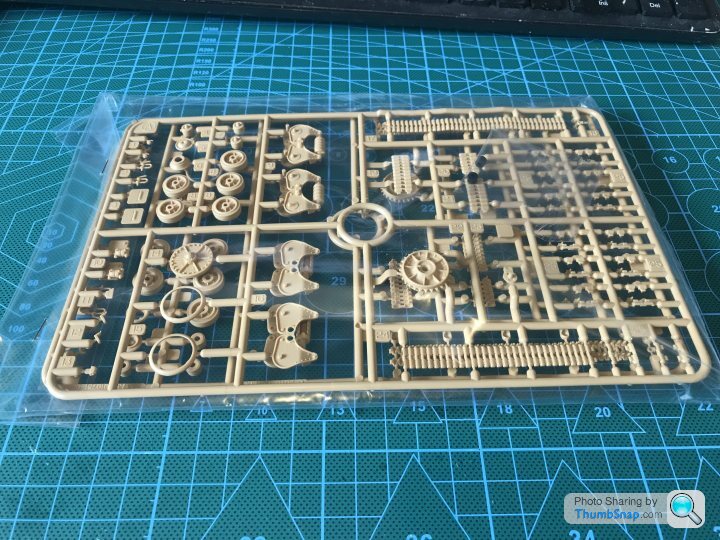
In total there are five smallish sprues (two of sprue A which is basically the wheels, tracks and suspension)
Lots of worryingly small parts too. Let’s hope the carpet monster doesn’t lay claim to any of them…
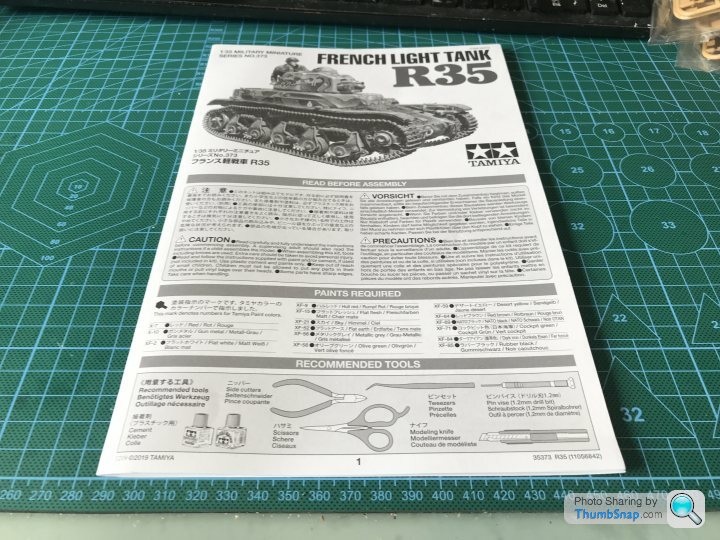
Instructions are normal Tamiya style. As is typical in the recent kits a full colour information sheet and paint guide is included.
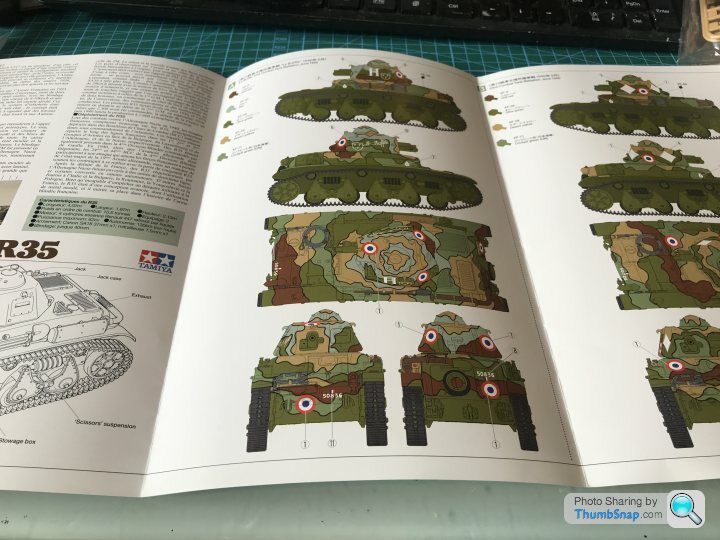
The paint job looks pretty intimidating. I’m not sure how to approach it.
I’m definitely going to go with an overall green base.
As for the colours. Well it could be free hand brush painting of masking and airbrush. I’ll worry about that later.
If I get it right it should make a colourful addition to the shelf.
This is Tamiyas reasonably new R35 Light Tank.
It’s a pretty simple kit, but great quality as you would imagine.

In total there are five smallish sprues (two of sprue A which is basically the wheels, tracks and suspension)
Lots of worryingly small parts too. Let’s hope the carpet monster doesn’t lay claim to any of them…


Instructions are normal Tamiya style. As is typical in the recent kits a full colour information sheet and paint guide is included.


The paint job looks pretty intimidating. I’m not sure how to approach it.
I’m definitely going to go with an overall green base.
As for the colours. Well it could be free hand brush painting of masking and airbrush. I’ll worry about that later.
If I get it right it should make a colourful addition to the shelf.
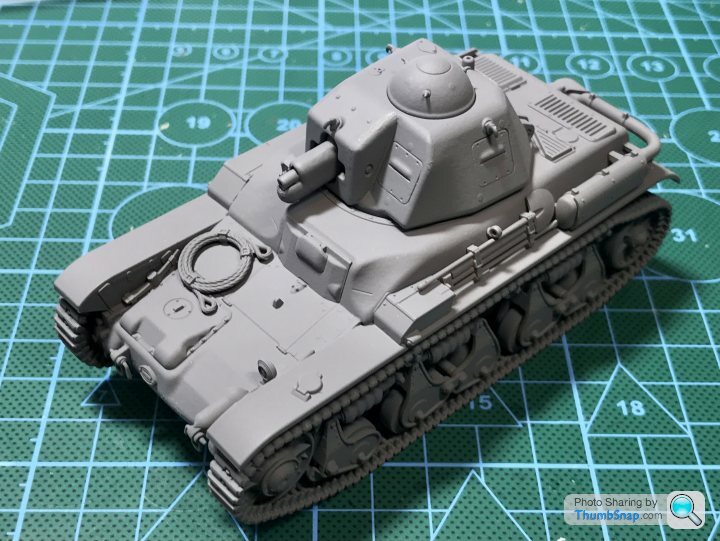
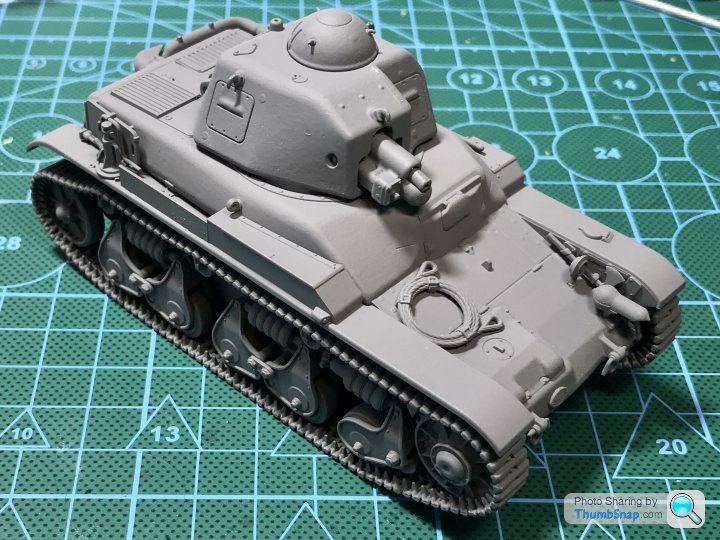
I’ve actually made a good bit of progress with the build. It’s pretty simple really.
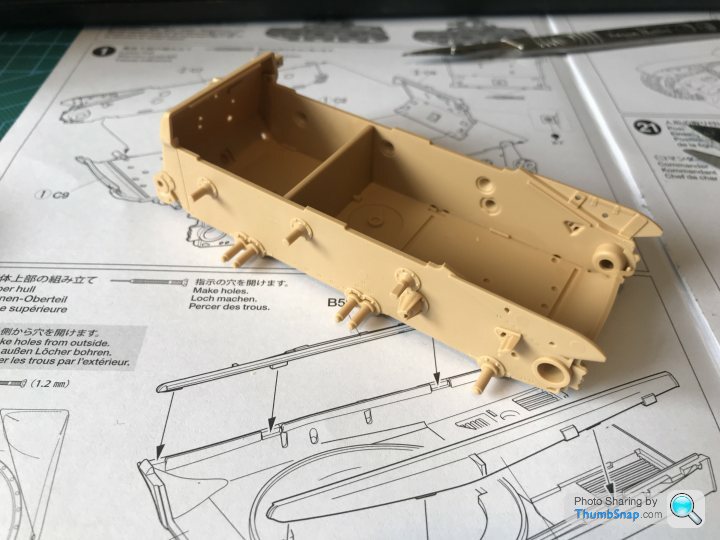
The main hull / chassis is made up out of multiple parts. This allows for tar better surface detail over the traditional “bath tub” style.
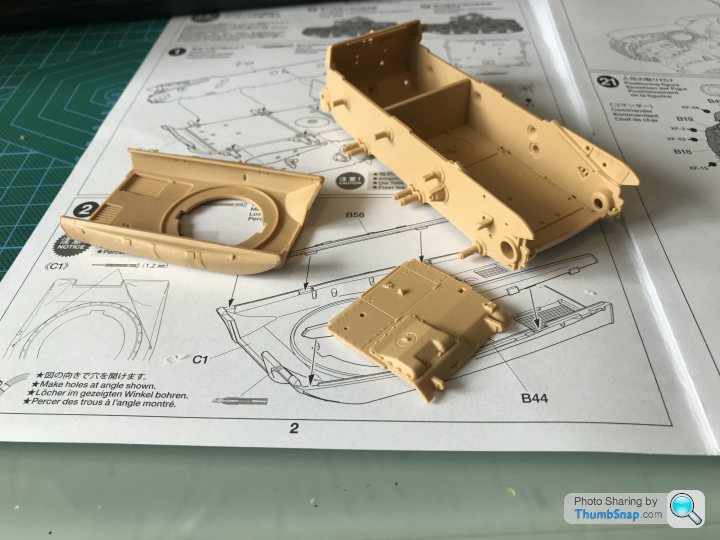
The top parts of the full are nicely detailed too.
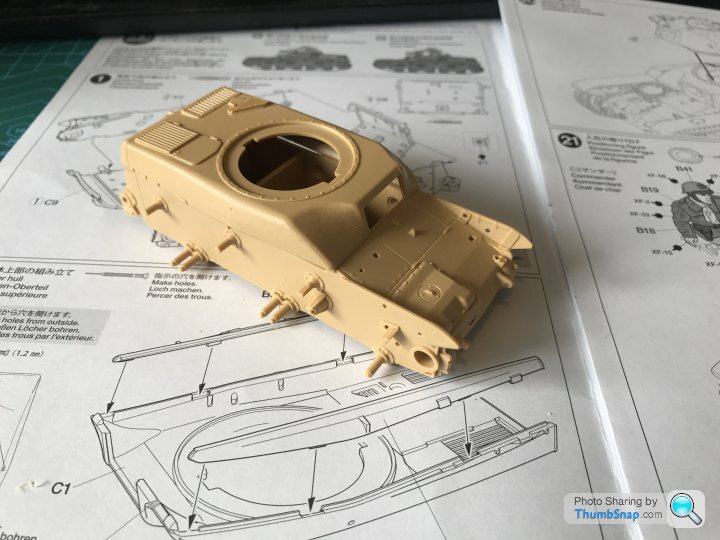
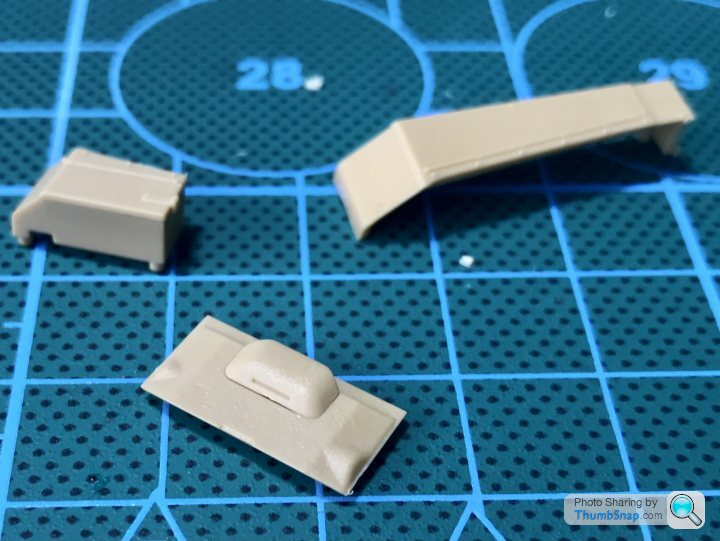
It all goes together (as you would expect) with little rework needed. I went over some of the joins that are meant to be a single casting, stippling liquid cement to reproduce the cast texture.
This is an example of a join prior to the rework
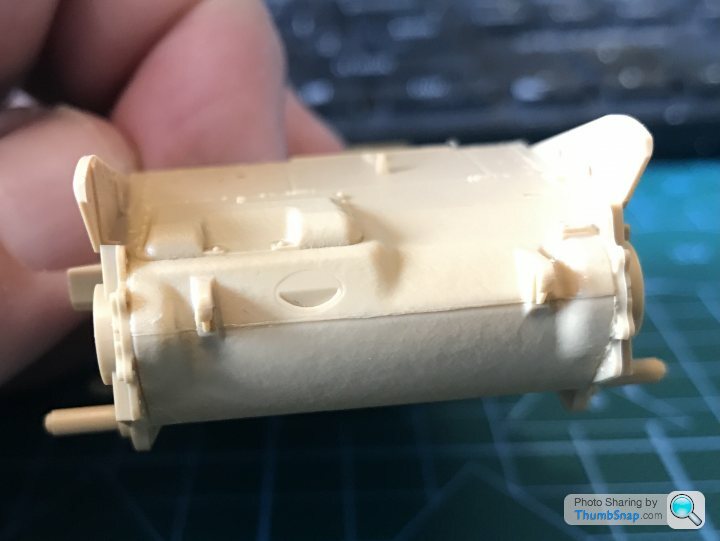
You can see the join clearly visible.
The main hull / chassis is made up out of multiple parts. This allows for tar better surface detail over the traditional “bath tub” style.

The top parts of the full are nicely detailed too.

It all goes together (as you would expect) with little rework needed. I went over some of the joins that are meant to be a single casting, stippling liquid cement to reproduce the cast texture.

This is an example of a join prior to the rework

You can see the join clearly visible.
I didn’t finish there…
With the main hull complete(ish) the next step is the wheels, suspension and tracks,
Both the idler wheel and drive sprocket are made up from three parts each. These give nicely detailed assemblies.
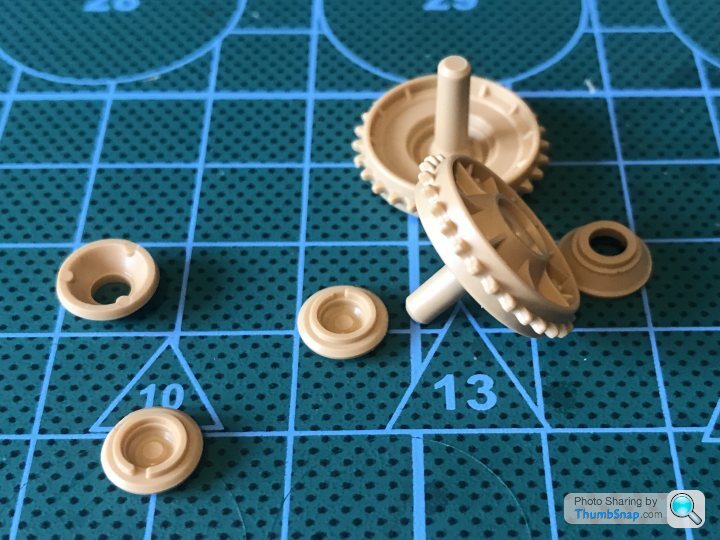
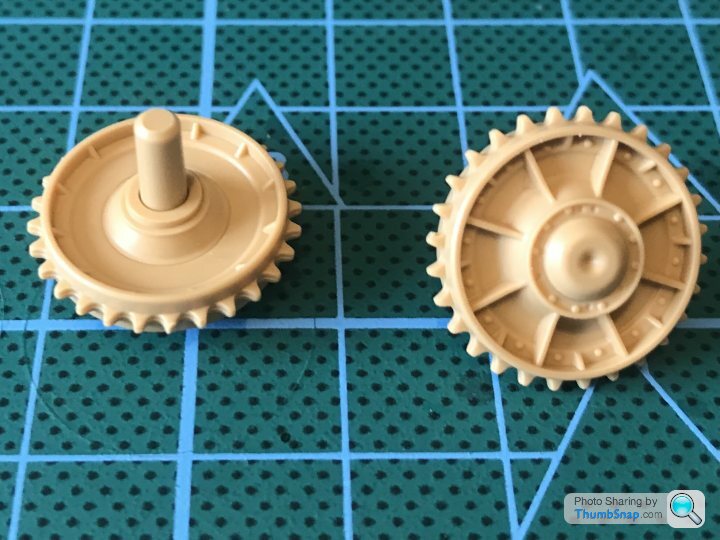
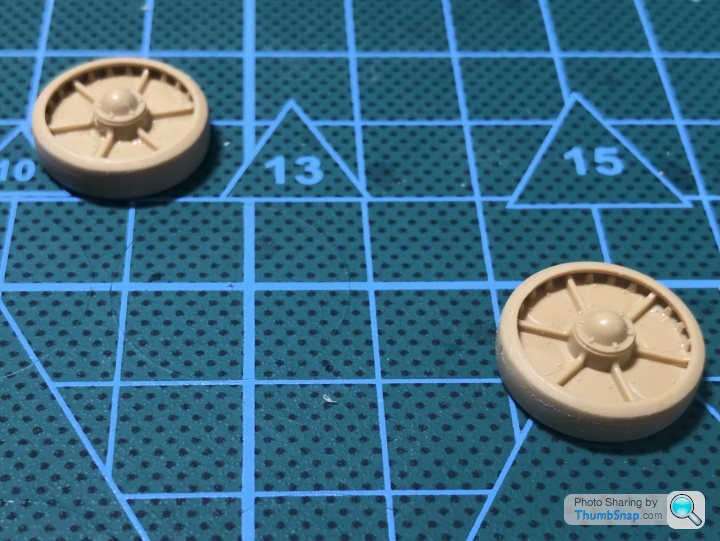
The suspension is made up of a lot of small parts…
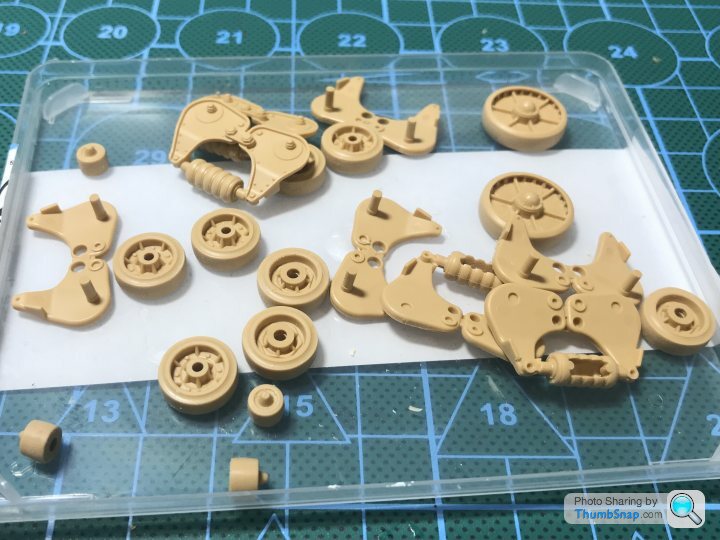
These were removed and cleaned up ready for assembly.
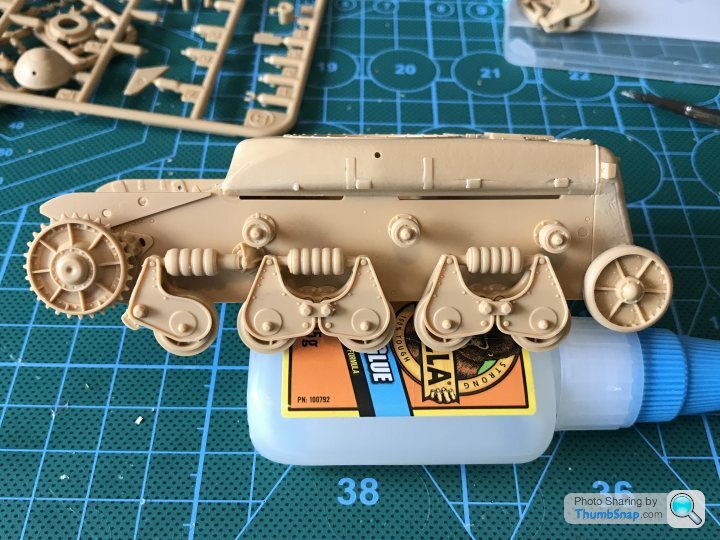
These are just dry fitted for now.
Lots of little bits and pieces are added to the hull.
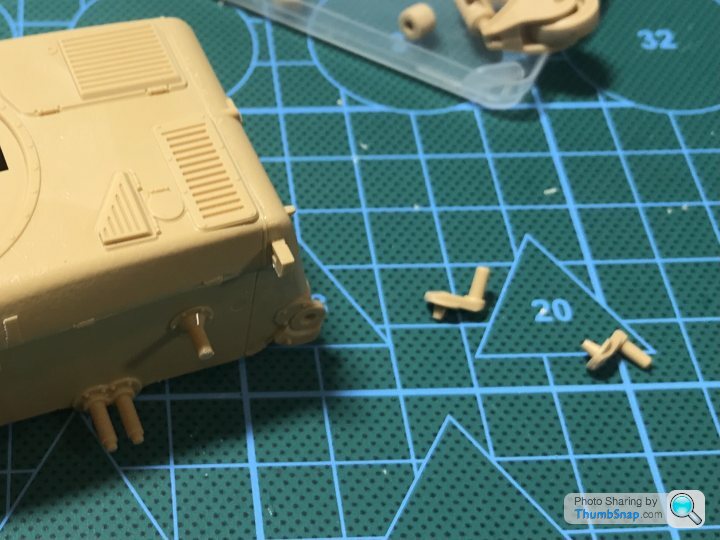
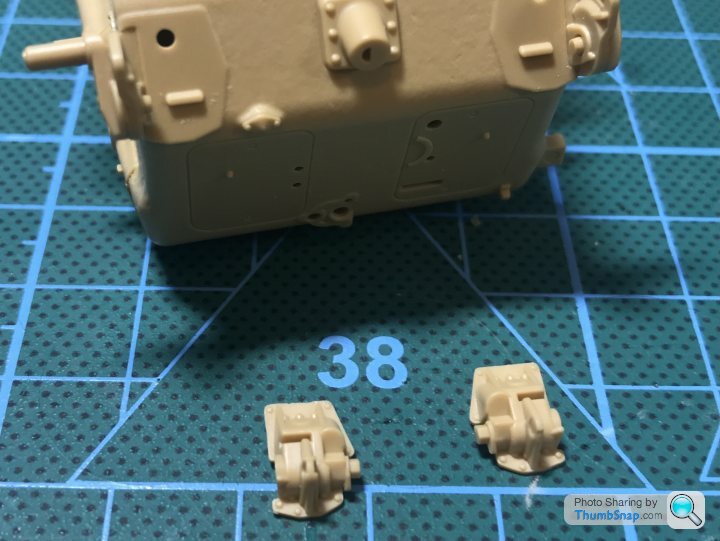
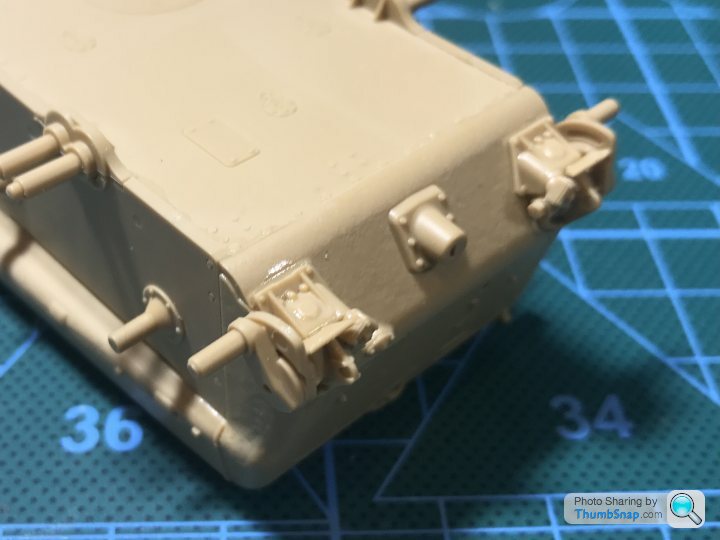
The tracks are link and length and are pretty straight forward to assemble. I got carried away and forgot to take any snaps of the process though
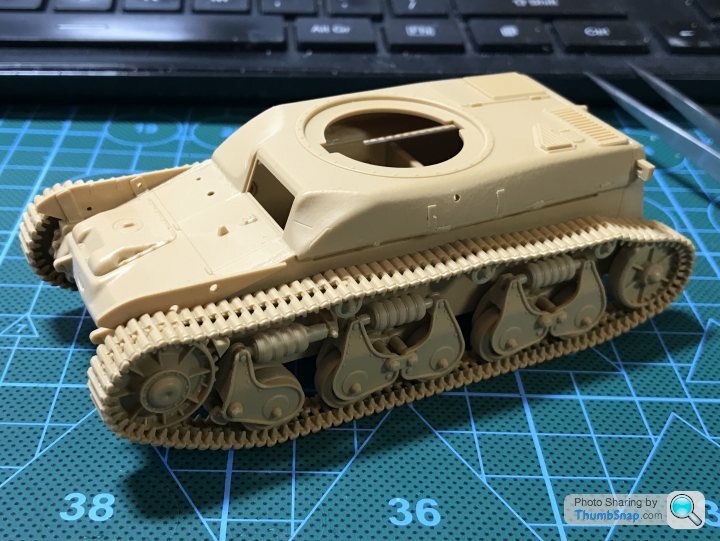
I should mention that I started the model a few days ago and have only just got around to starting the thread..
With the main hull complete(ish) the next step is the wheels, suspension and tracks,
Both the idler wheel and drive sprocket are made up from three parts each. These give nicely detailed assemblies.


The suspension is made up of a lot of small parts…

These were removed and cleaned up ready for assembly.

These are just dry fitted for now.
Lots of little bits and pieces are added to the hull.


The tracks are link and length and are pretty straight forward to assemble. I got carried away and forgot to take any snaps of the process though


I should mention that I started the model a few days ago and have only just got around to starting the thread..
On with the mud guards / fenders and some stowage boxes.
I blundered here by fitting the jack, which could make painting trickier…
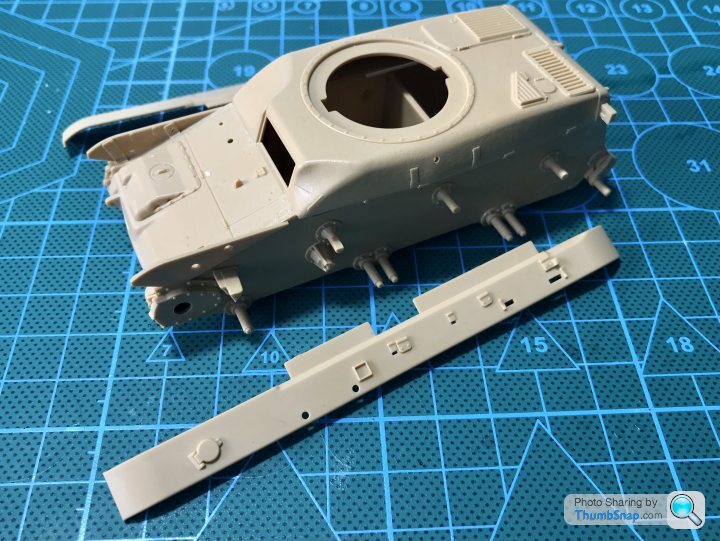
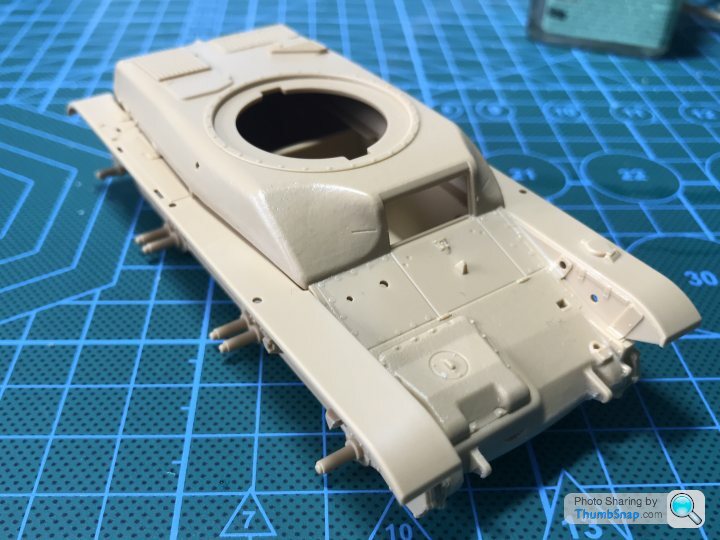
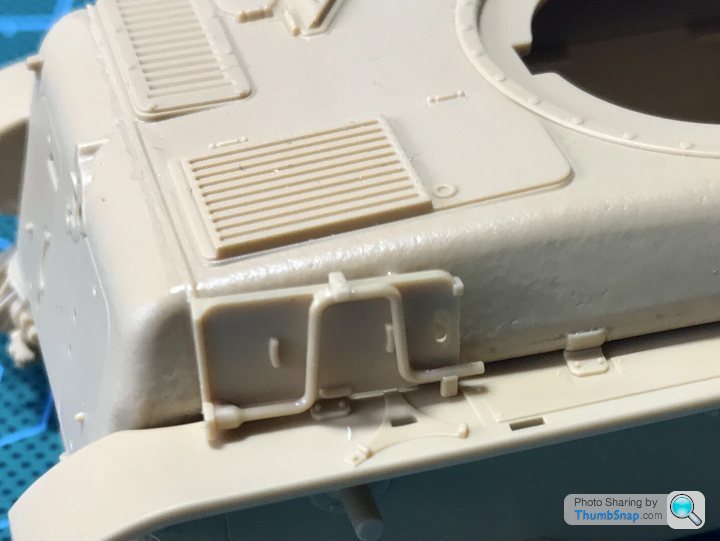
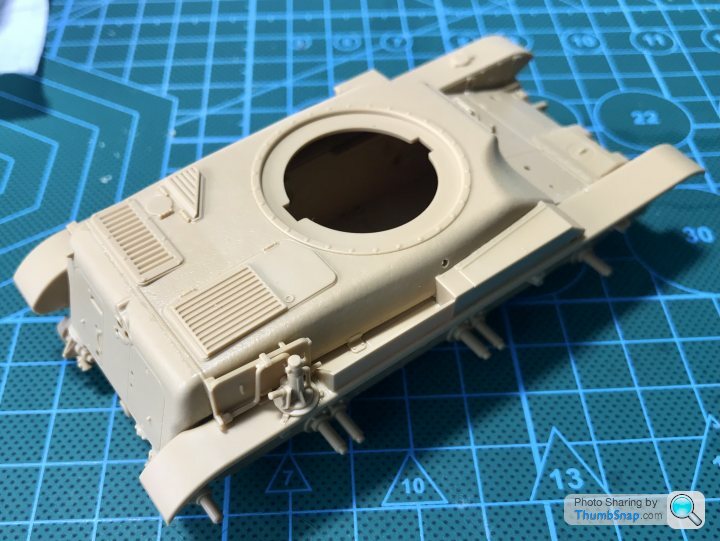
The main hull is now about as finished as I want it before paint.
Attention turns to the turret…. Well that’s a bit of a generous name really as it would be little more than a cupola on a modern tank.
The first part of the process if the main gun. Once again multiple tiny parts…
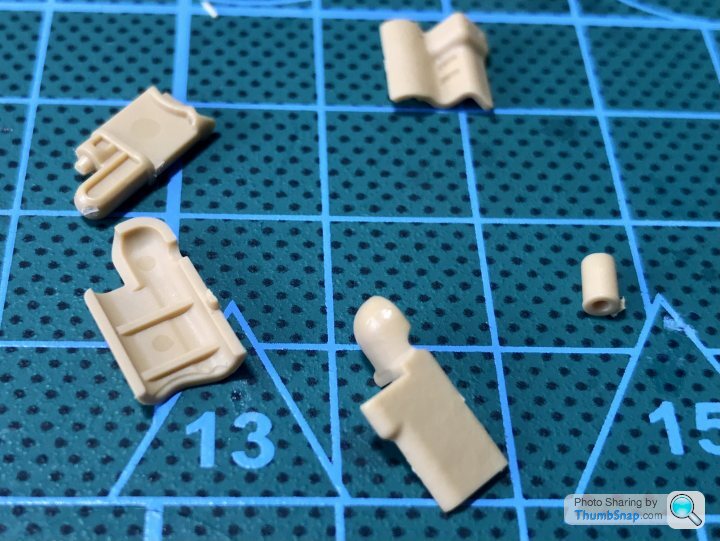
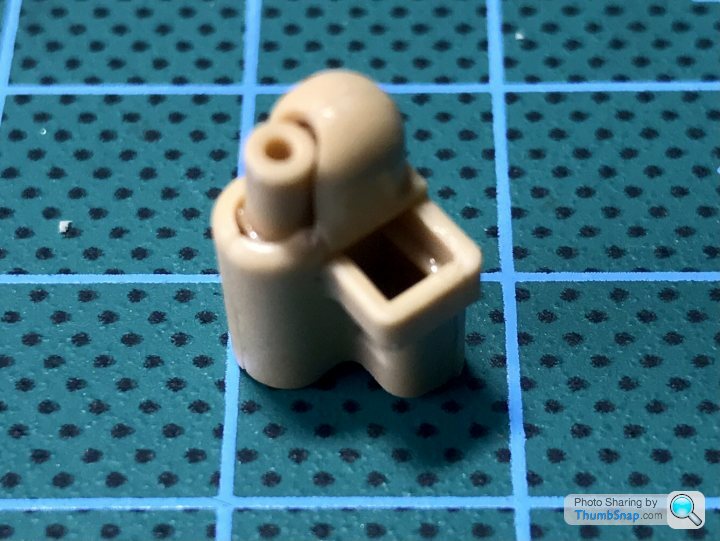
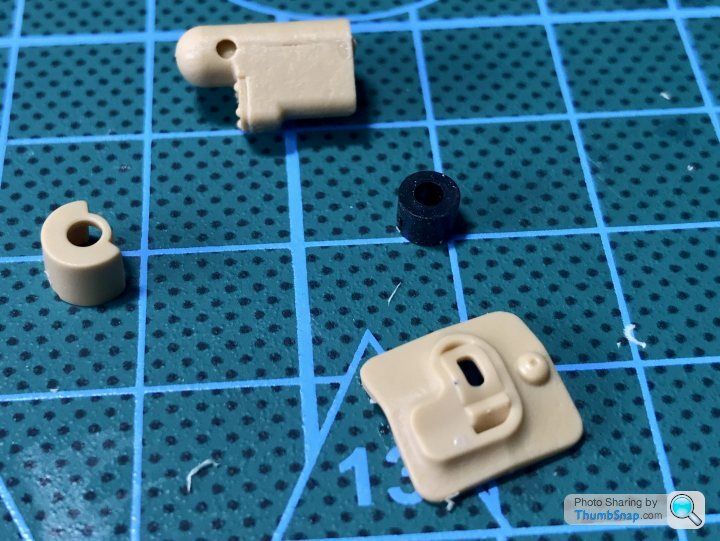
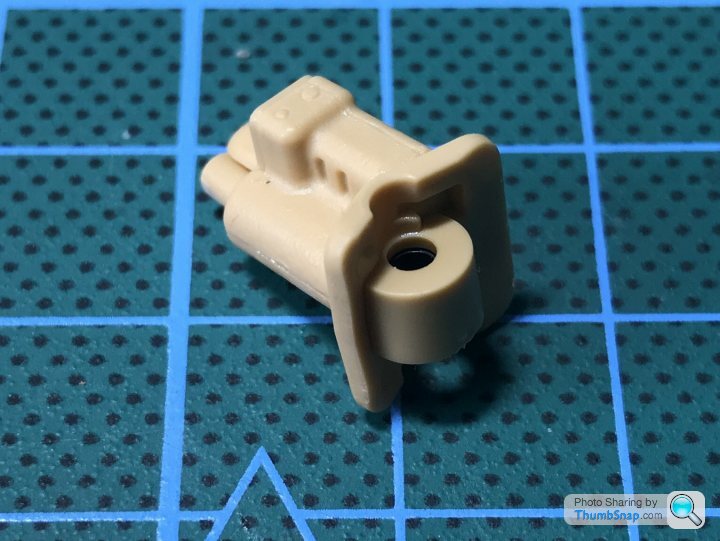
Next is the two piece turret itself
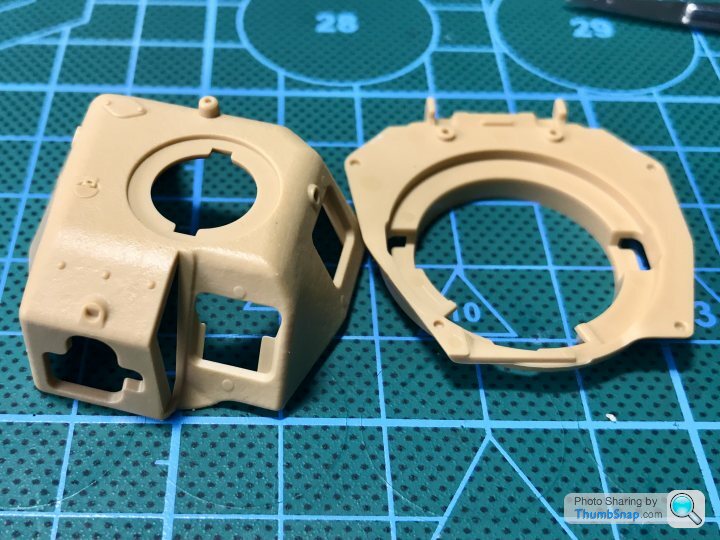
When that’s together you have to install the gun and cap it off with a piece to secure the gun and complete the turret ring…
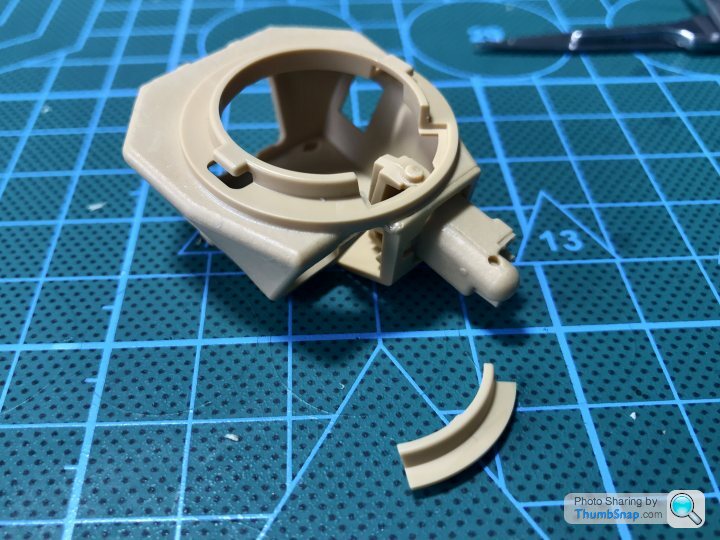
Believe it or not. The tank does have a cupola as well. A tiny dome with three spikes on it.
These are moulded separately and you guessed it.. very small
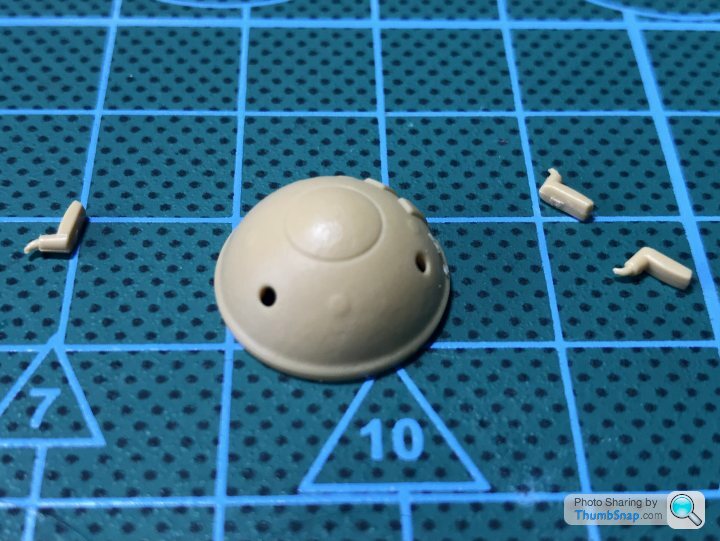
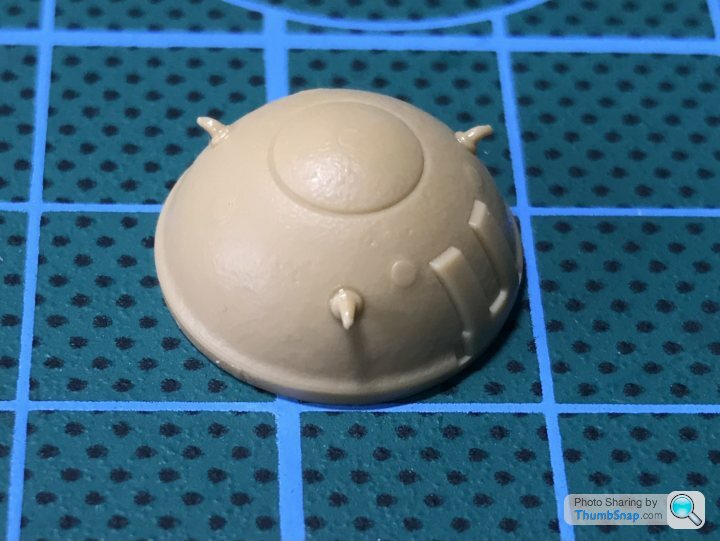
A few hatched and bits are added and the assembly is complete.
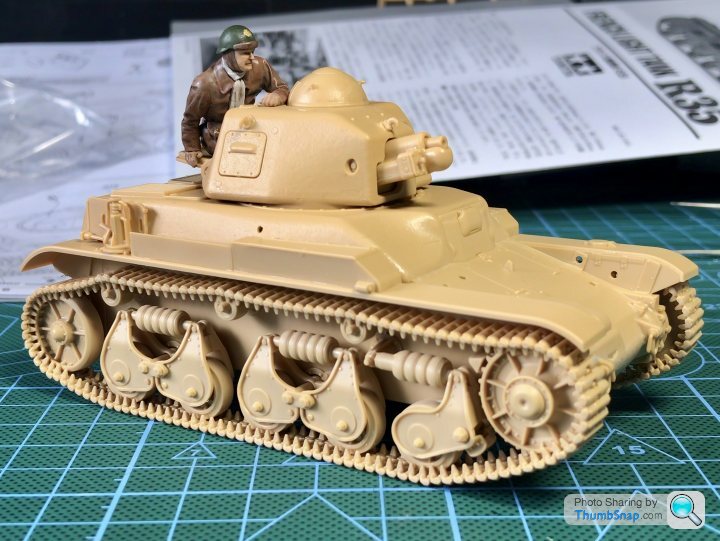
I need to go over the turret and remove any obvious joint on cast pieces. Once that’s done it’s paint time!
I blundered here by fitting the jack, which could make painting trickier…


The main hull is now about as finished as I want it before paint.
Attention turns to the turret…. Well that’s a bit of a generous name really as it would be little more than a cupola on a modern tank.
The first part of the process if the main gun. Once again multiple tiny parts…


Next is the two piece turret itself

When that’s together you have to install the gun and cap it off with a piece to secure the gun and complete the turret ring…

Believe it or not. The tank does have a cupola as well. A tiny dome with three spikes on it.
These are moulded separately and you guessed it.. very small


A few hatched and bits are added and the assembly is complete.

I need to go over the turret and remove any obvious joint on cast pieces. Once that’s done it’s paint time!
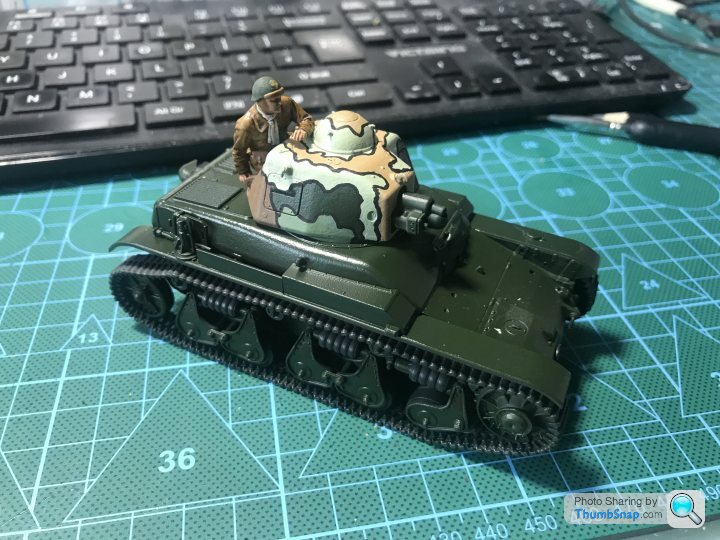
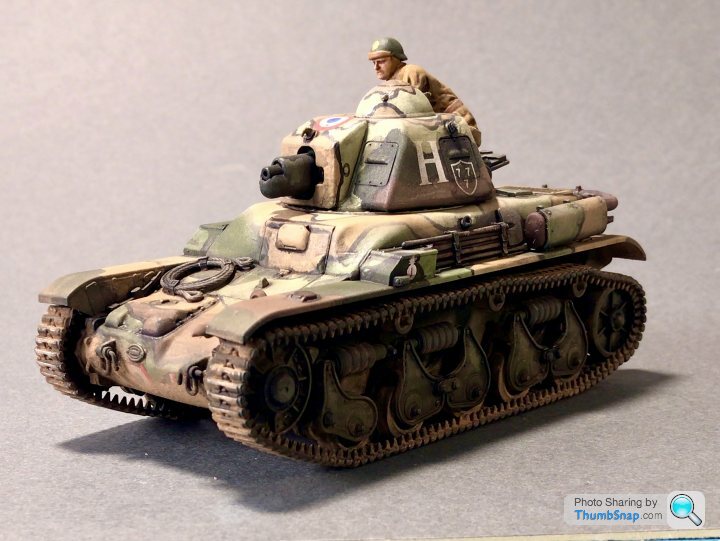
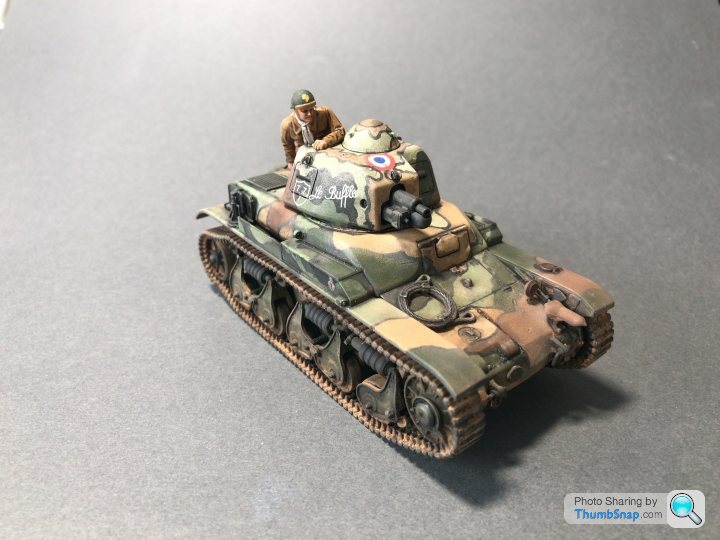
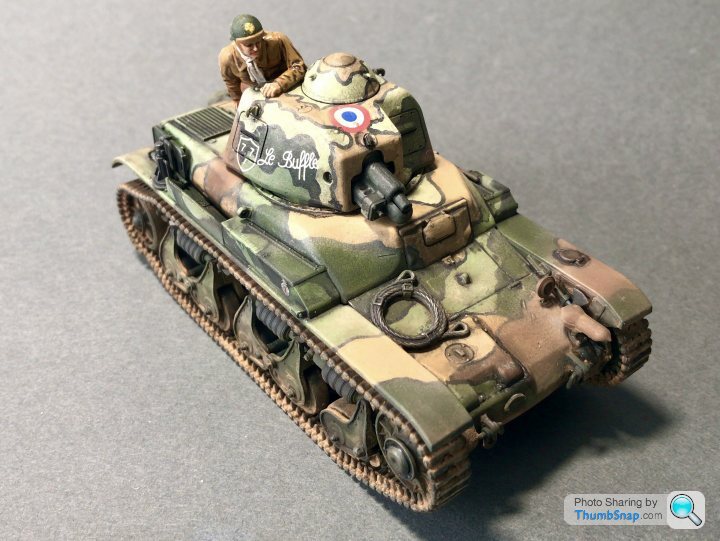
All quiet on the Renault front of late…
You see I’m not that happy with how things have gone and am now well and truly in “turd polishing” territory.
Didn’t like the paint job, so tried to mute it down a bit and that didn’t work.
It is what it is. A little weathering should help I guess..
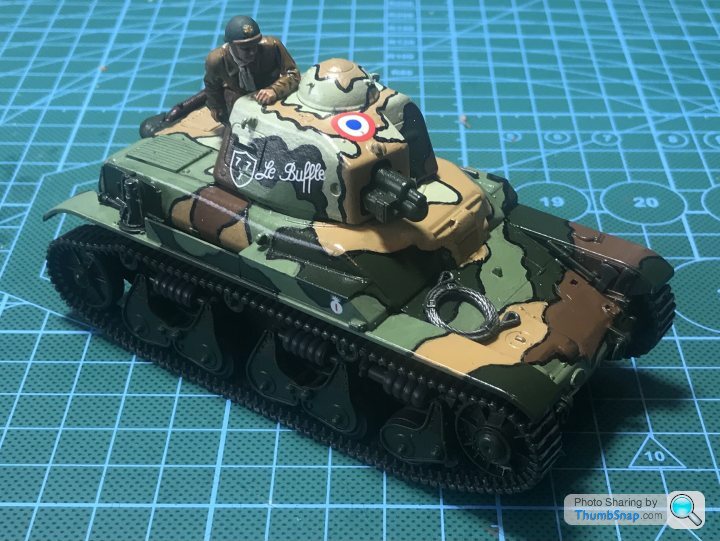
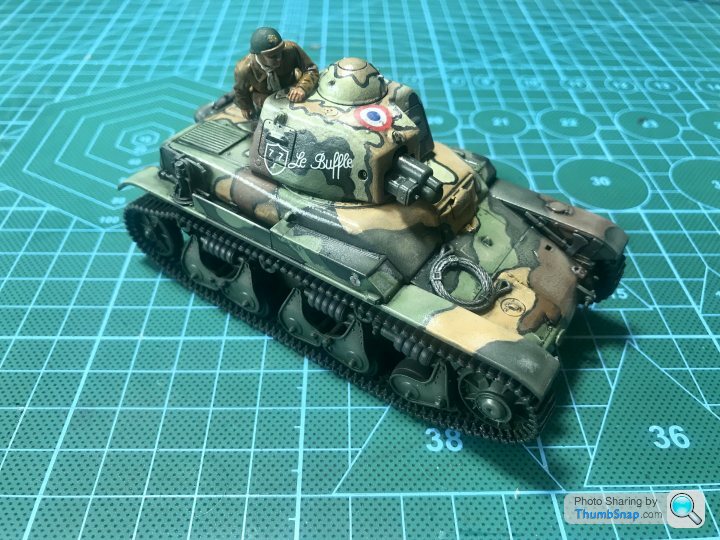
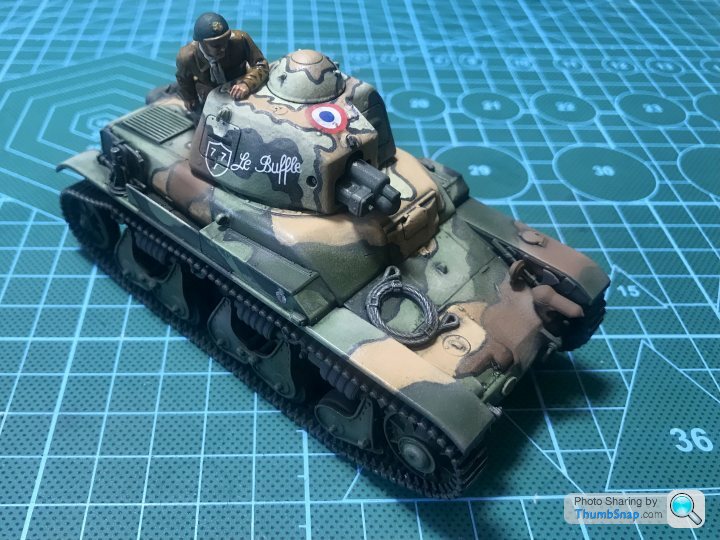
We’re it not for this thread it would be on the shelf of regret or more likely the bin.
You see I’m not that happy with how things have gone and am now well and truly in “turd polishing” territory.
Didn’t like the paint job, so tried to mute it down a bit and that didn’t work.
It is what it is. A little weathering should help I guess..


We’re it not for this thread it would be on the shelf of regret or more likely the bin.
I like it. The black demarcation lines make it as if it came straight from a comic book.
It has always puzzled me why the French used such funky color schemes on their tanks as means to disguise. The Japanese tried something similar too.
In any case, it is a good looking tank, it could be an idea to convert yours to a tank captured by the Germans:
The Renault R35 was the most numerous French tank of the spring of 1940 and consequently became the most numerous captured French tank in German service. In many cases, the Germans got their hands on pristine vehicles (or with only very light damage) and were able to immediately turn them against their former masters. In total, the Germans managed to capture between 800 and 840 of these light tanks, quite a high number under any circumstances.
In order not to be attacked by other German units, the German units drew big crosses (Balkenkreuz) on their vehicles’ sides and the vehicles were usually repainted to grey color (Schwarzgrau RAL 7021), even though some of the captured tanks retained their original French camouflage.
(source: http://ftr.wot-news.com/2016/07/06/renault-r35-var...
If I would have to do it, I would make it a bit of a sloppy paint job as if it had been done in the field, leaving the original paintwork vaguely visible at places.
robemcdonald said:
All quiet on the Renault front of late…
You see I’m not that happy with how things have gone and am now well and truly in “turd polishing” territory.
Didn’t like the paint job, so tried to mute it down a bit and that didn’t work.
It is what it is. A little weathering should help I guess..


We’re it not for this thread it would be on the shelf of regret or more likely the bin.
I think your being unduly harsh on yourself i think that looks splendid can we have a few more photos please .You see I’m not that happy with how things have gone and am now well and truly in “turd polishing” territory.
Didn’t like the paint job, so tried to mute it down a bit and that didn’t work.
It is what it is. A little weathering should help I guess..


We’re it not for this thread it would be on the shelf of regret or more likely the bin.
Ash_ said:
Yertis said:
Don’t be so hard on yourself, it’s very cool.
Indeed, that's brilliant, great work on the complicated Camo job!Edited by Yertis on Wednesday 15th September 22:26
Also, what's happening with your 1/48 A-6 Intruder Rob?
I looked at the box the other day, so a bit of progress…..
Probably do another couple of easy ones before picking that up again to be honest.
Gassing Station | Scale Models | Top of Page | What's New | My Stuff


