Teeny Tiny 009 layout
Discussion
My big N gauge layout (620x2500) is too unwieldy and it's had to make way for a more usable desk now I'm working from home full time.
I have grand plans to make a 600x1200 layout and have drawn up a route that will use all my locos and I've consolidated my rolling stock into 3 matching rakes and two DMUs running on an automated twin shuttle line and a mainline with large sidings.
Before I get too into that though I want a little layout that i can tinker with and remember how to model again. I've drawn up a teeny tiny up and over 600x420 layout which I intend to model in 009 (that's HO scale Narrow gauge) using one steam railcar and one steamer with one carriage.
Inclines are around 5% and bends are R150 CL, which is tight, but should be fine for very small stuff and a railbus
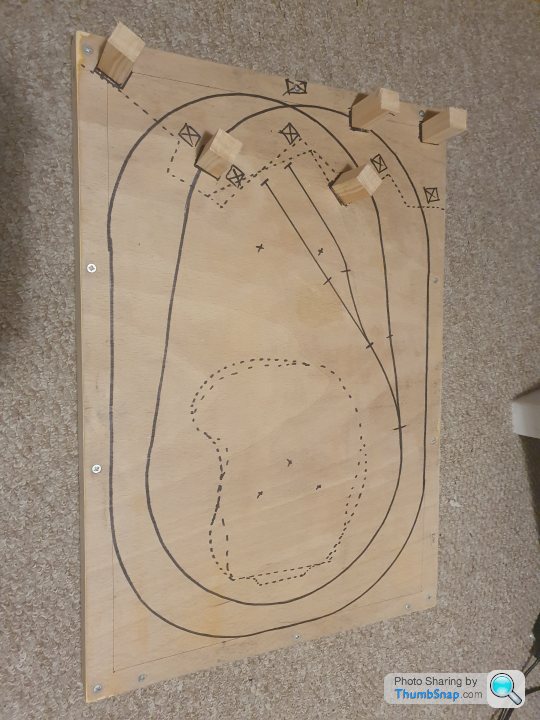
I will do some experiments with it as I have some non conventional ideas... like using VHB tape instead of Cork and track pins.
I have grand plans to make a 600x1200 layout and have drawn up a route that will use all my locos and I've consolidated my rolling stock into 3 matching rakes and two DMUs running on an automated twin shuttle line and a mainline with large sidings.
Before I get too into that though I want a little layout that i can tinker with and remember how to model again. I've drawn up a teeny tiny up and over 600x420 layout which I intend to model in 009 (that's HO scale Narrow gauge) using one steam railcar and one steamer with one carriage.
Inclines are around 5% and bends are R150 CL, which is tight, but should be fine for very small stuff and a railbus

I will do some experiments with it as I have some non conventional ideas... like using VHB tape instead of Cork and track pins.
Edited by Ambleton on Saturday 27th February 00:29
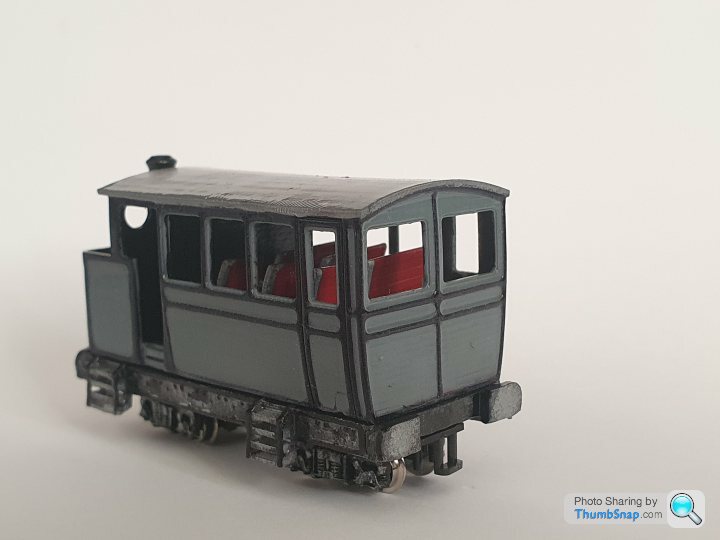
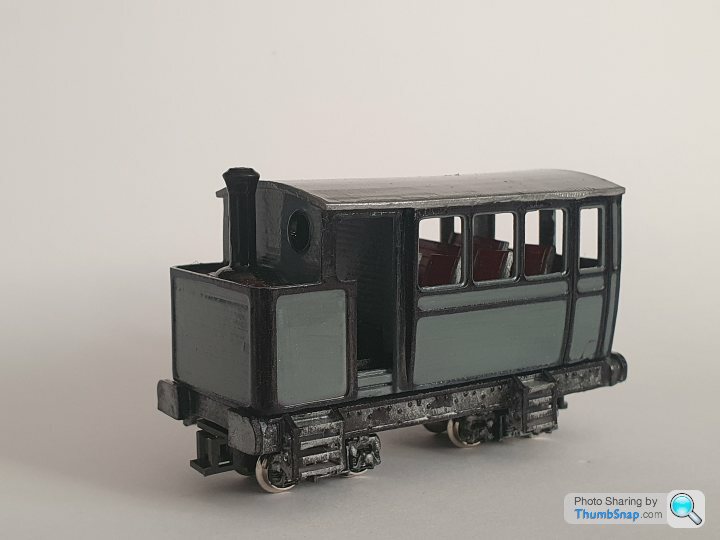
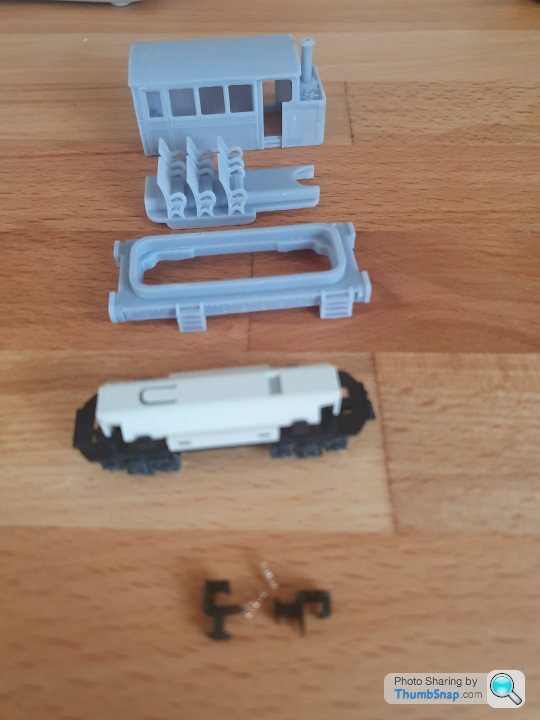
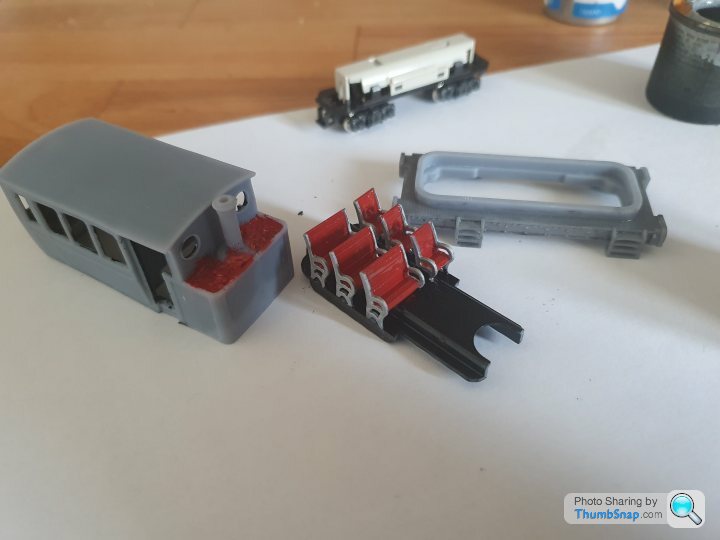
Whilst I'm waiting for a few bits of track, points, point motors etc to show up I'm making a start on my steam railbus.
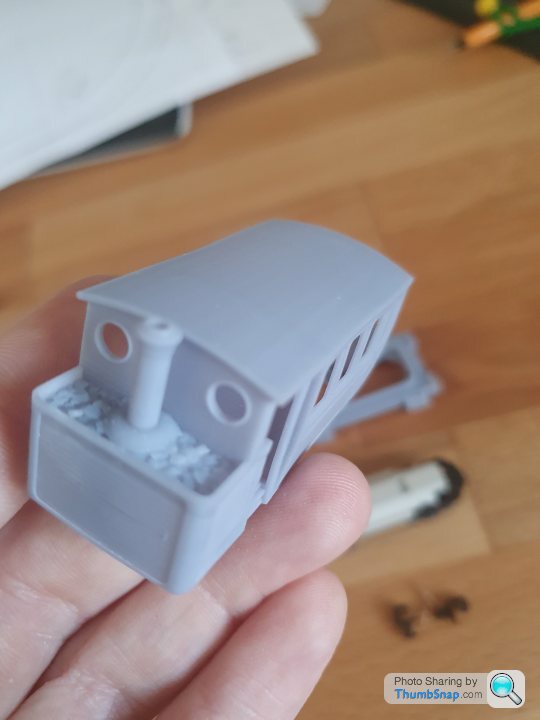
I bought the kit off ebay. Its 3d printed in resin and fits on a kato chassis.
I have an FDM printer which it pretty decent, but this SLS resin model is incredible.
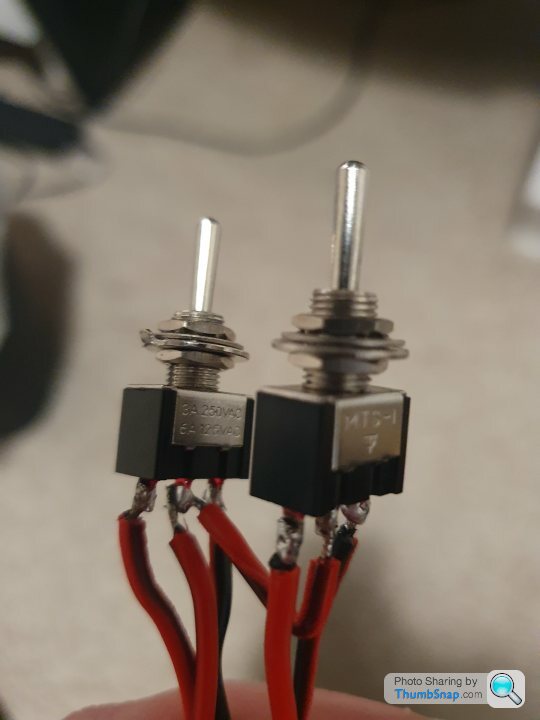
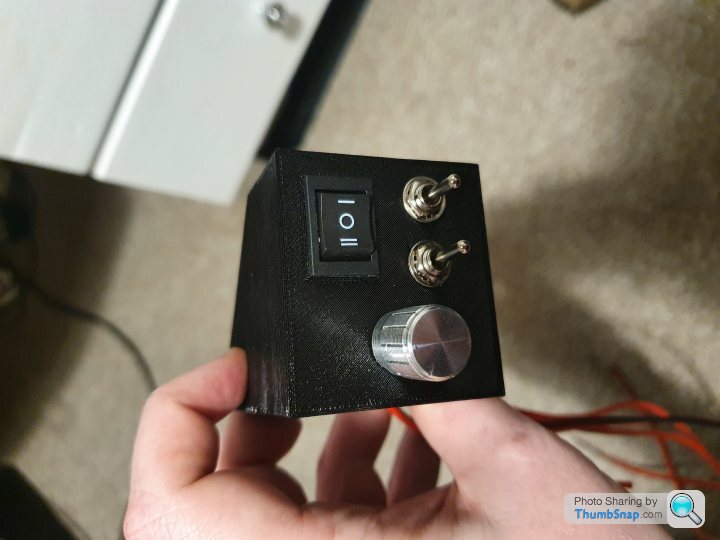
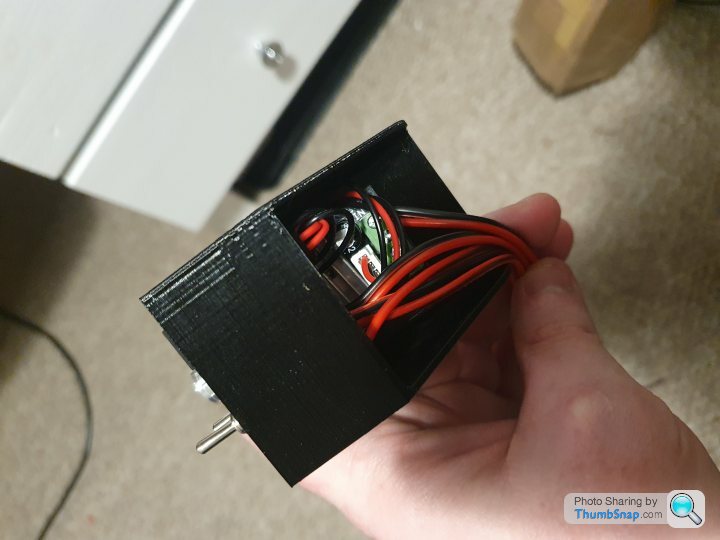
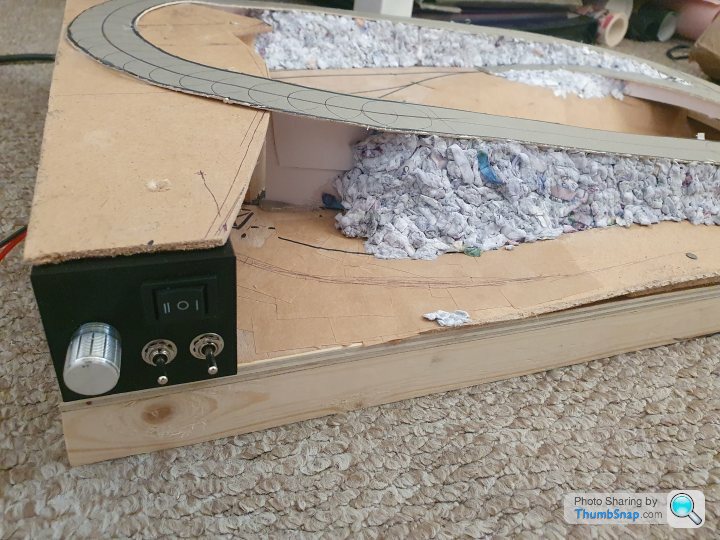
I'm also having a go at making my own controller using a PWM board and a 12V DC power source. The points will be fired using momentary switches and a CDU, normally points need 16V, but I'm hoping a 12V 2A source with the CDU will be fine. If it all goes to plan everything will be contained on the board itself.
The PWM board was £6 and the 12V 2A supply was £7.
I bought the kit off ebay. Its 3d printed in resin and fits on a kato chassis.
I have an FDM printer which it pretty decent, but this SLS resin model is incredible.


I'm also having a go at making my own controller using a PWM board and a 12V DC power source. The points will be fired using momentary switches and a CDU, normally points need 16V, but I'm hoping a 12V 2A source with the CDU will be fine. If it all goes to plan everything will be contained on the board itself.
The PWM board was £6 and the 12V 2A supply was £7.
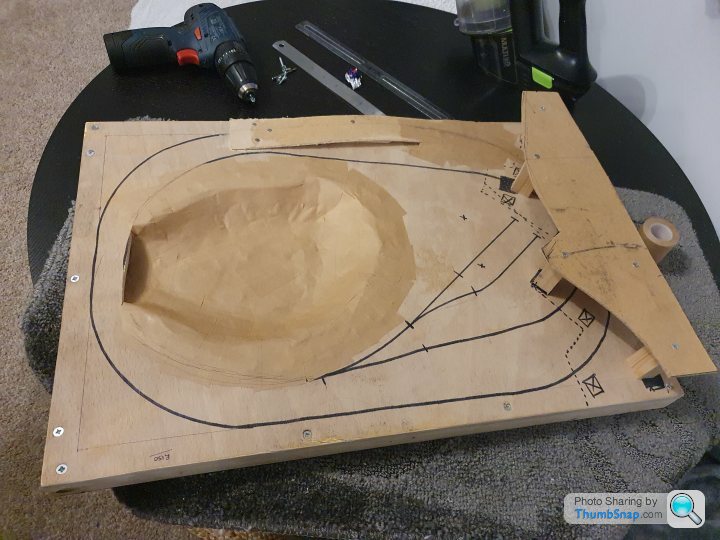
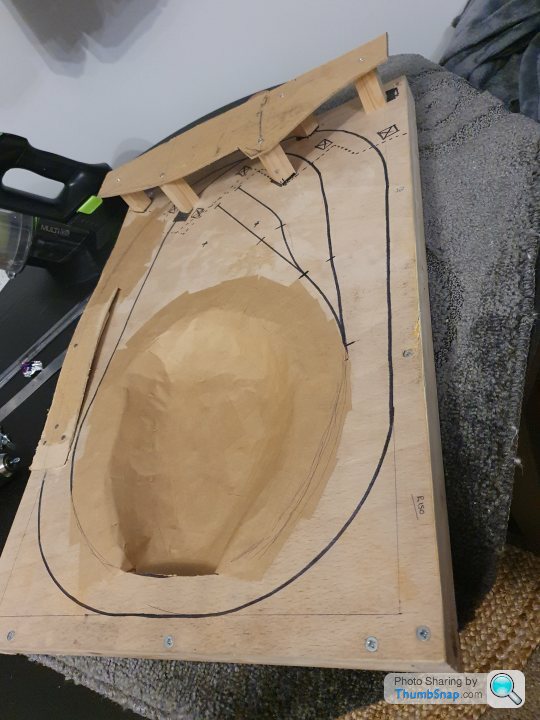
Cut the hole for my lake/pond and cut strips of card from a jaffa cakes packet and a cereal box.
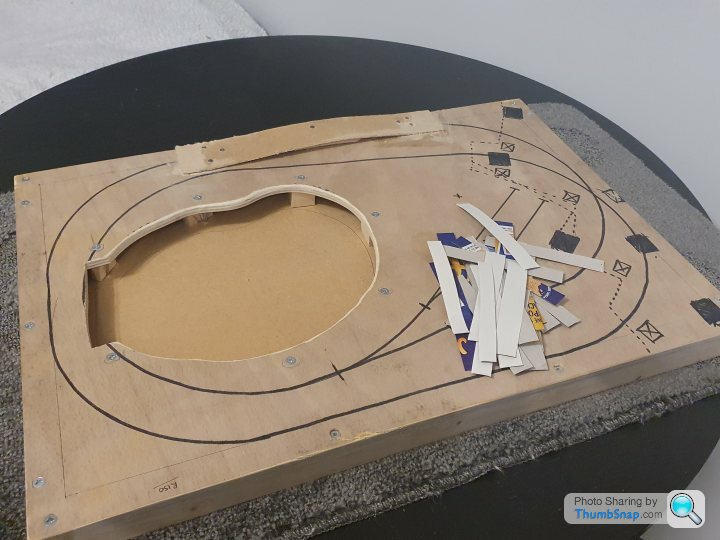
Glued in place...
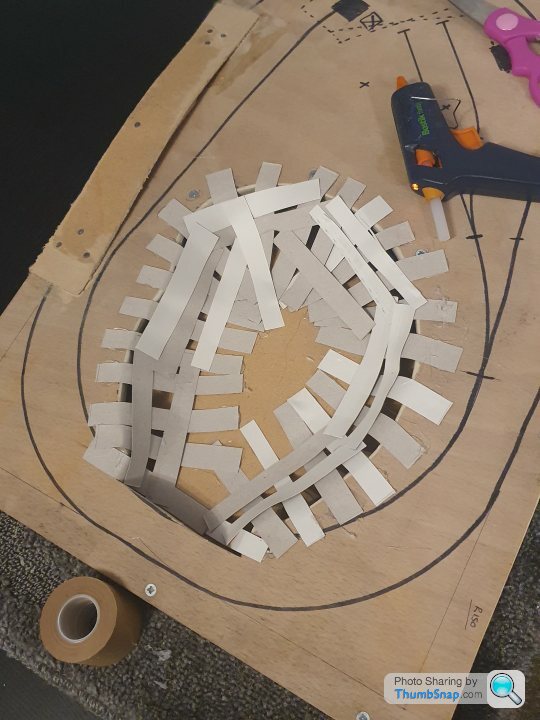
Plastered over with bits of Gum tape
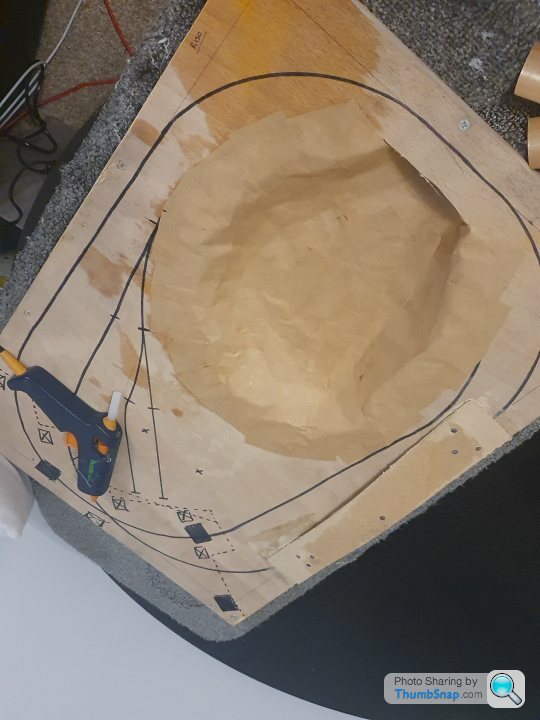
Tomorrow's job will be to draw up some tunnel mouths and start getting the upper level done. Might do it in aluminium sheet....

Glued in place...

Plastered over with bits of Gum tape

Tomorrow's job will be to draw up some tunnel mouths and start getting the upper level done. Might do it in aluminium sheet....
Edited by Ambleton on Saturday 27th February 22:20
I initially wanted to model it in N, but with a layout so small it makes more sense in narrow guage I think... I'm not sure. Really I would've like to do it in Z but it's just too damn expensive.
I've decided to use N gauge flexi track rather than proper 009 suff as its cheaper, easier to get hold of and the only difference is sleeper spacing anyway...
I might change my mind yet and go back to N... who knows... I'll see what it's like when the track is down and powered up
I've decided to use N gauge flexi track rather than proper 009 suff as its cheaper, easier to get hold of and the only difference is sleeper spacing anyway...
I might change my mind yet and go back to N... who knows... I'll see what it's like when the track is down and powered up
Transferred the coil to mount board and cut out...
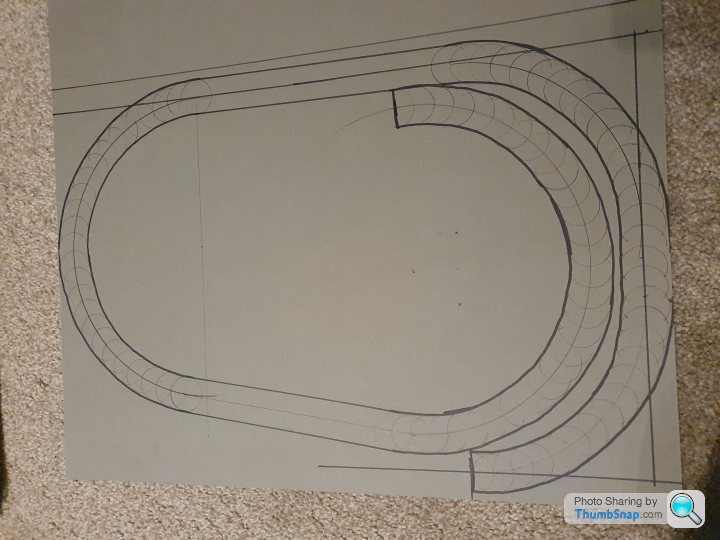
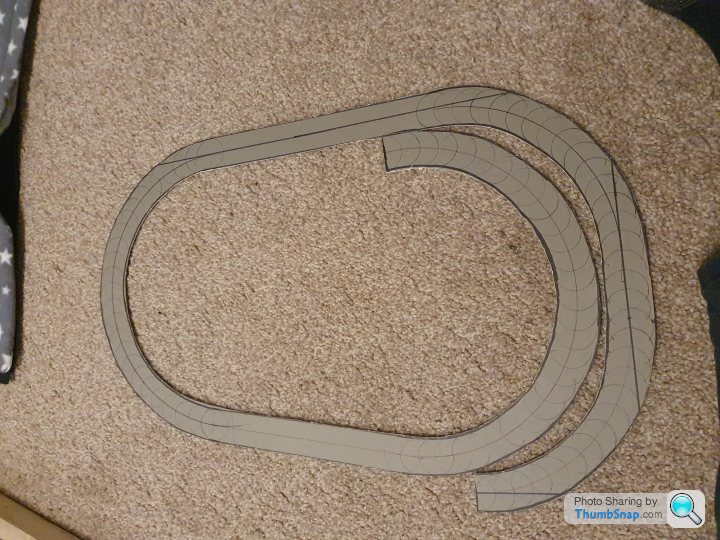
Measured the climb (50mm) and distance (920mm & 850mm) and cut a triangle and glued it to centre line (5.4% & 5.8% respectively) in both directions...
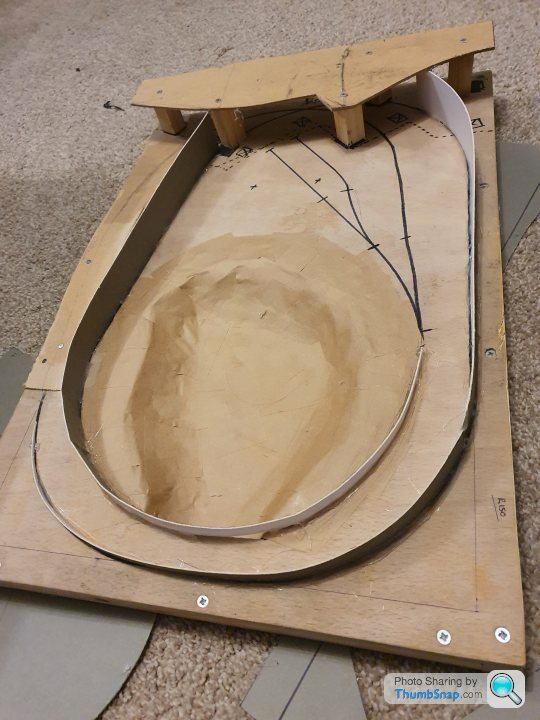
Then glued the coil to the vertical centre support.
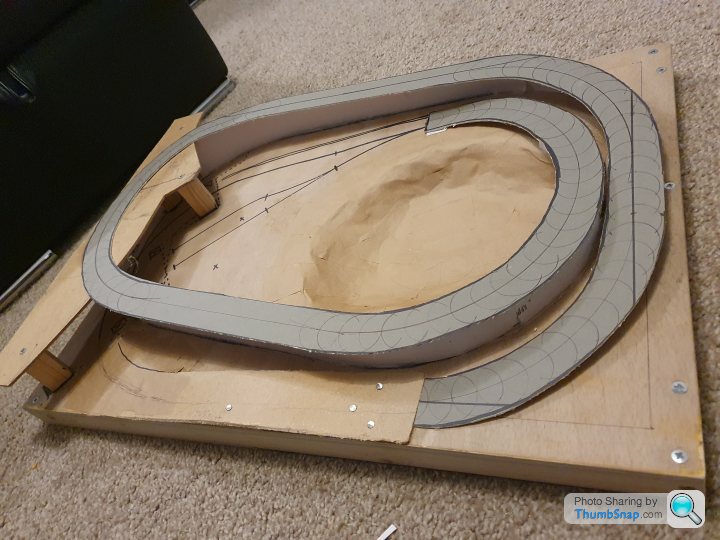
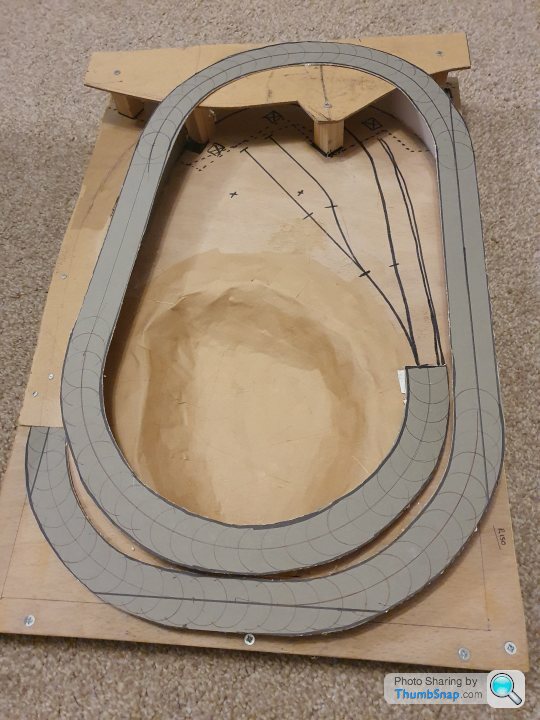
Sounds much easier than it was. It wasn't difficult, but did end up hot gluing my fingers together a few times.
Next job will be bridging the gaps and filling in.


Measured the climb (50mm) and distance (920mm & 850mm) and cut a triangle and glued it to centre line (5.4% & 5.8% respectively) in both directions...

Then glued the coil to the vertical centre support.


Sounds much easier than it was. It wasn't difficult, but did end up hot gluing my fingers together a few times.
Next job will be bridging the gaps and filling in.
Everything and anything. Basically any old junk I find in the garage!
The base board is a bit 9mm ply I had floating about. The edge batons and uprights for the second deck are 32x25 (maybe?) Timber I had.
The second level and pond base is 3mm fibre board that I used for carpet protection a while back for another job. The "coil" is just framers mount board. An A1 sheet cost me <£3 from "the range".
It'll all be reinforced with other materials, expanding foam, glue, card etc.
You gotta remember that actually the trains, track etc weigh virtually nothing and the most abuse its going to get is during the creation of the model itself.
Because I'm going for VHB tape instead of pinning the track down then there's no reason to go over the top on structure at all. A careful approach is all that is needed.
Most people go way over the top.
Don't forget about scale either... 6mm in N is 888mm IRL
Edited by Ambleton on Wednesday 3rd March 14:33
For anyone thinking of using VHB tape on a model rail it is possible. But I found it a pain in the arse. Cork and pins is the way to go... the bond is so strong that connecting with fishplates is tricky as you can't lie it flat to join as it sticks to the base. Then when you try and peel it up the sleepers come away and it generally is a pain in the ass.
I'm glad I tried it... I wouldn't do it again though...
I'm glad I tried it... I wouldn't do it again though...
Ambleton said:
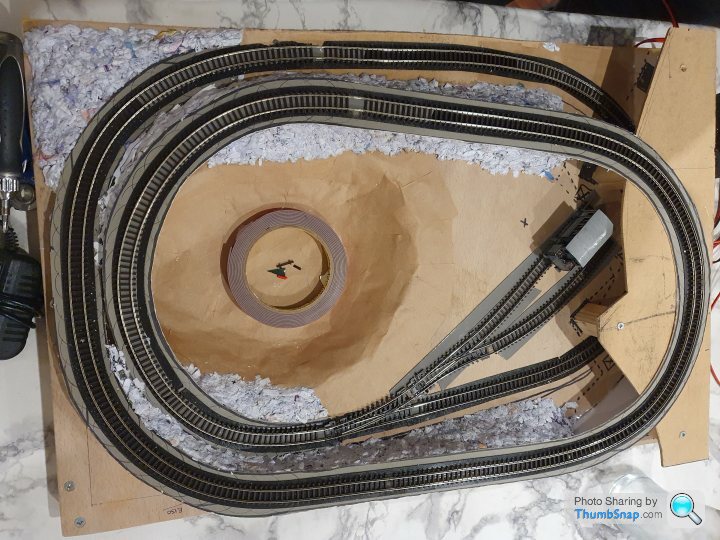
My n gauge locos run round it okay but the 009 steambus on the kato chassis can't get traction on the inclines. Might try roughing up the track and adding weight to the chassis
Gassing Station | Scale Models | Top of Page | What's New | My Stuff


