First Build Thread - Card AT-AT
Discussion
Having been amazed at the skills of some contributors on here, I am going to be brave and post a build - it gives me more incentive to finish.
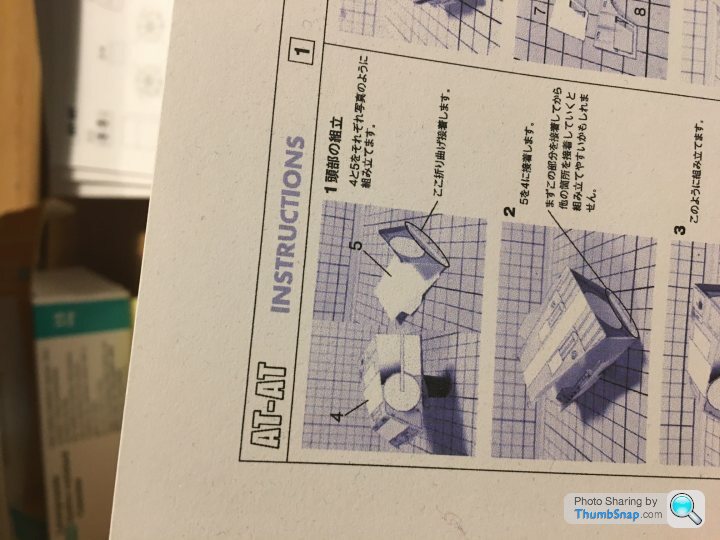
The model is a free download from here www7a.biglobe.ne.jp/sf-papercraft/sf/at-at.html which means instructions are pictures and Japanese. 10 sheets of A4 printed onto 160gsm card.
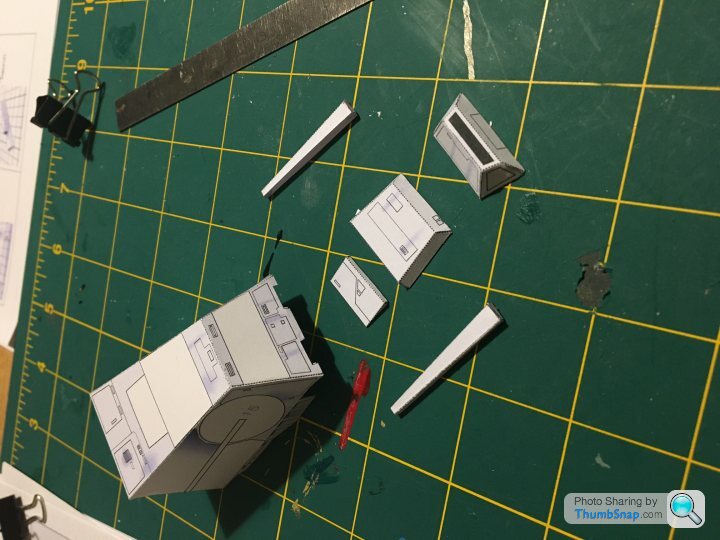
First parts together and more ready to glue onto the "head"
The model is a free download from here www7a.biglobe.ne.jp/sf-papercraft/sf/at-at.html which means instructions are pictures and Japanese. 10 sheets of A4 printed onto 160gsm card.

First parts together and more ready to glue onto the "head"

dr_gn said:
You can paint along the cut or scored edges with the base colour too - it reduces the 'paper' look. TBH though, the AT-AT doesn't look like it needs it so far.
Listen to Doc. He's a genius when it comes to these things.He's just about to drop a huge update on the massive bismarck he's making out of card. (hopefully)
shortar53 said:
dr_gn said:
You can paint along the cut or scored edges with the base colour too - it reduces the 'paper' look. TBH though, the AT-AT doesn't look like it needs it so far.
Listen to Doc. He's a genius when it comes to these things.He's just about to drop a huge update on the massive bismarck he's making out of card. (hopefully)
IJWS15 said:
I have my eye on my wife's colured felt tip pens . . . . . . . .
You have to be a bit careful with felt tips because they can bleed into the paper. The other thing is that they always seem to look a lot darker when applied to edges. Best to try them out first on some scrap. Update on progress, "head" almost complete, just the blasters to do and then on to the "body"
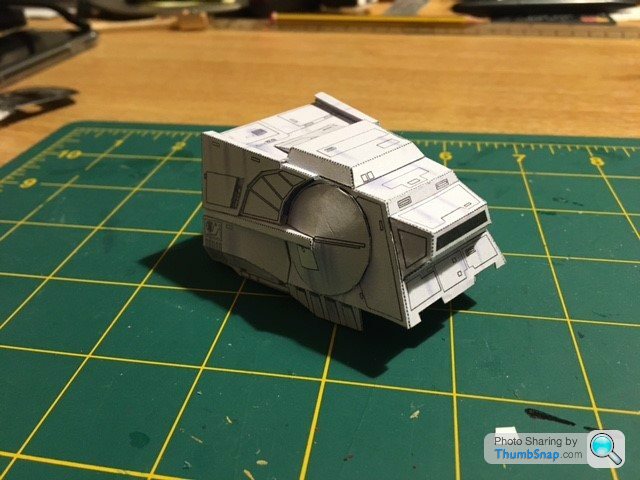
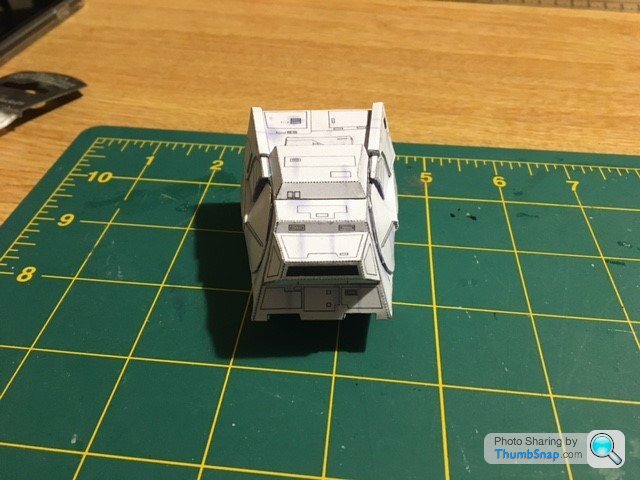
Must be more precise in future, one of the long horizontal pieces you can see on the sides was a little wider than it should be so I had to enlarge the slot in the flattened cone so it would fit over it. One is also slightly higher than the other which the cones emphasize although it is more obvious in the pictures than with the model.
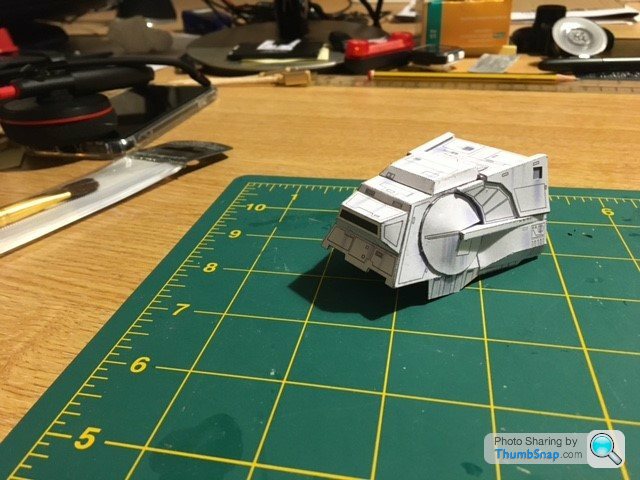
At least there are plenty of offcuts to practice with the pens before I go anywhere near the model with them.
Must be more precise in future, one of the long horizontal pieces you can see on the sides was a little wider than it should be so I had to enlarge the slot in the flattened cone so it would fit over it. One is also slightly higher than the other which the cones emphasize although it is more obvious in the pictures than with the model.


At least there are plenty of offcuts to practice with the pens before I go anywhere near the model with them.
Smoggy XJR said:
dr_gn said:
I get around it by saying “what do you expect - it’s made of paper”...
Good grief Dr. How does anyone criticise your work?Some progress over the last week, just hadn't got around to posting here.
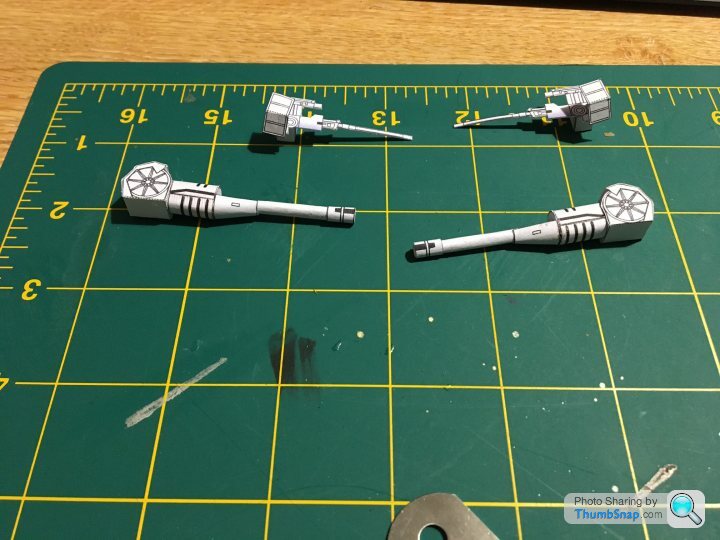
Blasters assembled, two parts in the small ones, five in the large ones
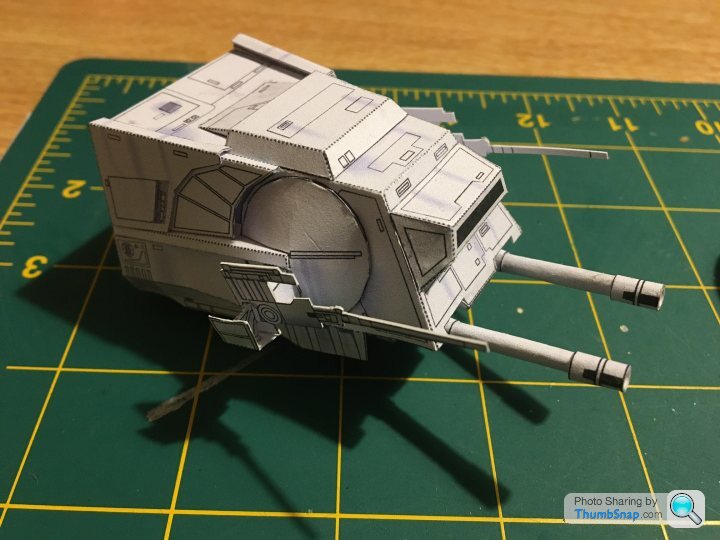
Fixed to the Head (should call it the crew cabin)
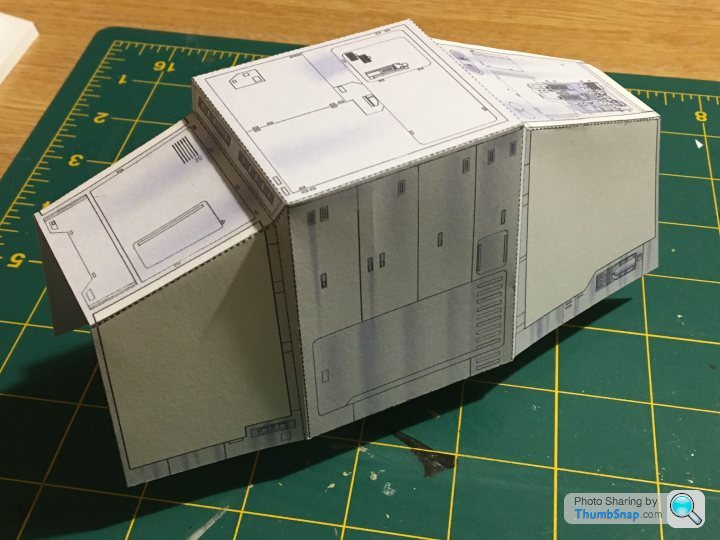
Started assembly of the body, main part, harder than it looks as it is one piece.
Bottom of body and stiffener

needed to adjust some of the folds so it now fits in place - dry fitted for now
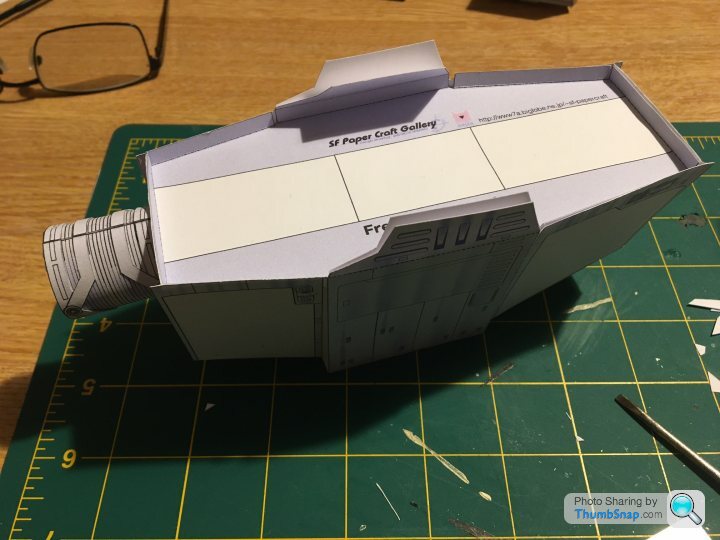
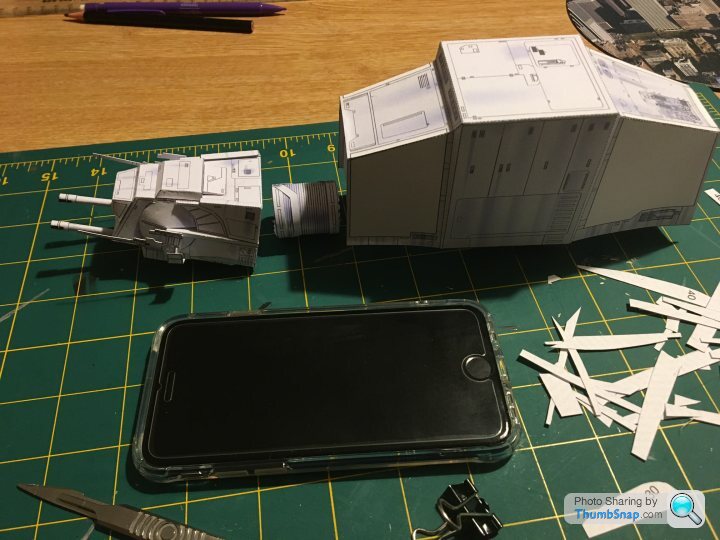
Head and body- it is bigger than I thought it would be - Iphone-s for scale.
Generally we are our own worst critics and knowing I will be showing you lot what I am producing is making me more careful (e.g. now trying to cut down the outside of the black line instead of just following it).
Blasters assembled, two parts in the small ones, five in the large ones

Fixed to the Head (should call it the crew cabin)

Started assembly of the body, main part, harder than it looks as it is one piece.

Bottom of body and stiffener

needed to adjust some of the folds so it now fits in place - dry fitted for now

Head and body- it is bigger than I thought it would be - Iphone-s for scale.

Generally we are our own worst critics and knowing I will be showing you lot what I am producing is making me more careful (e.g. now trying to cut down the outside of the black line instead of just following it).
Edited by IJWS15 on Monday 25th January 20:25
Just a quick question. I’m sure I could Google it but the info here is usually first hand and more reliable.
What king of paper do you use for these models?
I’ve got a b/w laser printer doing nothing and any amount of standard printing paper. Is this okay or do you use thicker paper/card?
Drawweight said:
Just a quick question. I’m sure I could Google it but the info here is usually first hand and more reliable.
What king of paper do you use for these models?
I’ve got a b/w laser printer doing nothing and any amount of standard printing paper. Is this okay or do you use thicker paper/card?
160 gsm - it's on the first post on the thread.What king of paper do you use for these models?
I’ve got a b/w laser printer doing nothing and any amount of standard printing paper. Is this okay or do you use thicker paper/card?
Standard office printer paper is normally 80 gsm - it is very flexible and loses shape easily with most PVA type glues but with care it does work, just not very well. I did building Smart convertible a while ago in 80gsm but gave up, printed it out again on 120 and will try again - it has some more complex curves..
This is done on 160 gsm printed on a laser printer, it would probably be OK on 120. I have somewhere a model to build of a Victorian ship (as in Australian State of Victoria) where the instructions say that some is to be printed on 200gsm, some on 160gsm and some on 120gsm.
I buy the paper from an office outlet (Staples?) in packs of 200/250 sheets. In comparison to plastic kits the paper is cheap.
Edited by IJWS15 on Thursday 28th January 14:36
Gassing Station | Scale Models | Top of Page | What's New | My Stuff


