Airfix 1:72 Fairey Swordfish Floatplane
Discussion
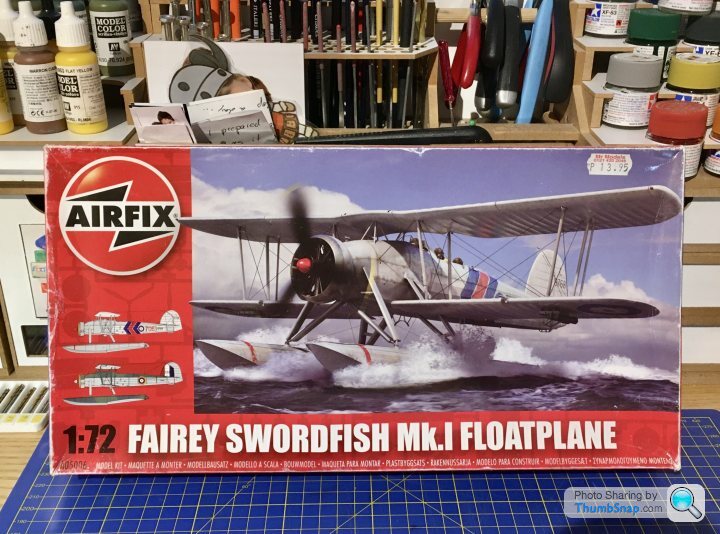
In memory of this weekends Telford model show, I’ve made a start on this Airfix Swordfish. I think I got it at Telford a few years back. I like the Swordfish in general - another Matcbix favourite from childhood I guess, but the floatplane is far more elegant than the wheeled version:
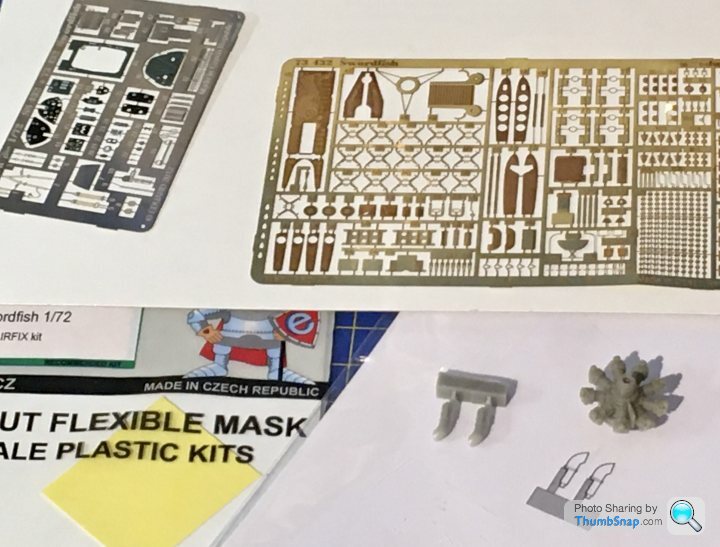
Also got some aftermarket stuff - resin engine & exhaust, photo-etch and windscreen masks:
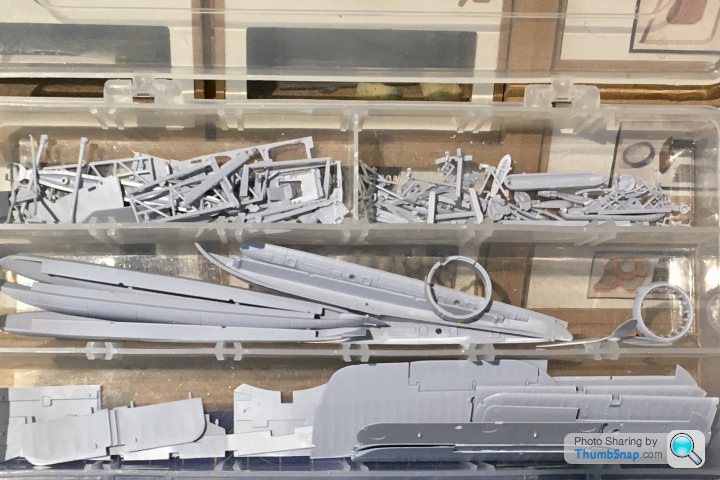
Already made a start on cleaning up - plenty of parts to go at:

Also got some aftermarket stuff - resin engine & exhaust, photo-etch and windscreen masks:

Already made a start on cleaning up - plenty of parts to go at:

dr_gn said:
In memory of this weekends Telford model show, I’ve made a start on this Airfix Swordfish. I think I got it at Telford a few years back. I like the Swordfish in general - another Matcbix favourite from childhood I guess, but the floatplane is far more elegant than the wheeled version:

Also got some aftermarket stuff - resin engine & exhaust, photo-etch and windscreen masks:

Already made a start on cleaning up - plenty of parts to go at:

If I did a model and just put all the parts in a box mixed, I guarantee I'd end getting myself in a right muddle!! Amazed that you don't get parts mixed up, I'd always need to see the part number to make sure the right bit went where etc.
Also got some aftermarket stuff - resin engine & exhaust, photo-etch and windscreen masks:

Already made a start on cleaning up - plenty of parts to go at:

Ash_ said:
If I did a model and just put all the parts in a box mixed, I guarantee I'd end getting myself in a right muddle!! Amazed that you don't get parts mixed up, I'd always need to see the part number to make sure the right bit went where etc.
I don't know - I think all the parts are either different enough to be easily identifyable, or handed so you can't get it wrong. There are exceptions of course, but If you test-assemble things, you can't go far wrong in general.Yertis said:
I remember having a realisation one day, when I was about 14 probably, that I'd successfully completed an entire kit without once consulting the instructions. (Revell 1/48 Foxbat, so not desperately complex set of bits  )
)
I guess that was the 70’s version, I’ve built it there is only about 18 parts...although thanks to the bloody cat the part count has doubled... )
)One thing I couldn’t assemble without instructions is photo-etch. It’s usually a bit hit-and-miss, some parts are better injection moulded. This is about half the cockpit etch:
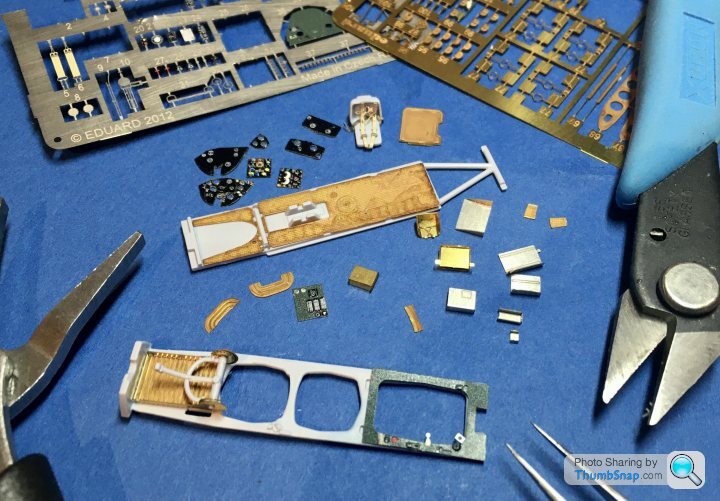
God knows why they pre-colour it. The instrument panels and radios are OK, but the green is all wrong (and impossible to match) and very difficult to mask the printed-on bits. Some of It is self-adhesive, which is equally as annoying. It’s like they assume it’s going to make things easier when in fact it quadrupled the clean up work.

God knows why they pre-colour it. The instrument panels and radios are OK, but the green is all wrong (and impossible to match) and very difficult to mask the printed-on bits. Some of It is self-adhesive, which is equally as annoying. It’s like they assume it’s going to make things easier when in fact it quadrupled the clean up work.
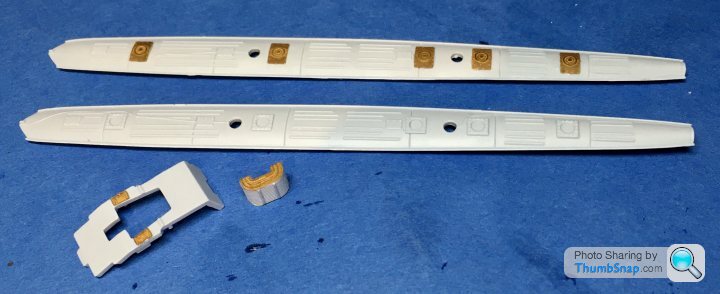
Made a bit of progress on the photo-etch, starting with the bomb racks. They’re made up of 6 folded components:
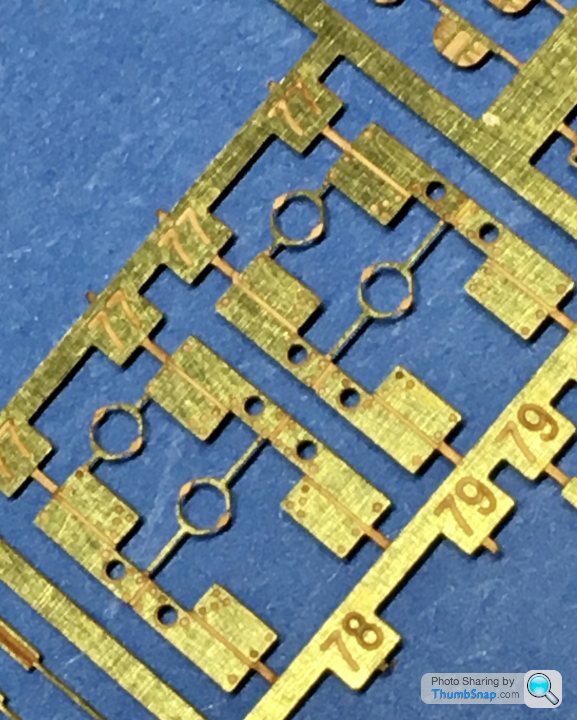
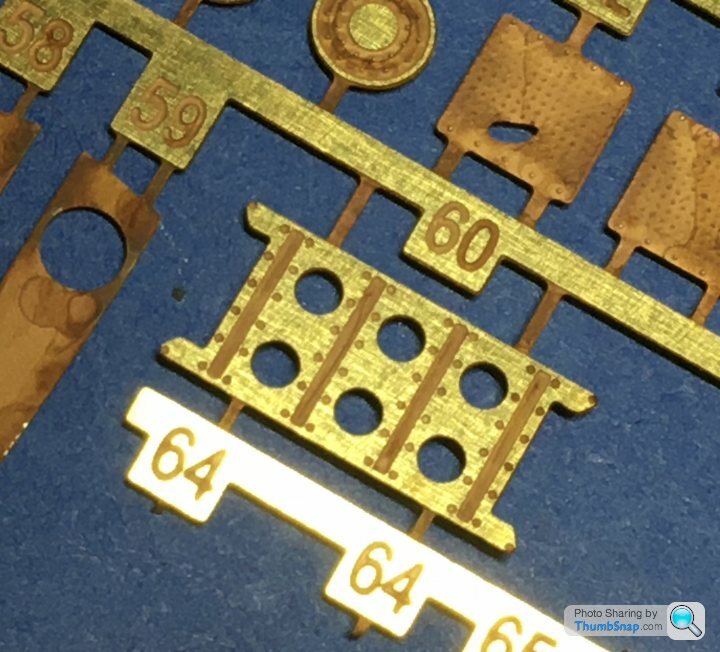
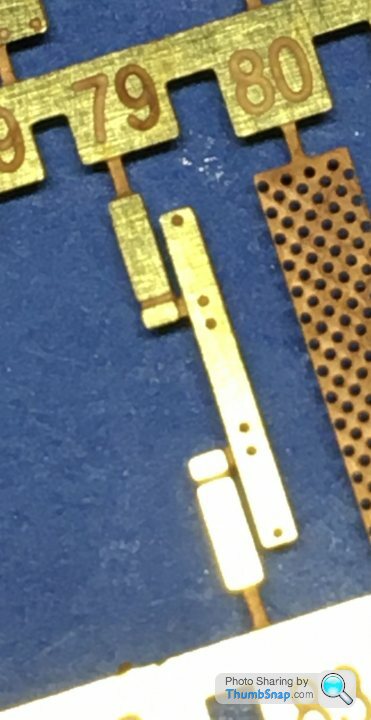
Cyano’d together:
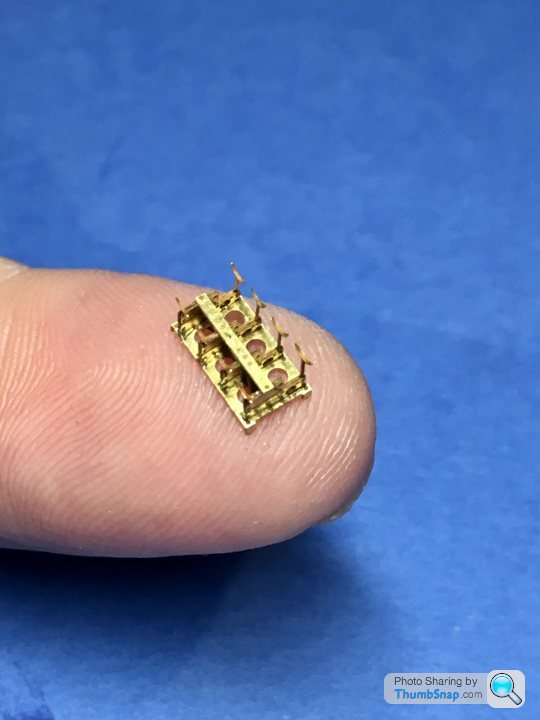
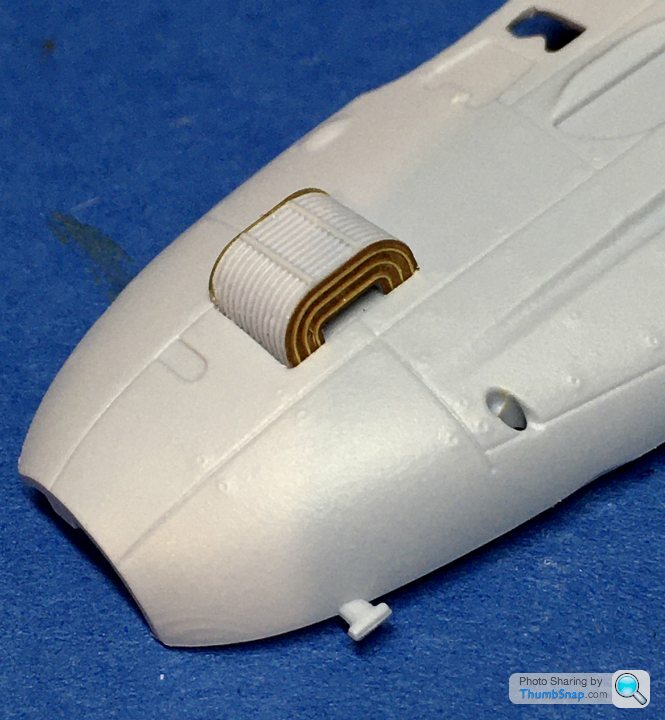
Obviously worth the effort when compared with the kit version:
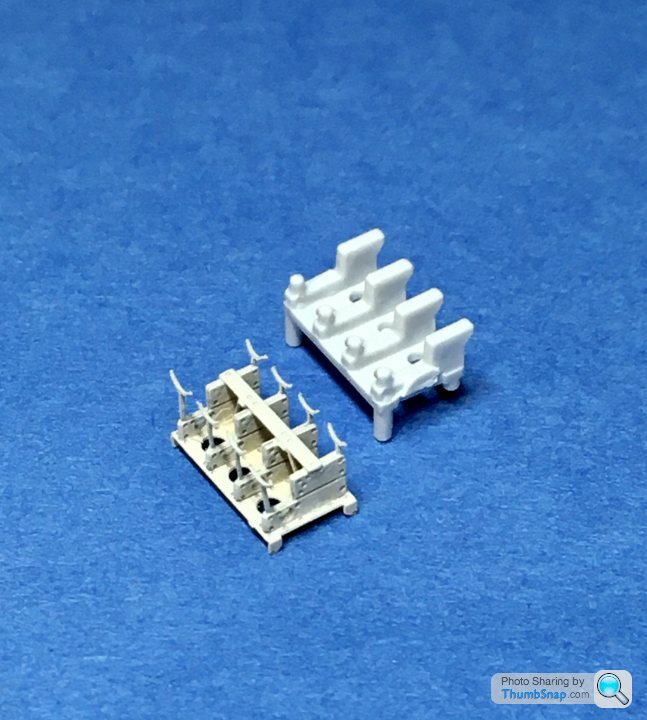
Then the cockpit flare racks:
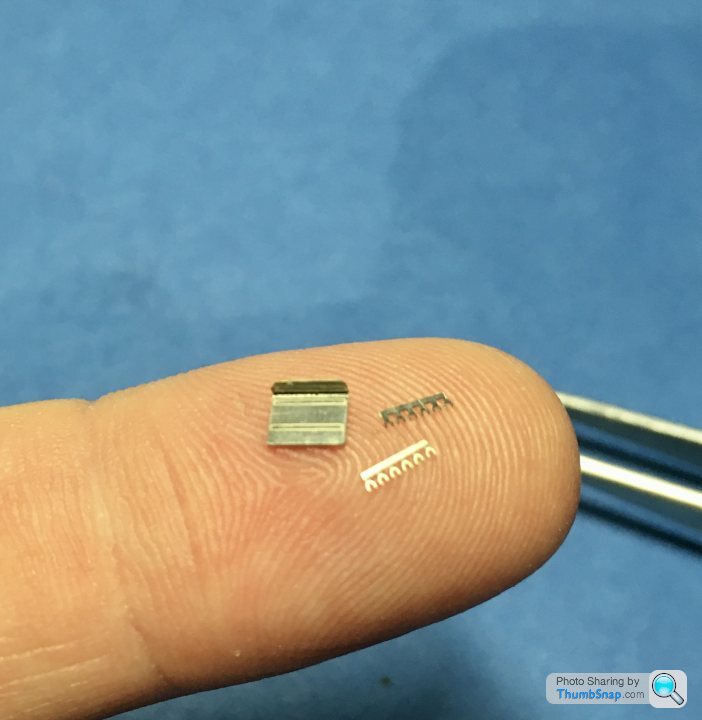
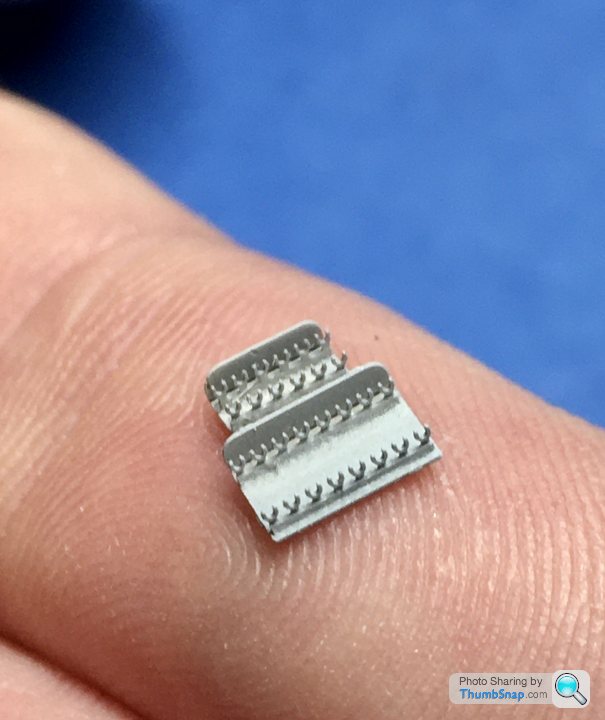
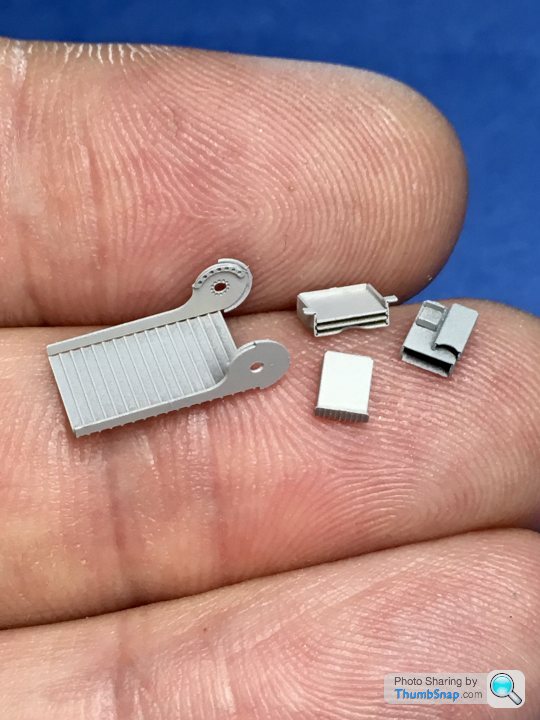
And the ammunition box, rear gun cover, map box and a random electrical box. Plenty more to do just for the cockpit:


Cyano’d together:

Obviously worth the effort when compared with the kit version:

Then the cockpit flare racks:


And the ammunition box, rear gun cover, map box and a random electrical box. Plenty more to do just for the cockpit:

Tyre Smoke said:
I admire your patience. I have plenty, but I really don't think at the ripe old age of 55 I could be dealing with parts that small.
Looking forward to the progress though.
I seemed to rememeber being in my mid 30's, but it turns out I'm 50. Not sure how that happened, but it did.Looking forward to the progress though.
Decent light, tweezers and magnifying glasses seem to be the way forward. Having said that, these parts do seem unusually small, and there are loads of them.
Did a bit more messing about with p/e today. First the machine gun. The kit version is pretty crude. I’d normally buy a Master Model brass barrel, but there’s a barrel jacket and ammunition box in the Eduard set, so...
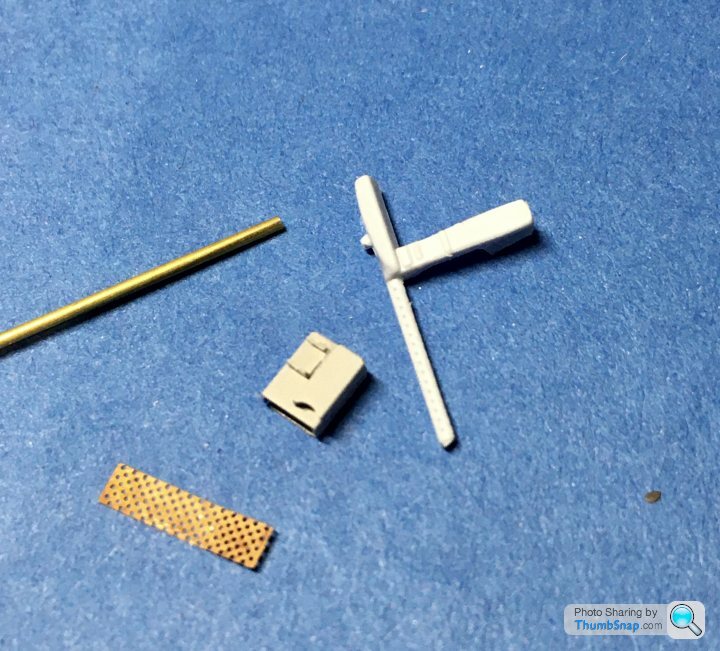
I cut the plastic barrel off, and found some brass tube to wrap the jacket around (after annealing it in a candle flame):
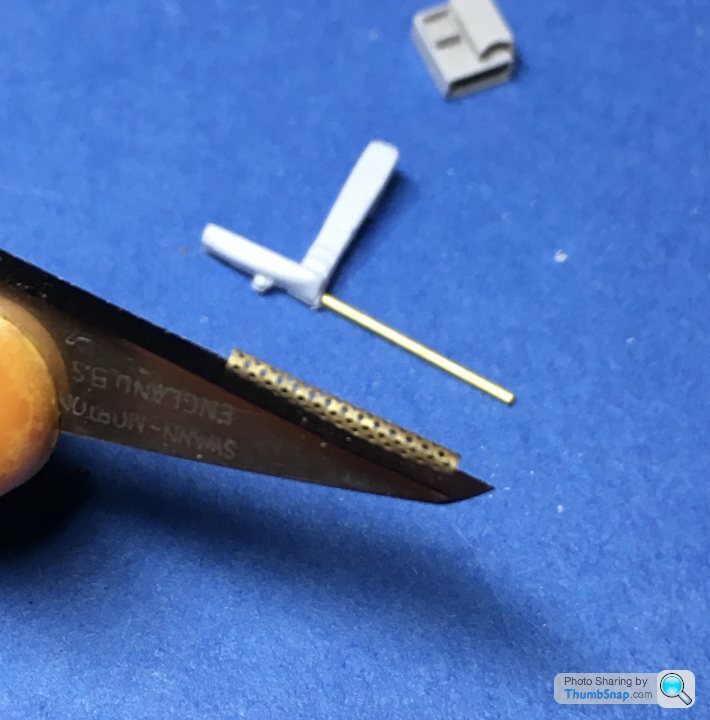
Here it is test assembled:
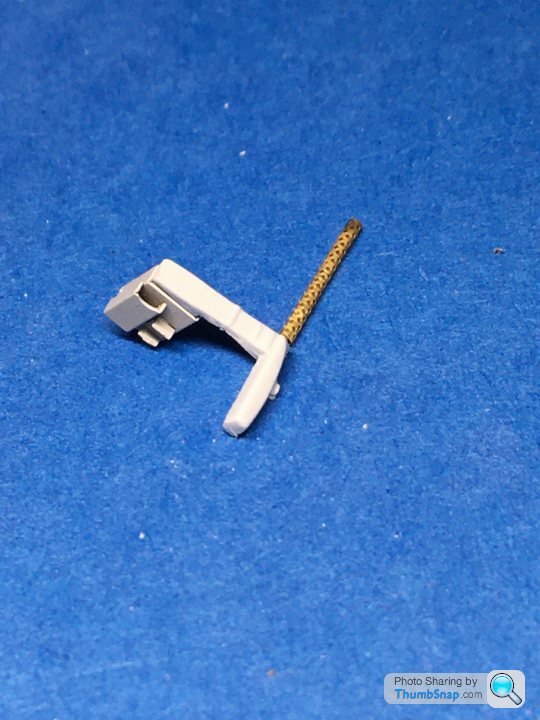
I’ll leave the barrel off until the very end, otherwise it would be impossible to mask:
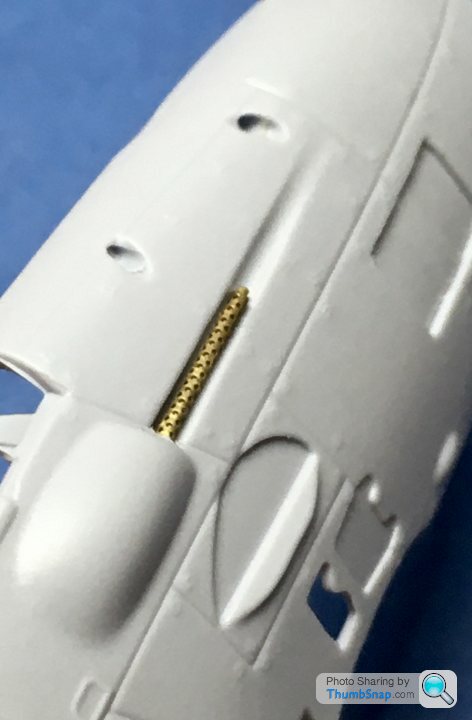
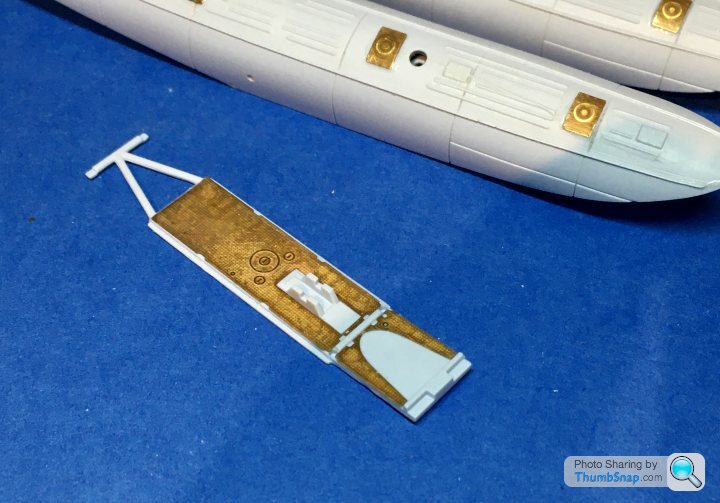
Also applied the cockpit floor etch:
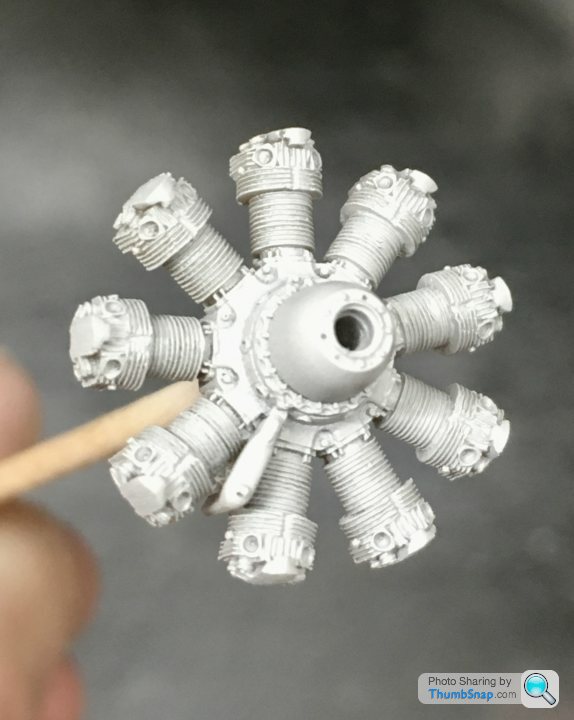
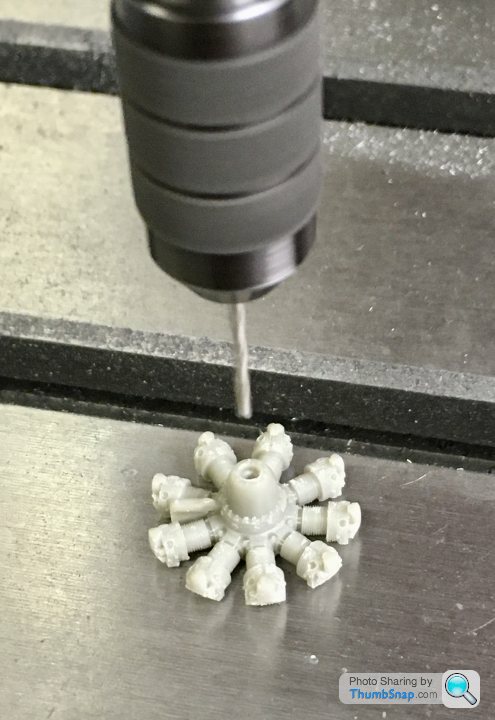
Then the resin engine, which needed its gearbox hub drilling out:
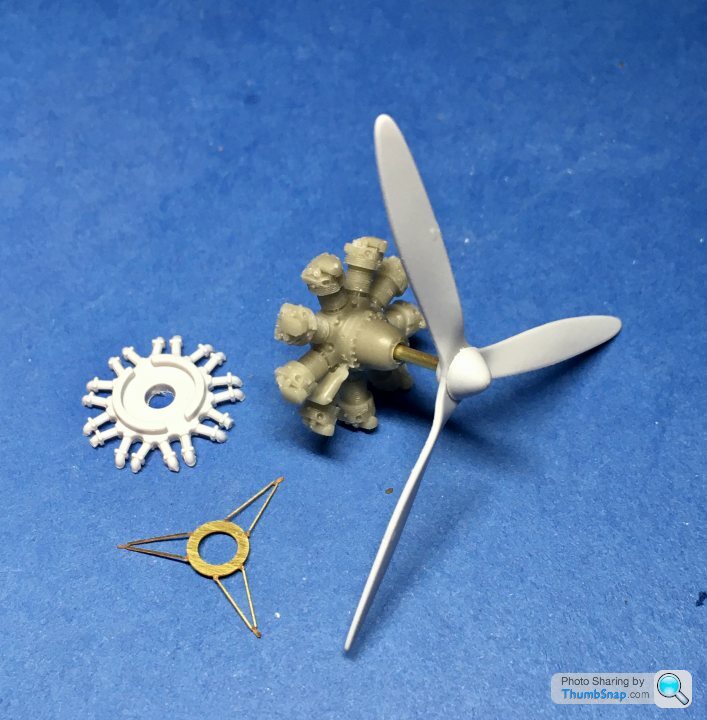
Also drilled the propeller hub for some brass tube. I’ll use the original kit inlet manifold, since it’s not included with the resin engine:
Long, long way to go on this one I think.

I cut the plastic barrel off, and found some brass tube to wrap the jacket around (after annealing it in a candle flame):

Here it is test assembled:

I’ll leave the barrel off until the very end, otherwise it would be impossible to mask:

Also applied the cockpit floor etch:

Then the resin engine, which needed its gearbox hub drilling out:

Also drilled the propeller hub for some brass tube. I’ll use the original kit inlet manifold, since it’s not included with the resin engine:

Long, long way to go on this one I think.
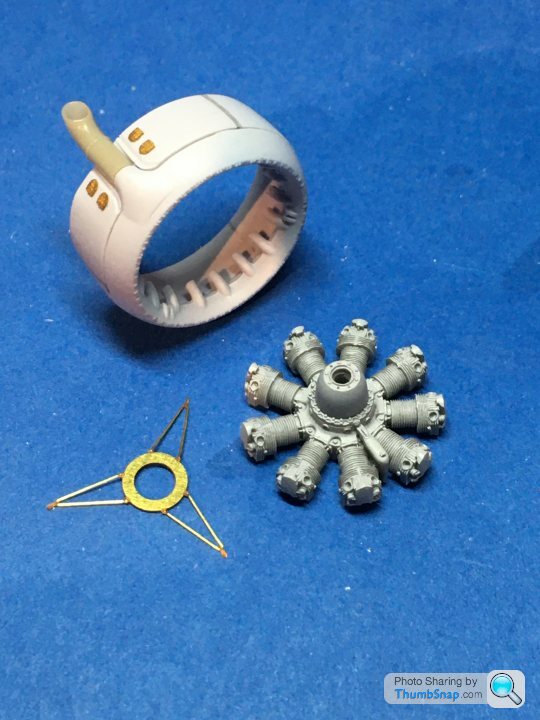
Added the photo-etch clasps for the engine cowling, and test-fitted the resin exhaust:
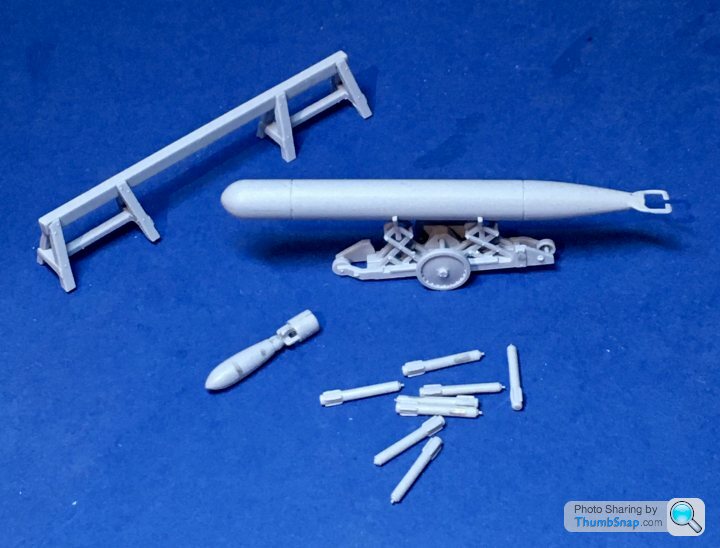
Also made a start on the ordnance, torpedo trolley and float beam:
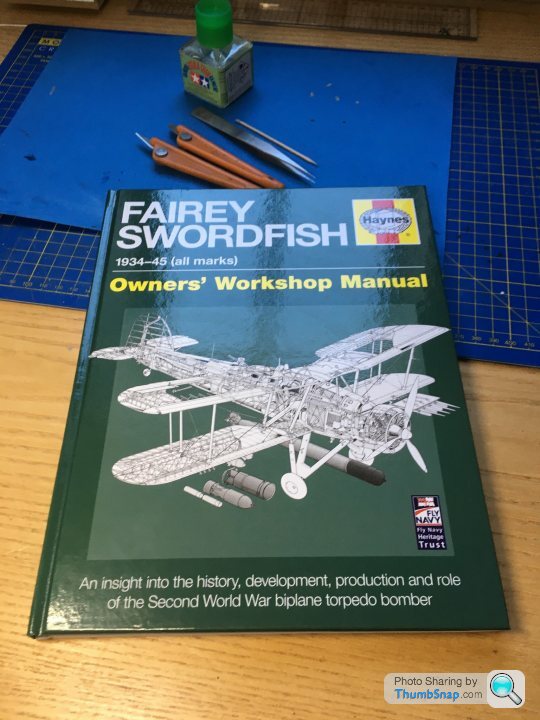
I picked up the Haynes manual which is great for adding a few bits of extra detail:
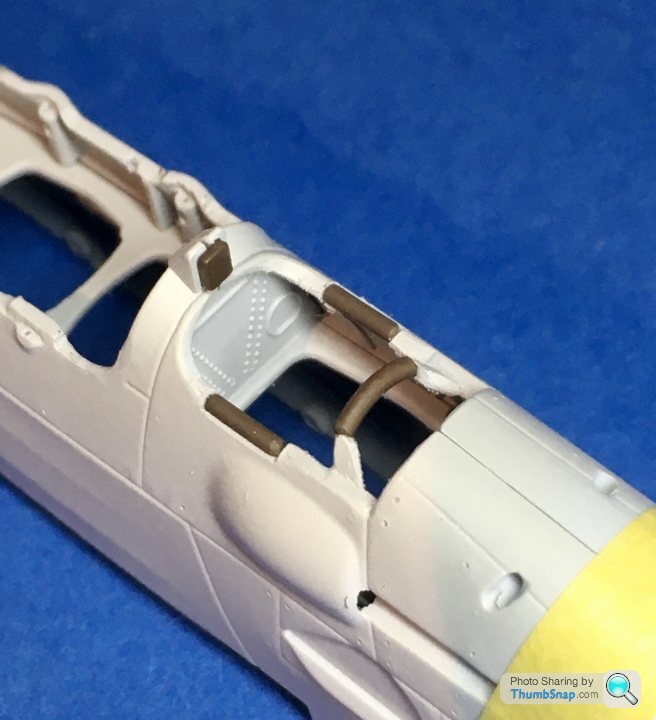
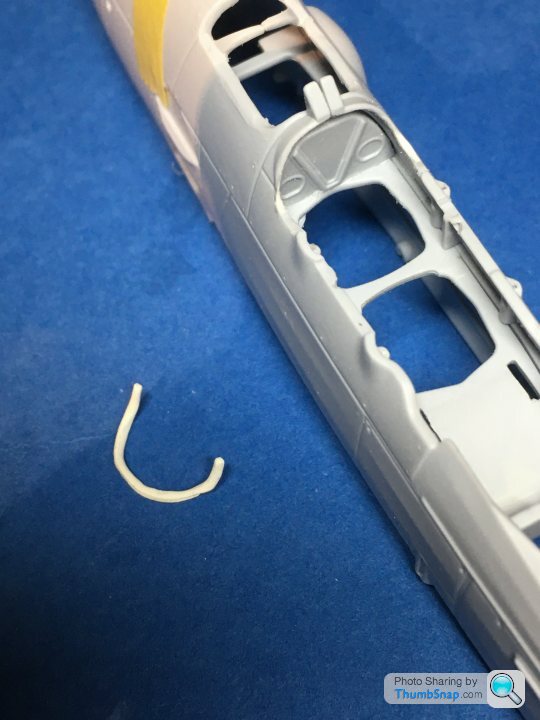
One detail I noticed in the book, but began to regret trying to replicate was the leather padding around the front bulkhead edge of the rear cockpit. The real aircraft has the top of the hoop recessed under a thin metal cowl, so the padding is partially hidden. The kit doesn’t have any rear cockpit padding, and simplifies the cowl such that it’s very difficult to get it looking realistic. I tried bending plastic rod to profile, which was impossible:
Then tried splitting the plastic into three sections, which also didn’t work, and also lead wire; ditto:
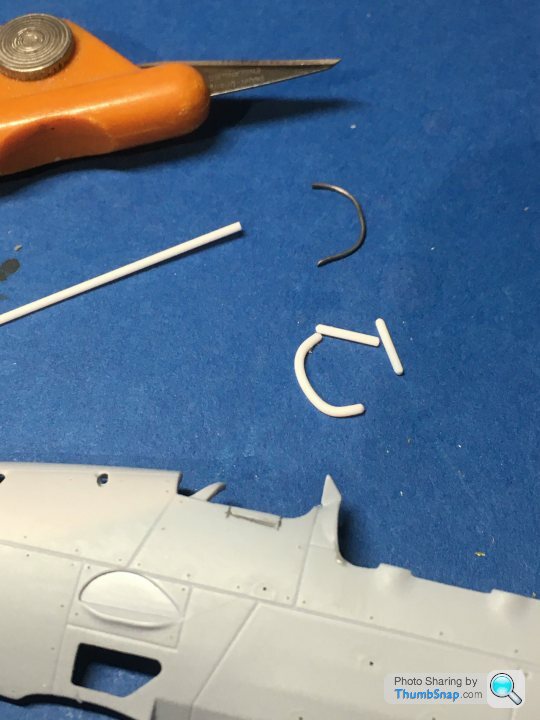
You can see the cockpit sides I’ve filed down for the straight bits of padding, which are easily made with plastic rod, rounded at the ends and filed into half cylinders.
I ended up forming the curved padding from a thin sausage of Milliput, putting it in place very lightly to conform to the slots and recesses I’d previously scraped into the plastic:
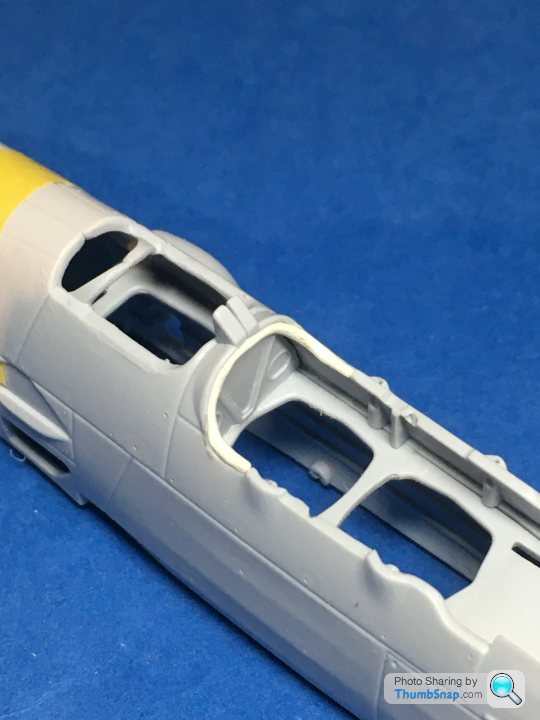
After a final bit of profiling once set, I primed and painted everything for a trial fit:
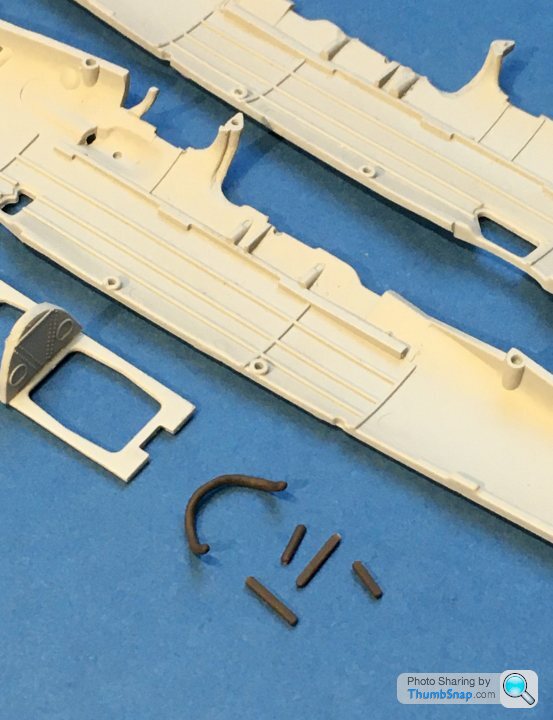
It now snaps nicely into place and looks ok:
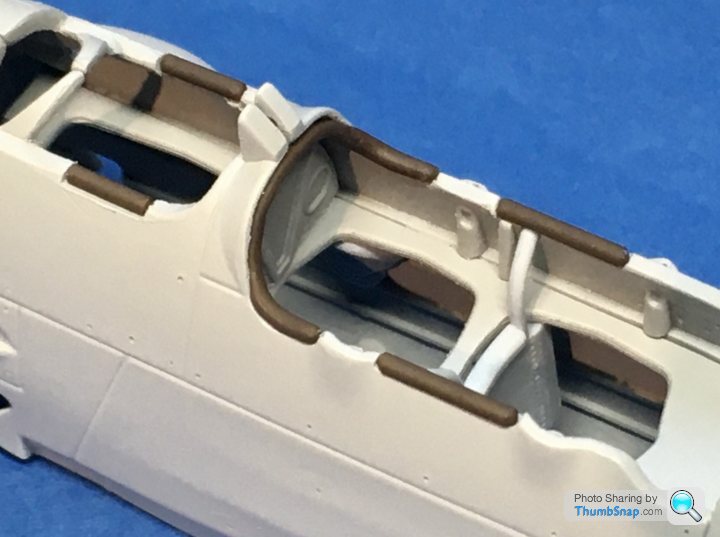

Also made a start on the ordnance, torpedo trolley and float beam:

I picked up the Haynes manual which is great for adding a few bits of extra detail:

One detail I noticed in the book, but began to regret trying to replicate was the leather padding around the front bulkhead edge of the rear cockpit. The real aircraft has the top of the hoop recessed under a thin metal cowl, so the padding is partially hidden. The kit doesn’t have any rear cockpit padding, and simplifies the cowl such that it’s very difficult to get it looking realistic. I tried bending plastic rod to profile, which was impossible:

Then tried splitting the plastic into three sections, which also didn’t work, and also lead wire; ditto:

You can see the cockpit sides I’ve filed down for the straight bits of padding, which are easily made with plastic rod, rounded at the ends and filed into half cylinders.
I ended up forming the curved padding from a thin sausage of Milliput, putting it in place very lightly to conform to the slots and recesses I’d previously scraped into the plastic:

After a final bit of profiling once set, I primed and painted everything for a trial fit:

It now snaps nicely into place and looks ok:

robemcdonald said:
Great build as per usual.
I do have a quick question (semi related)
Did you once say something about putting a drop of future under decals to stop slivering?
That’s what I do - small dot of Klear on the surface, then drop the decal on it. Get rid of any excess with a wet brush and diffuse it to the surrounding areas and over the decal, then put Micro Sol on top.I do have a quick question (semi related)
Did you once say something about putting a drop of future under decals to stop slivering?
I have tried Micro Set, but it seems ineffective. Klear eliminates any air pockets under the decal = no chance of silvering.
A word of warning - Klear and Micro Set seem to be incompatible, They form a crystalline sort of precipitate; you really don’t want that.
Gassing Station | Scale Models | Top of Page | What's New | My Stuff


