Tamiya Bismark upgrades
Discussion
I’ve just treated myself to a 1/350 scale Bismarck (it’s gonna be a big old bugger) and looking at the builds on YouTube it really could use a few upgraded parts.
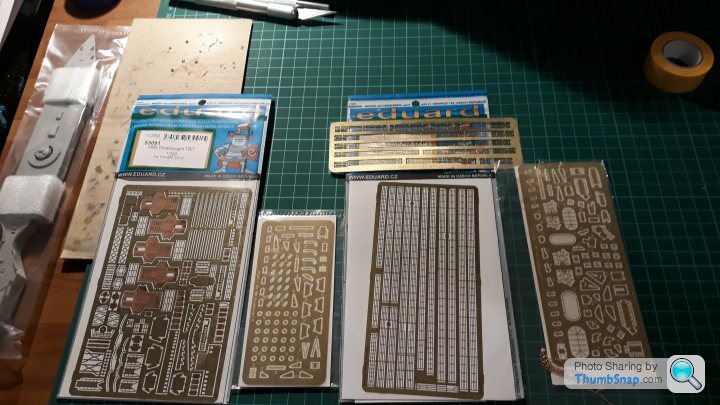
The ones I have identified are https://www.amazon.co.uk/dp/B003TSY614/ref=olp_pro... General photo etched parts
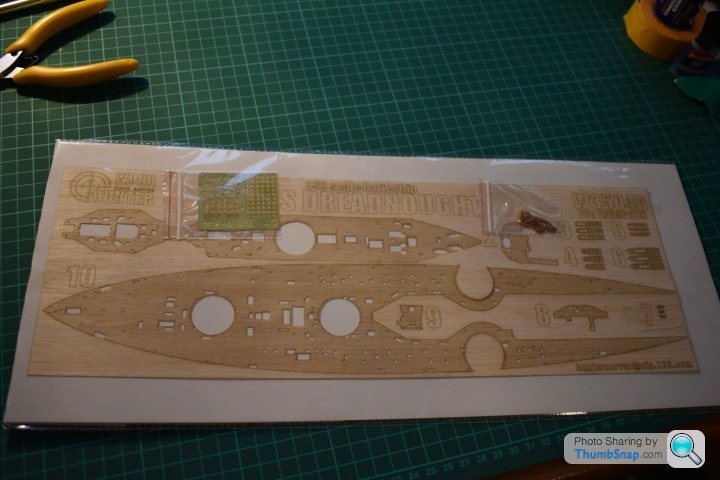
https://www.amazon.co.uk/Wooden-Battleship-Bismarc... which is a ‘wooden’ deck
I can’t make out the first pictures but it’s an Eduard so should be okay.
The second appears to be a stick on sheet. Has anybody had experience of these?
Are there any other/better upgrades around that I might be better using?
Edited by Drawweight on Monday 31st August 19:30
My pal got a much smaller ship model with self-adhesive wooden decks. Trouble is they don’t fit too well, and aren’t sticky enough to stay in place. Could use PVA, but then you’re sticking it to plastic on one side and a very weak self-adhesive sheet on the other. I don’t know why they don’t supply them as plain wood so you can use a decent adhesive.
It’s a bit like self adhesive and/or pre-painted photo-etch: more hassle than its worth.
It’s a bit like self adhesive and/or pre-painted photo-etch: more hassle than its worth.
Tamiya do one...
https://www.tamiya.com/english/products/25181/inde...
(Not a personal recommendation - I do nothing more than marvel at the skill on display on here...was just interested to look at the size etc and came across the above. Search for the part number and you get eBay hits ).
).
https://www.tamiya.com/english/products/25181/inde...
(Not a personal recommendation - I do nothing more than marvel at the skill on display on here...was just interested to look at the size etc and came across the above. Search for the part number and you get eBay hits
 ).
).dr_gn said:
My pal got a much smaller ship model with self-adhesive wooden decks. Trouble is they don’t fit too well, and aren’t sticky enough to stay in place. Could use PVA, but then you’re sticking it to plastic on one side and a very weak self-adhesive sheet on the other. I don’t know why they don’t supply them as plain wood so you can use a decent adhesive.
It’s a bit like self adhesive and/or pre-painted photo-etch: more hassle than its worth.
I can foresee that. Unfortunately I’m finding it hard to find a ‘proper’ wooden deck although they do exist.It’s a bit like self adhesive and/or pre-painted photo-etch: more hassle than its worth.
Murph7355 said:
Tamiya do one...
https://www.tamiya.com/english/products/25181/inde...
(Not a personal recommendation - I do nothing more than marvel at the skill on display on here...was just interested to look at the size etc and came across the above. Search for the part number and you get eBay hits ).
).
That seems to be out of stock in the U.K. and I’m hesitant about ordering it off some random site . But I’ll keep looking even though it’s twice the price of the kit :cry https://www.tamiya.com/english/products/25181/inde...
(Not a personal recommendation - I do nothing more than marvel at the skill on display on here...was just interested to look at the size etc and came across the above. Search for the part number and you get eBay hits
 ).
).It seems that a lot of companies do one run of upgraded parts then move on to other models. Which makes sense logically but annoying if you know a set has been made but you can’t find it.
I can see more research and money being spent here

Take a look at Hannants - they've got plenty of stuff listed (not all in stock though)
https://www.hannants.co.uk/search/index.php?produc...
https://www.hannants.co.uk/search/index.php?produc...
Drawweight said:
dr_gn said:
My pal got a much smaller ship model with self-adhesive wooden decks. Trouble is they don’t fit too well, and aren’t sticky enough to stay in place. Could use PVA, but then you’re sticking it to plastic on one side and a very weak self-adhesive sheet on the other. I don’t know why they don’t supply them as plain wood so you can use a decent adhesive.
It’s a bit like self adhesive and/or pre-painted photo-etch: more hassle than its worth.
I can foresee that. Unfortunately I’m finding it hard to find a ‘proper’ wooden deck although they do exist.It’s a bit like self adhesive and/or pre-painted photo-etch: more hassle than its worth.
Murph7355 said:
Tamiya do one...
https://www.tamiya.com/english/products/25181/inde...
(Not a personal recommendation - I do nothing more than marvel at the skill on display on here...was just interested to look at the size etc and came across the above. Search for the part number and you get eBay hits ).
).
That seems to be out of stock in the U.K. and I’m hesitant about ordering it off some random site . But I’ll keep looking even though it’s twice the price of the kit :cry https://www.tamiya.com/english/products/25181/inde...
(Not a personal recommendation - I do nothing more than marvel at the skill on display on here...was just interested to look at the size etc and came across the above. Search for the part number and you get eBay hits
 ).
).It seems that a lot of companies do one run of upgraded parts then move on to other models. Which makes sense logically but annoying if you know a set has been made but you can’t find it.
I can see more research and money being spent here

Drawweight said:
Ordered the Eduard PE set from Amazon and a wooden deck from eBay Australia 
It’s a Pontos so should be good quality as I couldn’t find anything in this country that wasn’t a Chinese knock off.
The Pontos set should be top quality.
It’s a Pontos so should be good quality as I couldn’t find anything in this country that wasn’t a Chinese knock off.
My one bit of advice when using these upgrade sets (I am no expert mind), particularly on something as complex as a 1/350 scale battleship, is to study the instructions for both the kit and for the upgrade sets in great detail, marking any bits in the original instructions that need replacing with upgraded parts. Then, once you have studied everything to the n'th degree, go pour yourself a mug of coffee / pint of beer, and study them again just to be sure.
Also when studying the instructions, give a great amount of thought to the assembly order particularly with regard to painting. The assembly order in the instructions are unlikely to be the best order once you consider the painting requirements- even more so when upgraded parts and replacement wooden decks are taken into account!
You might well already be well aware of the above, but as someone who is part way through my second 1/350 scale warship having learned a lot on the first one, I thought I'd share my (limited) experience

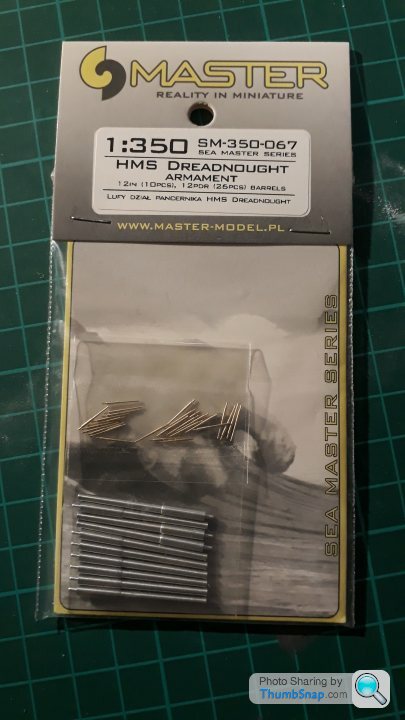
For what it's worth I am currently just over half way through building Trumpeter's 1/350 scale HMS Dreadnought, with Master Model metal barrels and masts, Eduard photoetch set, and a wooden deck set from Woodhunter.


My plan has largely been;
-Assemble, detail, and paint the hull
-Trim the wooden decks to allow for proper fitting of superstructure & deck fittings etc (wooden decks will be fitted late on)
-Assemble all of the superstructure parts as sub-assemblies (as much as will go together whilst still allowing for painting)
-Fit wooden decks onto largely finished hull.
-Fit painted sub-assemblies on top.
-Final touch ups of painting and fitting of pre-painted railings
-Rigging
-Pour and consume several beers!
Enjoy the build and post plenty of updates

Thanks squirrel.
That was something like the way I have it planned.
I keep looking at YouTube for inspiration , looking at the bits, studying the instructions but I’m going to have to bite the bullet and get stuck in. I just bought all the paint needed and the pe has come so I haven’t any more excuses.
After having it for 2 weeks I’ve glued 2 pieces onto the hull (oh and drilled out the portholes) # proud.
Drawweight said:
Thanks squirrel.
That was something like the way I have it planned.
I keep looking at YouTube for inspiration , looking at the bits, studying the instructions but I’m going to have to bite the bullet and get stuck in. I just bought all the paint needed and the pe has come so I haven’t any more excuses.
After having it for 2 weeks I’ve glued 2 pieces onto the hull (oh and drilled out the portholes) # proud.
If it makes you feel any better I got mine over Christmas 2018 That was something like the way I have it planned.
I keep looking at YouTube for inspiration , looking at the bits, studying the instructions but I’m going to have to bite the bullet and get stuck in. I just bought all the paint needed and the pe has come so I haven’t any more excuses.
After having it for 2 weeks I’ve glued 2 pieces onto the hull (oh and drilled out the portholes) # proud.

After making swift progress getting the hull fitted together, drilling out all the portholes, and trimming the wooden deck for all for the sub-assembly fitment, I ran into a busy spell with work and a variety of home projects so I only made sporadic progress over the subsequent 12 months... This year has been better (ironically since lockdown ended- I was properly busy during!), and I've now built up most of the chunky stuff. Now just going through adding on all of the small stuff to the sub-assemblies ready for priming and then paint.
Some of the PE work has been quite trying in places. I found my soldering iron came in very useful for some of the larger PE assemblies. The difficulty I've found when sticking small PE together has been finding an adhesive that will glue it well, but also give you enough time to get the pieces properly aligned before going off (I gave up on superglue pretty early on).
It's also worth keeping in mind the size and placement of some of the really small, fiddly stuff. It's easy to lose several hours manipulating tiny bits of brass into impossible shapes, obsessively tweaking everything until it's lined up perfectly, only to sit back and realise that tiny spec of detail will be all but invisible on the finished model from anything outside of 6 inches away... Definitely need to keep some perspective with the small details, or else it could take an insane amount of hours to make any meaningful progress!
dr_gn said:
Also check that the photo-etch part is actually better than the plastic one it's replacing. Sometimes plastic is more realistic.
^^This too.
Also that the effort to fit the replacement photo-etch part is justified by the finished result. I have bypassed certain PE bits on my kit because I feel the difference in quality between the PE & plastic was not enough to justify the struggle at my current skill level.
Gassing Station | Scale Models | Top of Page | What's New | My Stuff


