Tameo 1:43 Ferrari 156/85
Discussion
After reading Henryk’s inspirational 1:43 metal model Ferrari threads on here, I was very tempted to have a go at a metal model after a break of about 35 years. One of last ones I built was a Ferrari 156/85, when I was 15:
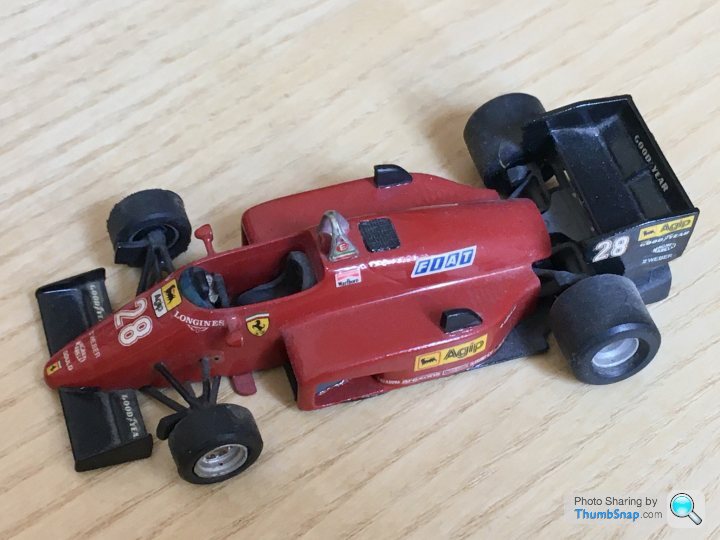
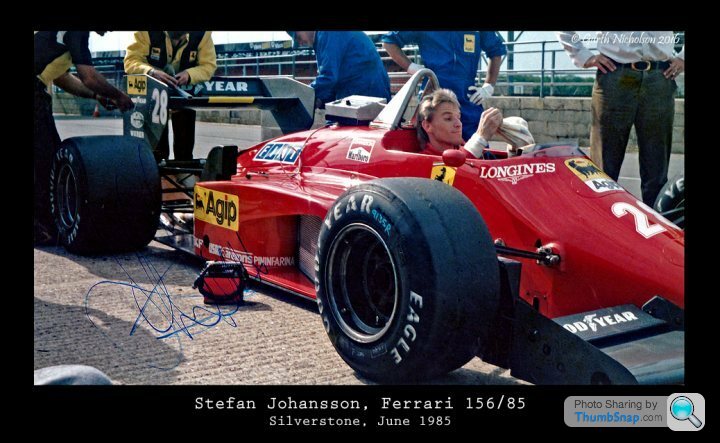
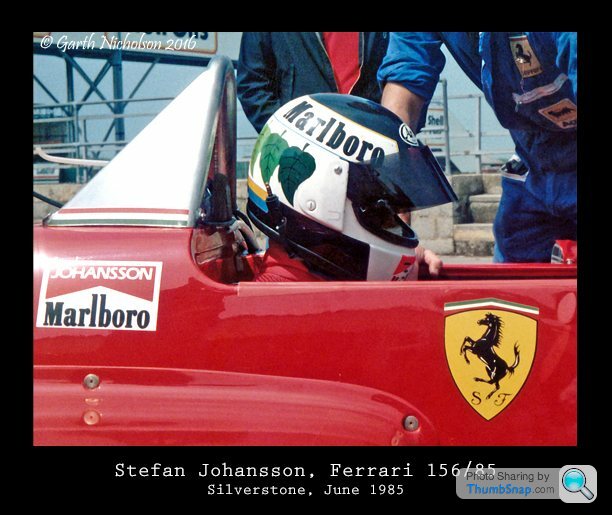
My Dad got it me for Christmas after going to Silverstone for the GoodYear tyre tests and Grand Prix in the summer of ‘85. Despite going to Grands Prix since I was less than a year old, that ‘85 Ferrari was really the first time I’d got to see and appreciate an F1 car up close, so it’ll always be a special car for me. Here are a couple of pics I took at the time with my Dad’s Olympus Trip:
Anyway, despite really wanting to build another, I quickly put the thought of yet another kit to the back of my mind, considering the load of other half finished projects I’ve got. I did mention it to a like-minded friend at work though...
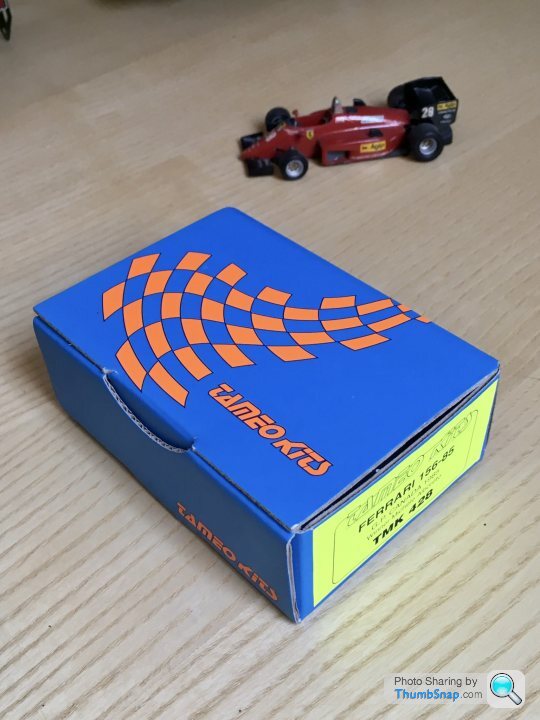
Fast forward a few weeks to my birthday, and to my amazement, my work colleagues had a whip round and presented me with this; the latest iteration of the kit:
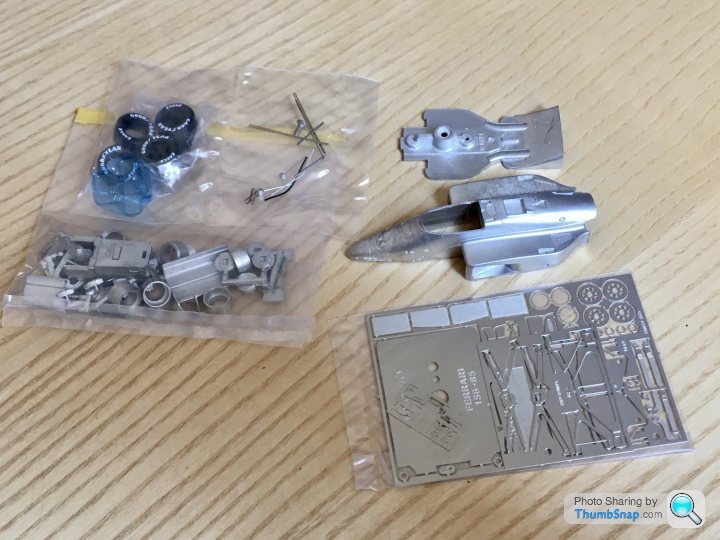
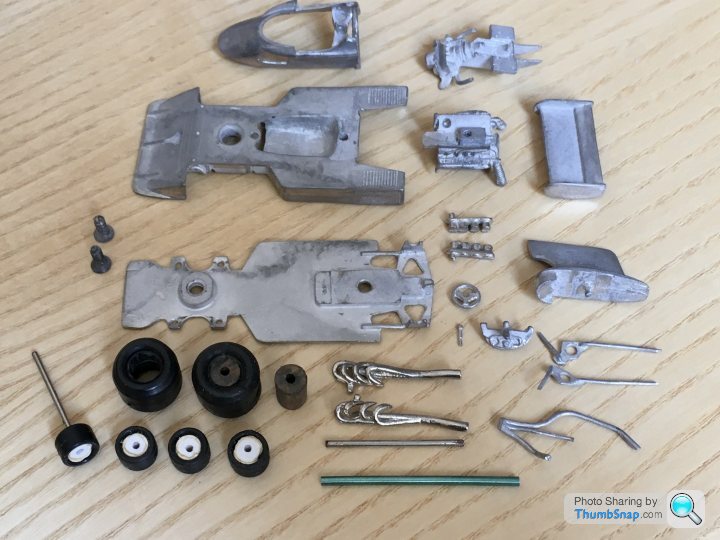
Beautifully presented in a neat box, it’s almost too nice to open, but when you do, it’s a treat: these days you get photo-etch, coil springs and pre-printed tyres, as well as crisply moulded white metal:
Instructions are ‘interesting’ in places, but no problem really:

They also got me another kit with a huge amount of sentimental value: a rare Tyrrell P34 Prototype kit from about 1975:
https://www.pistonheads.com/gassing/topic.asp?h=0&...
Amazing, especially since I pride myself on being the most grumpy and cynical person in the office.
I’ve tried to resist, but I think I’ll be making a start soon....definitely an OOB build though.

My Dad got it me for Christmas after going to Silverstone for the GoodYear tyre tests and Grand Prix in the summer of ‘85. Despite going to Grands Prix since I was less than a year old, that ‘85 Ferrari was really the first time I’d got to see and appreciate an F1 car up close, so it’ll always be a special car for me. Here are a couple of pics I took at the time with my Dad’s Olympus Trip:


Anyway, despite really wanting to build another, I quickly put the thought of yet another kit to the back of my mind, considering the load of other half finished projects I’ve got. I did mention it to a like-minded friend at work though...
Fast forward a few weeks to my birthday, and to my amazement, my work colleagues had a whip round and presented me with this; the latest iteration of the kit:

Beautifully presented in a neat box, it’s almost too nice to open, but when you do, it’s a treat: these days you get photo-etch, coil springs and pre-printed tyres, as well as crisply moulded white metal:

Instructions are ‘interesting’ in places, but no problem really:

They also got me another kit with a huge amount of sentimental value: a rare Tyrrell P34 Prototype kit from about 1975:

https://www.pistonheads.com/gassing/topic.asp?h=0&...
Amazing, especially since I pride myself on being the most grumpy and cynical person in the office.
I’ve tried to resist, but I think I’ll be making a start soon....definitely an OOB build though.
Edited by dr_gn on Thursday 25th June 14:38
mcdjl said:
You didn't seem particularly grumpy/cynical when i met you a few years back! Happy birthday for monday....though i wonder if your colleagues know just how much pain it will cause you when either model is less than perfect? Looking forward to watching though.
It took hours of preparation before I was allowed to meet an outsider.They probably know these are the ones that will break me tbh.
CanAm said:
dr_gn said:
I’ve tried to resist, but I think I’ll be making a start soon....definitely an OOB build though.
Oh how often have we heard that!! 
a) It’s a kerbside model with no engine detail.
b) I need a quick built that I actually finish.
One surprising thing about the new one though is that the diffuser exhaust outlets are decals. The old one had separate pipes.
Murph7355 said:
dr_gn said:
....
One surprising thing about the new one though is that the diffuser exhaust outlets are decals. The old one had separate pipes.
Aaaaaaaand cue the drill, photo etch etc etc One surprising thing about the new one though is that the diffuser exhaust outlets are decals. The old one had separate pipes.

(And long may it continue - your work is superb and a pleasure to watch).
Assuming that a bit of what you fancy does you good, and that one more unfinished project won’t make much difference these days, I made a start:
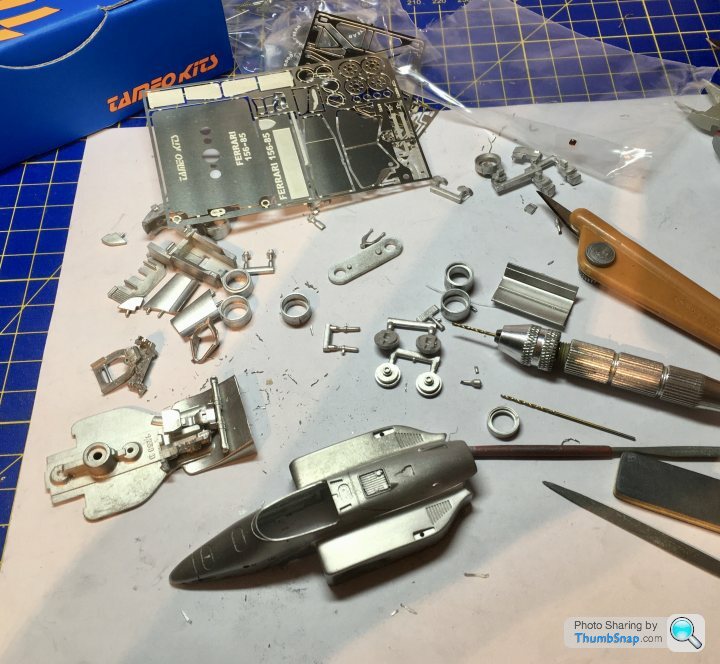
Just a general clean-up of the main parts and drilling holes for the front wings and turbo intakes. The photo-etch is nice and so far everything fits pretty well:
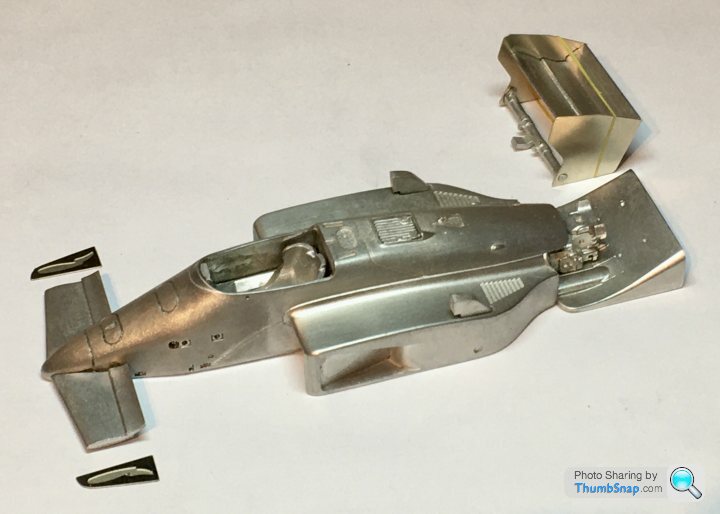
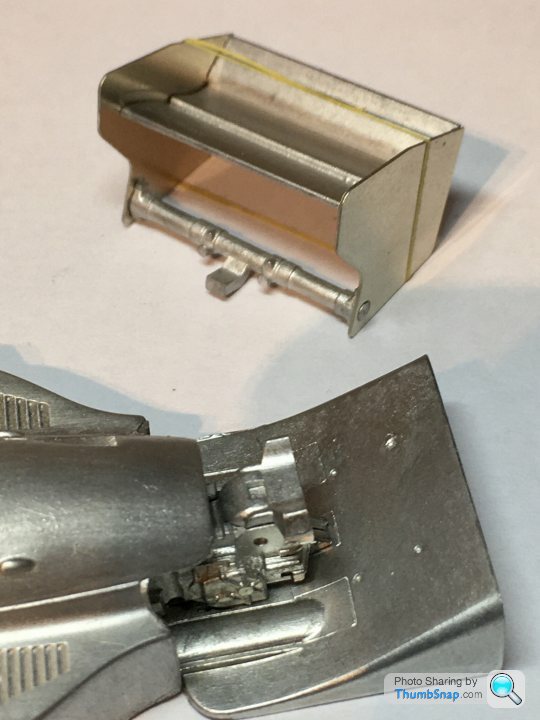

Just a general clean-up of the main parts and drilling holes for the front wings and turbo intakes. The photo-etch is nice and so far everything fits pretty well:


The main issue are the prominent moulding marks on the sides of the tub:
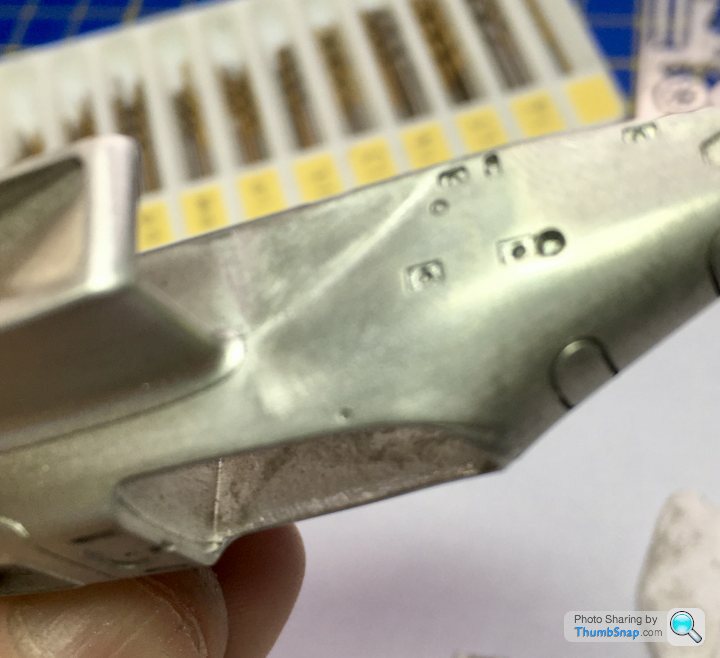
I’ll flat them the best I can and give it a primer coat to see how bad it really is.
The base is quite complicated, requiring a screw hole to be drilled:
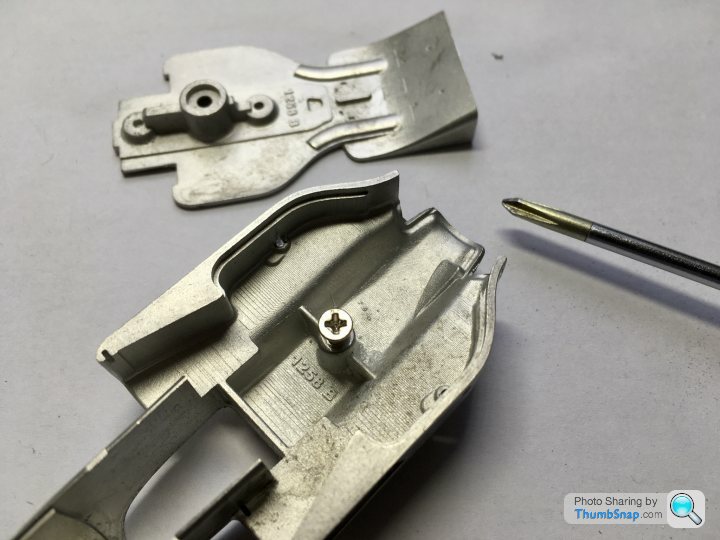
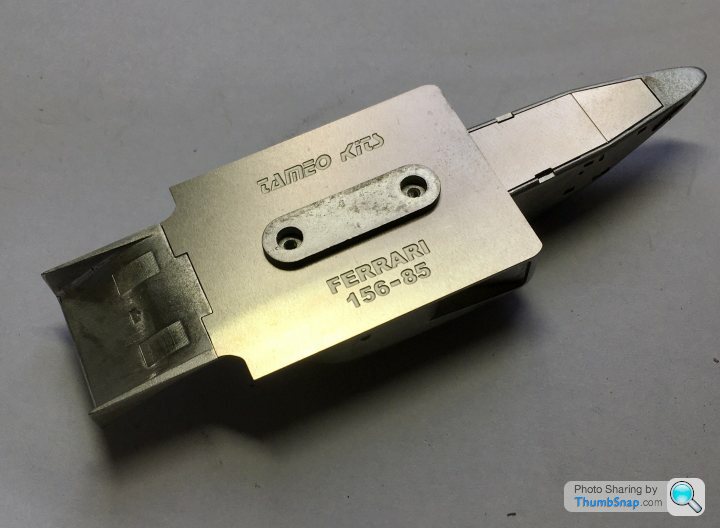
and assembly of the cast floor, photo-etched forward monocoque floor, etched rear floor and ride-height spacer:
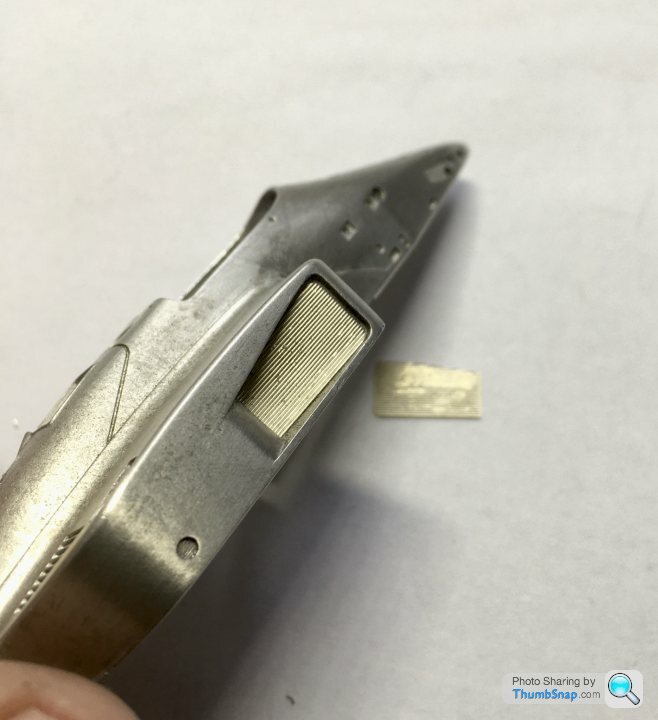
The radiator cores are represented inside and out with photo-etch, which, like everything else so far, seems to fit perfectly:
The etch material is quite thick; as usual I annealed the driver’s harness and it then bent easily to shape:
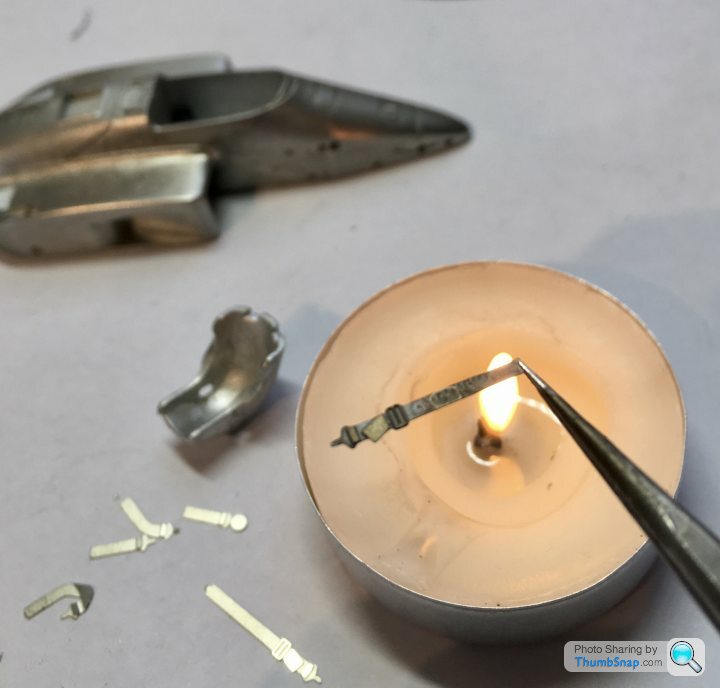

I think I’ll probably anneal all the parts at their bend points - particularly the suspension. It feels like it will fracture if any bends need adjusting.

I’ll flat them the best I can and give it a primer coat to see how bad it really is.
The base is quite complicated, requiring a screw hole to be drilled:

and assembly of the cast floor, photo-etched forward monocoque floor, etched rear floor and ride-height spacer:

The radiator cores are represented inside and out with photo-etch, which, like everything else so far, seems to fit perfectly:

The etch material is quite thick; as usual I annealed the driver’s harness and it then bent easily to shape:


I think I’ll probably anneal all the parts at their bend points - particularly the suspension. It feels like it will fracture if any bends need adjusting.
Well I wouldn't attempt this one, but many years ago I built the original. No photo-etch, yay!
Shortly afterwards I built the following year's car, the 186, from an FDS kit. The completed model is now in the collection of ... Stefan Johannson!
Shortly afterwards I built the following year's car, the 186, from an FDS kit. The completed model is now in the collection of ... Stefan Johannson!
Edited by Evangelion on Saturday 11th July 13:24
Evangelion said:
Well I wouldn't attempt this one, but many years ago I built the original. No photo-etch, yay!
Shortly afterwards I built the following year's car, the 186, from an FDS kit. The completed model is now in the collection of ... Stefan Johannson!
Impressive! I’m not sure what make my original is - nothing underneath apart from the car name and a signature - something like Dino. Could be HIFI Models or Tameo, but the box and instructions are long gone.
Edited by Evangelion on Saturday 11th July 13:24
It's probably Tameo - the signature would be that of the maker of the original brass master.
Meri Kits - also from Italy - were doing pretty much the same thing at about the same time. The two makes would model the entire grid between them every year, although sometimes there were overlaps.
Meri Kits - also from Italy - were doing pretty much the same thing at about the same time. The two makes would model the entire grid between them every year, although sometimes there were overlaps.
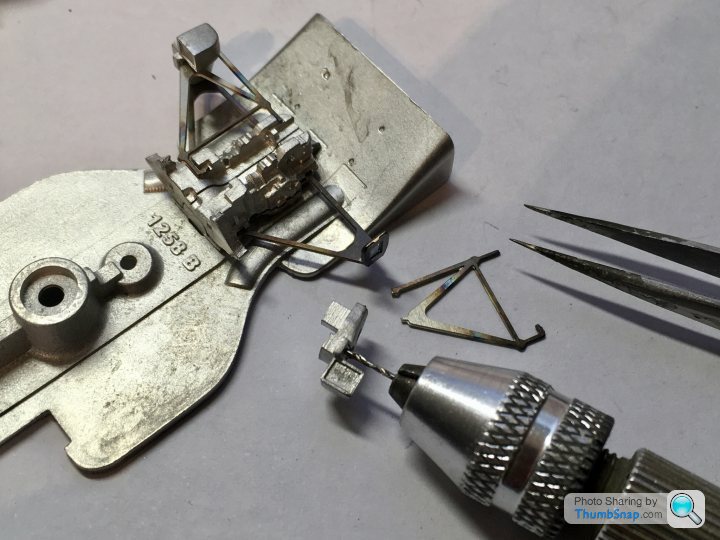
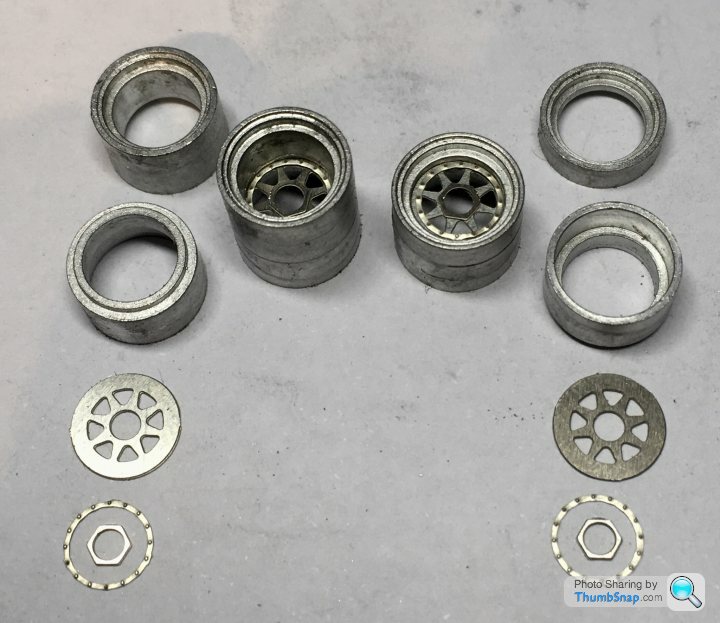
Pretty much completed the separation of the parts from their gates/frets, and clean-up. The wheels are multi-piece items as per the originals, and should look good when finished. I’m considering polishing the rims rather than painting them:
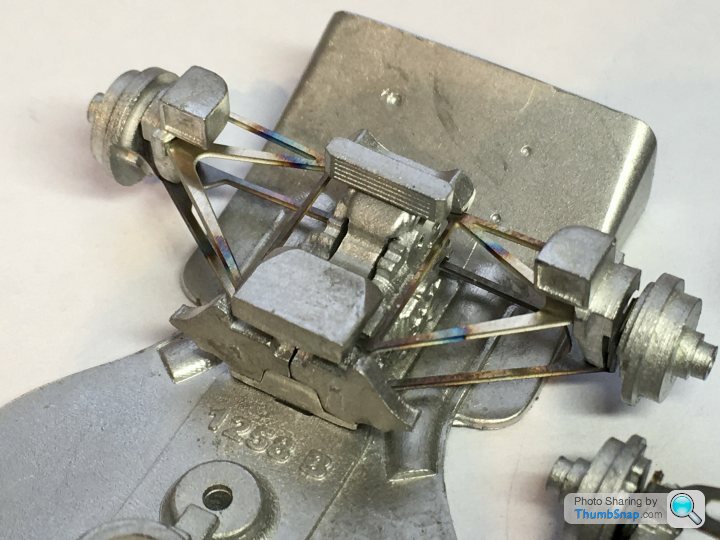
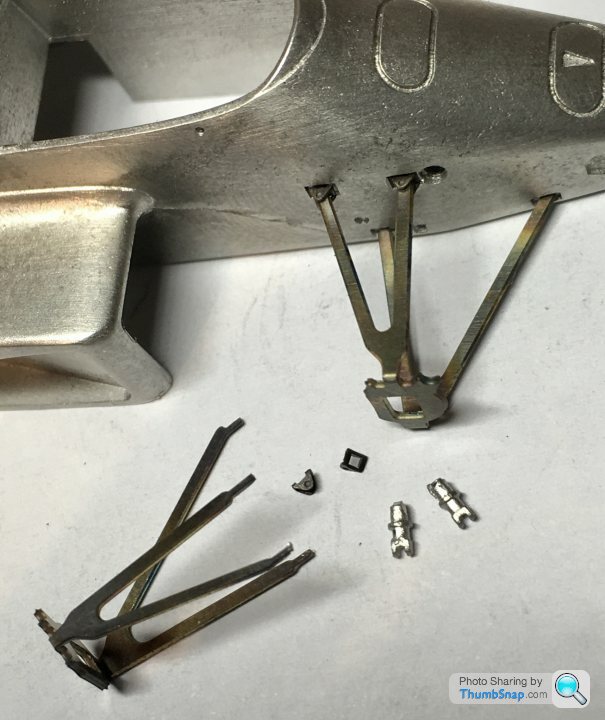
The front suspension mounts are nicely done, and look quite effective:
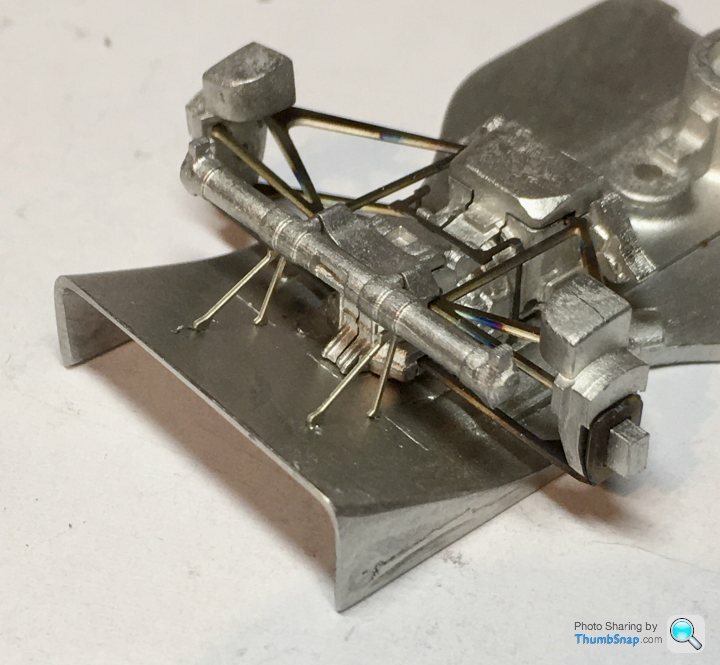
Surprised to see the diffuser stays included. They require 0.4mm holes drilling, and click nicely into place into slots under the rear wing beam:
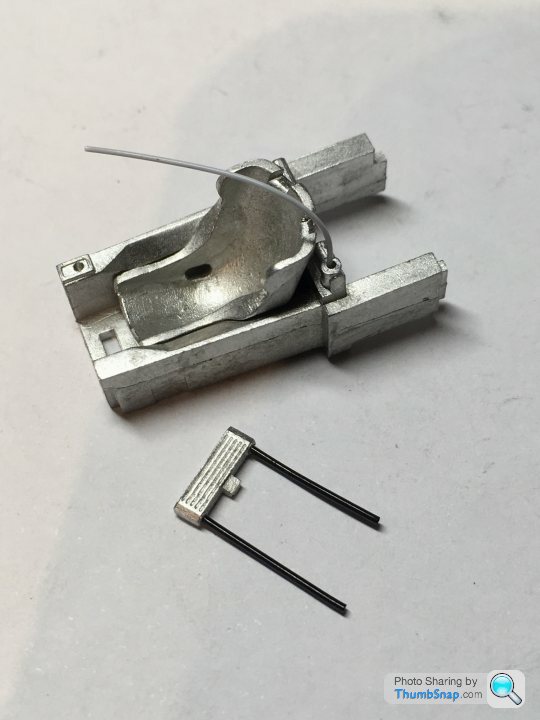
Also included are hoses for the oil cooler and medical air supply for the driver. Again, all the holes need drilling:

The front suspension mounts are nicely done, and look quite effective:

Surprised to see the diffuser stays included. They require 0.4mm holes drilling, and click nicely into place into slots under the rear wing beam:

Also included are hoses for the oil cooler and medical air supply for the driver. Again, all the holes need drilling:

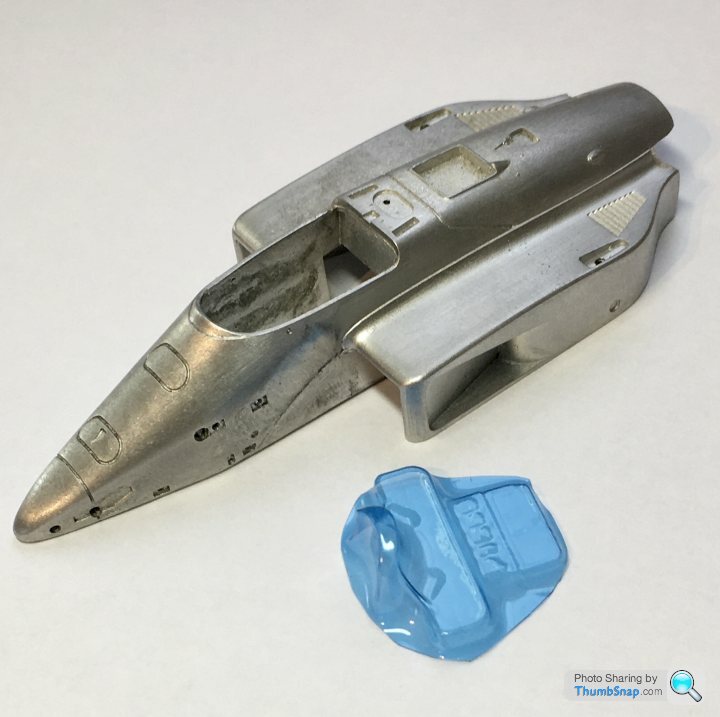
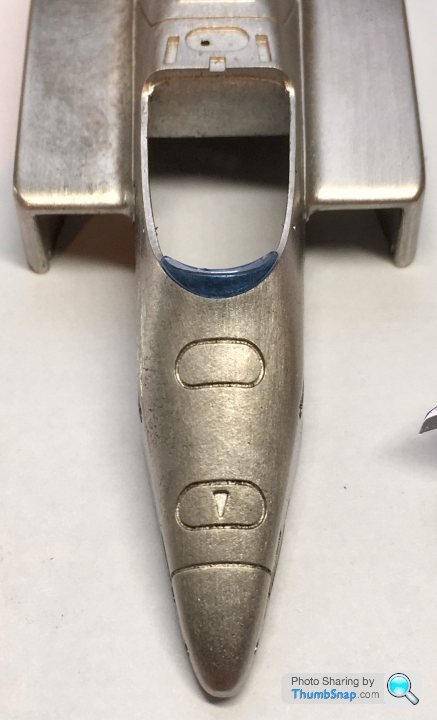
The tiny windscreen needed cutting from its huge vac-formed backing. Not too difficult with a new blade and some wet and dry to smooth the edges. Might need a bit more off the top edge, but the lower profile is a good fit:
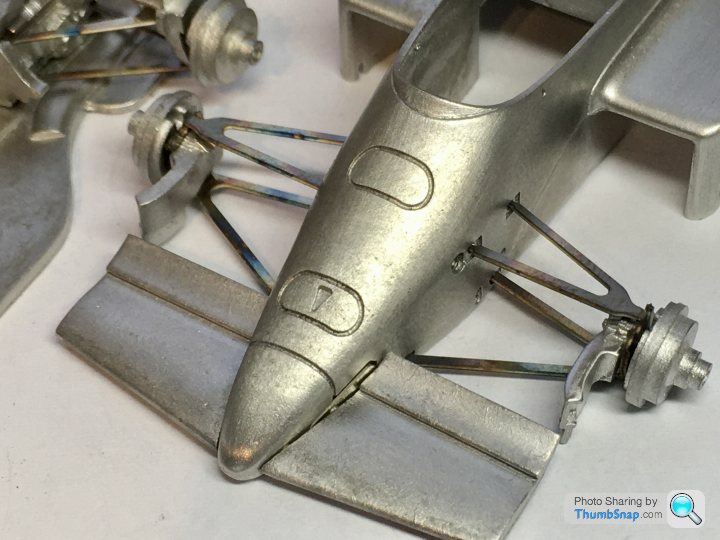
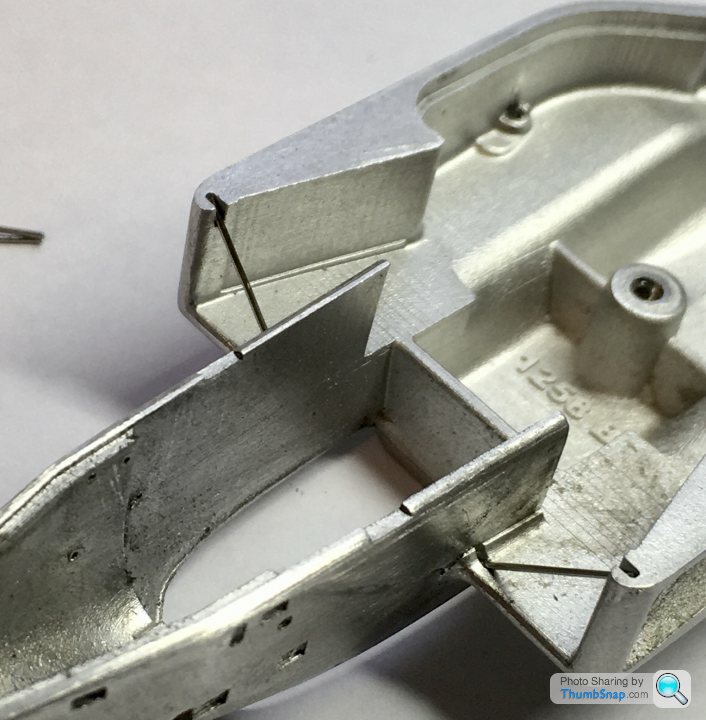
Also used the p/e jig to form the 0.4mm wire front suspension pullrods:
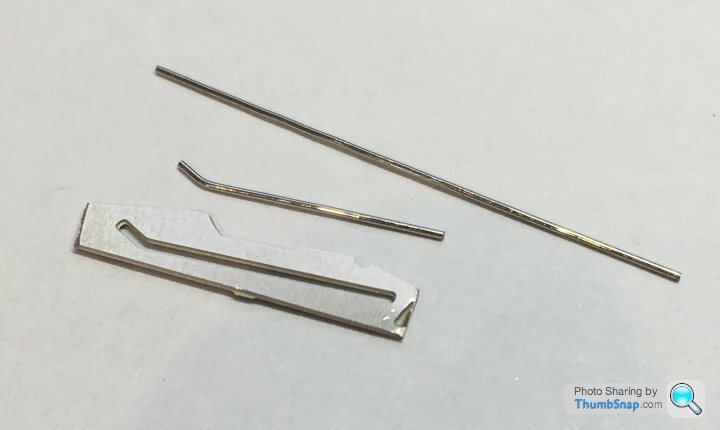
and the sidepod mouth stays:
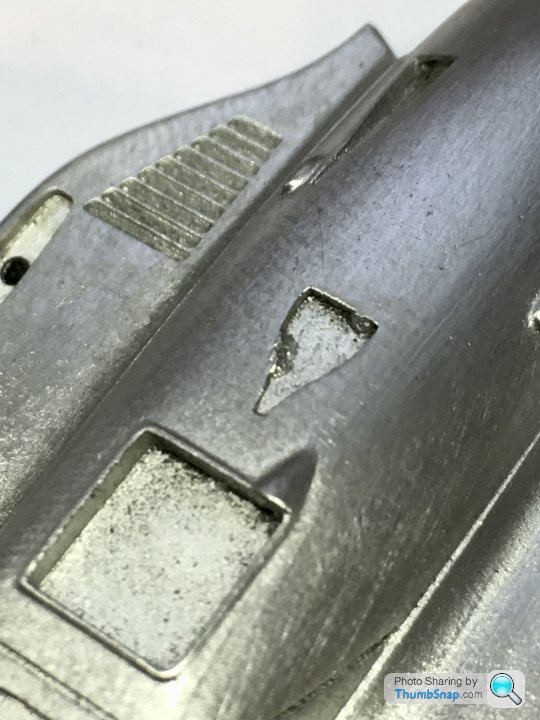
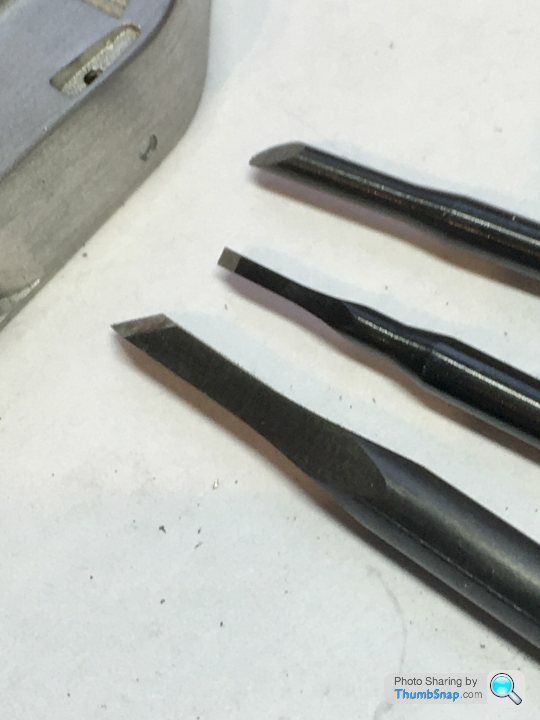
One of the engine Cover NACA ducts has a couple of flaws, which I’ve tried to eliminate using some small modelling chisels:
Next, a guide coat of primer and some minor filling no doubt. I think the surface flaws as so shallow that filler wouldn’t be suitable, so I might use Mr. Surfacer 1000 applied locally with a cocktail stick.


Also used the p/e jig to form the 0.4mm wire front suspension pullrods:

and the sidepod mouth stays:

One of the engine Cover NACA ducts has a couple of flaws, which I’ve tried to eliminate using some small modelling chisels:


Next, a guide coat of primer and some minor filling no doubt. I think the surface flaws as so shallow that filler wouldn’t be suitable, so I might use Mr. Surfacer 1000 applied locally with a cocktail stick.
henryk001 said:
Certainly motoring along on this project. Looking good.
Yes, it all seems to go together pretty well. The only real issue I'm seeing is the photo-etched suspension arms. It's almost like the metal is a sandwich, and the exposed edges all have a fairly prominent recess along them. It's odd. Would be a real pain to fill them too. Is any of your photo-etch like that?Gassing Station | Scale Models | Top of Page | What's New | My Stuff


