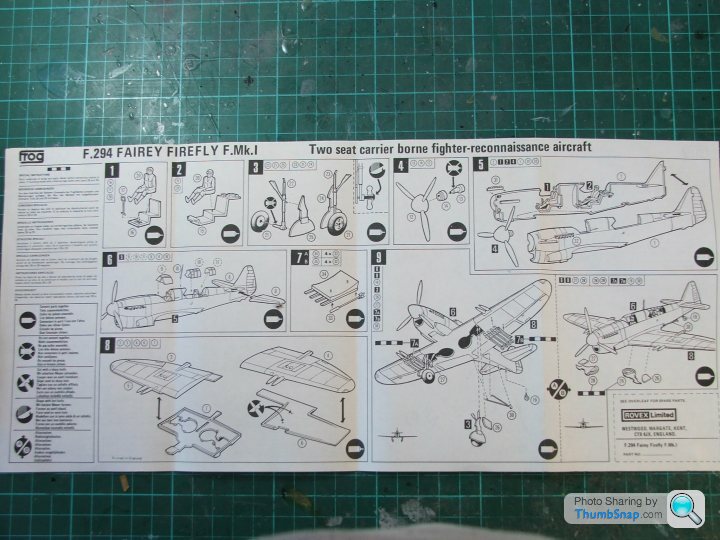
Fairey Firefly MkI - Frog 1/72
Discussion
Another dive into my childhood modelling days. I built one of these not long after FROG first released it (1972). That build is long since gone but I've always liked FROG kits. They were a bit basic with little interior or wheel well detail. But FROG used nice sharp plastic with refined raised detail and they usually clicked nicely together.
My aim these days is to get models actually built and finished rather than waste time on interior detail that is pretty much invisible. I get far more satisfaction out of actually finishing a model rather than stuffing it full of resin or etch.
Here is the box. This is the second issue by FROG from around 1975. It had originally been sold in a plastic bag with a cardboard header. They switched to boxes in around 1974.
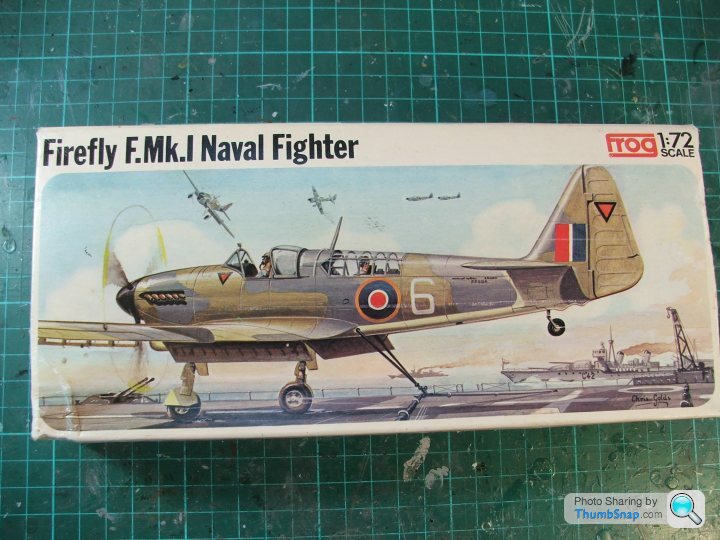
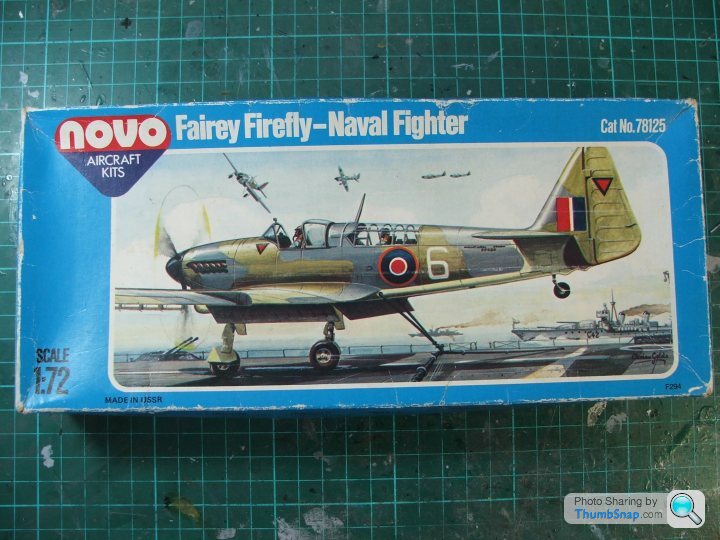
I did have a go at a later Novo release of this kit a couple of years ago but for some reason the build stalled so the bits ended up in the bin - but the box survived. You can see that Novo used the original FROG artwork -
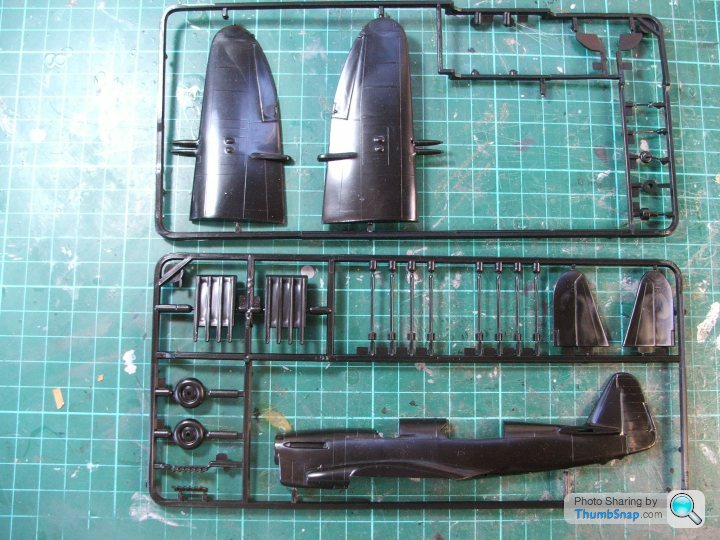
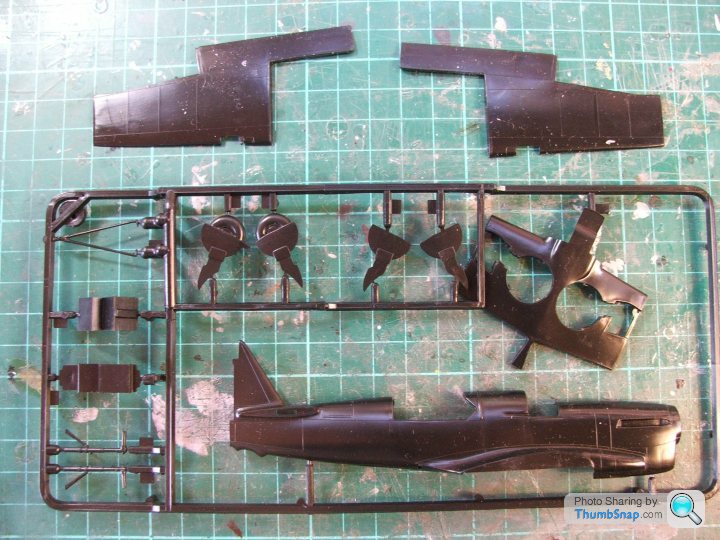
The plastic bits -
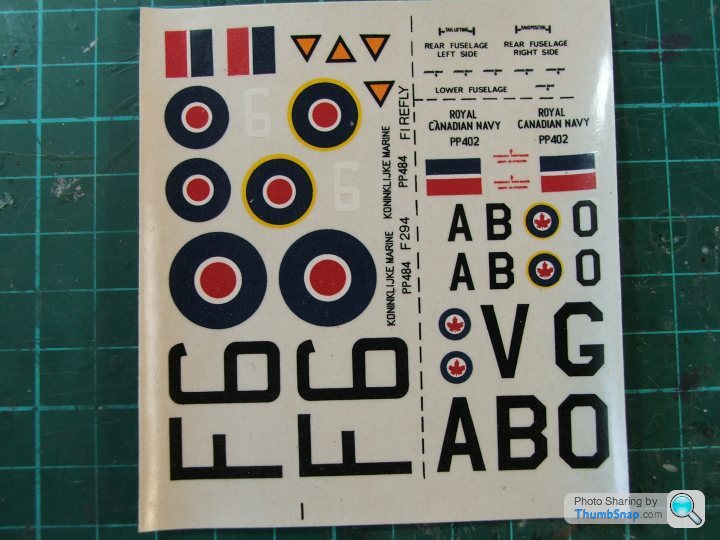
The old decals are really past their use by date -
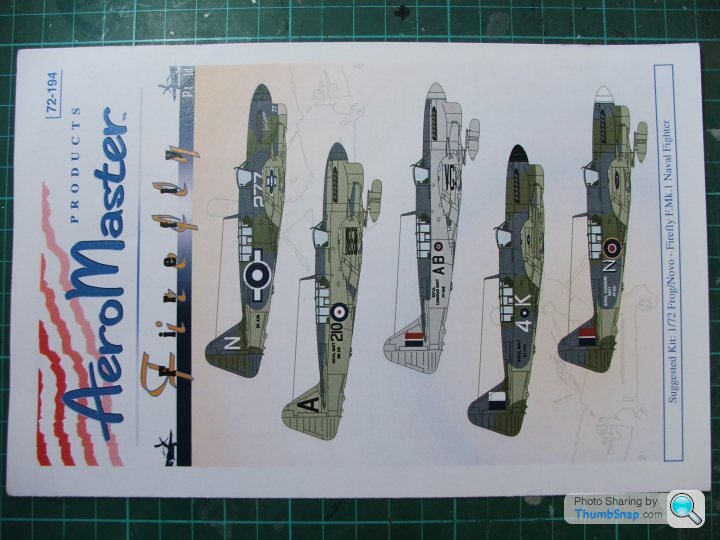
I'll be choosing something from this set -
My aim these days is to get models actually built and finished rather than waste time on interior detail that is pretty much invisible. I get far more satisfaction out of actually finishing a model rather than stuffing it full of resin or etch.
Here is the box. This is the second issue by FROG from around 1975. It had originally been sold in a plastic bag with a cardboard header. They switched to boxes in around 1974.

I did have a go at a later Novo release of this kit a couple of years ago but for some reason the build stalled so the bits ended up in the bin - but the box survived. You can see that Novo used the original FROG artwork -

The plastic bits -


The old decals are really past their use by date -

I'll be choosing something from this set -

Tut Eric! Plastic in the bin?! I'd defend my parts stash to the death....
I know where you're coming from in enjoying making just from the box, you're building the kit not a replica, certainly when nostalgia dictates a really old kit! I've got a build with pe and resin upgrade parts on the bench next to a three-times-rebuilt-since-1982 ancient bit of a mess which I'll be detailing with a felt pen for it's final incarnation....room for all and pleasure in equal measures.
Any plans for the Lotus 72 soon? Bet that's ace out of the box!
Anyway. Firefly. Enjoy you way!
Have made some progress. This is going to be a pretty much out of the box build - but there will be some modifications to make the model look a bit more realistic.
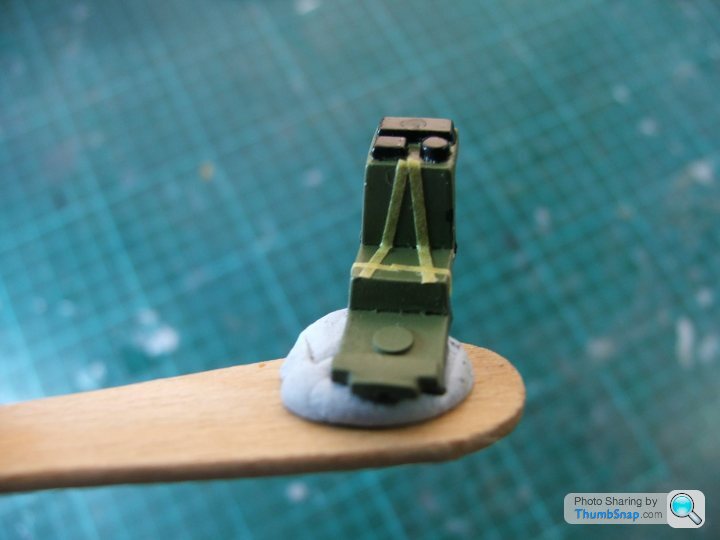
Simple belts added from masking tape
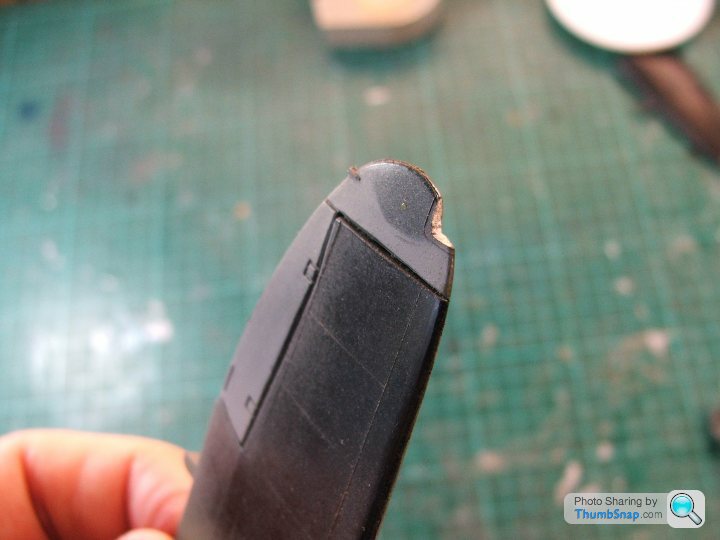
As was normal at the time, no wingtip navigation lights were provided, only some raised lines on the wingtip. I've cut the section out of each wing and will let in some clear plastic
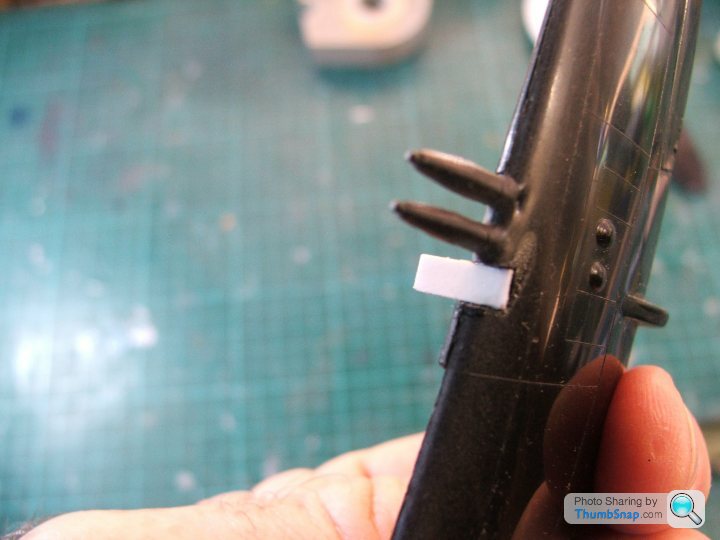
Same thing with the big landing light, which was represented by just some raised lines. I've cut this out and blanked off the hole which appeared at the back of the lamp housing with a piece of plastic card. Once the cement has set, I'll trim it back and sand it to make it flush with the wing.
Simple belts added from masking tape

As was normal at the time, no wingtip navigation lights were provided, only some raised lines on the wingtip. I've cut the section out of each wing and will let in some clear plastic

Same thing with the big landing light, which was represented by just some raised lines. I've cut this out and blanked off the hole which appeared at the back of the lamp housing with a piece of plastic card. Once the cement has set, I'll trim it back and sand it to make it flush with the wing.

Progress so far.
This model is from original early FROG production is the fit is generally good but there were some gaps which needed filling. I used liquid filler from the "Mr Hobby" range because once applied, excess can be quickly wiped away using a cotton bud. This means that there is very little rubbing down required. In a kit with raised panel lines the less rubbing down needed, the better. It is much more difficult to reinstate lost raised panel lines compared to lost recessed panel lines.
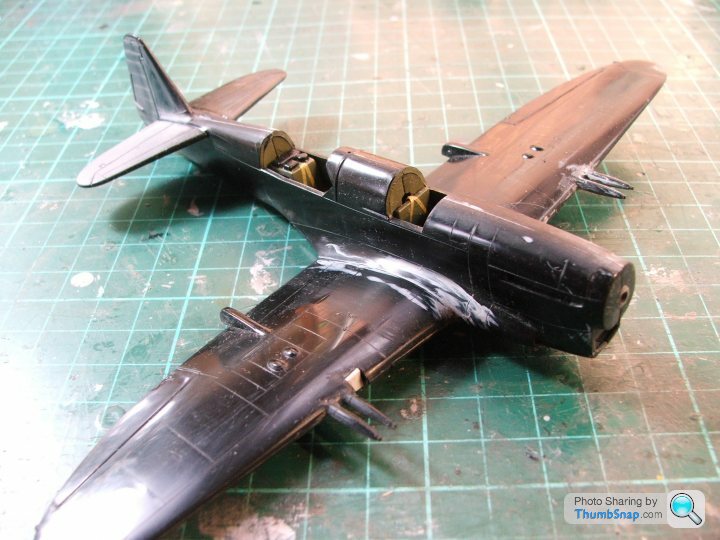
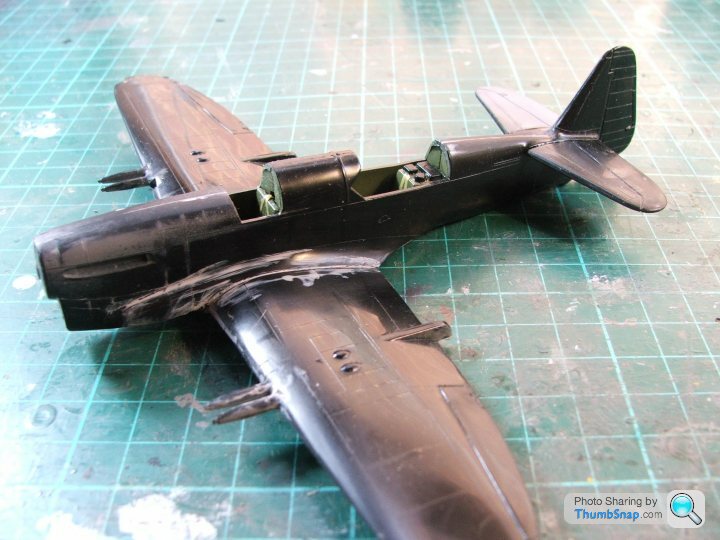
Following the above work, I attached the already masked canopies and applied some interior green to the framing. I then spayed the model with Halfords Primer Grey followed by some random preshading.
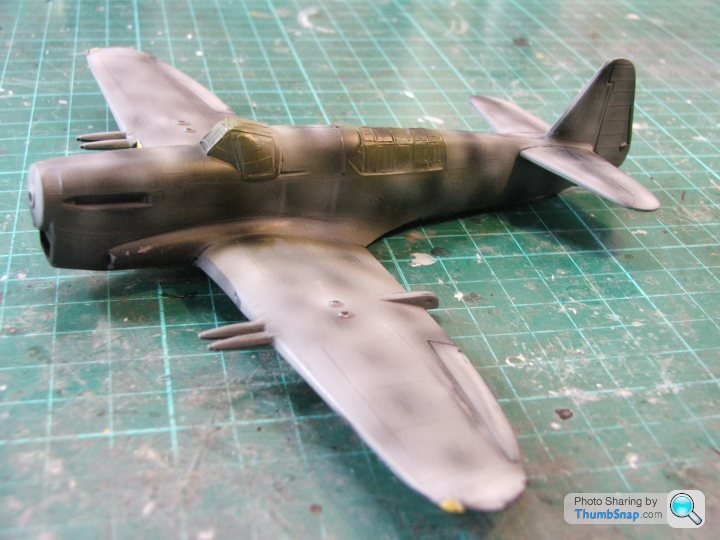
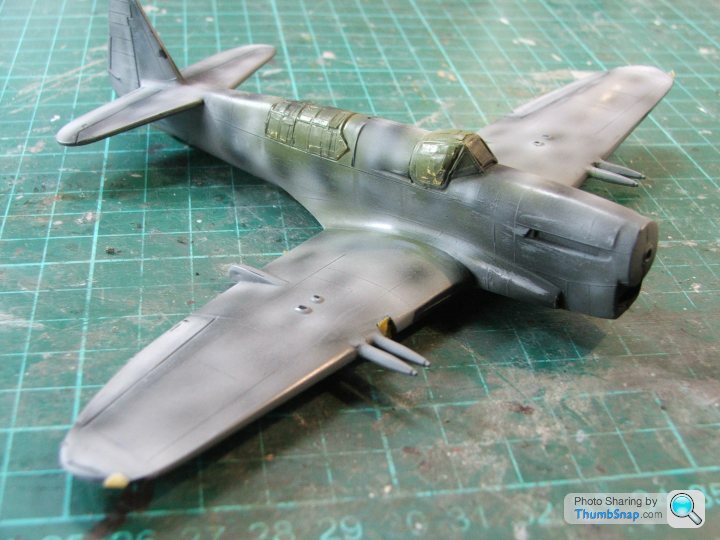
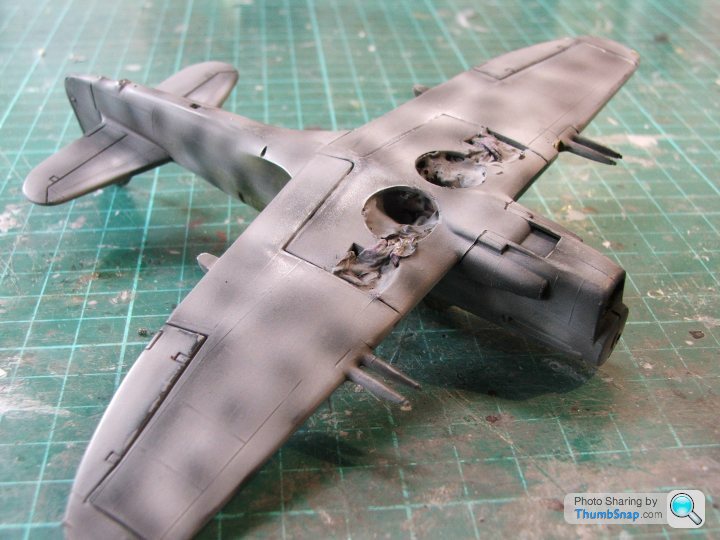
This model is from original early FROG production is the fit is generally good but there were some gaps which needed filling. I used liquid filler from the "Mr Hobby" range because once applied, excess can be quickly wiped away using a cotton bud. This means that there is very little rubbing down required. In a kit with raised panel lines the less rubbing down needed, the better. It is much more difficult to reinstate lost raised panel lines compared to lost recessed panel lines.


Following the above work, I attached the already masked canopies and applied some interior green to the framing. I then spayed the model with Halfords Primer Grey followed by some random preshading.


Over two months on from the last update, I decided to try and get this one finished. It's pretty much done. I may have a go at installing an aerial wire later.
The markings depict a Firely MkI based on HMS Implcable in the Pacific theatre in 1945.
I like these older kits.
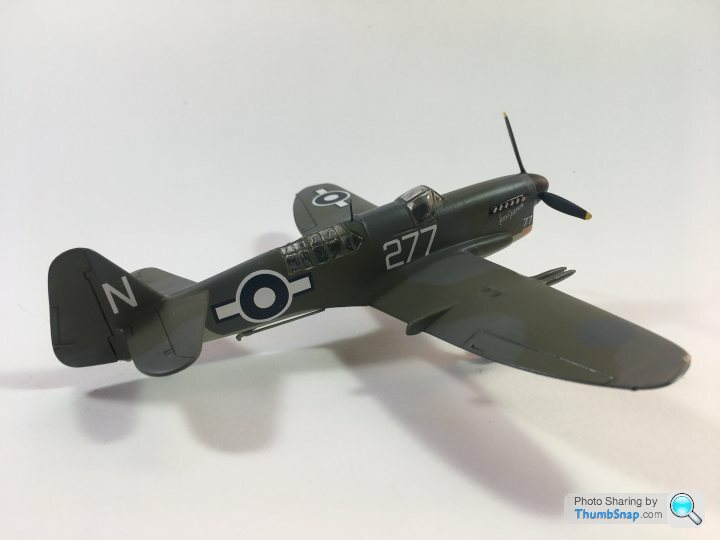
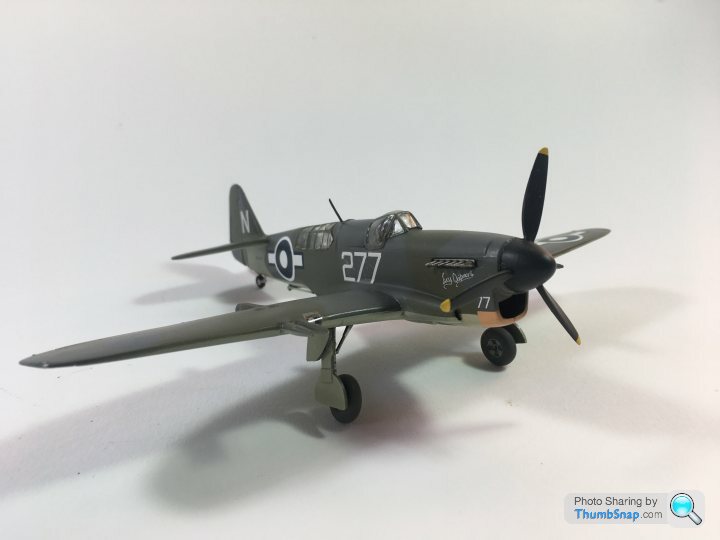
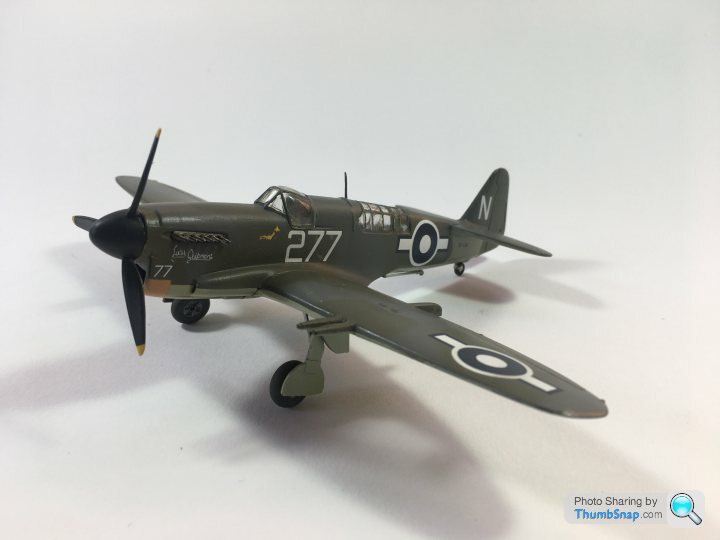
The markings depict a Firely MkI based on HMS Implcable in the Pacific theatre in 1945.
I like these older kits.


Edited by Eric Mc on Thursday 10th September 11:45
Thank you.
Those old FROG kits provide a fairly blank canvass on which to work. It's up to the modeller to decide if he/she wants to improve upon what is provided.
I cut out and glazed the navigation lights and the large landing light in the wing and I also drilled out and shaped the small air intakes on either side of the nose.
Eric Mc said:
Thank you.
Those old FROG kits provide a fairly blank canvass on which to work. It's up to the modeller to decide if he/she wants to improve upon what is provided.
I cut out and glazed the navigation lights and the large landing light in the wing and I also drilled out and shaped the small air intakes on either side of the nose.
A very warped canvas in the case of the Kittyhawk I embarked upon. What a pile of crap. I got tried/am trying to make a half decent fist out of it but wish I'd just built it warts and all. Pride wouldn't let me do that. Must finish – it's just sitting in primer at the mo. Kit cost £4 on eBay. Gear bought to paint it – £450-odd. Those old FROG kits provide a fairly blank canvass on which to work. It's up to the modeller to decide if he/she wants to improve upon what is provided.
I cut out and glazed the navigation lights and the large landing light in the wing and I also drilled out and shaped the small air intakes on either side of the nose.

Gassing Station | Scale Models | Top of Page | What's New | My Stuff


