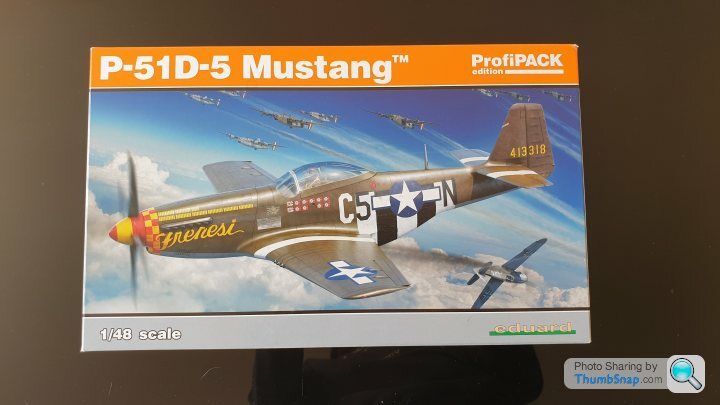
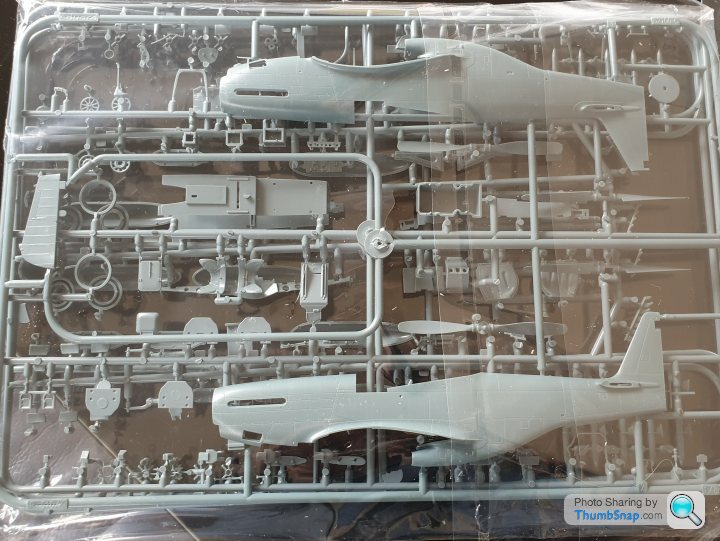
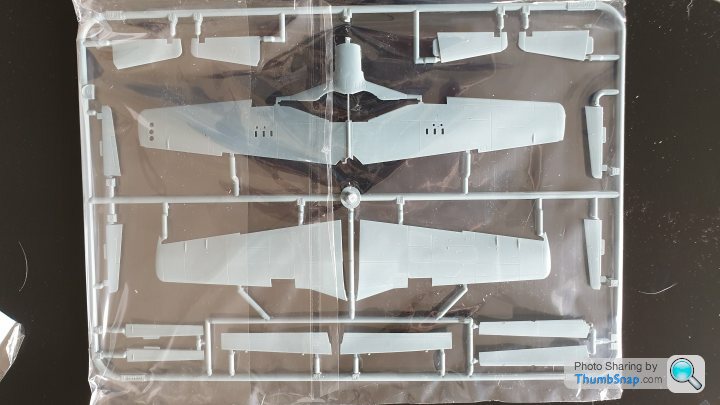
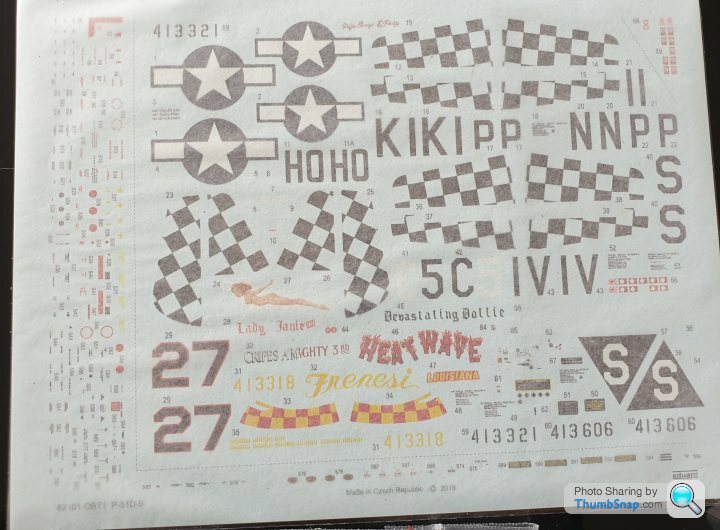
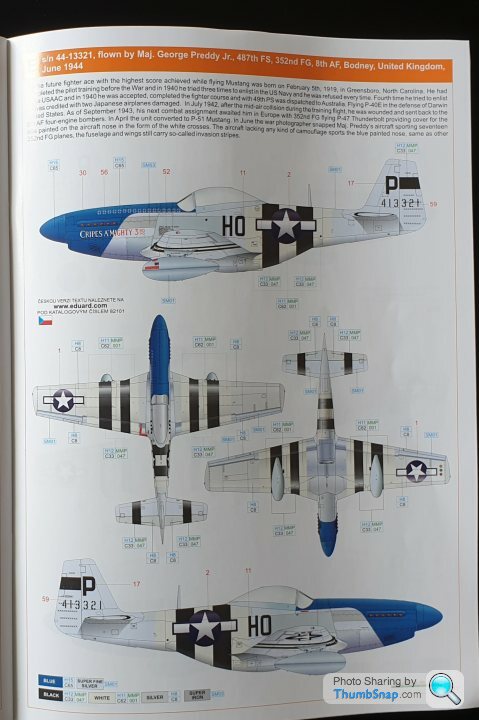
Eduard 1/48 P51D
Discussion
The build begins with the seat and cockpit
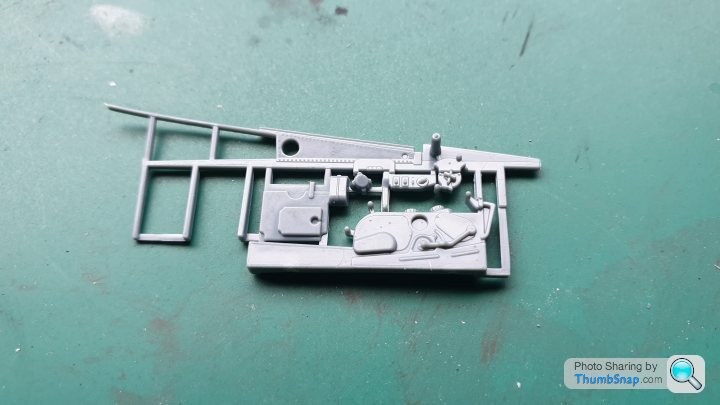
The cockpit floor was wood in these and covered in rubber that used to wear away, I sprayed it Tamiya Nato black & drybrushed buff to try and simulate this.
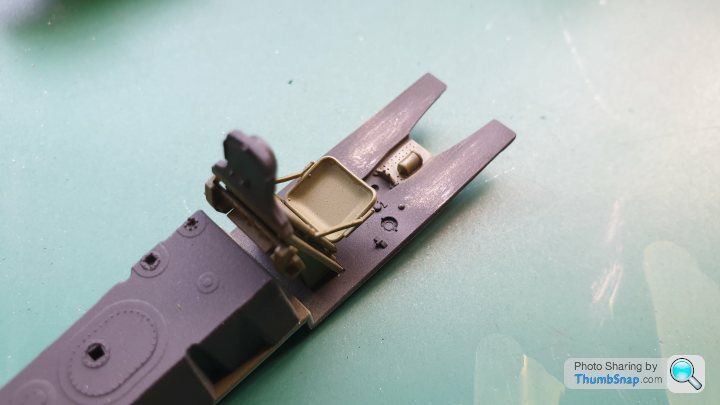
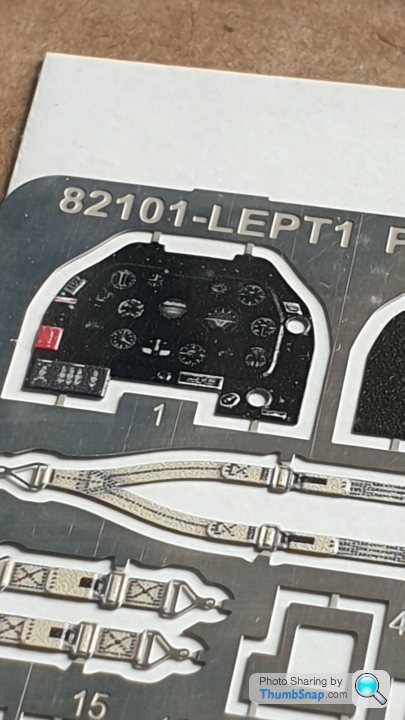
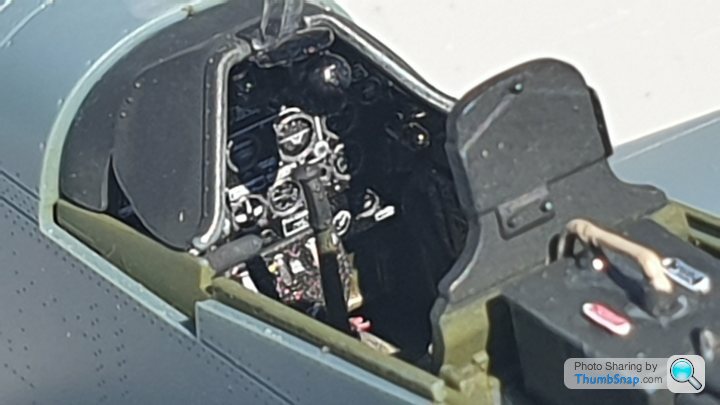
Plenty of PE for the side panels, cockpit painted in a mix of Tamiya yellow green and dark green
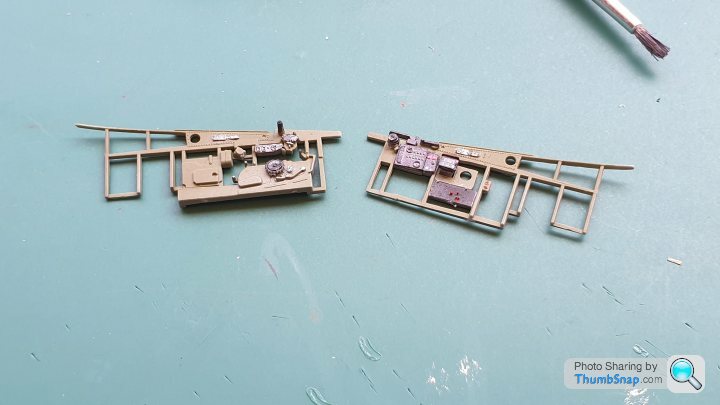
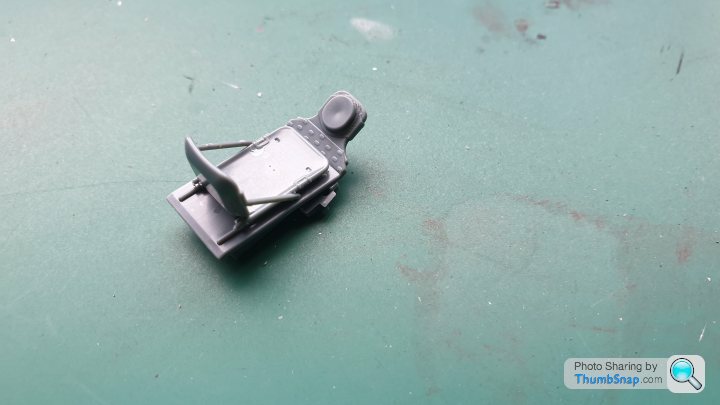
Pilots seat weathered with flat aluminium and belts added.
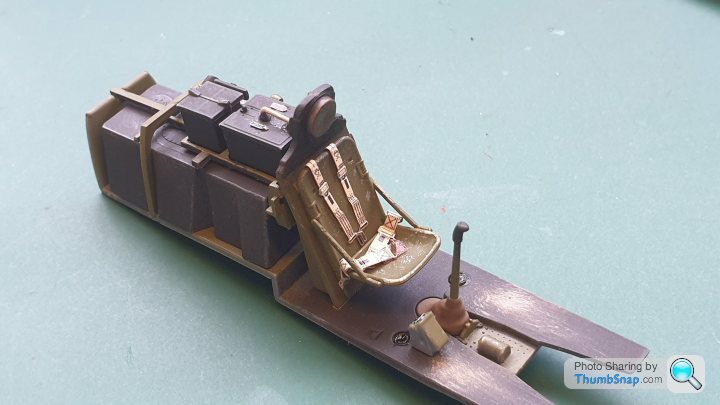


The cockpit floor was wood in these and covered in rubber that used to wear away, I sprayed it Tamiya Nato black & drybrushed buff to try and simulate this.

Plenty of PE for the side panels, cockpit painted in a mix of Tamiya yellow green and dark green

Pilots seat weathered with flat aluminium and belts added.

Nice looking kit :-) just a suggestion - you may want to lose the Detrola radio set on the floor to rhs of the control column as they were generally binned before/on arrival in ETO (and the corresponding aerial wire that protruded from the rear of the canopy removed also).
Edited by Mark V GTD on Wednesday 20th May 19:22
Mark V GTD said:
Nice looking kit :-) just a suggestion - you may want to lose the Detrola radio set on the floor to rhs of the control column as they were generally binned before/on arrival in ETO (and the corresponding aerial wire that protruded from the rear of the canopy removed also).
Thanks for the tip, I wondered what it was, I thought a gauge pod. I had already assembled the fuselage so it will have to stay now...Edited by Mark V GTD on Wednesday 20th May 19:22
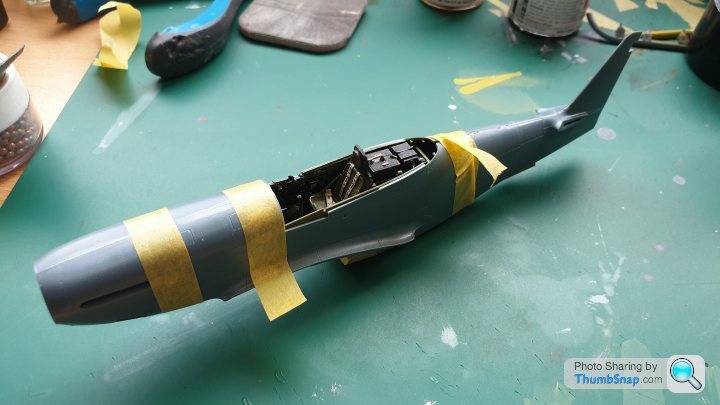
Fit is very good and only a tiny amount of filler required.
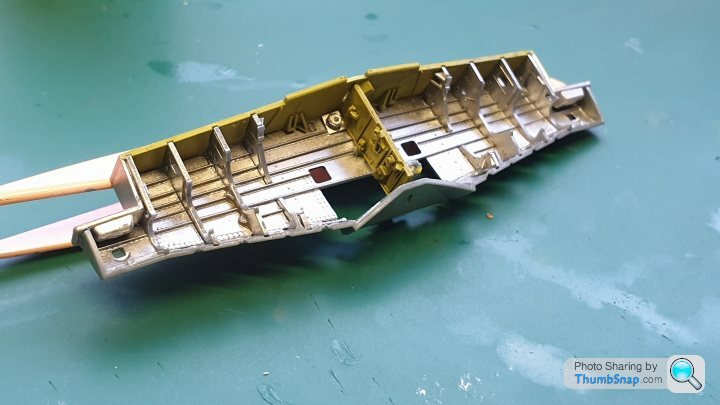
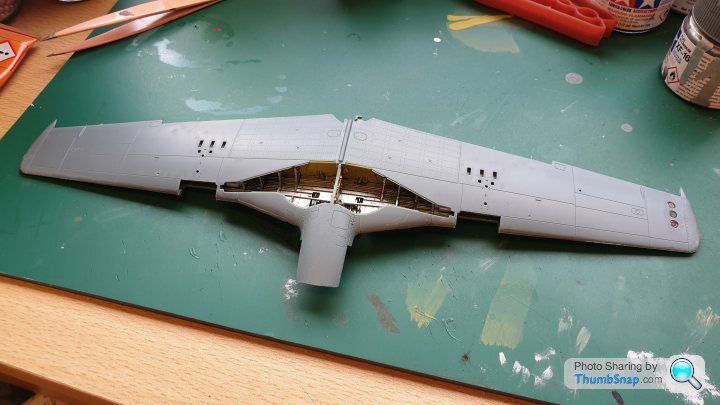
Next job is putting together the wheel bay, all the fillets are separate & it is nicely detailed.
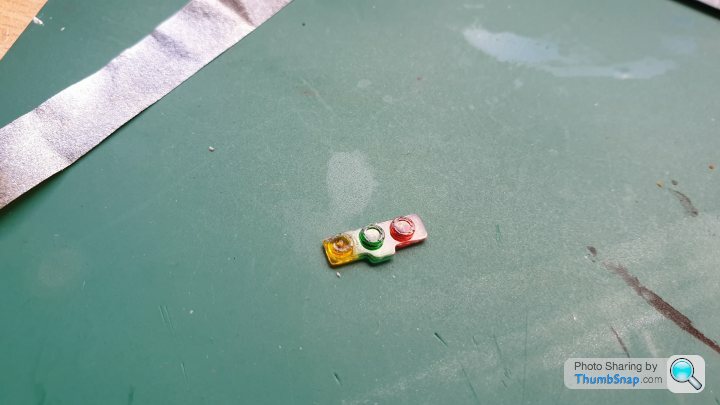
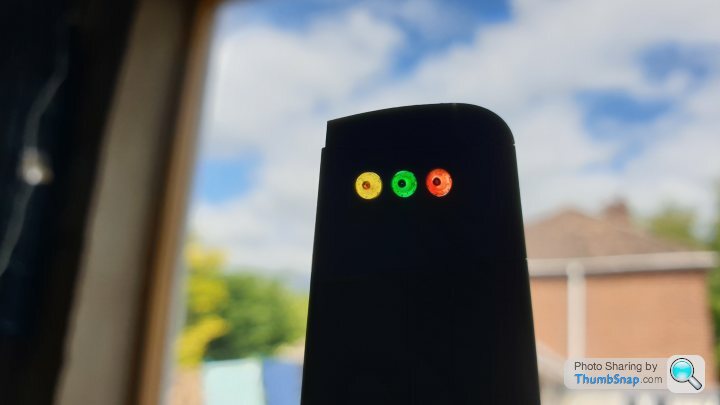
These identification lights that go in the starboard wing are cool, finished with Tamiya clear paints.
Lower wing assembly
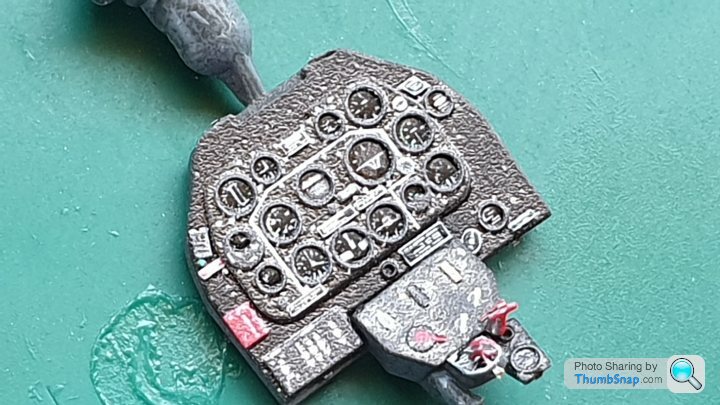
The instrument panel with PE dials
 [url]
[url]
 |https://thumbsnap.com/JRg7jH4A[/url]
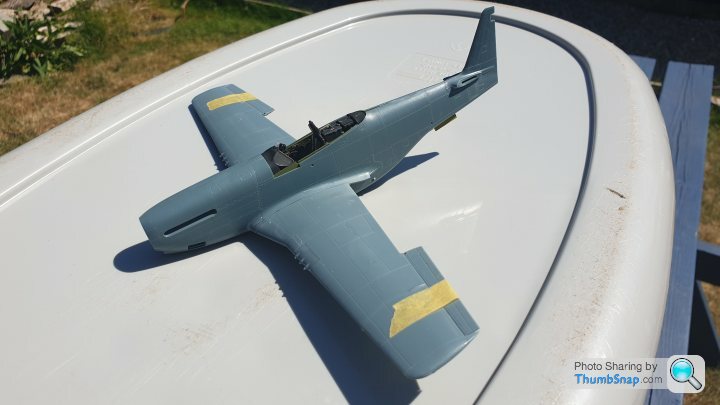
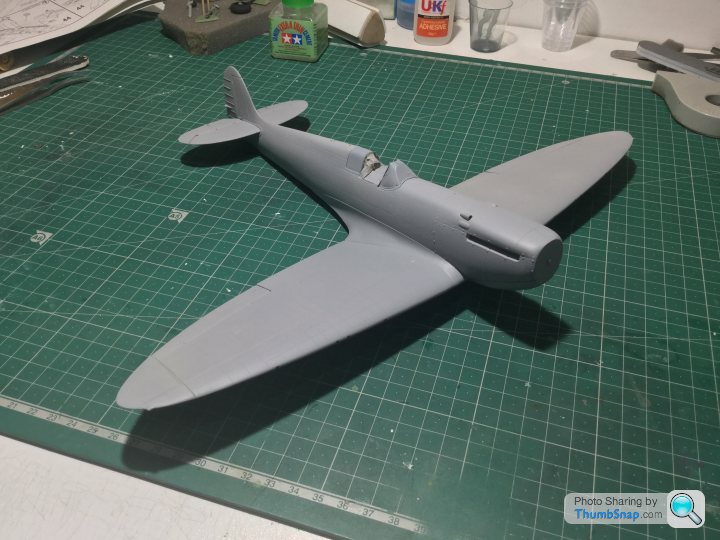
Wing assembly and fuselage are now one.
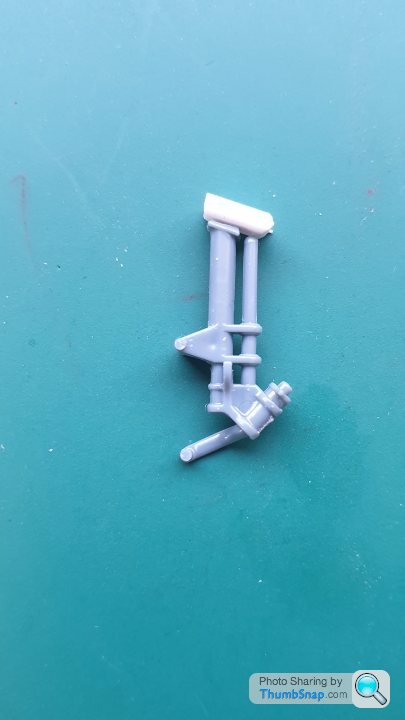
One issue that has been noted about this kit is that the tail gear fits too low in its bay. The simple solution is the addition of a plastic spacer that will be hidden when complete.
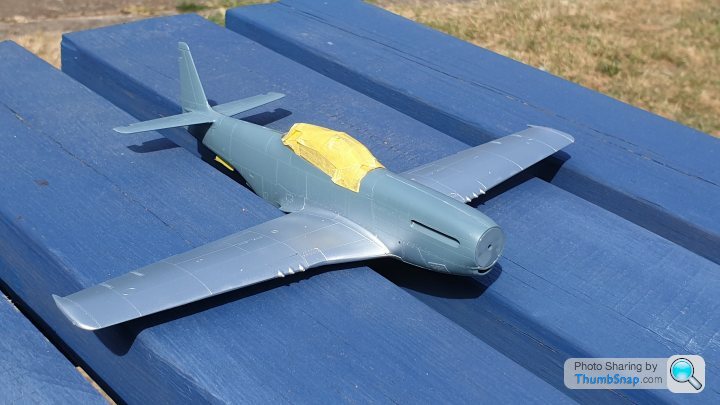
The wings have been treated to a coat of AK Extreme metal white aluminium, the fuselage and flaps will be polished aluminium.
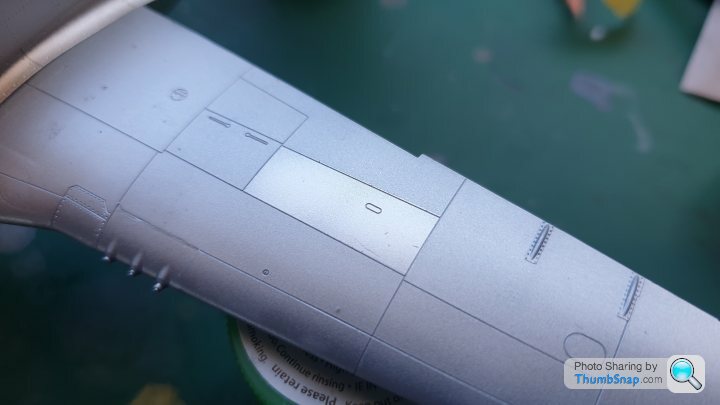
This panel has been painted in matt aluminium to add visual interest.
 [url]
[url] |https://thumbsnap.com/JRg7jH4A[/url]
Wing assembly and fuselage are now one.

One issue that has been noted about this kit is that the tail gear fits too low in its bay. The simple solution is the addition of a plastic spacer that will be hidden when complete.

The wings have been treated to a coat of AK Extreme metal white aluminium, the fuselage and flaps will be polished aluminium.

This panel has been painted in matt aluminium to add visual interest.
Edited by mrkipling on Saturday 23 May 19:49
The photo etch and other details of this kit look quite remarkable to me.
I built a couple of planes in my youth but never saw anything that allowed this level of detailing.
Impressed with your skill levels.
Have seen some wonderful work on planes from Yourself, Rob and youtube as well, way beyond me though.
I built a couple of planes in my youth but never saw anything that allowed this level of detailing.
Impressed with your skill levels.
Have seen some wonderful work on planes from Yourself, Rob and youtube as well, way beyond me though.
henryk001 said:
The photo etch and other details of this kit look quite remarkable to me.
I built a couple of planes in my youth but never saw anything that allowed this level of detailing.
Impressed with your skill levels.
Have seen some wonderful work on planes from Yourself, Rob and youtube as well, way beyond me though.
I’m sure with your previous model building experience be able to do this. I started again after 35 years. Yes, I have a lot to learn but kits now are so much easier to build. I built a couple of planes in my youth but never saw anything that allowed this level of detailing.
Impressed with your skill levels.
Have seen some wonderful work on planes from Yourself, Rob and youtube as well, way beyond me though.
It’s all practice. 18 months ago I bought a £5 Lidl Airfix bf109. I can’t say I’m any good but I love it. Give it a go. Then the addiction starts :-)
At first I was s
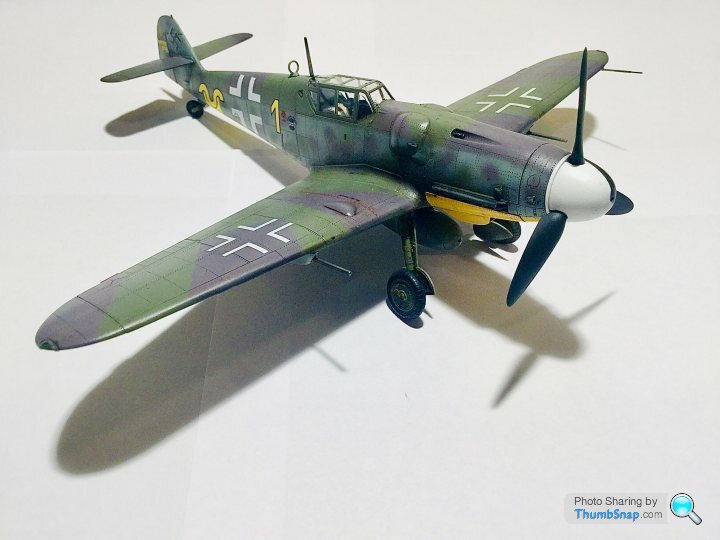
 te. But I did this last month. Nowhere near drgn but I was chuffed
henryk001 said:
The photo etch and other details of this kit look quite remarkable to me.
I built a couple of planes in my youth but never saw anything that allowed this level of detailing.
Impressed with your skill levels.
Have seen some wonderful work on planes from Yourself, Rob and youtube as well, [b]way beyond me though.[)b]
I don't think so Henryk; your work on the GTO headlamp and window surrounds is proof of that!I built a couple of planes in my youth but never saw anything that allowed this level of detailing.
Impressed with your skill levels.
Have seen some wonderful work on planes from Yourself, Rob and youtube as well, [b]way beyond me though.[)b]
Gassing Station | Scale Models | Top of Page | What's New | My Stuff


