Discussion
I’ve been looking for a display case for my Lepin Chiron and can’t really find anything suitable at a reasonable price i.e as much as the model itself cost.
So I thought I’d have a go at making one...what could possibly go wrong.
I’m thinking 500 x 300 x 200 in 4mm clear Perspex.
Does this sound practical and has anybody else done this. What do I stick the sides together with?
There’s also a slight price difference between sawn edges and polished edges. Will it make a difference if the edges are being glued together anyway?
Drawweight said:
I’m thinking 500 x 300 x 200 in 4mm clear Perspex.
Does this sound practical and has anybody else done this. What do I stick the sides together with?
There’s also a slight price difference between sawn edges and polished edges. Will it make a difference if the edges are being glued together anyway?
I've made several display cases for model boats. In fact I've been putting the finishing touches to one for a 1:24 MTB today.Does this sound practical and has anybody else done this. What do I stick the sides together with?
There’s also a slight price difference between sawn edges and polished edges. Will it make a difference if the edges are being glued together anyway?
First decide if you want glass or perspex (acrylic). I like glass better but beyond a certain size use acrylic for safety. I'd say for your size glass is OK but it's up to you. Builder's merchants can cut glass accurately for you but be bloody careful of the edges; wear gloves and sand the edges off as soon as you get home. Or they will polish them for you at extra cost.
Either way do your sums carefully and factor in the overlaps based on the thickness. A sketch makes this easier. I make the top the full size, then add the sides, then the ends last.
If you choose acrylic, places like this are good but they may be a mm out in size: https://www.cutplasticsheeting.co.uk/
I use Araldite Rapid, so sawn edges are is probably better than polished as it wil get more grip.
This is what I do:
1) Place the top on a nice flat table. Devise a system so you can support one side vertically at exactly 90 degrees.
2) Araldite the edge of the side and place it carefully on the top. Be careful not smear the glue where you don't want it. Clamp it to the support and watch it like a hawk for 10 mins as Araldite has a habit of moving when you're not looking, then setting... Make sure the edges are perfectly lined up.
3) When the first side is set, fit the two ends.
4) When they are set, fit the final side.
Doing it in stages like this means you don't have too much Araldite mixed up, and you don't have to juggle four bits all at once.
Turn the structure over and place it on a piece of MDF or ply of appropriate thickness. Draw round it and cut out the base.
Rebate the edges of the base with a circular saw or router, just enough to take the thickness of the glass/acrylic.
Now it's moulding time. You will need four strips of nice moulding to go around the base, deep enough to cover its thickness or higher if you like. Mitre the corners. As it's wood to wood, I use PVA. Keep it clamped or pinned while drying. If you're being really clever, you can try three-way mitres... you'll need that for birdsmouth.
Choose something to cover the top surface of the base with. It should complement the model.
Place the case onto the base so that the edges go down into the groove.
Now more moulding for the clear bit - L-shape is easiest. You can buy this or make it from stock. I frame the top of the case first (four pieces, mitred) then place the case onto the base. Then cut and fit the four vertical pieces. As for the glue, if you think the case is adequately strong, use UHU. If you think the case needs more strength, use Araldite again.
The only bit left now is the inside corners. Oh goody, another eight pieces to cut. This time it will be square section or quadrant if you prefer. The idea is to make the frame look like one piece. As I found today, if the space is really too small to make this feasible, you can just paint the inside of the L-moulding before you glue it on and it will look OK.
And finally, put the model in

ETA Here's one I did a long time ago - click on 'Display Case': http://www.sanjuannepomuceno.co.uk/
Edited by Simpo Two on Friday 8th May 20:39
Perspex solvent is Dichloromethane. It's very thin and runs into the joint by capillary action. Try not to let it run down the sides. It will polish out but it's easier not to. A pharmacy might get it for you. EMA model supplies certainly used to sell it. Your local plastics supplier would probably cut the pieces to size and flame edge them for you. Consider using thicker Perspex for the top than the sides to help prevent it bowing.
DickyC said:
A dispenser and small paint brush is the way to apply it. You just just touch the joint and in it runs. Very satisfying. But, yes, if it runs down the side it's a pain. A problem is finding a solvent resistant brush.
Are the joins smart enough to leave 'as is' or do they need covering? How much working time is there?Simpo Two said:
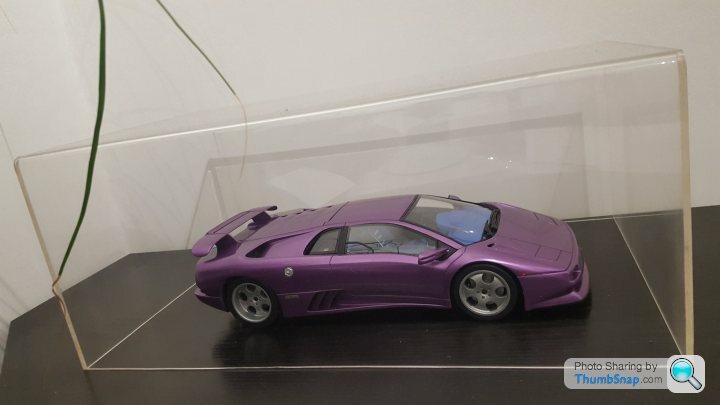
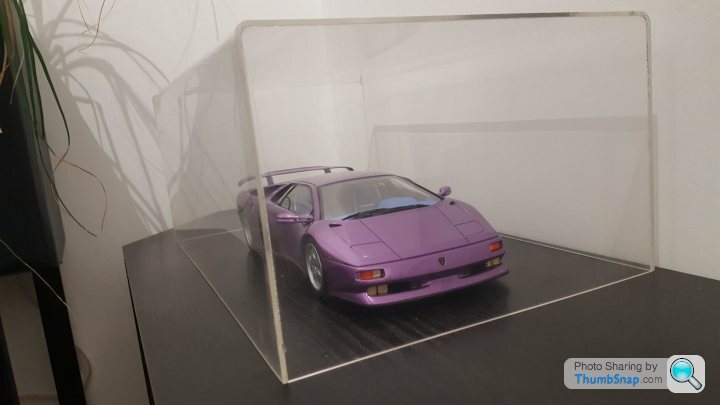
Ah that's a different concept, with one piece curved to make three sides. Effective but probably not DIY-able.
Yes, you would need some sort of machine to bend the U shape and then do the end pieces. That's for a 1:12 model but I also had some for 1:18 models made by a different design company and they used the same process. Reasonably cheap and no faffing about cutting and gluing. Keeps the dust off!SAB888 said:
Yes, you would need some sort of machine to bend the U shape and then do the end pieces. That's for a 1:12 model but I also had some for 1:18 models made by a different design company and they used the same process. Reasonably cheap and no faffing about cutting and gluing. Keeps the dust off!
If you can remember who it was I'd be interested. But I'd have to make a base for it!Simpo Two said:
SAB888 said:
Yes, you would need some sort of machine to bend the U shape and then do the end pieces. That's for a 1:12 model but I also had some for 1:18 models made by a different design company and they used the same process. Reasonably cheap and no faffing about cutting and gluing. Keeps the dust off!
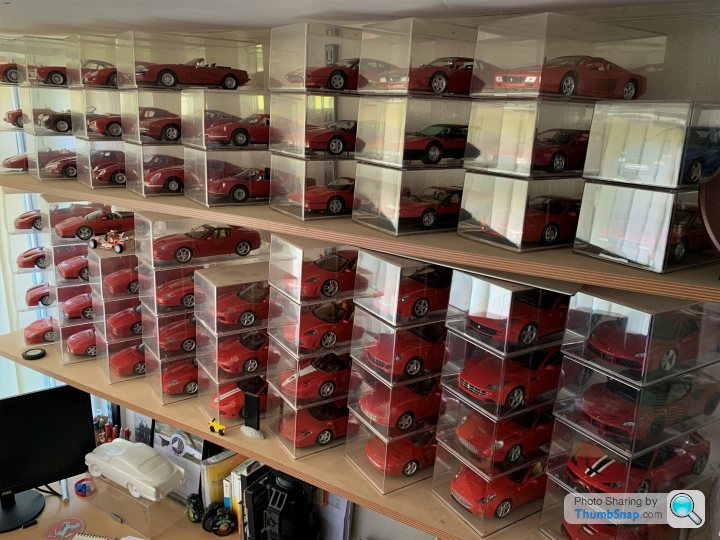
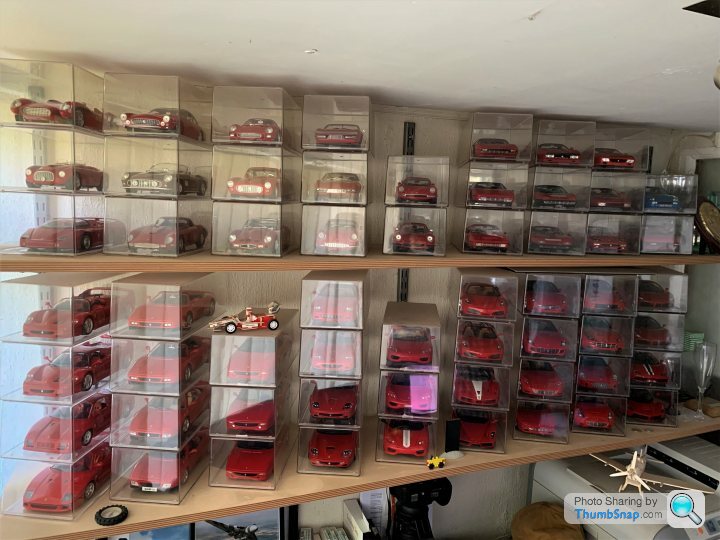
If you can remember who it was I'd be interested. But I'd have to make a base for it!I have a fairly large collection of 1/18 Ferrari road cars - they are all displayed in clear perspex cases sourced from Amjo Boxes
Truly awful website, but the boxes are pretty decent - https://www.amjoboxes.co.uk/ They do several different sizes and styles of case


Truly awful website, but the boxes are pretty decent - https://www.amjoboxes.co.uk/ They do several different sizes and styles of case


SAB888 said:
I did a bit of investigation today and unfortunately they no longer exist. I also looked at YouTube and was very surprised to see how easy it appears to be to bend acrylic sheets using various things like a soldering iron, heat gun and ceramic hob!
Interesting!If it can be done accurately and without damage, that just leaves the ends to cut and shape. My hob will be useless as it's induction, but I have a disk sander for the second bit.
Gassing Station | Scale Models | Top of Page | What's New | My Stuff


