Revell 1/24 Ford GT Le Mans
Discussion
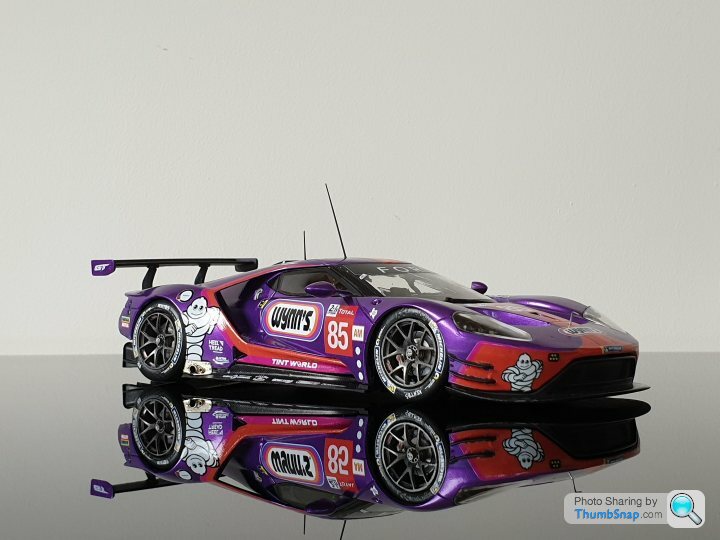
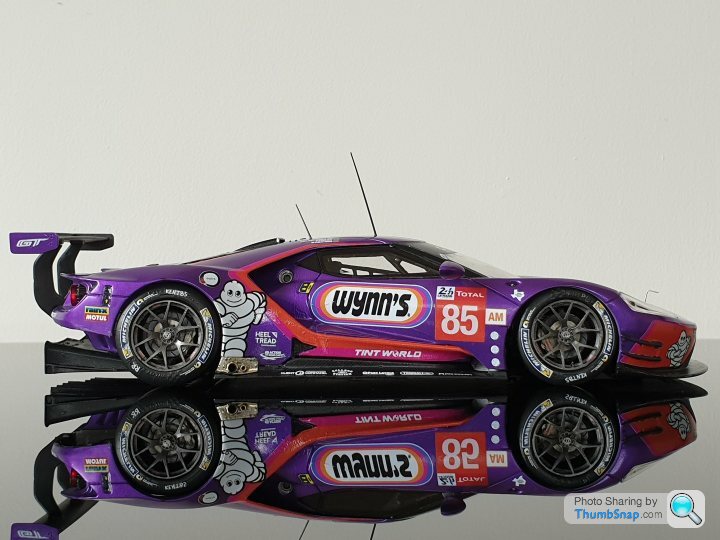
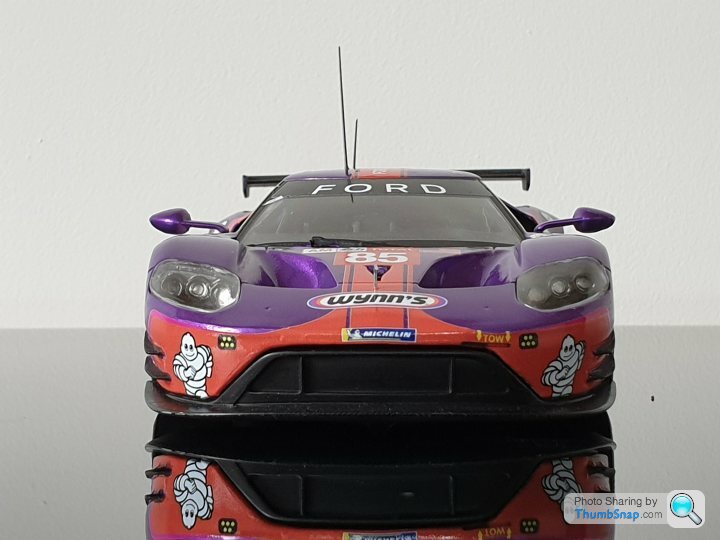
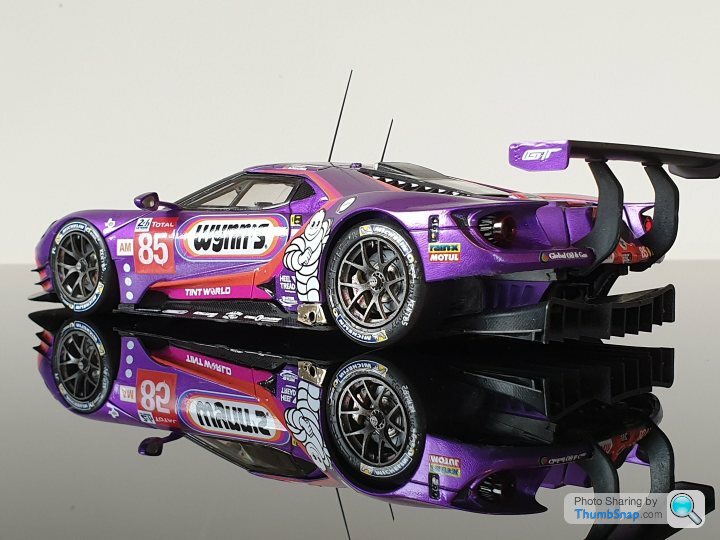
This is kind of a build thread but I finished it today! I did however take a few pictures and I thought a few of you may be interested.
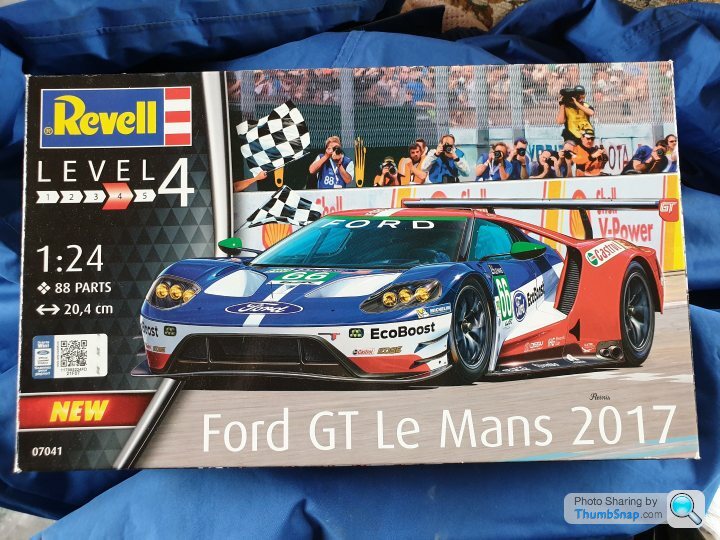
I bought the Revell FGT when it came out in 2018 having not built a kit for many decades...I recently like a lot of us suddenly have a great deal of spare time and recently built a Tiger tank and 1969 GT40.
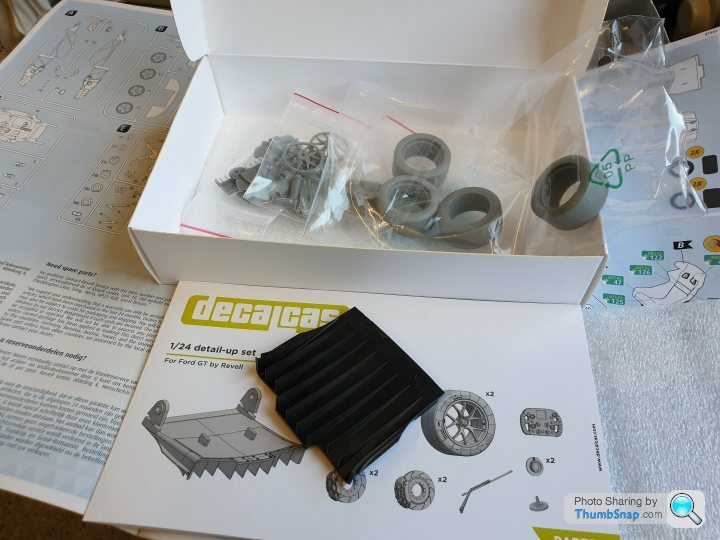
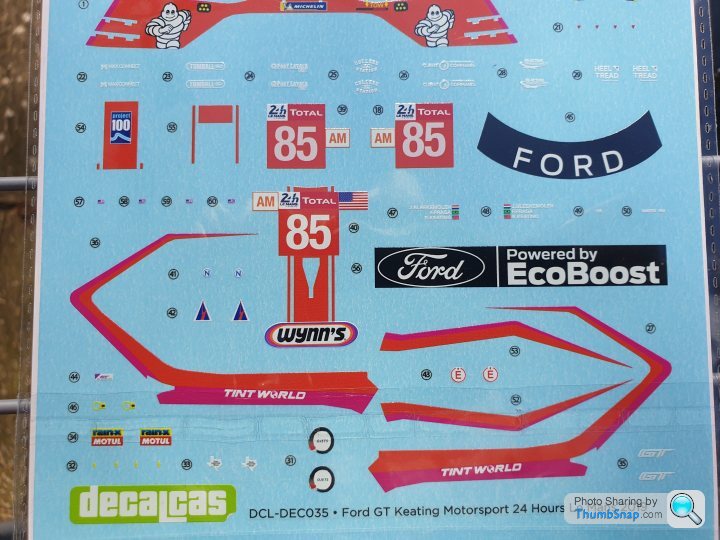
I have been buying bits and pieces for this one, including Decalcas decals for the 2019 Keating motorsports Wynns livery car that won GT AM at Le Mans only to be stripped of its win due to a fuel tank irregularity. I also picked up a Decalcas resin detail set which included wheels, tyres, fuel inlet and a superb rear diffuser to replace the clunky Revell one.
 [url]
[url]
 |https://thumbsnap.com/2GzQgcAW[/url][url]
 |https://thumbsnap.com/XrcCMRgd[/url]
I bought the Revell FGT when it came out in 2018 having not built a kit for many decades...I recently like a lot of us suddenly have a great deal of spare time and recently built a Tiger tank and 1969 GT40.
I have been buying bits and pieces for this one, including Decalcas decals for the 2019 Keating motorsports Wynns livery car that won GT AM at Le Mans only to be stripped of its win due to a fuel tank irregularity. I also picked up a Decalcas resin detail set which included wheels, tyres, fuel inlet and a superb rear diffuser to replace the clunky Revell one.

 [url]
[url] |https://thumbsnap.com/2GzQgcAW[/url][url]
 |https://thumbsnap.com/XrcCMRgd[/url]
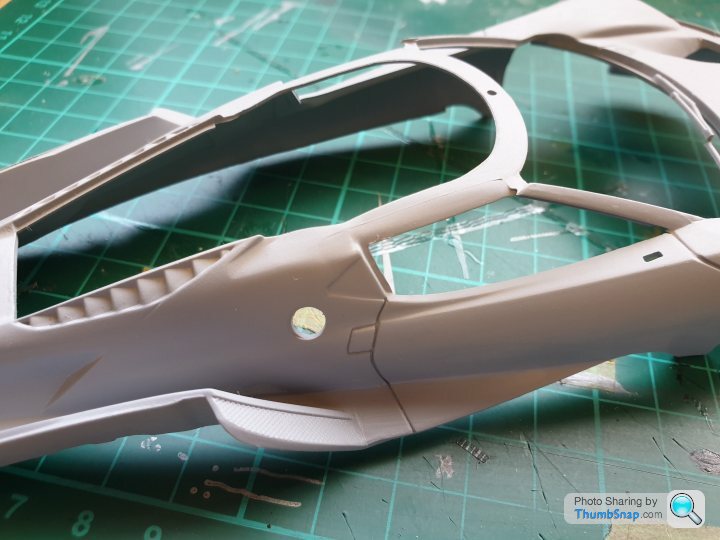
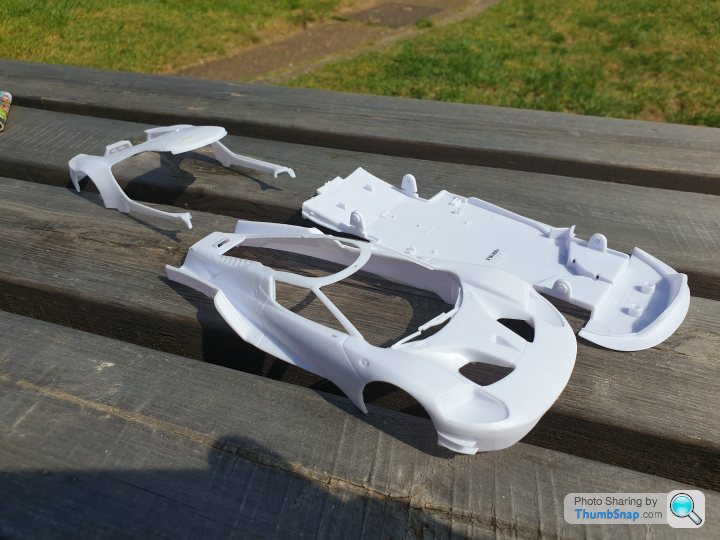
I began by drilling out the original mouldings for the resin fuel inlet and air Jack port, the offside ones were blanked off as these were not used at LM. Also the kit has a cylindrical shape on the roof, this was a timing transponder used at Daytona and it had to be removed.
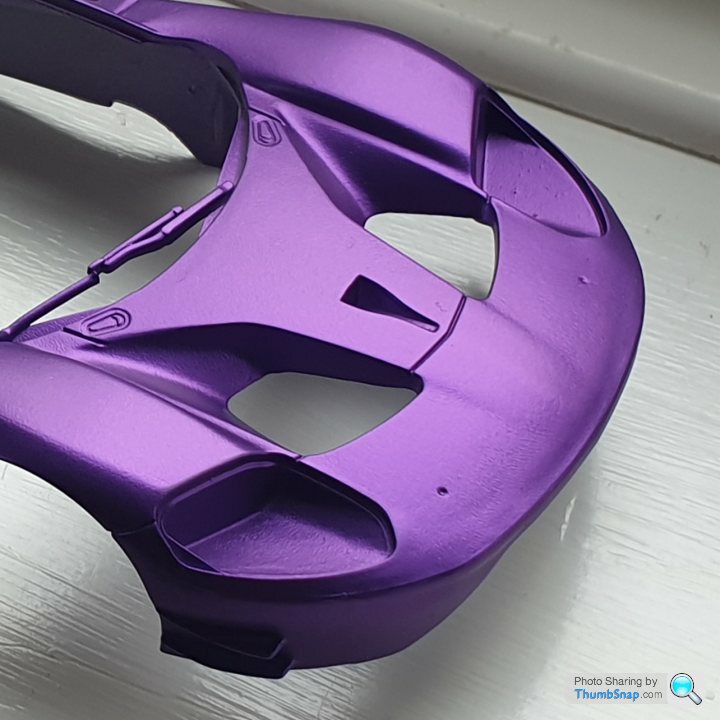
The body was prepped and primed with Tamiya grey primer and painted with Zero paints Wynns purple. I used a Harder and Steenbeck Ultra that I had bought a few months ago.
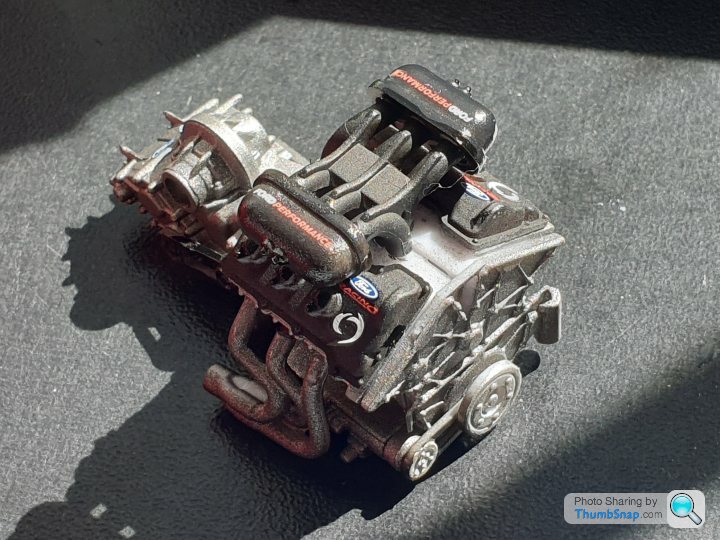
The engine is not particularly well detailed, lacking turbos for example, however it will be almost totally hidden in the finished model and will do the job!
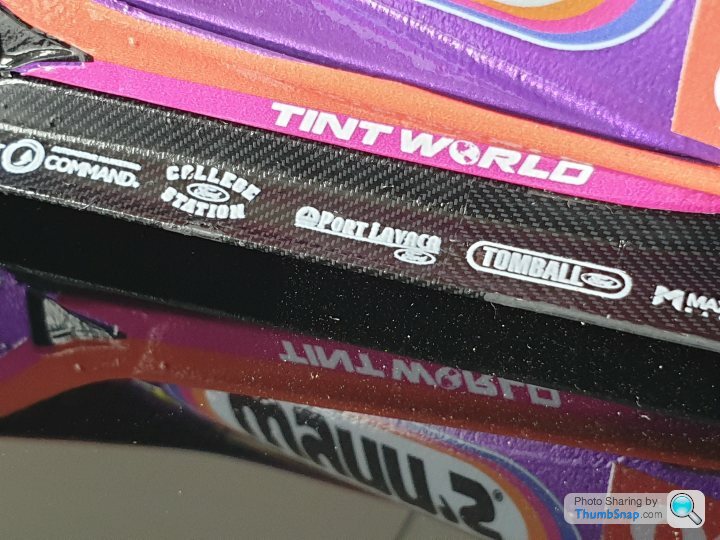
I had purchased a Tamiya carbon decal sheet and thought I would have a go at adding a few details to the interior and aero parts. I made templates out of masking tape and used plenty of Microsol to set them.
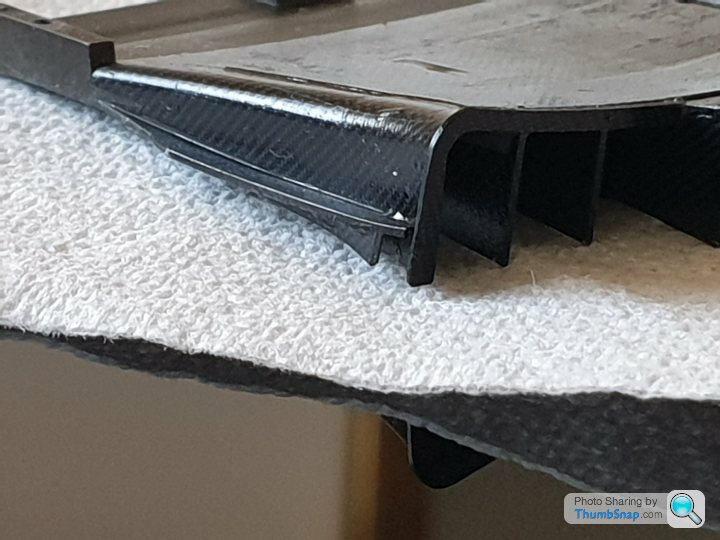
The Tamiya sheet has a really fine weave and it looks pretty much to scale.
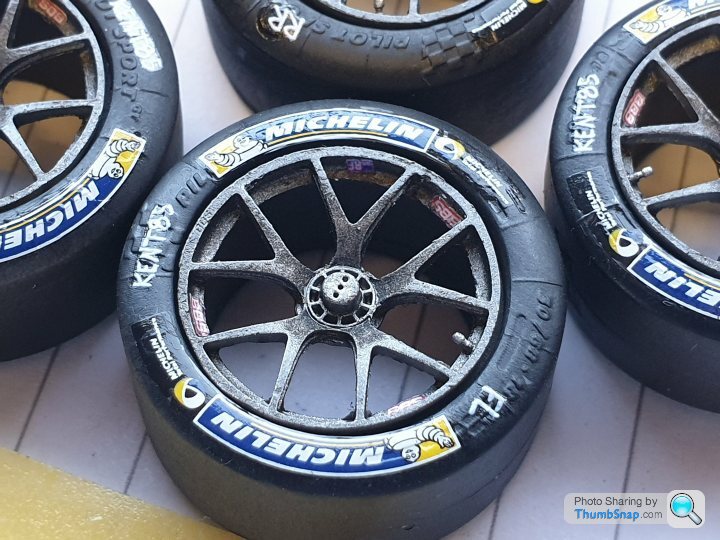
Wheels and tyres are resin replacements from the Decalcas detail pack. Tyres were painted rubber black and given a semi gloss coat to the sidewalls. The wheels are a mix of Tamiya flat black and flat aluminium this time with a coat of gloss on top. Tyre valve stems were added in addition
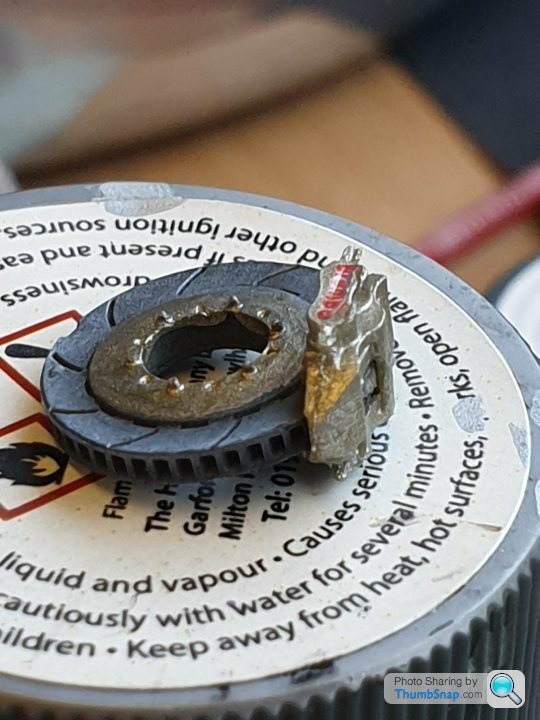
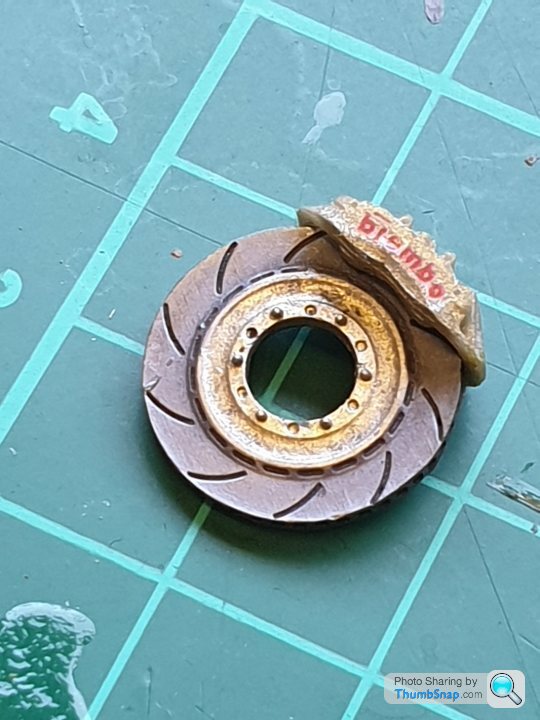
The brakes were also replaced with resin parts, the discs were detailed with Uschi metallic powder, the calipers are Titanium silver.

The Tamiya sheet has a really fine weave and it looks pretty much to scale.

Wheels and tyres are resin replacements from the Decalcas detail pack. Tyres were painted rubber black and given a semi gloss coat to the sidewalls. The wheels are a mix of Tamiya flat black and flat aluminium this time with a coat of gloss on top. Tyre valve stems were added in addition

The brakes were also replaced with resin parts, the discs were detailed with Uschi metallic powder, the calipers are Titanium silver.


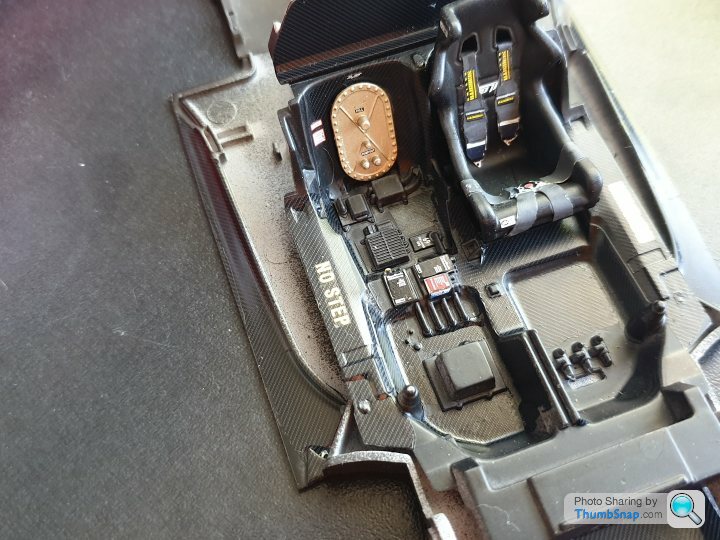
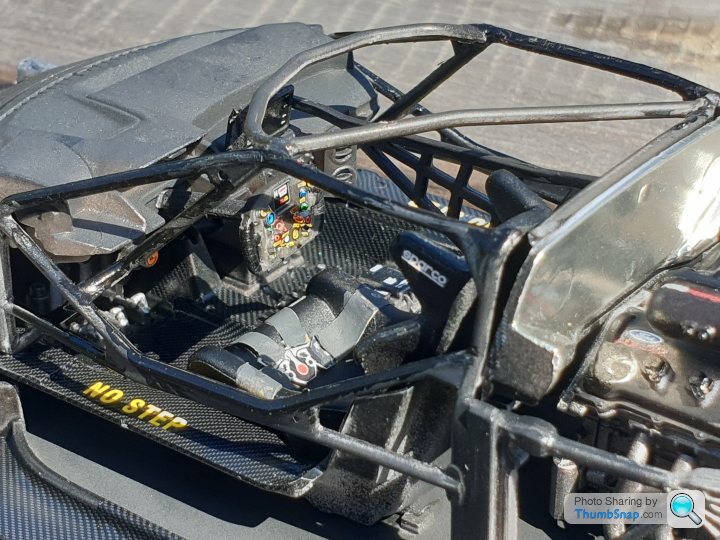
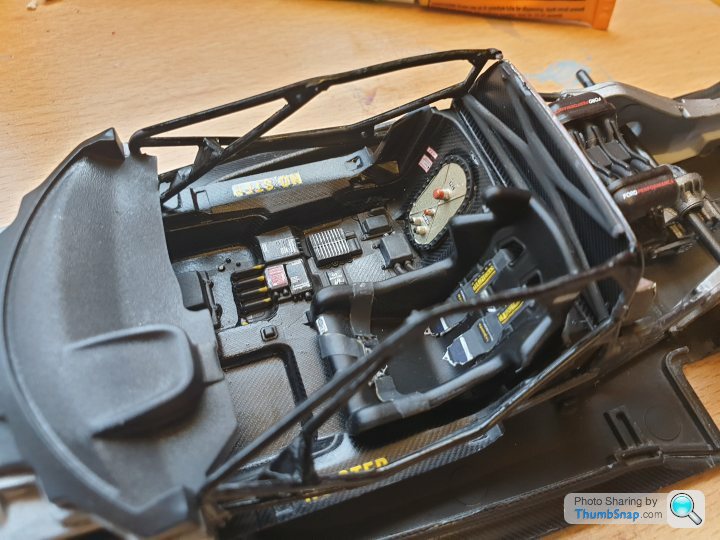
The interior was built up and detailed with carbon where appropriate. I had no aftermarket seat belts, so cut the decals and buckles from the decal sheet and used masking tape to make the belts. The Revell decals are pretty comprehensive and detailed, they really help to bring the interior to life.
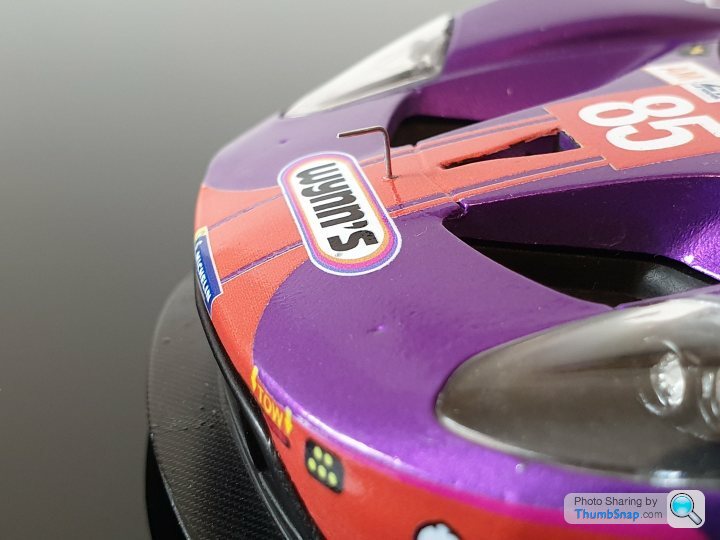
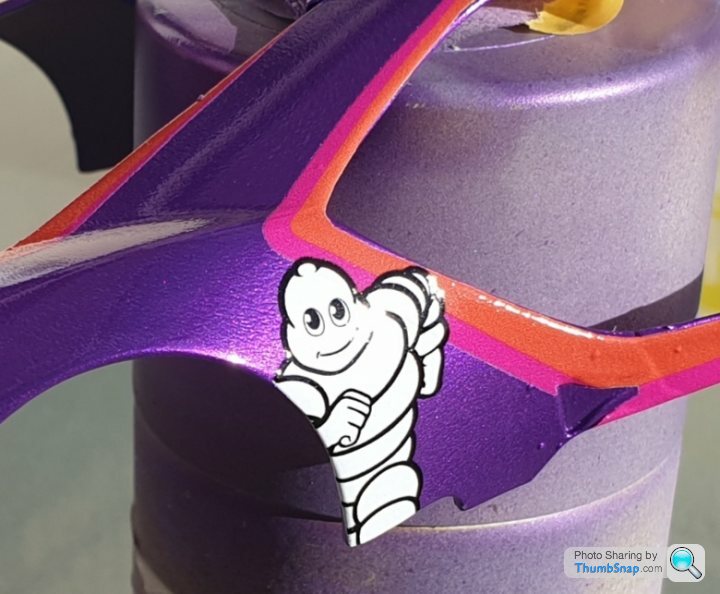
Body decalling was tricky, the decals were a bit thick, Decalcas advise against using decal softening fluid, but some of them were very awkward to get down and I had to resort to using it.
I am still very nervous about clear coating a model and cant say I enjoy that part. I used Zero paints standard lacquer and it came out ok. It looks great an hour after spraying but seems to settle as it gasses out and the finish dulls a bit.
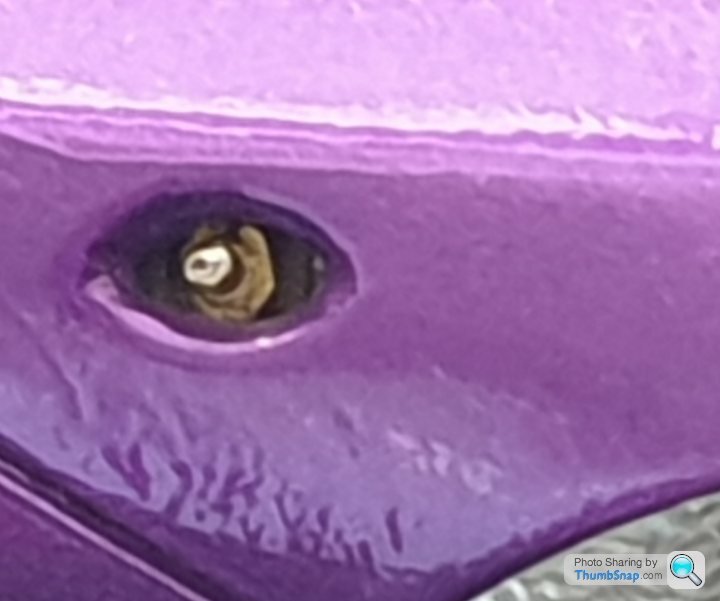
I added a few details that were missing from the kit, Decalcas supplied a nice little air Jack port and I added a pitot tube made from staple. I also made two aerials from stretched sprue. (Not done that for a while!)


Body decalling was tricky, the decals were a bit thick, Decalcas advise against using decal softening fluid, but some of them were very awkward to get down and I had to resort to using it.
I am still very nervous about clear coating a model and cant say I enjoy that part. I used Zero paints standard lacquer and it came out ok. It looks great an hour after spraying but seems to settle as it gasses out and the finish dulls a bit.

I added a few details that were missing from the kit, Decalcas supplied a nice little air Jack port and I added a pitot tube made from staple. I also made two aerials from stretched sprue. (Not done that for a while!)

Gassing Station | Scale Models | Top of Page | What's New | My Stuff


 |https://thumbsnap.com/f3vCYCyc[/url]