Tamiya YZR-M1 '09
Discussion
Having not had time to build one of these for a long time, I thought I'd get my paints out and if they were still ok then I'd build another. Hey, not much else to do at the moment so perfect timing.
I picked this one out of my stash as its mainly black. I don't have an airbrush so all my paint is brush applied or tamiya rattle cans but as I couldn't go and get any new ones and didn't want to wait for delivery I figured I'd give the brush method another bash.
Apologies, lots of pics to follow and before anyone wastes their time scrolling down expecting to see perfection, I'm aware my models aren't perfect but I always try my best with the equipment I have and I also try to try something new each build if possible.
So here we go, following the as always perfect easy to follow Tamiya instructions I started with the engine block.
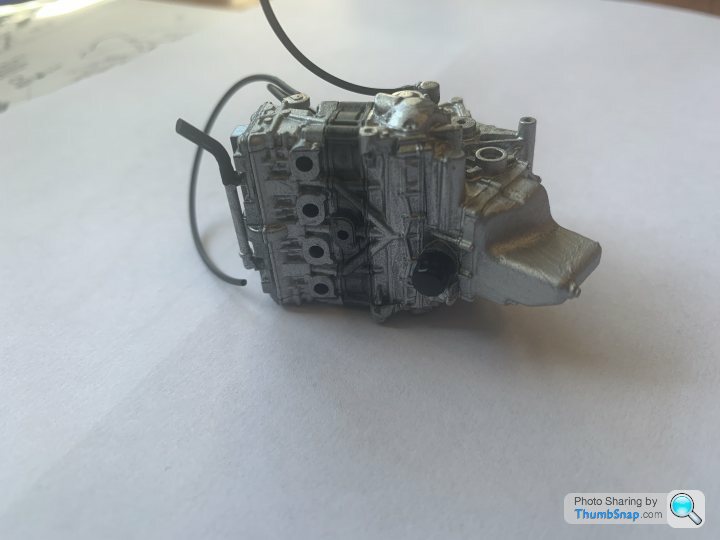
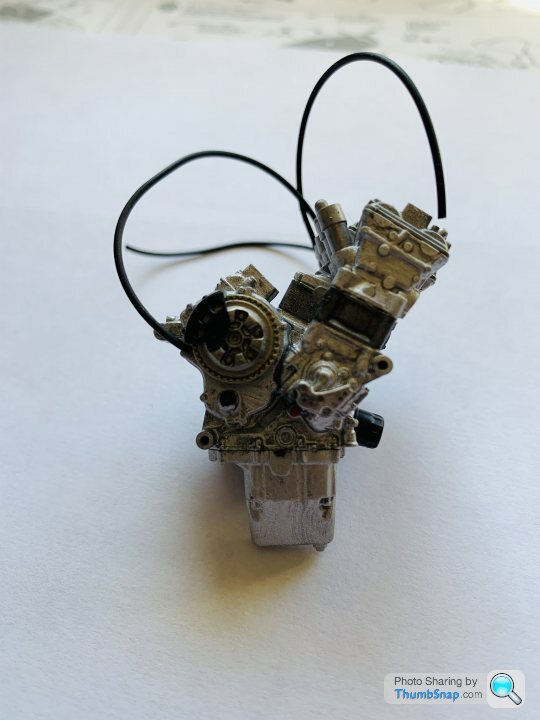
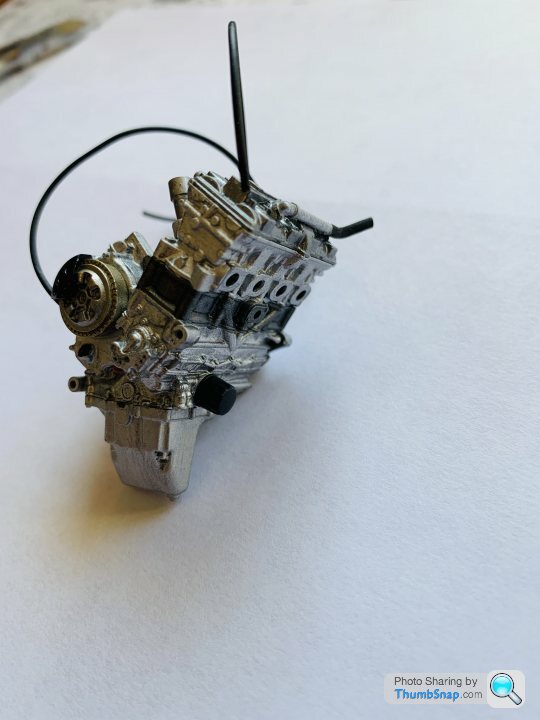
All pretty standard out of the box so far.
Then came mounting the engine in the frame:
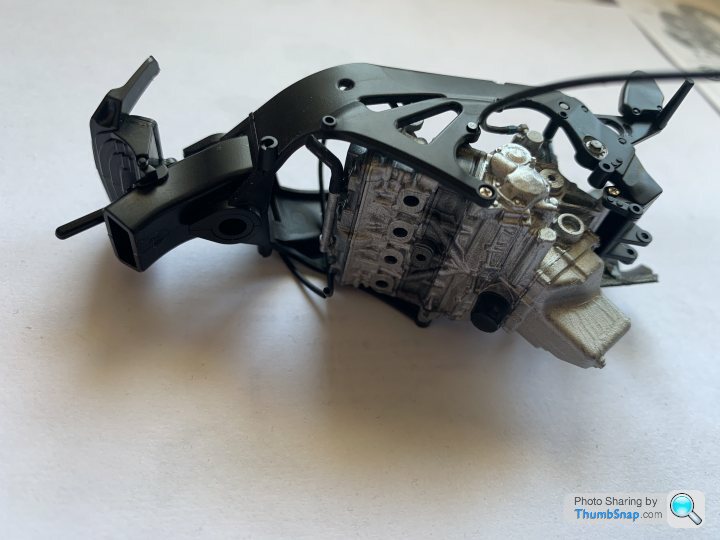
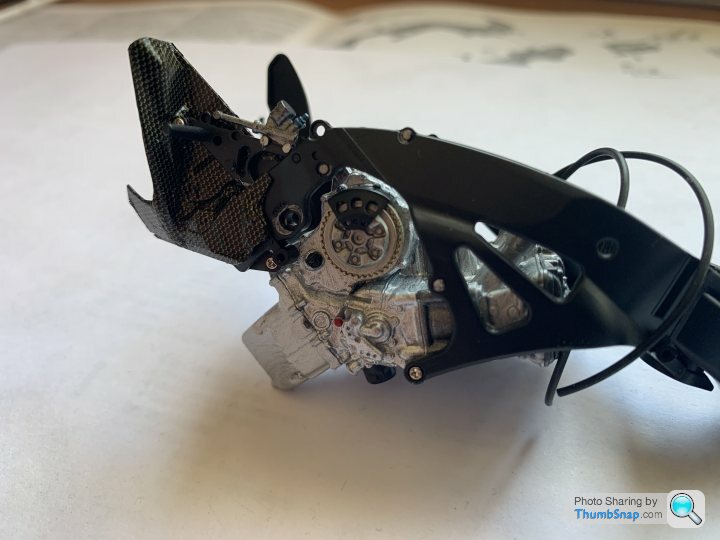
As you can see I added a bit of cf on what will be the exhaust shield. This was a pain as it's not the flattest and i'm not very good at it yet.
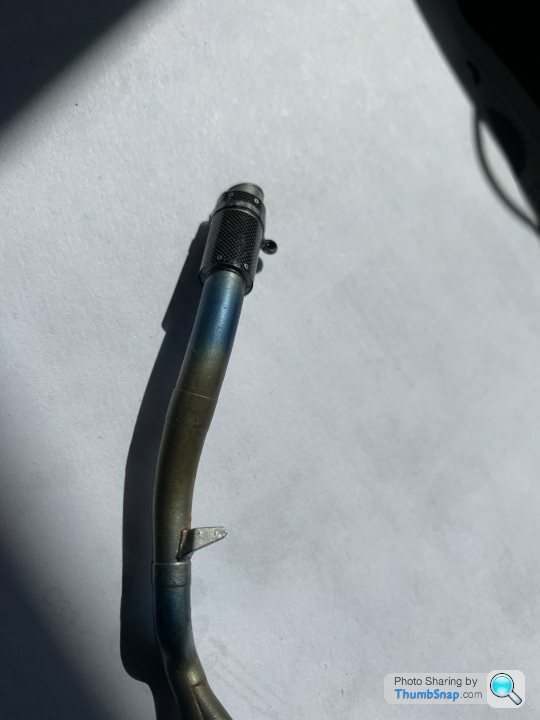
Then came the exhaust itself. This was my new thing. I tried to add the heat colouration the metal goes, so blues and golds. I think it came out ok for a first attempt:
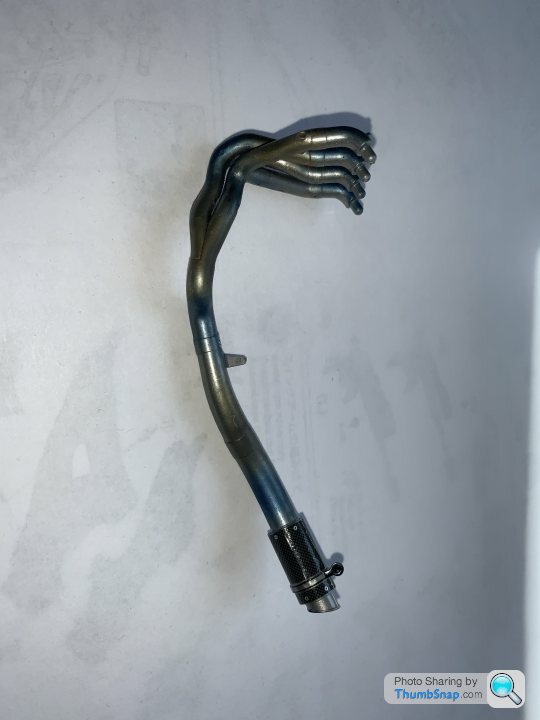
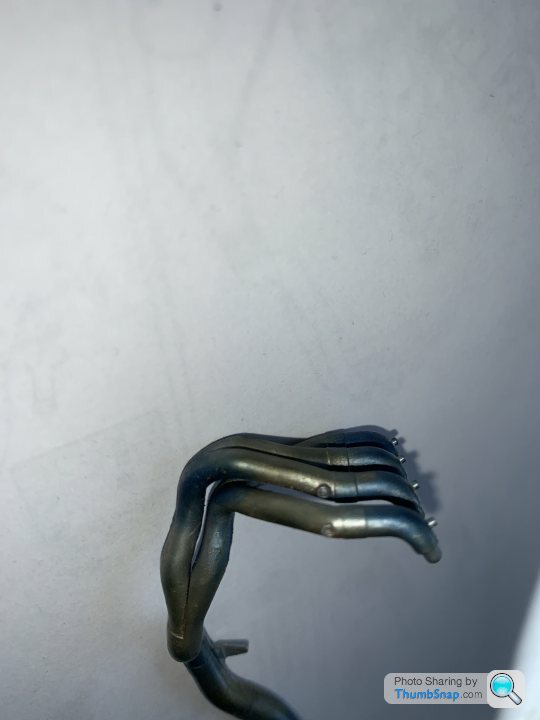
Muffler decals applied to complete the look.
Then it was time to fit in the bike:
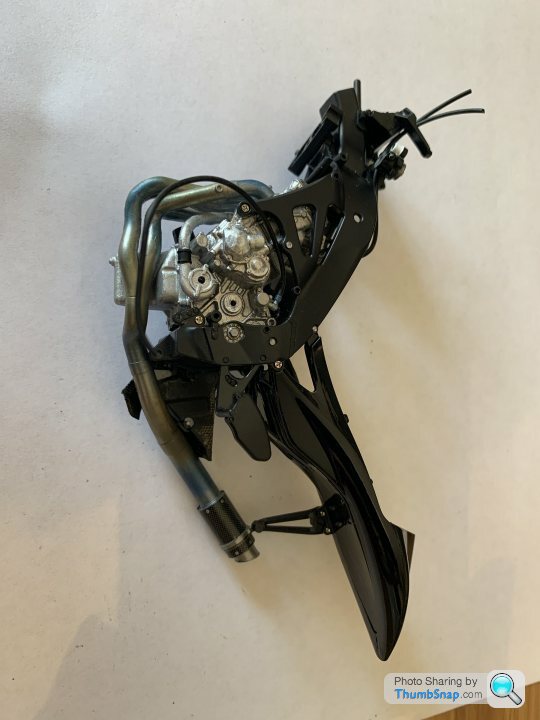
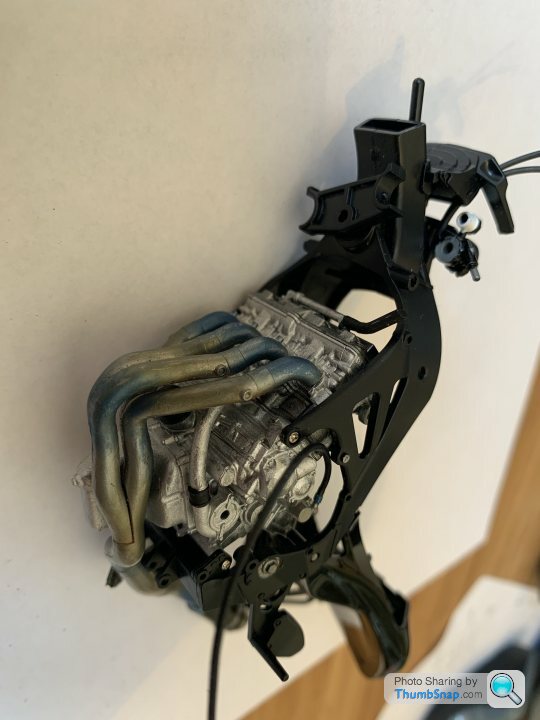
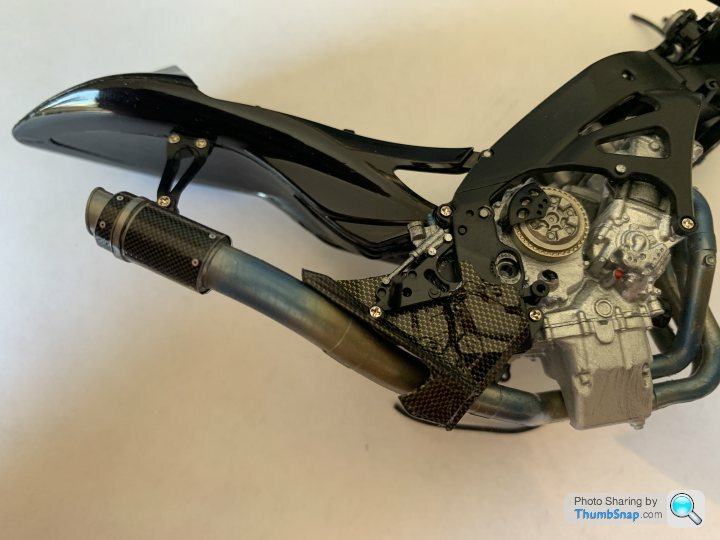
Rear wheel and swing arm sub assembly was made up and added to the main frame:
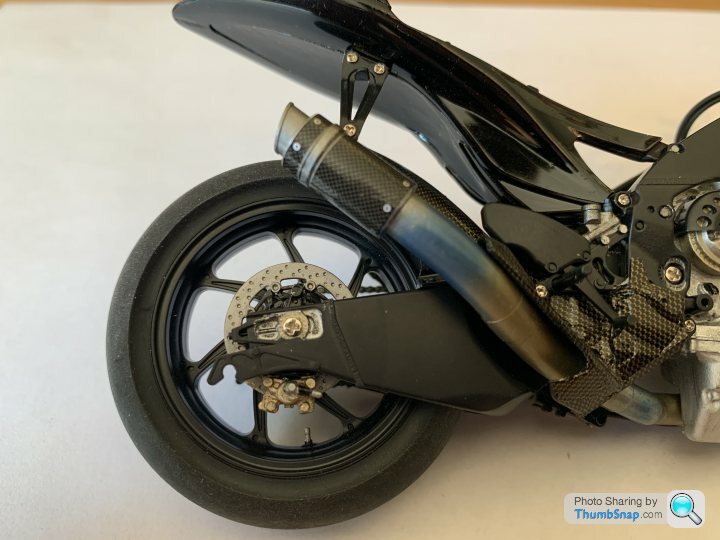
Radiator added. In this pic you can also see I added cf for the rear hugger:
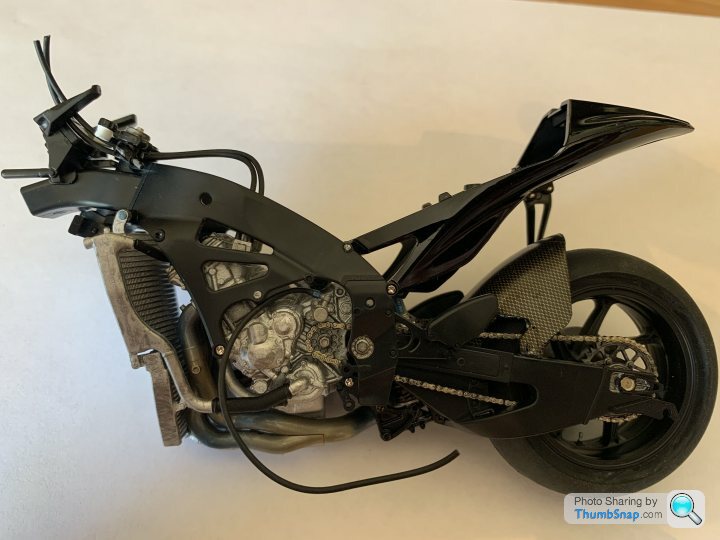
Front forks then built up and added. As this is a reasonably modern kit these are much better than many of the early motorcycle kits without even purchasing the upgraded versions. They are multi piece and the sliders are actually metal. If you buy the figure kit you also get different length sliders and there is a different rear shock assembly to mimic the weight of the rider compressing everything!
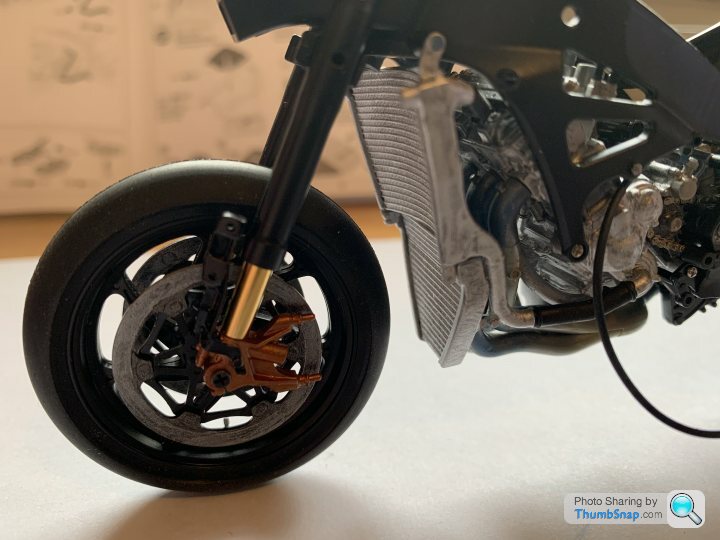
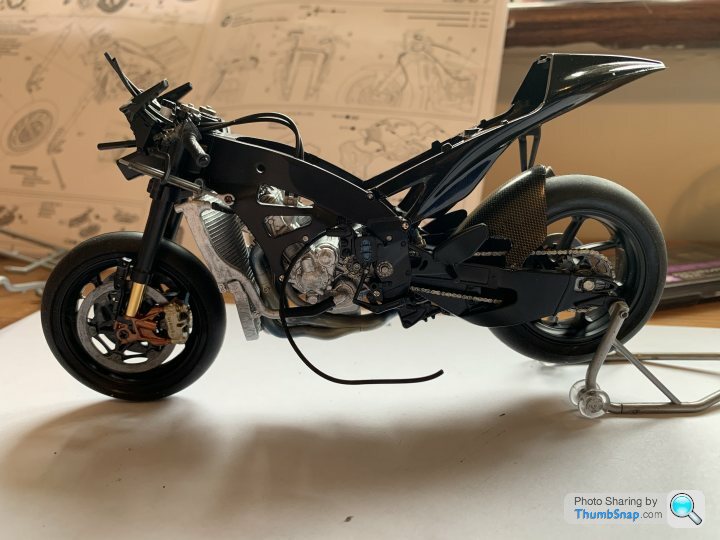
With the front mudguard fitted a bit of colour is added:
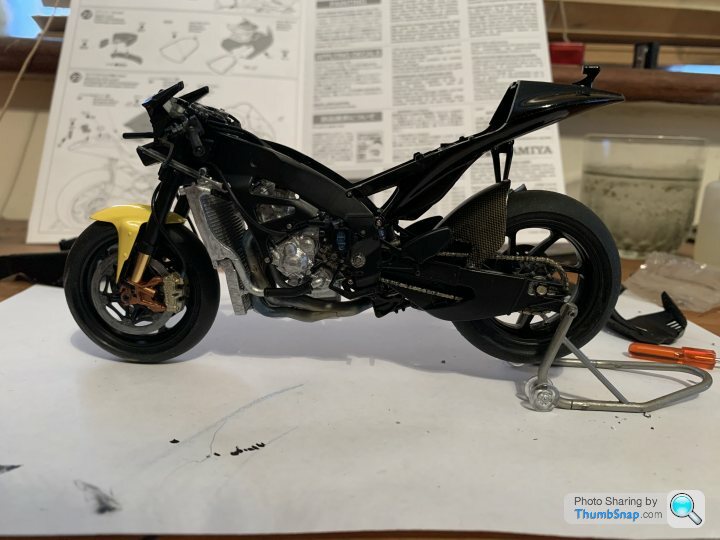
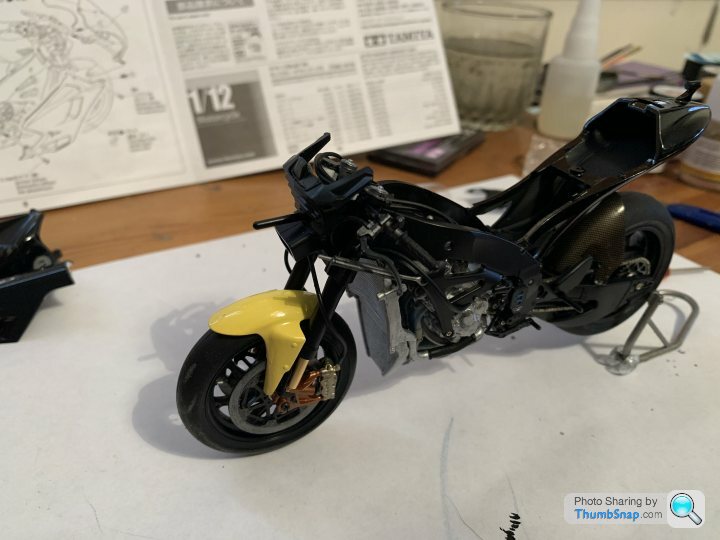
Time for body work, seat added to seat unit and fuel tank installed:
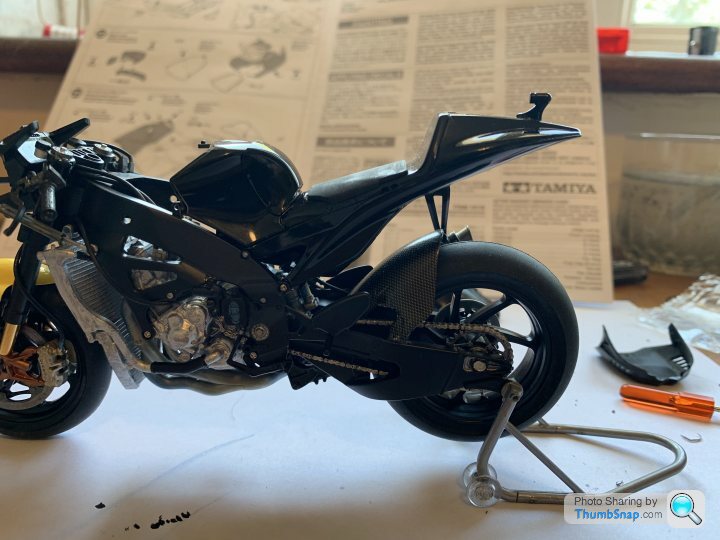
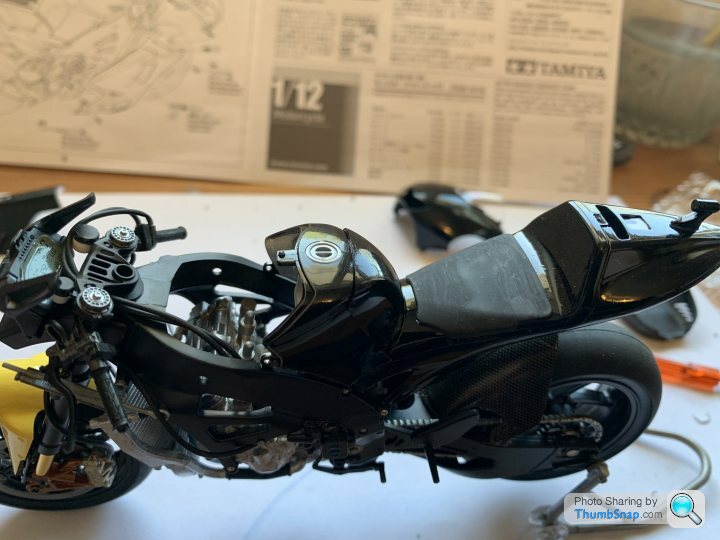
Airbox added:
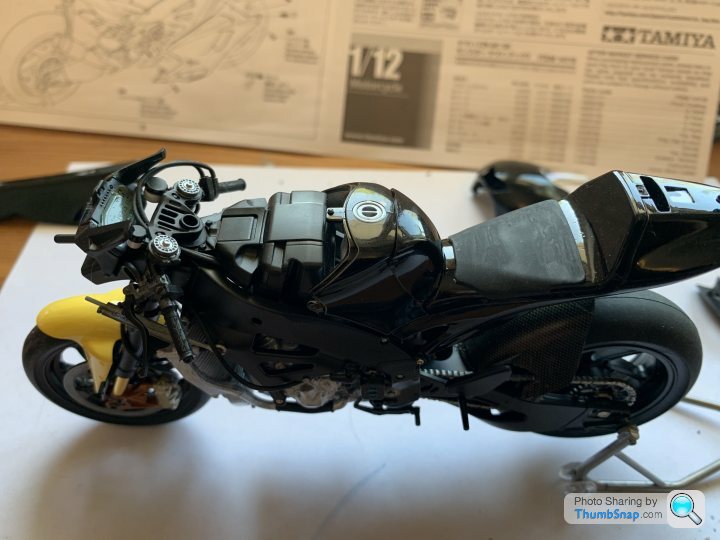
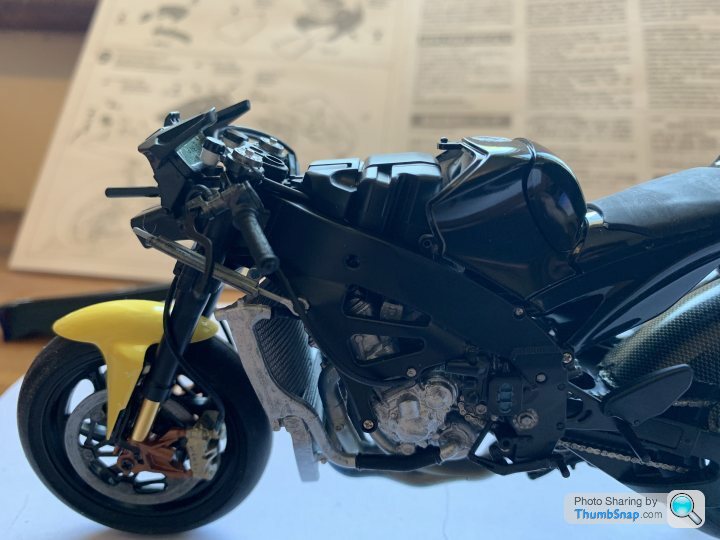
Airbox cover added:
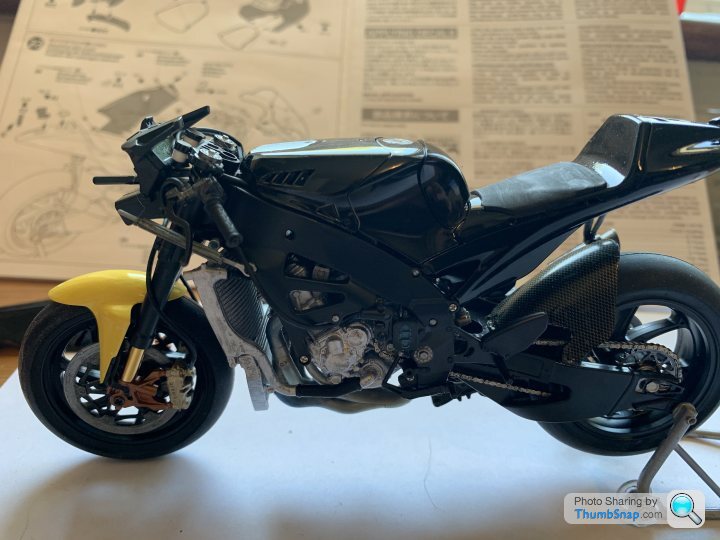
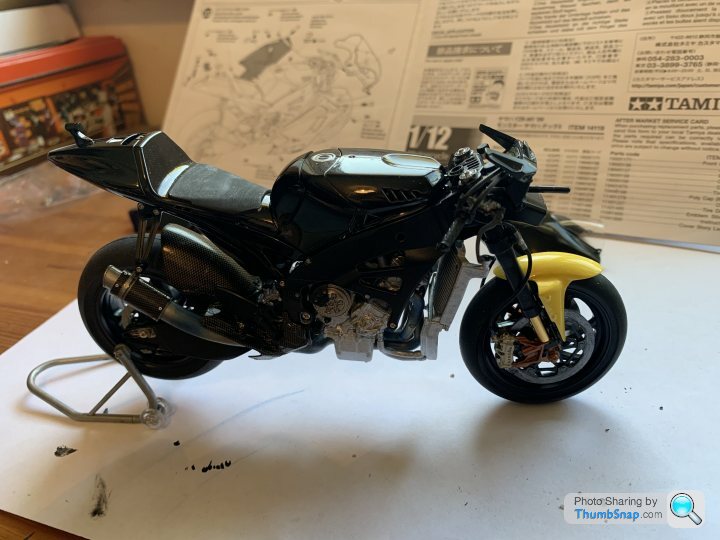
Then the rest of the bodywork was installed:
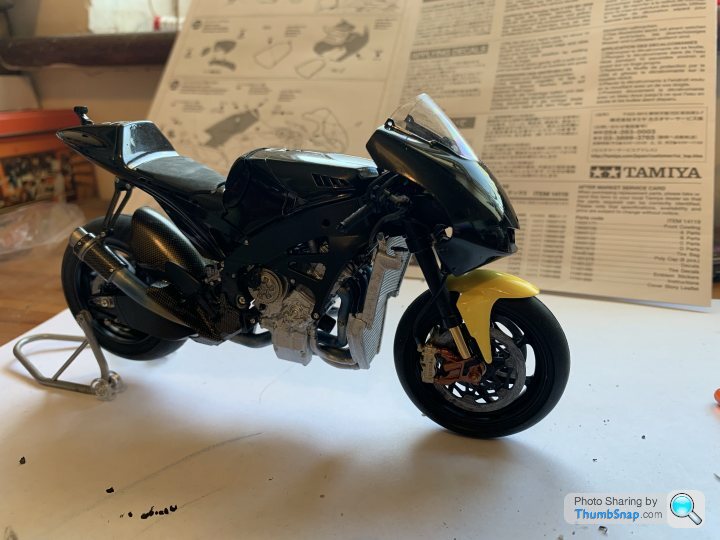
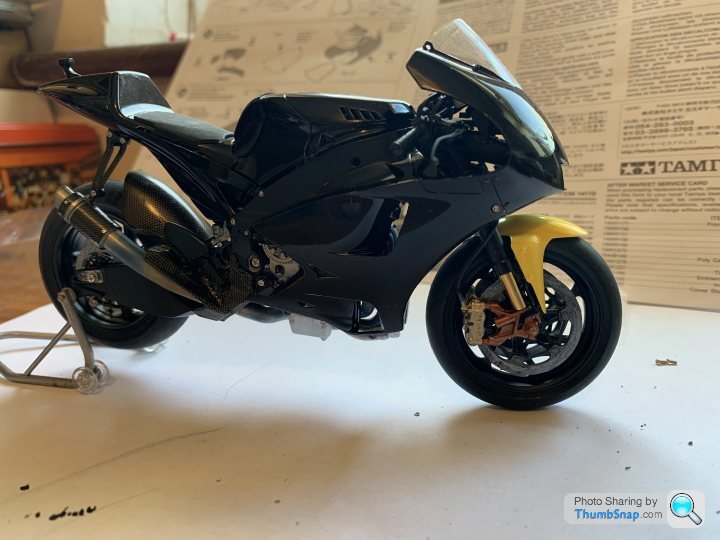
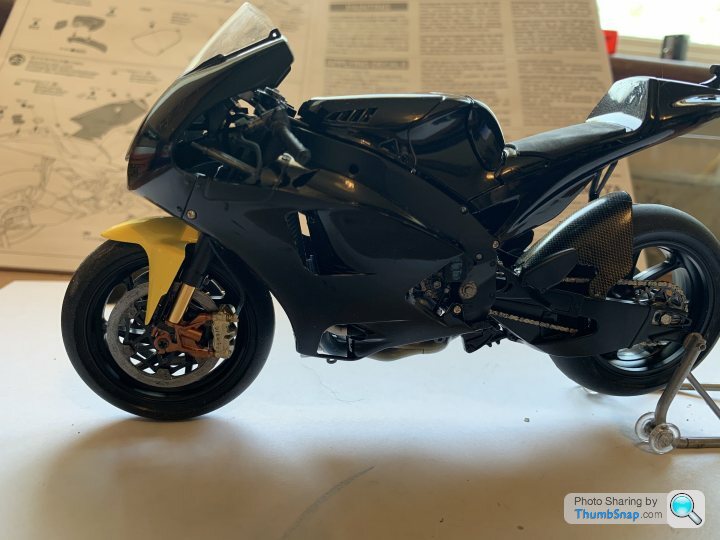
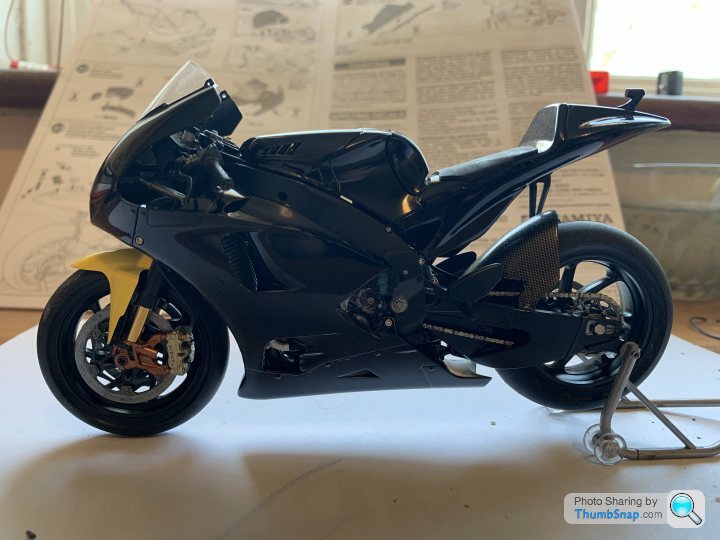
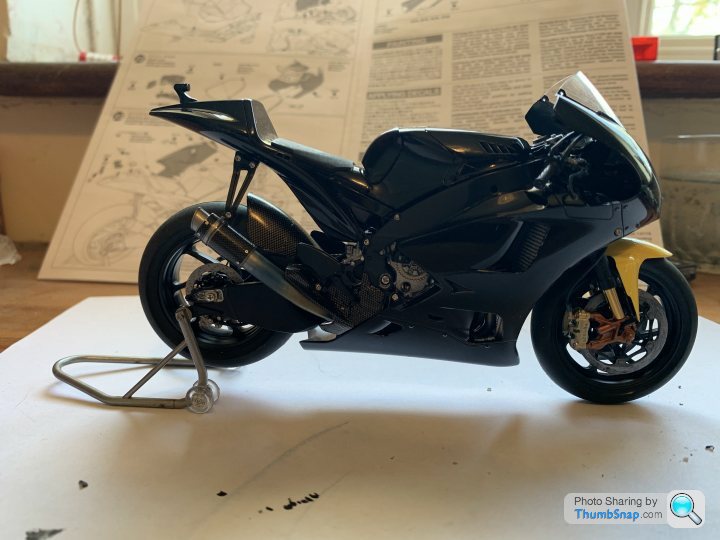
Might have a go at starting the decals this afternoon. But which bike to choose, Toseland or Edwards. Obvious choice would be to support the Brit and go Toseland but I think I prefer Colin Edwards...... He's definitely funnier on the GP commentary.
I picked this one out of my stash as its mainly black. I don't have an airbrush so all my paint is brush applied or tamiya rattle cans but as I couldn't go and get any new ones and didn't want to wait for delivery I figured I'd give the brush method another bash.
Apologies, lots of pics to follow and before anyone wastes their time scrolling down expecting to see perfection, I'm aware my models aren't perfect but I always try my best with the equipment I have and I also try to try something new each build if possible.
So here we go, following the as always perfect easy to follow Tamiya instructions I started with the engine block.


All pretty standard out of the box so far.
Then came mounting the engine in the frame:


As you can see I added a bit of cf on what will be the exhaust shield. This was a pain as it's not the flattest and i'm not very good at it yet.
Then came the exhaust itself. This was my new thing. I tried to add the heat colouration the metal goes, so blues and golds. I think it came out ok for a first attempt:


Muffler decals applied to complete the look.

Then it was time to fit in the bike:


Rear wheel and swing arm sub assembly was made up and added to the main frame:

Radiator added. In this pic you can also see I added cf for the rear hugger:

Front forks then built up and added. As this is a reasonably modern kit these are much better than many of the early motorcycle kits without even purchasing the upgraded versions. They are multi piece and the sliders are actually metal. If you buy the figure kit you also get different length sliders and there is a different rear shock assembly to mimic the weight of the rider compressing everything!


With the front mudguard fitted a bit of colour is added:


Time for body work, seat added to seat unit and fuel tank installed:


Airbox added:


Airbox cover added:


Then the rest of the bodywork was installed:


Might have a go at starting the decals this afternoon. But which bike to choose, Toseland or Edwards. Obvious choice would be to support the Brit and go Toseland but I think I prefer Colin Edwards...... He's definitely funnier on the GP commentary.
Perfection smurfection....how many know the correct colour for the uprights of that bike? Not me!
Looks mighty fine regardless of making-do-with-what-you've-got limitations...especially the heat colouration of the exhaust, great result!
Now if you can close the window blinds or shine a lamp on the front of the bike for the next pics all the better to appreciate the build!
Looks mighty fine regardless of making-do-with-what-you've-got limitations...especially the heat colouration of the exhaust, great result!
Now if you can close the window blinds or shine a lamp on the front of the bike for the next pics all the better to appreciate the build!
I have a Rossi minichamps model on one of my other bikes and it finishes it off really nicely.
I decided to go for the Edwards version in the end. Slightly disappointed with the mismatch in front mudguard colour, considering I mixed tamiya acryllics in the ratio shown in the instructions. I've also put a coat of Klear over the bodywork to seal the decals and make the paintwork really shine. I'm quite happy with the finish. A couple of decals were touch and go but I think I managed to bring them back from the brink.....
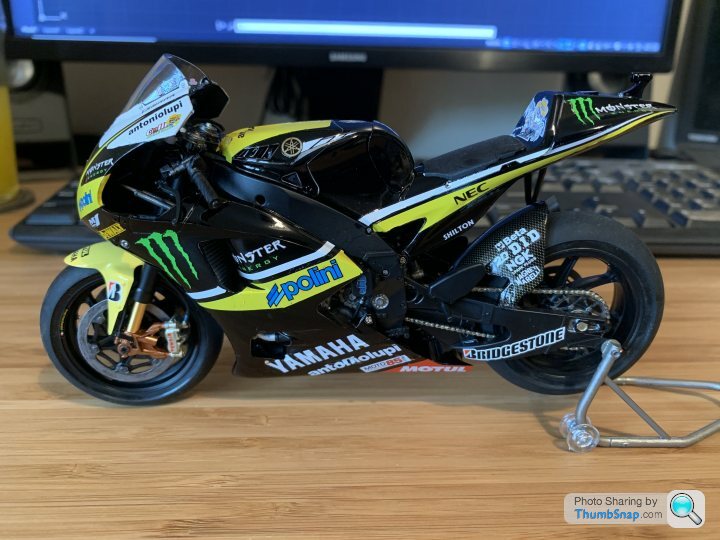
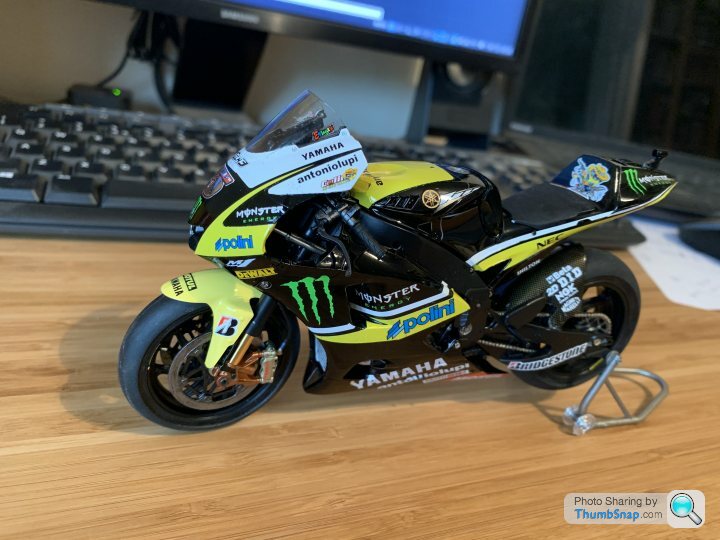
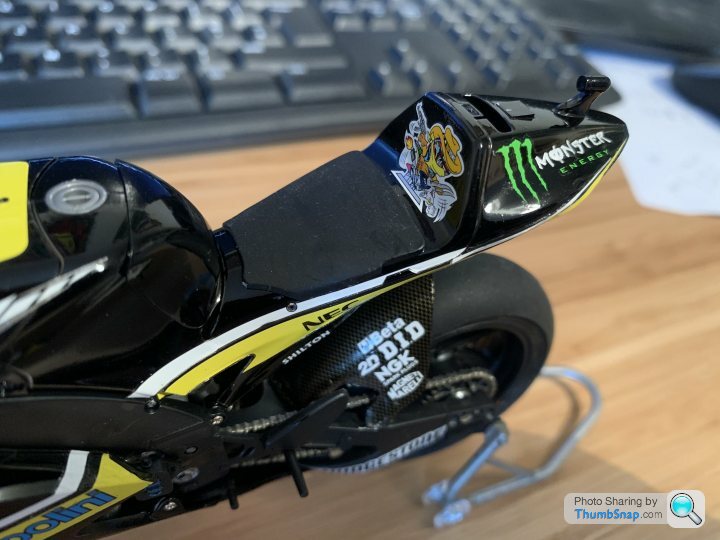
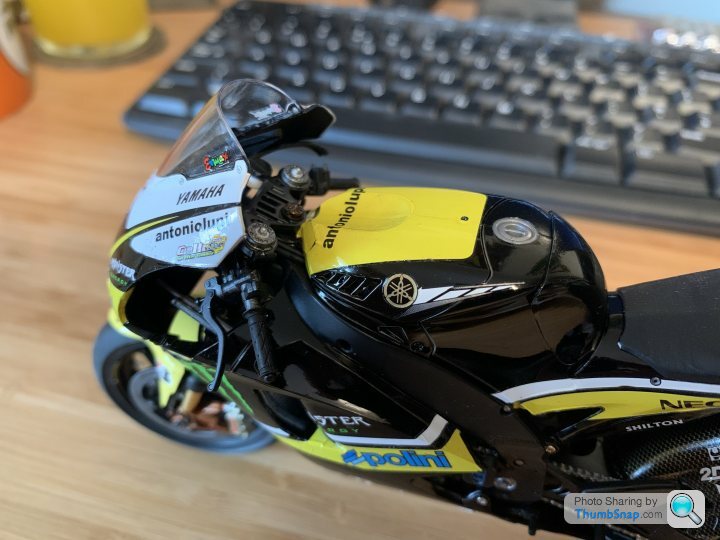
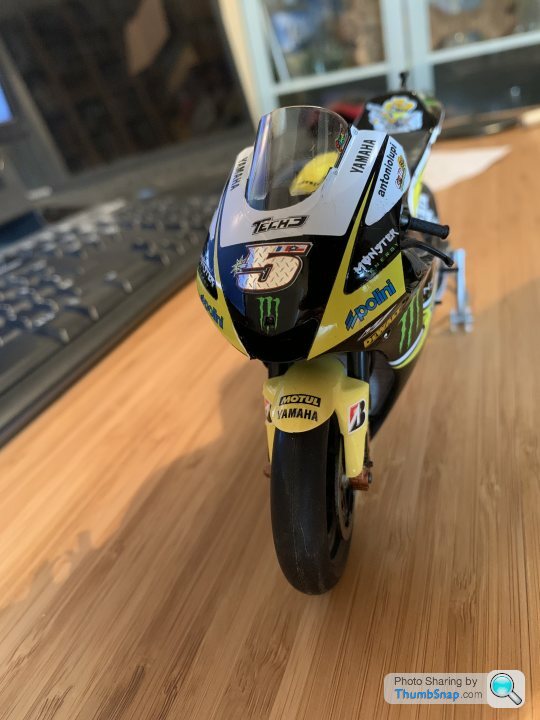
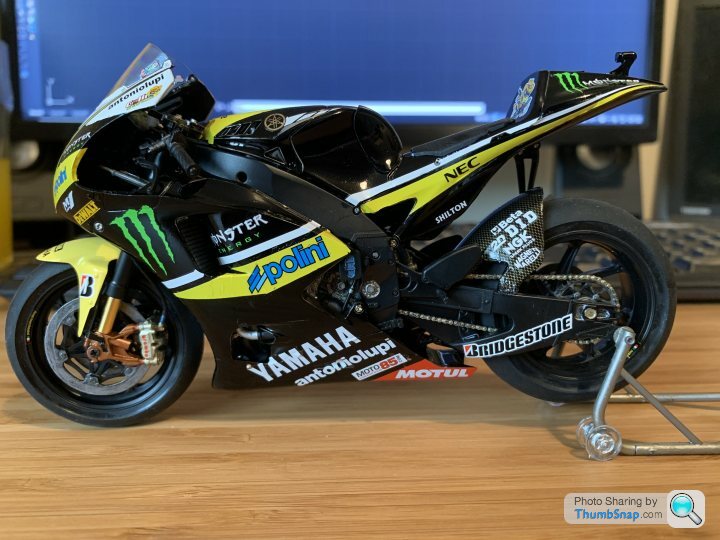
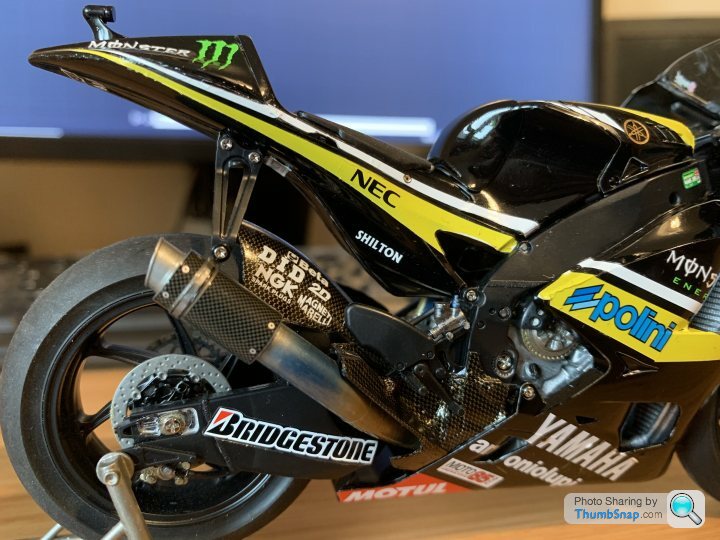
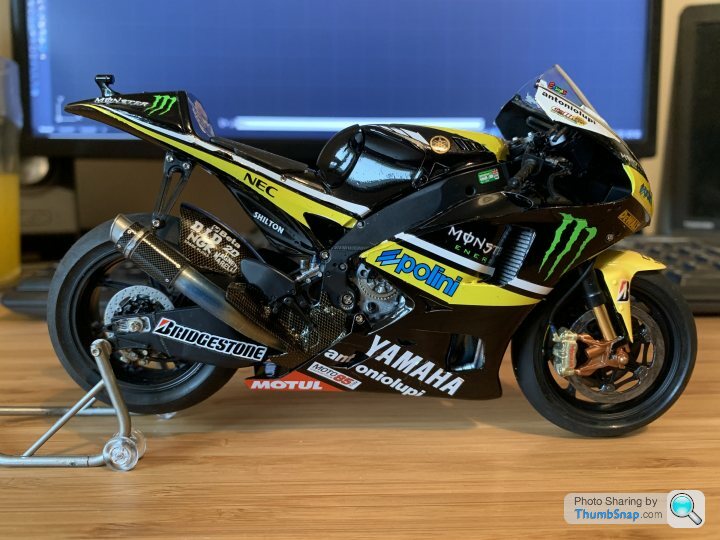
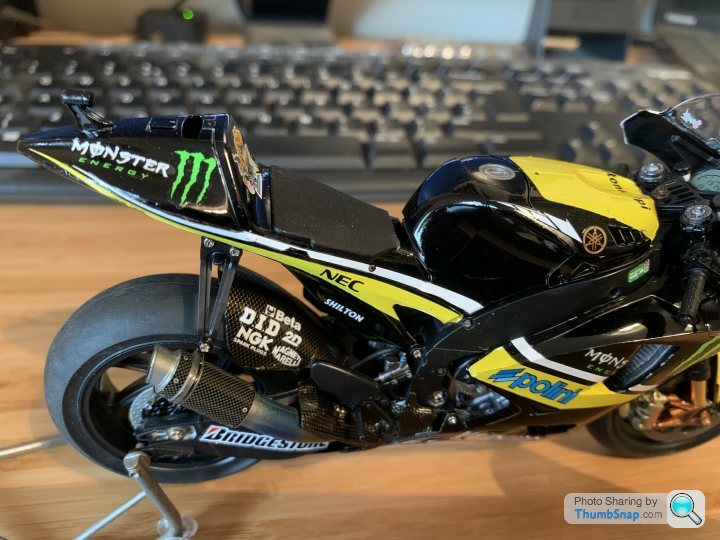
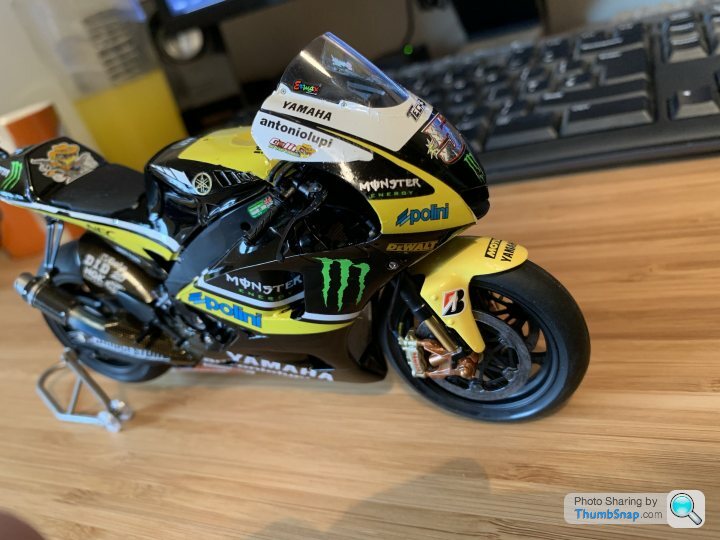
I decided to go for the Edwards version in the end. Slightly disappointed with the mismatch in front mudguard colour, considering I mixed tamiya acryllics in the ratio shown in the instructions. I've also put a coat of Klear over the bodywork to seal the decals and make the paintwork really shine. I'm quite happy with the finish. A couple of decals were touch and go but I think I managed to bring them back from the brink.....


Thanks, yes they do, they are lovely to build too, everything just fits as it should.
I went with Edwards as I have a couple of others of his bikes I think.
Remembered I buggered up the tyre Bridgestone transfers as well because I forgot you apply them to the tyre, I just chucked them in water and they disintegrated. Ah well, just need to sand the tyres to get rid of the moulding line then I’ll put it on the shelf with the others.
Gassing Station | Scale Models | Top of Page | What's New | My Stuff


