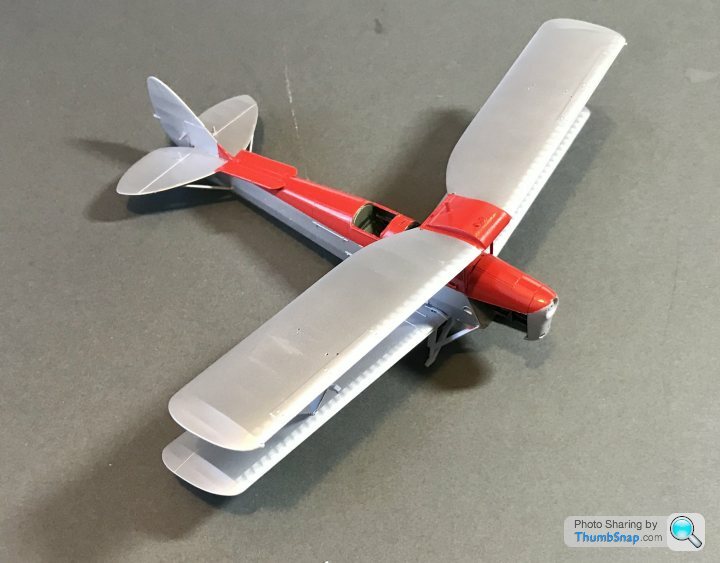
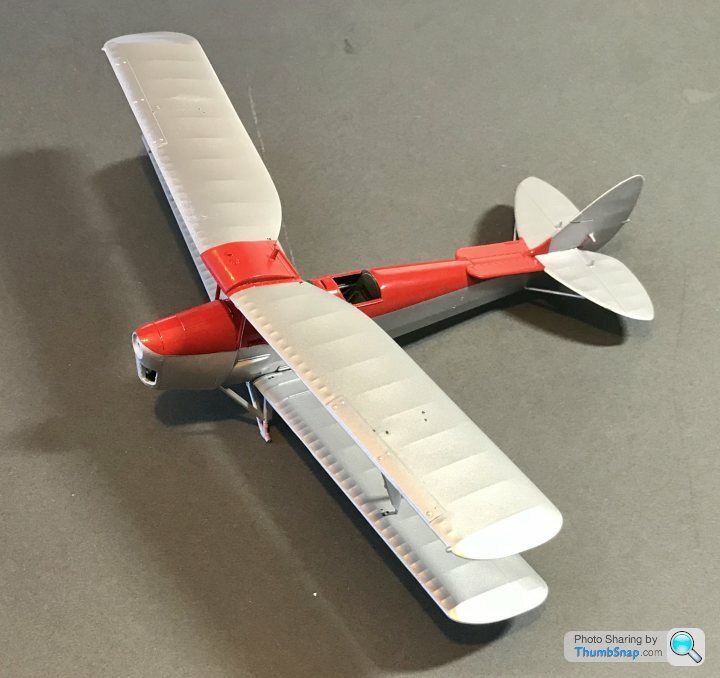
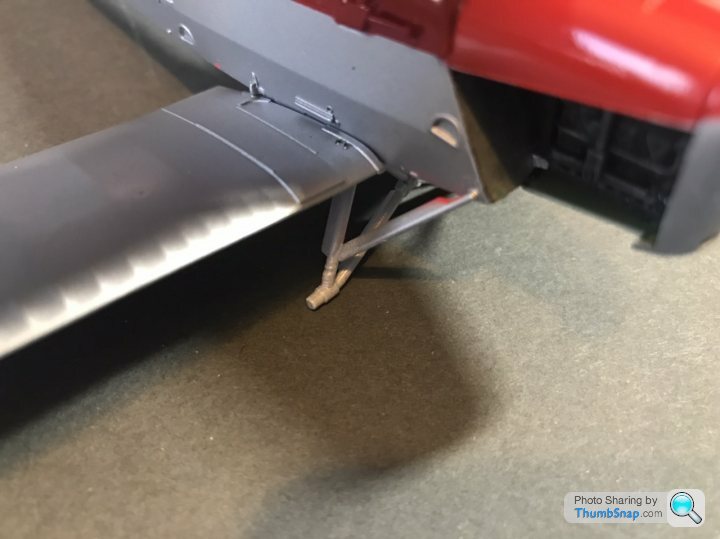
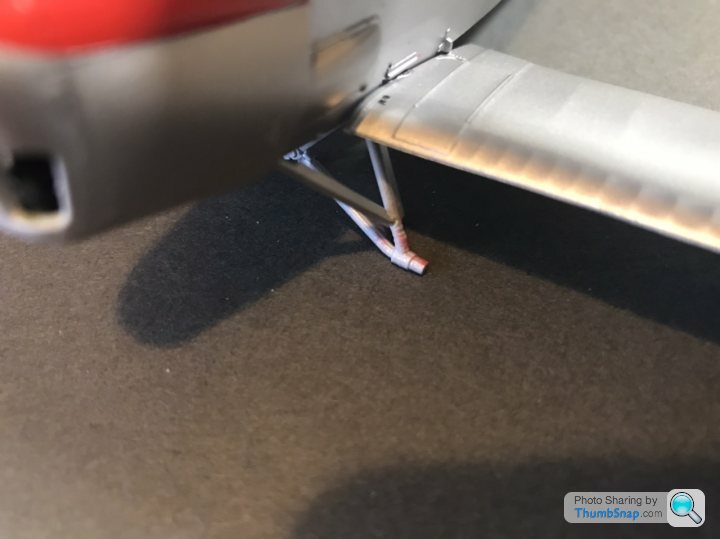
Airfix 1/48 tiger moth
Discussion
Another build thread....
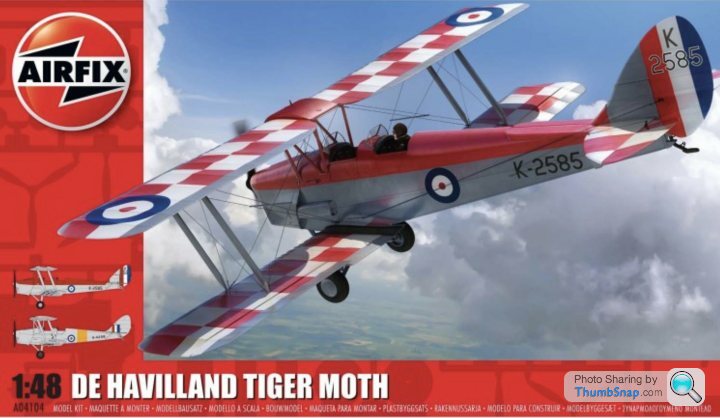
This time it’s the new tool tiger moth. Freshly delivered by the postman.
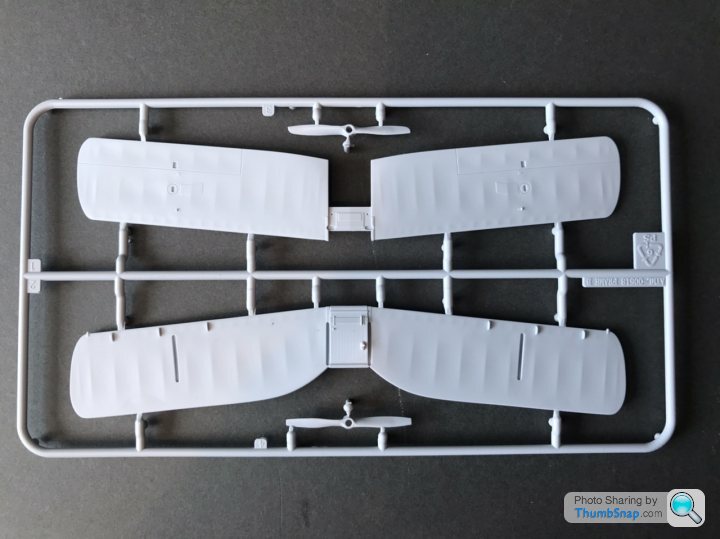
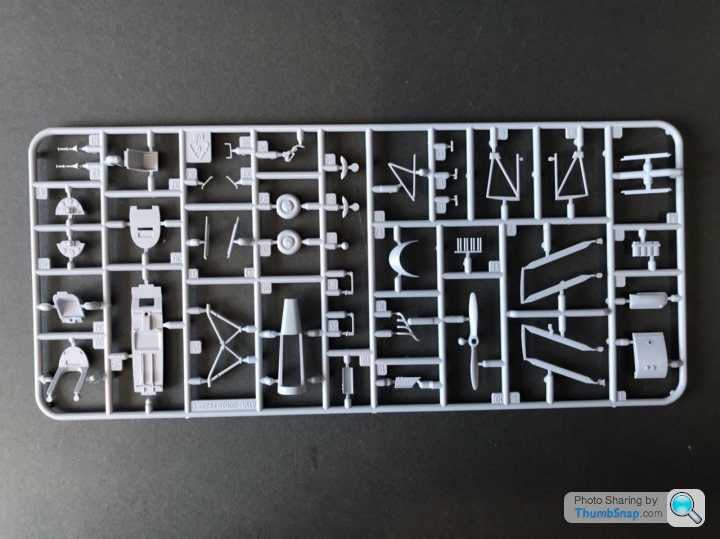
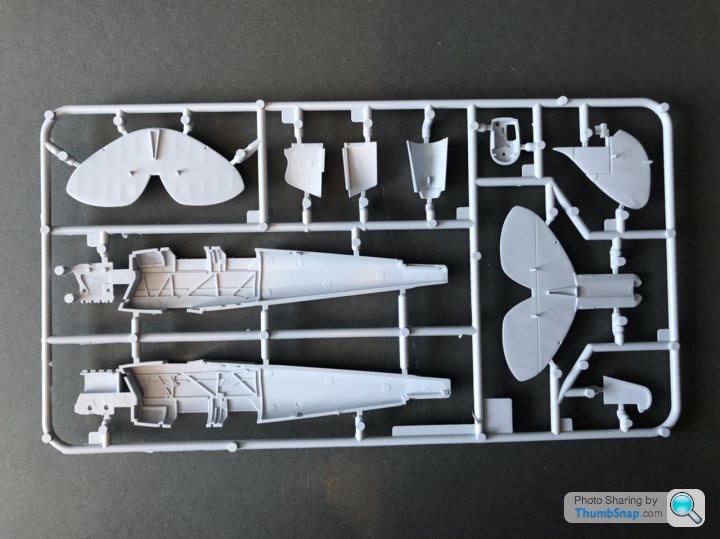
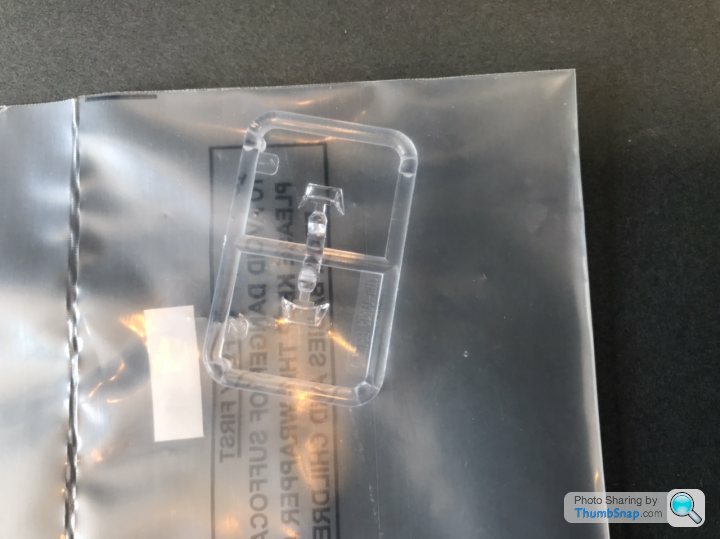
I had a quick look at the parts over lunch. It looks very nice I have to say. Work will begin properly this evening, but for now here are the sprues.
The decals look particularly nice.
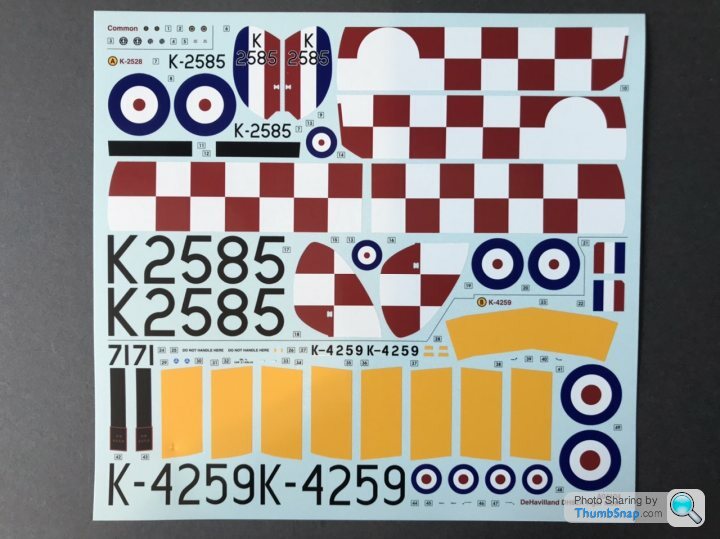
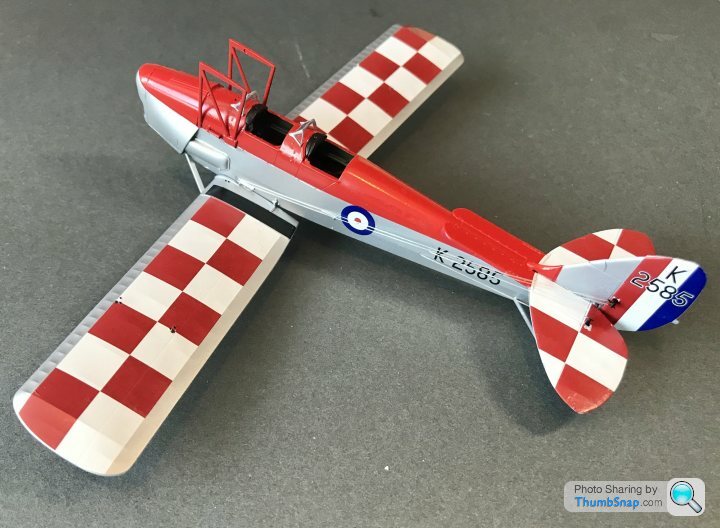
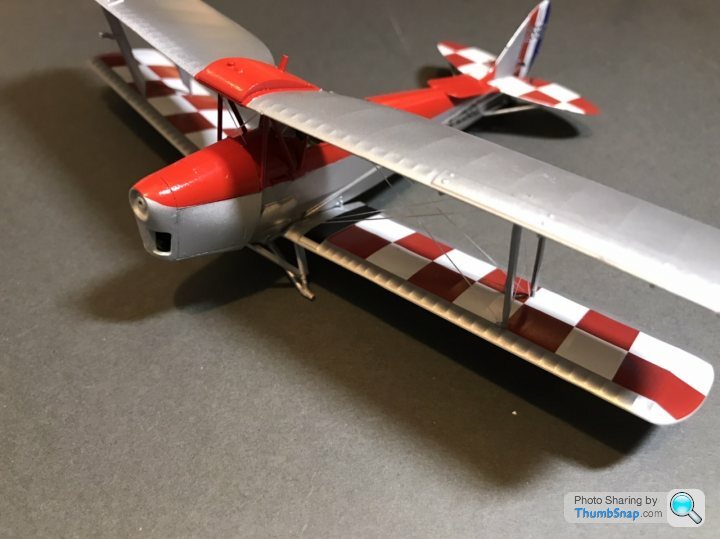
I’m going to replicate the red and silver aircraft as shown on the box art.
The real version of this is at Shuttleworth in Bedfordshire and I took quite a few pictures back in February when I was there for the model show.
This time it’s the new tool tiger moth. Freshly delivered by the postman.

I had a quick look at the parts over lunch. It looks very nice I have to say. Work will begin properly this evening, but for now here are the sprues.


The decals look particularly nice.

I’m going to replicate the red and silver aircraft as shown on the box art.
The real version of this is at Shuttleworth in Bedfordshire and I took quite a few pictures back in February when I was there for the model show.
dr_gn said:
...and two tailplanes - one with anti-spin strakes, one without. Do you have to cut the fuselage to fit the latter, as per the 1:72 version?
A quick look in the instructions confirms minor surgery is required. The kit comes with a little fixture / jig that fits over the tail as a guide. Hopefully this should make the operation fairly easy.As an interesting aside. Both schemes included I the kit have this feature. I would have thought it easier to include instructions to trim the anti-spin strakes off rather than add them.
robemcdonald said:
dr_gn said:
...and two tailplanes - one with anti-spin strakes, one without. Do you have to cut the fuselage to fit the latter, as per the 1:72 version?
A quick look in the instructions confirms minor surgery is required. The kit comes with a little fixture / jig that fits over the tail as a guide. Hopefully this should make the operation fairly easy.As an interesting aside. Both schemes included I the kit have this feature. I would have thought it easier to include instructions to trim the anti-spin strakes off rather than add them.
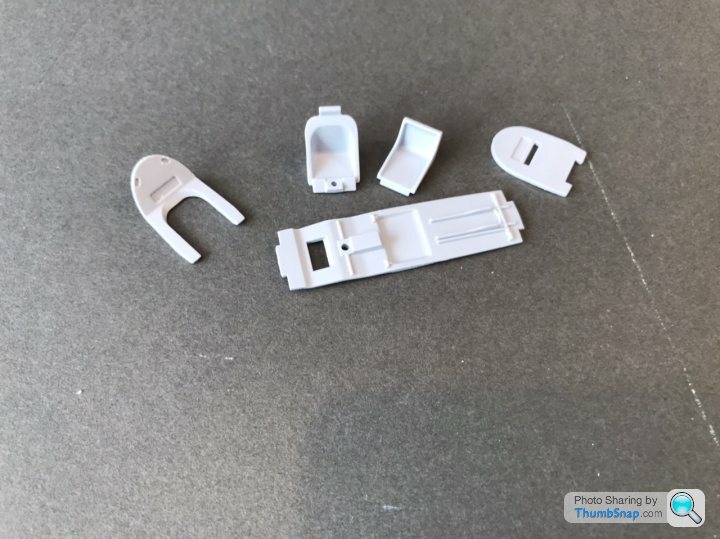
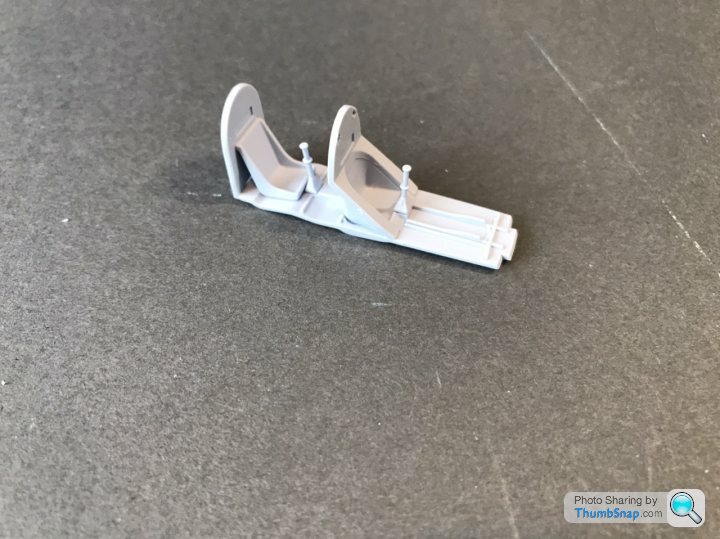
I went a bit OTT on the cockpit (obviously)
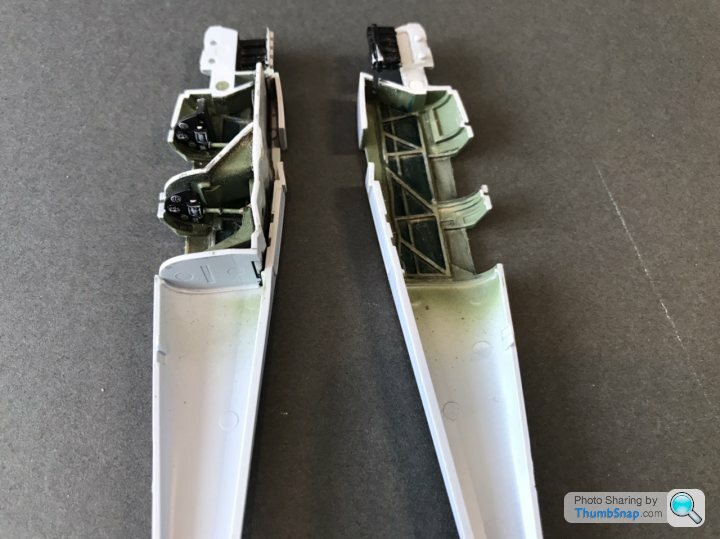
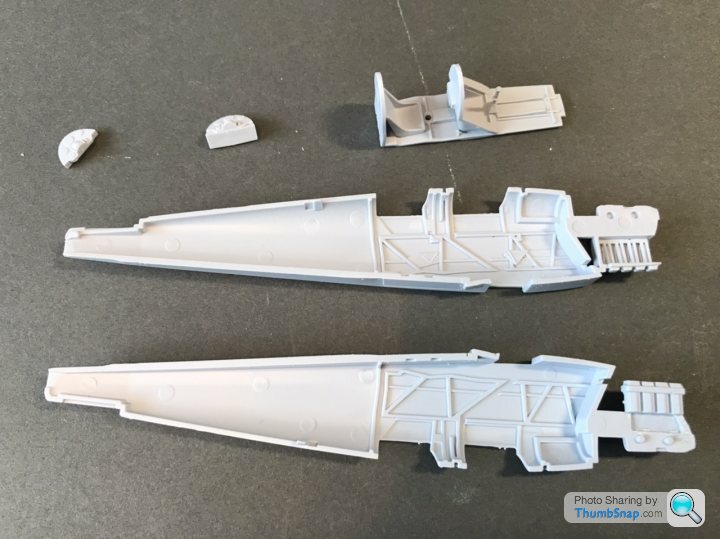
Time to close up the fuselage. The fit around the bottom requires a little work.
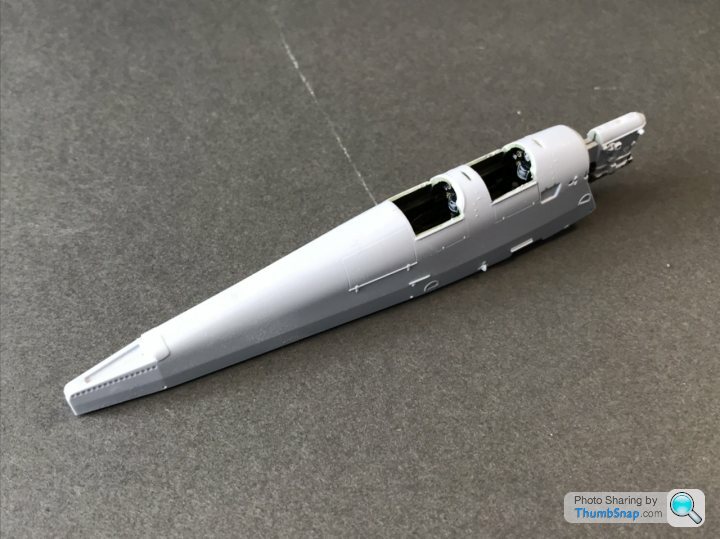
I thought I’d tackle the surgery next
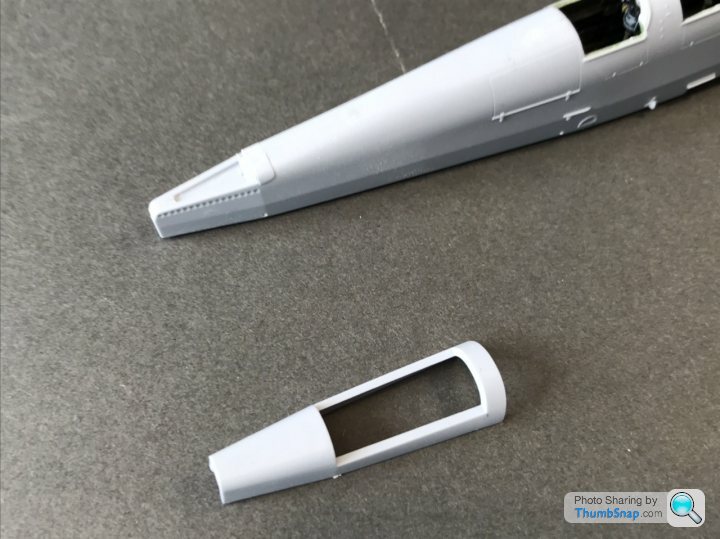
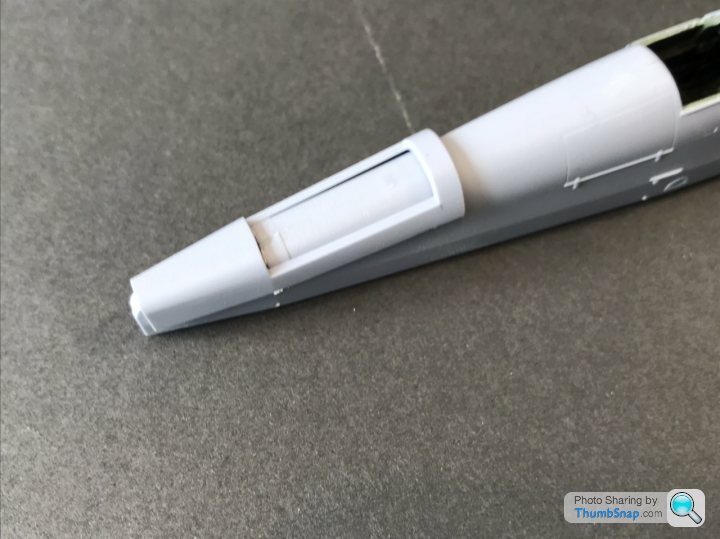
Not too ling later...
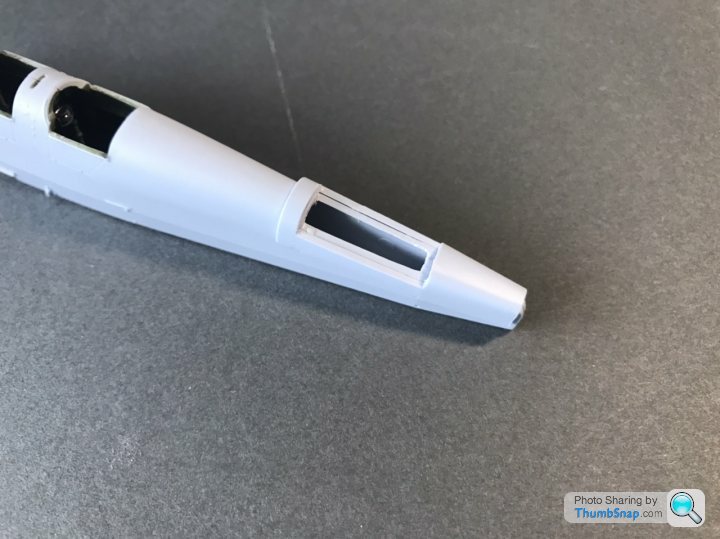
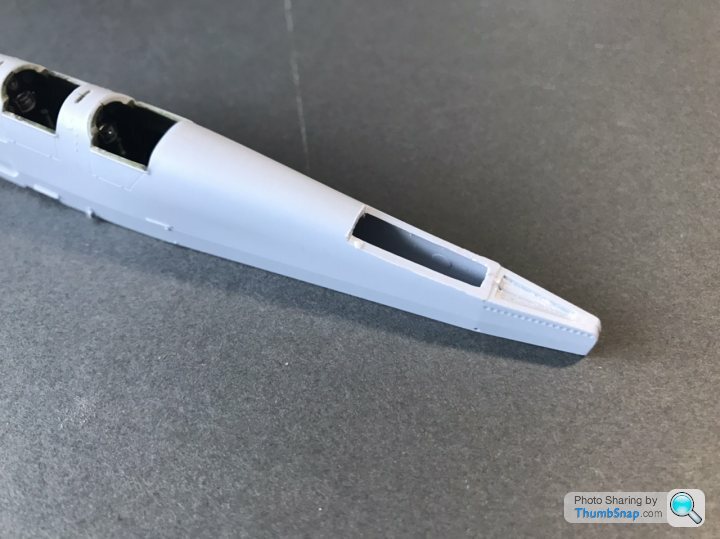
This is about as close as I’m going to be able to get.
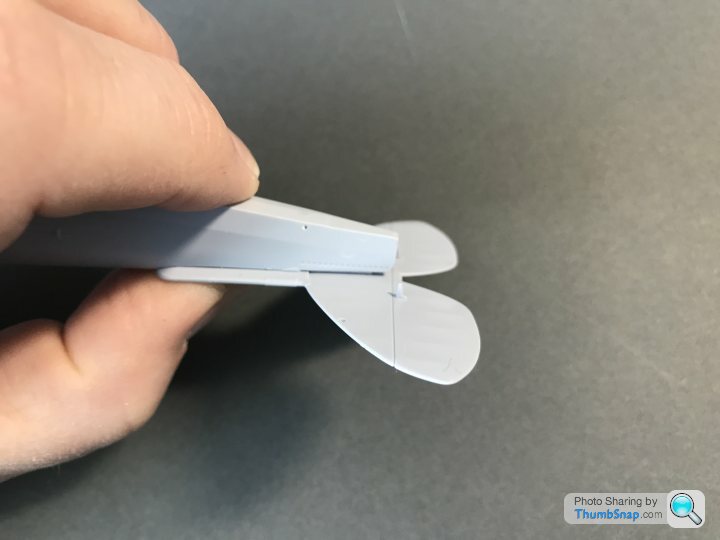
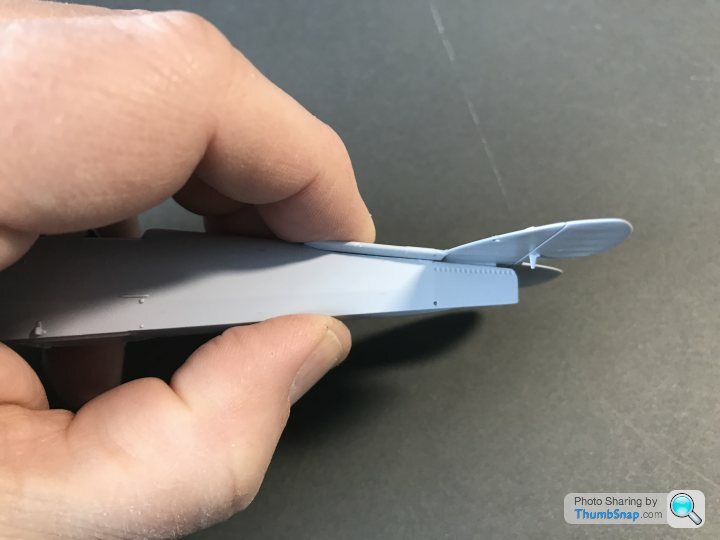
Not to bad when the tail is in place, a small amount of filler will be needed though.
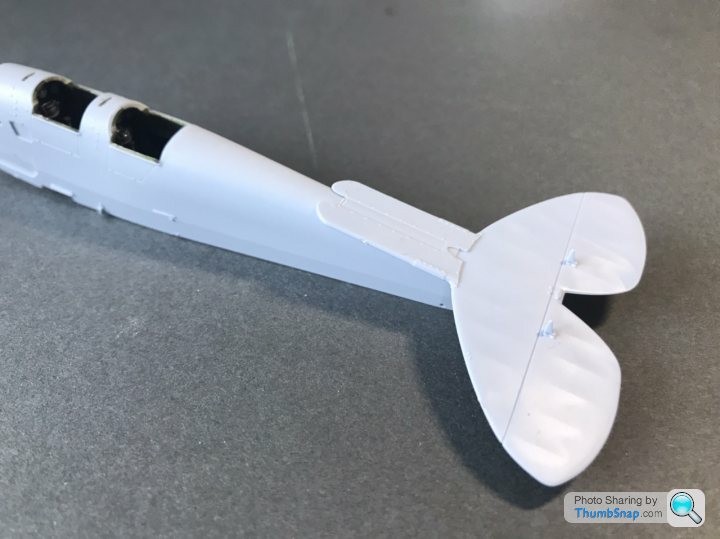

Time to close up the fuselage. The fit around the bottom requires a little work.

I thought I’d tackle the surgery next


Not too ling later...


This is about as close as I’m going to be able to get.


Not to bad when the tail is in place, a small amount of filler will be needed though.

I have made some progress this evening.
Starting with a little bit of work on the engine.
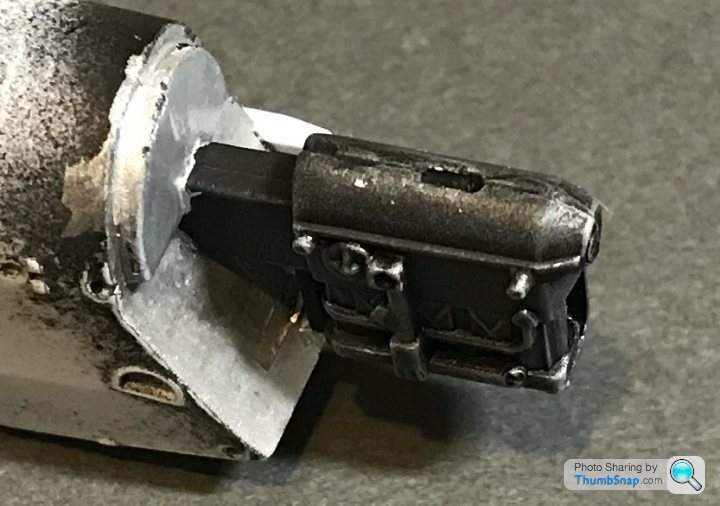
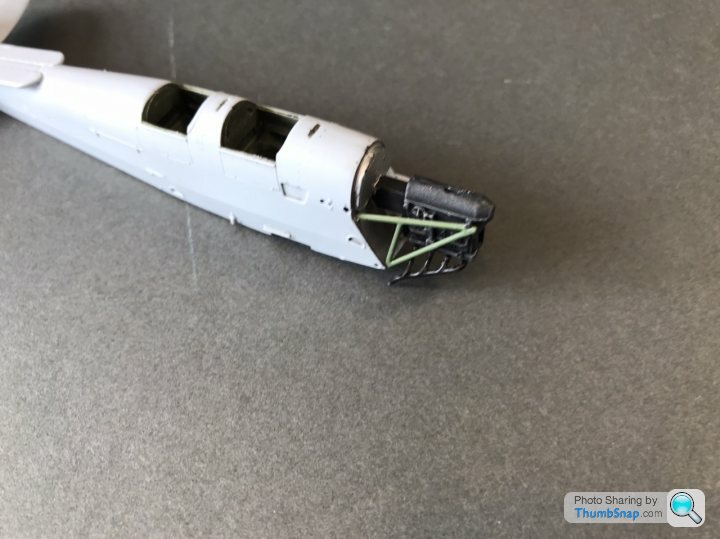
The engine cover is compromised of several parts and has the option of displaying the engine
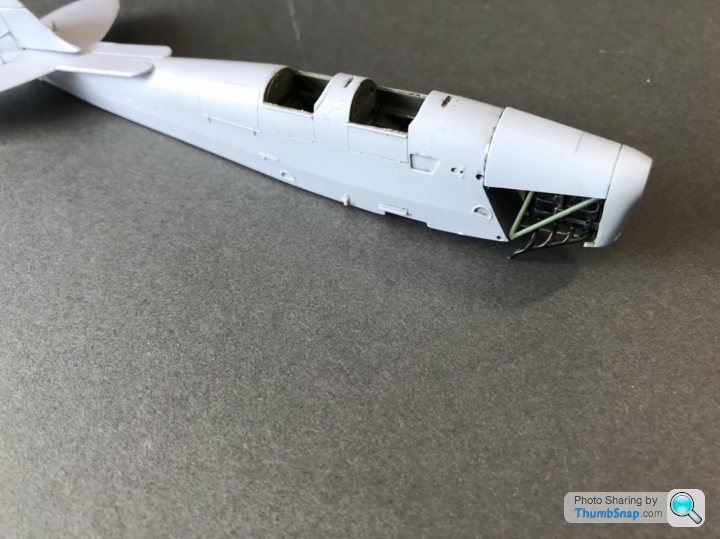
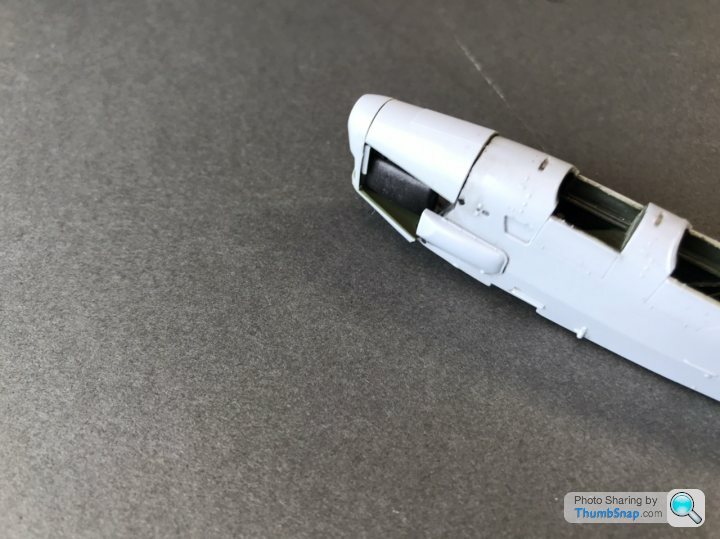
It builds up niceLy to represent the various overlapping panels in a convincing way.
I used some silly putty for masking (probably a bit premature)
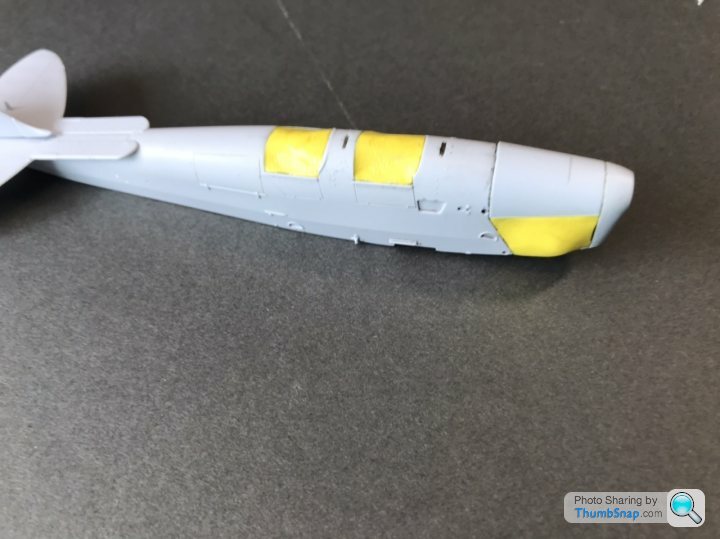
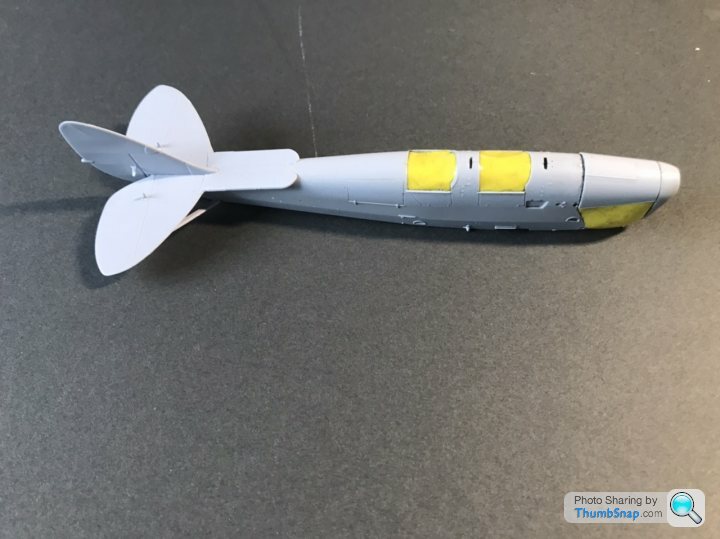
Then it’s simply a case of adding rest of the parts..
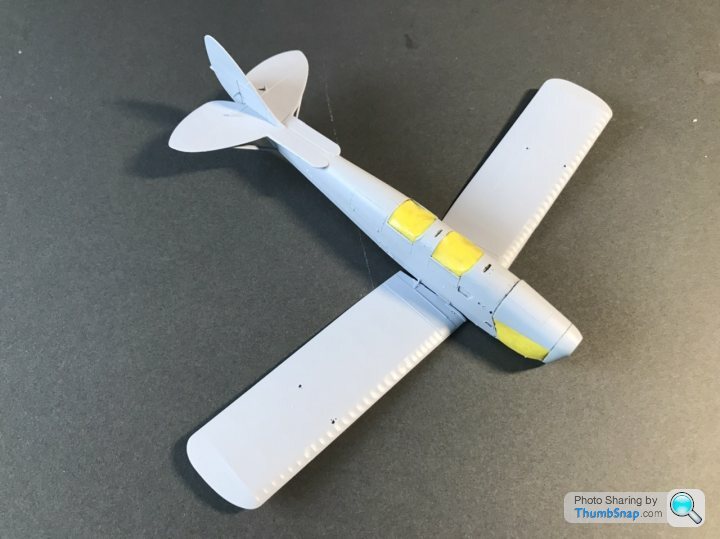
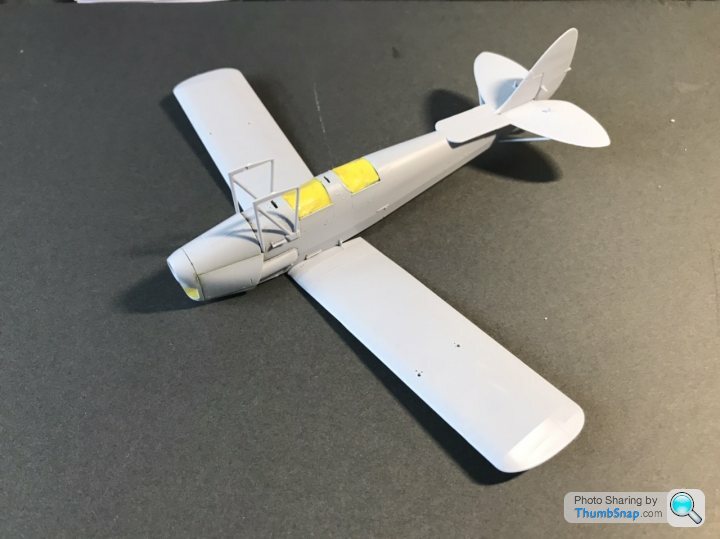
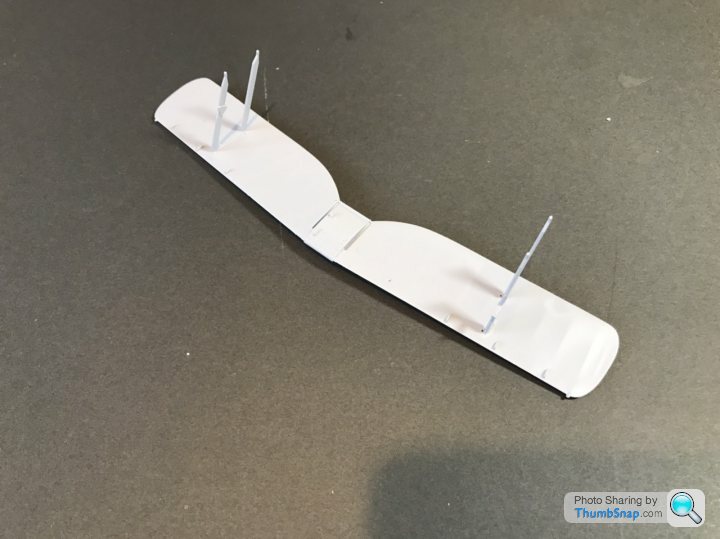
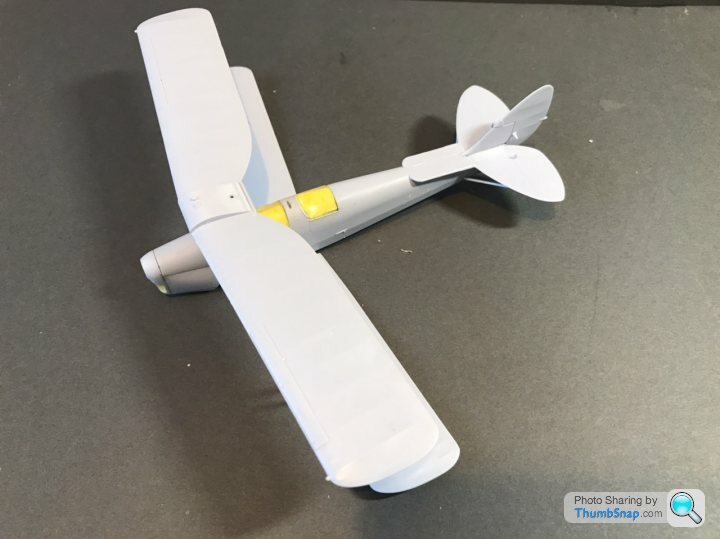
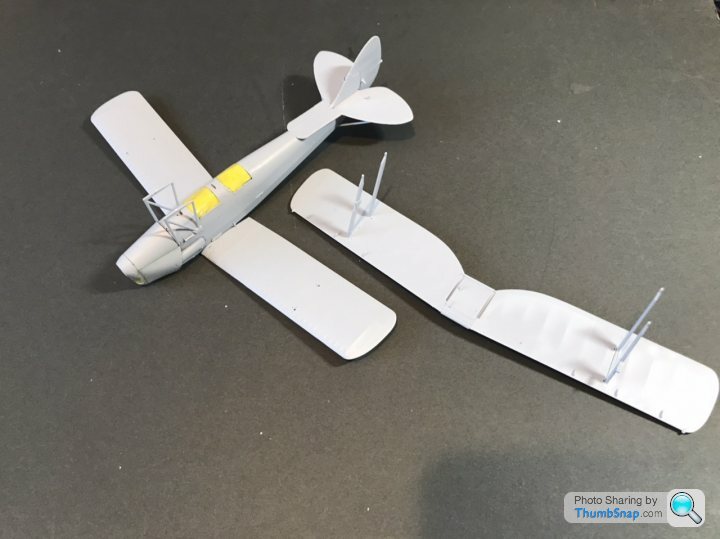
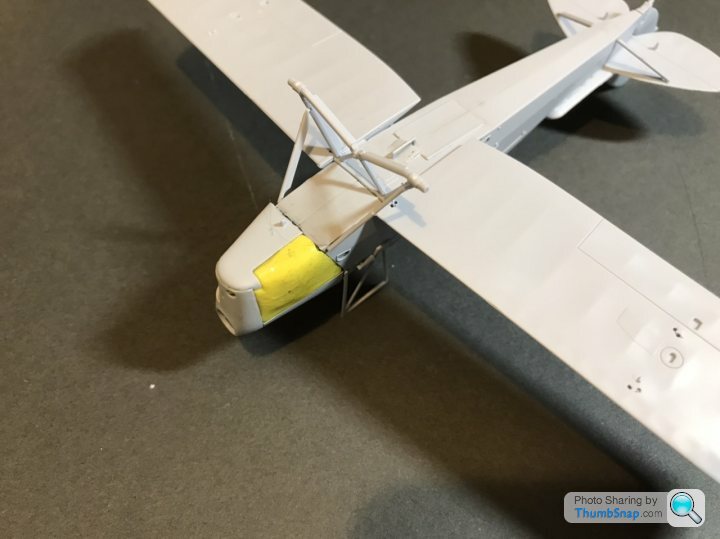
Tomorrow I’ll start on the painting.
It’s a pretty simple kit to be honest, but I’m gonna quite impressed so far.
Starting with a little bit of work on the engine.


The engine cover is compromised of several parts and has the option of displaying the engine


It builds up niceLy to represent the various overlapping panels in a convincing way.
I used some silly putty for masking (probably a bit premature)


Then it’s simply a case of adding rest of the parts..


Tomorrow I’ll start on the painting.
It’s a pretty simple kit to be honest, but I’m gonna quite impressed so far.
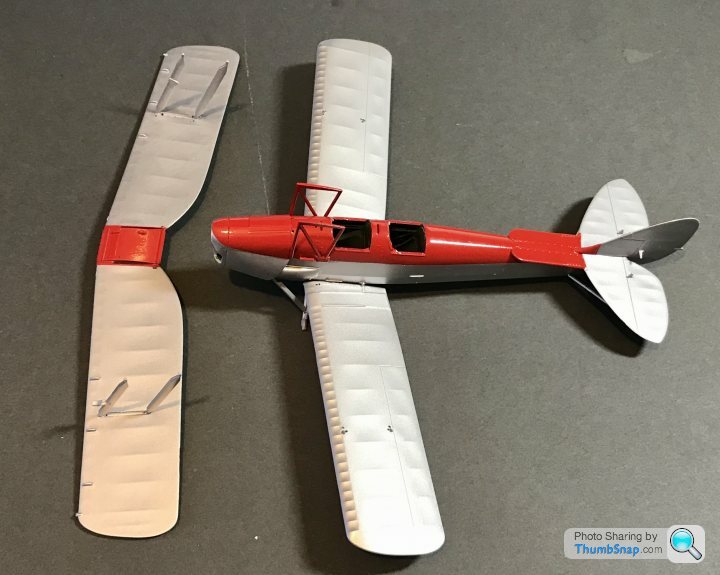
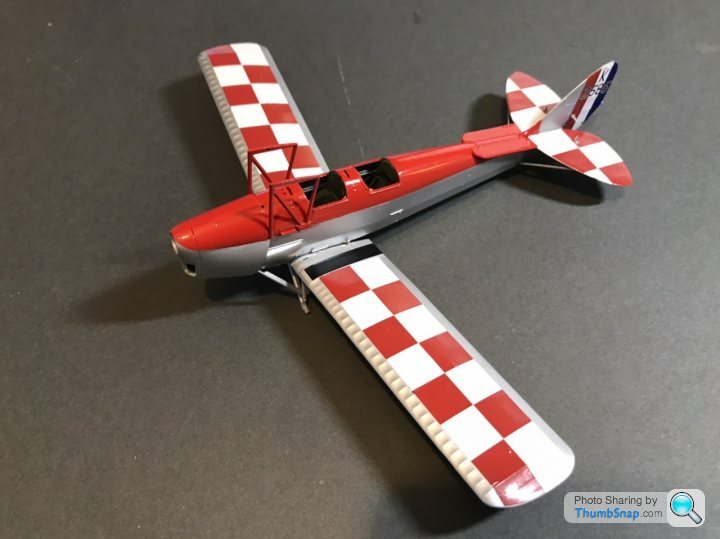
So I’m getting a bit better at the patience thing.
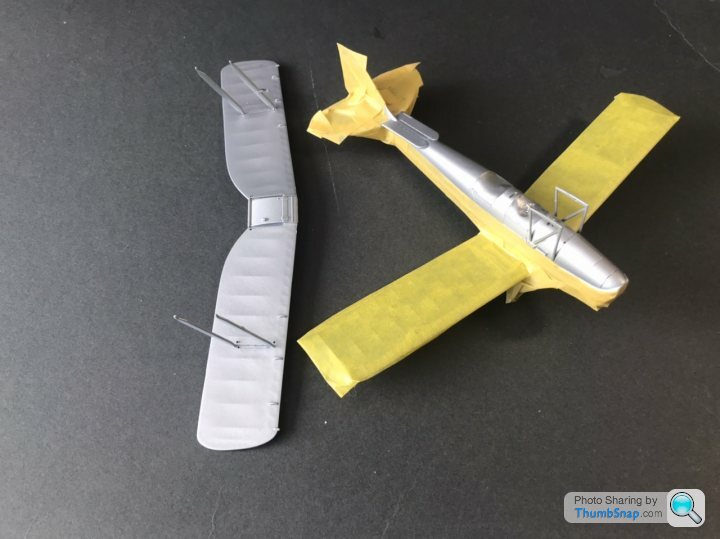
I sprayed the silver yesterday morning AS-12 from the rattle can.
I left it until the afternoon (after I finished work at 5) to start the masking.
Painted the red around 6ish
Striped off the masking and started the decals at around 10.
The red is Tamiya lacquer through the airbrush and normally dries pretty well in 20 minutes or so, but I left it 4 hours, so it’s fine.
The longer you leave things the better though. I’m just impatient.
Gassing Station | Scale Models | Top of Page | What's New | My Stuff


