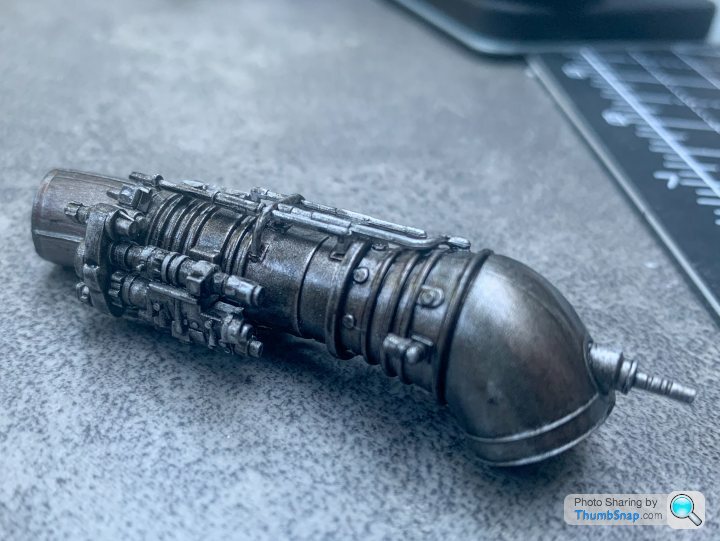
1/35 Mi-8 Helicopter
Discussion
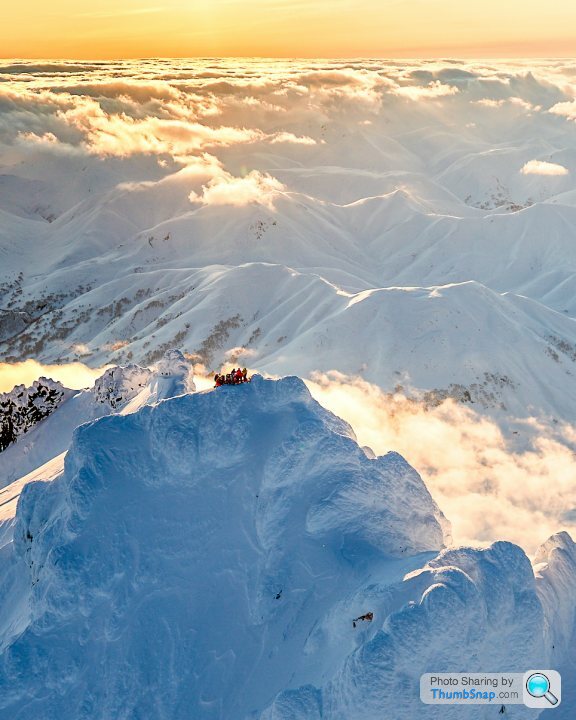
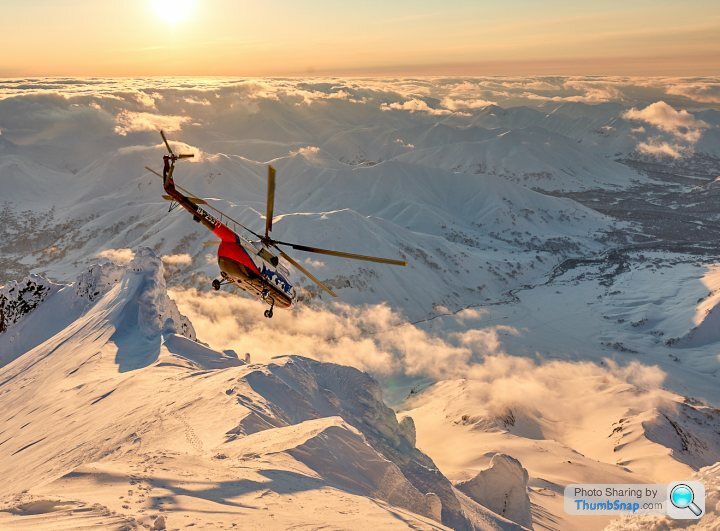
The idea for this model is what spurred me into trying scale modelling. Three years ago today I flew to Kamchatka in far eastern Russia to do some heli-boarding on the peninsula. After a 24 hour journey from London I was ushered straight aboard an Mi-8 because conditions were right. It was late afternoon and the sun was already heading down but this was one of the most spectacular days of my life.
Unfortunately things got even more spectacular a couple of days later when we crashed into the active Mutnovsky volcano.
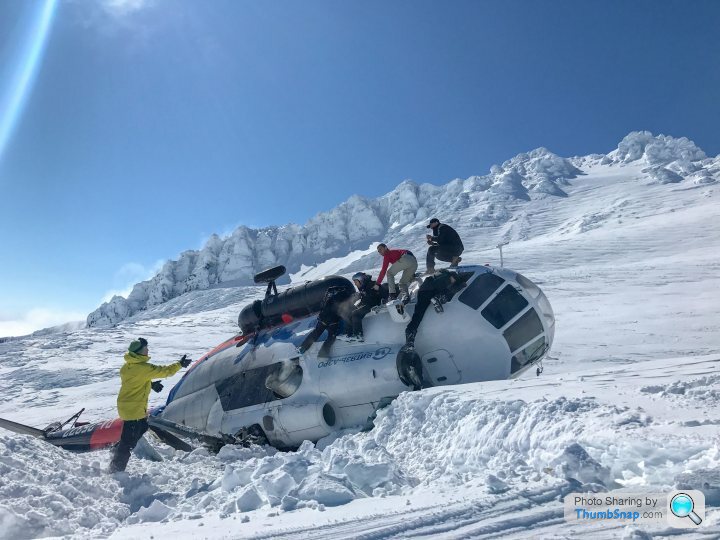
There are obviously some fairly intense memories attached to that adventure. I wrote the story on my blog.
The eventual plan is to recreate the crashed helicopter but I think initially I'll practice with a regular build first, as this is still only my second model.


Unfortunately things got even more spectacular a couple of days later when we crashed into the active Mutnovsky volcano.

There are obviously some fairly intense memories attached to that adventure. I wrote the story on my blog.
The eventual plan is to recreate the crashed helicopter but I think initially I'll practice with a regular build first, as this is still only my second model.
Yeah.
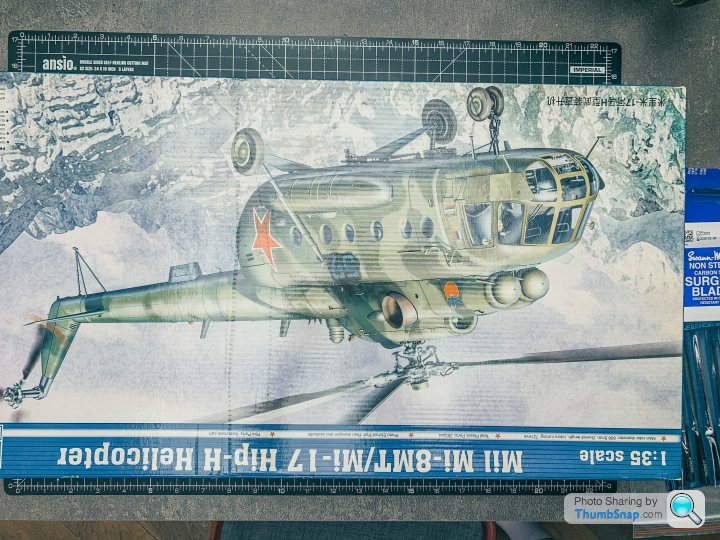
I thought 1/35 would be less fiddly but I was wrong. I'm still waiting for lots of the basic tools I ordered 4-6 weeks ago and cleaning up the mould lines on these tiny pieces without tweezers or holding thingamejigs is painful.
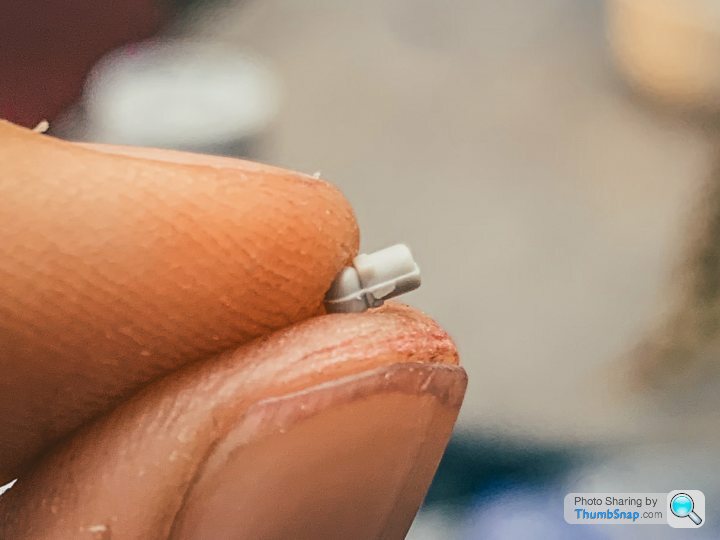
I spent a good hour cutting, sanding and prepping the parts for one of the engines. It'll all be hidden unless I leave one of the engine hatches open, but if I do make this the crash recreation then it would be on show. I thought I'd done an OK job on the prep but the camera is a brutal critic. The primer also does a 'good' job of showing the flaws that need attention. Some of the ugliest parts are areas that have no joins. Do you guys use magnifying lenses when you work?
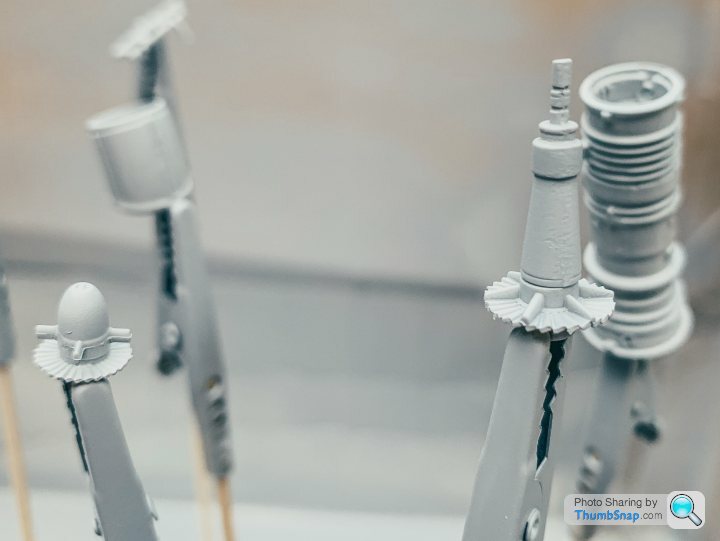

I thought 1/35 would be less fiddly but I was wrong. I'm still waiting for lots of the basic tools I ordered 4-6 weeks ago and cleaning up the mould lines on these tiny pieces without tweezers or holding thingamejigs is painful.

I spent a good hour cutting, sanding and prepping the parts for one of the engines. It'll all be hidden unless I leave one of the engine hatches open, but if I do make this the crash recreation then it would be on show. I thought I'd done an OK job on the prep but the camera is a brutal critic. The primer also does a 'good' job of showing the flaws that need attention. Some of the ugliest parts are areas that have no joins. Do you guys use magnifying lenses when you work?

The steps in the parts are where the moulds split to remove the sprues. If the closure is imperfect, you get a step. I use the side of a scalpel blade to scrape the steps away - it’s just part of modelling (although it’s surprising how many forget the basics).
Yes, if it looks good in an image it will look great in reality!
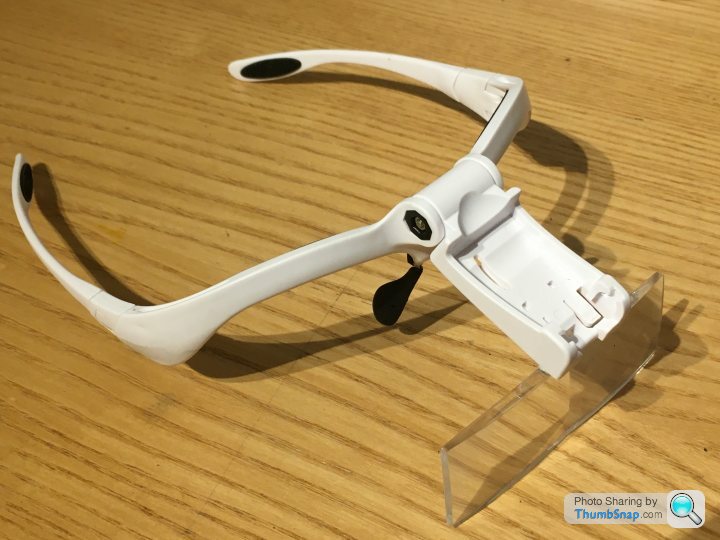
My near point was getting further away, I tried lots of magnifying options, but these are by far the best for my needs:
Keep up the good work. The more effort you put into this stage the better the result will be.
Yes, if it looks good in an image it will look great in reality!
My near point was getting further away, I tried lots of magnifying options, but these are by far the best for my needs:

Keep up the good work. The more effort you put into this stage the better the result will be.
Gruffy said:
Thanks. Do you have a link for those glasses?
https://www.quicktest.co.uk/acatalog/Megan---phone-magnifier-spectacle-things-binocmag_9892.html#SID=217Use one of the lower mag. lenses and you get good working distance and depth of field. What I really like about these is they’re so light you forget you’re wearing them (the led light pack is removable), and because the lenses are frameless and suspended from above, you can glance around them to pick stuff up, dip a paint brush etc without taking them off. Used in conjunction with a decent daylight corrected lamp they’re a good compromise.
AdamIndy said:
I can’t help at all with the modelling side of things but just read your blog. Jesus man that must have been terrifying, especially in Russia!! Glad to read that you both were relatively unscathed. What a story to tell the grandkids though!
Momentarily scary when that stab of adrenalin floods your body, but I don't remember any fear after that initial surge. Strange experience. The hospital was far more terrifying!Gruffy said:
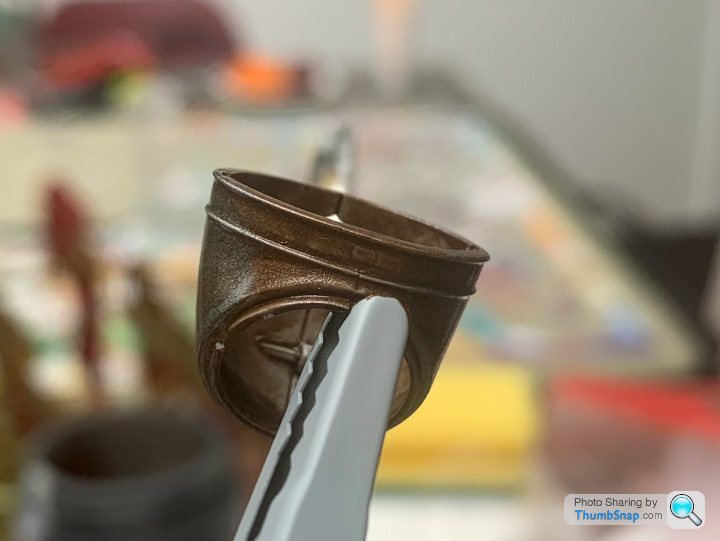
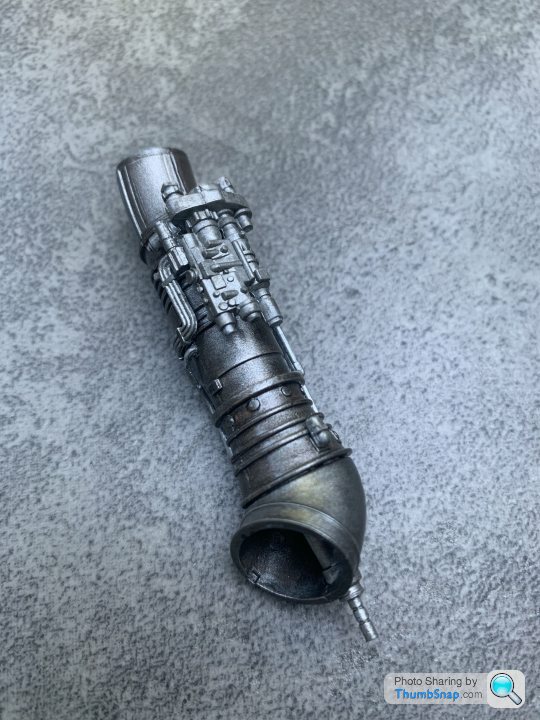
That's quite something to have gone through. Pleased to hear everyone mostly ok! I’m trying to make this more realistic than showroom fresh, so I wanted the engine casing and exhausts to have that scorched metal look. After priming I gave it two coats of metallic brown.
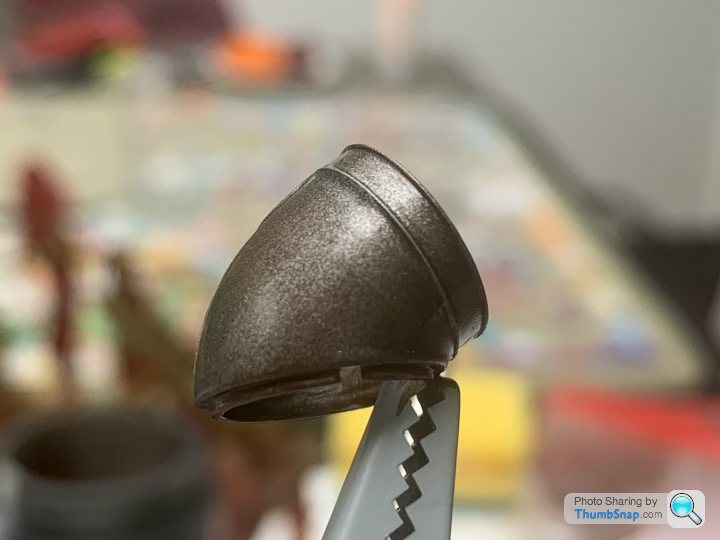
Then a coat of metallic grey. I’m happy with the end result.
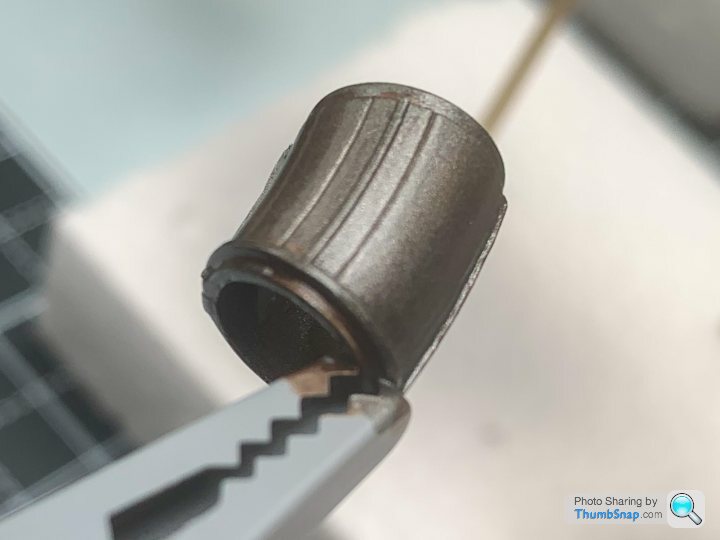
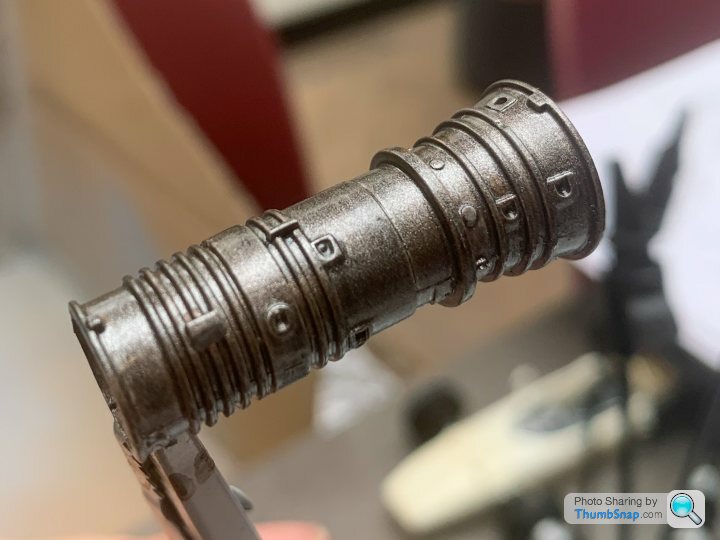
With this second model I’ve changed the way I paint with the Tamiya acrylics. I’m priming everything, thinning the paint quite a lot more and applying more coats as a result. This is primed and with a single coat of chrome.
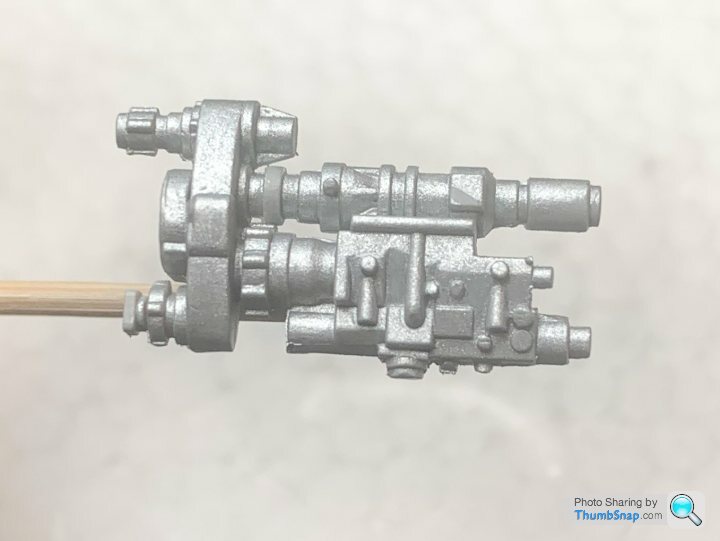
I’m still choosing ‘kind’ photos that hide the worst mould lines, which I only discover once I’m painting or photographing. This is definitely something to work on but I feel like I’m probably missing the right tools for the more intricate and inaccessible areas?

Then a coat of metallic grey. I’m happy with the end result.


With this second model I’ve changed the way I paint with the Tamiya acrylics. I’m priming everything, thinning the paint quite a lot more and applying more coats as a result. This is primed and with a single coat of chrome.

I’m still choosing ‘kind’ photos that hide the worst mould lines, which I only discover once I’m painting or photographing. This is definitely something to work on but I feel like I’m probably missing the right tools for the more intricate and inaccessible areas?
Gruffy said:
Everybody’s good at something, right?
Here’s the left engine just waiting for inlet and outlet shrouds.
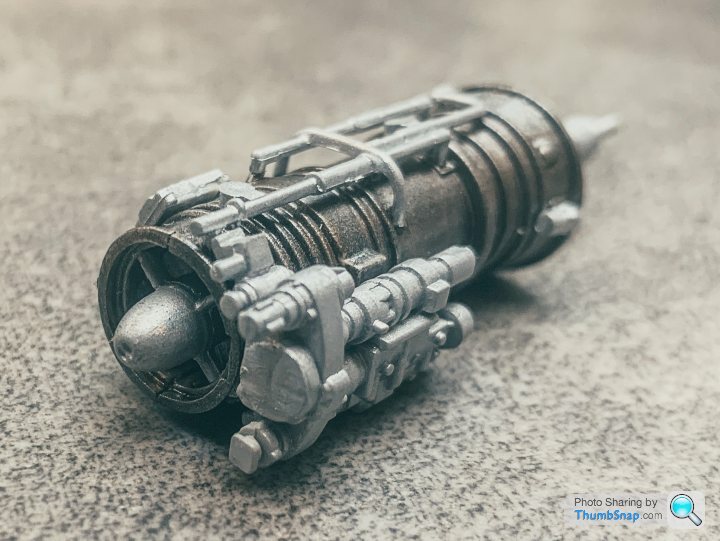
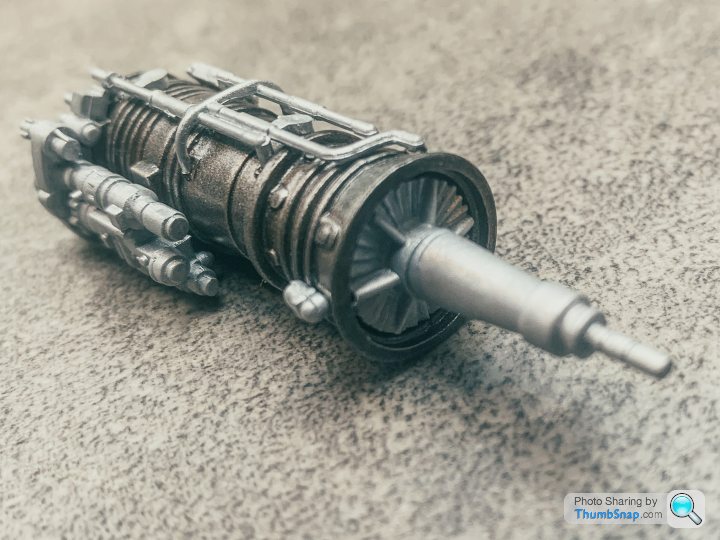
And with the shrouds in place.
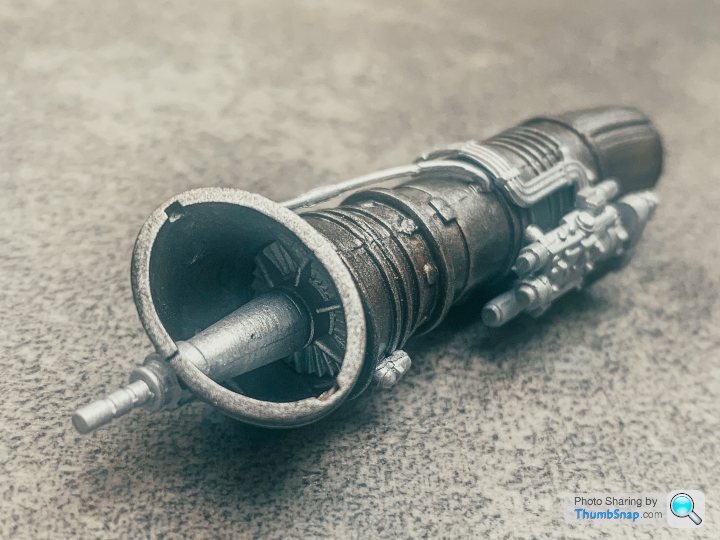
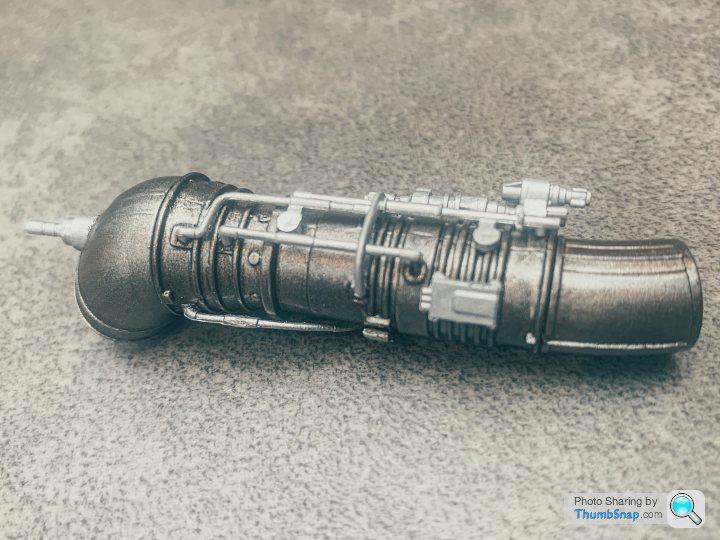
A remarkable amount of work for the result, requiring some modifications and repairs to make it all fit, but fairly satisfying.
Have you considered applying a wash to enhance the details a bit?Here’s the left engine just waiting for inlet and outlet shrouds.


And with the shrouds in place.


A remarkable amount of work for the result, requiring some modifications and repairs to make it all fit, but fairly satisfying.
https://www.youtube.com/watch?v=FXerpuOthXk
You can apply Tamiya Weathering Powders after the wash, and that will highlight the raised details.
I’m aware of basic weathering techniques but only have acrylic paints here, so have gone cautiously. A very thin black wash went on and just took the edge off the aluminium parts.
I’ve got some Vallejo orange rust but was planning to leave that kind of thing until the end, to get a bit more practice first. I’ll check out the weathering powders. I’m just conscious that deliveries are taking 2-6 weeks at the moment.

I’ve got some Vallejo orange rust but was planning to leave that kind of thing until the end, to get a bit more practice first. I’ll check out the weathering powders. I’m just conscious that deliveries are taking 2-6 weeks at the moment.
Gruffy said:
Onto the second engine, hoping to see constant improvement. What technique or tool should I be using to clean up the steps and mould lines in narrow recesses like these?
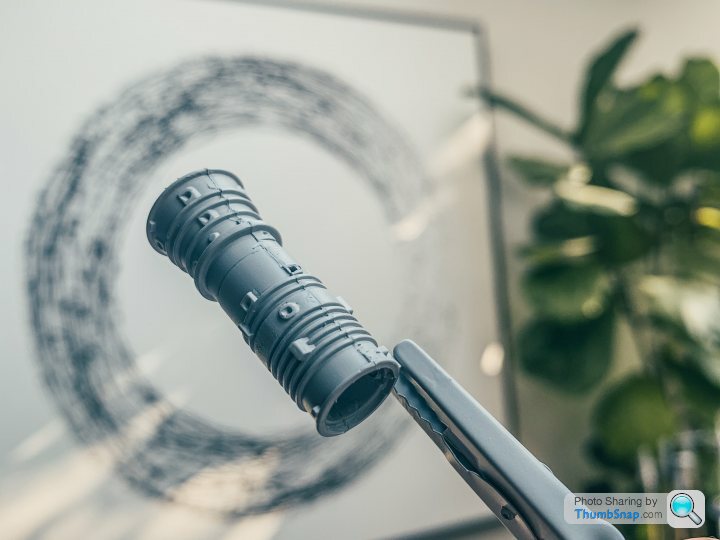
I use these sanding sticks from Albion alloys. Coarse grit through to polishing. They deflect if when you push down which helps you avoid flat spots. Takes practice but let the sander do the work. 
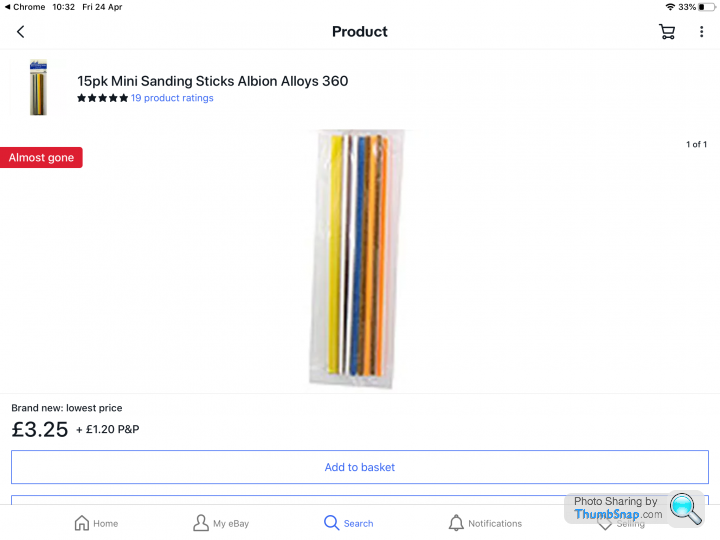
Sanding sticks on order. Thank you. Impatience means work goes on regardless.
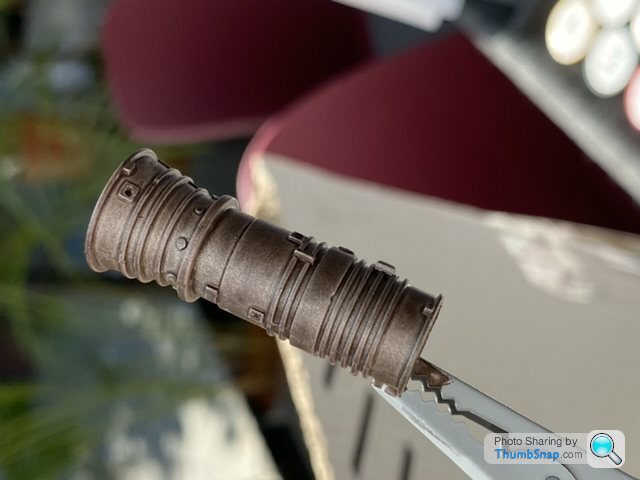
Metallic brown base. Gunmetal layer to follow.
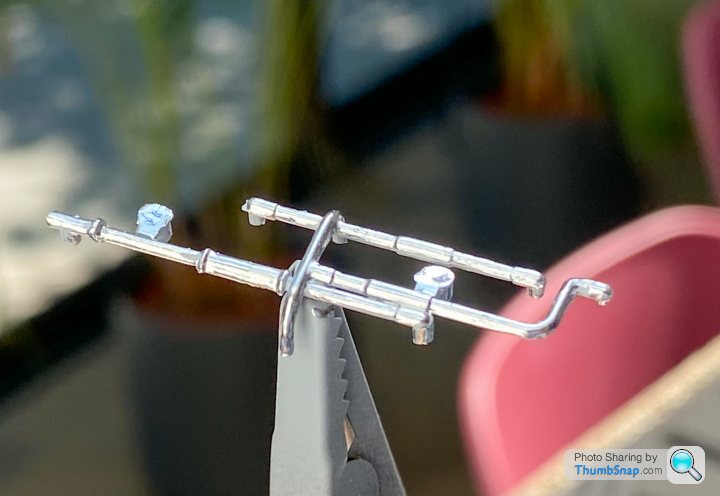
The Molotow chrome pen arrived and it is remarkable. I’m going to order a 1mm too.
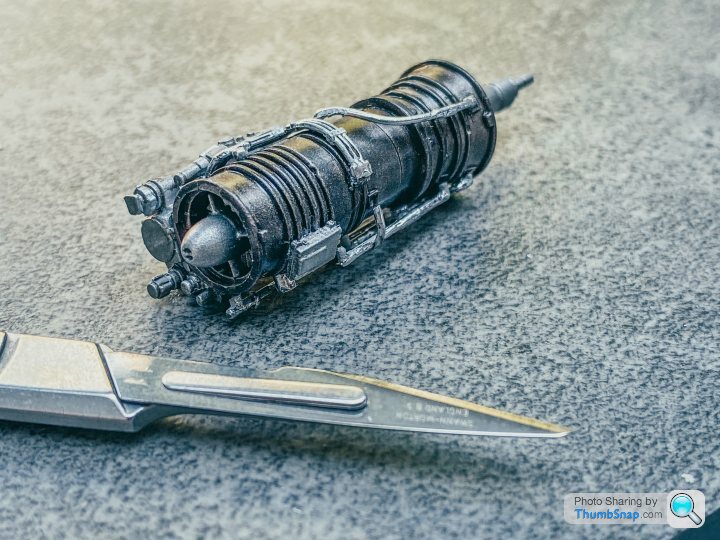
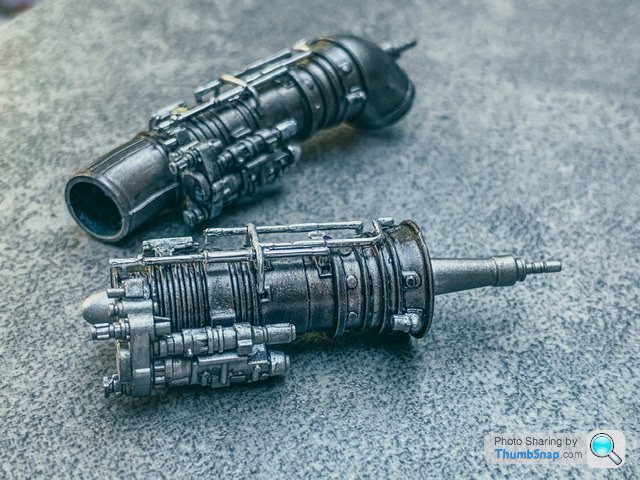
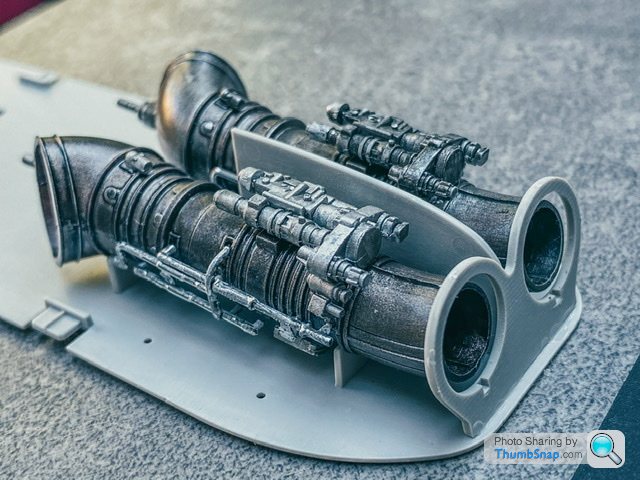
The right engine now assembled. I went much lighter with the wash this time. I’m not worried about matching the engines perfectly as I’ll only (potentially) have one hatch open anyway and I want to experiment. I’ll probably display the best side.
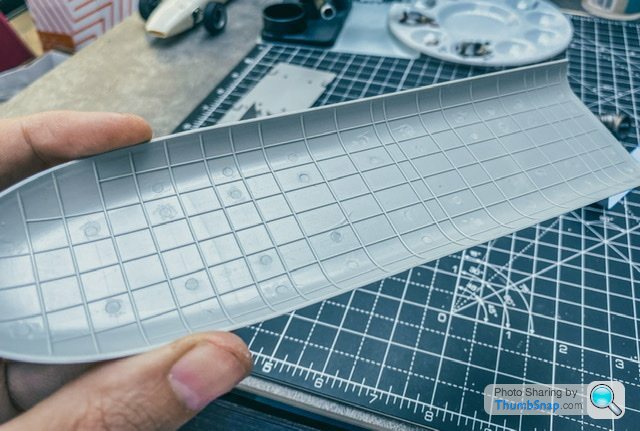
This is the interior roof. It’s riddled with ejection pin marks, inside the latticework, so there’s no chance I’m cleaning those up.
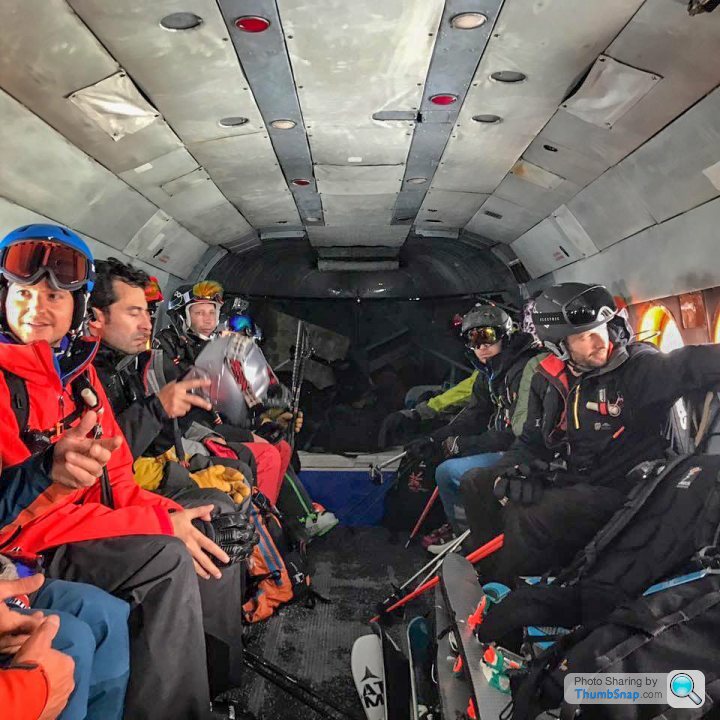
Here’s a shot I took inside the heli. I’ll try and recreate with paint but I‘m wondering if there’s anything that would make a good sub for the ceiling lights. And eventually for the ribbing on the floor?
Metallic brown base. Gunmetal layer to follow.

The Molotow chrome pen arrived and it is remarkable. I’m going to order a 1mm too.

The right engine now assembled. I went much lighter with the wash this time. I’m not worried about matching the engines perfectly as I’ll only (potentially) have one hatch open anyway and I want to experiment. I’ll probably display the best side.


This is the interior roof. It’s riddled with ejection pin marks, inside the latticework, so there’s no chance I’m cleaning those up.

Here’s a shot I took inside the heli. I’ll try and recreate with paint but I‘m wondering if there’s anything that would make a good sub for the ceiling lights. And eventually for the ribbing on the floor?

Gassing Station | Scale Models | Top of Page | What's New | My Stuff


