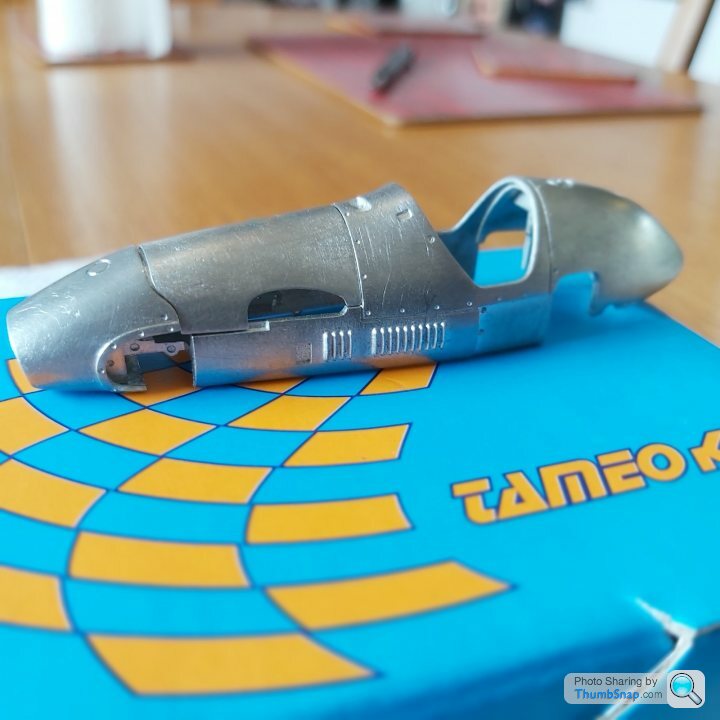
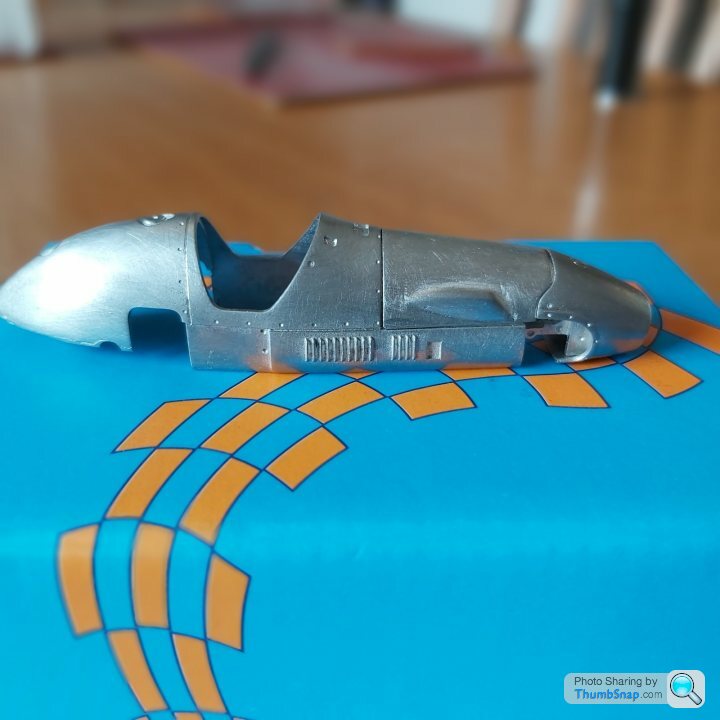
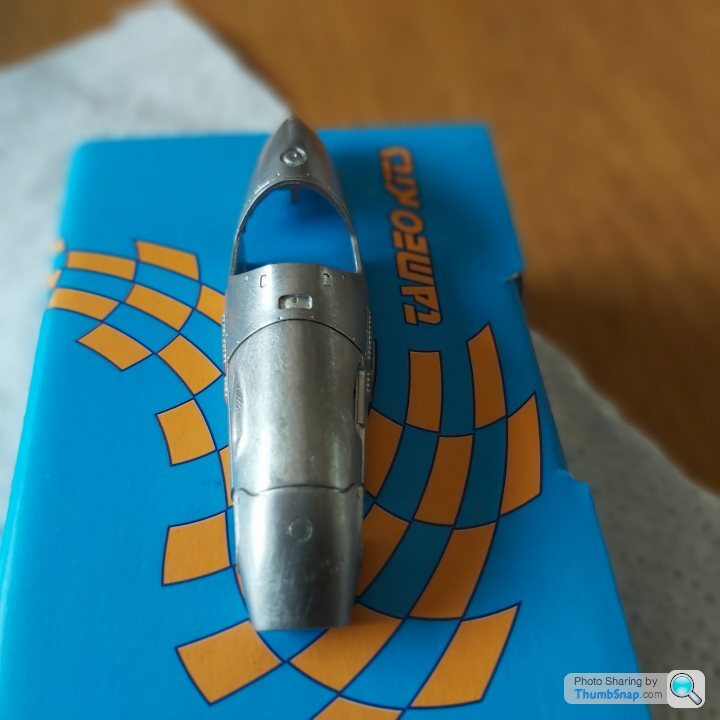
TAMEO 1/43 ferrari 500 F2 ASCARI CHALLENGE BUILD
Discussion
Arived from GP models this morning.A birthday present, honestly.
Daunted by the size of the box, as im used to recieving 1/12th scale.
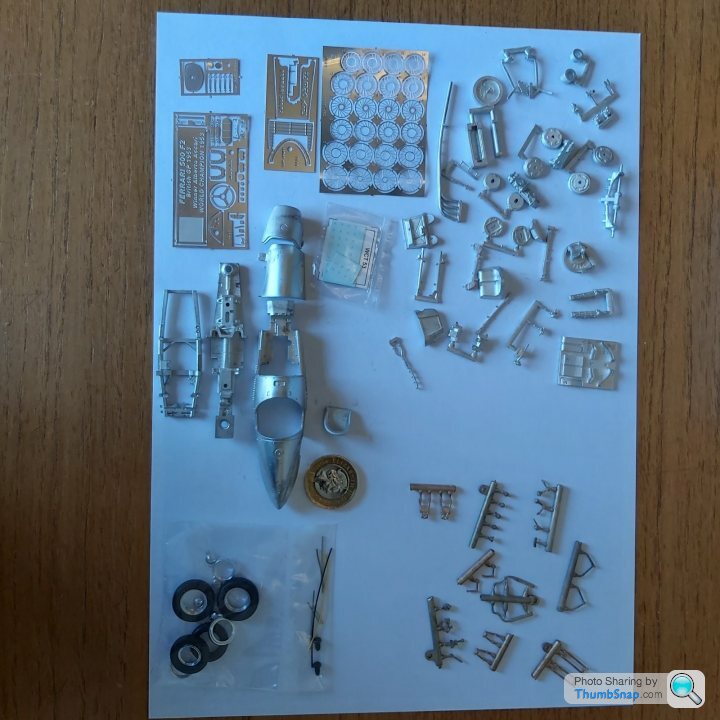
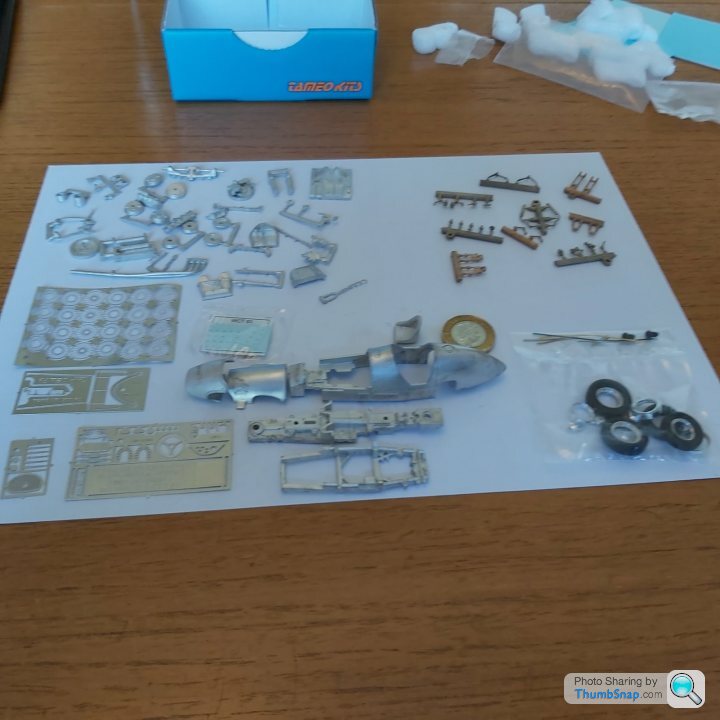
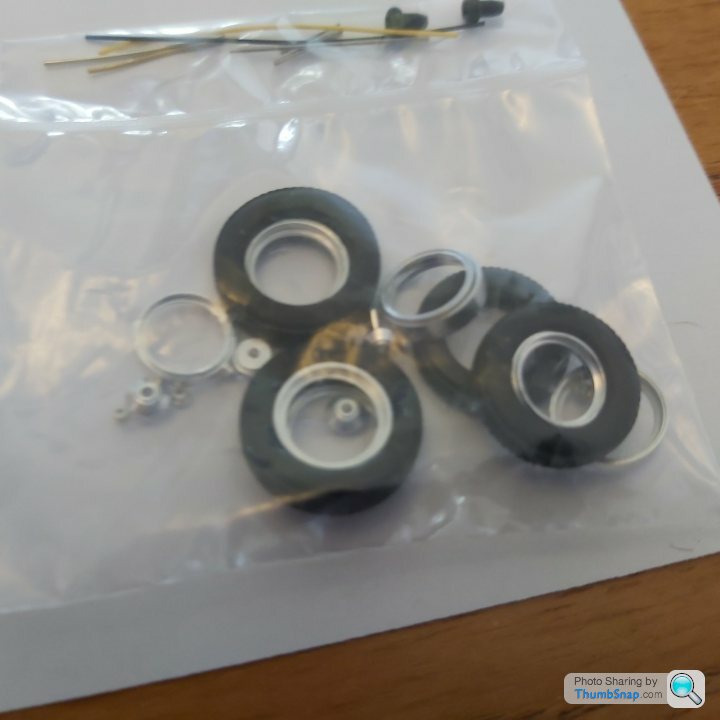
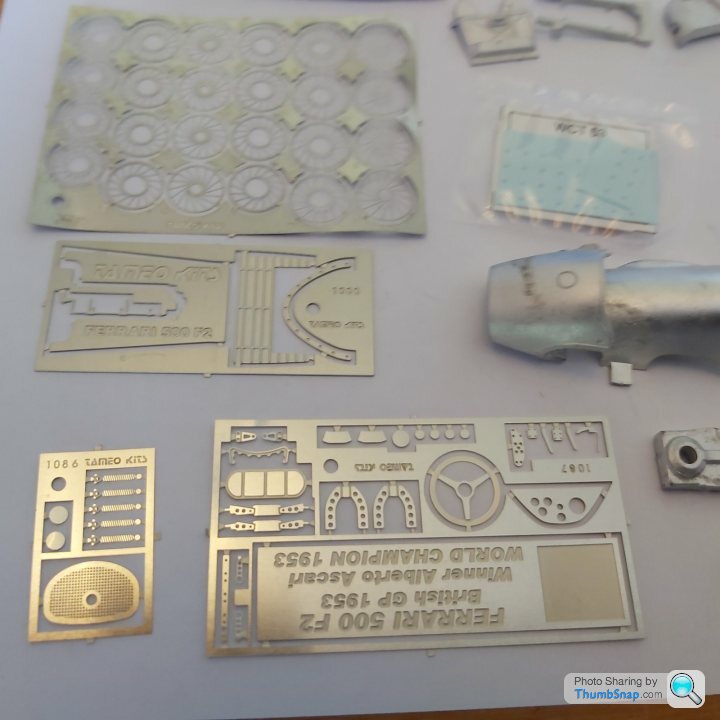
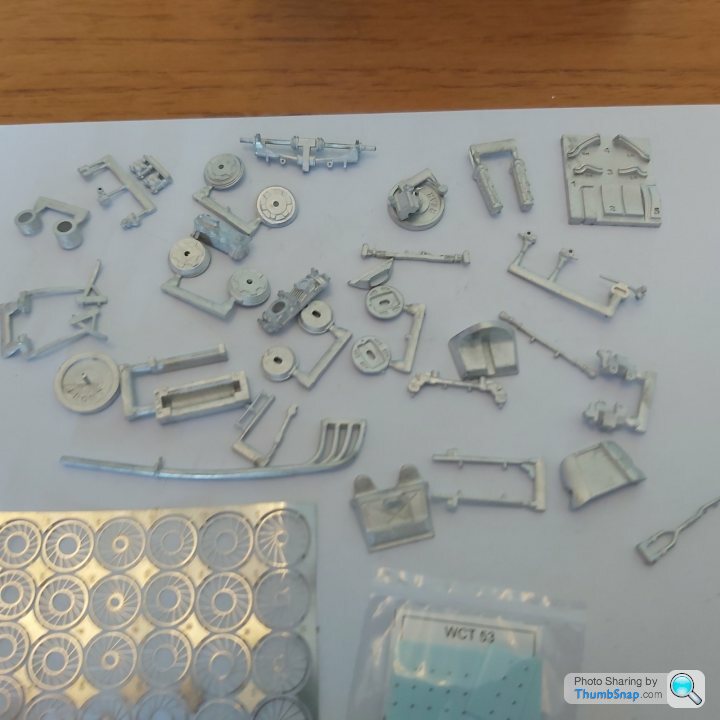
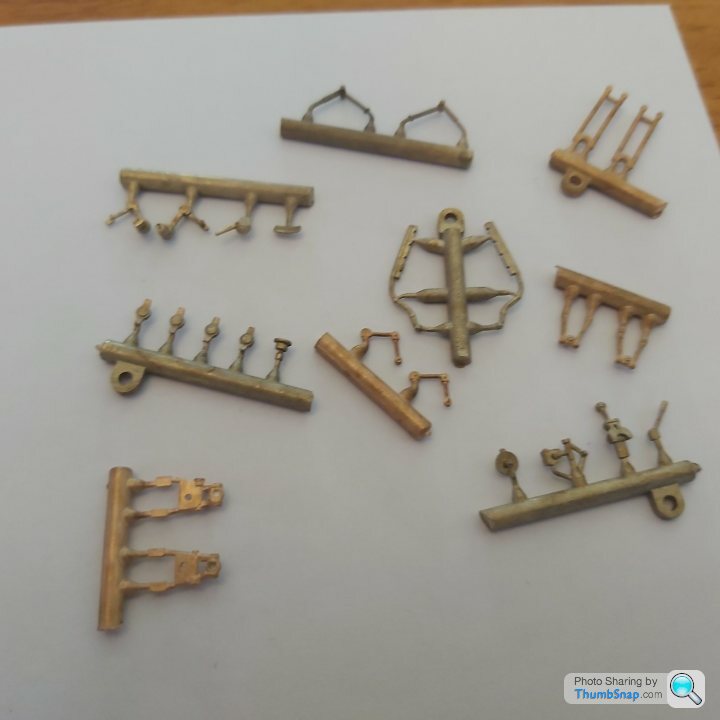
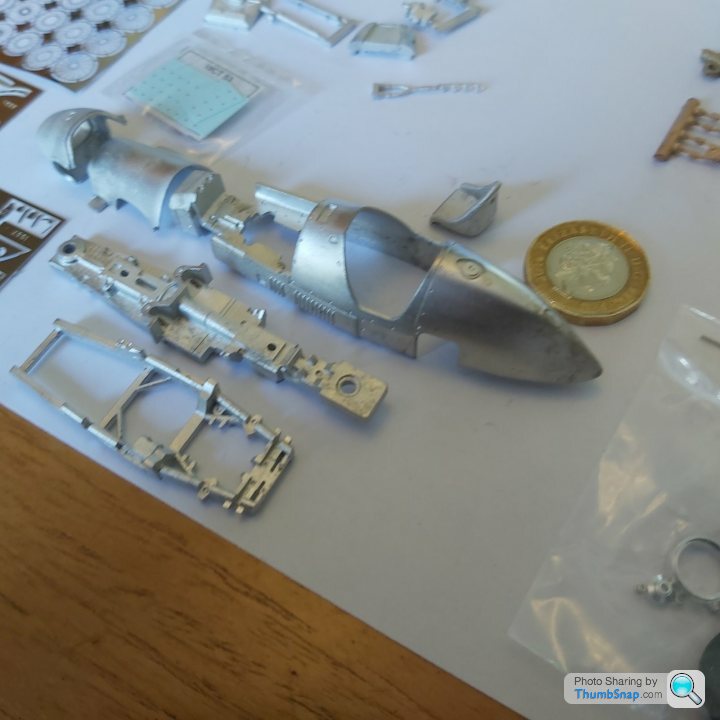
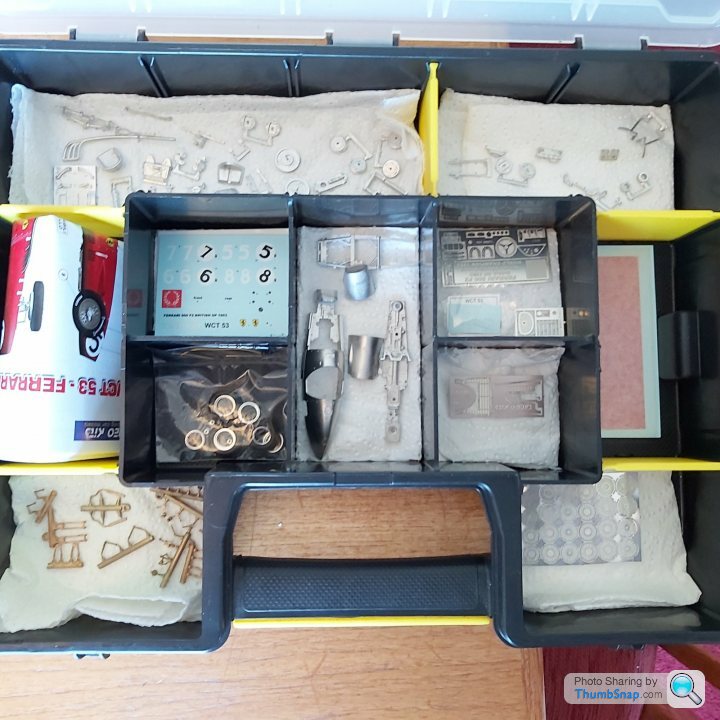
Opened the pandoras box and wowed at the amount of parts and the quality of the castings, brass parts, turned alluminium, rubber, wires, rods, rivets and plenty of PE.
Reminds me of the MFH 1/12th kit shrunken down in size. Quite excited to get this started but know if i mess this up its no going back
and ive waisted my dwindling reserves. 1st thought dont rush as theres plenty of time and if it looks impossible, put it down and have a rethink.
Clean the bench magnifier, sort the parts out ready to build.
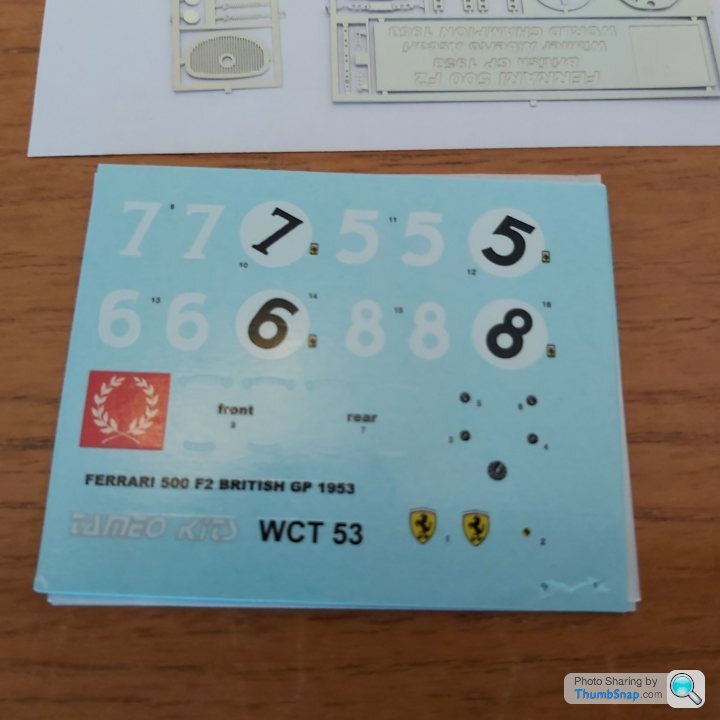
Heres a few pics and a couple of closer views i took today.Sorry for the poor photos
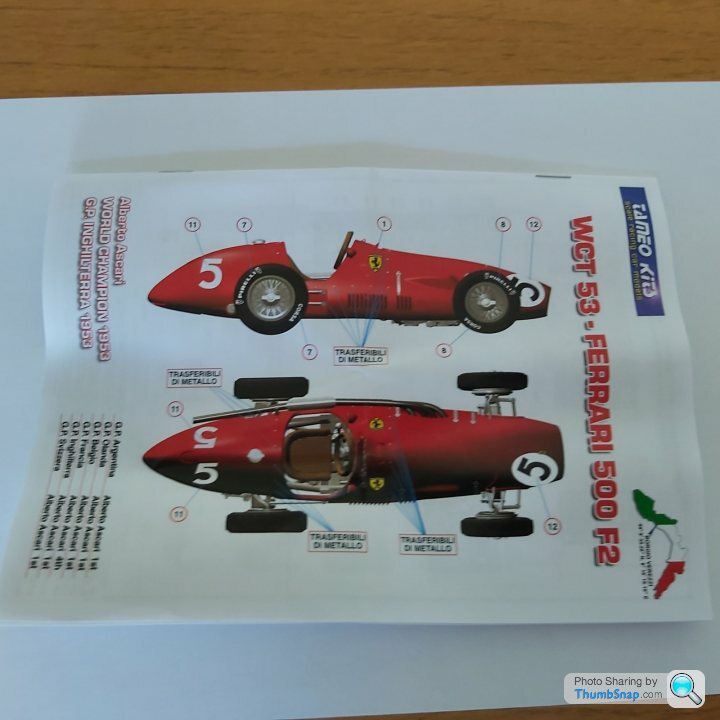 .
.
 .
.
 .
.
 .
.
 .
.
 .
.
 .
.
 .
.
 .
.
Placed into compartments
 .
.
Here goes


Daunted by the size of the box, as im used to recieving 1/12th scale.
Opened the pandoras box and wowed at the amount of parts and the quality of the castings, brass parts, turned alluminium, rubber, wires, rods, rivets and plenty of PE.
Reminds me of the MFH 1/12th kit shrunken down in size. Quite excited to get this started but know if i mess this up its no going back
and ive waisted my dwindling reserves. 1st thought dont rush as theres plenty of time and if it looks impossible, put it down and have a rethink.
Clean the bench magnifier, sort the parts out ready to build.
Heres a few pics and a couple of closer views i took today.Sorry for the poor photos
 .
. .
. .
. .
. .
. .
. .
. .
. .
.Placed into compartments
 .
.Here goes


dr_gn said:
Those pictures make me really want to buy a white metal model, but that would be a daft idea.

 Why’s that then. From what I’ve read on your threads,Would be a walk in the park for you.
I really wanted to get the Phil Hill shark nose. Has so much more detail parts. A lot of bending PE bits but couldn’t get one other than ordering one from Italy on lockdown. The biggest challenge I see on this kit is to try and make the front wheels steer as the steering links are solid brass parts. I’m going to have to cut them, drill and use watchmakers screws to make them articulate.Or probably this kit might just send me round the bend


Edited by henryk001 on Wednesday 15th April 16:46
henryk001 said:
dr_gn said:
Those pictures make me really want to buy a white metal model, but that would be a daft idea.

 Why’s that then. From what I’ve read on your threads,Would be a walk in the park for you.
I really wanted to get the Phil Hill shark nose. Has so much more detail parts. A lot of bending PE bits but couldn’t get one other than ordering one from Italy on lockdown. The biggest challenge I see on this kit is to try and make the front wheels steer as the steering links are solid brass parts. I’m going to have to cut them, drill and use watchmakers screws to make them articulate.Or probably this kit might just send me round the bend


Edited by henryk001 on Wednesday 15th April 16:46
robemcdonald said:
Henry. You’re a much braver man the me. Quite frankly that all looks terrifying.
I shall watch with interest.
.I shall watch with interest.
Im basing my current sanity in that im not the only one who has built these fine kits.Others have suceeded so why not me???.
So just taking my time and being very gentle on metal removal at the mo..
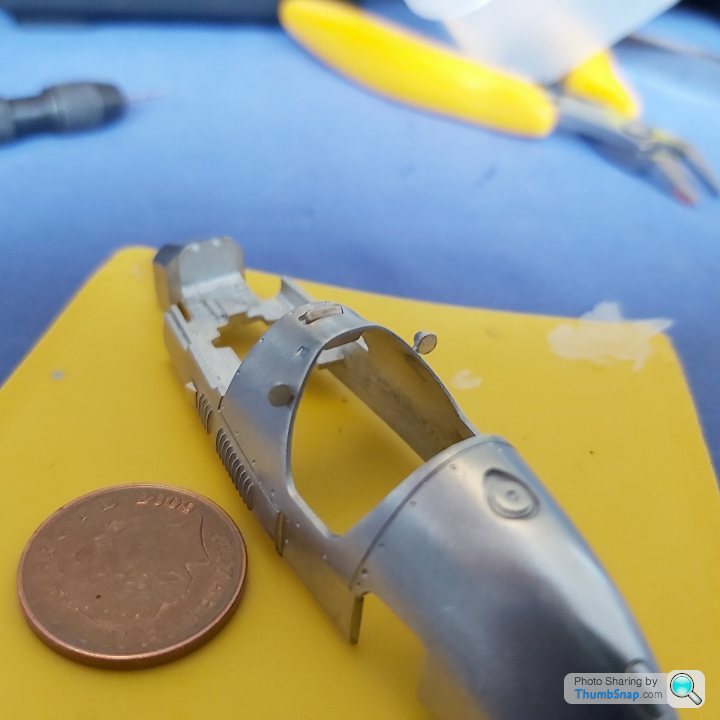
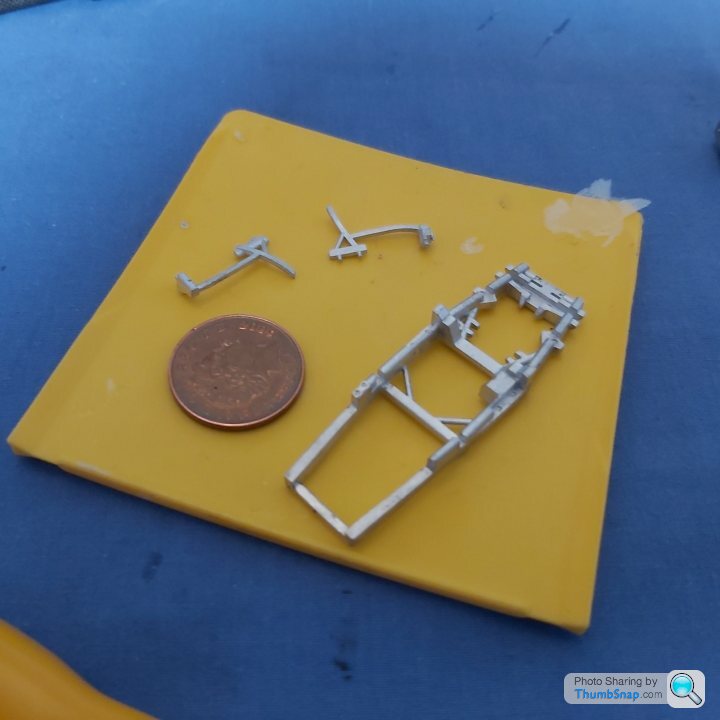
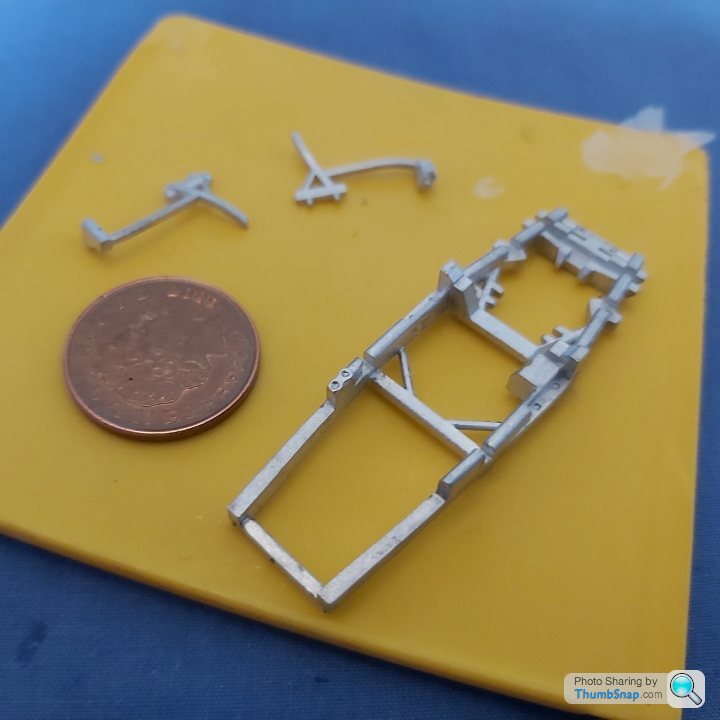
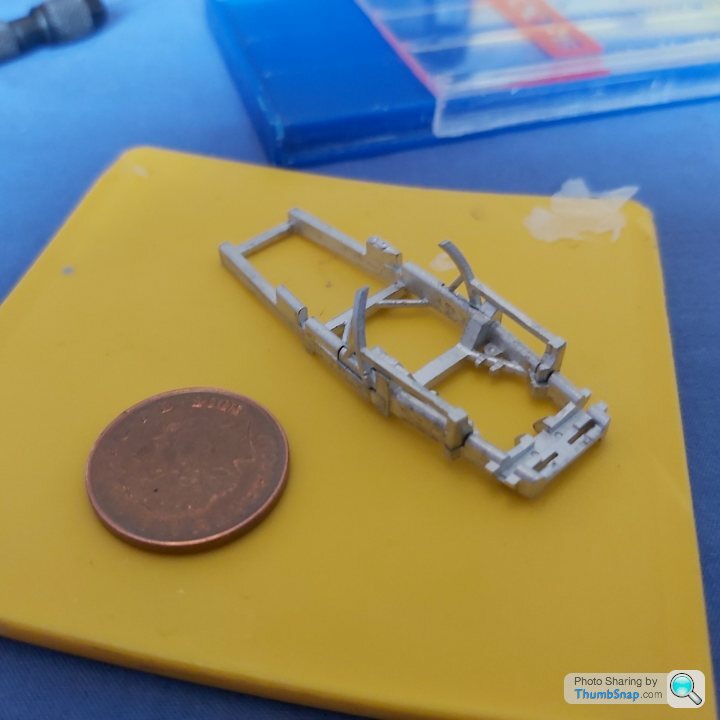
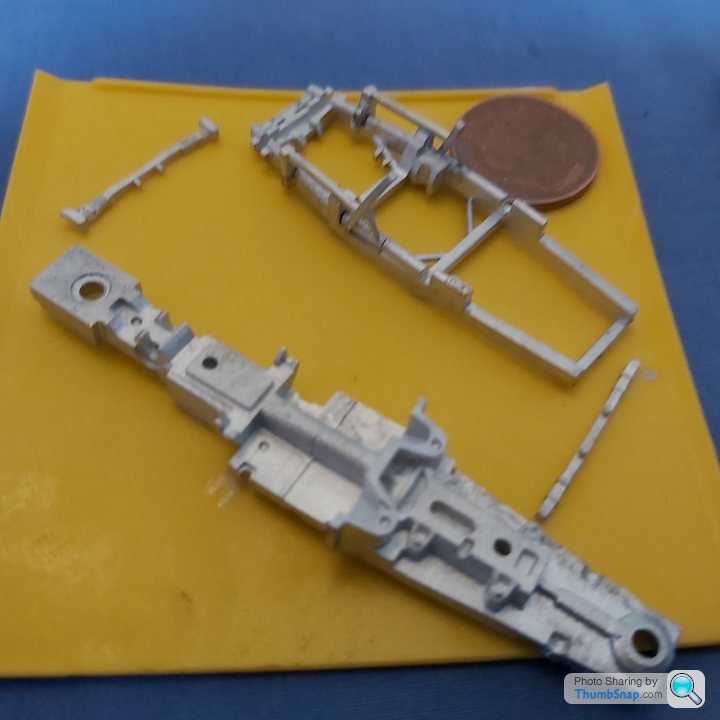
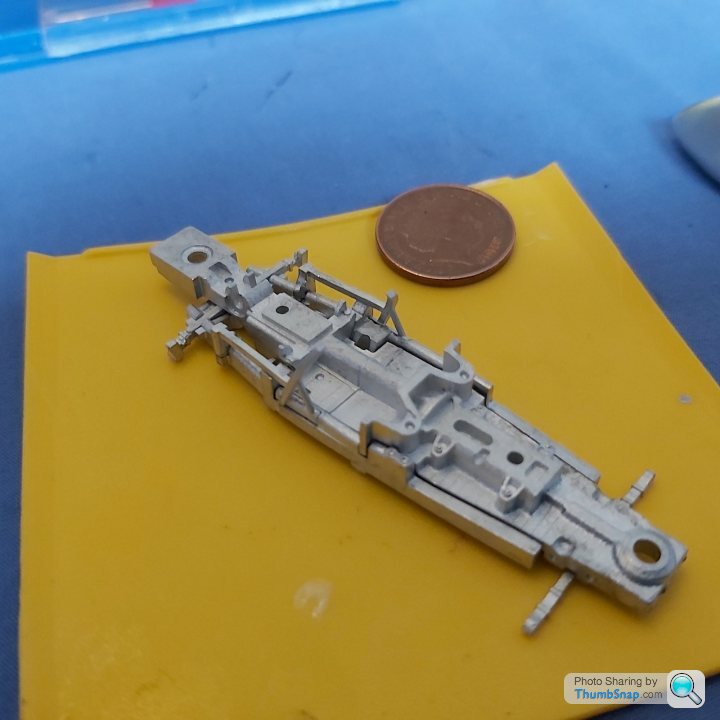
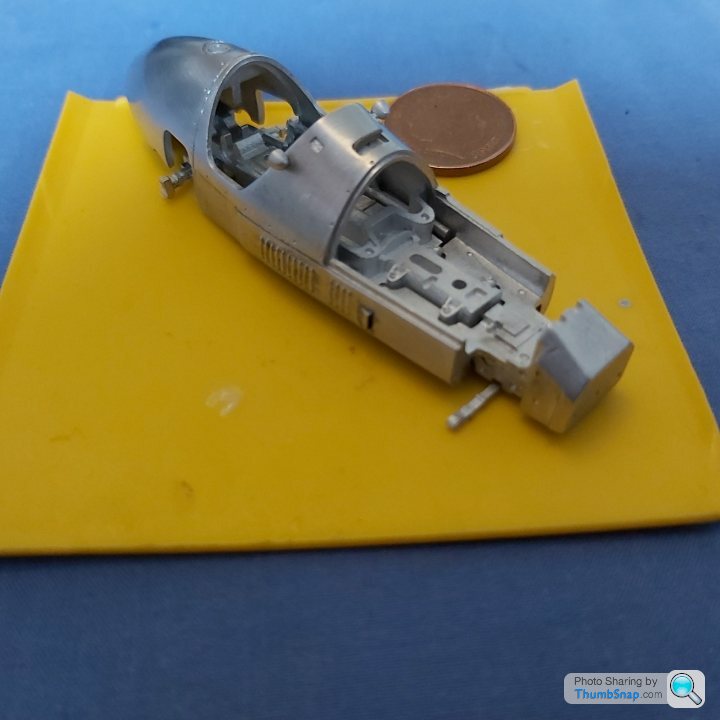
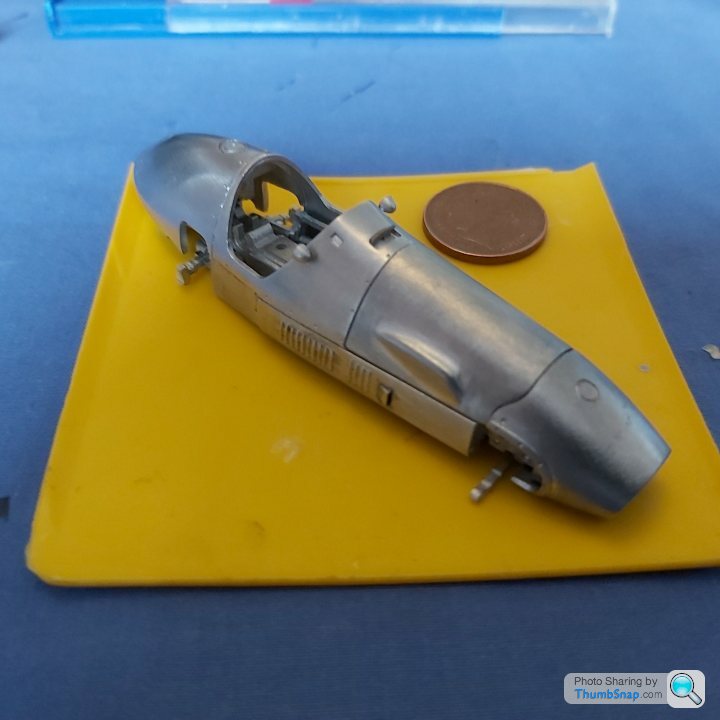
Im really enjoying this at the moment,might even say its slightly addictive although it doesnt look like ive done much. Its taking much longer than i thought as its so small.
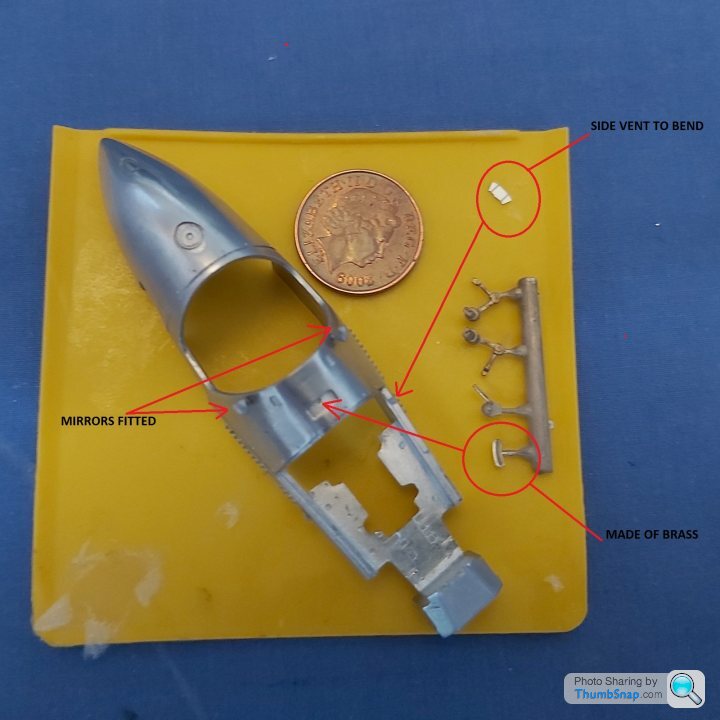
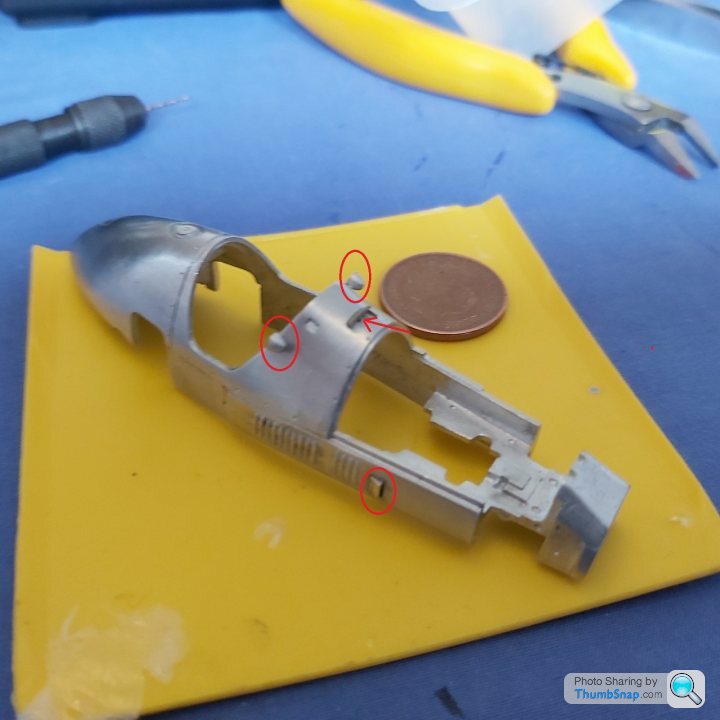
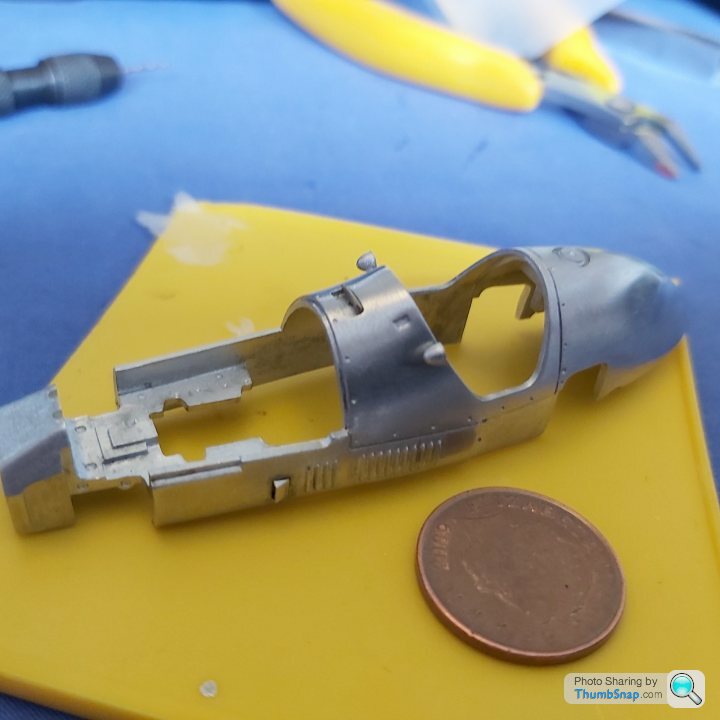
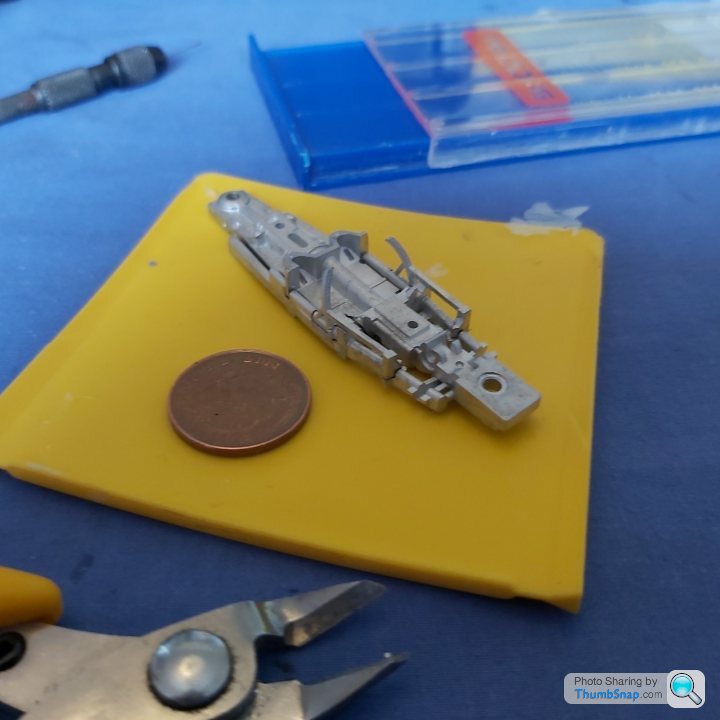
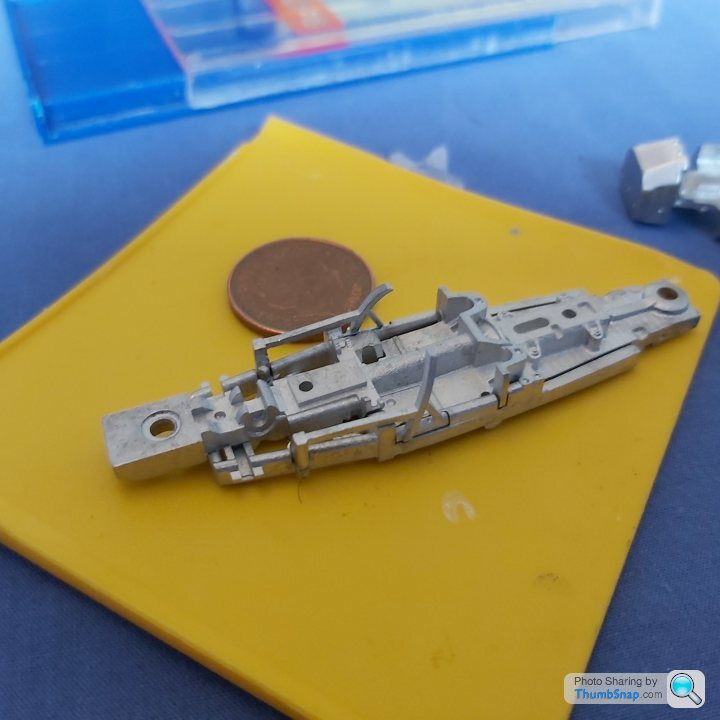
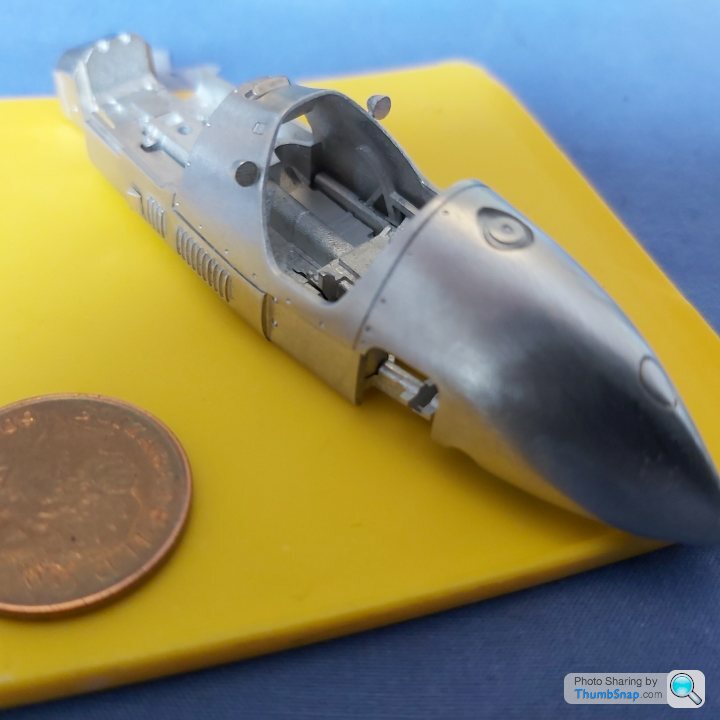
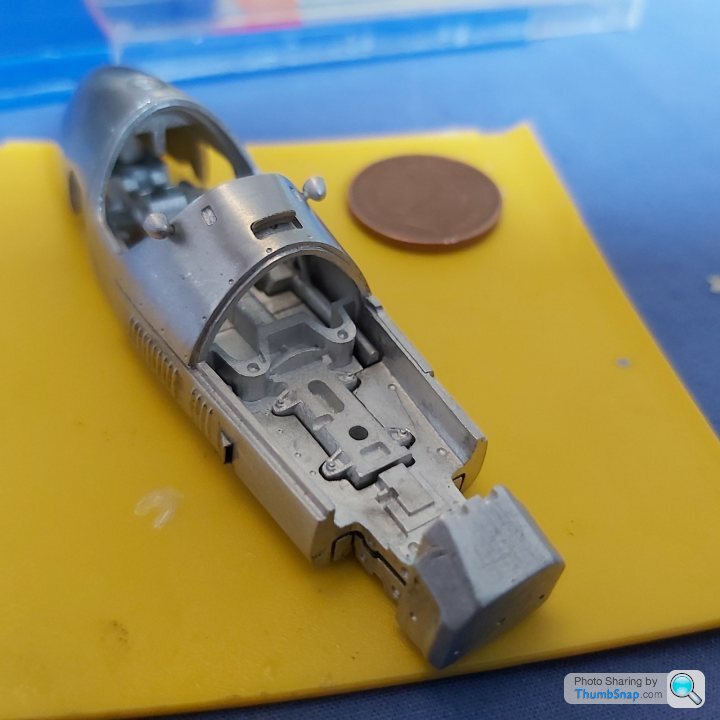
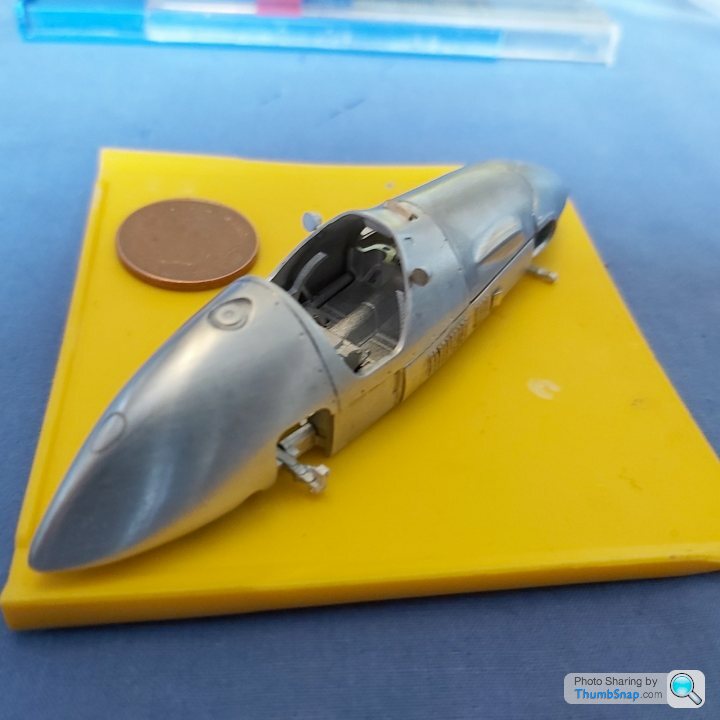
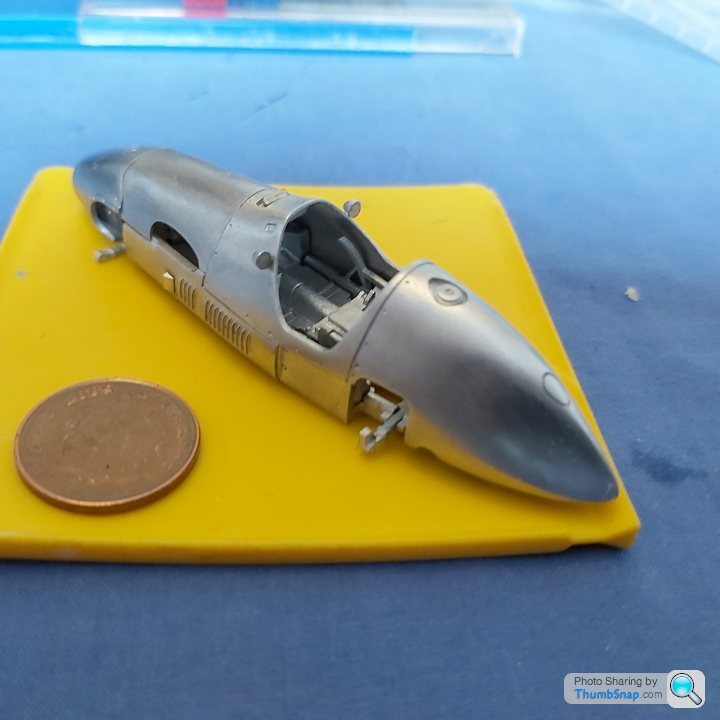
So prior to Etch primer and colour, ive added the few parts required and sub assemblied some others prior to painting to be sure.
Filing sanding and drilling so far.
 .
.
 .
.
 .
.
 .
.
 .
.
 .
.
 .
.
 .
.
 .
.
 .
.
 .
.
 .
.
 .
.
 .
.
 .
.
 .
.
 .
.
Ready for painting now.
So prior to Etch primer and colour, ive added the few parts required and sub assemblied some others prior to painting to be sure.
Filing sanding and drilling so far.
 .
. .
. .
. .
. .
. .
. .
. .
. .
. .
. .
. .
. .
. .
. .
. .
. .
.Ready for painting now.
It might have been best to leave the p/e vents of and painted them seperately, then glued them on with PVA - Could it be an issue to get full paint coverage inside the vents? Also, if you need to polish the paint back they might get damaged.
Either way, looking forward to seeing it in colour.
Either way, looking forward to seeing it in colour.
dr_gn said:
It might have been best to leave the p/e vents of and painted them seperately, then glued them on with PVA - Could it be an issue to get full paint coverage inside the vents? Also, if you need to polish the paint back they might get damaged.
Either way, looking forward to seeing it in colour.
.Either way, looking forward to seeing it in colour.
Yes i did think that might be a issue.I can always ping them off and do them again.
The main reason for fitting them on was the risk of marking the paint and any glue residue, will show up like a sore thumb.
I will see how well the primer goes on as a reference, if as you say the paint doesnt catch inside the vents i will take them off.
Happy to recieve any critisisms good or bad as its my 1st attempt at such a small model. Reading up a lot on forums and Google.
henryk001 said:
dr_gn said:
It might have been best to leave the p/e vents of and painted them seperately, then glued them on with PVA - Could it be an issue to get full paint coverage inside the vents? Also, if you need to polish the paint back they might get damaged.
Either way, looking forward to seeing it in colour.
.Either way, looking forward to seeing it in colour.
Yes i did think that might be a issue.I can always ping them off and do them again.
The main reason for fitting them on was the risk of marking the paint and any glue residue, will show up like a sore thumb.
I will see how well the primer goes on as a reference, if as you say the paint doesnt catch inside the vents i will take them off.
Happy to recieve any critisisms good or bad as its my 1st attempt at such a small model. Reading up a lot on forums and Google.
I cant get over the length of time this is taking, concidering its so smal but found that the smallest flaw or error shouts out so much.
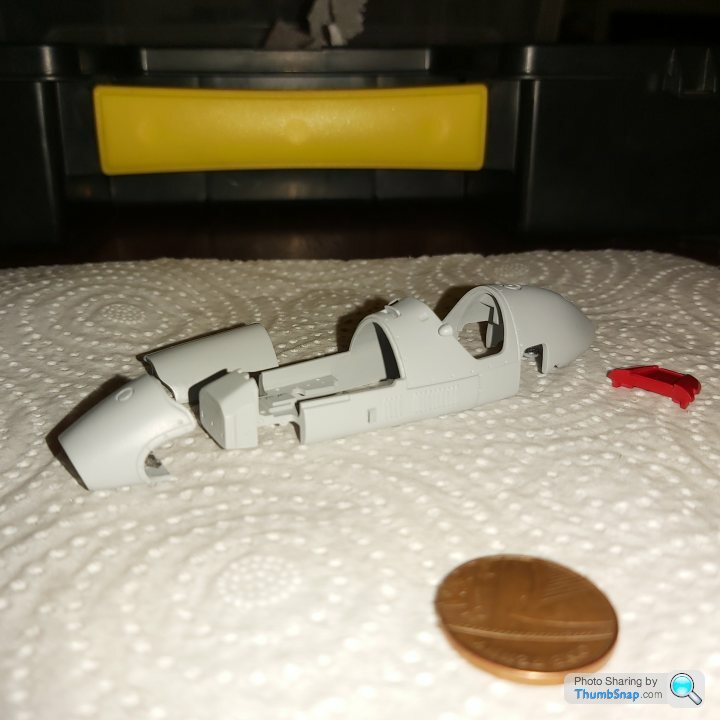
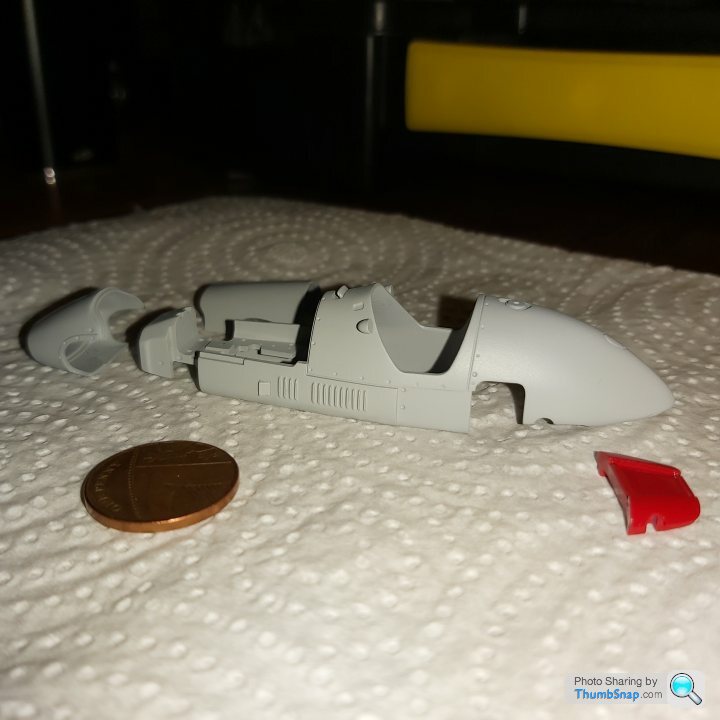
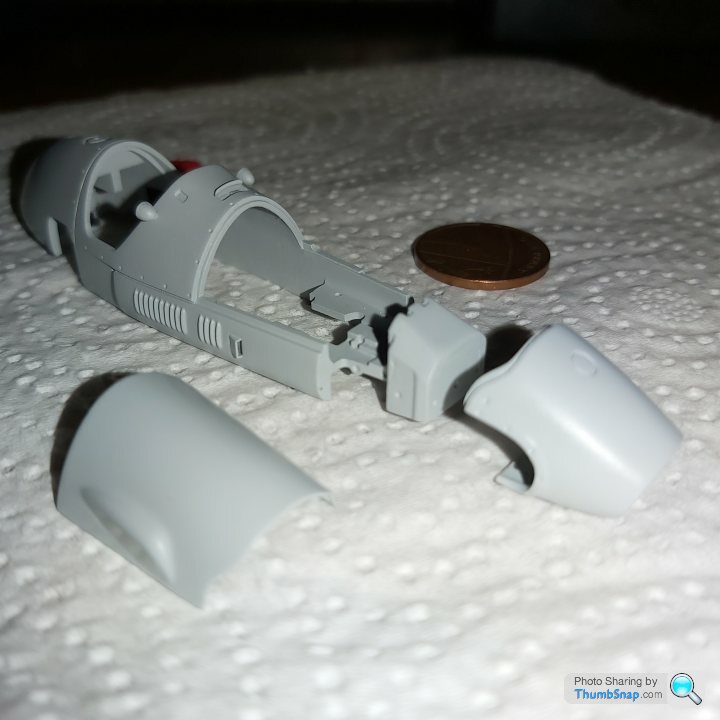
The first coat of primer showed tiny pinholes over the body so 3 coats of etch primer, 3 rubdowns with 1500 and filling the holes with dobs of paint has got my eye (questionable) to what i see as a acceptable level before top coat. The one thing im happy with is the etch primer is so close to the grey colour that was used to seal the aluminium inside the body and chassis so i dont have to mask the outside after ive painted it " to put the light grey on, if that makes sense".
Still enjoying this. Im hoping that this project doesnt fail as theres so many tiny parts could be lost or just a blob of glue will make it look crxp.
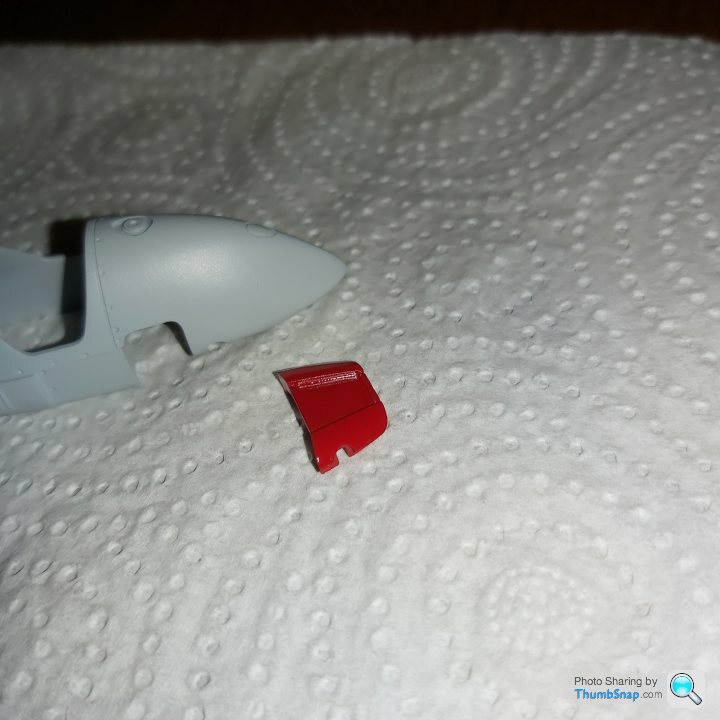
Practised the top coat on the part that fits at the rear underside of the body, looks ok.
 .
.
 .
.
 .
.
 .
.
The first coat of primer showed tiny pinholes over the body so 3 coats of etch primer, 3 rubdowns with 1500 and filling the holes with dobs of paint has got my eye (questionable) to what i see as a acceptable level before top coat. The one thing im happy with is the etch primer is so close to the grey colour that was used to seal the aluminium inside the body and chassis so i dont have to mask the outside after ive painted it " to put the light grey on, if that makes sense".
Still enjoying this. Im hoping that this project doesnt fail as theres so many tiny parts could be lost or just a blob of glue will make it look crxp.
Practised the top coat on the part that fits at the rear underside of the body, looks ok.
 .
. .
. .
. .
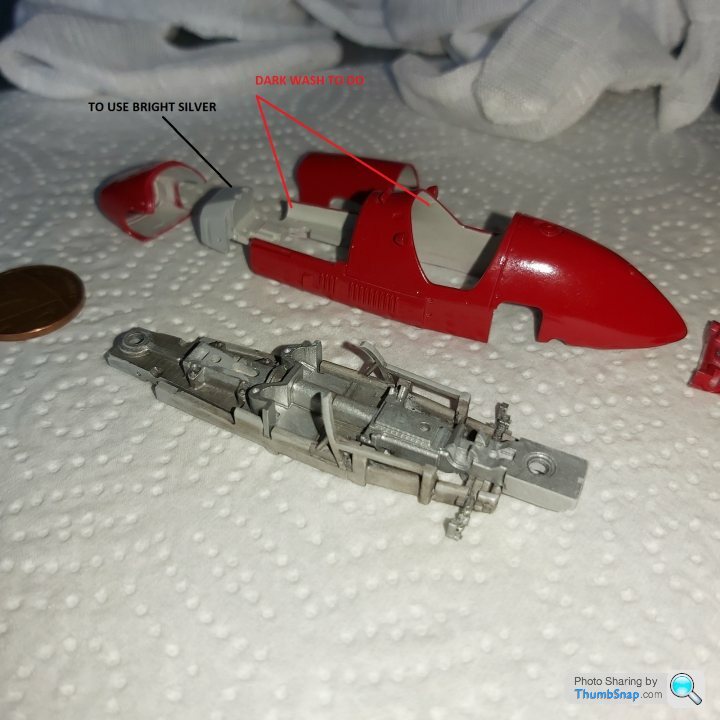
.Got to stage 4 of 44 stages. Ive had to think differently building such a small model.Its my first time so please do comment good or bad especially anyone who builds these on a regular basis.Even looking at tutorials, google etc, Its taking up so much time thinking about how to get on with it as im such a novice at small scale.
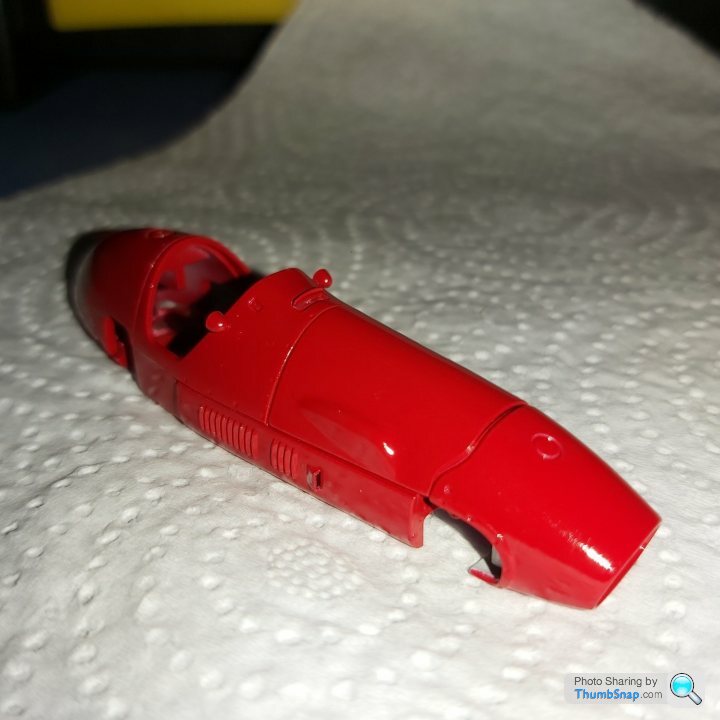
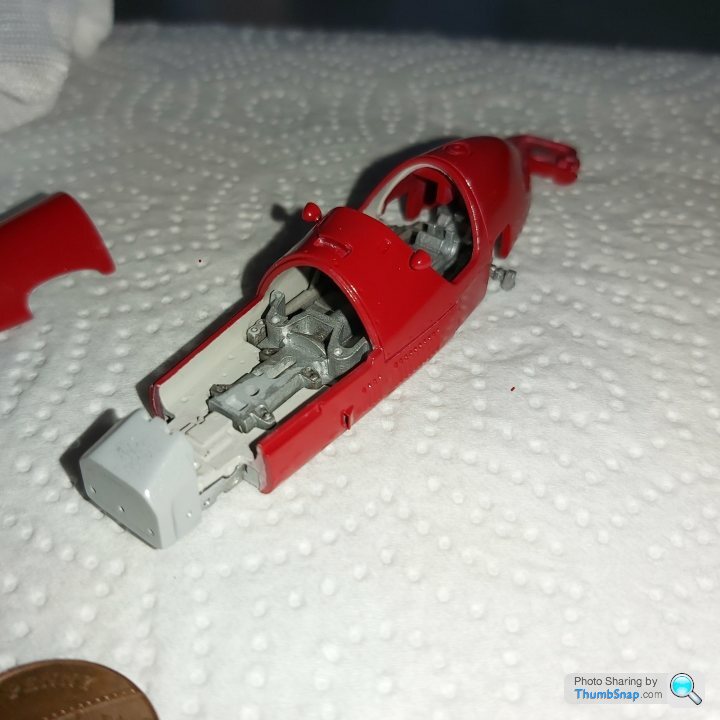
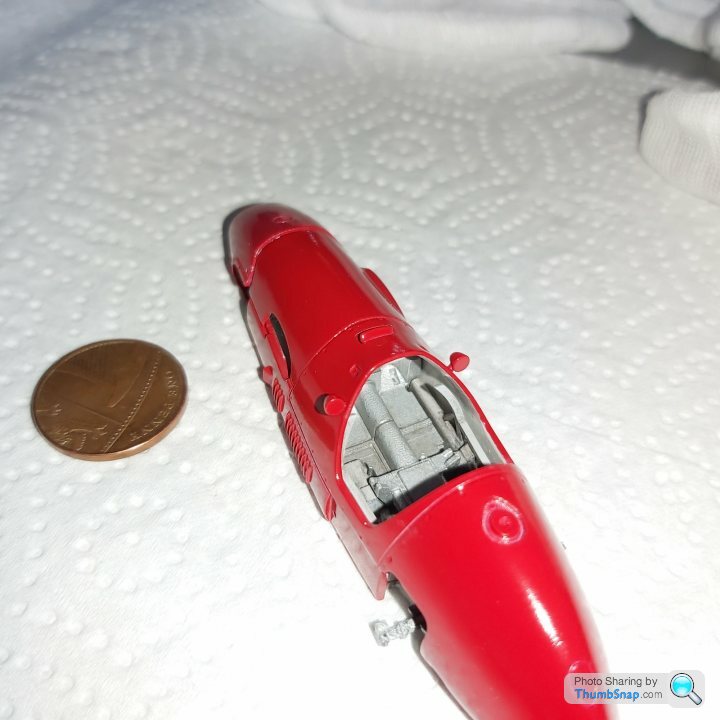
I think the body looks ok, small touch ups and a good polish should be good.
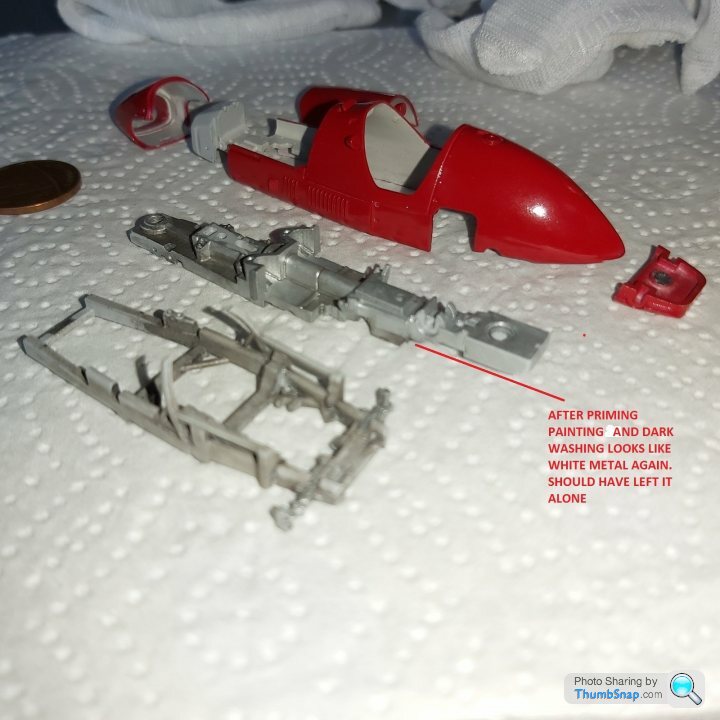
The chassis frame is in grey and washed to show a aged, used look. Im also going to do the inside skinsin wash as well.
The main frame i should have left alone as after priming, spraying then blacl wash made it look pretty much the same as it came out of the box.
Some pics.
1st top coat
 .
.
 .
.
 .
.
 .
.
 .
.
Cheers almost time for beers
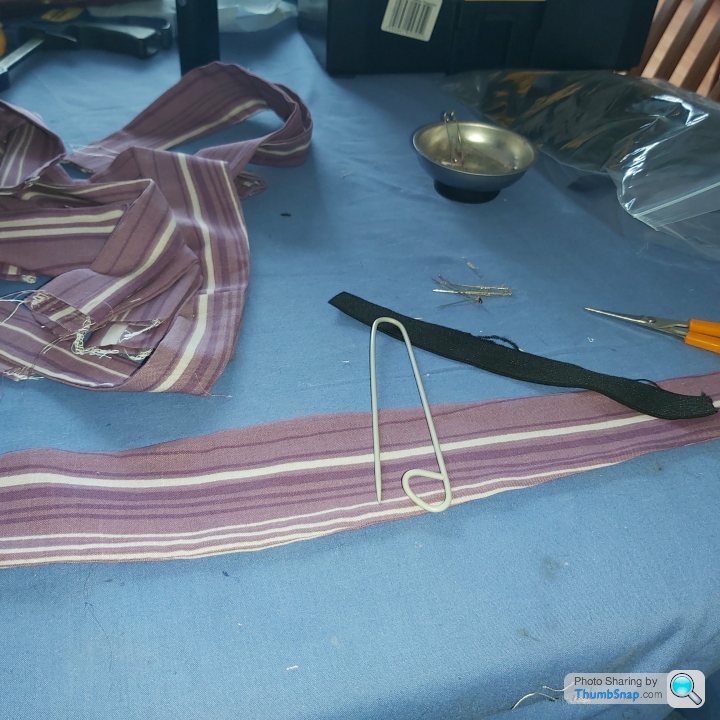
Ive been conscripted by my wife who is making elasticated headbands for the NHS staff with big buttons on them so the nurses,doctors can pull the elastic over the buttons instead of cutting into their ears.
So my job is pulling them inside out after stitched, then pulling elastic through and pinning ready for final stitching,very repetitive work but its all for a good cause. I know how the 3rd world clothing manufacturing staff feel

 . Shes done over 100 so far. Dont clap us as were happy to do it.
 .
.
 .
.
 .
.
I think the body looks ok, small touch ups and a good polish should be good.
The chassis frame is in grey and washed to show a aged, used look. Im also going to do the inside skinsin wash as well.
The main frame i should have left alone as after priming, spraying then blacl wash made it look pretty much the same as it came out of the box.
Some pics.
1st top coat
 .
. .
. .
. .
. .
.Cheers almost time for beers

Ive been conscripted by my wife who is making elasticated headbands for the NHS staff with big buttons on them so the nurses,doctors can pull the elastic over the buttons instead of cutting into their ears.
So my job is pulling them inside out after stitched, then pulling elastic through and pinning ready for final stitching,very repetitive work but its all for a good cause. I know how the 3rd world clothing manufacturing staff feel


 . Shes done over 100 so far. Dont clap us as were happy to do it.
 .
. .
. .
.silverfoxcc said:
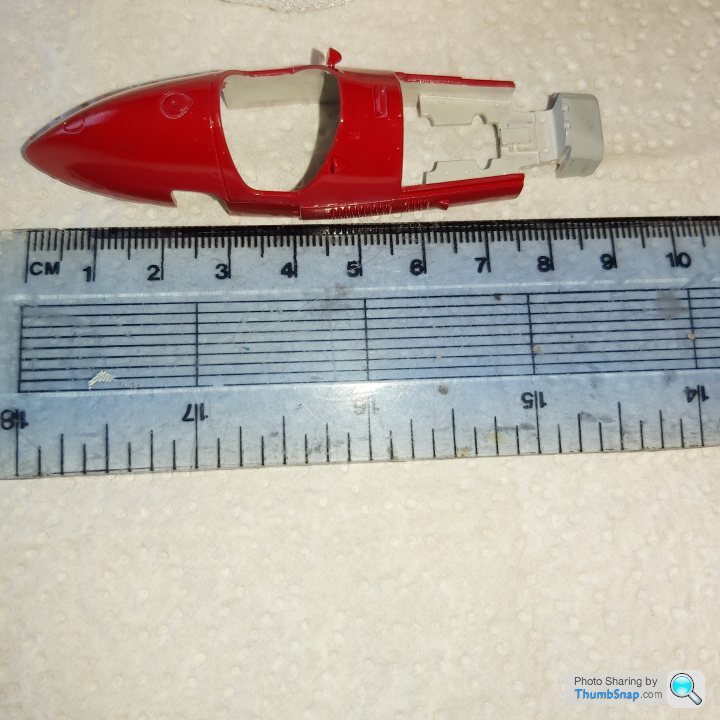
Henry what is the coin?
Looks like it might be an old penny (pre-decimal) - so 3cm?Just looked at the earlier pictures and it I think it might be a 2009 1p - 2cm across.
At that scale the car will be something like 10cm long.
Edited by Murph7355 on Friday 24th April 22:41
Murph7355 said:
silverfoxcc said:
Henry what is the coin?
Looks like it might be an old penny (pre-decimal) - so 3cm?Just looked at the earlier pictures and it I think it might be a 2009 1p - 2cm across.
At that scale the car will be something like 10cm long.
Edited by Murph7355 on Friday 24th April 22:41
Yes, close almost 9cm long
 .
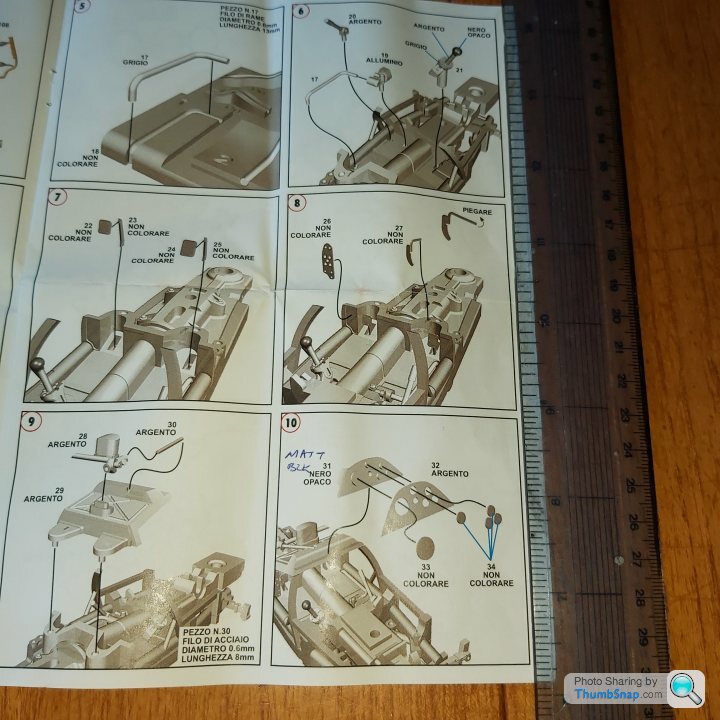
.Heres the next stages to do, although i havent washed the inner panels,fitted the mirror lenses or filler cap from the 1st page.
PS as you can see its all in italian, but there is a key in English that translates almost all wording.
 .
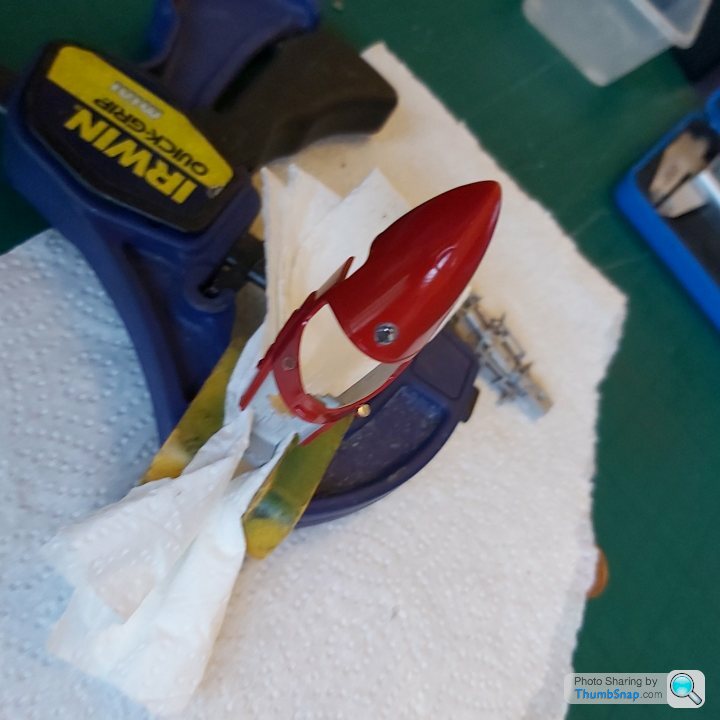
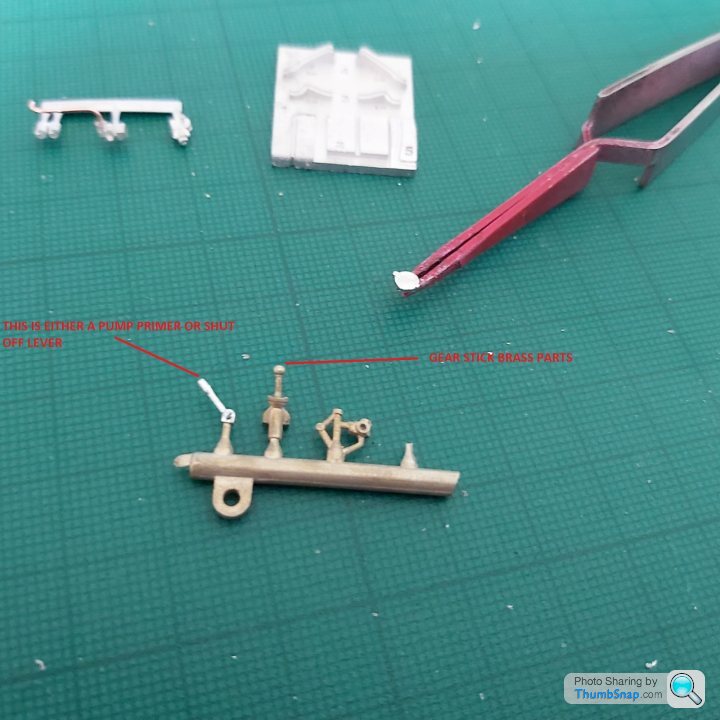
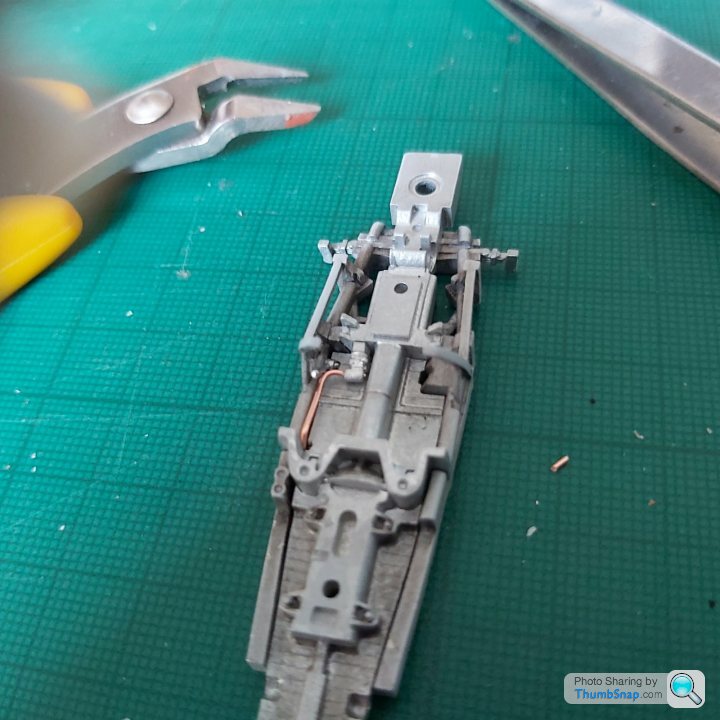
.Petrol cap, mirrors glued on with pva and a drop of motolow chrome to bring out some reflection.
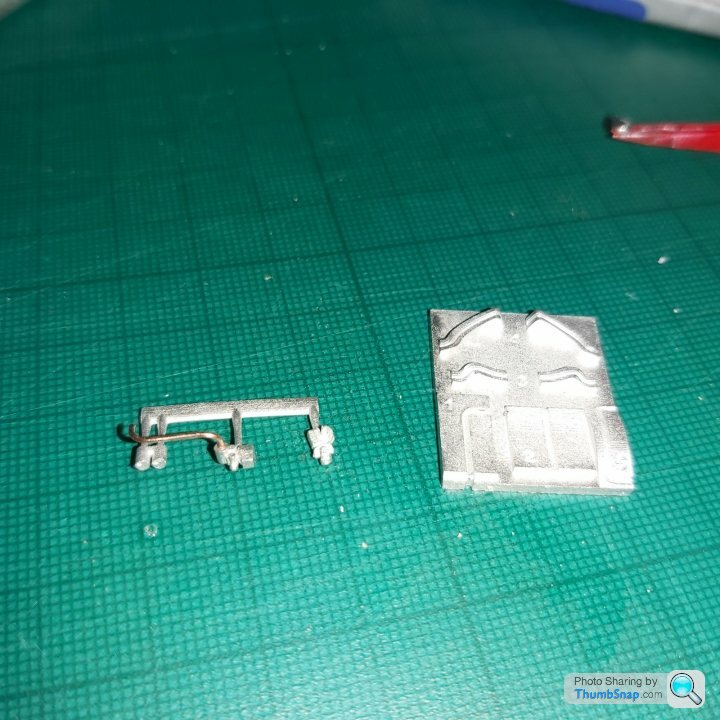
Im seeing at this scale that the colours arnt coming through well if i stick to the instructions, individulally it does but when sub assembled, its all to dark in the cockpit,so for example where it says bright silver, im using chrome instead and the fuel pipes im leaving copper to stand out .
 .
.
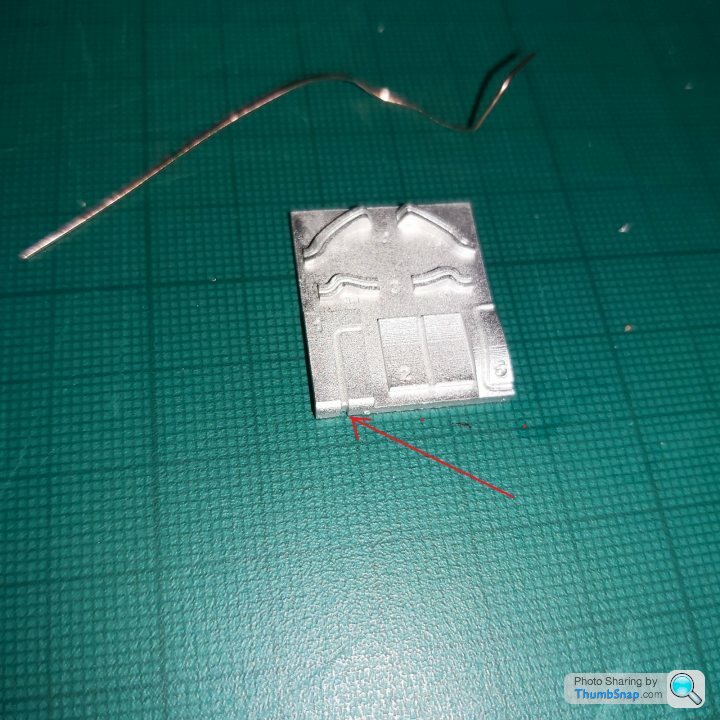
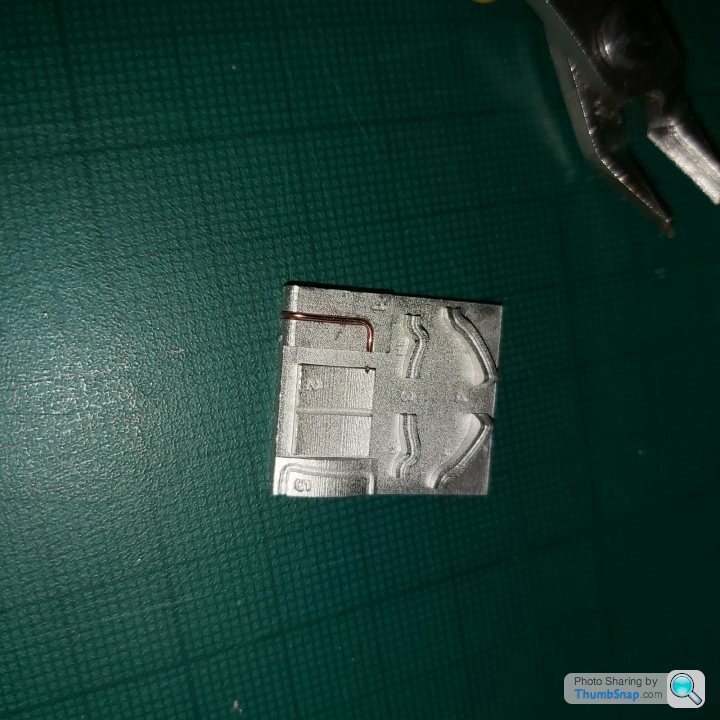
Nice little bending jig for fuel lines and brake pipes.
 .
.
 .
.
 .
.
 .
.
 .
.
Onwards finish stage 6-10
Im seeing at this scale that the colours arnt coming through well if i stick to the instructions, individulally it does but when sub assembled, its all to dark in the cockpit,so for example where it says bright silver, im using chrome instead and the fuel pipes im leaving copper to stand out .
 .
.Nice little bending jig for fuel lines and brake pipes.
 .
. .
. .
. .
. .
.Onwards finish stage 6-10
Getting to the end of stage 10.
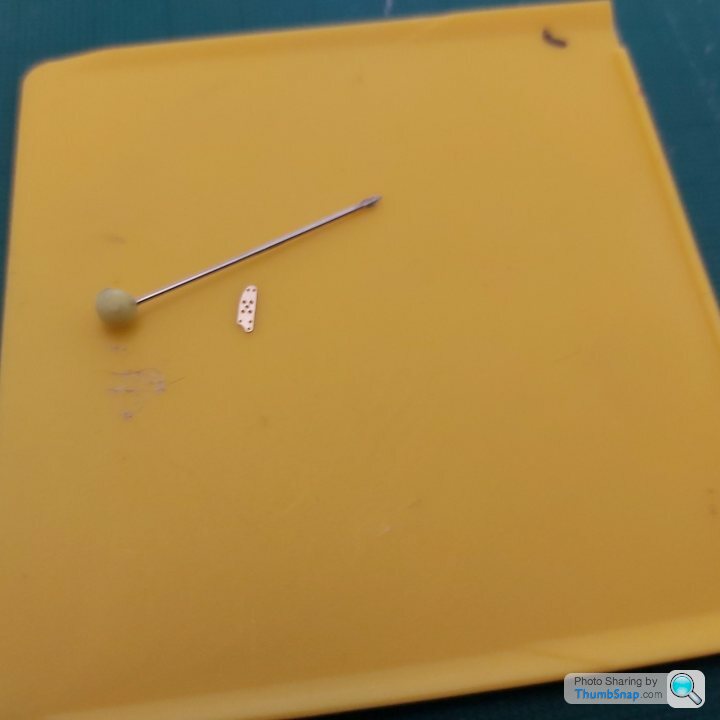
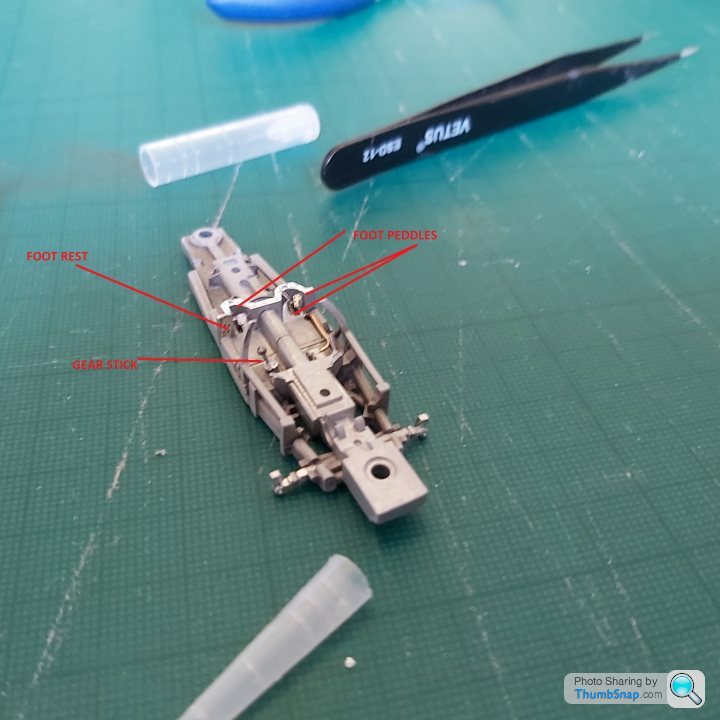
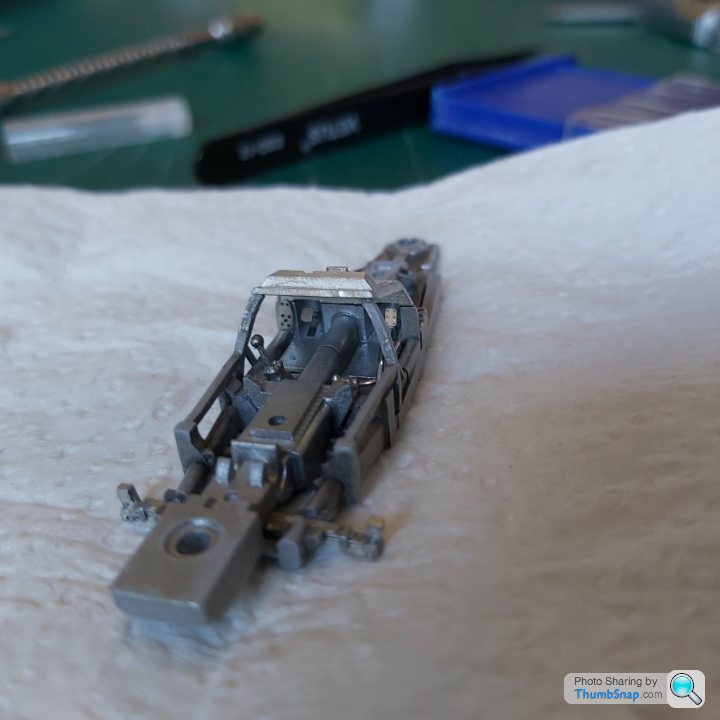
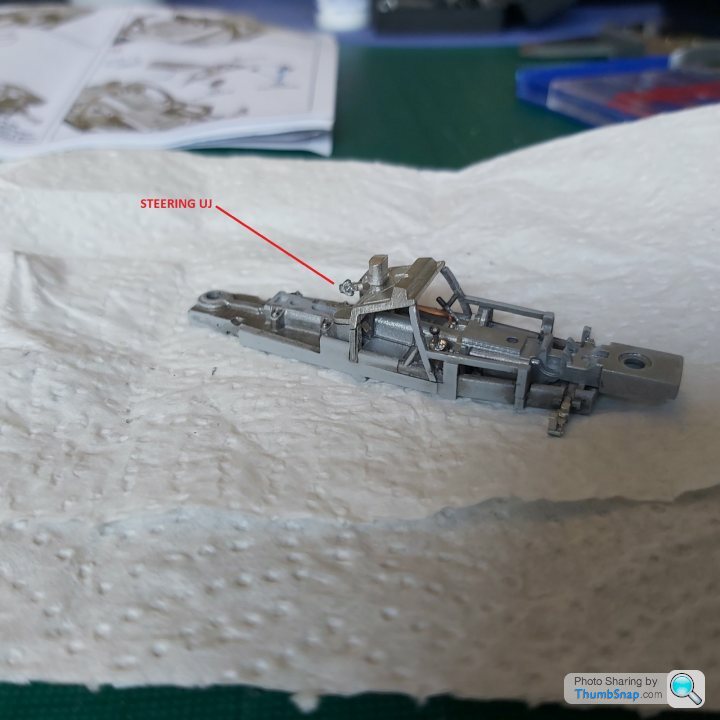
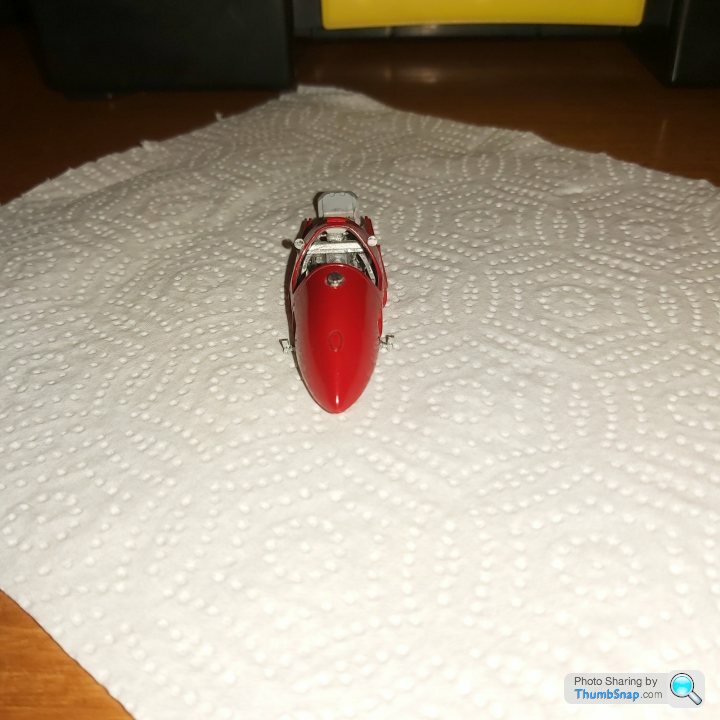
Gear stick, tiny photo etched parts for the foot peddles and footrest, steering knuckle, washed panel lines on the body and realised most of the detail
will be missed once the seat and dash goes in and the body goes on top.Still enjoying this challenging small model.
 .
.
 .
.
 .
.
 .
.
 .
.
Gear stick, tiny photo etched parts for the foot peddles and footrest, steering knuckle, washed panel lines on the body and realised most of the detail
will be missed once the seat and dash goes in and the body goes on top.Still enjoying this challenging small model.
 .
. .
. .
. .
. .
.Gassing Station | Scale Models | Top of Page | What's New | My Stuff


