Trumpeter 1/144 Vulcan XH558
Discussion
I decided to do a build thread for my latest project. Once this is done I’m going to methodically work through the almost finished stuff I have lying around (honest)
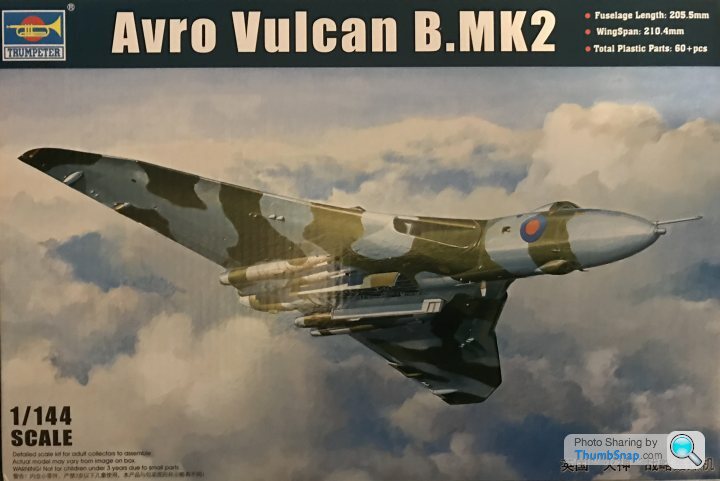
So trumpeters brand new 1/144 scale Vulcan is the subject and I’m going to use the decals in the kit to make the famous XH558 (presumably just like everyone else that buys the kit)
The kits looks fantastic and I will post some sprue shots later. It’s also a much better size than the upcoming Airfix kit.

robemcdonald said:
I decided to do a build thread for my latest project. Once this is done I’m going to methodically work through the almost finished stuff I have lying around (honest)
So trumpeters brand new 1/144 scale Vulcan is the subject and I’m going to use the decals in the kit to make the famous XH558 (presumably just like everyone else that buys the kit)
The kits looks fantastic and I will post some sprue shots later. It’s also a much better size than the upcoming Airfix kit.

Bout time.So trumpeters brand new 1/144 scale Vulcan is the subject and I’m going to use the decals in the kit to make the famous XH558 (presumably just like everyone else that buys the kit)
The kits looks fantastic and I will post some sprue shots later. It’s also a much better size than the upcoming Airfix kit.

So here are some sprue shots.
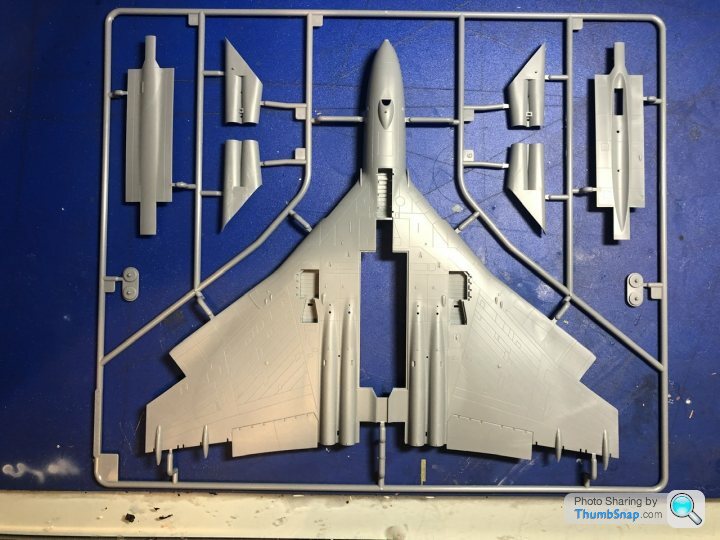
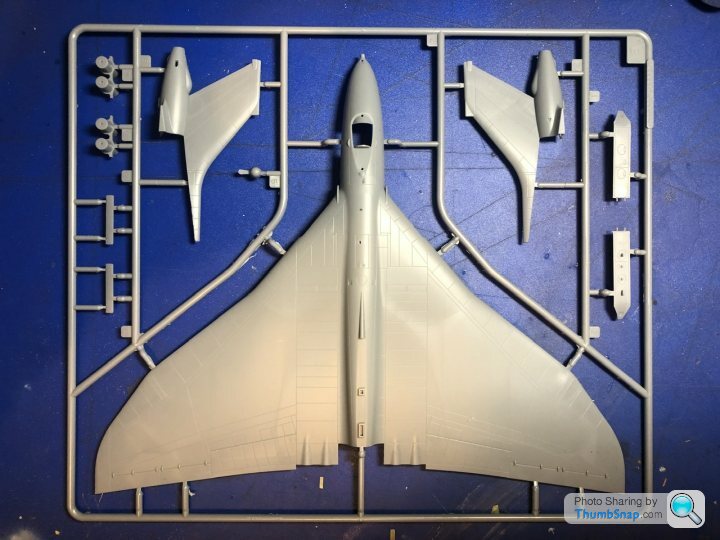
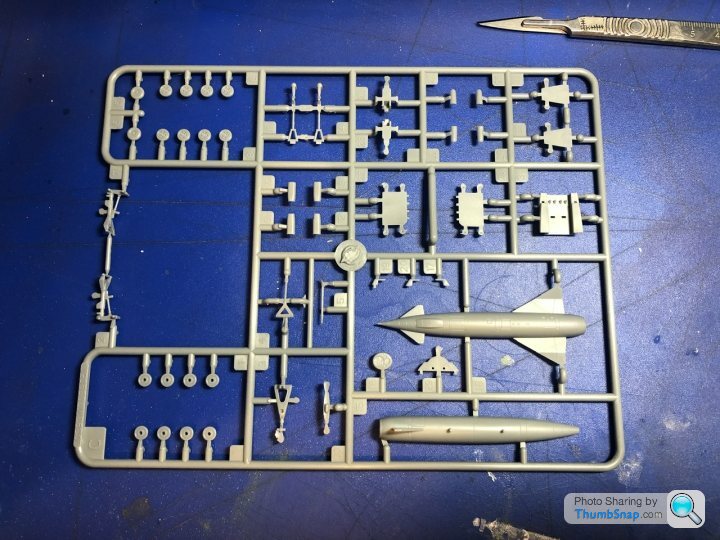
The way I which the kit replicates the Vulcans complicated shape is very impressive and sets a high bar for the Airfix kit to follow.
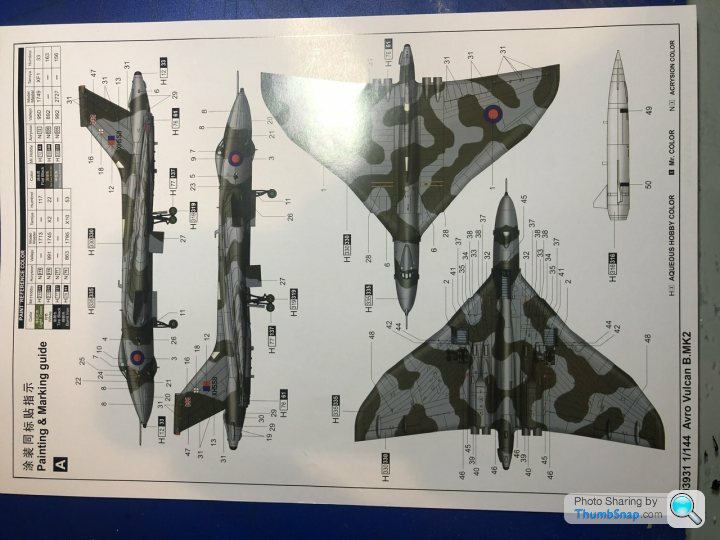
There’s a nice full colour painting guide separate from the instructions.
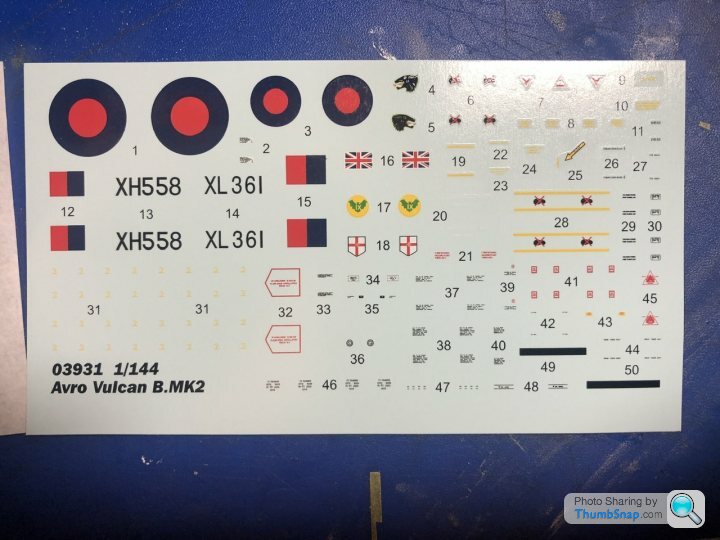
And some pretty nice decals
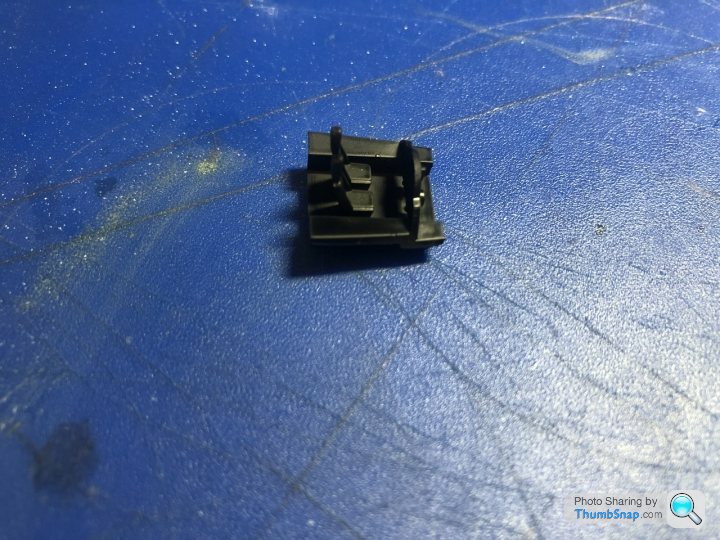
As always the assembly begins with the office; a simple affair of four parts to be painted black. I’m not going to do any detailing on it as it simply won’t be visible through the tiny windows.
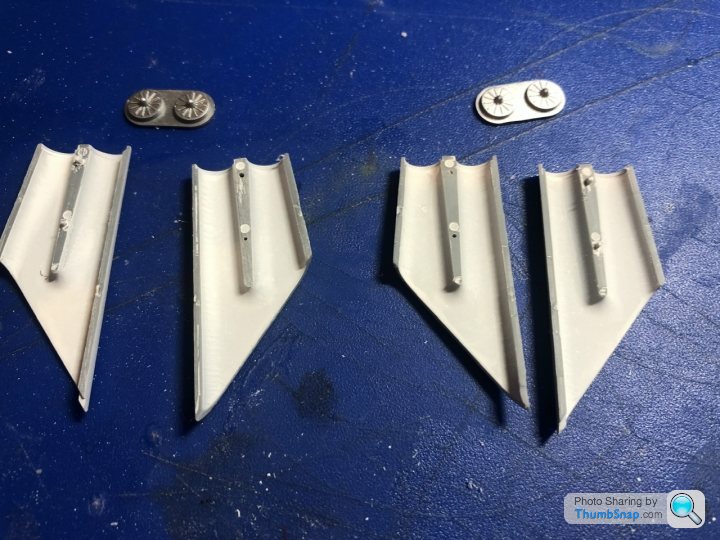
The second part of the build is the jet engine intakes. The instructions don’t list any paint colours. Fortunately there is a lot of reference material available online.
Next up the tail section
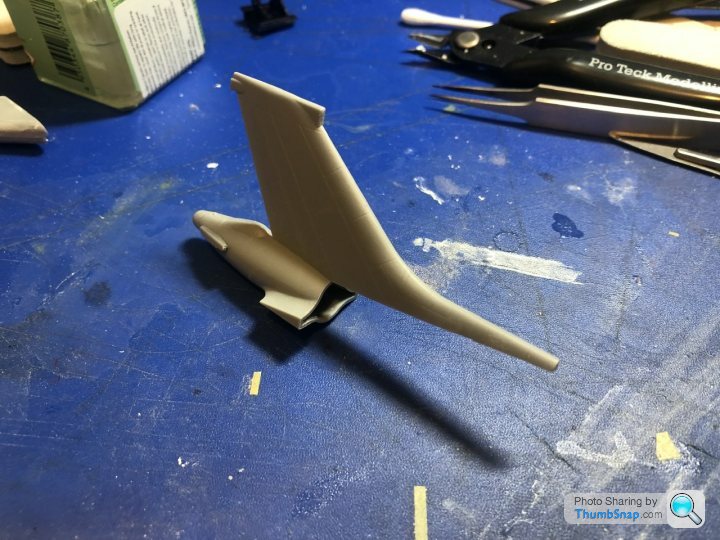
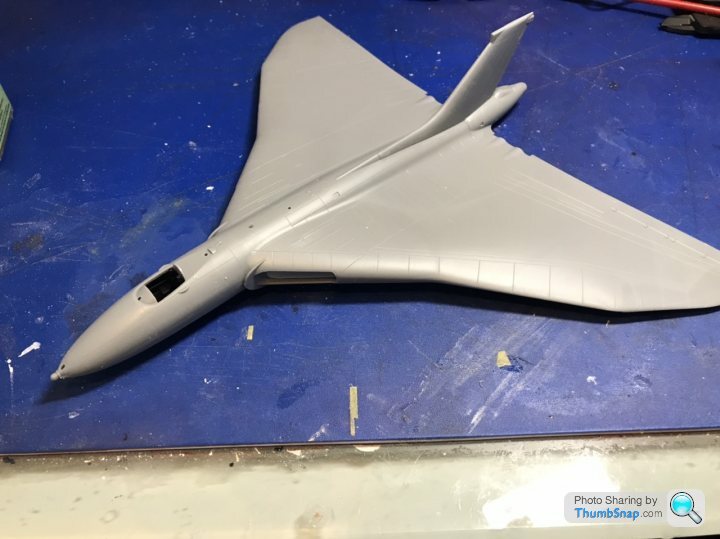
And that’s progress up to now.
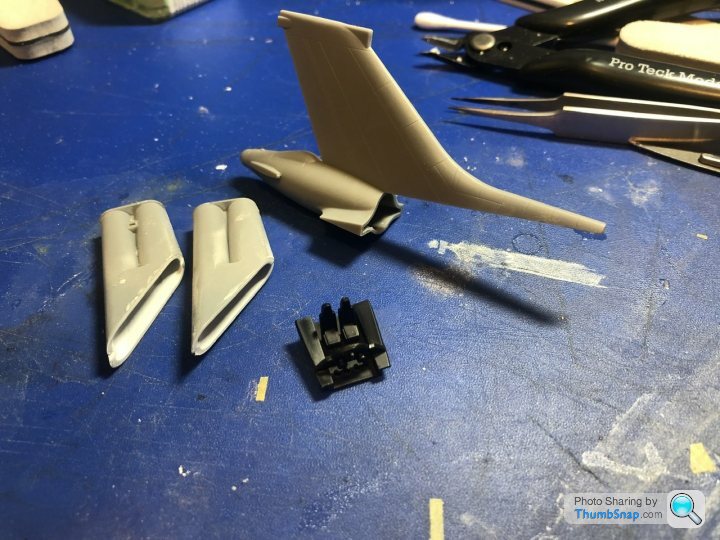
It should be pointed out that although this is a relatively large aircraft at this scale there are only 60 parts in the kit. When you consider half of these comprise the landing gear it’s clear this build isn’t going to take too long.


The way I which the kit replicates the Vulcans complicated shape is very impressive and sets a high bar for the Airfix kit to follow.
There’s a nice full colour painting guide separate from the instructions.

And some pretty nice decals

As always the assembly begins with the office; a simple affair of four parts to be painted black. I’m not going to do any detailing on it as it simply won’t be visible through the tiny windows.

The second part of the build is the jet engine intakes. The instructions don’t list any paint colours. Fortunately there is a lot of reference material available online.

Next up the tail section

And that’s progress up to now.

It should be pointed out that although this is a relatively large aircraft at this scale there are only 60 parts in the kit. When you consider half of these comprise the landing gear it’s clear this build isn’t going to take too long.
Unable to sleep due to the excitement of a current build thread. I started early this morning.
Well drama fans disaster struck...
When removing the upper half of the fuselage from the sprue.
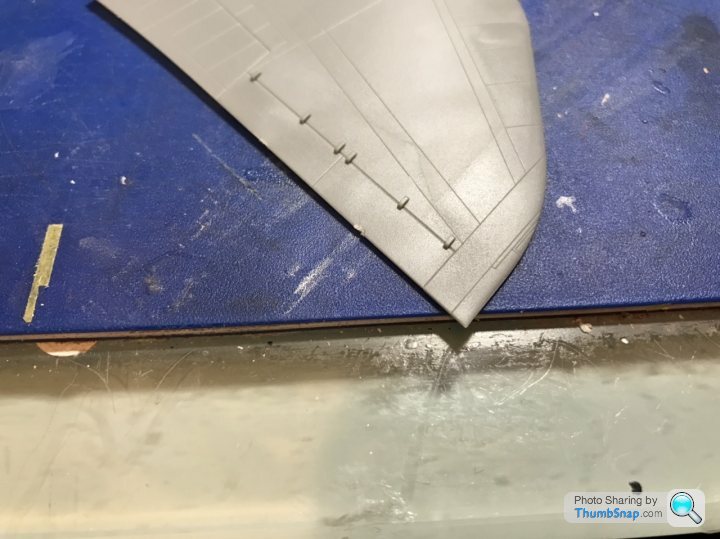
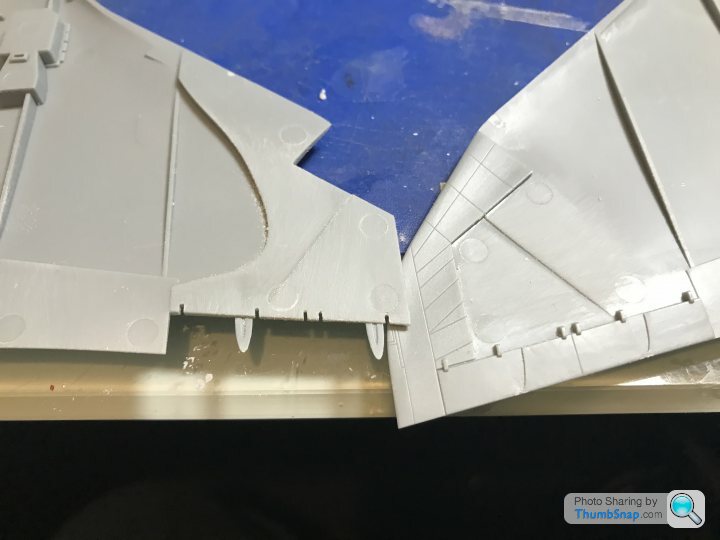
Damage to the trailing edge. I’m still not quite sure how this happened as I was extra careful, but there you go.
As it is edge filler wasn’t going to work, so I built up several layers of CA.
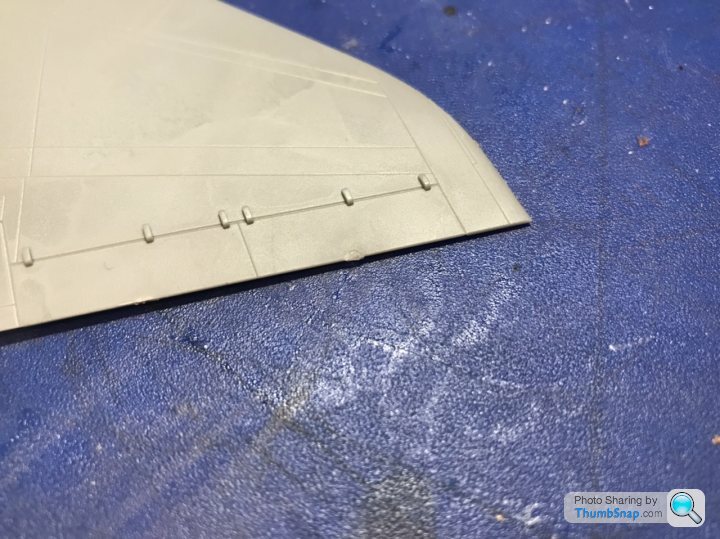
And here it is finished.
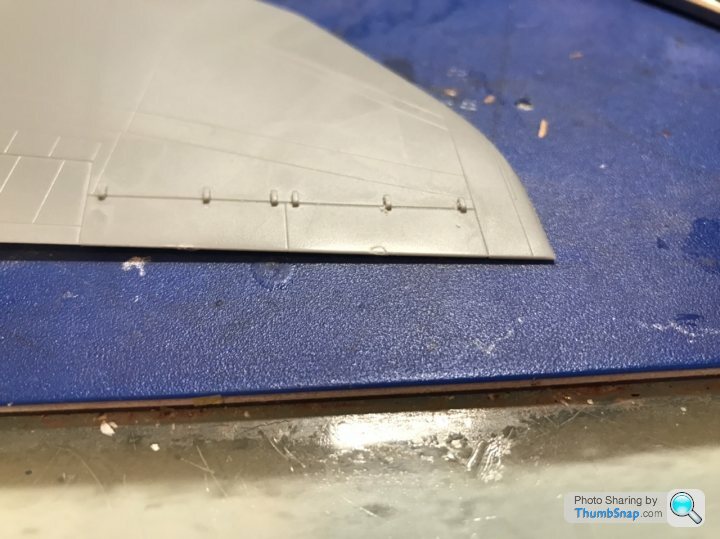
Despite how it looks it is perfectly flat, so crisis averted.
Crisis averted, i turned my attention to fitting the tail.
Drama 2; the first fit that really tests trumpeters engineering was a bit of a fail.
The tail assembly fits over the back of the top part of the fuselage. There is something not quite right as the fit isn’t flush.
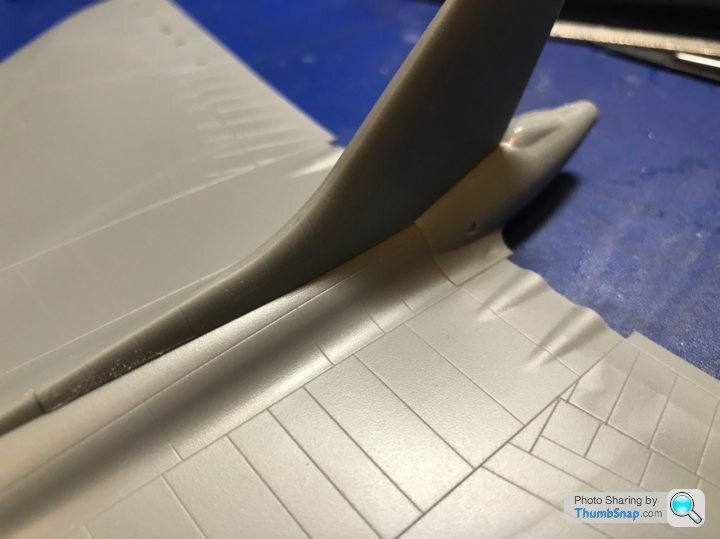
This wouldn’t be noticeable on a larger scale, but doesn’t work on 1/144.
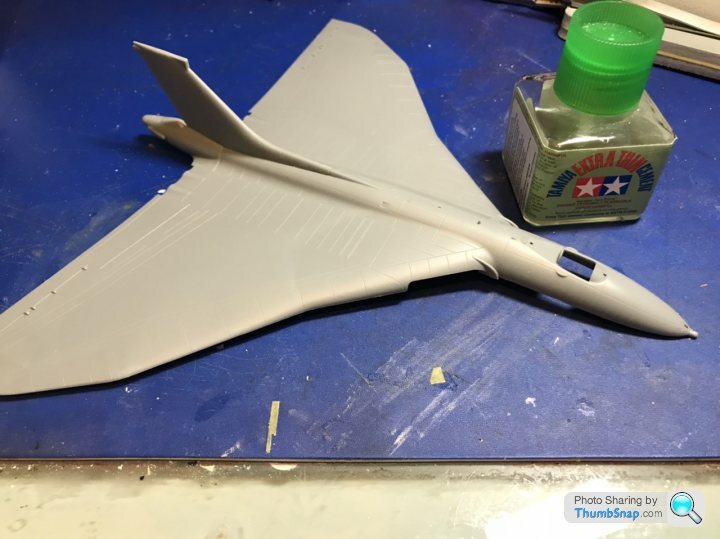
So after a deal of fettling I got to this..
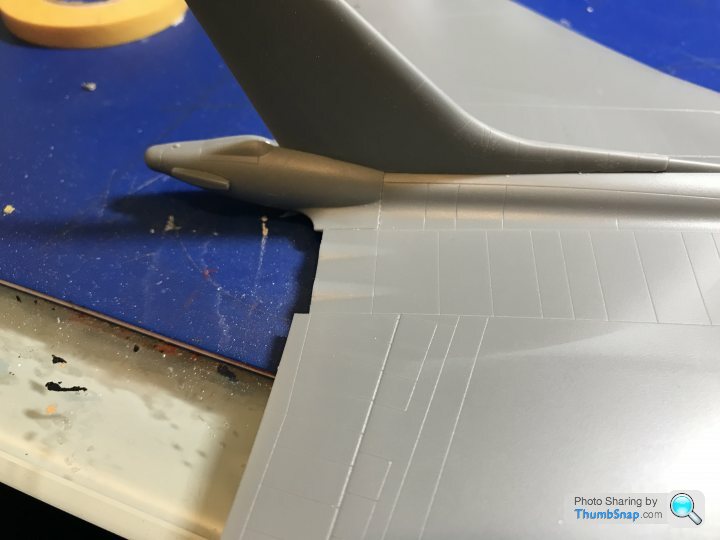
Still a bit more work to done.
If it wasn’t for this pesky thread I would have been tempted to say it’s good enough.
Well drama fans disaster struck...
When removing the upper half of the fuselage from the sprue.

Damage to the trailing edge. I’m still not quite sure how this happened as I was extra careful, but there you go.
As it is edge filler wasn’t going to work, so I built up several layers of CA.

And here it is finished.

Despite how it looks it is perfectly flat, so crisis averted.
Crisis averted, i turned my attention to fitting the tail.
Drama 2; the first fit that really tests trumpeters engineering was a bit of a fail.
The tail assembly fits over the back of the top part of the fuselage. There is something not quite right as the fit isn’t flush.

This wouldn’t be noticeable on a larger scale, but doesn’t work on 1/144.
So after a deal of fettling I got to this..

Still a bit more work to done.
If it wasn’t for this pesky thread I would have been tempted to say it’s good enough.
robemcdonald said:
If it wasn’t for this pesky thread I would have been tempted to say it’s good enough.
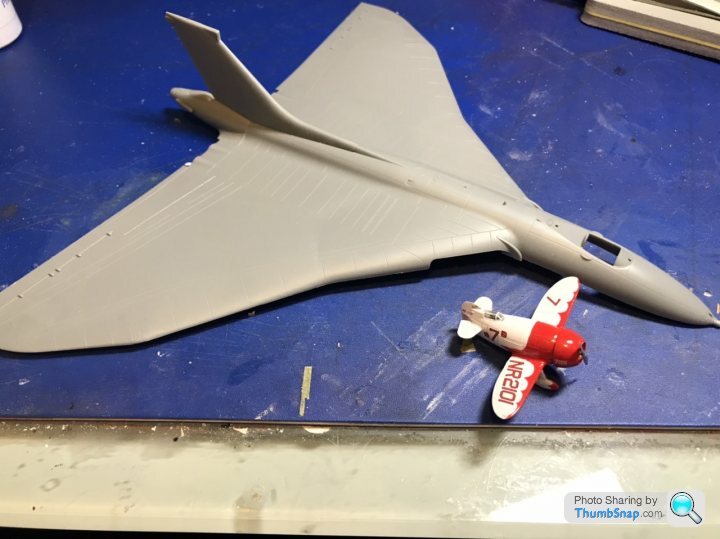
That’s one of the reasons build threads are good - same with competitions.Kit looks good - is that a Blue Steel missile on one of the sprues? can you put the model next to something to get an idea of size?
So anyone considering this kit. This is the area you need to really look at.
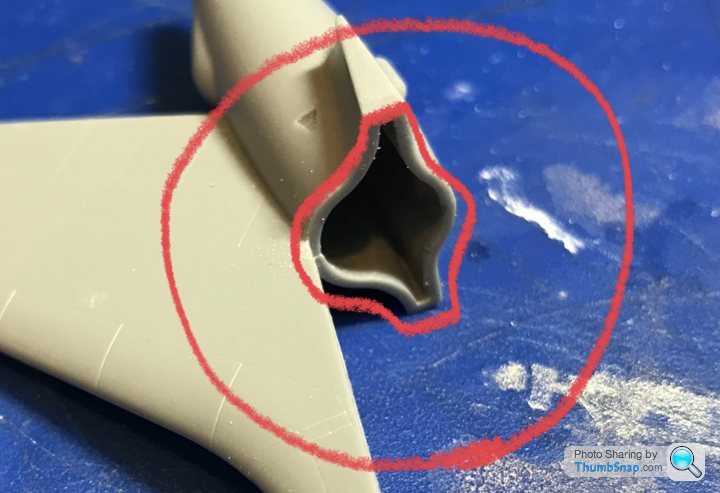
Lots of light passes with a sanding stick, trial fitting then more passes. Rinse and repeat.
After a little while the fit goes from slight interference to transition and everything seems okay.
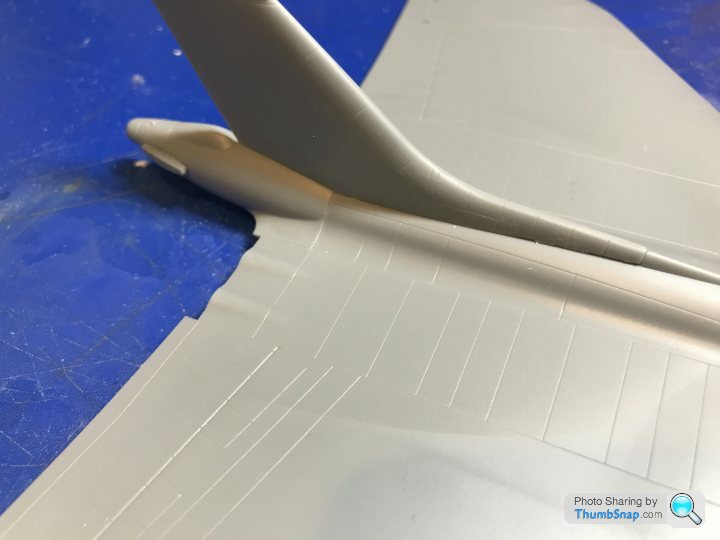
I’m going to trial fit the lower fuselage prior to any cement application.
The expected high standards of the build thread must be achieved.

Lots of light passes with a sanding stick, trial fitting then more passes. Rinse and repeat.
After a little while the fit goes from slight interference to transition and everything seems okay.

I’m going to trial fit the lower fuselage prior to any cement application.
The expected high standards of the build thread must be achieved.
robemcdonald said:
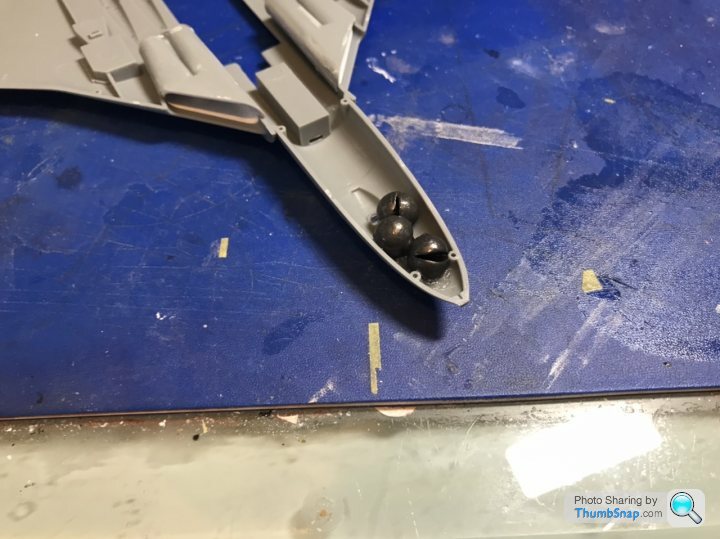
I forgot about nose weight...
A quick trip to the very helpful local fishing tackle shop saw me a fiver lighter and lead weights in hand.
The instructions call for 5g I went with 9g to be sure.
I thought lead weights for fishing had been banned. They were probably unobtanium, hence £5 for some lumps of metal.A quick trip to the very helpful local fishing tackle shop saw me a fiver lighter and lead weights in hand.
The instructions call for 5g I went with 9g to be sure.
CanAm said:
I thought lead weights for fishing had been banned. They were probably unobtanium, hence £5 for some lumps of metal.
He looked both ways, asked me if was a copper and got them from under the counter.When I paid he tapped his nose and said “you didn’t get them here”
I didn’t think too much of it at the time.
Gassing Station | Scale Models | Top of Page | What's New | My Stuff


