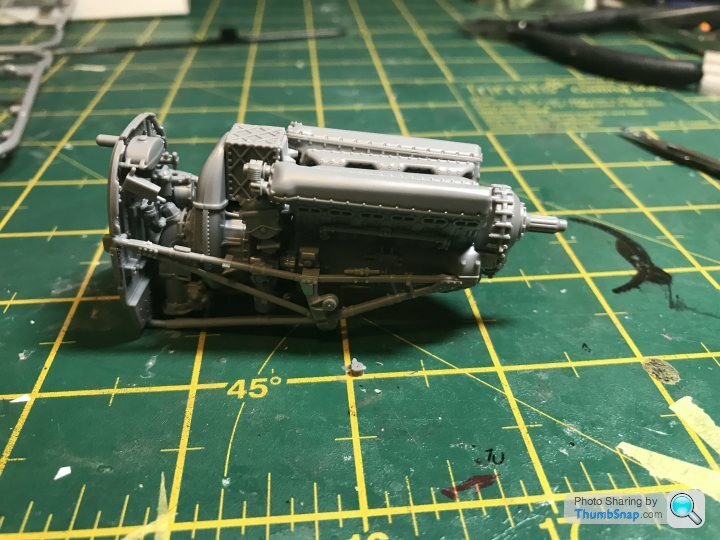
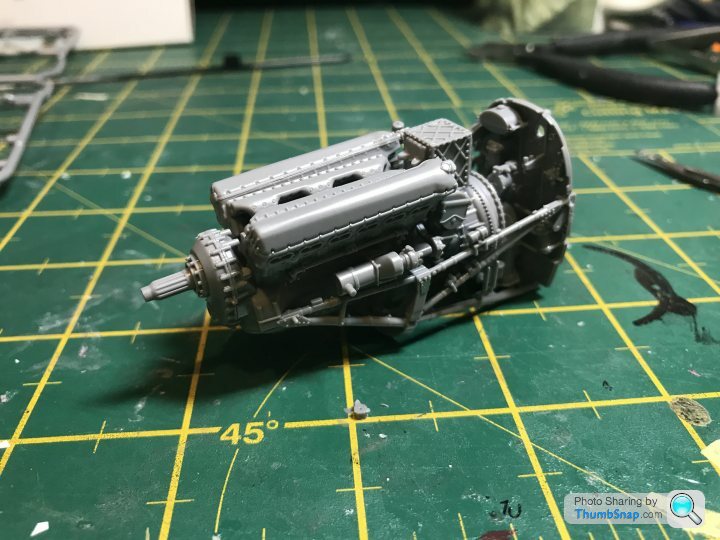
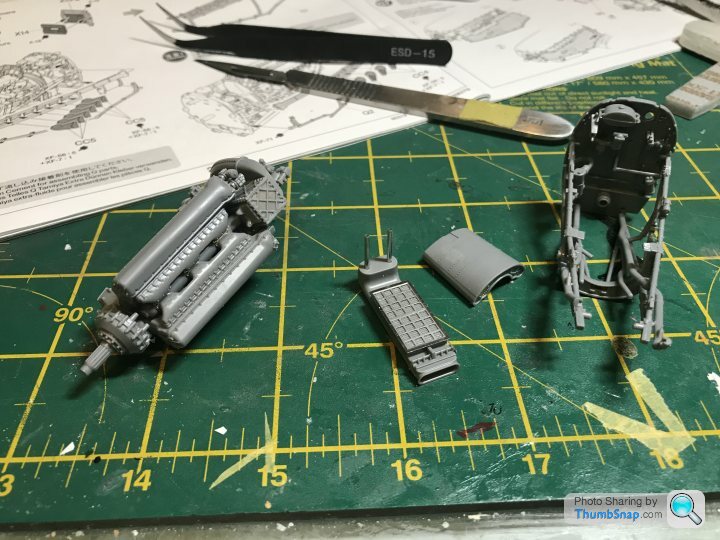
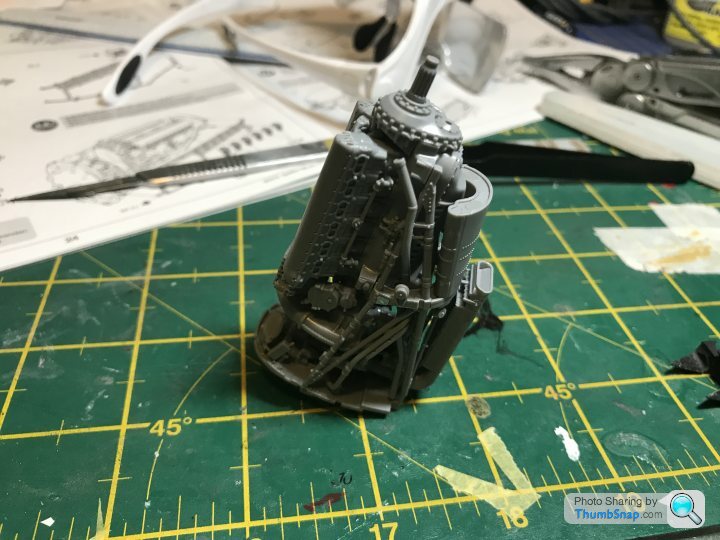
Tamiya 1/32 spitfire mk IX
Discussion
It’s been a while since I did a build thread, so thought I’d document the build of my “holy grail” kit.
It’s something I’ve had in my stash for a while and have always been to intimidated to start. The box was always so heavy and so full.
I decided to man up and make a start. So far so good. It’s easily the nicest kit I have ever built. Absolute top drawer quality and engineering.
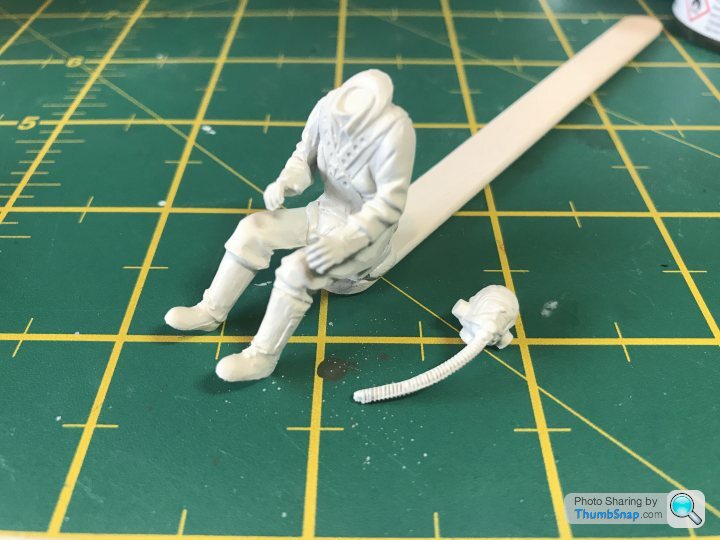
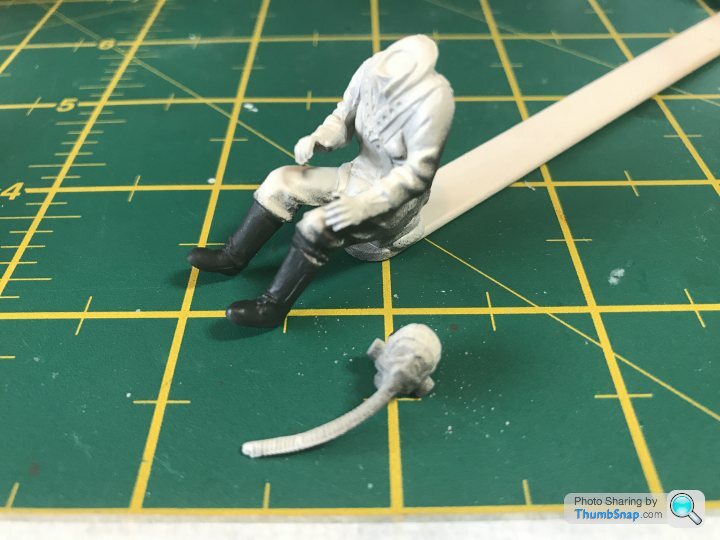
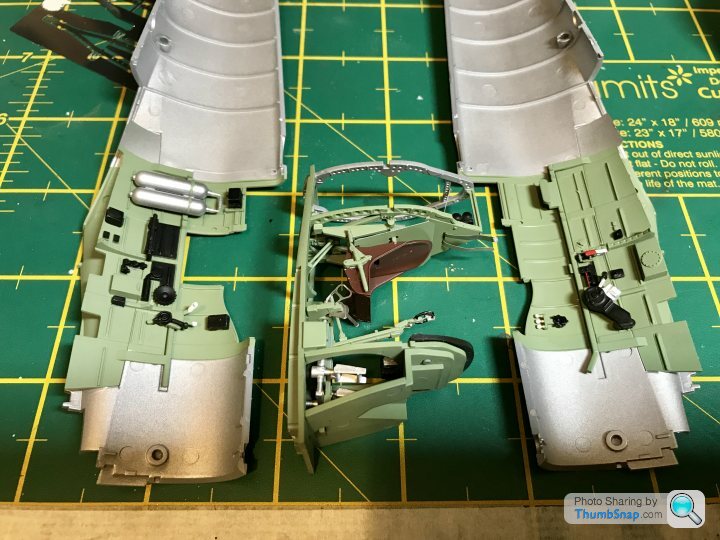
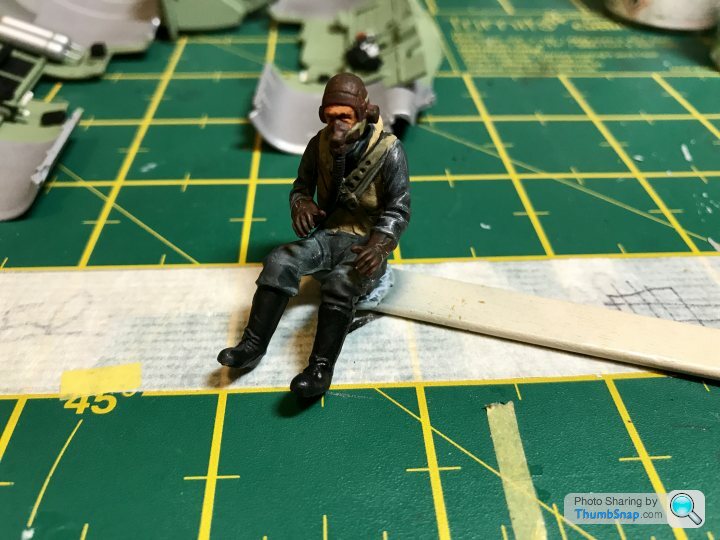
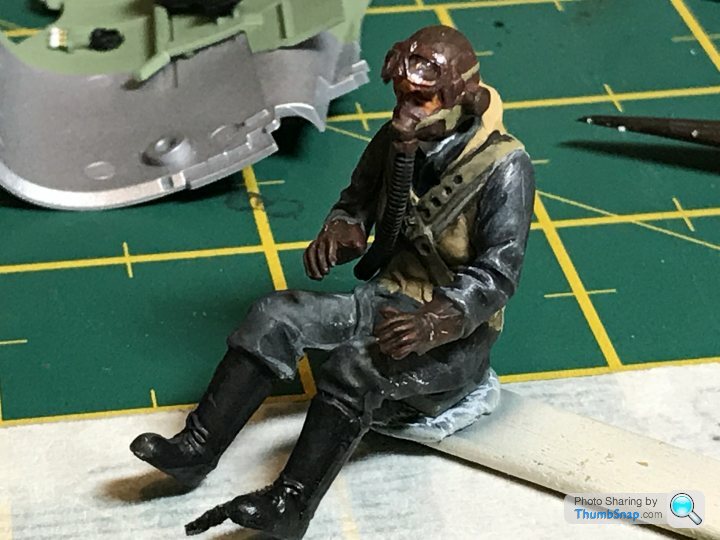
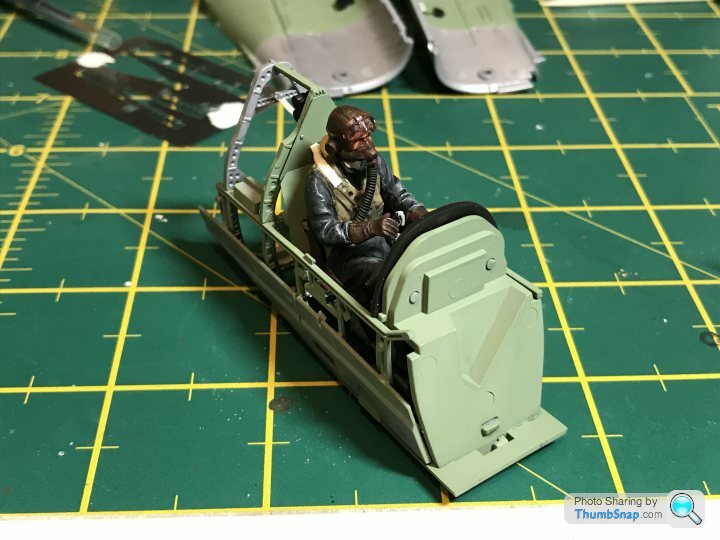
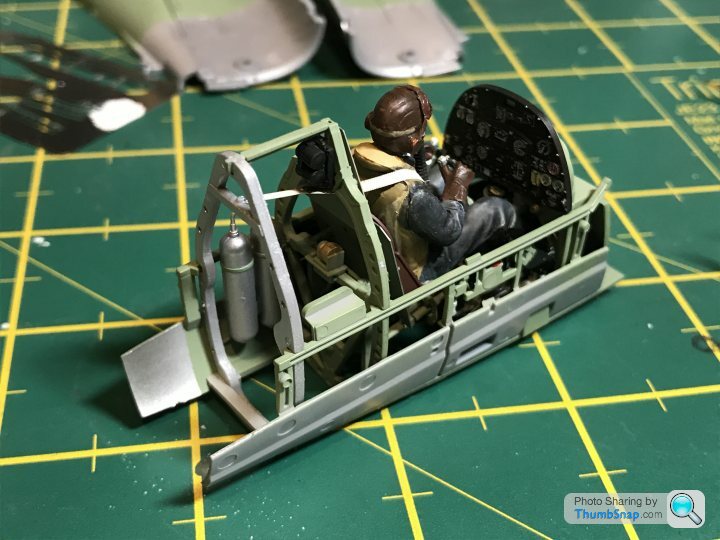
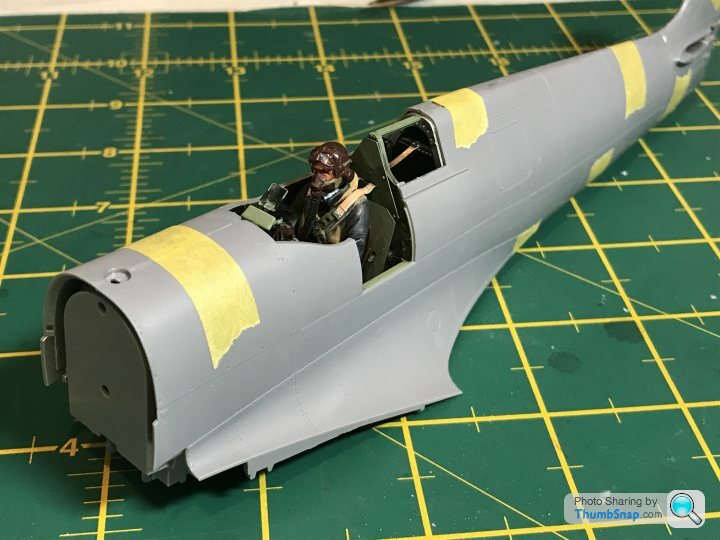
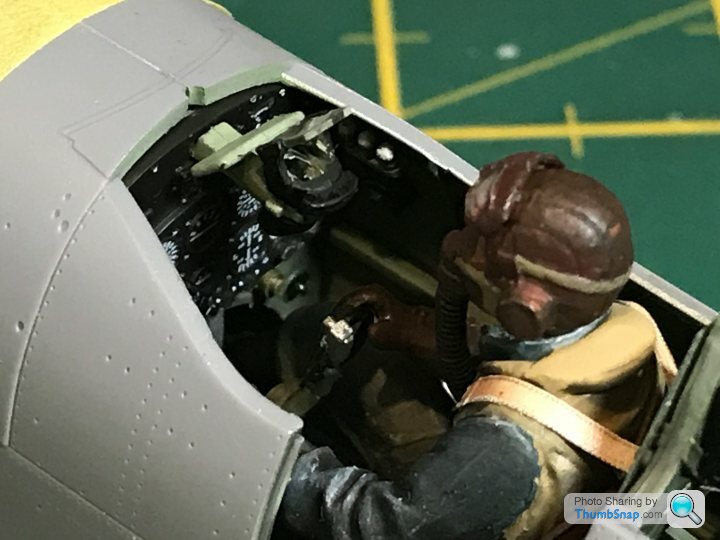
As you’d expect assembly starts with the cockpit. Not one, but two pilot figures are included. I’m going to use the seated one.
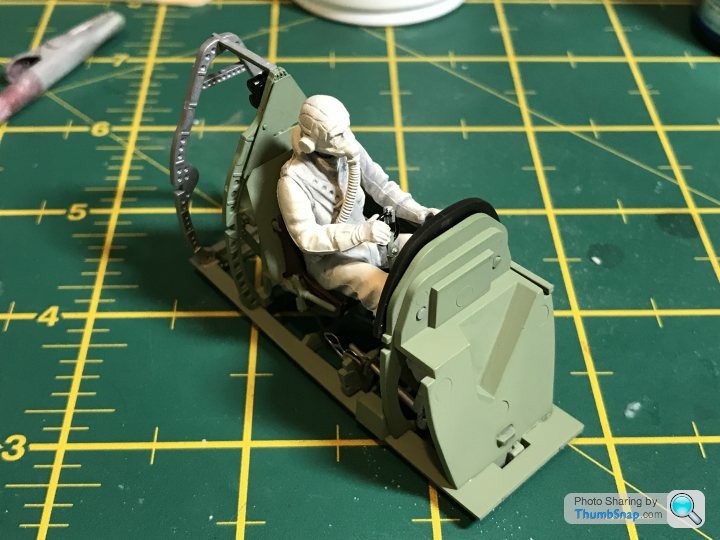
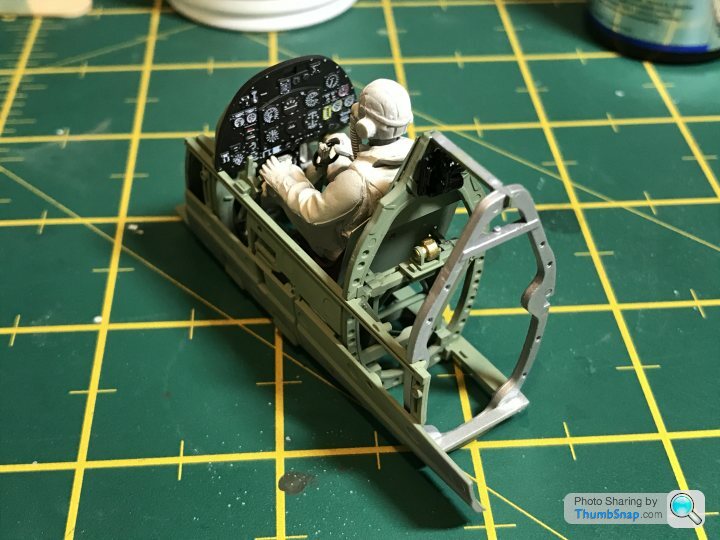
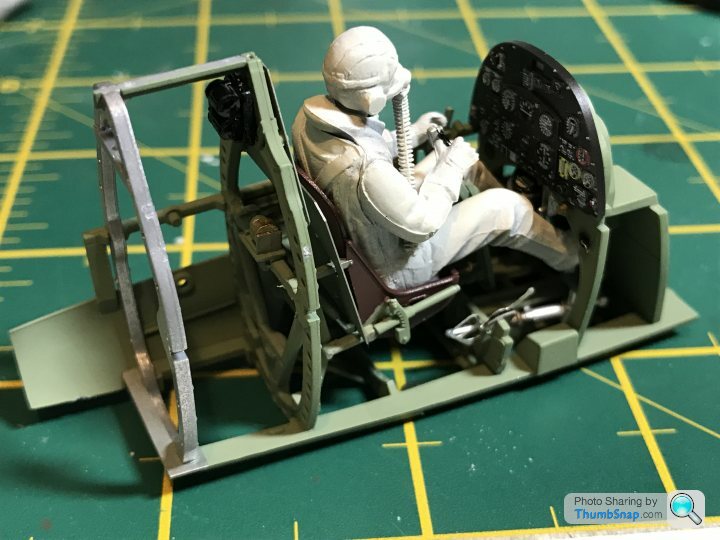
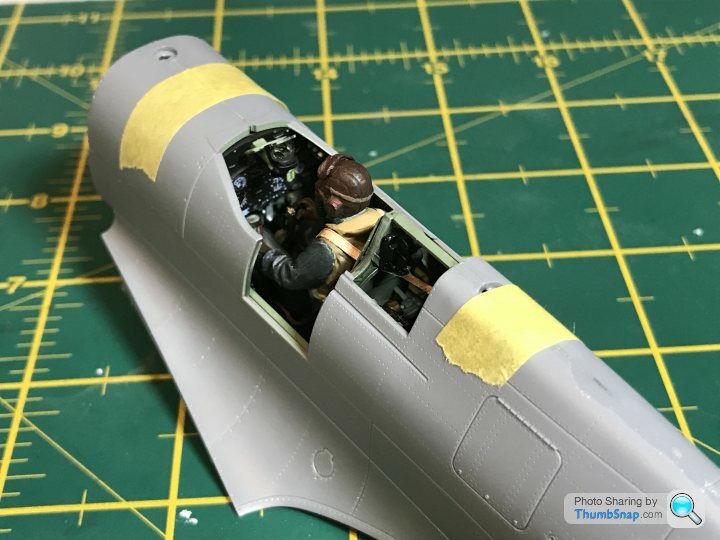
It’s taken a little while to make even this little bit of progress, but things seem to be picking up. I’m confident that once the cockpit is done it should just fly together.
It’s something I’ve had in my stash for a while and have always been to intimidated to start. The box was always so heavy and so full.
I decided to man up and make a start. So far so good. It’s easily the nicest kit I have ever built. Absolute top drawer quality and engineering.
As you’d expect assembly starts with the cockpit. Not one, but two pilot figures are included. I’m going to use the seated one.


It’s taken a little while to make even this little bit of progress, but things seem to be picking up. I’m confident that once the cockpit is done it should just fly together.
Good to see you "back in the game". Im sure your skills and artwork will evoke a fabulous model. Im running out of ideas/desire to build after the car im doing. However i have put a preliminary order for the Legrand 1/8 Mercedes
due out in mid 2020. I think i would like to keep it unstarted as a potential investment unless i get twitchy and feel the need.
Cheers.
https://shop.autographmodel.com/LeGrand-1-8-model-...
due out in mid 2020. I think i would like to keep it unstarted as a potential investment unless i get twitchy and feel the need.
Cheers.
https://shop.autographmodel.com/LeGrand-1-8-model-...
Looking good there.
I built that kit when it first came out. Was a great build but I decided to make it more difficult by adding Eduard PE all over it and try putting the pipework all around the engine.
Sits with pride in my model cabinet now.
Looking forward to seeing the finished article.
I built that kit when it first came out. Was a great build but I decided to make it more difficult by adding Eduard PE all over it and try putting the pipework all around the engine.

Sits with pride in my model cabinet now.
Looking forward to seeing the finished article.
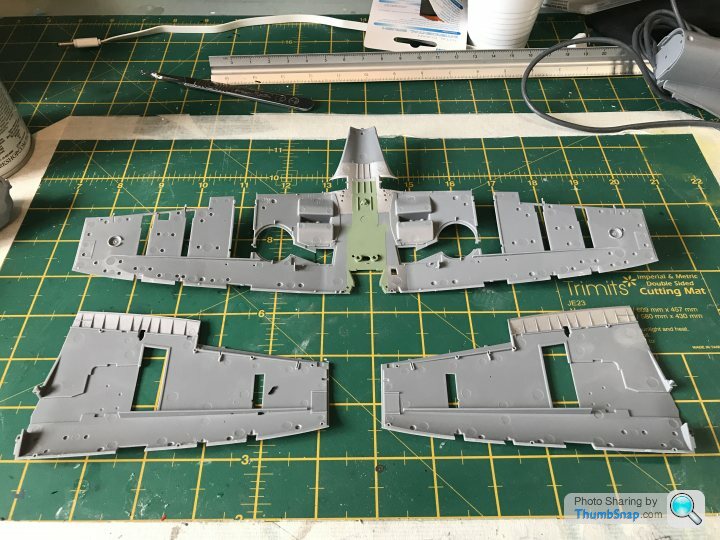
Wheel wells are made up of several parts in a similar way to the Eduard 1/48 kit. So far I’m loving how it goes together.
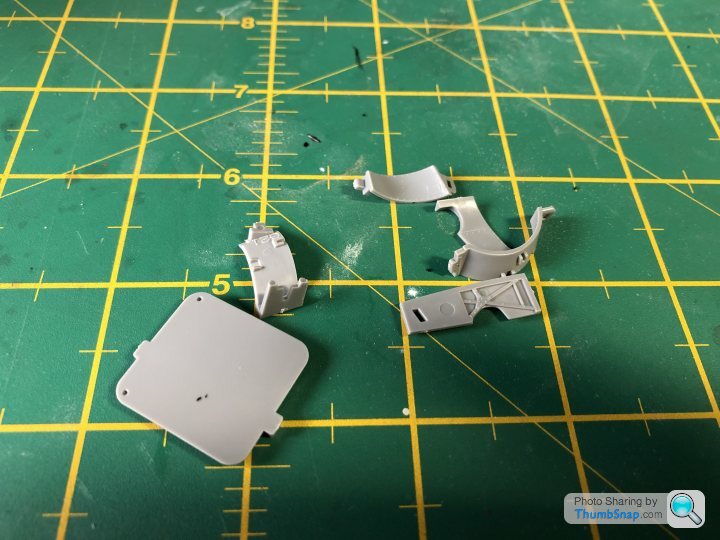
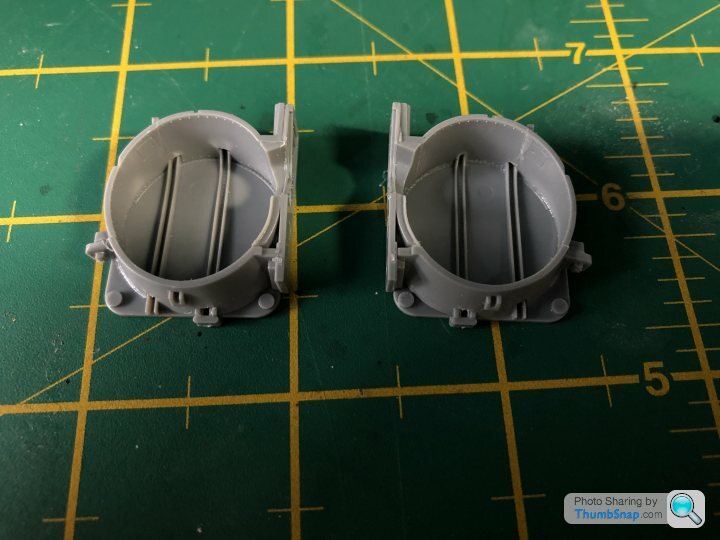
You have to insert tiny nuts into the landing gear housing. I think that’s so you can change gear up to gear down.
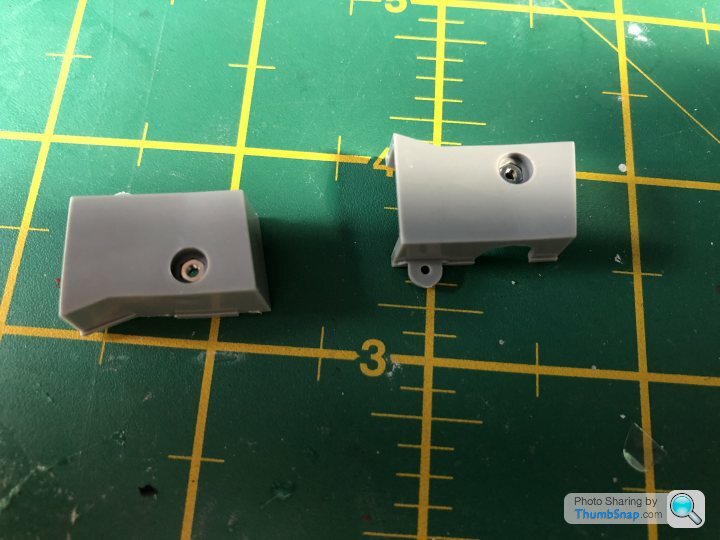
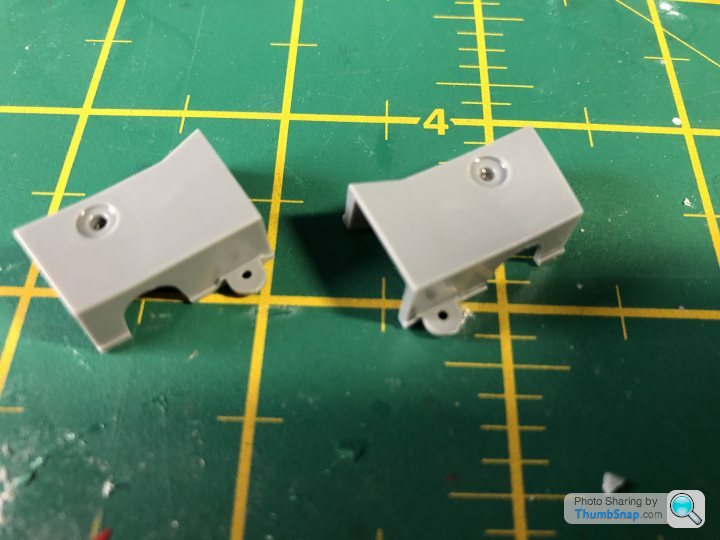
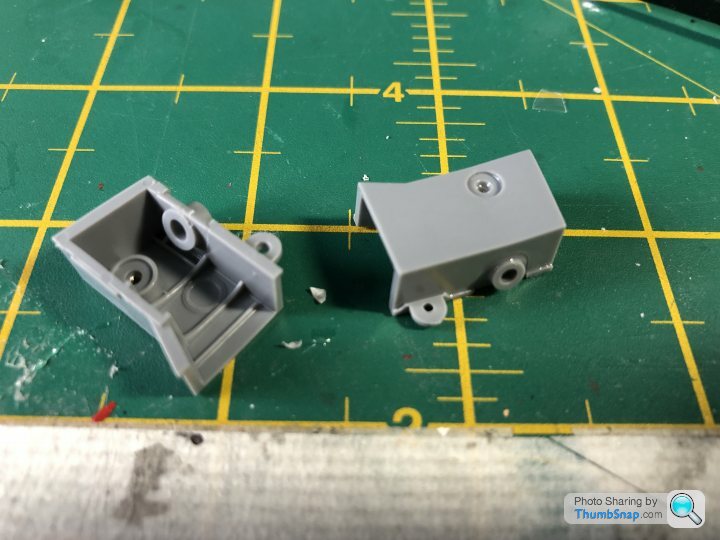
The wings can now be assembled. Clever bit of design again from Tamiya means the same basic wing can be used for most variants.
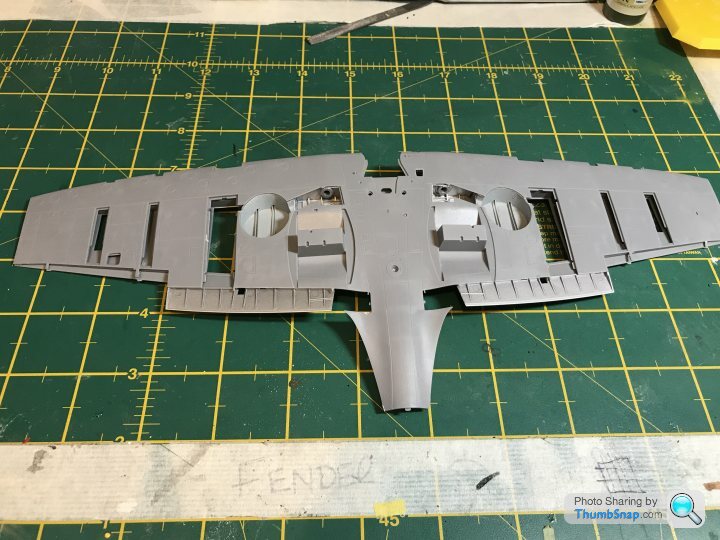
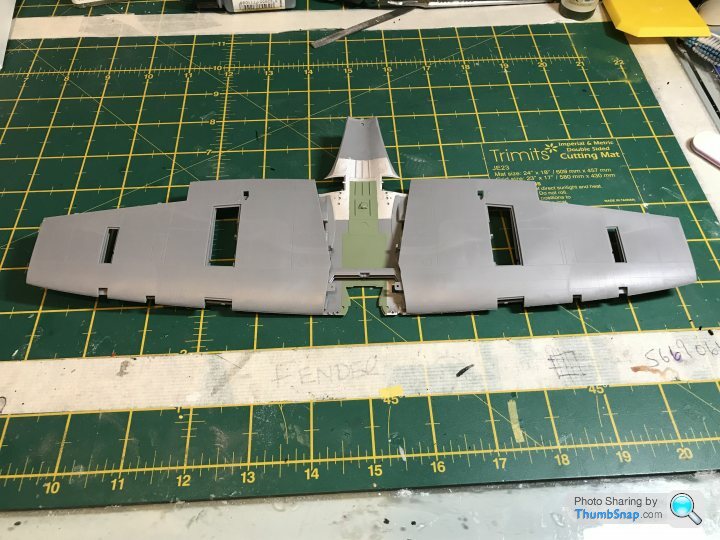
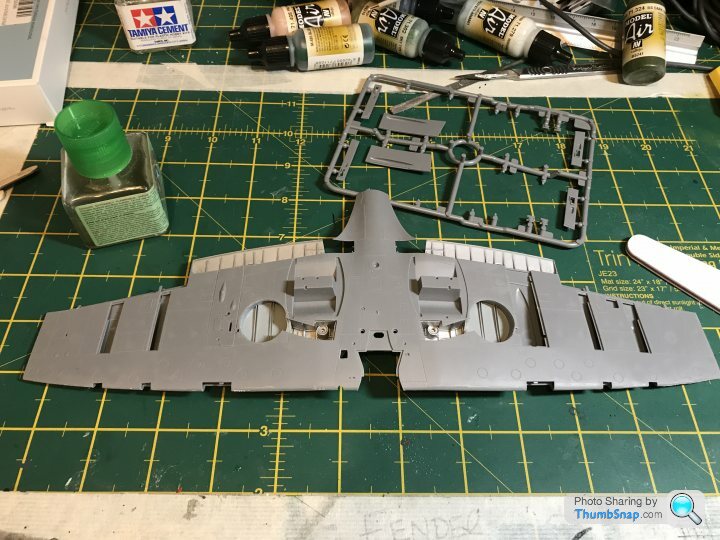
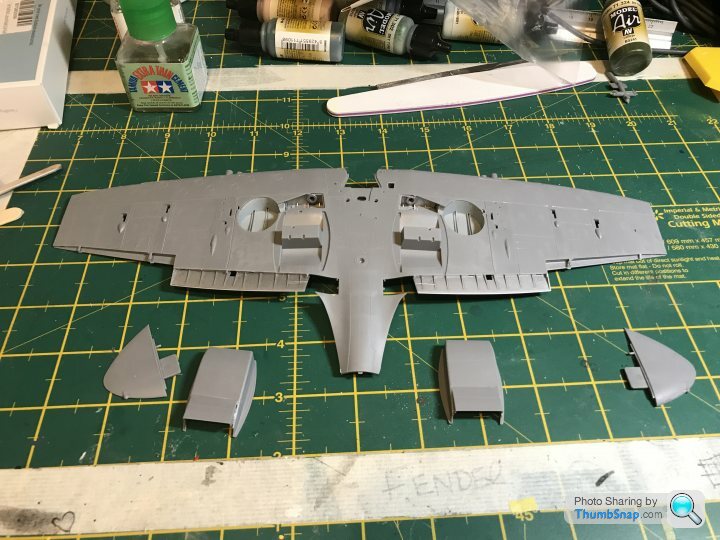


You have to insert tiny nuts into the landing gear housing. I think that’s so you can change gear up to gear down.


The wings can now be assembled. Clever bit of design again from Tamiya means the same basic wing can be used for most variants.


henryk001 said:
Good to see you "back in the game". Im sure your skills and artwork will evoke a fabulous model. Im running out of ideas/desire to build after the car im doing. However i have put a preliminary order for the Legrand 1/8 Mercedes
due out in mid 2020. I think i would like to keep it unstarted as a potential investment unless i get twitchy and feel the need.
Cheers.
https://shop.autographmodel.com/LeGrand-1-8-model-...
There were actually two Uhlenhaut Coupés (one red interior, the other blue). Go mad, buy two kits!due out in mid 2020. I think i would like to keep it unstarted as a potential investment unless i get twitchy and feel the need.
Cheers.
https://shop.autographmodel.com/LeGrand-1-8-model-...
A bit more progress
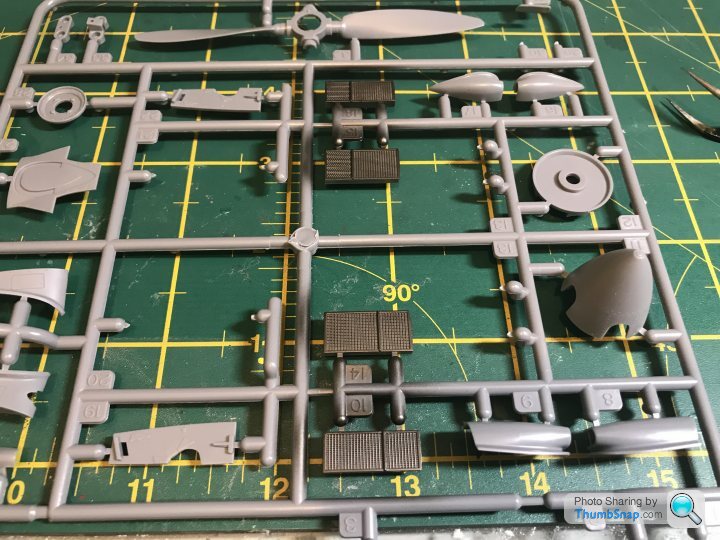
Painting and installation of the radiators
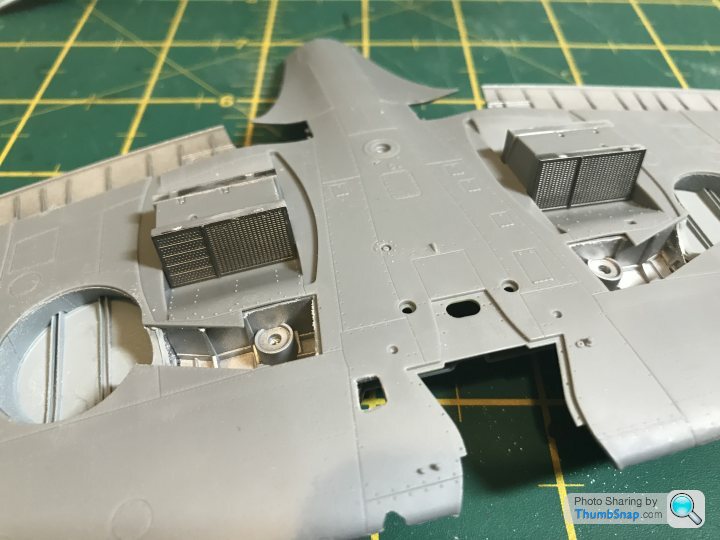
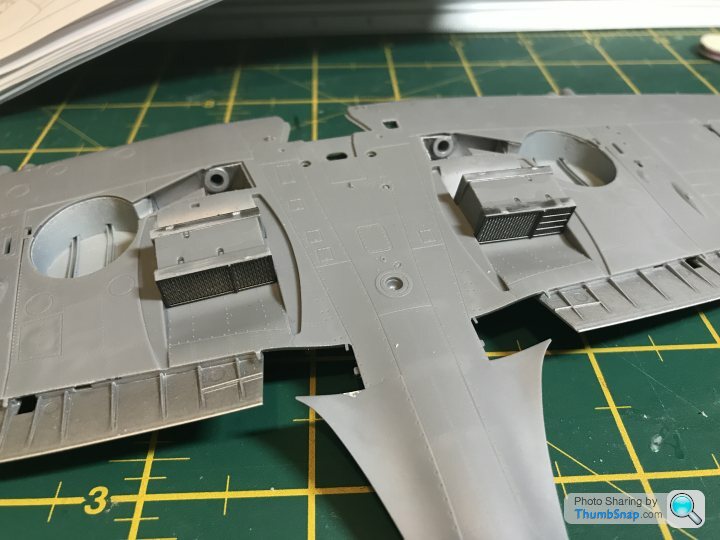
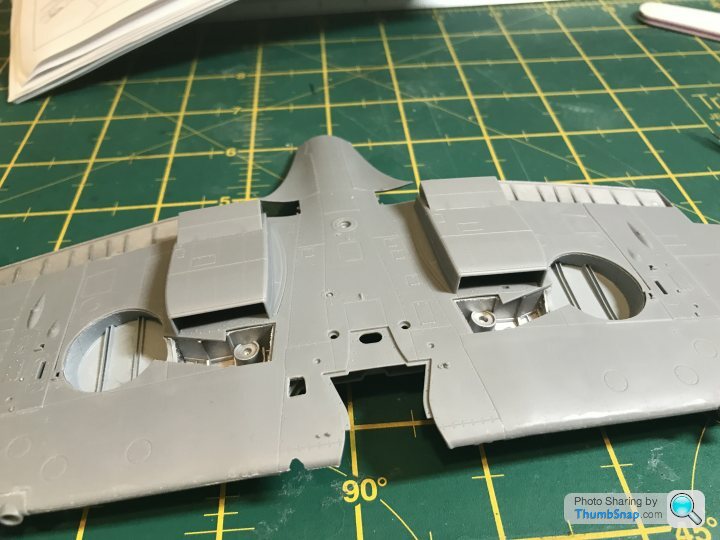
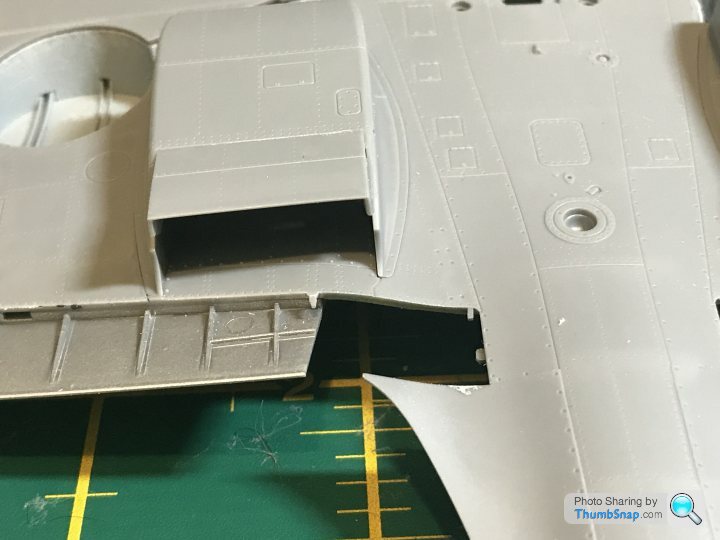
I couldn’t resist a trial fit of the wing. The fit is quite brilliant.
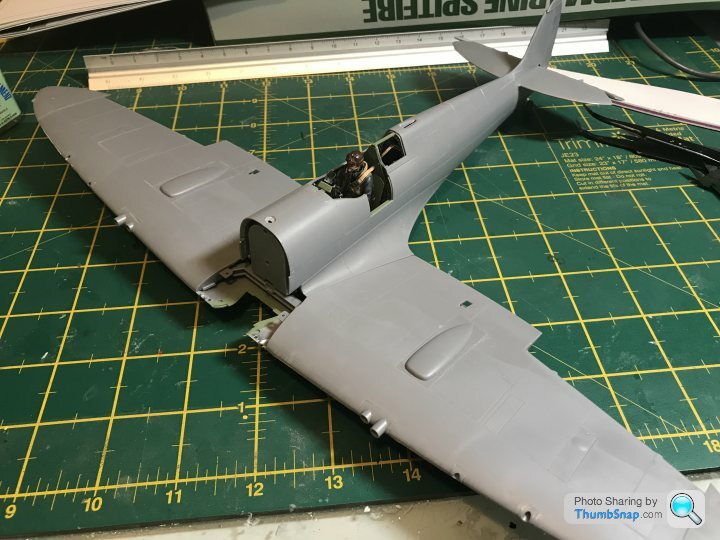
The Ailerons are workable (as are all the control surfaces) so a lot of farting around with PE and rods was required.
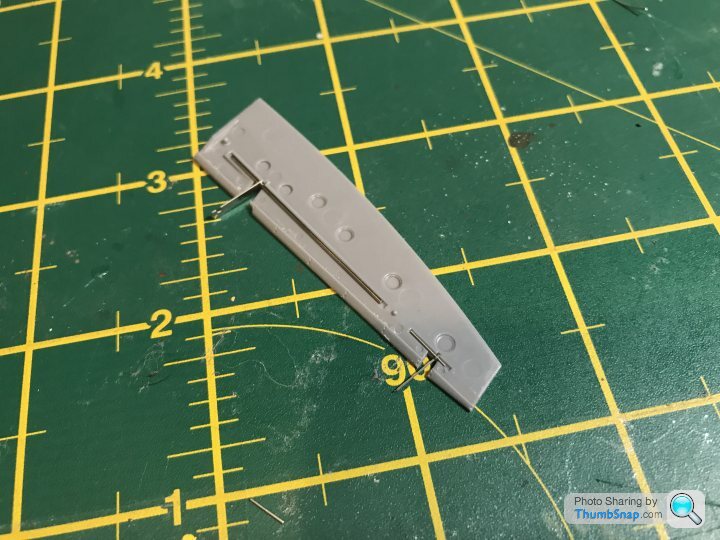
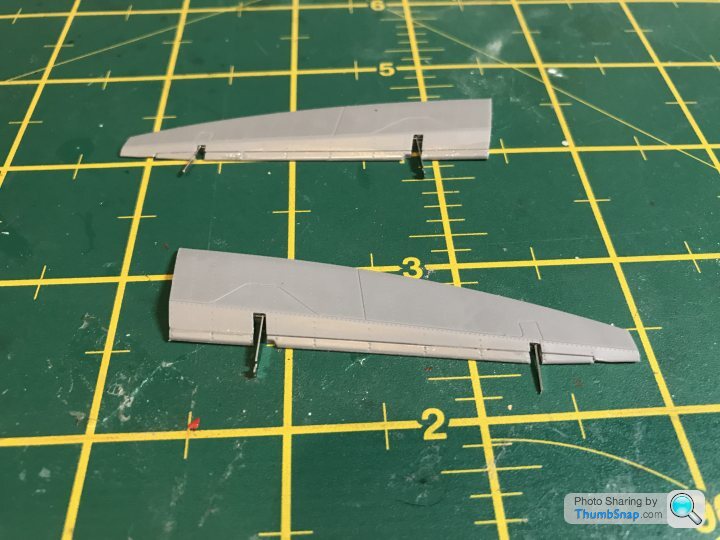
Next up are the flaps. I hate working with photo etch.... I will be building the model with flaps down, so will paint them separately and fix them at the end of the build. The flaps need to be split as well, but I’ll do this later to make keeping track of parts a little easier.
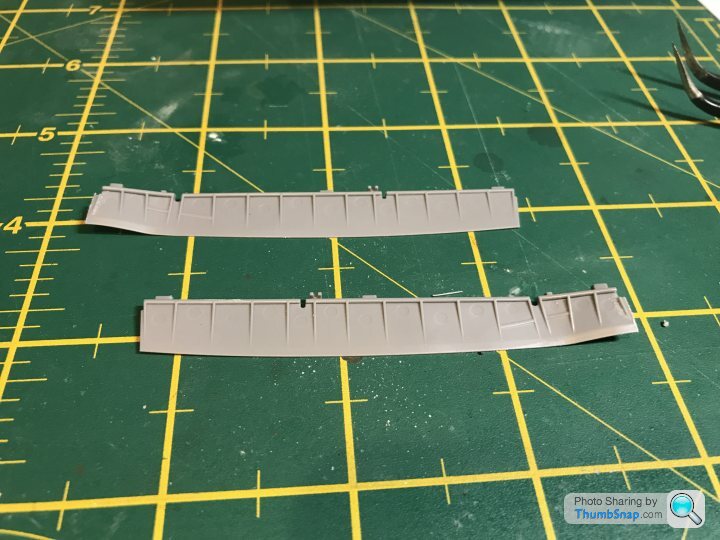
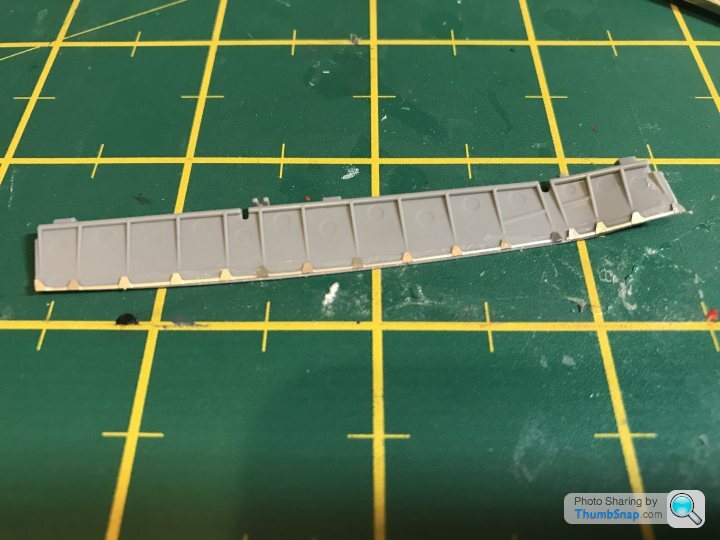
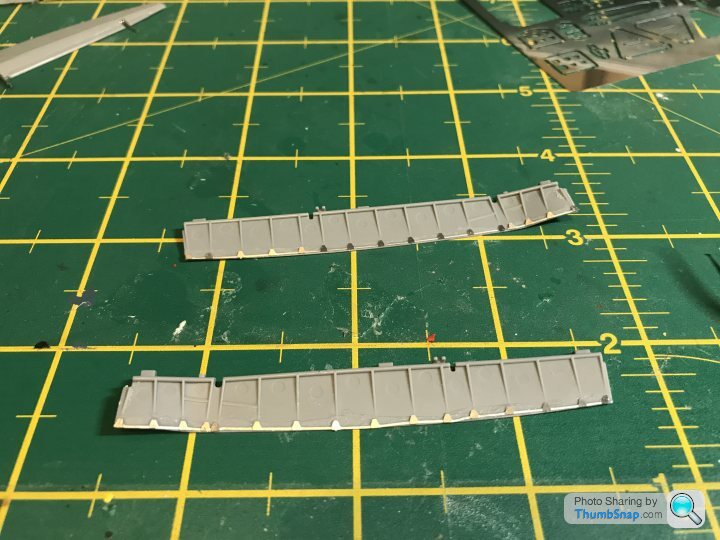
The next step was to install the ailerons.
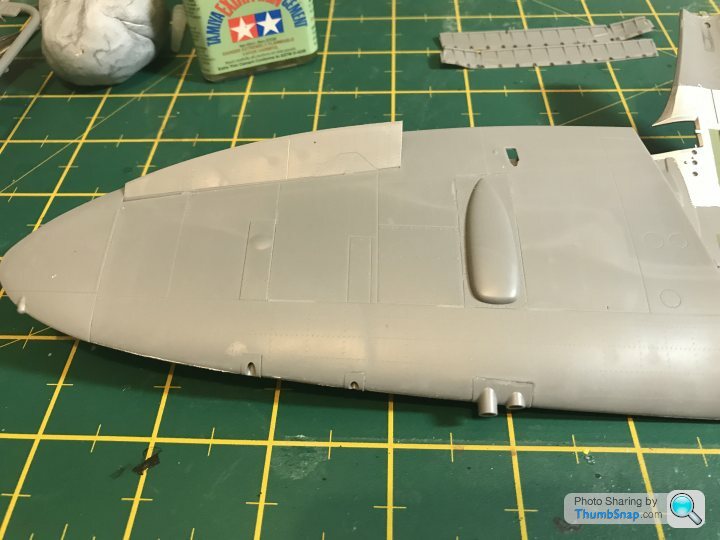
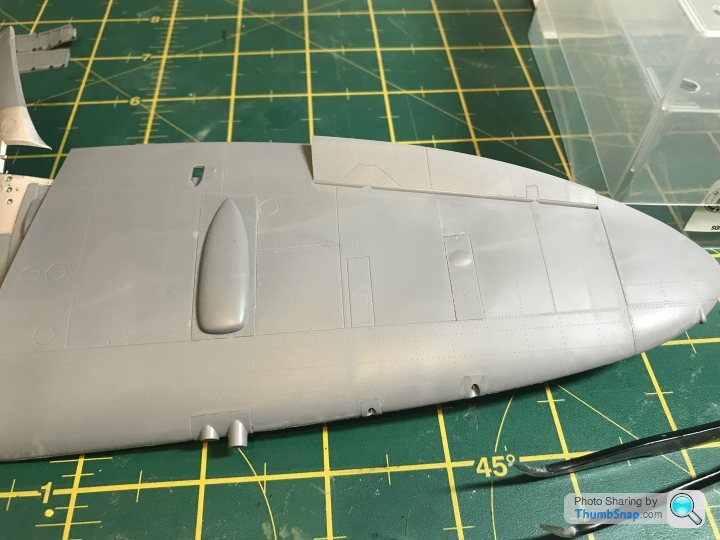
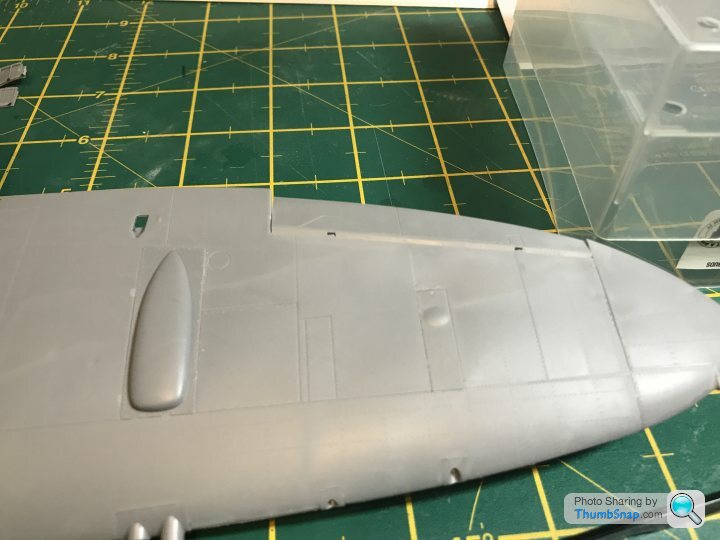
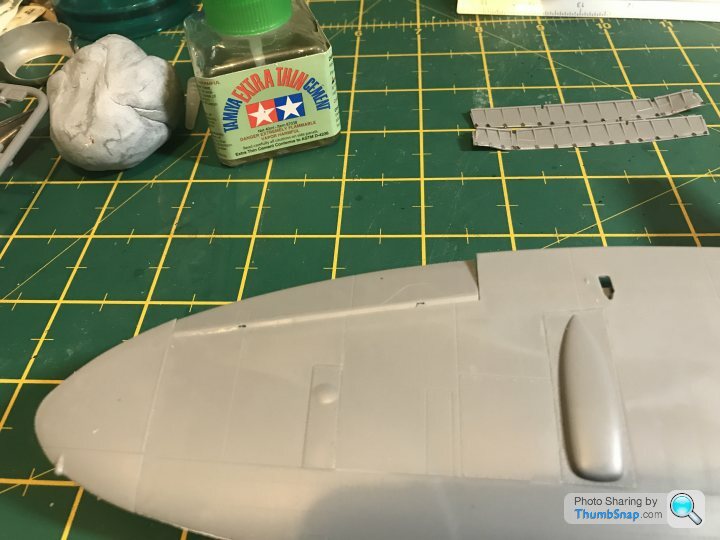
All the control surfaces seem to naturally “droop” great for a parked aircraft, not so much for in-flight. I’ll probably end up glueing them in place making everything a monumental waste of effort...
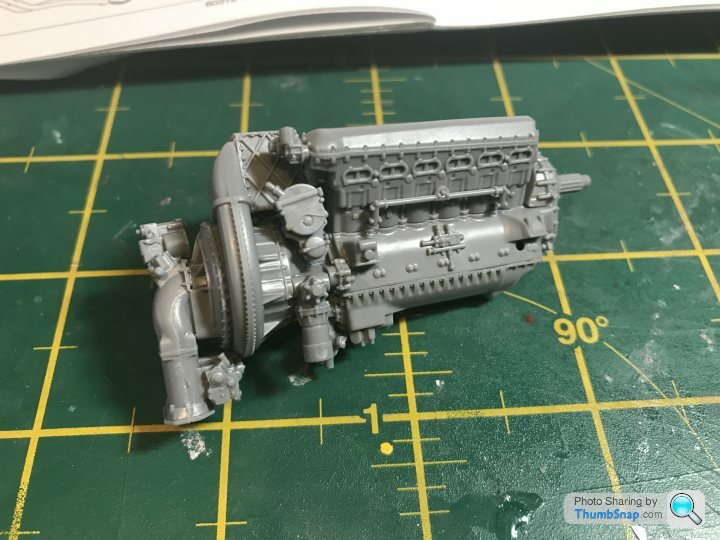
The next step will be to assemble the wings to the fuselage and then the fully detailed engine...
Painting and installation of the radiators


I couldn’t resist a trial fit of the wing. The fit is quite brilliant.

The Ailerons are workable (as are all the control surfaces) so a lot of farting around with PE and rods was required.


Next up are the flaps. I hate working with photo etch.... I will be building the model with flaps down, so will paint them separately and fix them at the end of the build. The flaps need to be split as well, but I’ll do this later to make keeping track of parts a little easier.


The next step was to install the ailerons.


All the control surfaces seem to naturally “droop” great for a parked aircraft, not so much for in-flight. I’ll probably end up glueing them in place making everything a monumental waste of effort...
The next step will be to assemble the wings to the fuselage and then the fully detailed engine...
Gassing Station | Scale Models | Top of Page | What's New | My Stuff


