Airfix 1:72 Hawker Hurricane Mk1

Airfix 1:72 Hawker Hurricane Mk1

Author
Discussion

Ayahuasca

Original Poster:

27,428 posts

286 months

Friday 7th June 2019
quotequote all
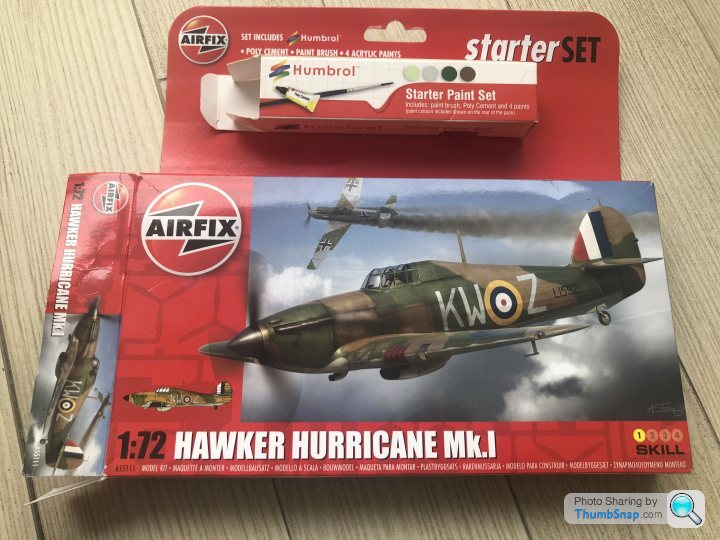
Here goes my third build in the ‘starter set’ series. Some trepidation with this one as the kit is very similar to the one that Doc did so there are standards to attempt to live up to..!


dr_gn

16,400 posts

191 months

Friday 7th June 2019
quotequote all
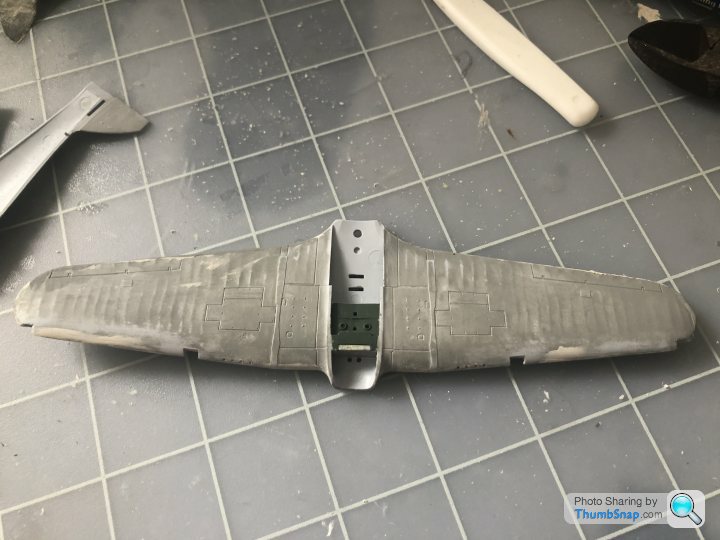
From memory, the main issue with mine was the wing halves needed modifying otherwise there was a step along the leading edges.

Ayahuasca

Original Poster:

27,428 posts

286 months

Friday 7th June 2019
quotequote all


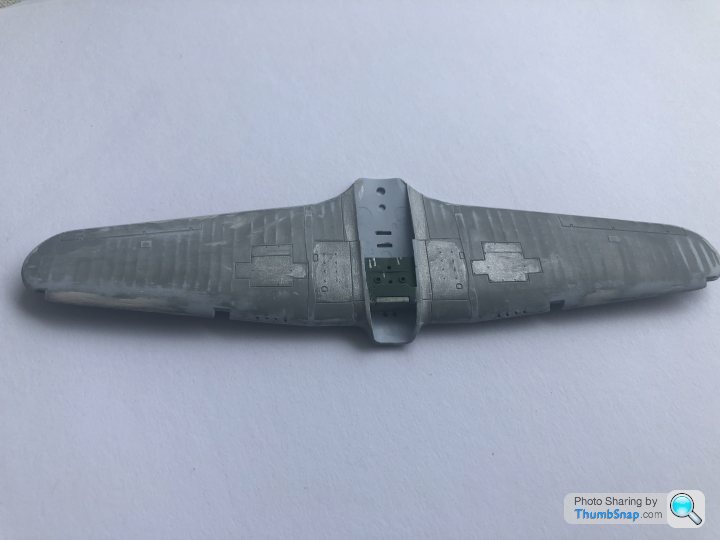
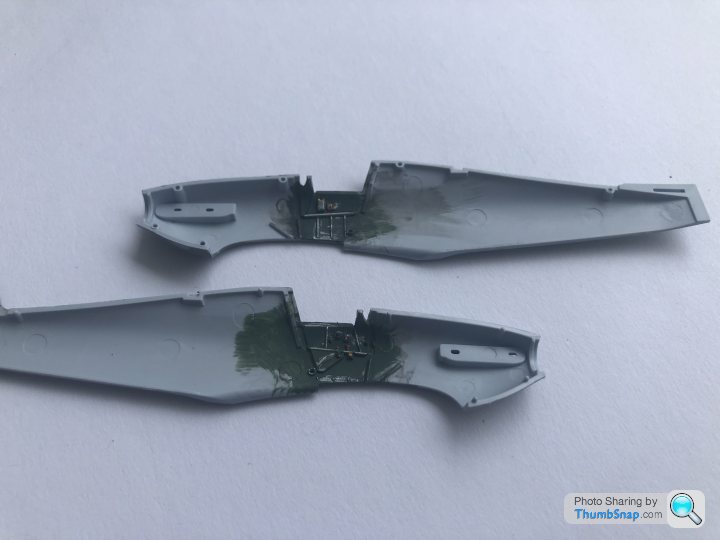
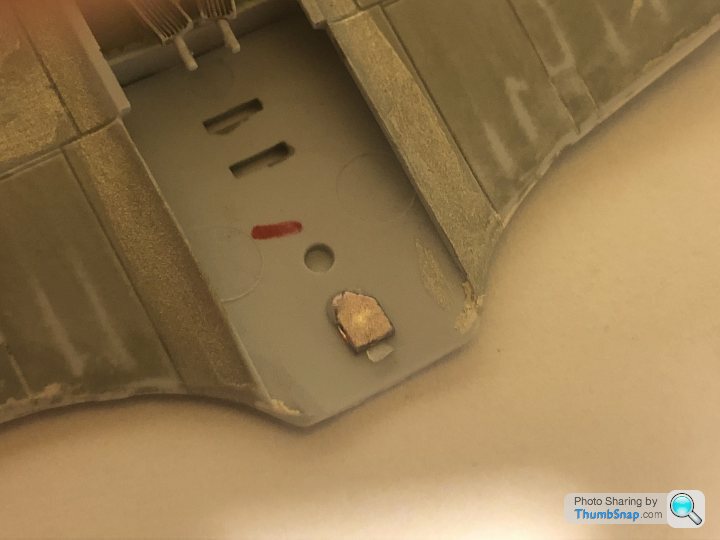
Needs a fair bit of filling and sanding to get the wings sections together.

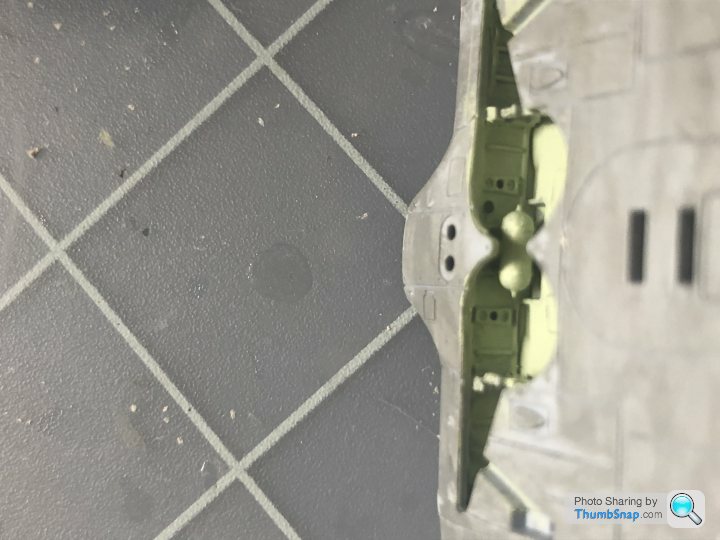
Note the cut-out nav lights (stolen from the good doctor).


I didn’t attempt to do the additional plumbing.


Ayahuasca

Original Poster:

27,428 posts

286 months

Friday 7th June 2019
quotequote all


Ayahuasca

Original Poster:

27,428 posts

286 months

Friday 7th June 2019
quotequote all
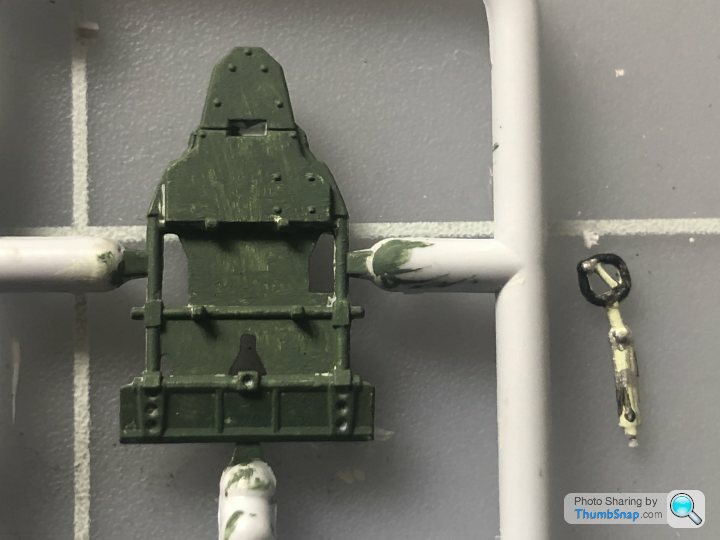
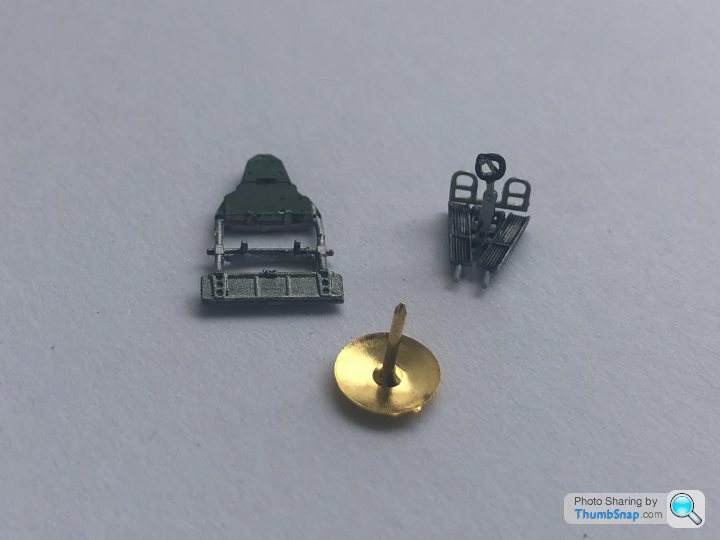
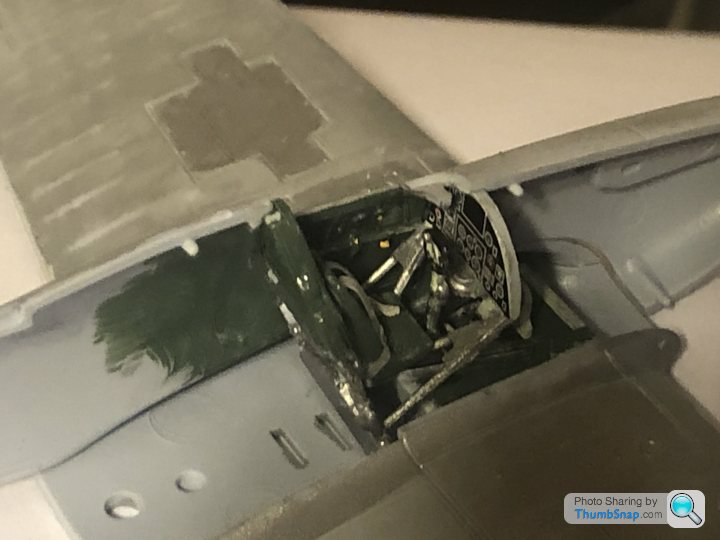
My seat back thingy seems to have extra plastic that the Doc’s one didn’t have.


After surgery.

Ayahuasca

Original Poster:

27,428 posts

286 months

Friday 7th June 2019
quotequote all
dr_gn said:
From memory, the main issue with mine was the wing halves needed modifying otherwise there was a step along the leading edges.
Yes, saw that but mine didn’t seem to have a step.

Ayahuasca

Original Poster:

27,428 posts

286 months

Friday 7th June 2019
quotequote all


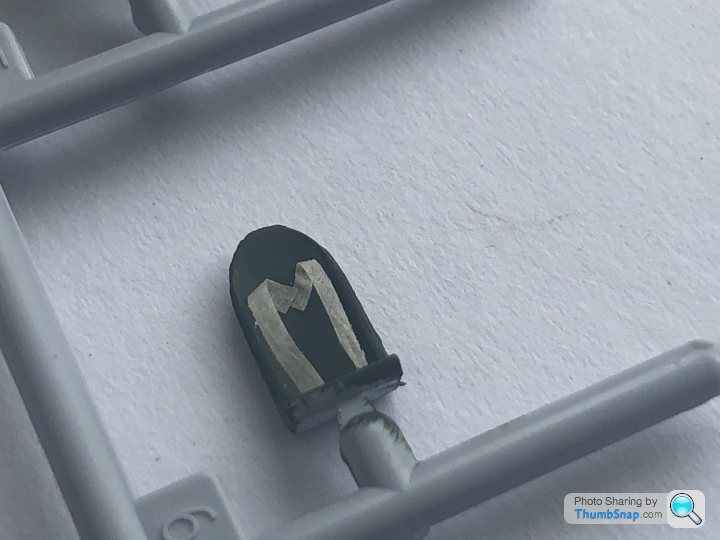
Going to experiment with thin strips of masking tape for the ‘harness’. These ones are just a first draft.

dr_gn

16,400 posts

191 months

Friday 7th June 2019
quotequote all
Yours is a later version with a 3 blade propeller and armour behind the pilot. Still looks like a fabric wing though.

Einion Yrth

19,575 posts

251 months

Saturday 8th June 2019
quotequote all
dr_gn said:
Yours is a later version with a 3 blade propeller and armour behind the pilot. Still looks like a fabric wing though.
Looking at Ayahuasca's photos it would seem that it used to have armour behind the pilot. smile

dr_gn

16,400 posts

191 months

Saturday 8th June 2019
quotequote all
Einion Yrth said:
dr_gn said:
Yours is a later version with a 3 blade propeller and armour behind the pilot. Still looks like a fabric wing though.
Looking at Ayahuasca's photos it would seem that it used to have armour behind the pilot. smile
How so?

Ayahuasca

Original Poster:

27,428 posts

286 months

Saturday 8th June 2019
quotequote all


It was rubbish armour so out it came.


Ayahuasca

Original Poster:

27,428 posts

286 months

Saturday 8th June 2019
quotequote all


The signaling lamp...

Blob of metallic silver on the back to act as a reflector.

Ayahuasca

Original Poster:

27,428 posts

286 months

Saturday 8th June 2019
quotequote all


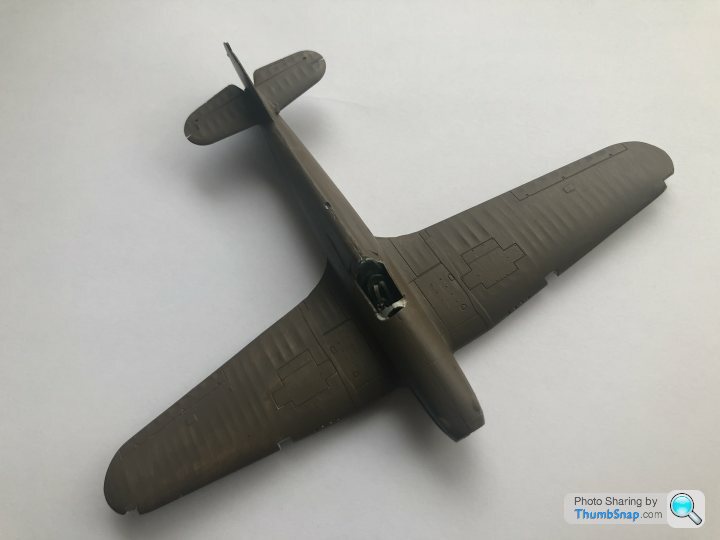
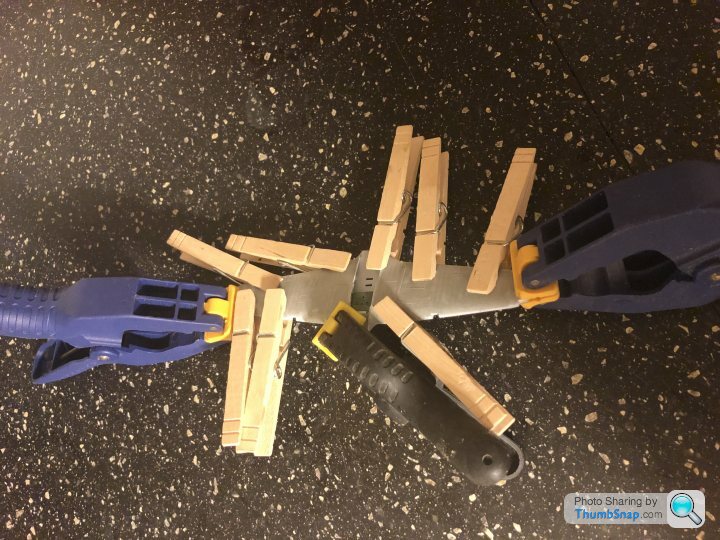
This model almost builds itself, goes together much better than the 109, yes I have used a bit of filler and sandpaper and a sharp blade comes in handy, but so far so good.

Ayahuasca

Original Poster:

27,428 posts

286 months

Saturday 8th June 2019
quotequote all


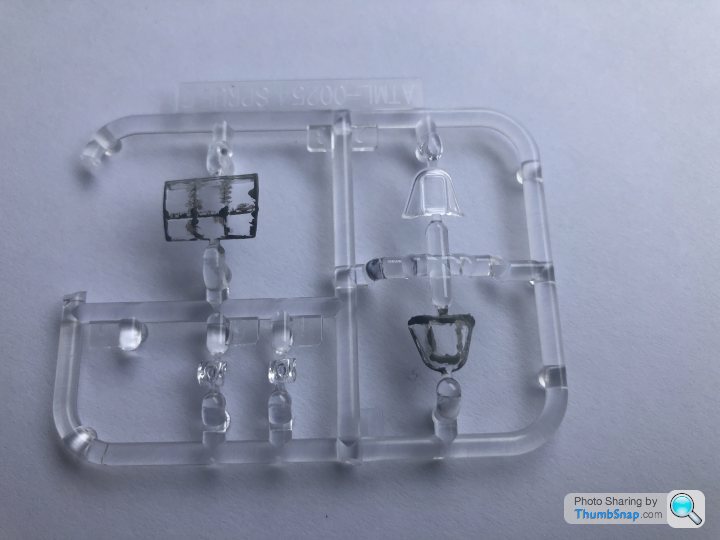
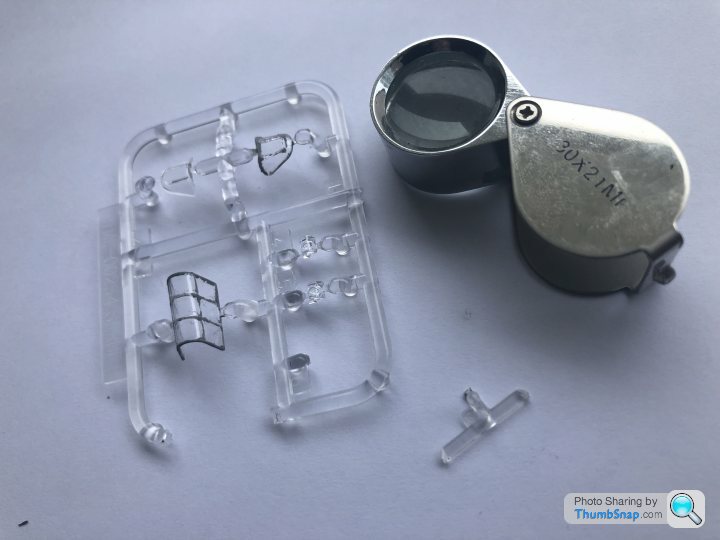
A go at the greenhouse. Primer applied with brush, dried, then scraped off the glass with a bit of sharpened spue. A x30 jewelers magnifier reveals all sorts of horrors, but at 1:72 you just about get away with it.

Next, some green on the greenhouse.

dr_gn

16,400 posts

191 months

Saturday 8th June 2019
quotequote all
Ayahuasca said:


It was rubbish armour so out it came.
Ah I was on about the plates behind the pilots shoulders and head, I don’t think mine had that.

dr_gn

16,400 posts

191 months

Saturday 8th June 2019
quotequote all
Ayahuasca said:


A go at the greenhouse. Primer applied with brush, dried, then scraped off the glass with a bit of sharpened spue. A x30 jewelers magnifier reveals all sorts of horrors, but at 1:72 you just about get away with it.

Next, some green on the greenhouse.
A sharpened cocktail stick dipped in thinners is good too - looks fine though.

dr_gn

16,400 posts

191 months

Saturday 8th June 2019
quotequote all
Ayahuasca said:


This model almost builds itself, goes together much better than the 109, yes I have used a bit of filler and sandpaper and a sharp blade comes in handy, but so far so good.
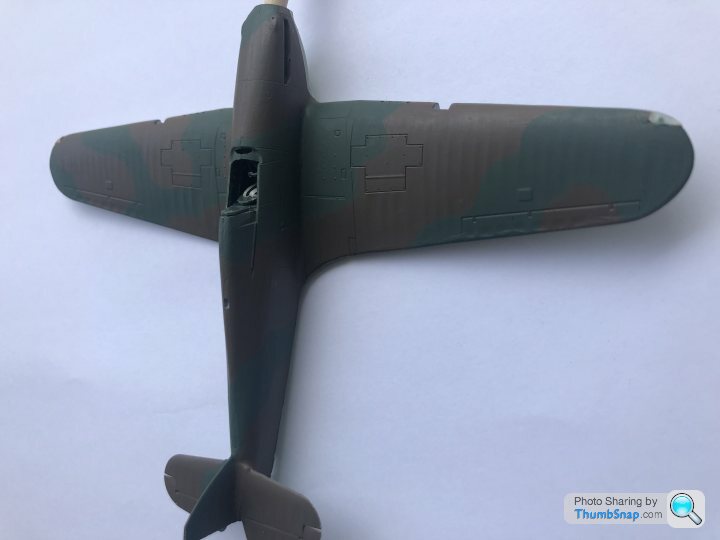
When the second colour and decals go it it will look even better. Something nice about putting RAF roundels on a Green and brown scheme.

Ayahuasca

Original Poster:

27,428 posts

286 months

Tuesday 11th June 2019
quotequote all
The nav lights have been the devil’s own jobs. Why oh why did I cut them out?
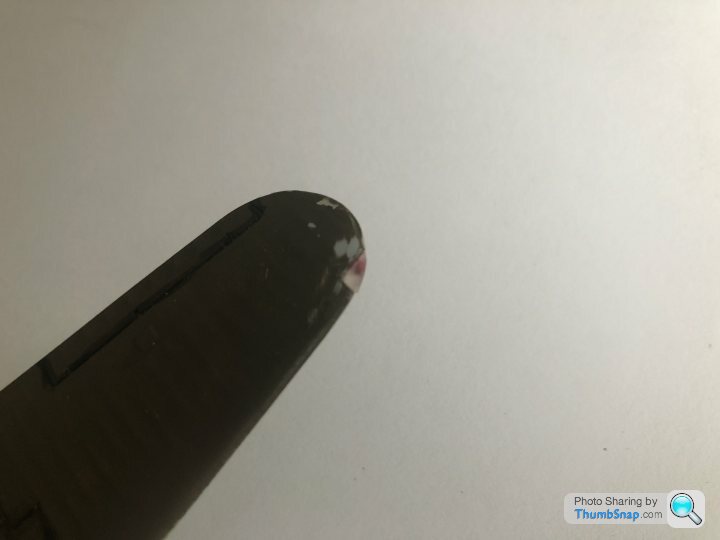


Experimented with filed spue, melted spue, melted silicone, with less than pleasing results.
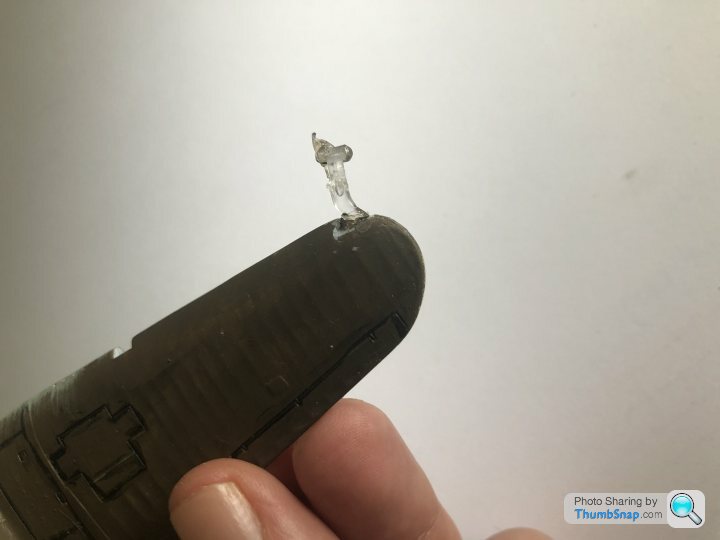


Eventually a wooden jig with filed spue gave the less worst result.
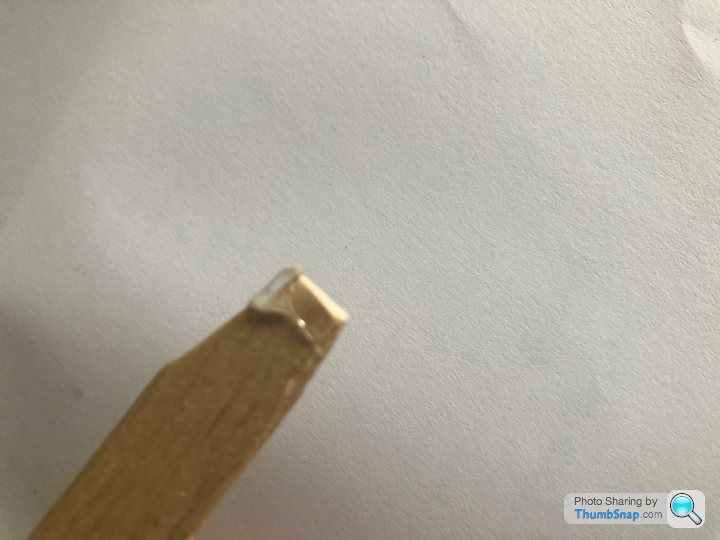


A hot nail to melt the ‘bulb’ cavity which is filled with coloured paint.
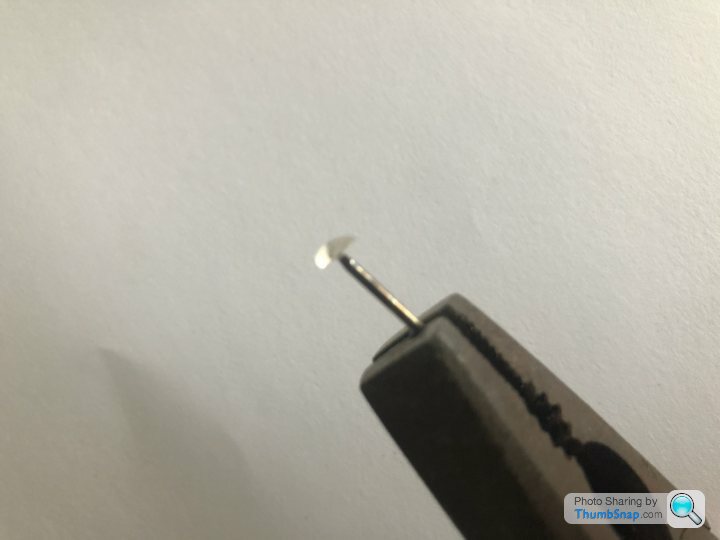

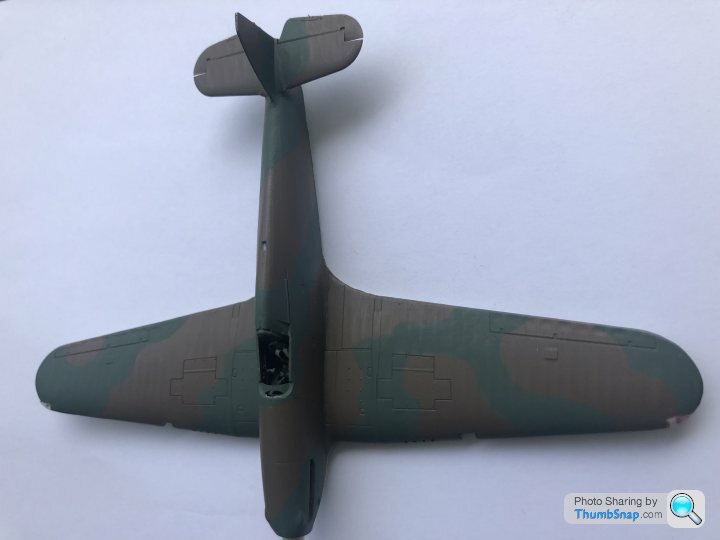
Spent about twice as much time on the nav lights as the rest of the model.


dr_gn

16,400 posts

191 months

Wednesday 12th June 2019
quotequote all
The easiest way I've found to do them is to cut the wings, then cut an oversized piece of clear sprue to have a 90 degree corner (the rest doesn't matter). Glue the sprue into the wingtip with pva and leave to set. Once fully set, profile the excess sprue with sanding sticks, finally bringing it back clear with a nail polishing file. Then snap them off the wingtip for fitting at the end of the build, once everything's painted.

danllama

5,728 posts

149 months

Thursday 13th June 2019
quotequote all
I bought one of these recently minus the paint/glue, got so annoyed at the poor fit and fixing issues I snapped it in half and binned it! biggrin Maybe I just bought a poor sample.