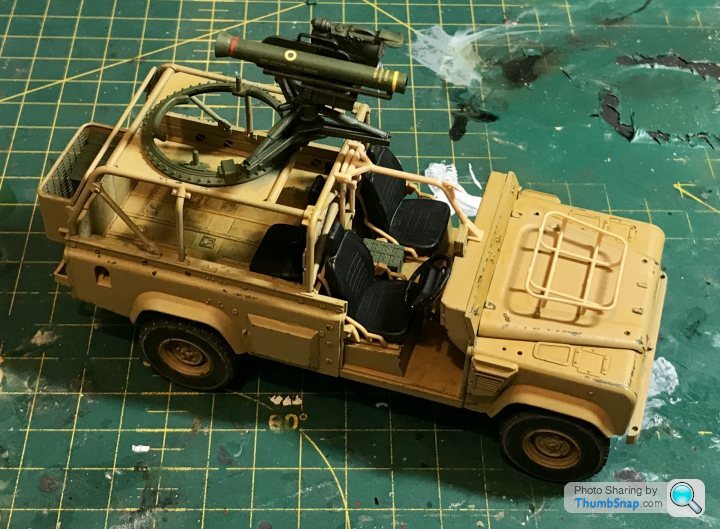
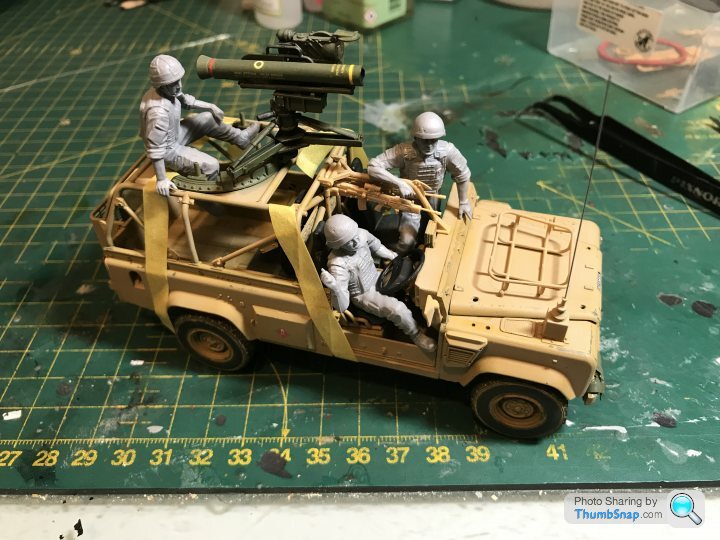
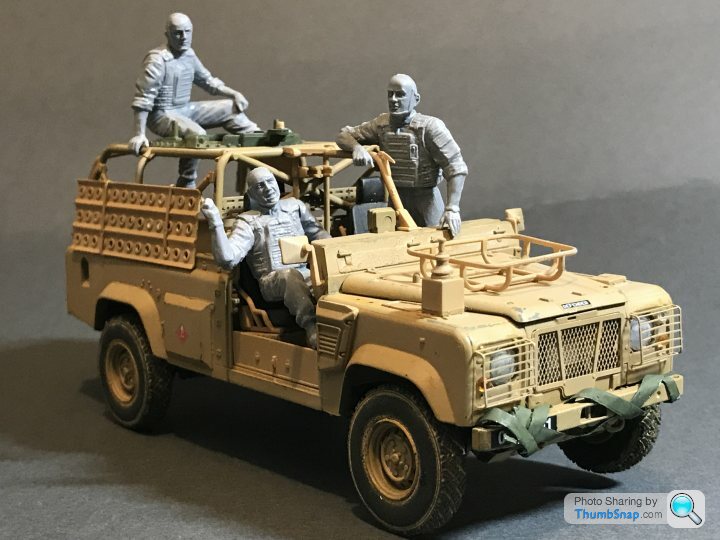
1/35 Hobbyboss Land Rover WMIK with masterbox figures
Discussion
Tonight I start on my next project. I really enjoyed building Tamiyas ancient SAS Pink Panther and thought I’d have a crack at something a bit more modern. Crucially 1/35 Land Rovers aren’t too big.
I’m going to have a go at a small scale diorama so bought some master box figures to go with the build.
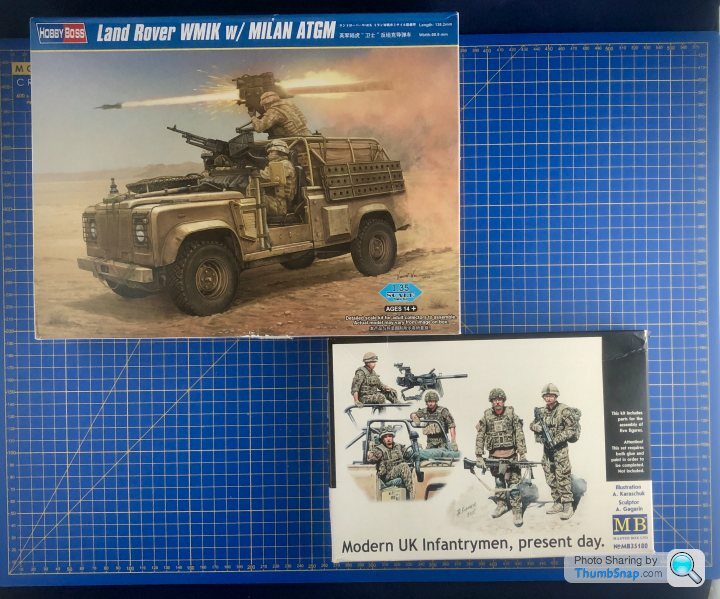
I’ll build the Land Rover and diorama on this thread and the figures on the figure painting thread https://www.pistonheads.com/gassing/topic.asp?h=0&... I appreciate this sounds a bit odd, but I want to keep adding to the other thread as I try out new techniques.
Hopefully it will be easy to follow.
I’m going to have a go at a small scale diorama so bought some master box figures to go with the build.

I’ll build the Land Rover and diorama on this thread and the figures on the figure painting thread https://www.pistonheads.com/gassing/topic.asp?h=0&... I appreciate this sounds a bit odd, but I want to keep adding to the other thread as I try out new techniques.
Hopefully it will be easy to follow.
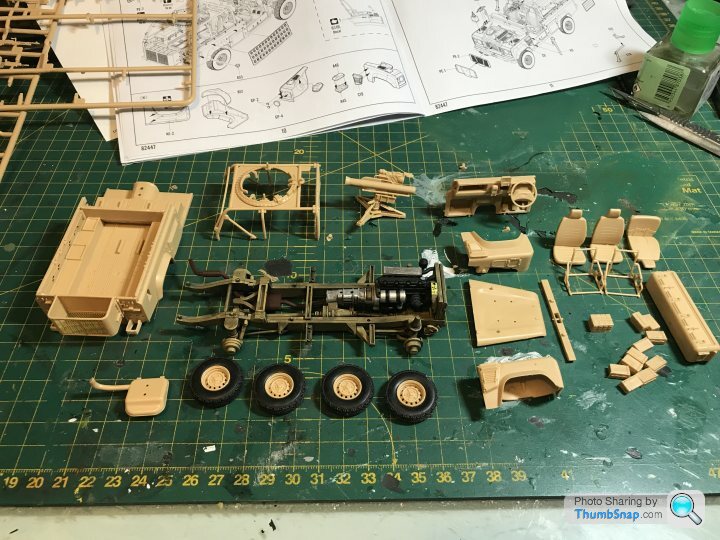
I made a start tonight. There are only 10 steps in the instructions, but each covers a lot of ground. What you see below is step 1 and comprises no fewer than 39 parts!
For example each of the main chassis rails are two parts each. On most kits the chassis would be one piece.
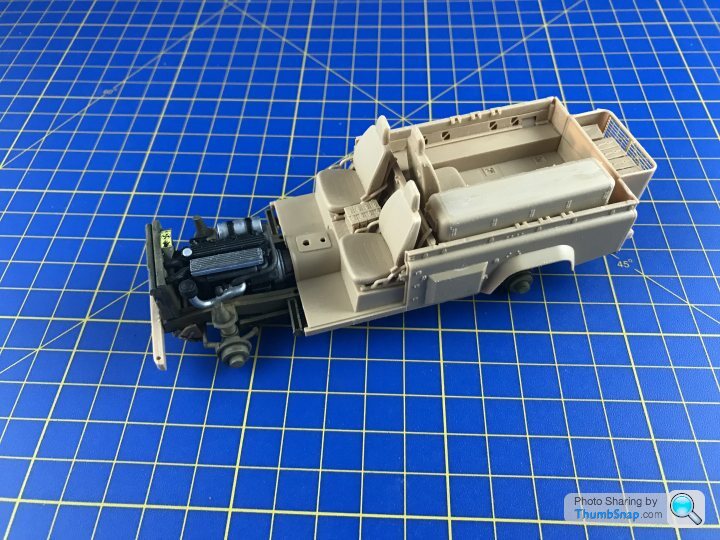
The engine is probably better than the majority of 1:24 car kits I’ve built and is rather lovely, it’s so nice I am going to fully detail it even though the bonnet will be shut. I just want to see how good it looks painted. On that subject I did consider painting the parts prior to assembly. I prefer to assemble and then paint as the parts Bond much better that way. You can remove the paint from the mating surfaces, but you are still often left with rework anyway.
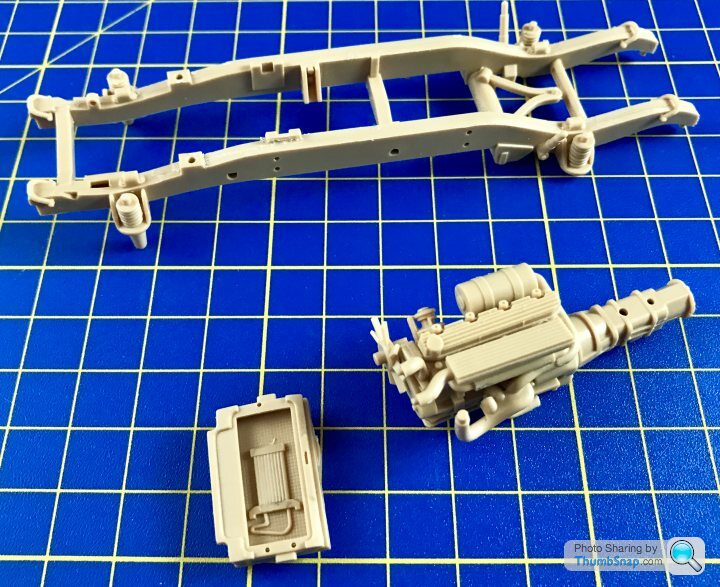

Made a lot of progress tonight. To be honest it doesn’t look like much, but trust me there are a LOT of parts on this one.
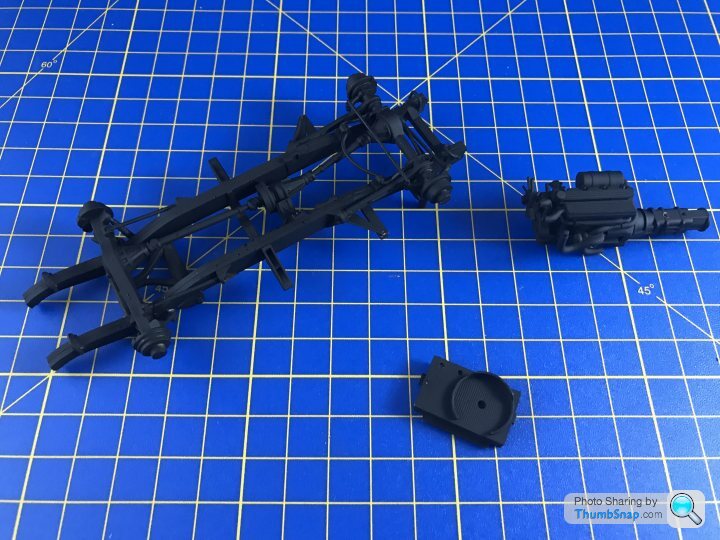
First up I painted the chassis black. This is going to make it very dark, but that’s what I wanted.
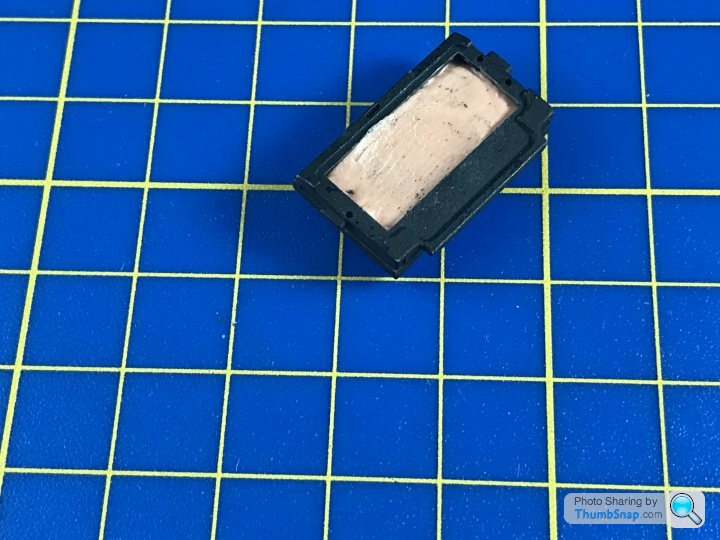
I’ve started using silly putty for masking. It seems a lot better to use than blue tack.
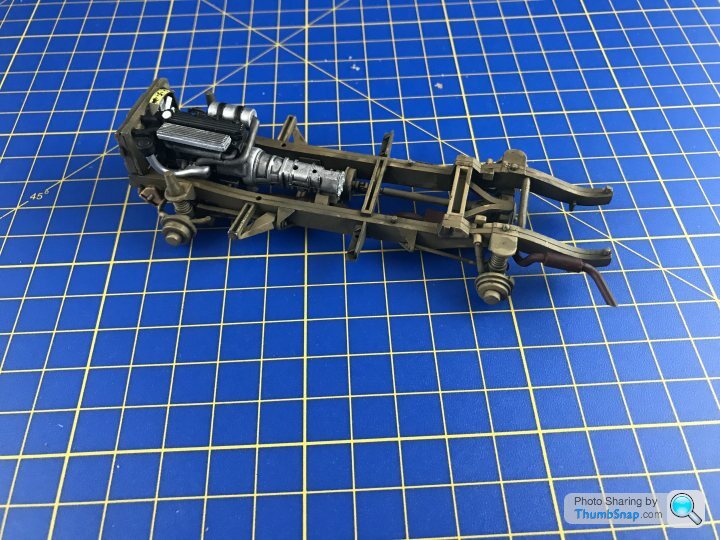
A bit of desert yellow for the frame, paint on the engine and some weathering later...
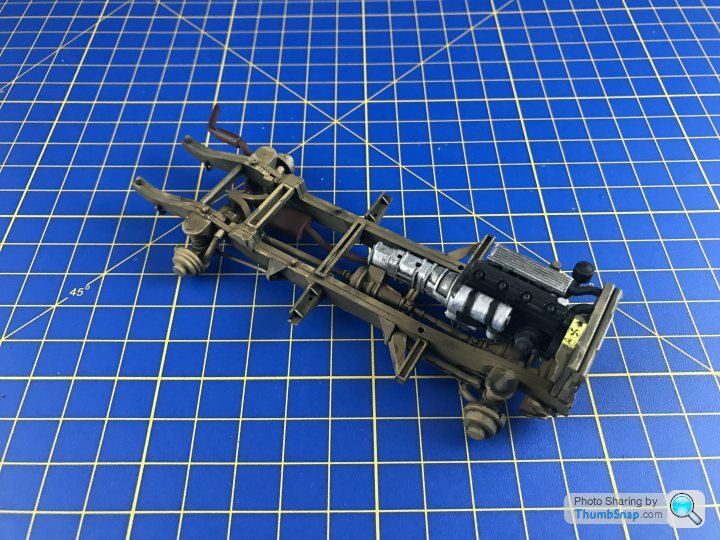
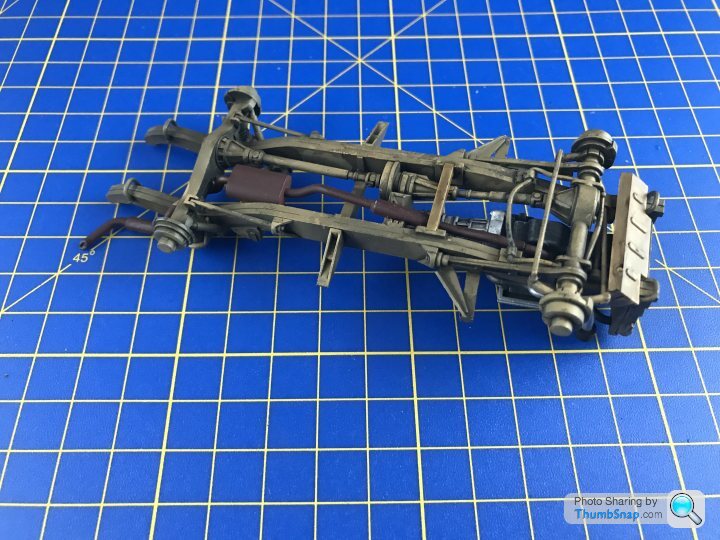
With the chassis done it was time to start on the pick up bed.
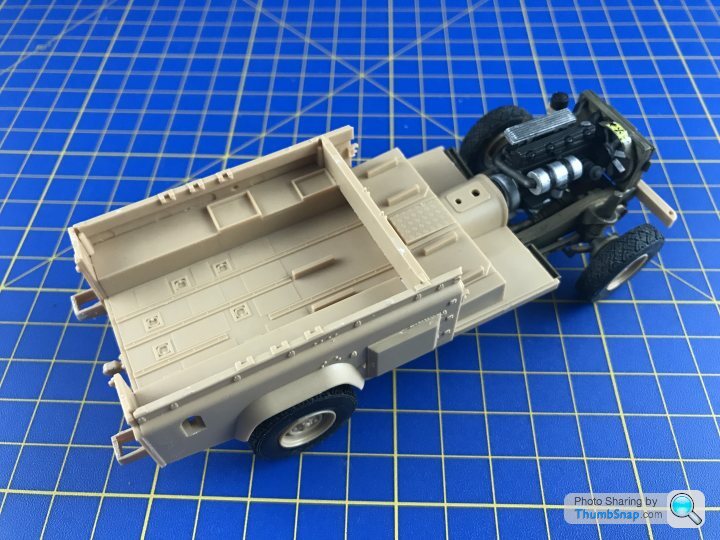
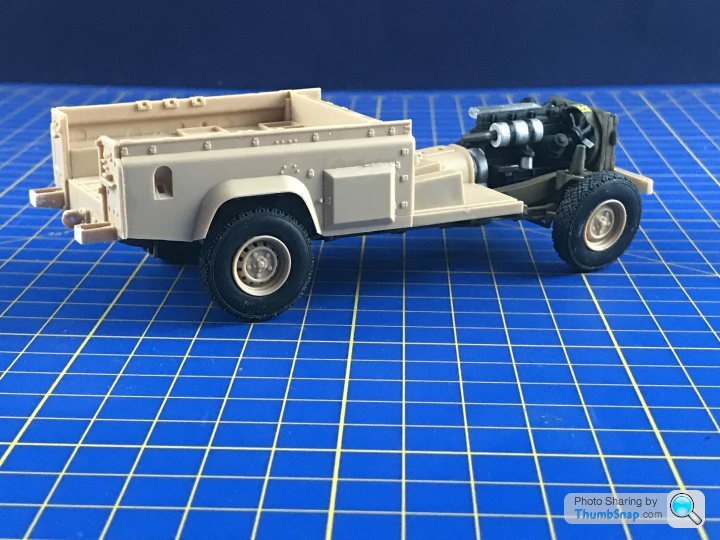
This is how it currently stands. Most parts aren’t glued in place as yet as I want to paint it in sub assemblies.
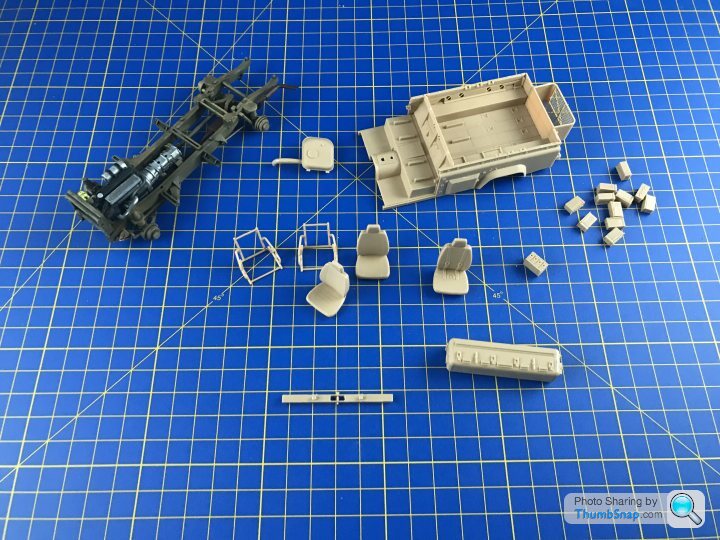
You can see how it breaks down below. Each seat comprises of four parts, the seat frames another two. The ammo boxes are three pieces each. As I said there is a high part count, but the level of detail is remarkable.
First up I painted the chassis black. This is going to make it very dark, but that’s what I wanted.

I’ve started using silly putty for masking. It seems a lot better to use than blue tack.

A bit of desert yellow for the frame, paint on the engine and some weathering later...


With the chassis done it was time to start on the pick up bed.


This is how it currently stands. Most parts aren’t glued in place as yet as I want to paint it in sub assemblies.

You can see how it breaks down below. Each seat comprises of four parts, the seat frames another two. The ammo boxes are three pieces each. As I said there is a high part count, but the level of detail is remarkable.

More progress this evening..
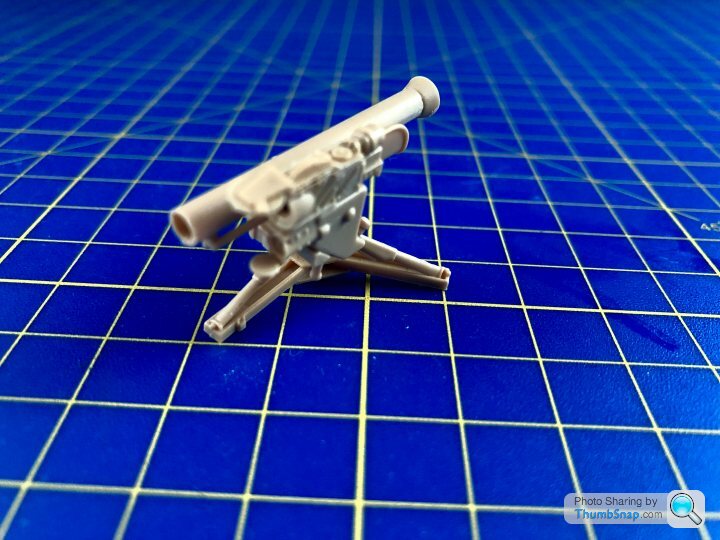
First the assembly of the Milan anti tank missle system. As with much of this build, it’s a bit like a mini kit in its own right.
Then onto assembly of the firewall/cockpit and front wings. At this time nothing is finally secured as I’m trying to figure out the best way to paint it and put it together. I’m told that ship modellers start at the bottom and assemble and paint as they go. I might give that a try.
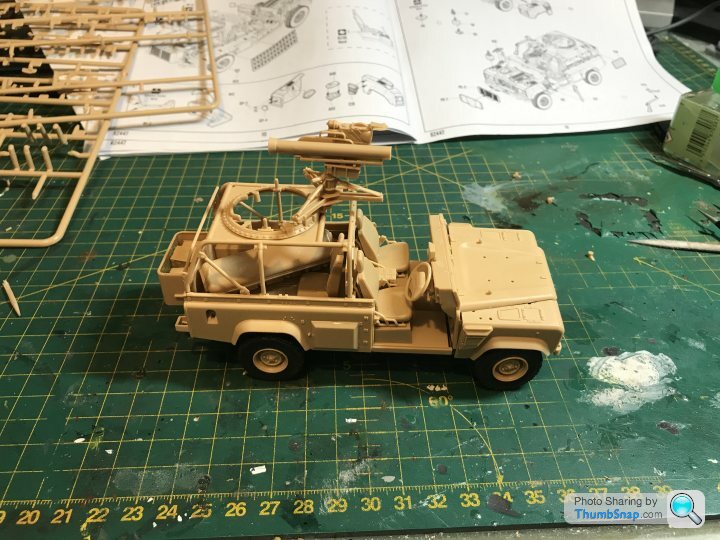
Whilst I like the kit there are a few frustrations. They mainly consist of illogical positioning of sprue gates, like this.
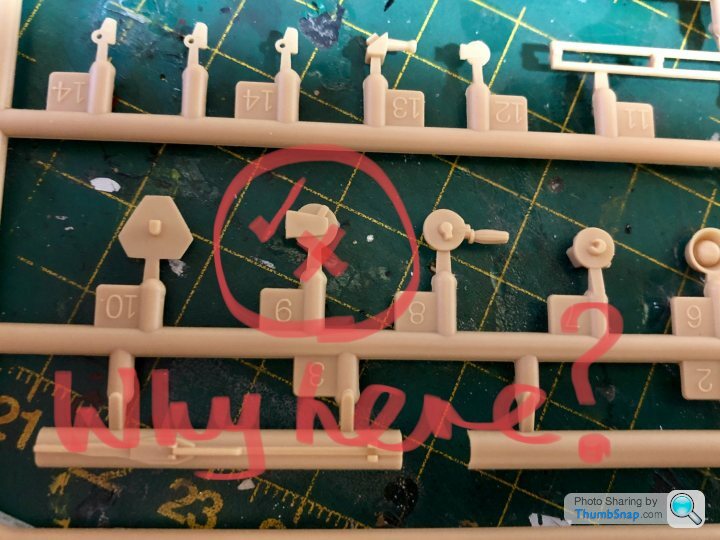
It leads to difficult areas of clean up...
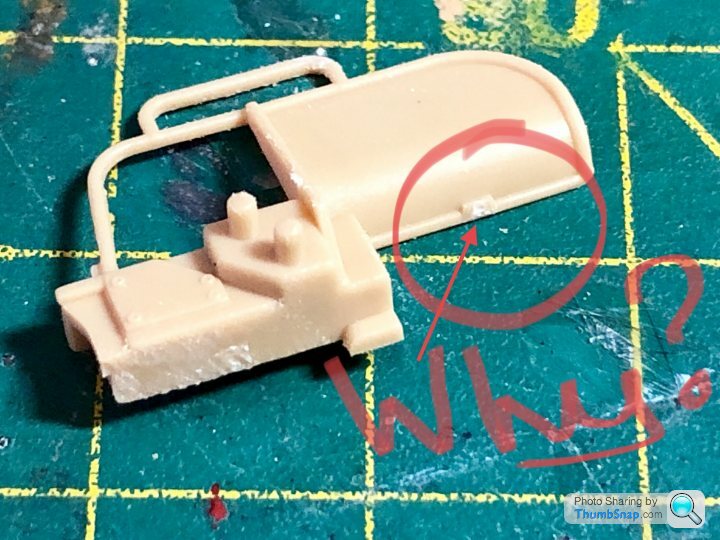
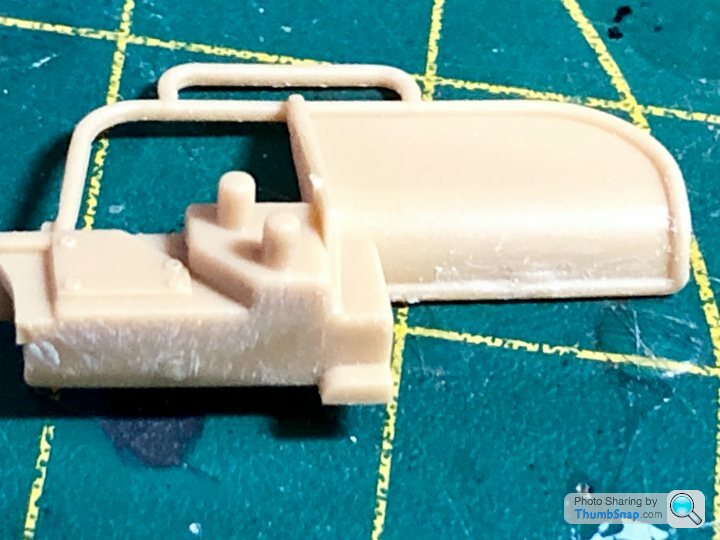
A test of skill and patience. Still loving the kit though...
First the assembly of the Milan anti tank missle system. As with much of this build, it’s a bit like a mini kit in its own right.

Then onto assembly of the firewall/cockpit and front wings. At this time nothing is finally secured as I’m trying to figure out the best way to paint it and put it together. I’m told that ship modellers start at the bottom and assemble and paint as they go. I might give that a try.


Whilst I like the kit there are a few frustrations. They mainly consist of illogical positioning of sprue gates, like this.

It leads to difficult areas of clean up...


A test of skill and patience. Still loving the kit though...
Today’s update.
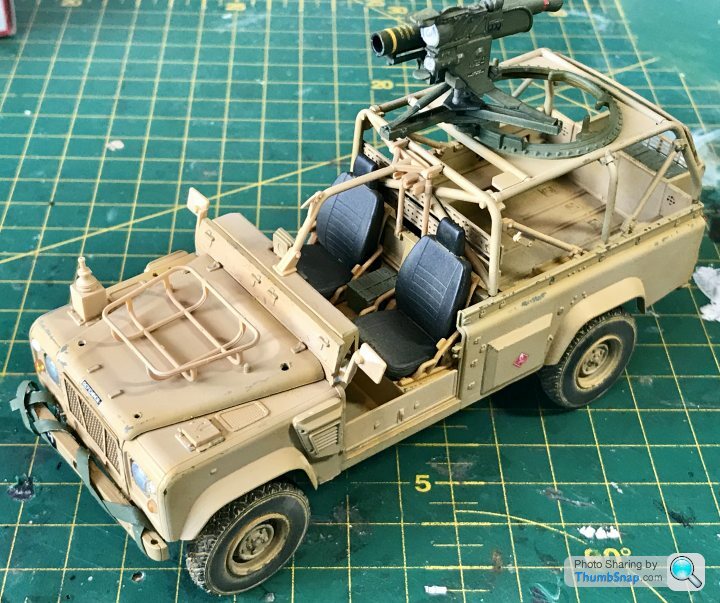
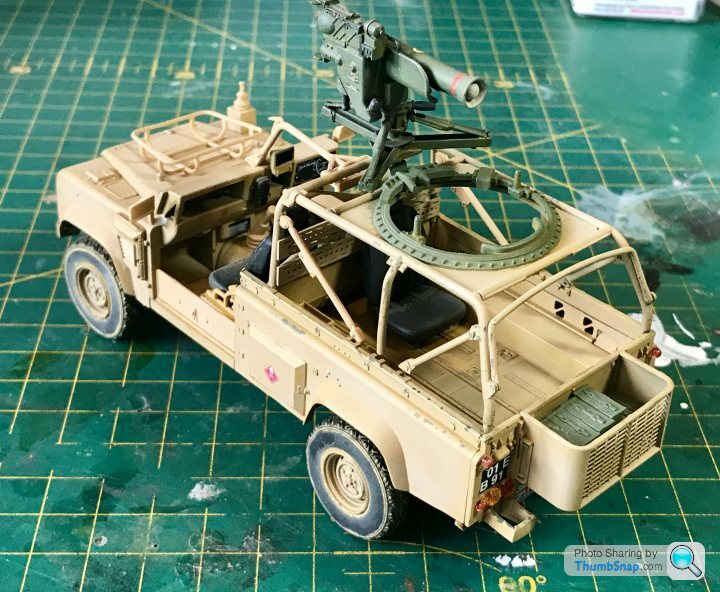
I’ve basically painted and assembled the body. Going slightly out of order to the instructions.
The Milan is painted and weathered.
The roll cage, wheels, bonnet are not secured yet.
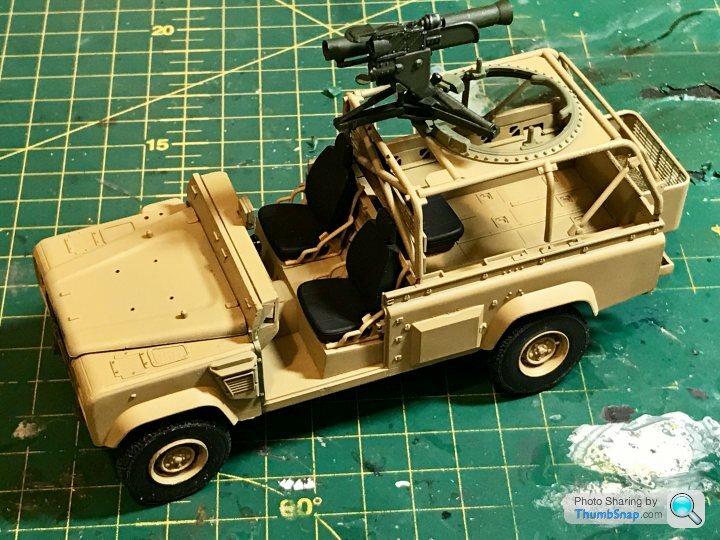
And a shot with the bonnet off. I probably won’t glue it in place to give the option of displaying the motor.
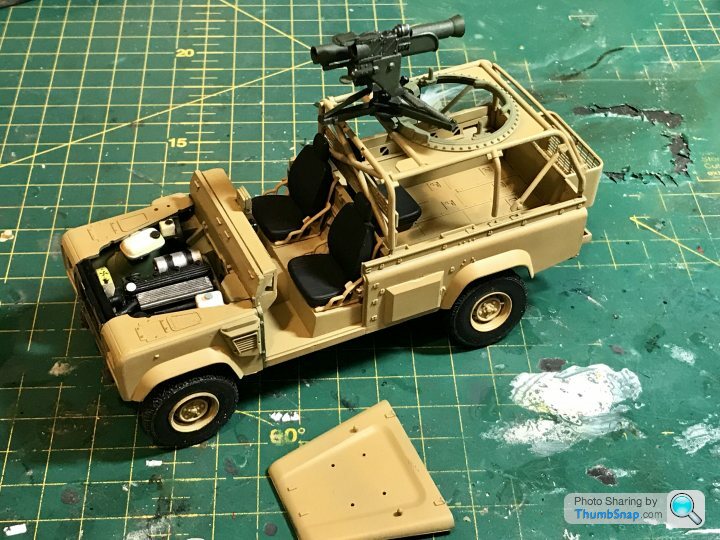
I’ve basically painted and assembled the body. Going slightly out of order to the instructions.
The Milan is painted and weathered.
The roll cage, wheels, bonnet are not secured yet.

And a shot with the bonnet off. I probably won’t glue it in place to give the option of displaying the motor.

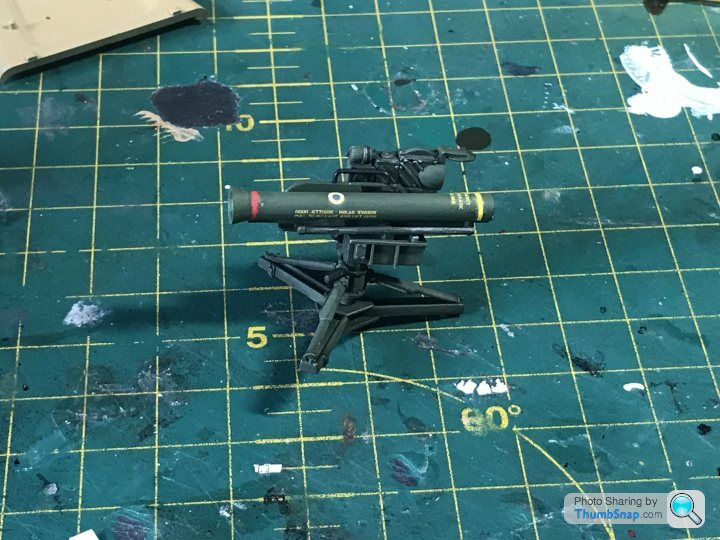
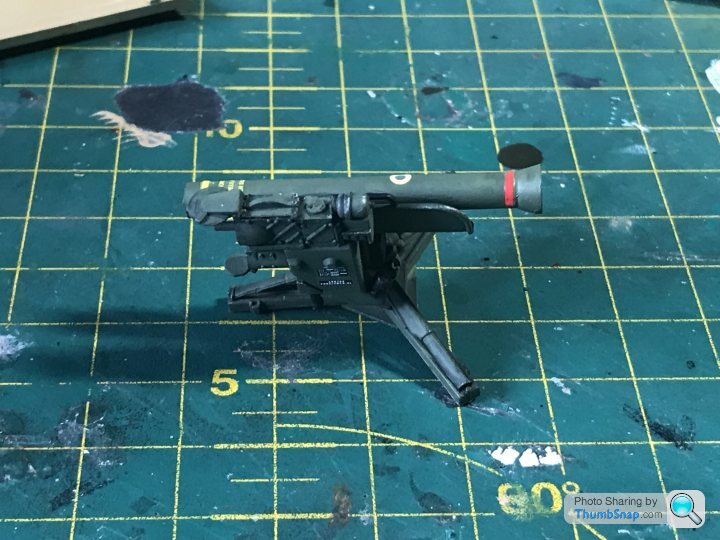
I wasn’t happy with the anti tank missle. I looked at a few pictures of the real thing and they all had a number of stencils. The decals are a real weakness of this kit, there aren’t even any number plates let alone stencils. So I had a look through my decals box and found some meant for a 1/48 scale Sea Fury that looked okay. Number plates will be courtesy of a chieftain tank.


I had a spare hour this afternoon, so work continued.
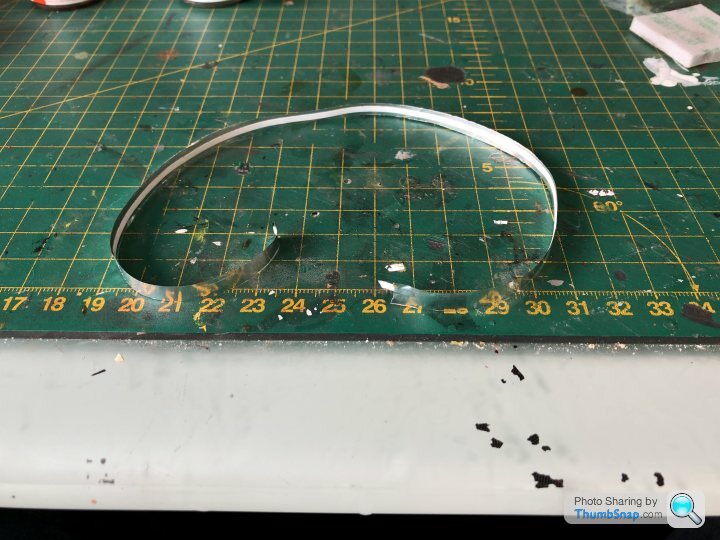
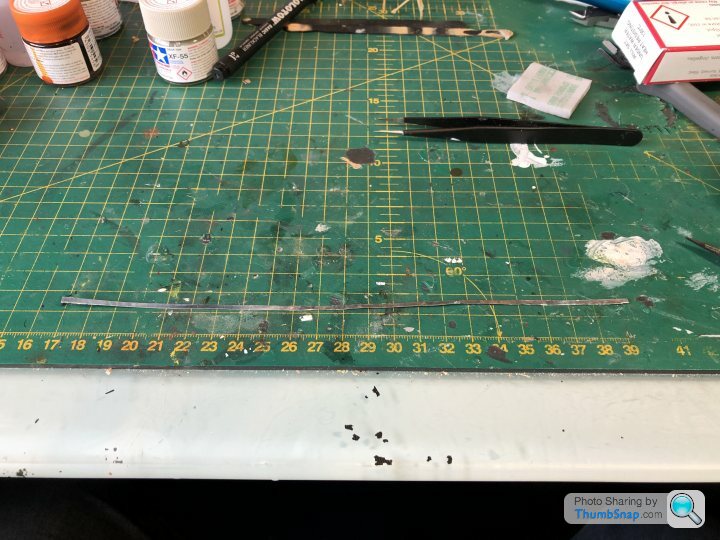
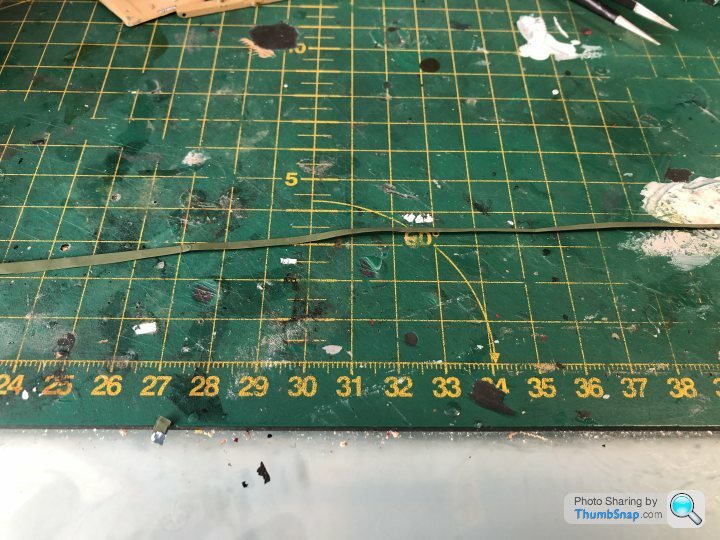
I have looked at a lot of pictures of these vehicles in use. They all seem to have tow straps wrapped around the front bumper. In my continuing quest to push my skills I decided to try and make one. My first attempt using Tamiya tape was a terrible disaster. Had a bit of a think and decided to try a mix of tape and foil. I think it turned out okay.
I also managed to fit the lights, although one of the side lights pinged off to god knows where. Canopy cement to the rescue..
I’m slowly building things up. The roll cage still isn’t in its final position though.
I have looked at a lot of pictures of these vehicles in use. They all seem to have tow straps wrapped around the front bumper. In my continuing quest to push my skills I decided to try and make one. My first attempt using Tamiya tape was a terrible disaster. Had a bit of a think and decided to try a mix of tape and foil. I think it turned out okay.


I also managed to fit the lights, although one of the side lights pinged off to god knows where. Canopy cement to the rescue..
I’m slowly building things up. The roll cage still isn’t in its final position though.


Ta very much...
It’s funny how some things come easier than others. I’ve always struggled to get good finish on car bodywork for example.
It’s nice to get good feedback. As mentioned I’m hyper critical of my own work, so it adds a bit of perspective.
I still think you’d do well at military subjects though based on your build. It’s much less precise.
Gassing Station | Scale Models | Top of Page | What's New | My Stuff


