Trumpeter 1/350 HMS Dreadnought 1907
Discussion
You wait years for a 1/350 ship build on Pistonheads then two come along at once 
Inspired by Nuclearsquash's excellent thread on the 1/350 Tamiya Bismark https://www.pistonheads.com/gassing/topic.asp?h=0&... I thought I'd do my own.
I used to make a lot of aircraft models when I was young (following in my dad's footsteps) but never kept it up as life moved on, and aside from a few years building/painting GW stuff in my teens I'd not actually done anything like this for about 18 years (gulp). I've had a lifelong interest in naval history and I've always said that one day I would love a decent collection of 1/350 ships. Over the last 3 or 4 years I've considered picking one up to have a go at but something always came up that meant I never actually got around to it, then at the start of December, with the dark nights and an enforced pause in my TVR garage build, I picked up the Trumpeter 1/350 HMCS Huron kit to have a go at...
I sourced a ton of tools, paints, and acquired an airbrush from a family member who wasn't getting much use from it and dived in. It was my first time using photoetch, first time using an airbrush, and first time building a plastic ship model, so I figured I'd start with a small kit before having a go at something more substantial.
Aside from a few odd mistakes, I was pretty pleased with the result and it was an extremely useful learning experience! For a first attempt I built it 'out of the box'- for instance a Tribal class destroyer of late war period should have the rear funnel cut down, and the supplied AA weapon was an 8-barrel pom-pom as opposed to the 4-barrel actually fitted to these ships. I didn't want to get bogged down correcting these kinds of things on my first ship though, so just went with it.
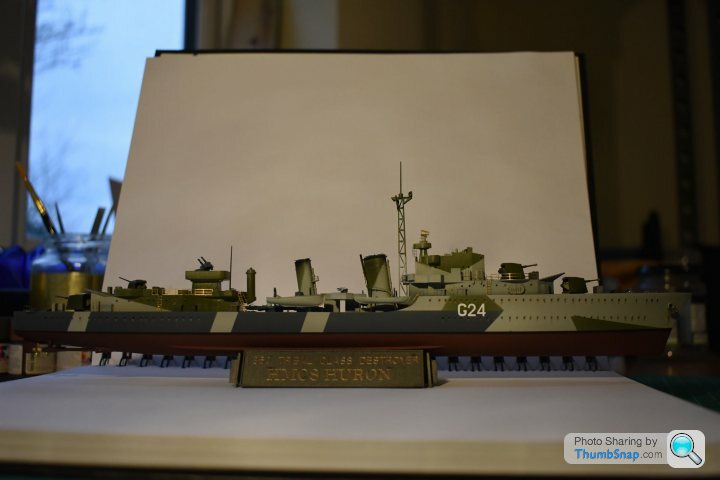
Then Christmas comes around and my fiance has got me this little bundle of goodies;
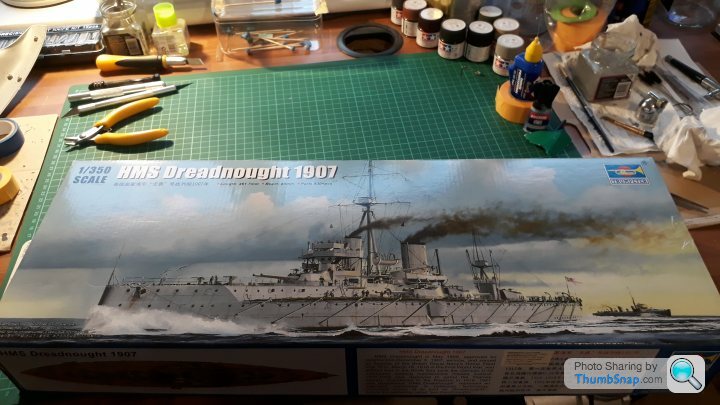
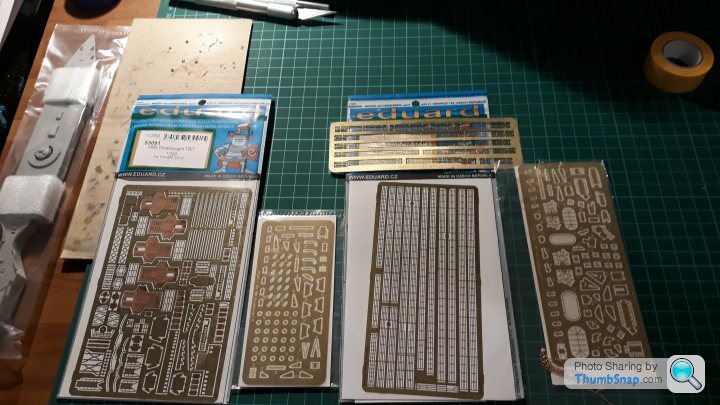
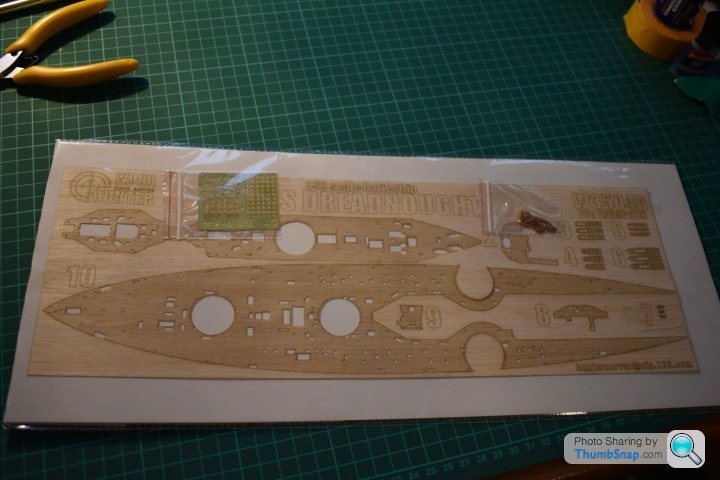
Trumpeter 1/350 HMS Dreadnought 1907
Eduard photoetch detailing sets
Woodhunter wooden decks
There are a collection of famous RN ships that I've long wanted models of, so what better place to start than with arguably the most significant RN warship of the 20th Century!
It's a 2-piece hull on this model, and the fit between the two pieces is not the best, but after plenty of preparation and a liberal amount of tape & elastic bands, I got the two halves fitted together with only the tiniest amount of smoothing/fillering required along a couple of small sections of the keel. Fortunately, the plastic deck sections are a superb fit, which meant I could have these dry-fitted to ensure everything was lined up correctly whilst the hull joins set.
Prior to this however, was the small task of drilling out 138 port holes... A beer and some left over Christmas munchies meant this was taken care of in just under a couple of hours
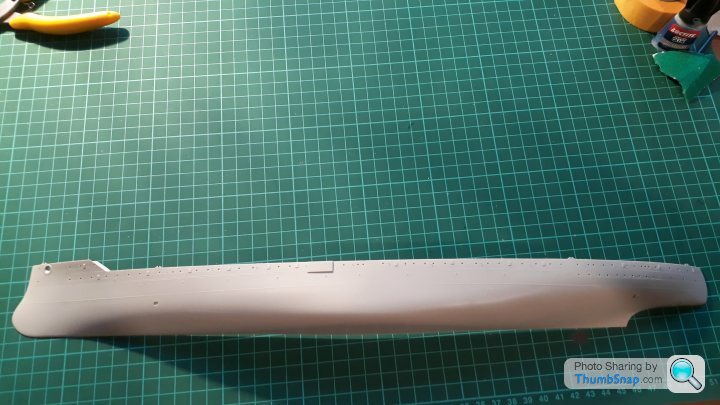
This was New Year's Eve, and by this point we were due out to meet up with Friends- the ensuing party/hangover/return-to-work meant nothing further was done until last night...

Inspired by Nuclearsquash's excellent thread on the 1/350 Tamiya Bismark https://www.pistonheads.com/gassing/topic.asp?h=0&... I thought I'd do my own.
I used to make a lot of aircraft models when I was young (following in my dad's footsteps) but never kept it up as life moved on, and aside from a few years building/painting GW stuff in my teens I'd not actually done anything like this for about 18 years (gulp). I've had a lifelong interest in naval history and I've always said that one day I would love a decent collection of 1/350 ships. Over the last 3 or 4 years I've considered picking one up to have a go at but something always came up that meant I never actually got around to it, then at the start of December, with the dark nights and an enforced pause in my TVR garage build, I picked up the Trumpeter 1/350 HMCS Huron kit to have a go at...
I sourced a ton of tools, paints, and acquired an airbrush from a family member who wasn't getting much use from it and dived in. It was my first time using photoetch, first time using an airbrush, and first time building a plastic ship model, so I figured I'd start with a small kit before having a go at something more substantial.
Aside from a few odd mistakes, I was pretty pleased with the result and it was an extremely useful learning experience! For a first attempt I built it 'out of the box'- for instance a Tribal class destroyer of late war period should have the rear funnel cut down, and the supplied AA weapon was an 8-barrel pom-pom as opposed to the 4-barrel actually fitted to these ships. I didn't want to get bogged down correcting these kinds of things on my first ship though, so just went with it.

Then Christmas comes around and my fiance has got me this little bundle of goodies;


Trumpeter 1/350 HMS Dreadnought 1907
Eduard photoetch detailing sets
Woodhunter wooden decks
There are a collection of famous RN ships that I've long wanted models of, so what better place to start than with arguably the most significant RN warship of the 20th Century!
It's a 2-piece hull on this model, and the fit between the two pieces is not the best, but after plenty of preparation and a liberal amount of tape & elastic bands, I got the two halves fitted together with only the tiniest amount of smoothing/fillering required along a couple of small sections of the keel. Fortunately, the plastic deck sections are a superb fit, which meant I could have these dry-fitted to ensure everything was lined up correctly whilst the hull joins set.
Prior to this however, was the small task of drilling out 138 port holes... A beer and some left over Christmas munchies meant this was taken care of in just under a couple of hours


This was New Year's Eve, and by this point we were due out to meet up with Friends- the ensuing party/hangover/return-to-work meant nothing further was done until last night...
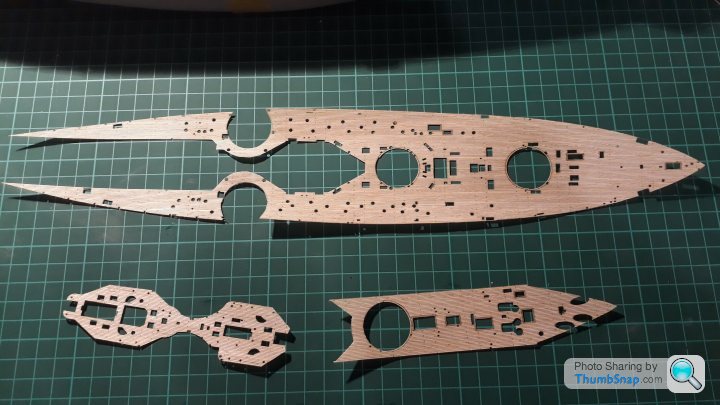
Next up was to ensure the Woodhunter decks fitted as intended. They are remarkably close, but will require trimming in a couple of places where the upper superstructure and funnel bases etc sit- as I want to be able to paint everything in sections and then fit the wooden decks as late on as possible. To help with this I took a photocopy of the wooden deck sections, I also figured this would be useful to use as a 'mask' if needs be.
At this point I realised I do not have a steel ruler small enough for the purposes of trimming the wooden deck sections (I only have carpentry ones at 1m+ lengths!), so a 6" one was ordered and I moved on to the fittings.
Whilst the instructions are pretty decent, the order doesn't make a huge amount of sense to me. For instance, when dealing with multiple fittings that require the use of photoetch, I figure it makes more sense to assemble all of them in one go rather than hap-hazard as required by the instructions- it seems much more efficient this way as you get into the swing of it much easier. So first up was the 13 searchlights (only 12 here as one has already been assembled to a platform);
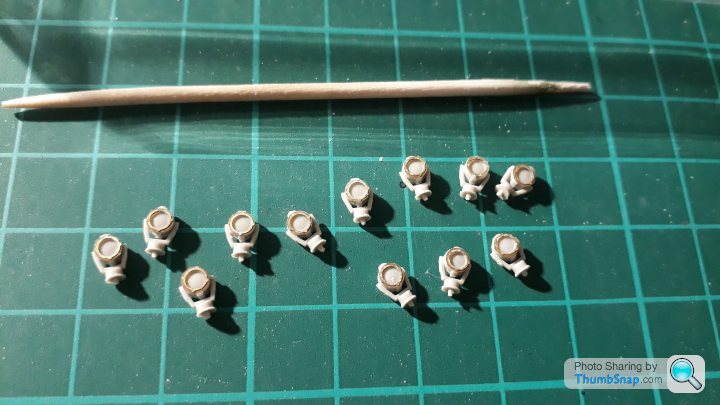
Another delivery from the postie provided these;
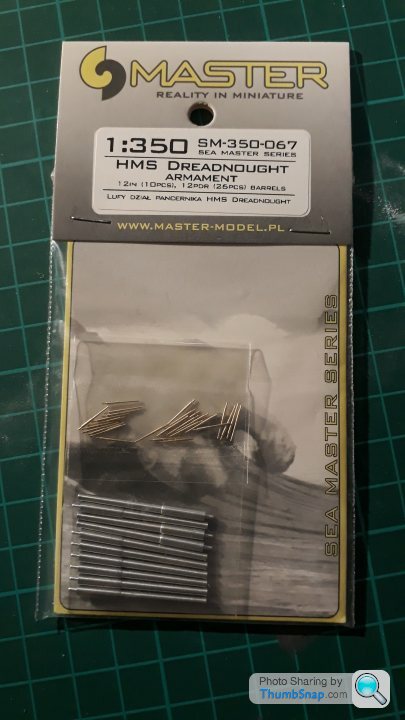
Metal barrels for the 12" main guns and the 3" secondary armament.
So next up will be the assembly of the 5 x main gun turrets and then all of the QF 12-pounders.
The main guns are going to require a degree of work as there is nothing inside the turret to mount the barrels into- the plastic kit versions have barrel sleeves that just about fit over the barrel openings on the turret face. The metal barrels do not have these sleeves and so I need to fabricate a piece to fit inside the turret that I can then drill to mount the barrel stems into. I had a quick play at making something up last night using a sprue offcut, but the Trumpeter sprues have a round cross-section and I wasn't entirely happy with the result so need to go back to the drawing board on this.
Progress is being made though- and with my TVR accomodation to finish building and the small matter of getting married in November, I'm keen to make the most of these dark evenings / crap weekends! I've noticed the going rate for these 1/350 scale ships is often 12mths+ whereas I am aiming for a rather more ambitious 6 months
At this point I realised I do not have a steel ruler small enough for the purposes of trimming the wooden deck sections (I only have carpentry ones at 1m+ lengths!), so a 6" one was ordered and I moved on to the fittings.
Whilst the instructions are pretty decent, the order doesn't make a huge amount of sense to me. For instance, when dealing with multiple fittings that require the use of photoetch, I figure it makes more sense to assemble all of them in one go rather than hap-hazard as required by the instructions- it seems much more efficient this way as you get into the swing of it much easier. So first up was the 13 searchlights (only 12 here as one has already been assembled to a platform);

Another delivery from the postie provided these;

Metal barrels for the 12" main guns and the 3" secondary armament.
So next up will be the assembly of the 5 x main gun turrets and then all of the QF 12-pounders.
The main guns are going to require a degree of work as there is nothing inside the turret to mount the barrels into- the plastic kit versions have barrel sleeves that just about fit over the barrel openings on the turret face. The metal barrels do not have these sleeves and so I need to fabricate a piece to fit inside the turret that I can then drill to mount the barrel stems into. I had a quick play at making something up last night using a sprue offcut, but the Trumpeter sprues have a round cross-section and I wasn't entirely happy with the result so need to go back to the drawing board on this.
Progress is being made though- and with my TVR accomodation to finish building and the small matter of getting married in November, I'm keen to make the most of these dark evenings / crap weekends! I've noticed the going rate for these 1/350 scale ships is often 12mths+ whereas I am aiming for a rather more ambitious 6 months

robemcdonald said:
Looks excellent. I’d never have the patience to build a ship. I’d end up rushing it.
Good luck.
Thanks!Good luck.
I find it quite therapeutic building up loads of sub assemblies and then seeing it gradually take shape. That said, I won't be going to the incredible lengths I have seen some of these kits made to- there are so many that I would like completed models of that I'd just never manage it if it involved spending over a year on each one...

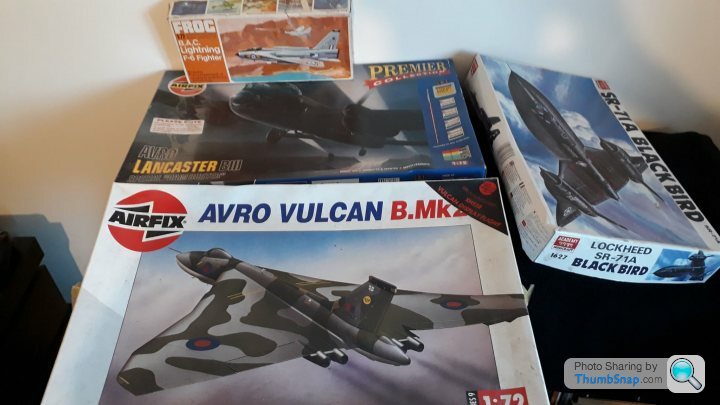
I did also recover these from my parents loft over Christmas though if I fancy a break at any point- the Frog Lightning (70's?) and the Academy SR-71 (80's?) were my dad's but he never got around to building them- considering he had stopped making models by 1990 or so it would be nice to get these put together

Edited by Squirrelofwoe on Wednesday 9th January 09:22
Quite a bit of progress tonight, although it doesn't look much!
Got all of the wooden decks trimmed back around all of the upper superstructure mounting points so that it all fits nice and snug- this was a lonnnnnng job. Continually measuring, trimming, measuring, trimming etc etc. Sharp blade and a steel ruler essential. The reason for doing this is so that I won't have to mask the wooden deck at all, as by the time it is down everything is else should be painted. The standard assembly process would see you simply glue all of the superstructure items down over the top of the deck, so it would need to go down pretty early and then be painstakingly masked for painting.
It means I can now assemble the main hull pieces for painting, and continue to assemble all of the upper superstructure separately.
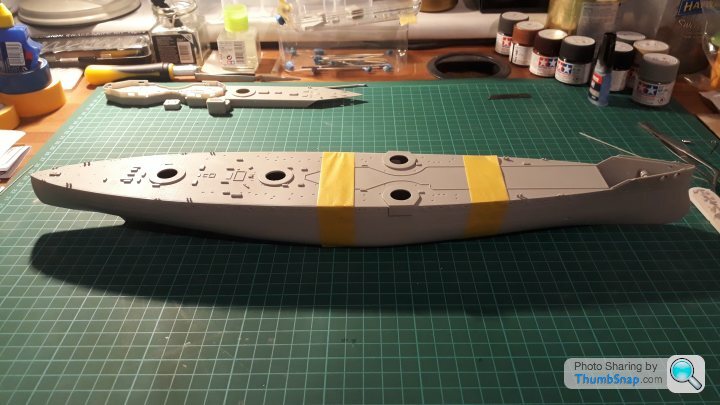
I also got the main deck piece glued into the hull, so I can now crack on with all of the deck fittings (hatches etc).
Got all of the wooden decks trimmed back around all of the upper superstructure mounting points so that it all fits nice and snug- this was a lonnnnnng job. Continually measuring, trimming, measuring, trimming etc etc. Sharp blade and a steel ruler essential. The reason for doing this is so that I won't have to mask the wooden deck at all, as by the time it is down everything is else should be painted. The standard assembly process would see you simply glue all of the superstructure items down over the top of the deck, so it would need to go down pretty early and then be painstakingly masked for painting.
It means I can now assemble the main hull pieces for painting, and continue to assemble all of the upper superstructure separately.

I also got the main deck piece glued into the hull, so I can now crack on with all of the deck fittings (hatches etc).

Holy thread resurrection!
It's taken longer than anticipated (due to a house renovation and a few other obstacles), but the 1/350 HMS Dreadnought is almost there now.
Just the anchors and chains, the last couple of small boats, deck-side railings, and the final rigging to do.
I might also look into toning the wooden deck down a touch with a wash of some sort. If anyone has any recommendations for this I'm all ears!
Very pleased with how it's turned out, and it's been a VERY steep learning curve with all the brass and photoetch details.
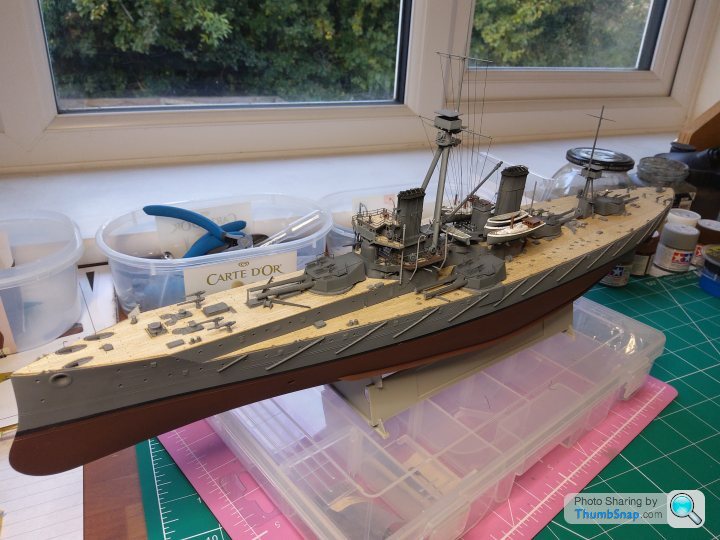
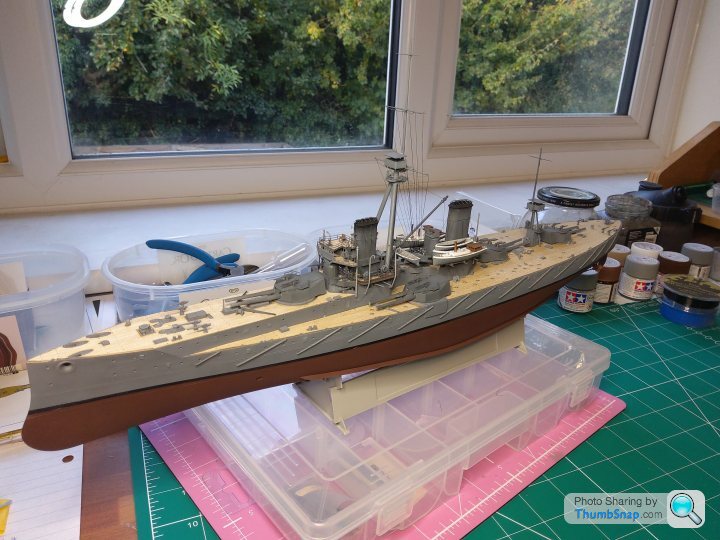
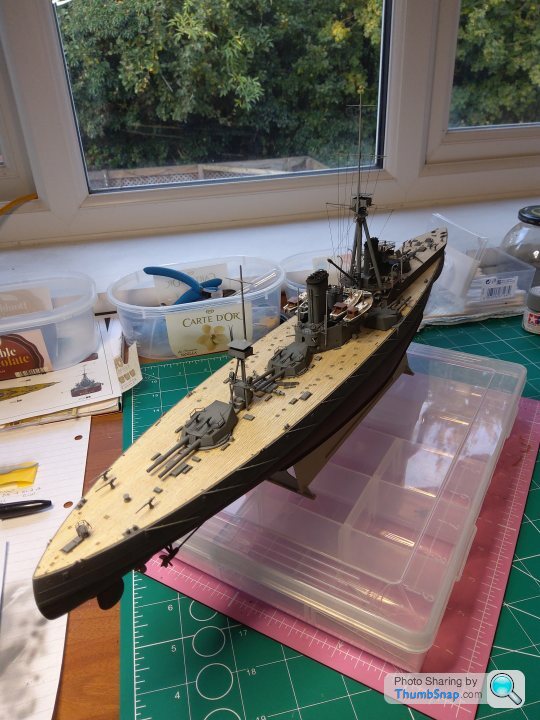
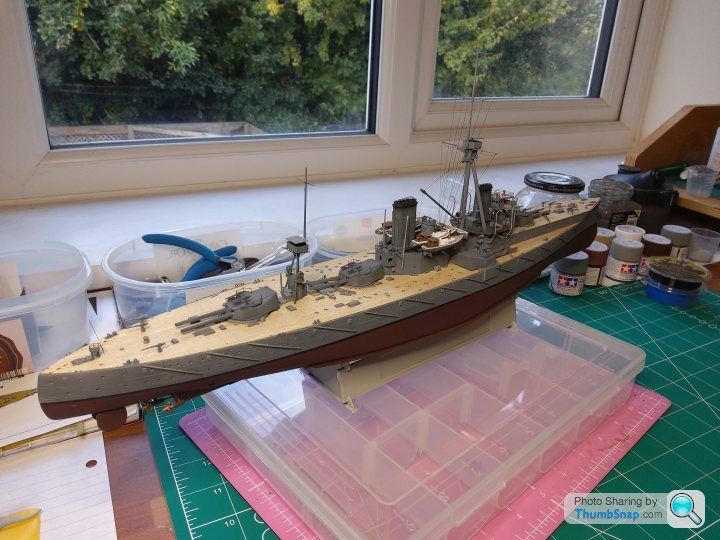
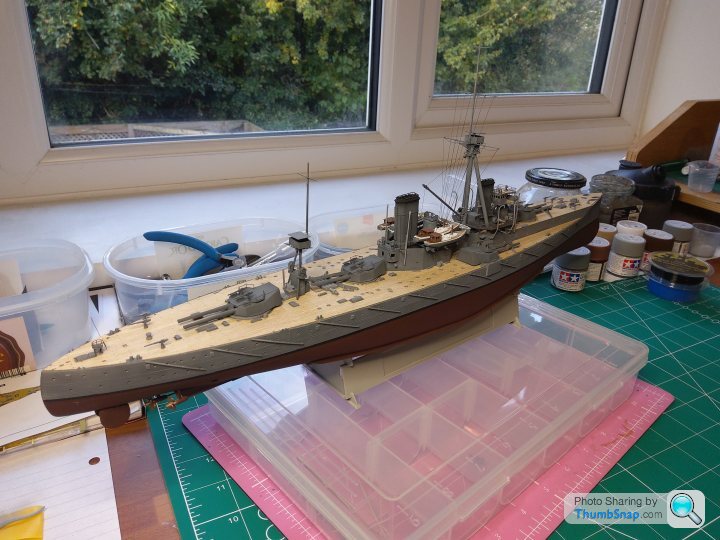
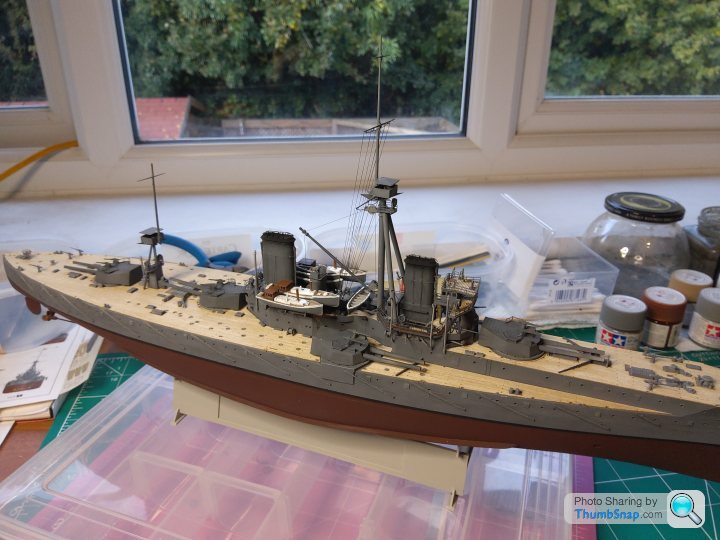
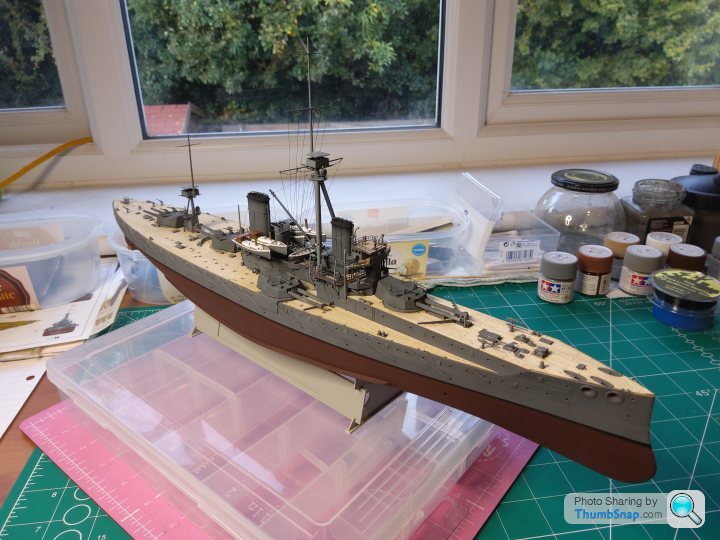
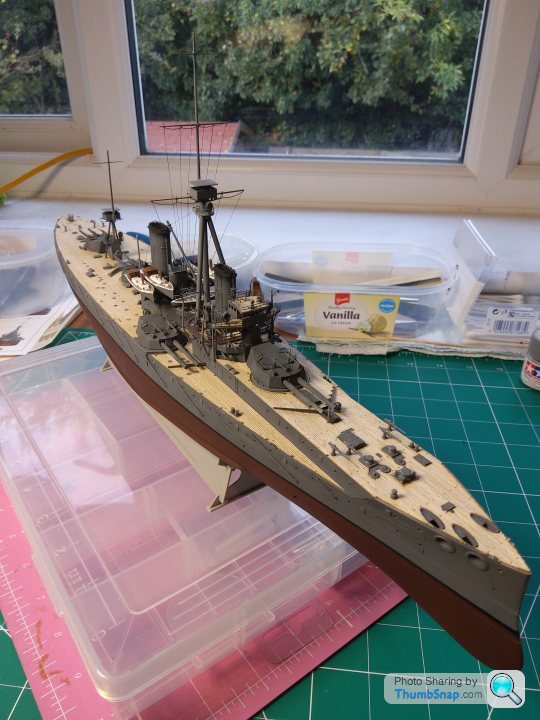
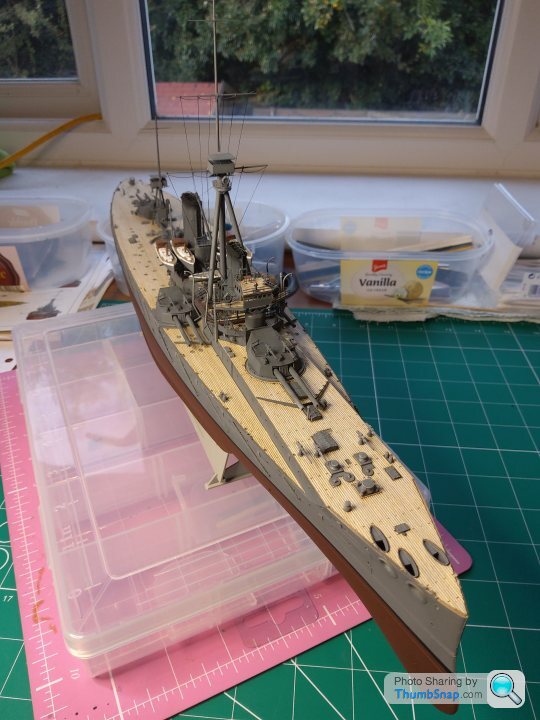
It's taken longer than anticipated (due to a house renovation and a few other obstacles), but the 1/350 HMS Dreadnought is almost there now.
Just the anchors and chains, the last couple of small boats, deck-side railings, and the final rigging to do.
I might also look into toning the wooden deck down a touch with a wash of some sort. If anyone has any recommendations for this I'm all ears!

Very pleased with how it's turned out, and it's been a VERY steep learning curve with all the brass and photoetch details.


Thank you! 
Re: the spotting top, its a bonkers piece of design- they actually corrected it on the subsequent St Vincent, Bellerophon, and Neptune classes of dreadnought after much complaining... before inexplicably returning to the 'behind the funnel' design for the following Colossus and Orion classes.
The principal justification for the seemingly daft arrangement was that the mast legs provided the ideal supporting structure for the boat crane (the boats being stored amidships). Obviously efficient boat-handling was far more important than spotting
Even HMS Lion (the battlecruiser flagship) was originally completed in this manner, before almost immediately going in for a very costly refit to swap the mast and fore funnel around...

Re: the spotting top, its a bonkers piece of design- they actually corrected it on the subsequent St Vincent, Bellerophon, and Neptune classes of dreadnought after much complaining... before inexplicably returning to the 'behind the funnel' design for the following Colossus and Orion classes.
The principal justification for the seemingly daft arrangement was that the mast legs provided the ideal supporting structure for the boat crane (the boats being stored amidships). Obviously efficient boat-handling was far more important than spotting

Even HMS Lion (the battlecruiser flagship) was originally completed in this manner, before almost immediately going in for a very costly refit to swap the mast and fore funnel around...
Gassing Station | Scale Models | Top of Page | What's New | My Stuff


