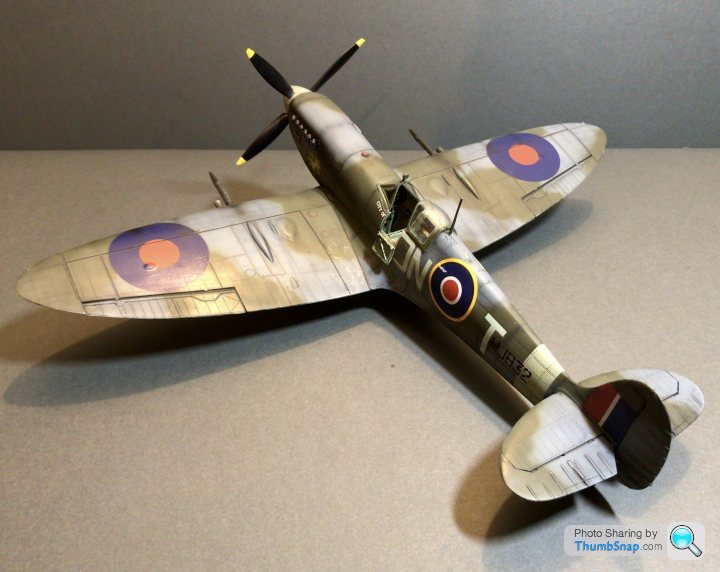
Revell spitfire mk IX 1/32 scale

Revell spitfire mk IX 1/32 scale

Author
Discussion

robemcdonald

Original Poster:

9,128 posts

203 months

Friday 23rd November 2018
quotequote all
It’s been a while since my last build thread, so I thought it was time for a new one.

I picked up the kit on Wednesday from hobbycraft for £15. I thought I’d get straight on it as I’ve got a bit of creative block on the 1/24 mosquito.

It’s no Tamiya kit for sure, but for £15 it’s a bit of a bargain.

I’m going to try and build it within a week.....

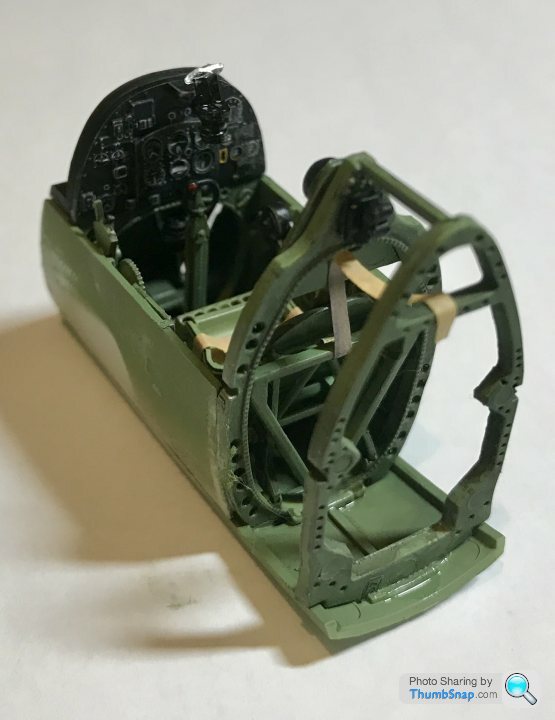
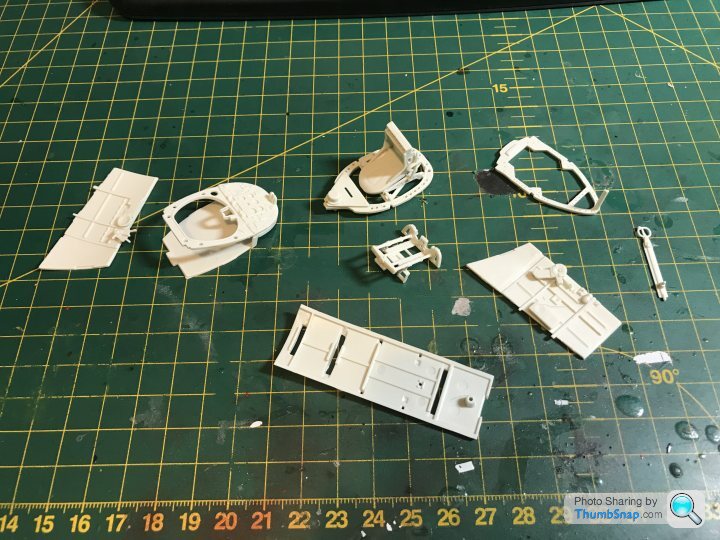
I started last night on the “office” as is the way with most aircraft kits.

Parts cleaned and sub-assemblies in place.

Some paint, decals and light weathering later.
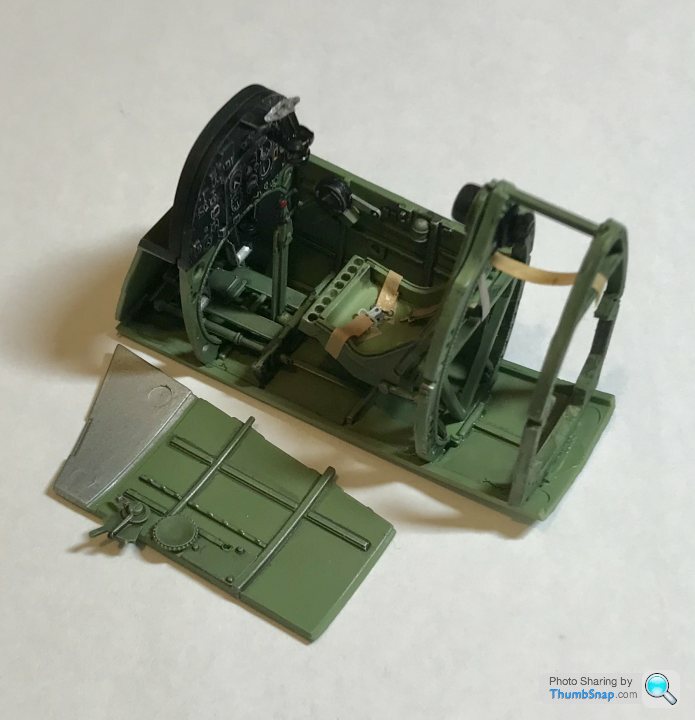


I made up the harnesses from Tamiya masking tape painted XF78 wooden deck tan and some left over bits off an old fret of photo etch. I think it looks okay.

I made the decision to just build it straight out e box with no add ons. The plan is to build the Tamiya equivalent soon, so this is practice.

caterhamnut

429 posts

210 months

Friday 23rd November 2018
quotequote all
Looks fantastic - got sucked in to Hobbycraft as well - bargain for 1/32nd!

robemcdonald

Original Poster:

9,128 posts

203 months

Friday 23rd November 2018
quotequote all
The cockpit is identical on the MK II in your hobbycraft stash.

caterhamnut

429 posts

210 months

Saturday 24th November 2018
quotequote all
Hadn’t realised that both Mk’s were in the sale - back again then! 😄

robemcdonald

Original Poster:

9,128 posts

203 months

Sunday 25th November 2018
quotequote all
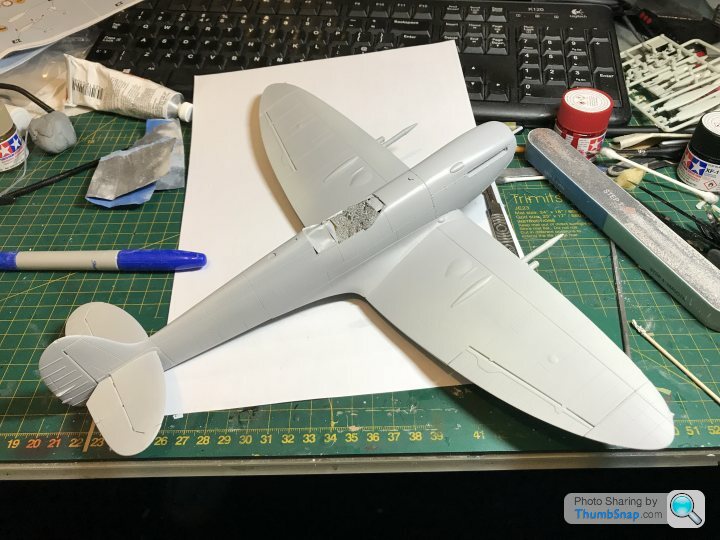
Bit more progress. It’s a simple kit, so it’s coming together quickly.


robemcdonald

Original Poster:

9,128 posts

203 months

Monday 26th November 2018
quotequote all
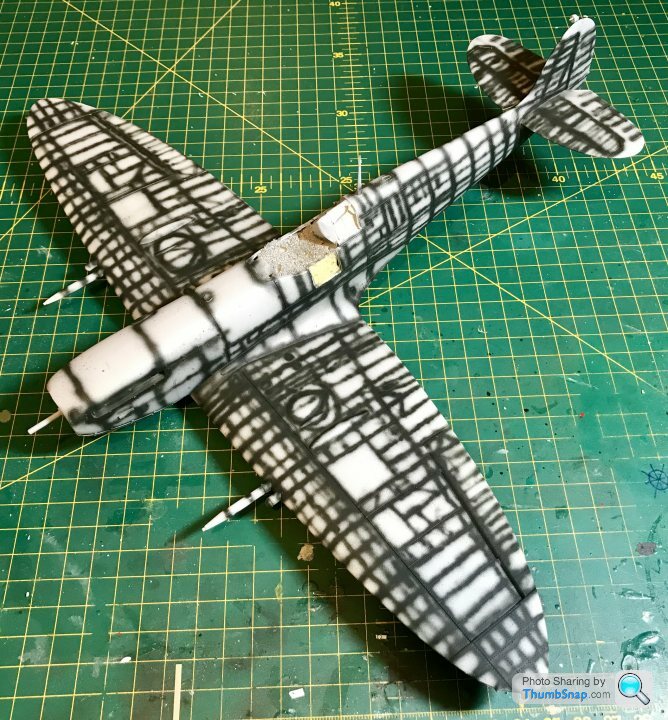
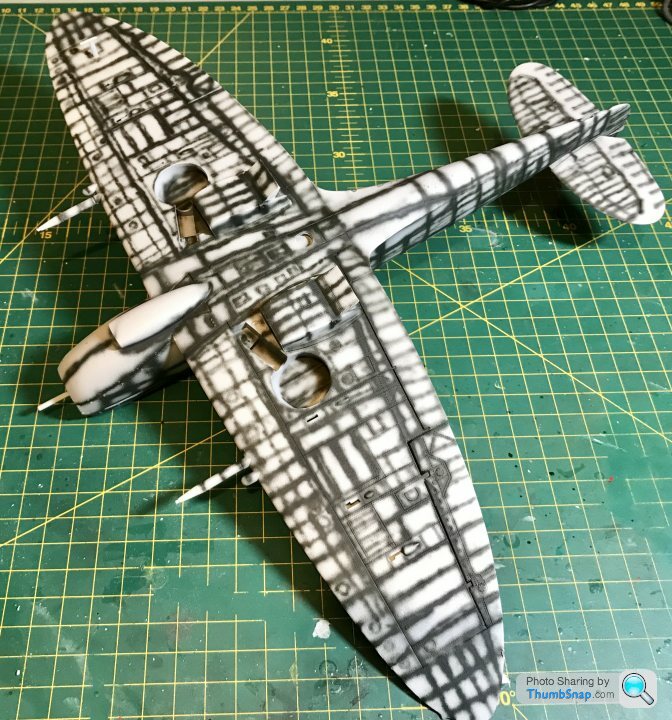
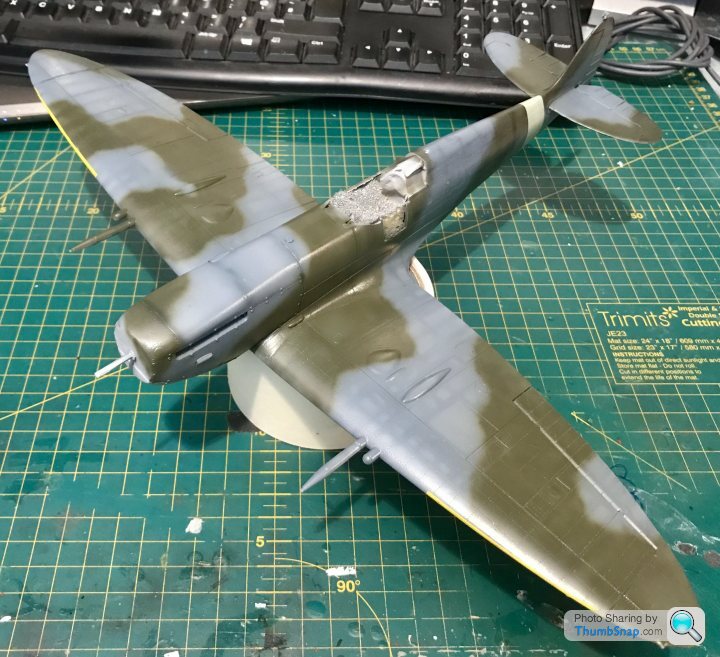
Painting done (for now at least) and clear coat on ready for decals.


robemcdonald

Original Poster:

9,128 posts

203 months

Monday 10th December 2018
quotequote all
Small update time.

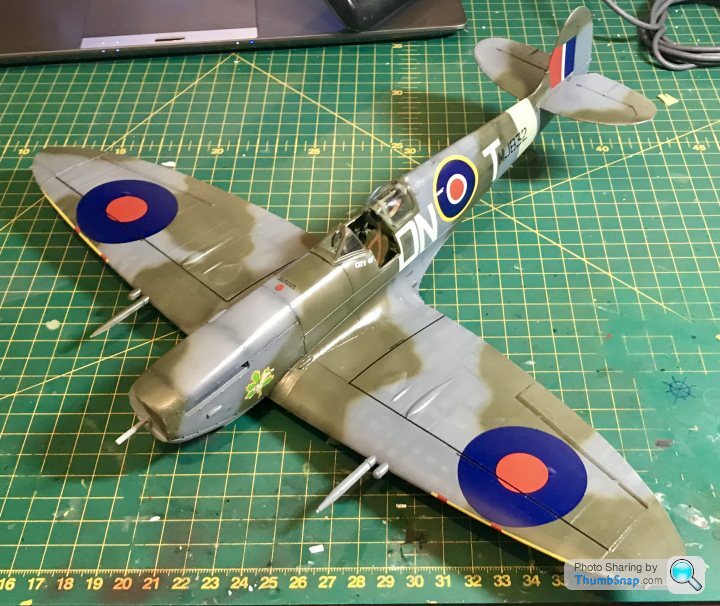
I managed to get the decals on over the weekend and paint the canopy. (Only dry fitted at this point).
Next up another gloss coat to seal everything and then washes.


Eric Mc

122,854 posts

272 months

Monday 10th December 2018
quotequote all
Looking very nice.

What are the markings?

robemcdonald

Original Poster:

9,128 posts

203 months

Monday 10th December 2018
quotequote all
Thanks very much.

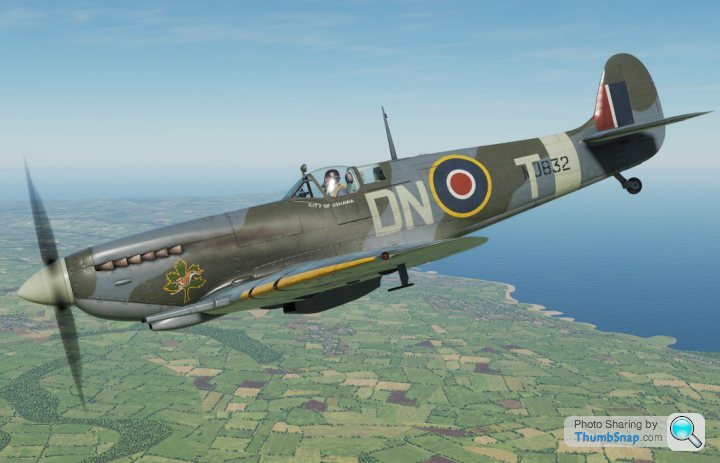
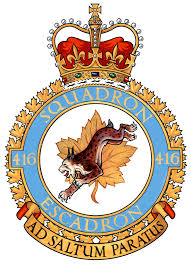
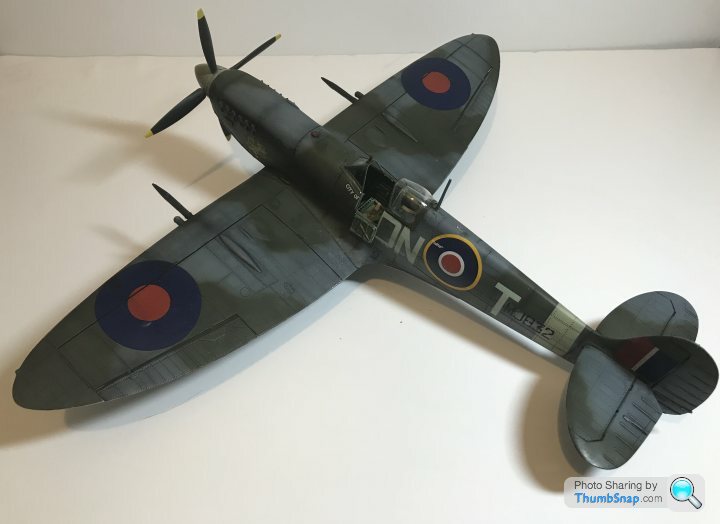
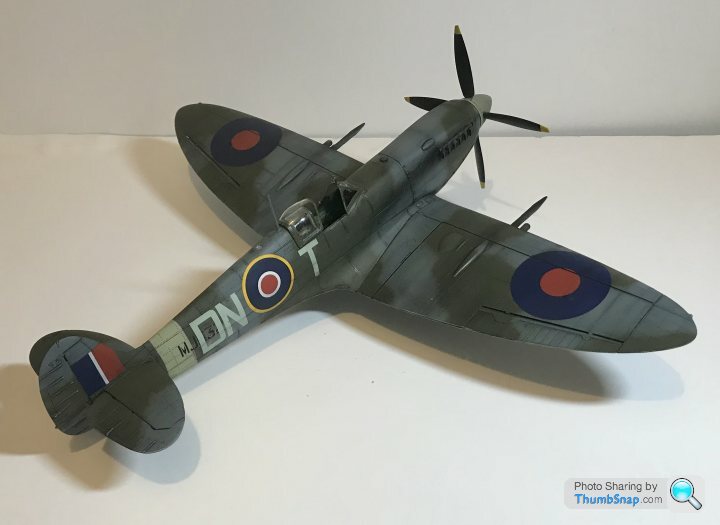
The markings are for 416 Squadron Royal Canadian Air force.

Eric Mc

122,854 posts

272 months

Monday 10th December 2018
quotequote all
Thanks. I was wondering what the "plant" in the nose art was.

robemcdonald

Original Poster:

9,128 posts

203 months

Monday 10th December 2018
quotequote all
I believe it’s the squadron insignia


robemcdonald

Original Poster:

9,128 posts

203 months

Monday 10th December 2018
quotequote all
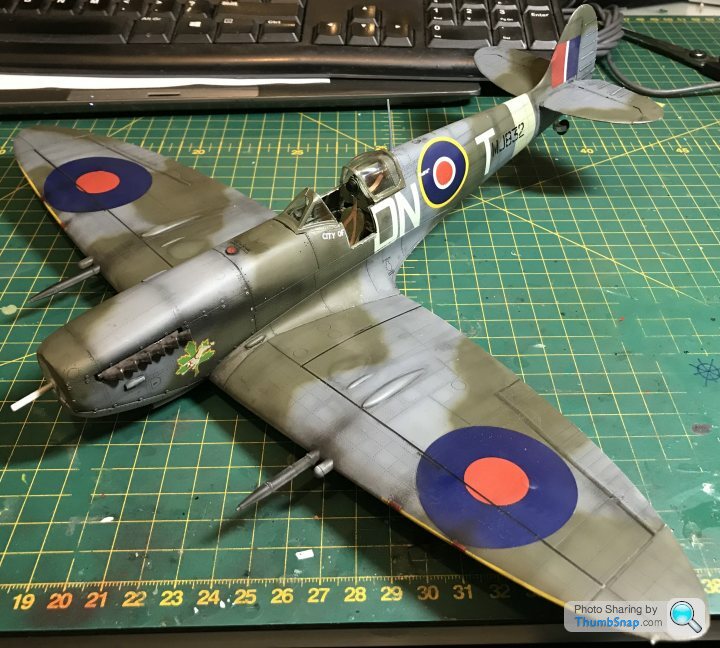
More progress this evening.
Wash and light weathering.
Matt coat applied.
Exhausts added.
Glass permanently fixed.
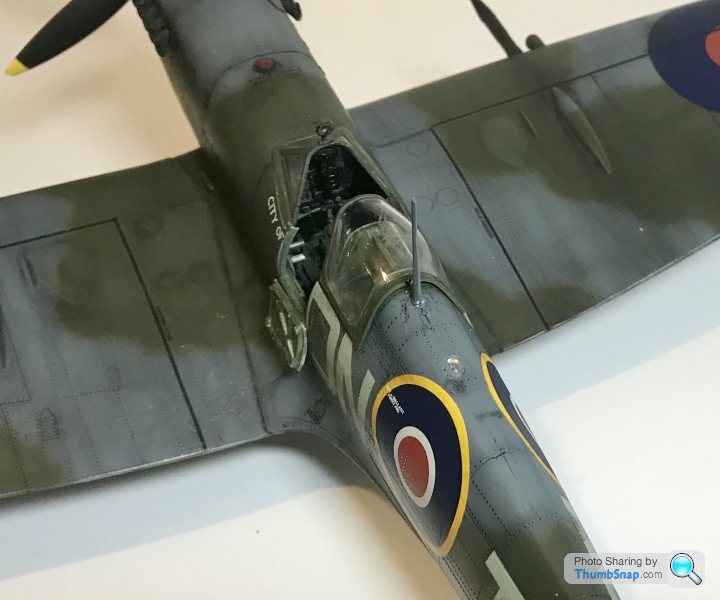
I had to fashion an aerial from styrene (the kit one was sadly lost to the carpet monster)


Edited by robemcdonald on Monday 10th December 21:16

robemcdonald

Original Poster:

9,128 posts

203 months

Tuesday 11th December 2018
quotequote all
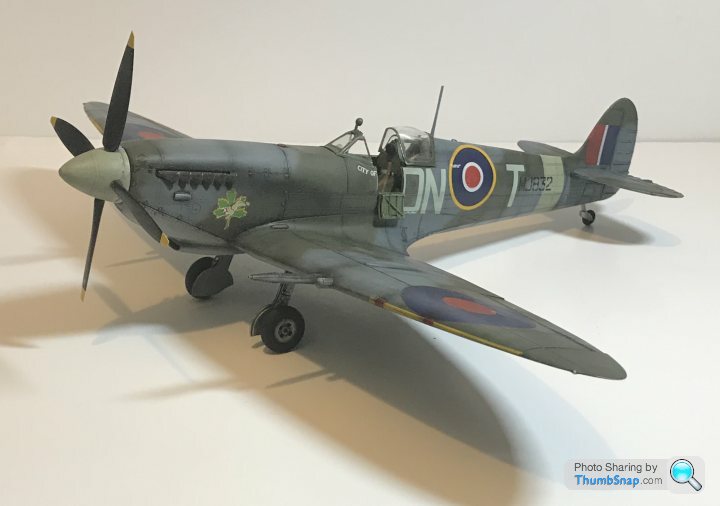
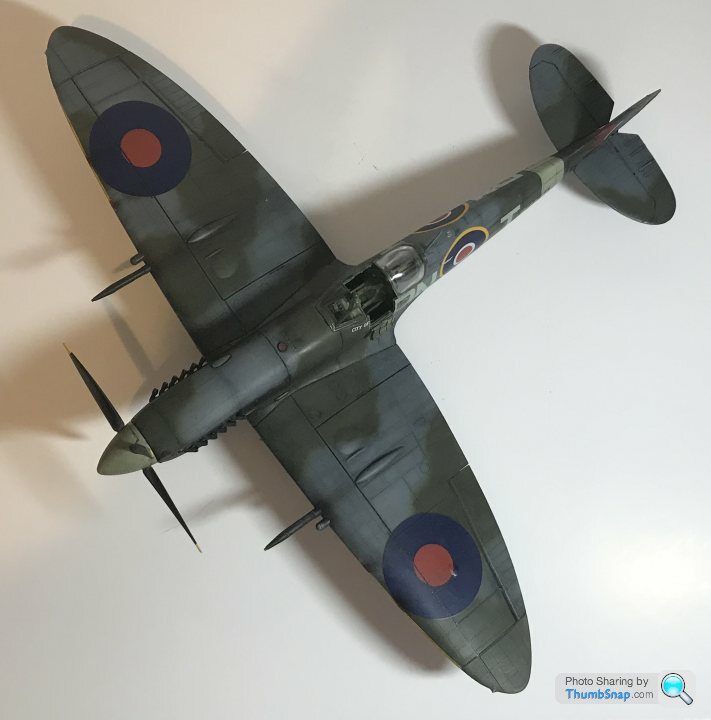
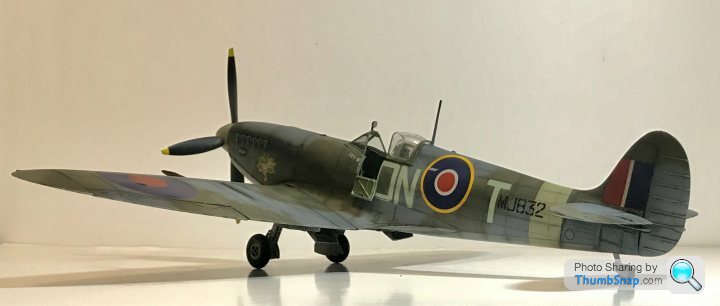
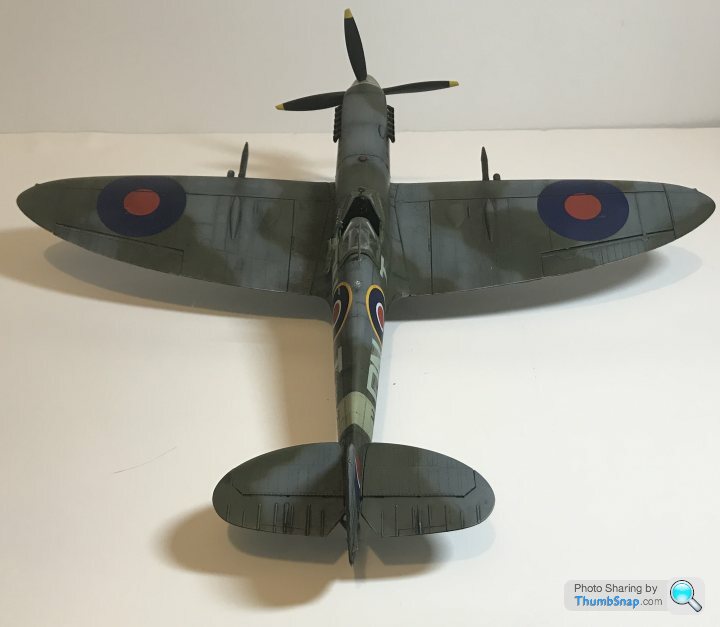
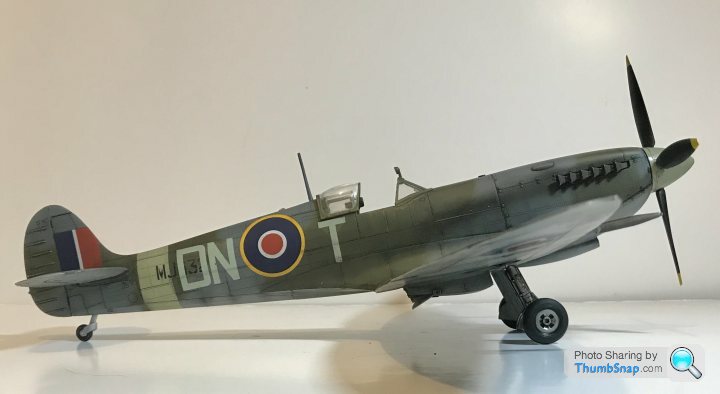
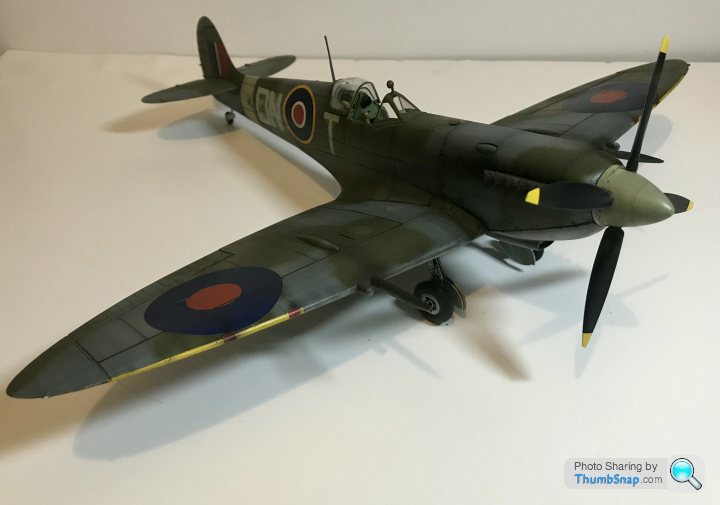
Finished!

Good practice before tackling the Tamiya version in the new year.


Not too bad for a £15 kit

dr_gn

16,400 posts

191 months

Tuesday 11th December 2018
quotequote all
Superb! Very nice finish.

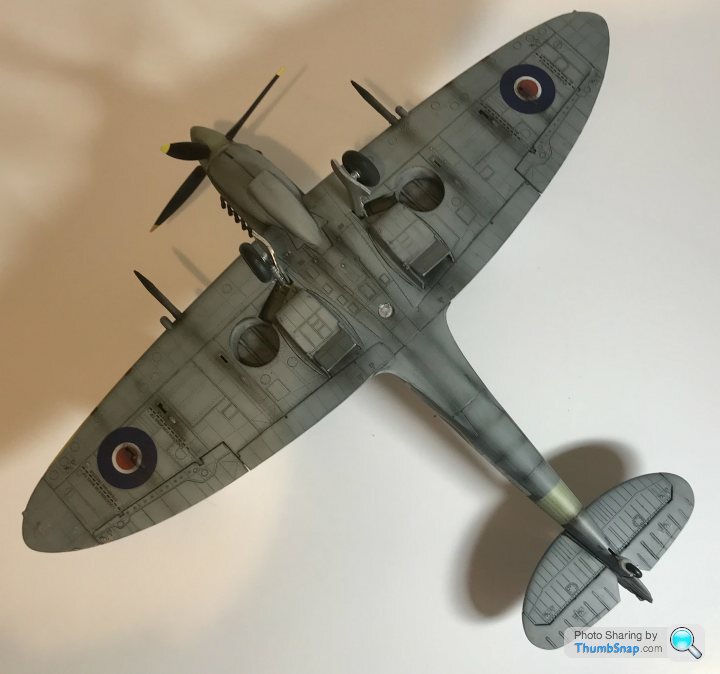
Only one other observation - I think the ventral signal lamp lens should be red.

robemcdonald

Original Poster:

9,128 posts

203 months

Tuesday 11th December 2018
quotequote all
dr_gn said:
Superb! Very nice finish.

Only one other observation - I think the ventral signal lamp lens should be red.
D’oh. I’ll rectify that a bit later.

Thanks for the kind words. I’m really pleased with it.

dr_gn

16,400 posts

191 months

Wednesday 12th December 2018
quotequote all
robemcdonald said:
dr_gn said:
Superb! Very nice finish.

Only one other observation - I think the ventral signal lamp lens should be red.
D’oh. I’ll rectify that a bit later.

Thanks for the kind words. I’m really pleased with it.
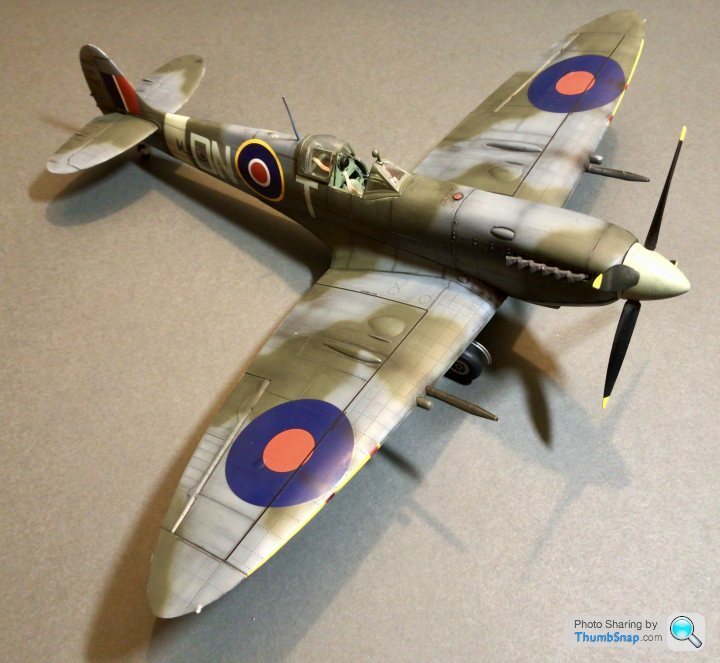
If you don’t mind me saying - I can see it’s a great looking model, but the pictures don’t do it justice. If you took the images outside on a bright but overcast day (ie no strong shadows), with some neutral grey card curved into a backdrop it would look even better. It would only cost a few pounds, but the effect would be huge.

I often think it’s a shame that people go to great lengths to produce very nice models, but then compromise when showing them online.

robemcdonald

Original Poster:

9,128 posts

203 months

Wednesday 12th December 2018
quotequote all


Thanks for the advice I will try to get some better pictures today weather permitting of course.

robemcdonald

Original Poster:

9,128 posts

203 months

Sunday 23rd December 2018
quotequote all
I found some grey card for a background. I’m still waiting for the weather to cooperate though frown


danllama

5,728 posts

149 months

Thursday 27th December 2018
quotequote all
Amazing work, I can't imagine being that good at modelling.

robemcdonald

Original Poster:

9,128 posts

203 months

Thursday 27th December 2018
quotequote all
Thanks very much.
I’m regard to being good though: it’s all relative. I look at dr_gns’ work and think the exact same thing.
I just try and make a little improvement with each build. If I can do it anyone can.